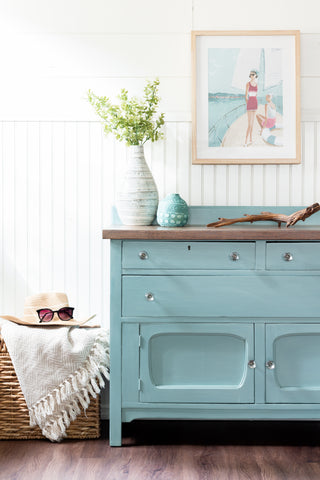
Blues and greens have always been some of the more popular milk paint colours. It could have something to do with how the light reflects or captures the colour, or perhaps it’s the wide range of shades. our blues and greens are always a winner! They take us to calming places like a cottage on the beach or strolling for sea glass in the sand. This beachy colour Sea Glass in particular makes a stunning feature on furniture, but coupled with texture and movement brings the ocean to you all year long. In this tutorial, we will show you how to add a beach vibe with texture to your furniture by selecting the best pieces for this finish and layering milk paint to use the natural wood grain to your advantage. So follow along for this beachy vibe cabinet makeover!
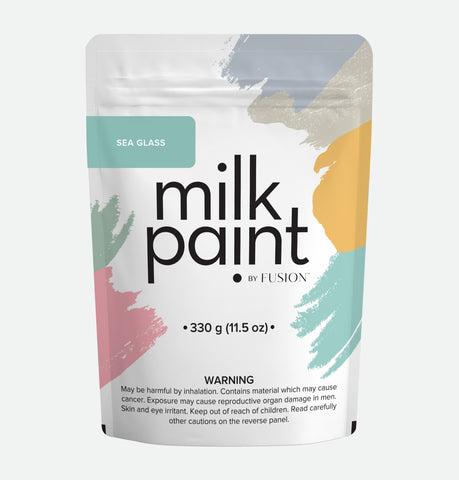
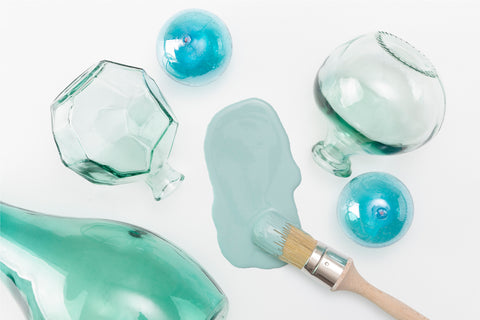
Step 1: Picking your furniture piece
This texture can be created on any furniture piece. However, the flatter the surface, the more work you will have to do to create the “wave” in the finish. One option would be to use Fusion Fresco to add a gritty, salt-wash texture, applied in a sweeping motion to simulate natural waves. This will give you a more gritty and rustic look.
See how to use Fresco here!
Another option would be to choose a solid wood piece that has a thick, open grain like aged oak and pine. Milk paint will naturally settle into the grooves and give you more dimension and texture while still keeping a smooth surface. This will give you a more finished look that draws your eyes to the variation in milk paint enhanced by the wood grain.
Both of these options will give you stunning finishes, that look naturally sea-swept and weathered. However, for our project, we went with this antique quarter-sawn oak cabinet that has beautiful wood grain making it the perfect candidate for our beach wave texture.
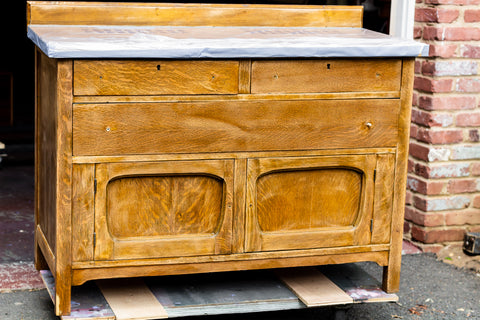
The beauty of using oak is that it is the perfect wood for projects where you want to have a rustic element. It is a natural hardwood with a deep grain that comes through on most painted furniture projects.
Step 2: Layering your Milk Paint
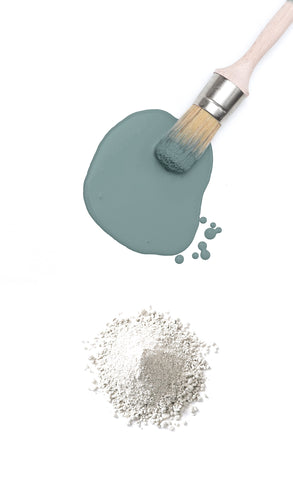
The trick to layering for a beachy texture is the consistency and colour of your milk paint. Milk paint is notorious for being unpredictable, which includes mixing it for the right colour and consistency which sometimes can be a bit off. For this project, we are going to use both to our advantage to help us achieve this look.
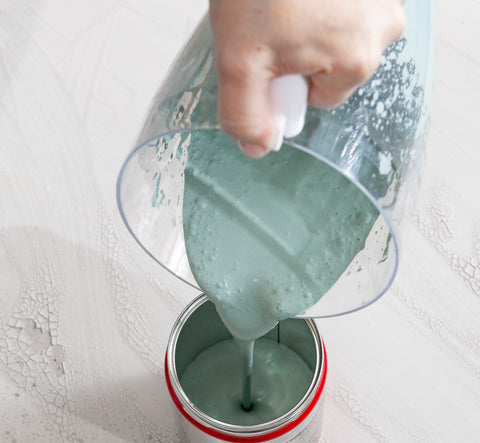
Mix up your first batch of milk paint in a thinner consistency. You want it to almost look like a wash, but not be completely watery. Apply your first coat and let it dry for at least 2 hours. This will allow your first coat to bond, as well as give you any hints of chipping or peeling.
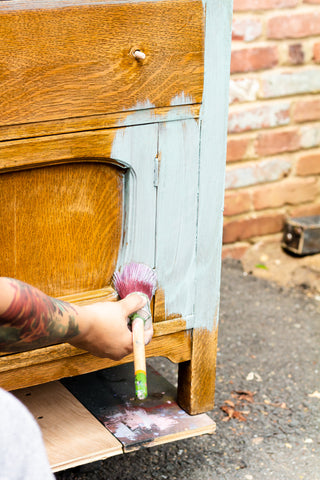
Your first coat should look relatively transparent after it’s dried. Not to worry, the more coats you add, the more coverage you will get.
The next step is to mix up another batch of milk paint in a normal 1/1 ratio. You could even make it slightly thicker if you want a more opaque coverage right off the bat. You will also notice that your thicker batch of milk paint will have a richer colour which is exactly what we want to come through.
Alternate your coats of paint between batches until you get the coverage you want. Let your final coat dry overnight. If you have any unwanted chipping or peeling, just add some bonding agent to both your batches of milk paint to help adhesion. You can also lightly sand between coats if you are going for a smoother look to knock down any pigments or rough texture, but we recommend leaving them to add your texture!
Step 3: Sanding Back
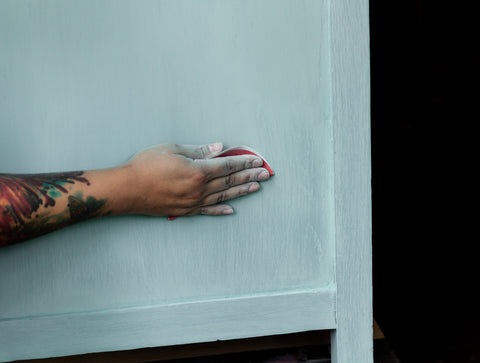
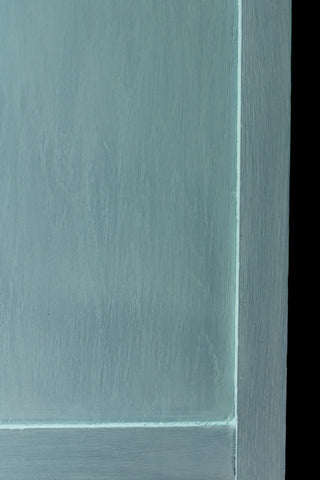
Next, you want to take a heavier grit sandpaper to sand back to reveal your layers. Sanding back also smooths out your surface and will give you the option to distress if you wanted to bring some wood tones through. You can see colour variation between the milk paint batches and how the thinner coat sunk into the wood grain making it “pop.” Sanding creates a lot of fine dust, so make sure to wear a mask during this part of the project.
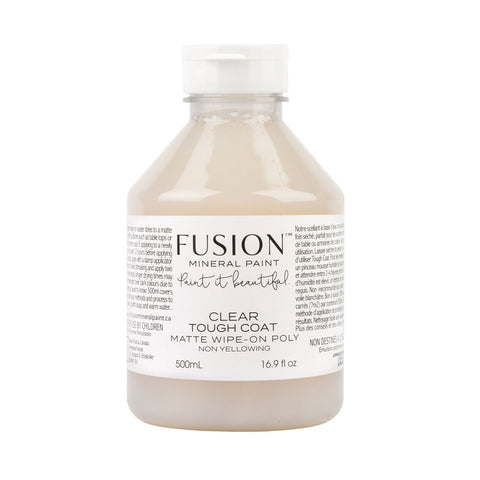
Finally, you will want to wipe away and dust with a damp cloth, and seal your piece with Fusion Tough Coat. This will seal the wood grain against any elements like water dust, and will also preserve the contrast in your layers.
All you have left to do now is decorate with your favourite beachy décor!
Beachy Vibe Cabinet
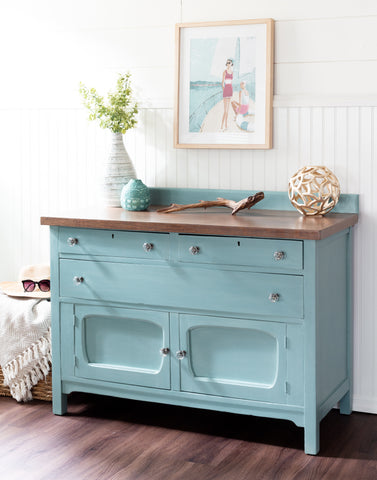
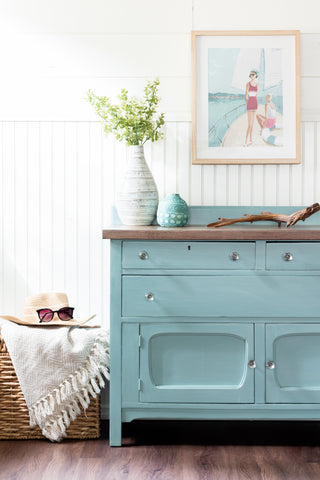
The result is a soothing eye-catching Beachy Vibe Cabinet that brings everything you love about the ocean into your home.
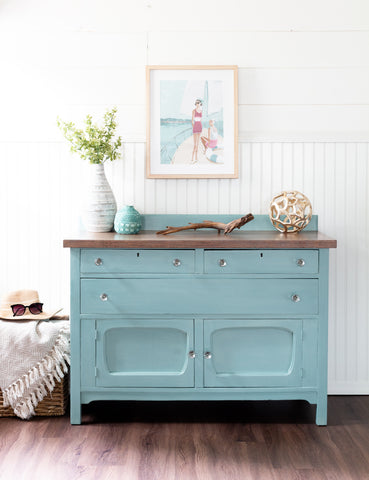
Look at how lovely that colour variation creates “movement” in your piece that is subtle but evident. Paired with some glass knobs to accentuate and reflect the colours all around.
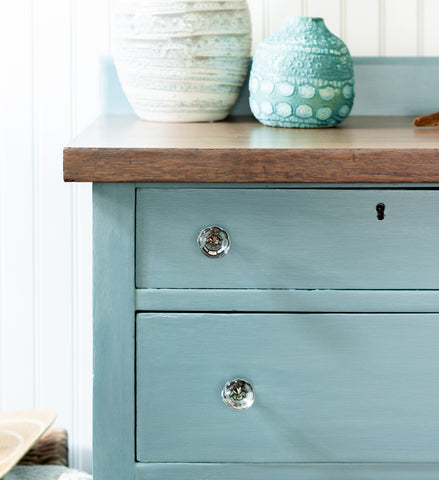
Sea Glass is perfect for pieces that will double as a bathroom vanity, kitchen island or perhaps in the outdoors where you can sit back, relax and enjoy the view.
Check out our YouTube Milk Paint series!


