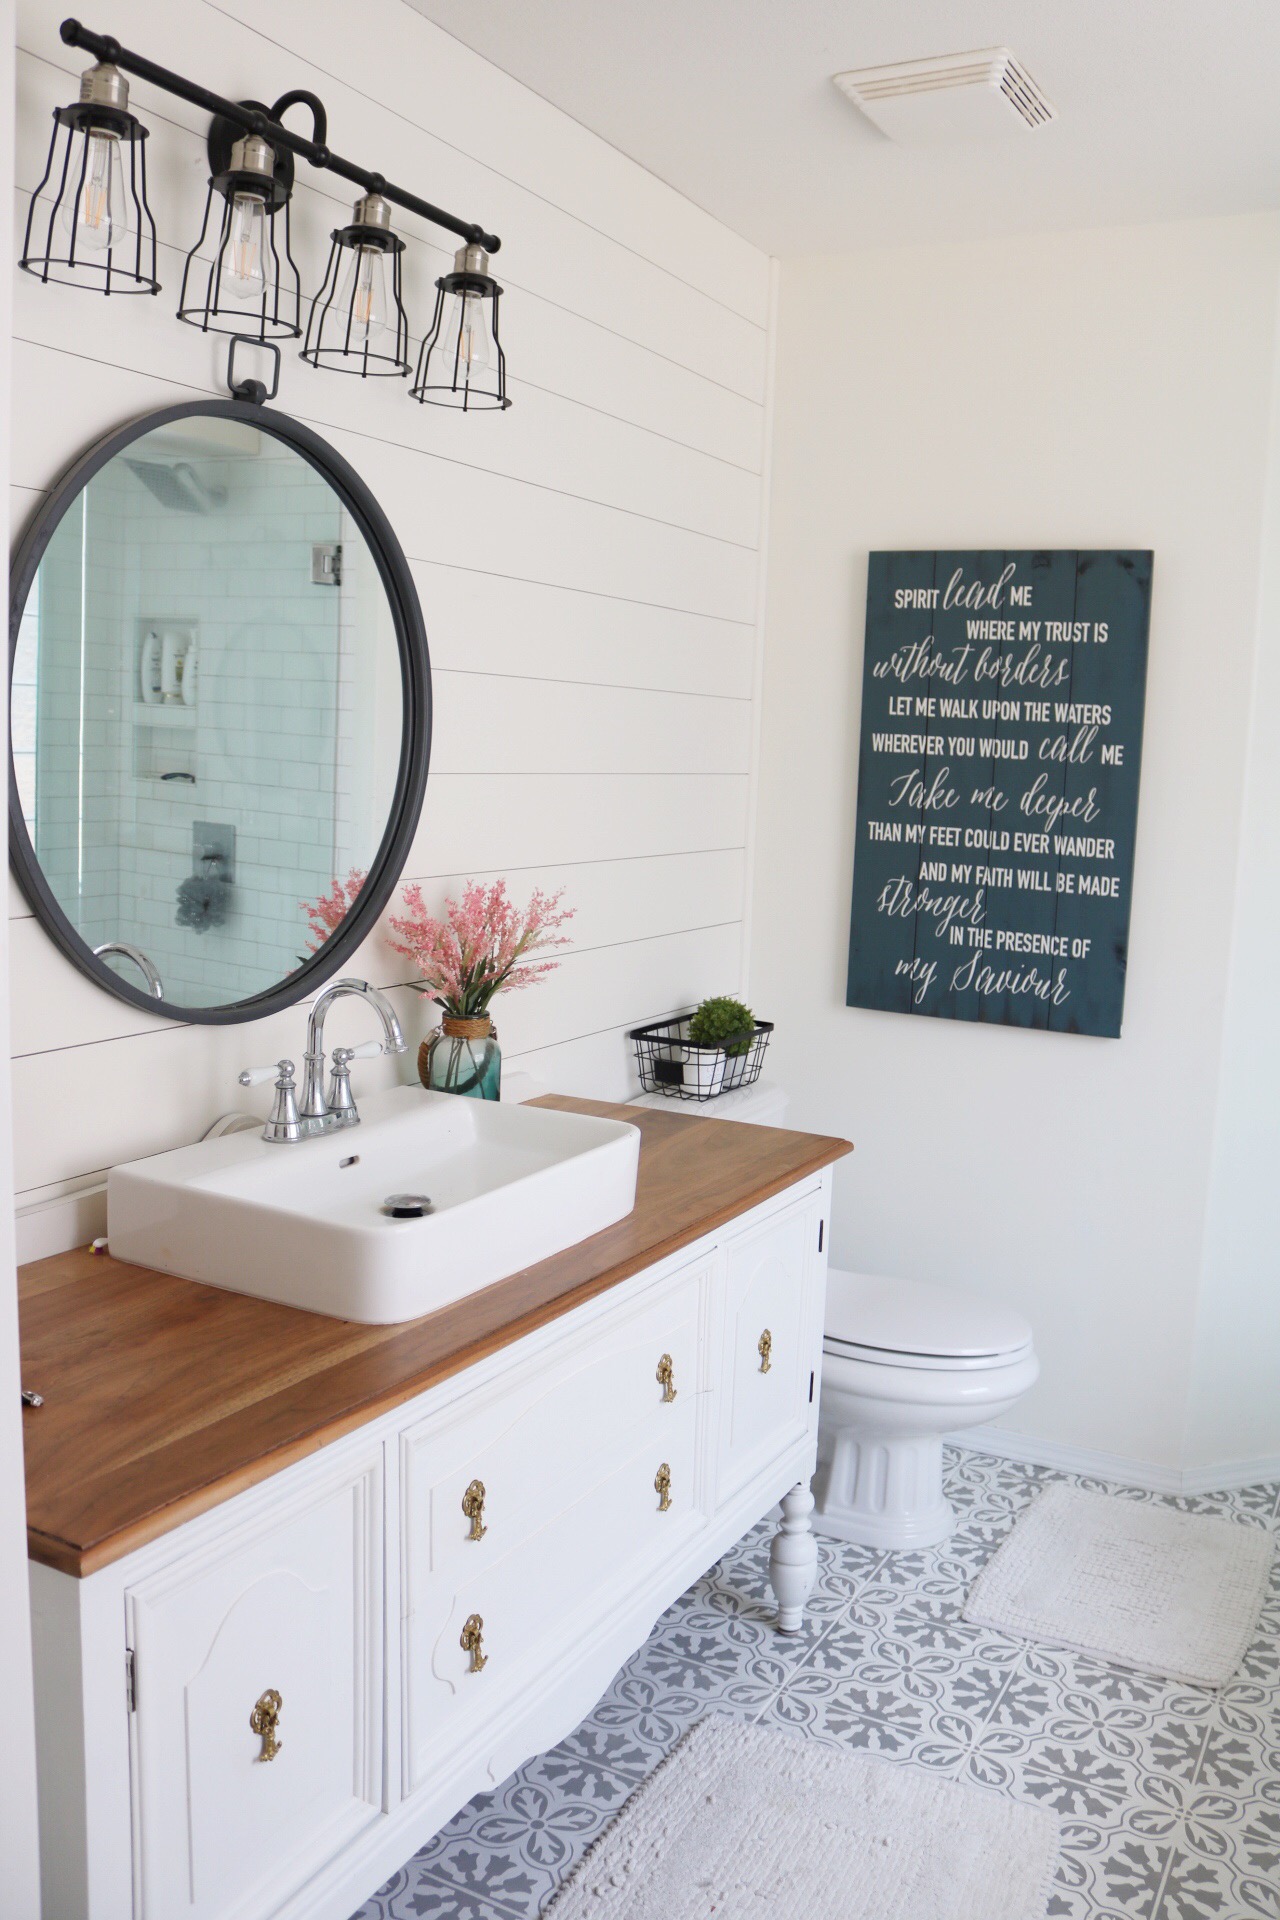
Sometimes when our merchants share their own Fusion projects with us, we have to stand back and just marvel at how talented they are. This bathroom makeover from Lasma at Rustic Chalk Decor is literally the stuff of Pinterest dreams. The farmhouse rustic vanity and stencilled tiled floors had everyone talking. Naturally, we want to share Lasma Scramstad’s project and technique so that you, too, can finally tackle that bathroom makeover that you’ve been wanting to!
A DIY Bathroom Makeover with Fusion Mineral Paint, from Rustic Chalk Decor
Lasma says, “ I wanted to share our bathroom reno we did last year in our master bathroom and how I used Fusion Mineral Paint for some of my projects to make it my own ‘Pinterest’ looking bathroom.”
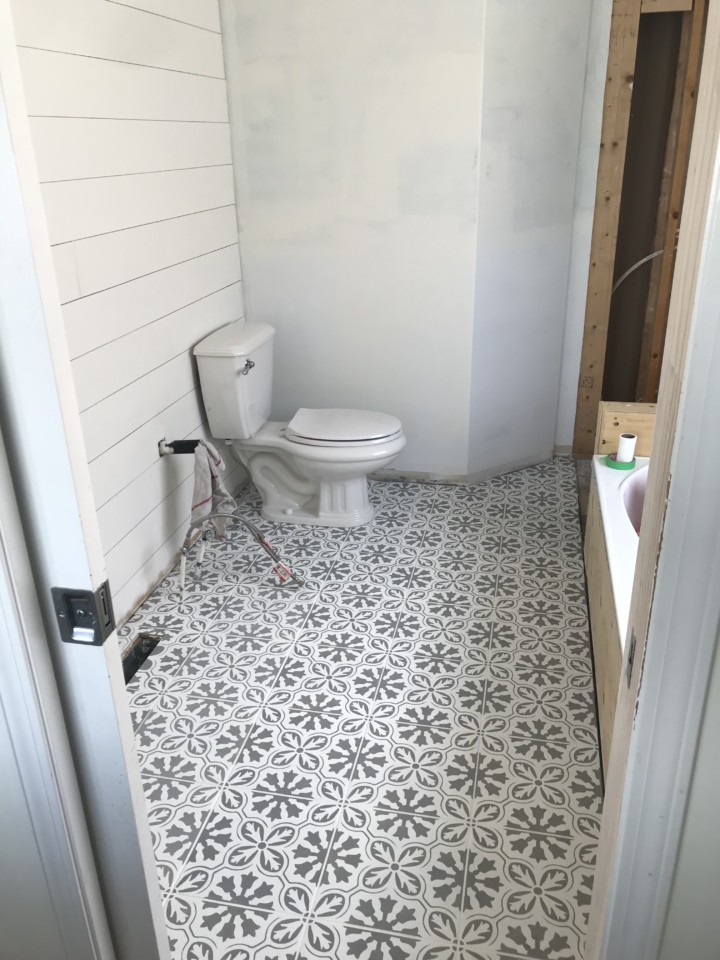
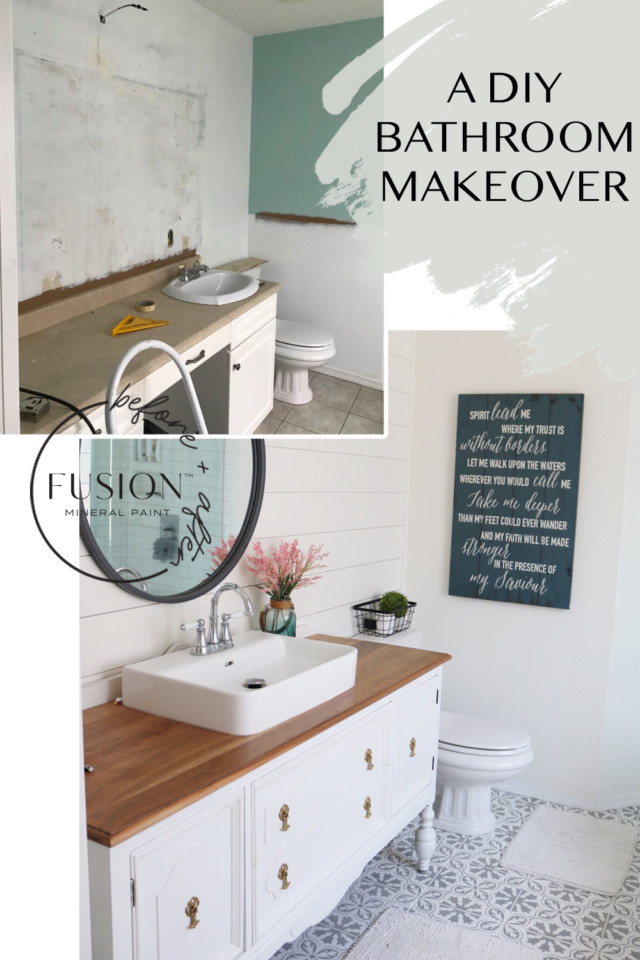
BATHROOM BEFORE
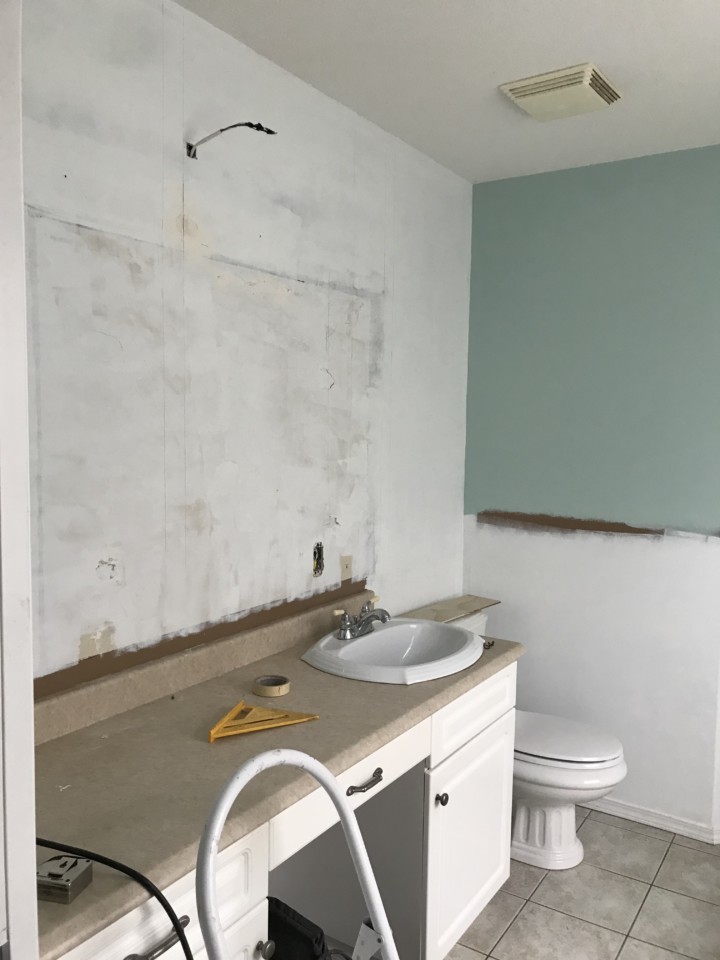
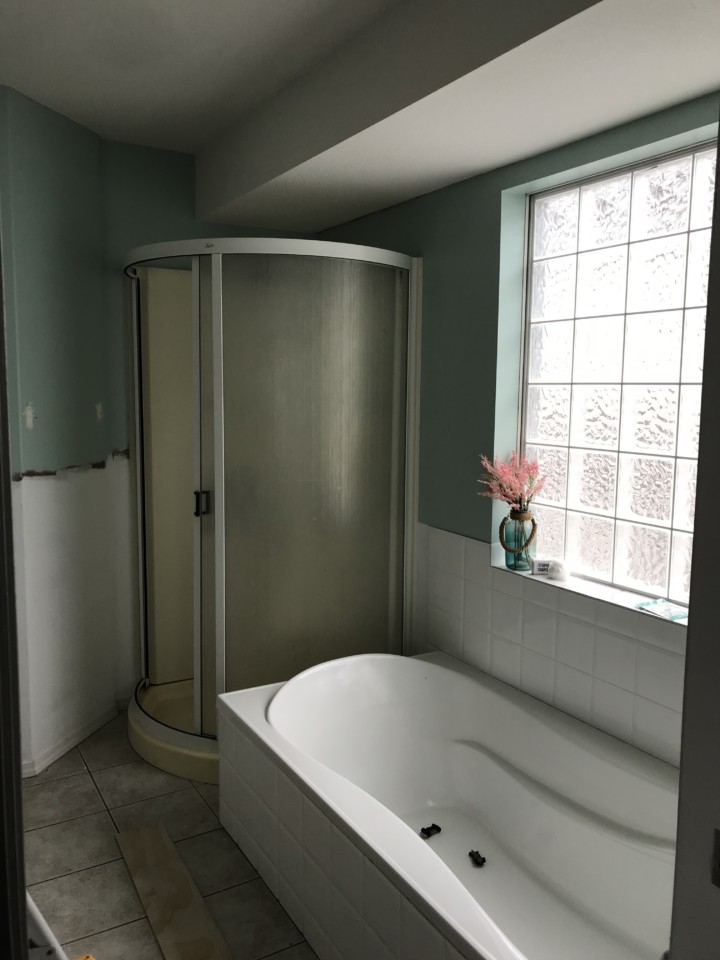
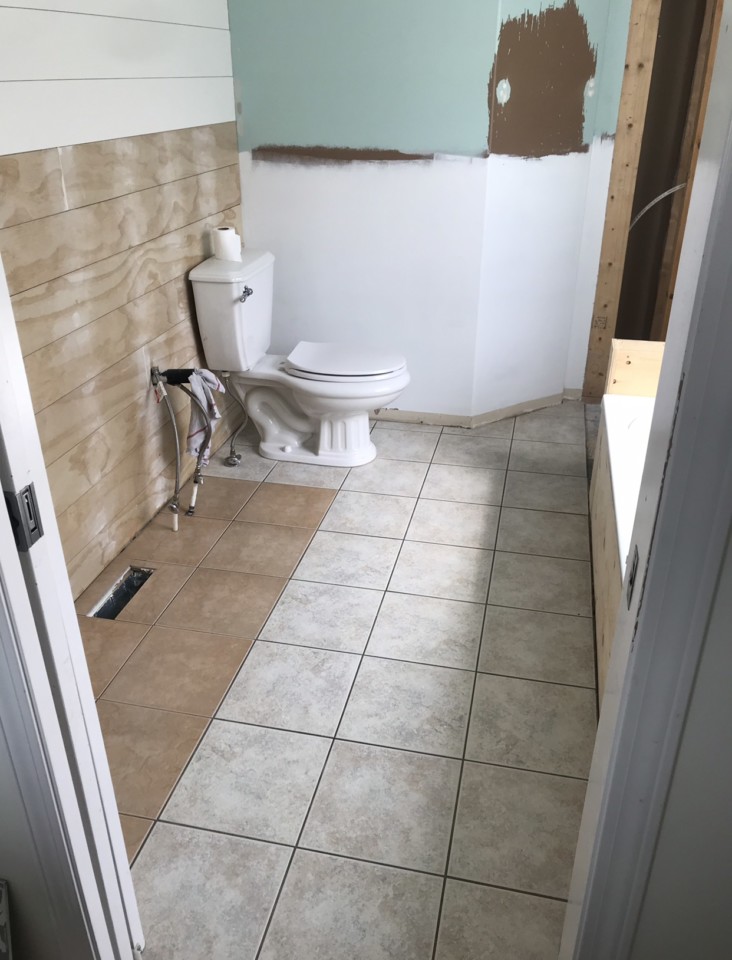
“As many big projects start,” Lasma says, “I first thought I’ll just add a fake shiplap wall on the wall using cut-up plywood boards. One thing lead to another and we ripped out our vanity and the shower and started looking for some fun tiles.”
But there was a catch – she could not find any tiles that she liked or that fit their budget. This is a classic problem with bathroom makeovers – floor tile can get outdated very quickly, but it is not budget-friendly to replace. Lasma came up with a brilliant solution – she decided to paint them. She did her research and decided to use Fusion Mineral Paint to paint her tiles. “It’s furniture paint, not meant for painting bathroom tiles, but it doesn’t hurt to try!”
Lasma explains her process for painting tiles. “I cleaned the surface real good with Fusion’s TSP, then sanded and vacuumed all of the dust. I put on a thin coat of Fusion Mineral Paint Ultra Grip and let it dry for 12 hours. My tiles were quite textured so I used a brush to apply it.”
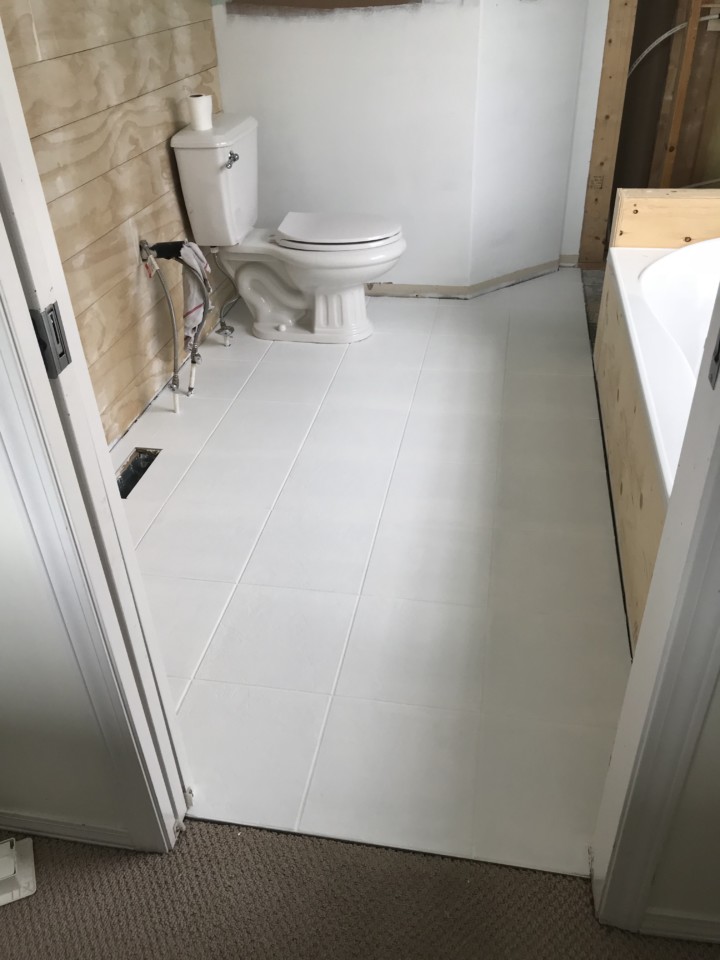
She followed that up with three coats of Fusion in Casement, applied using a long-handled roller. We always recommend using a microfibre roller for Fusion – it helps to keep roller marks at a minimum.
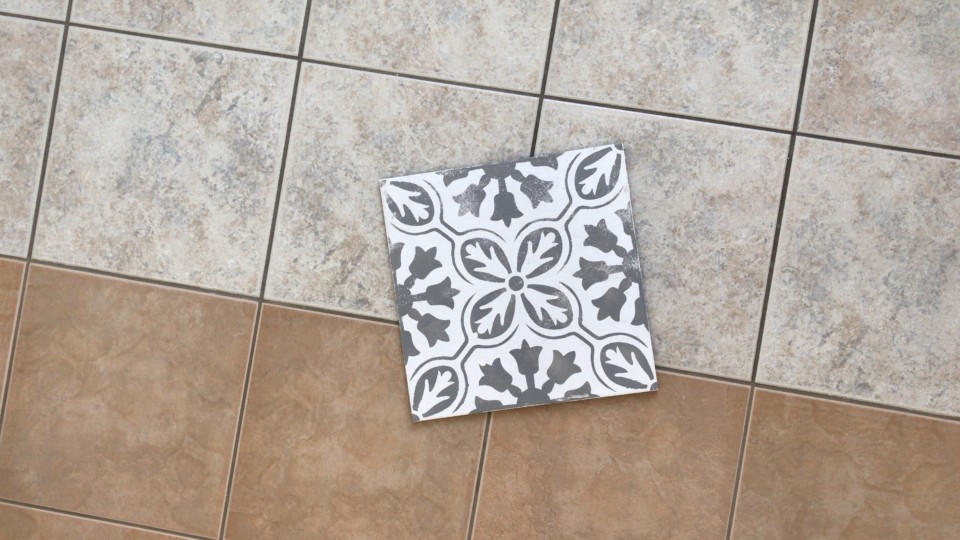
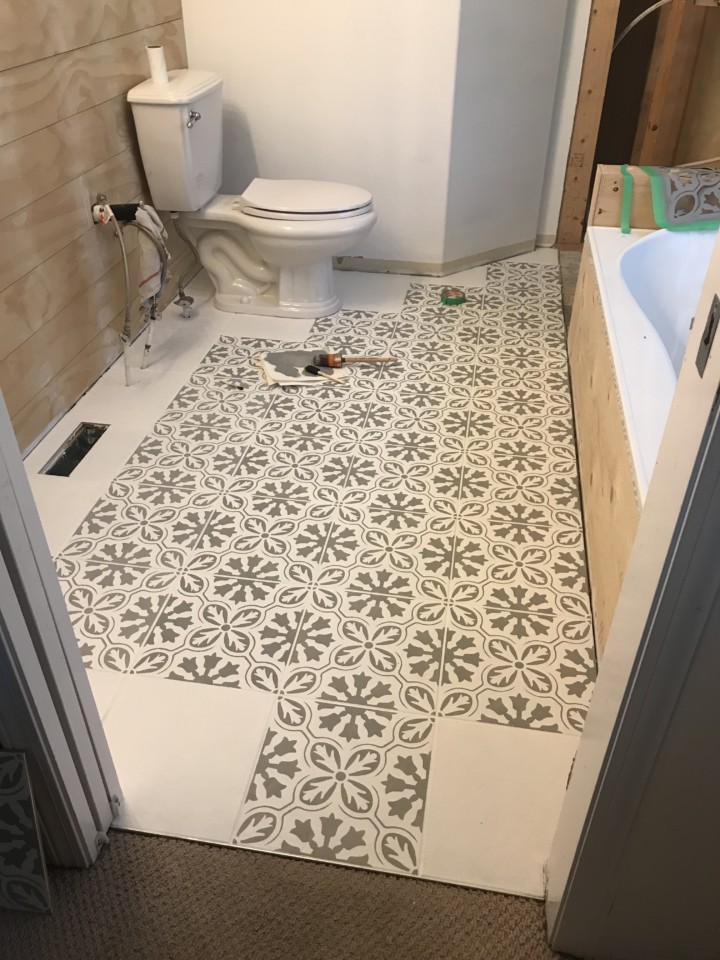
While Lasma cut out her own reusable stencil for the tile, she mentioned you can also purchase tile stencils at Cutting Edge Stencils and Etsy. We would like to add one of our faves to this list – Muddaritaville. Lasma first practiced stencilling on a spare tile that she had picked up from Habitat for Humanity Re-Store and while initially, she had tried using a roller when stencilling, she didn’t like the results as the edges were not as sharp as she was hoping for.
So she switched to using a Staalmeester Oval #45 brush and stencilled using “hardly any paint on the brush.” This took two days of careful stencilling – quite a commitment to the project! Afterwards, she let the paint dry overnight and then sealed it with three coats of Fusion Mineral Paint Tough Coat, drying 12 hours in between as per instructions.
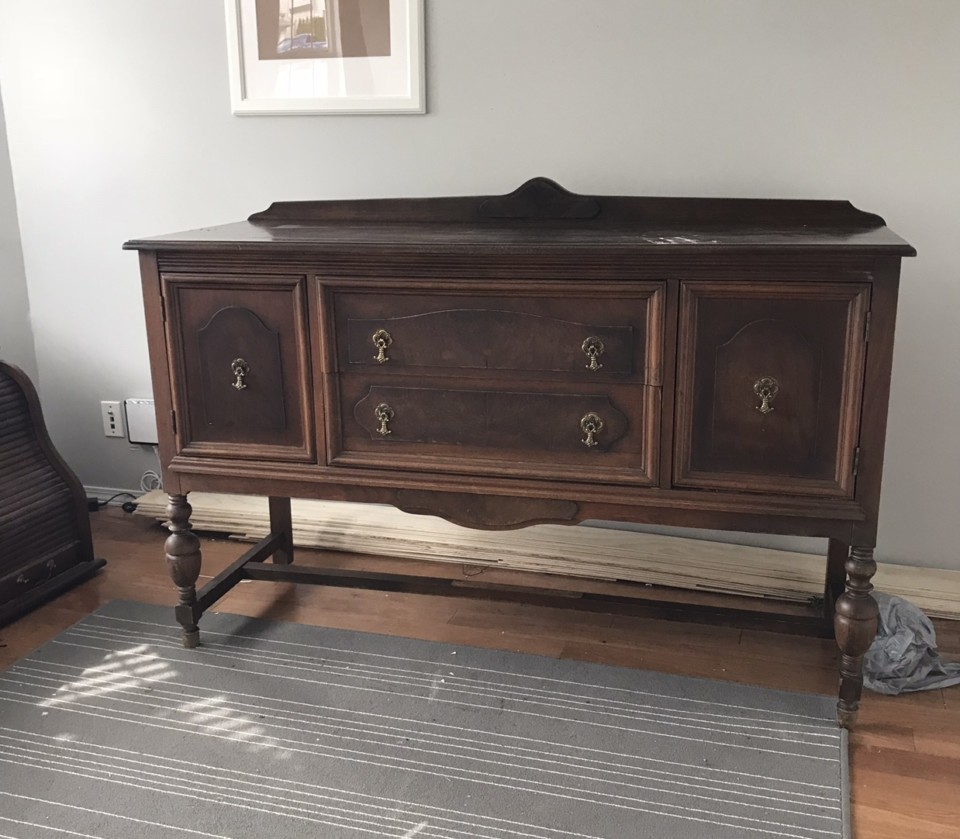
Lasma says, “For the vanity, I decided that I wanted something different. I looked around Facebook marketplace for antique sideboards or vanities and found this one!”
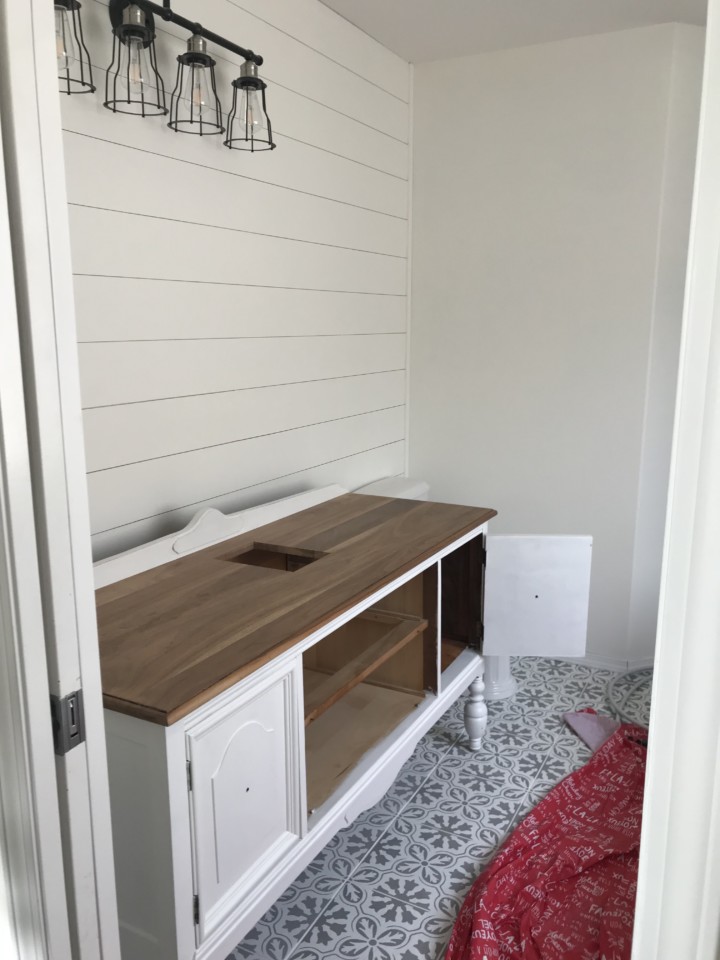
“I cleaned it with Fusion Mineral Paint TSP, and did a rough sanding. Then, painted it with three coats of Fusion in Casement. And for extra protection, I applied one coat of Fusion Mineral paint Tough Coat.”
The top of the vanity was sanded down to raw wood and two coats of Tough Coat over it.
They also installed a custom shower. They worked with Dave from West Kelowna Tile and Stone and Valley Glass for the shower glass.
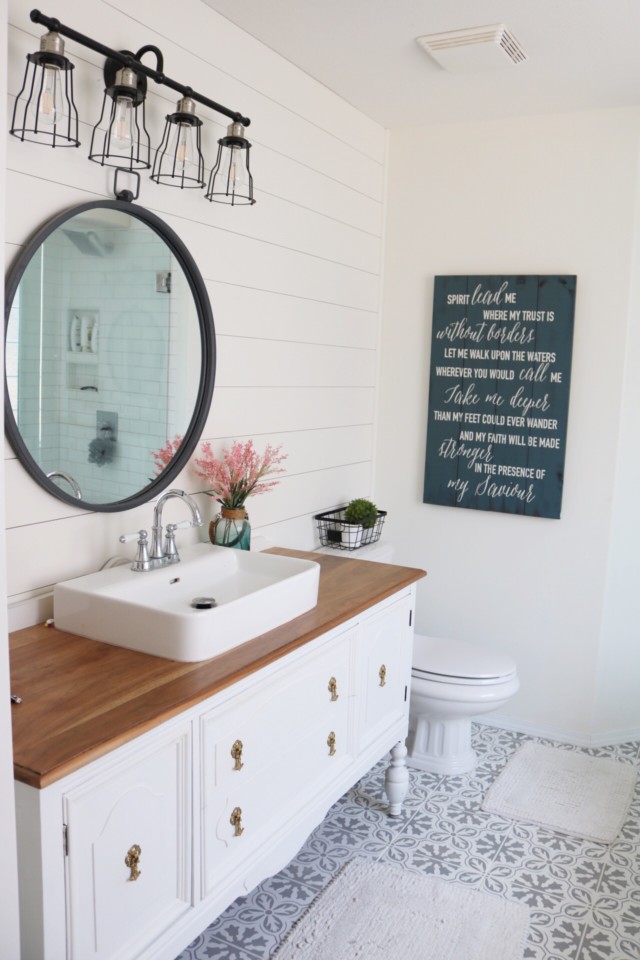
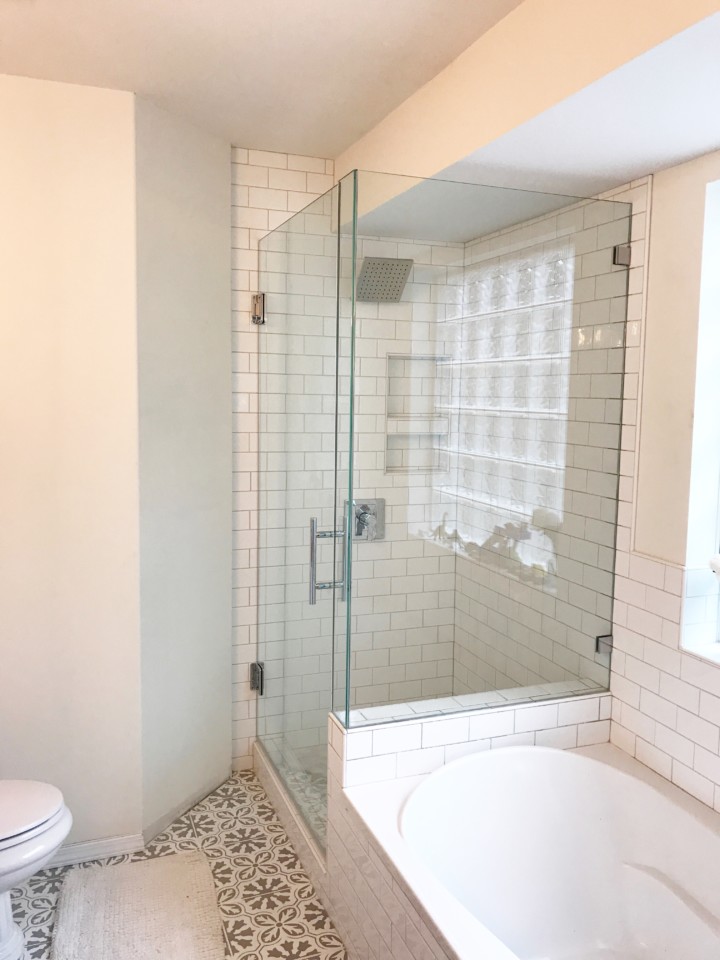
Lasma says she is so happy with how it turned out! “The paint on the vanity and the floor is holding up great. I have been using it for over 8 months.”
We’re smitten with it all! I mean can you believe how amazing that is?! Thank you so much for sharing Lasma! You can find more of her projects and work at Rustic Chalk Decor or via their Facebook and Instagram.
PIN IT FOR LATER!
If you want to try your hand at painting tiles, take a look at our helpful tile painting video to get you started!


