
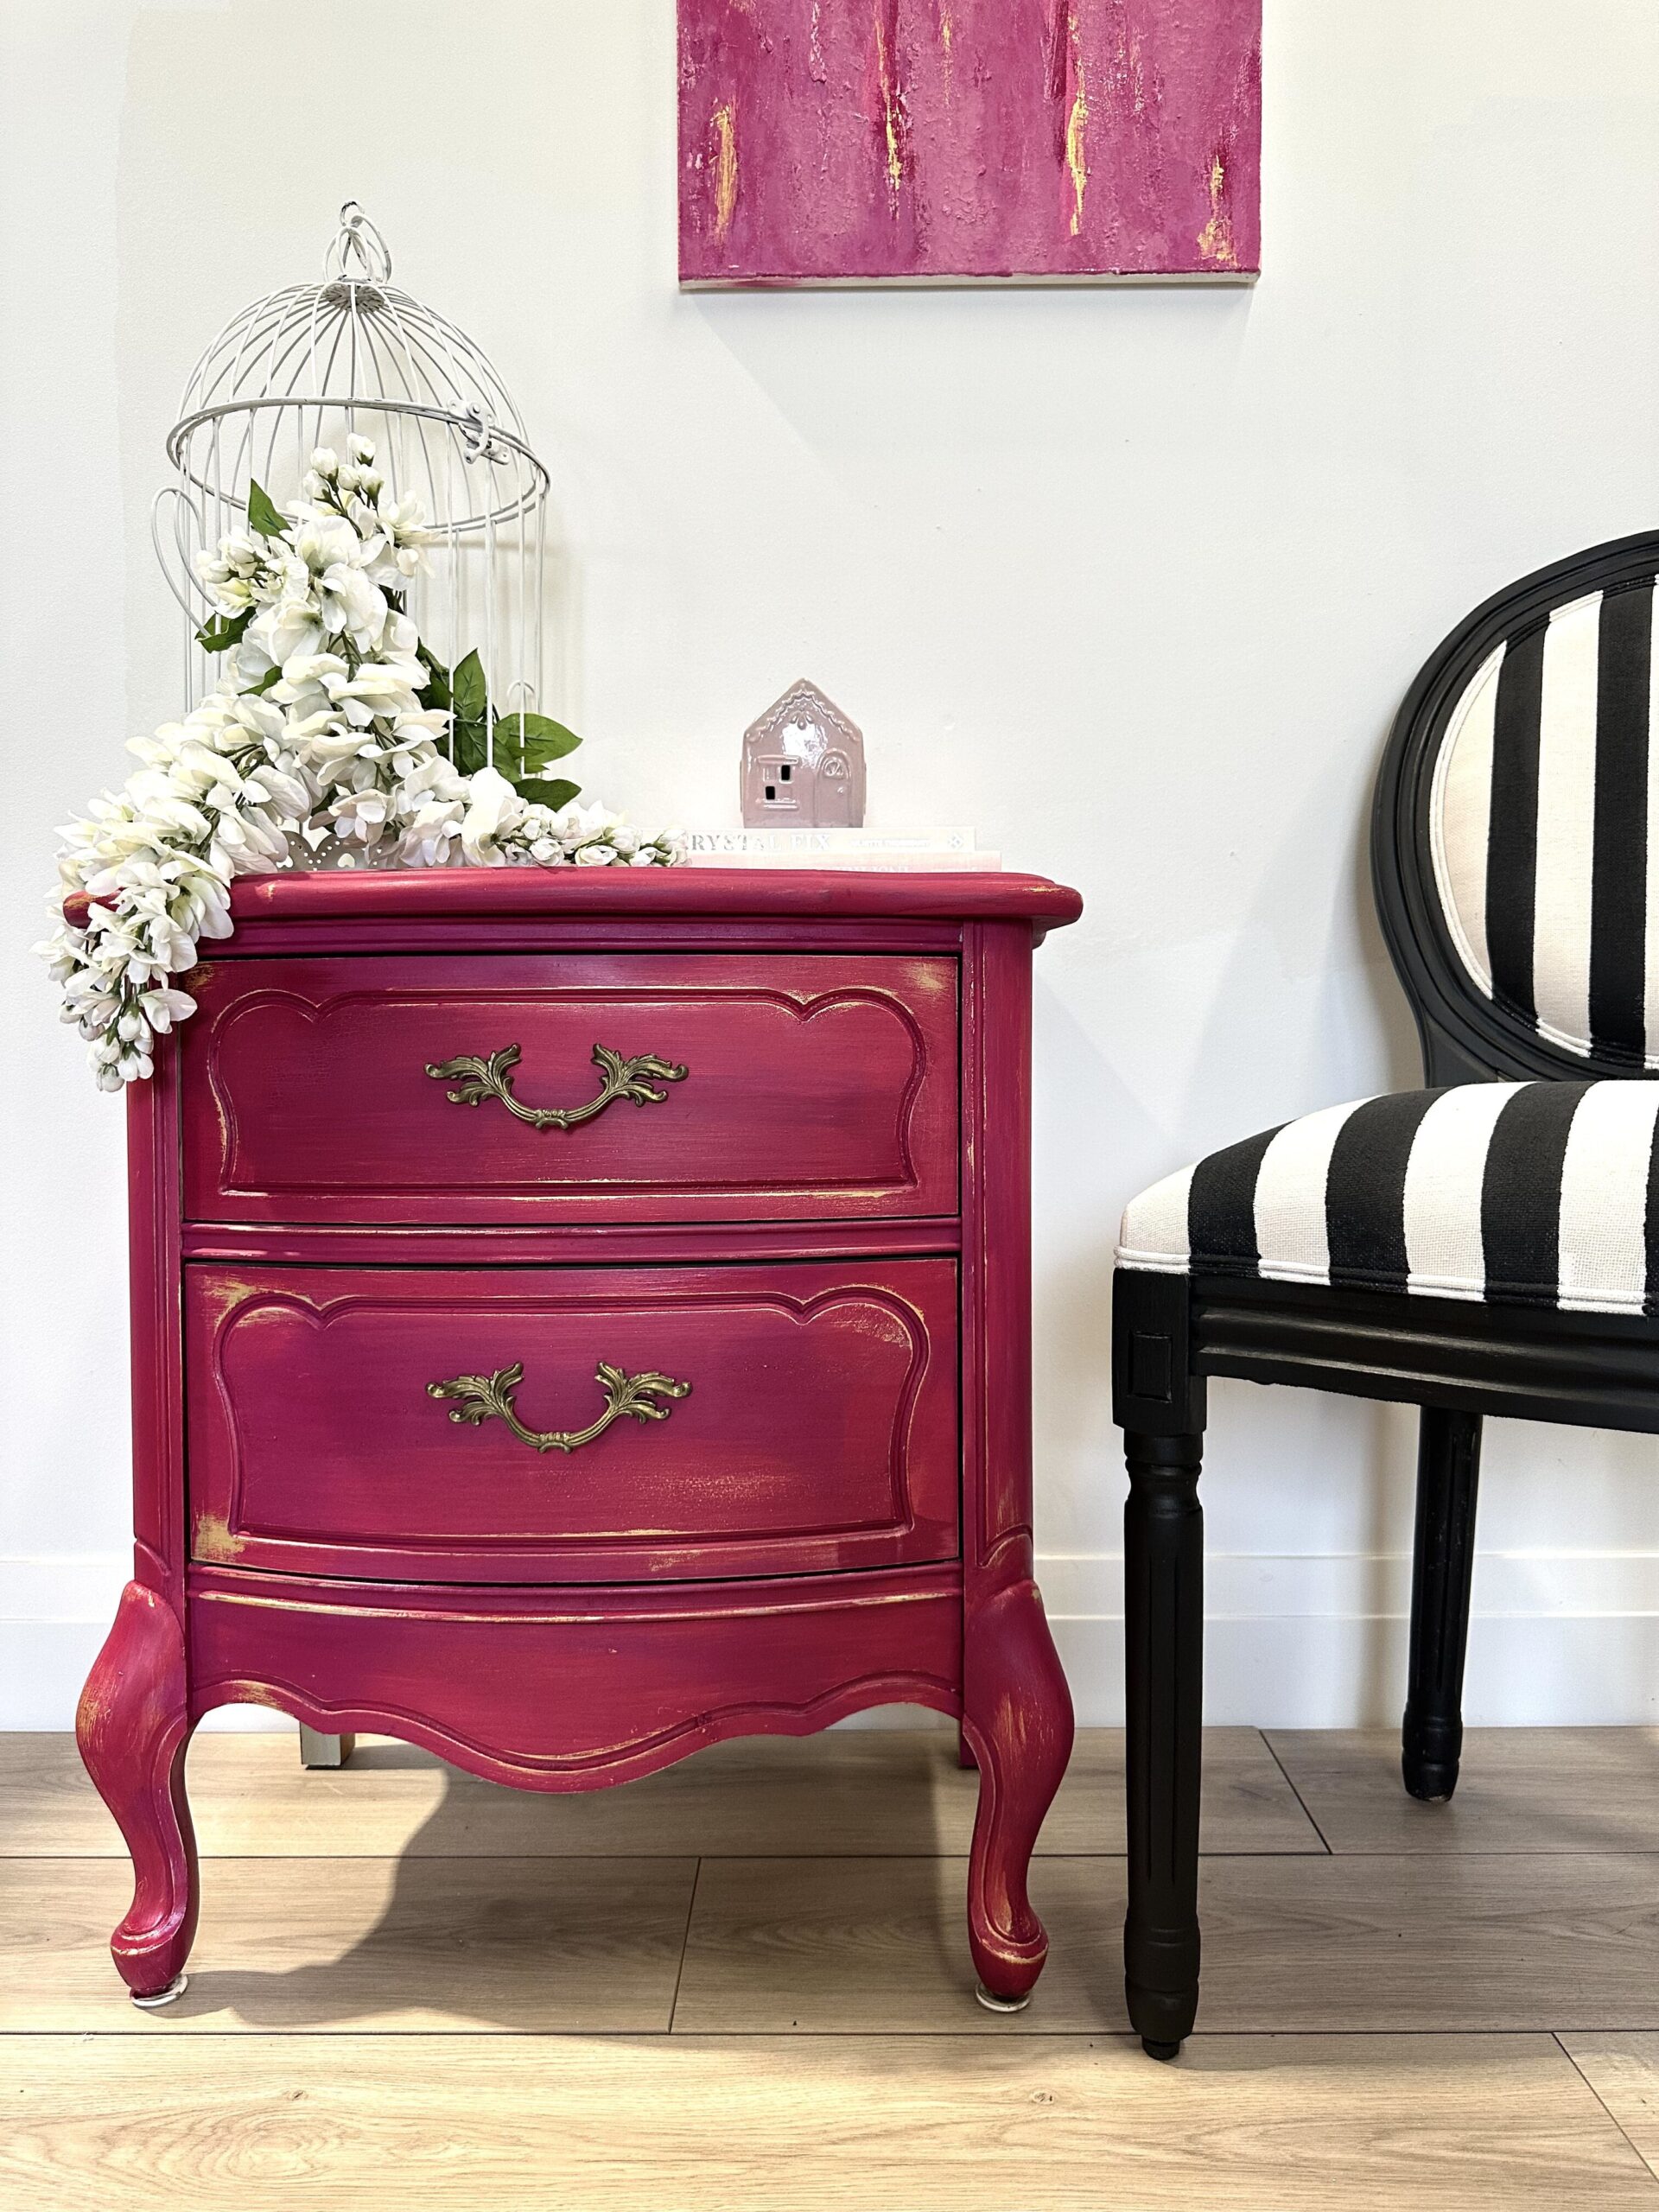
Are you ready to take your furniture from ordinary to extraordinary, following the latest Barbie trend? In this blog post, we’ll show you how to revamp a Beret French Provincial Nightstand with the dazzling allure of gold accents, using natural, eco-friendly paint. This colour is vibrant and show stopping! Dive into the creative process, and discover how easy it is to achieve a stunning chippy finish that will make your furniture pieces shine like never before.
List of Materials Used:
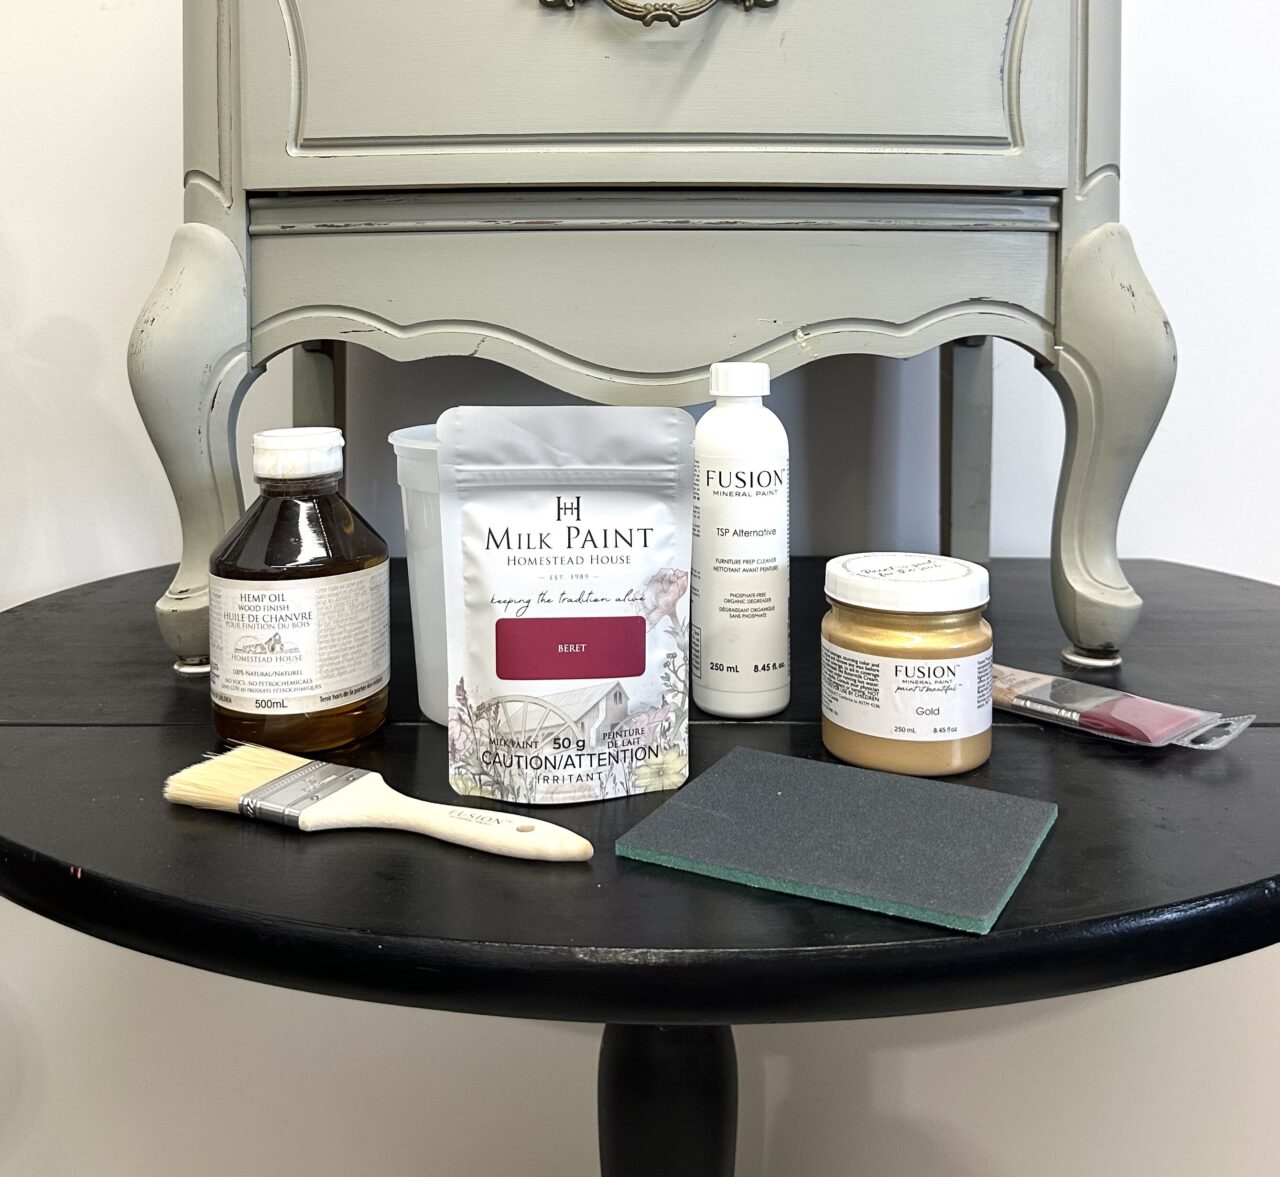
Before we embark on this exciting journey, let’s gather our supplies:
- Homestead House Milk Paint in Beret
- Fusion Metallic Gold
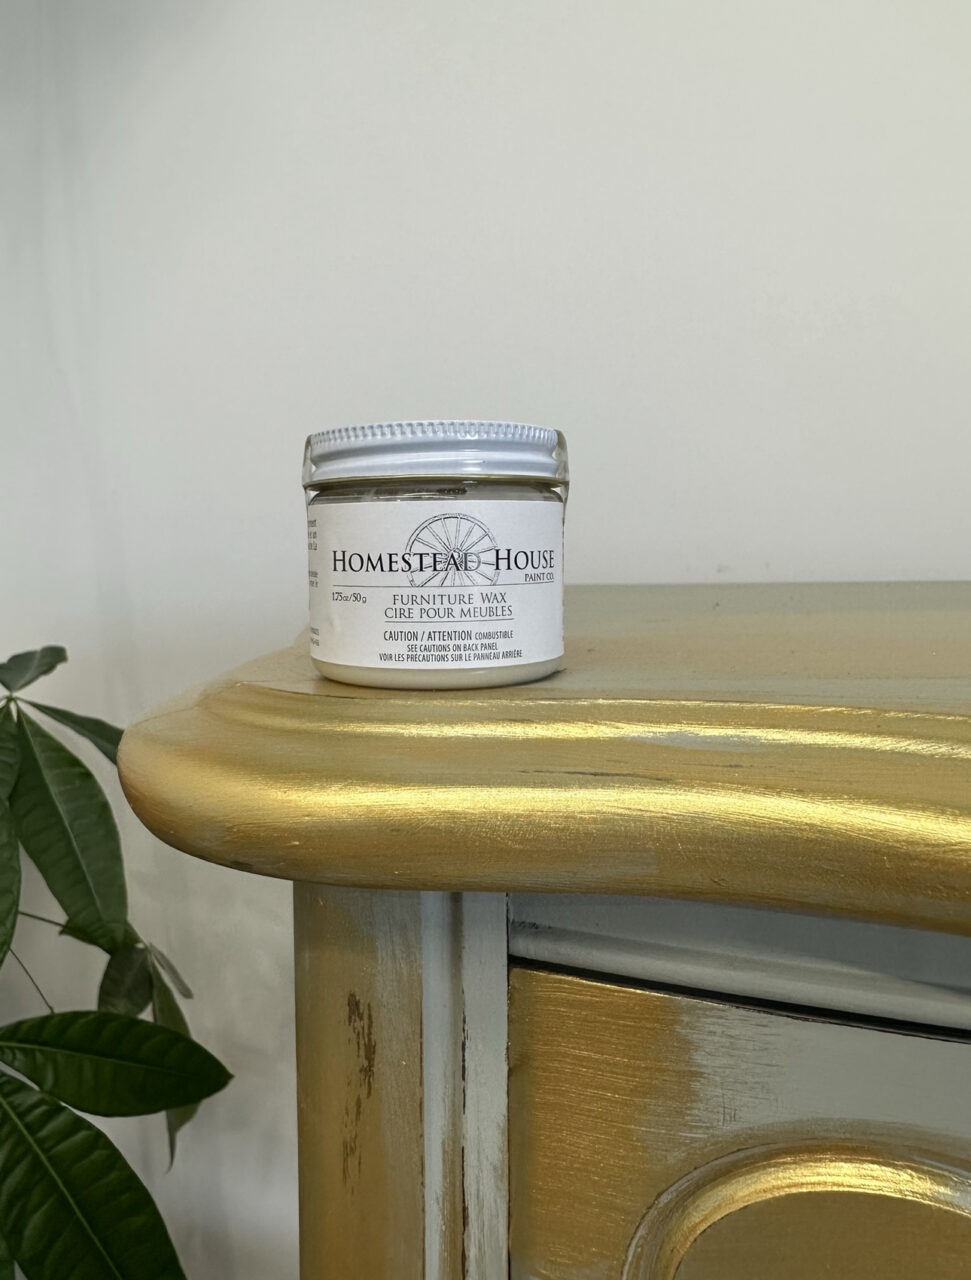
- Homestead House Clear Furniture Wax
- Fusion TSP Alternative
- Staalmeester ONE series Spalter #20
- Fusion Basic Workshop Brush
- Homestead House Hemp Oil
- Fusion Sanding Pad
Preparation and Gold Metallic paint
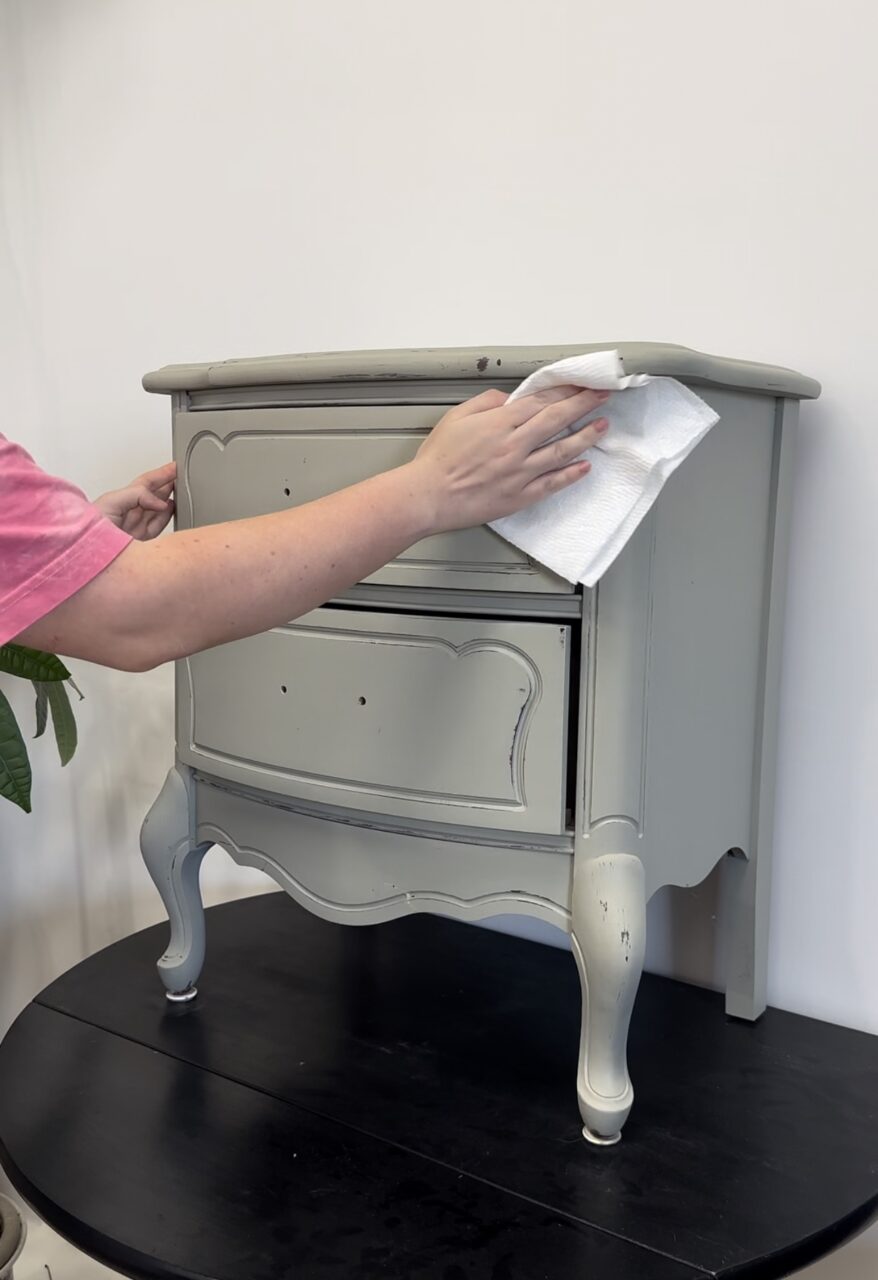
Begin by removing the hardware from your Beret French Provincial Nightstand. If the piece has been previously painted with Fusion, clean it thoroughly with Fusion TSP Alternative to ensure a pristine canvas for your makeover.
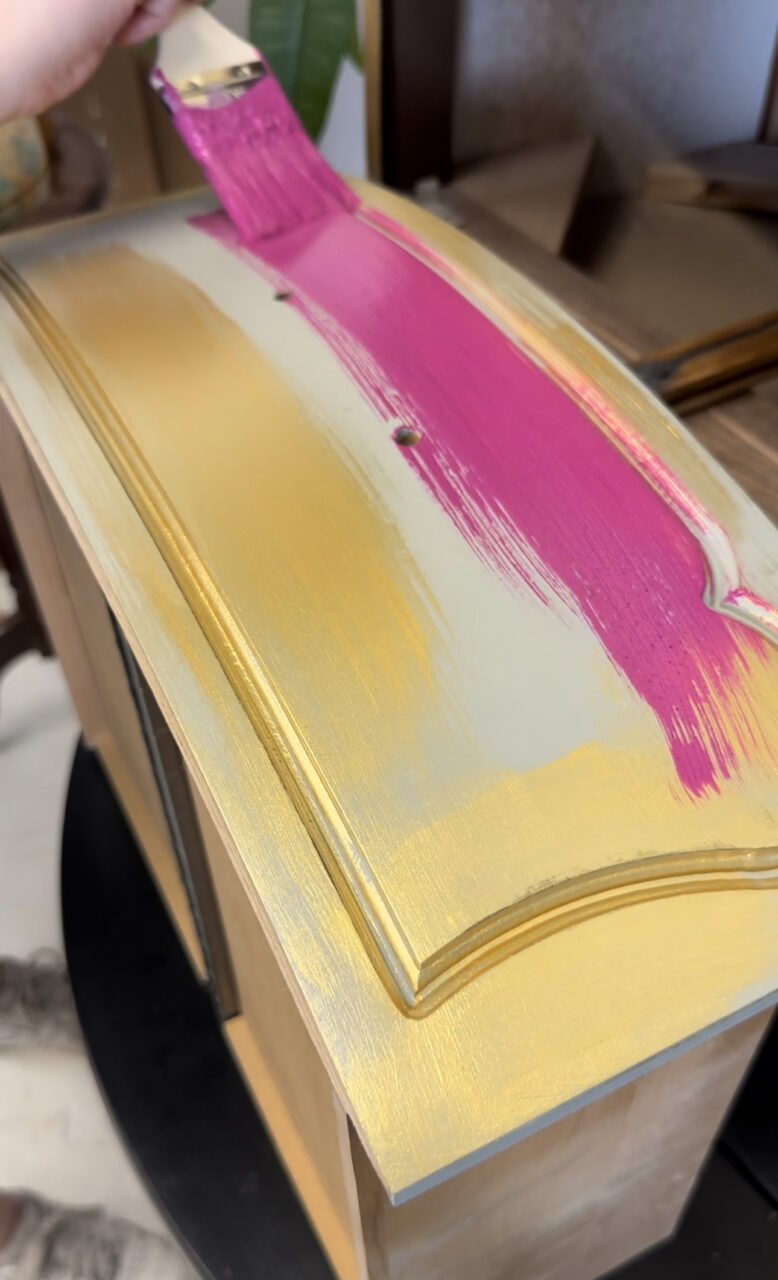
Using the Staalmeester ONE series Spalter #20, apply the Fusion Metallic Gold paint around the areas of the nightstand that you plan to distress or want to create a crackle effect. Concentrate on elevated areas, edges, and corners to let the gold shine through.
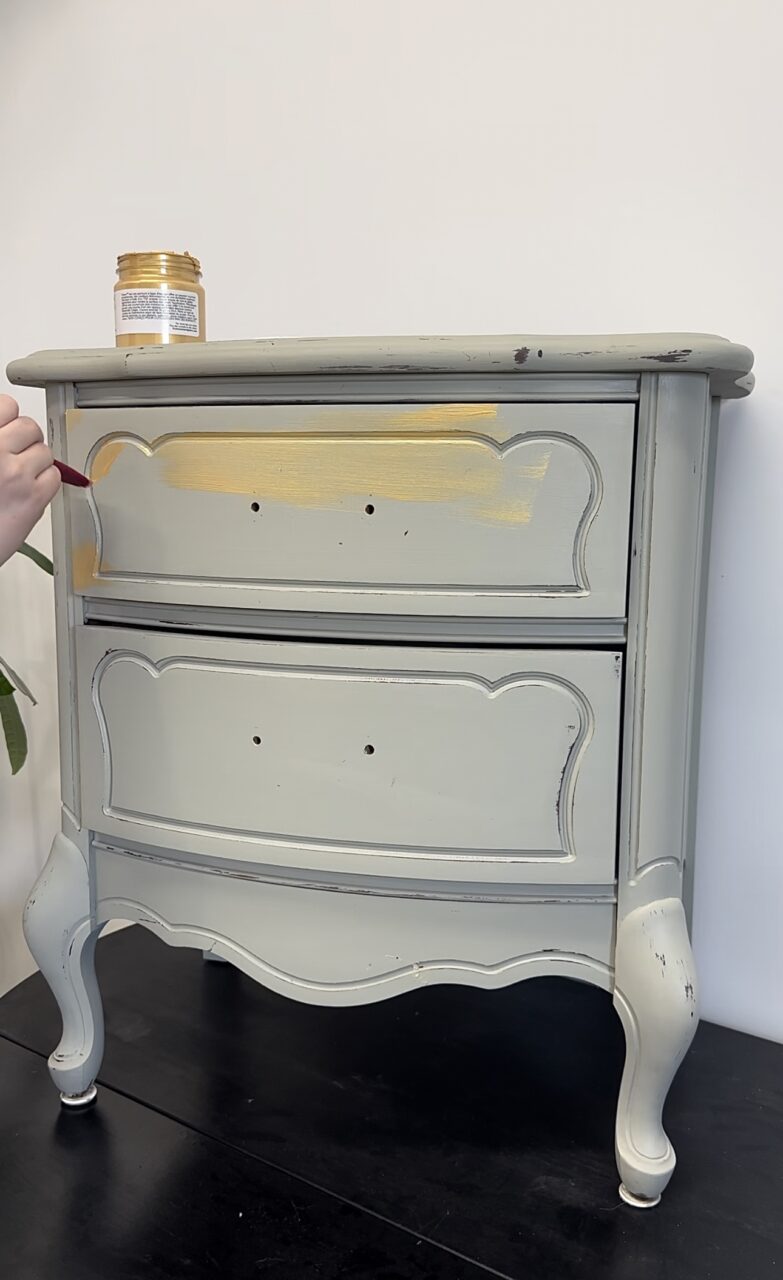
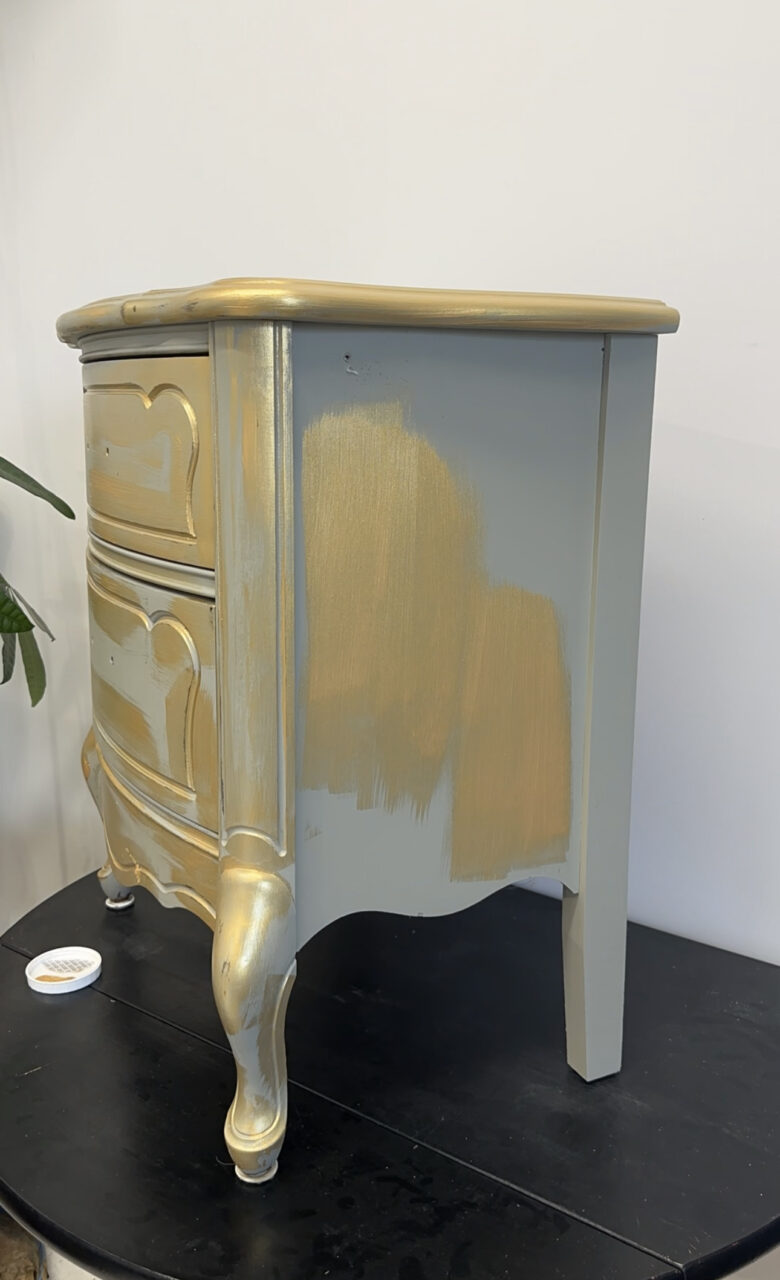
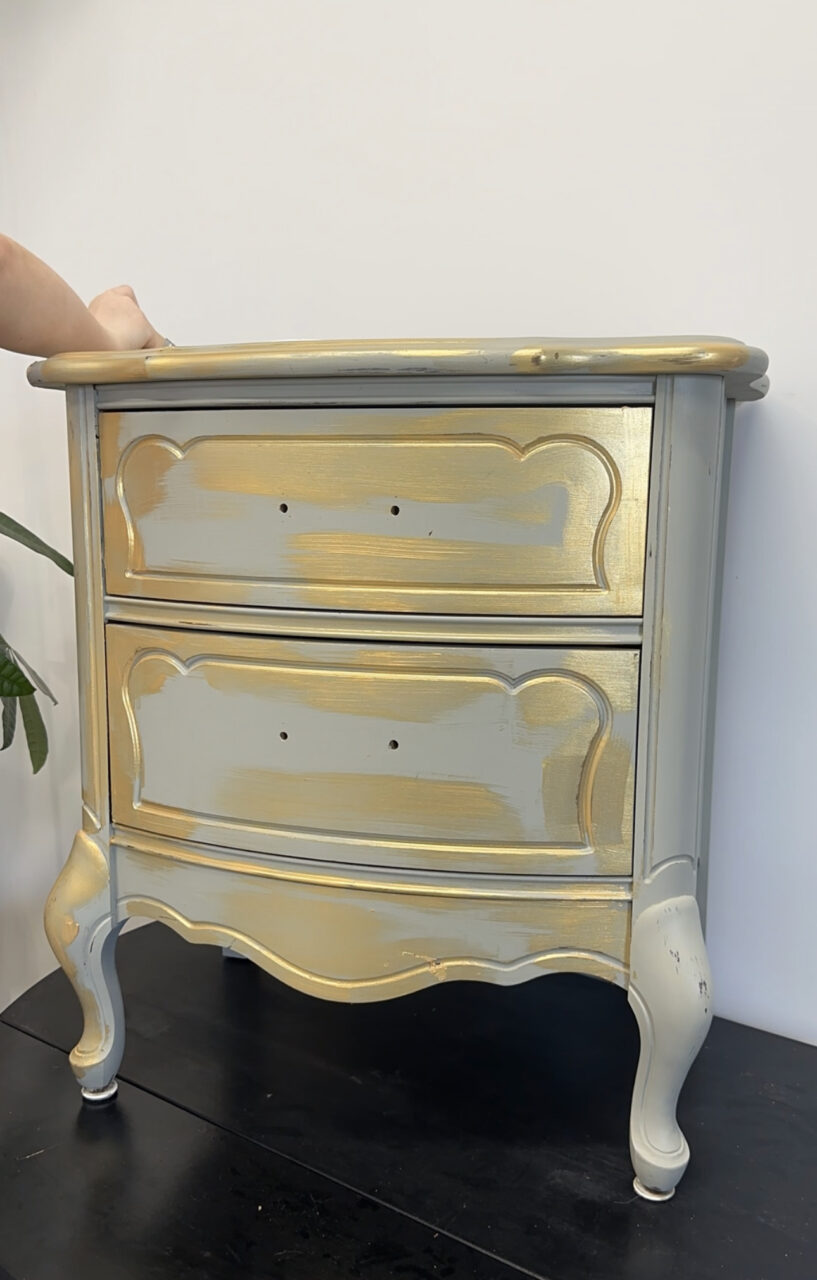
Beginner’s Tip: If you’re new to distressing and uncertain where to apply the gold, start with a solid coat. As you gain more experience, you can spot-paint as we’re doing here.
Clear Furniture Wax Magic and Mixing Beret Milk Paint
Once the Gold metallic paint is dry, use Homestead House Clear Furniture Wax to outline the edges where you want the milk paint to easily fall off during the distressing phase. This strategic wax placement ensures your chippy finish turns out just right.
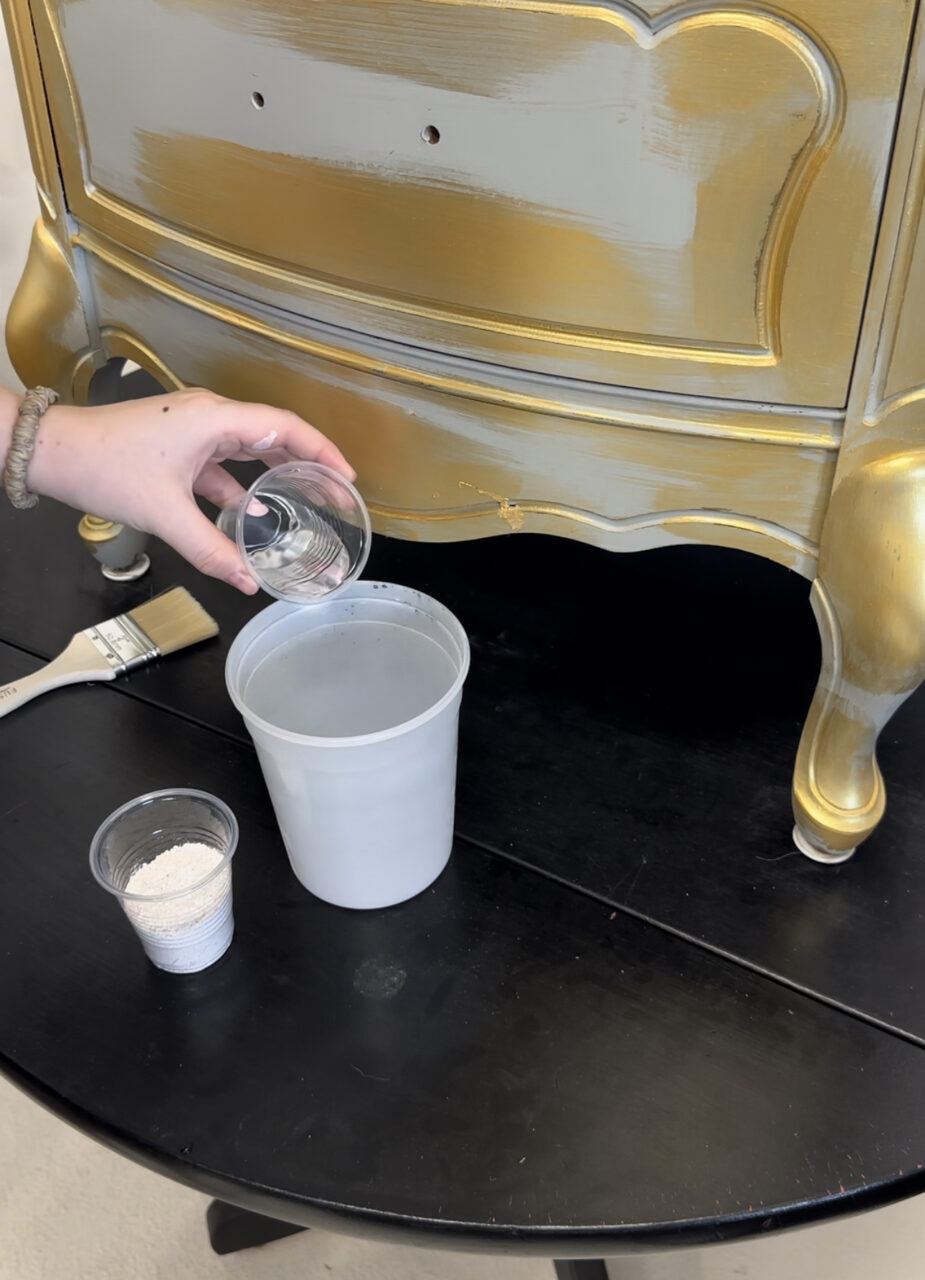
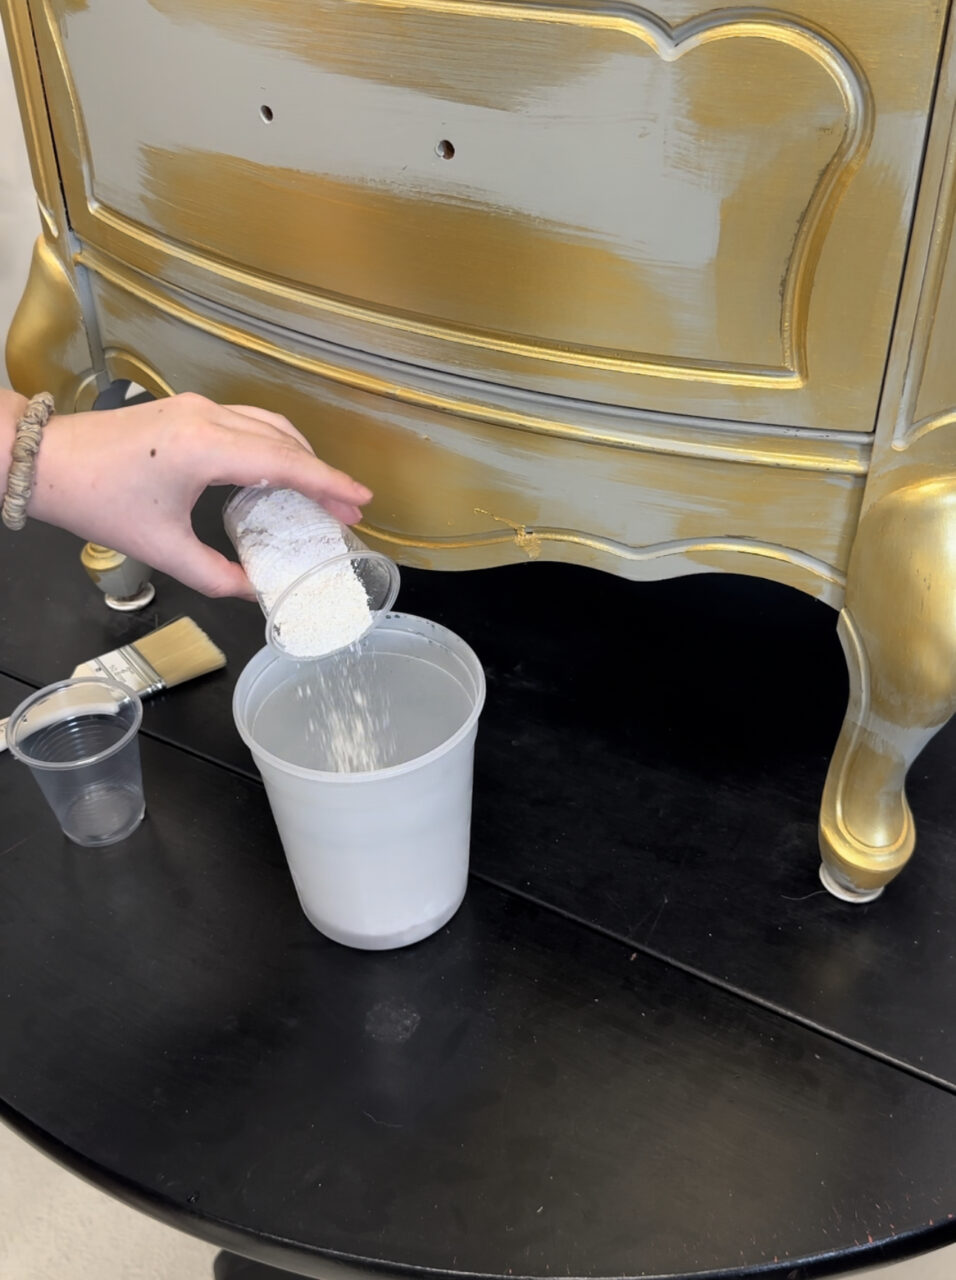
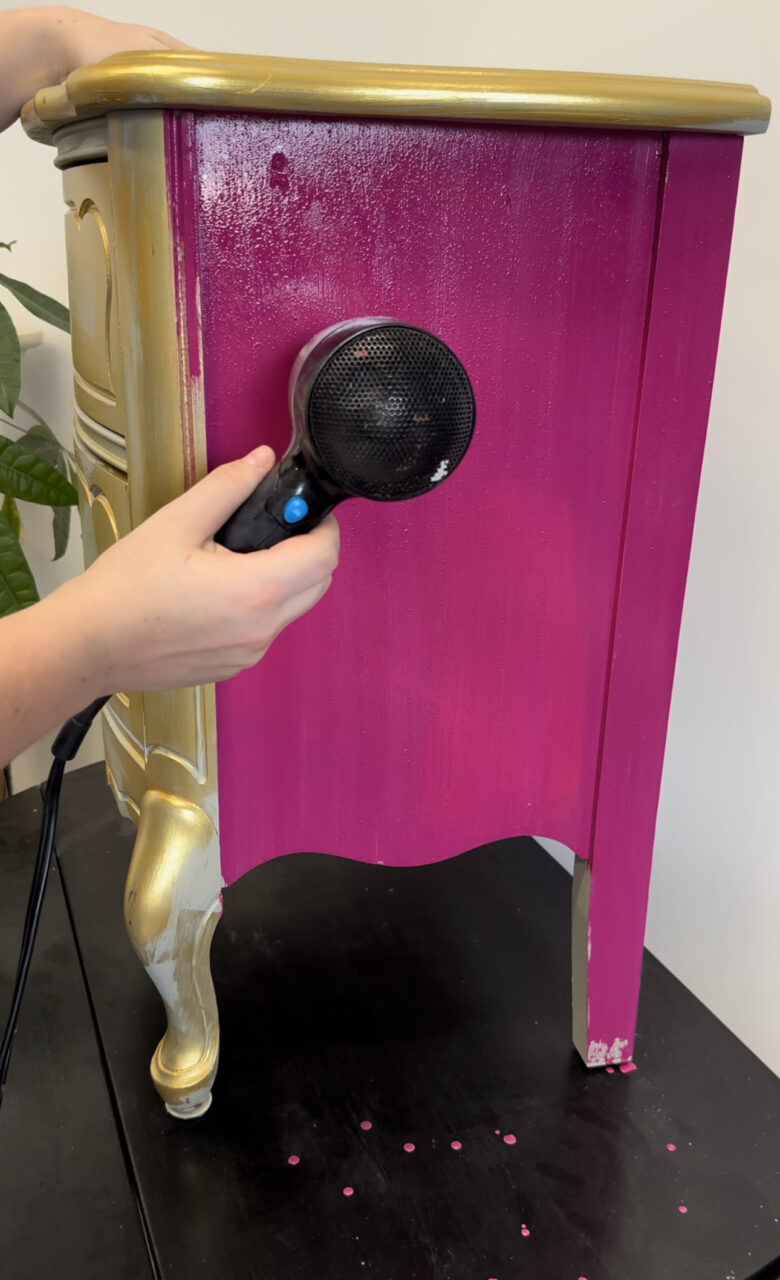
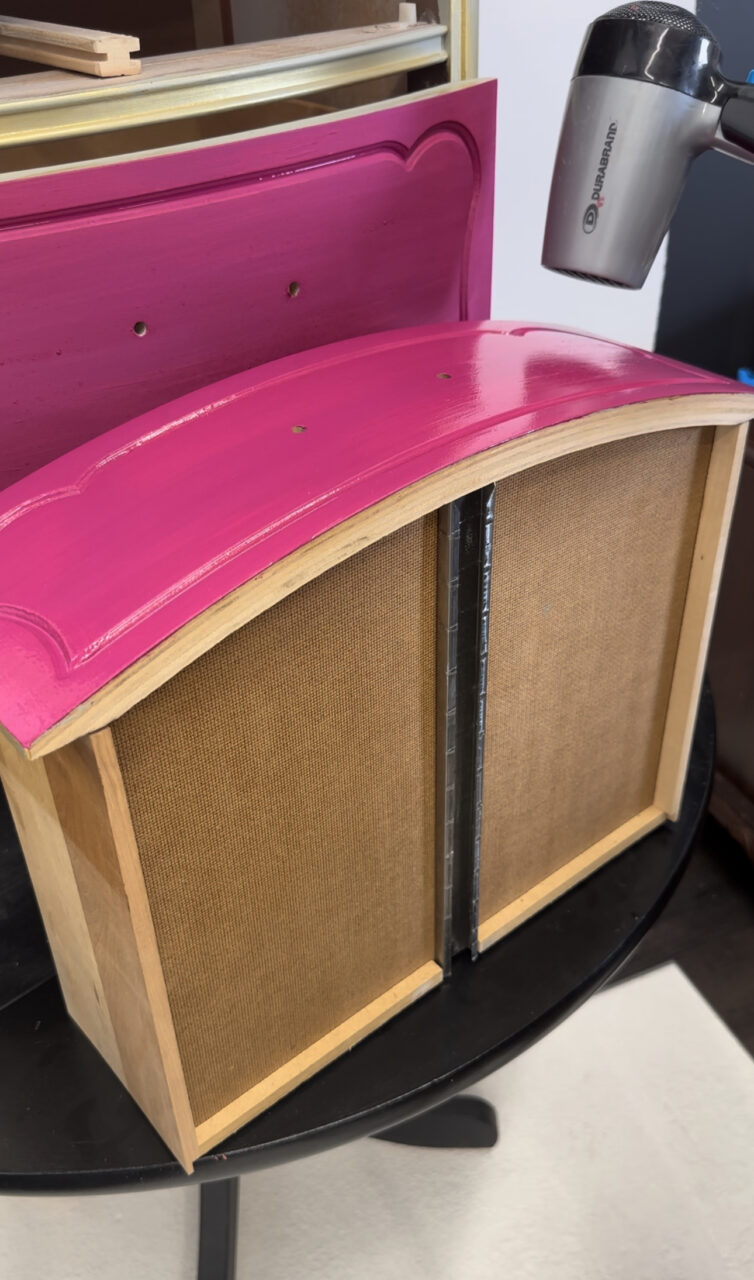
Now, let’s mix our Beret milk paint. Combine equal parts powder and water (1:1 ratio). To create the desired crackle effect, paint in smaller phases. Using a blow dryer immediately after painting will accelerate the drying process, resulting in a cracked appearance.
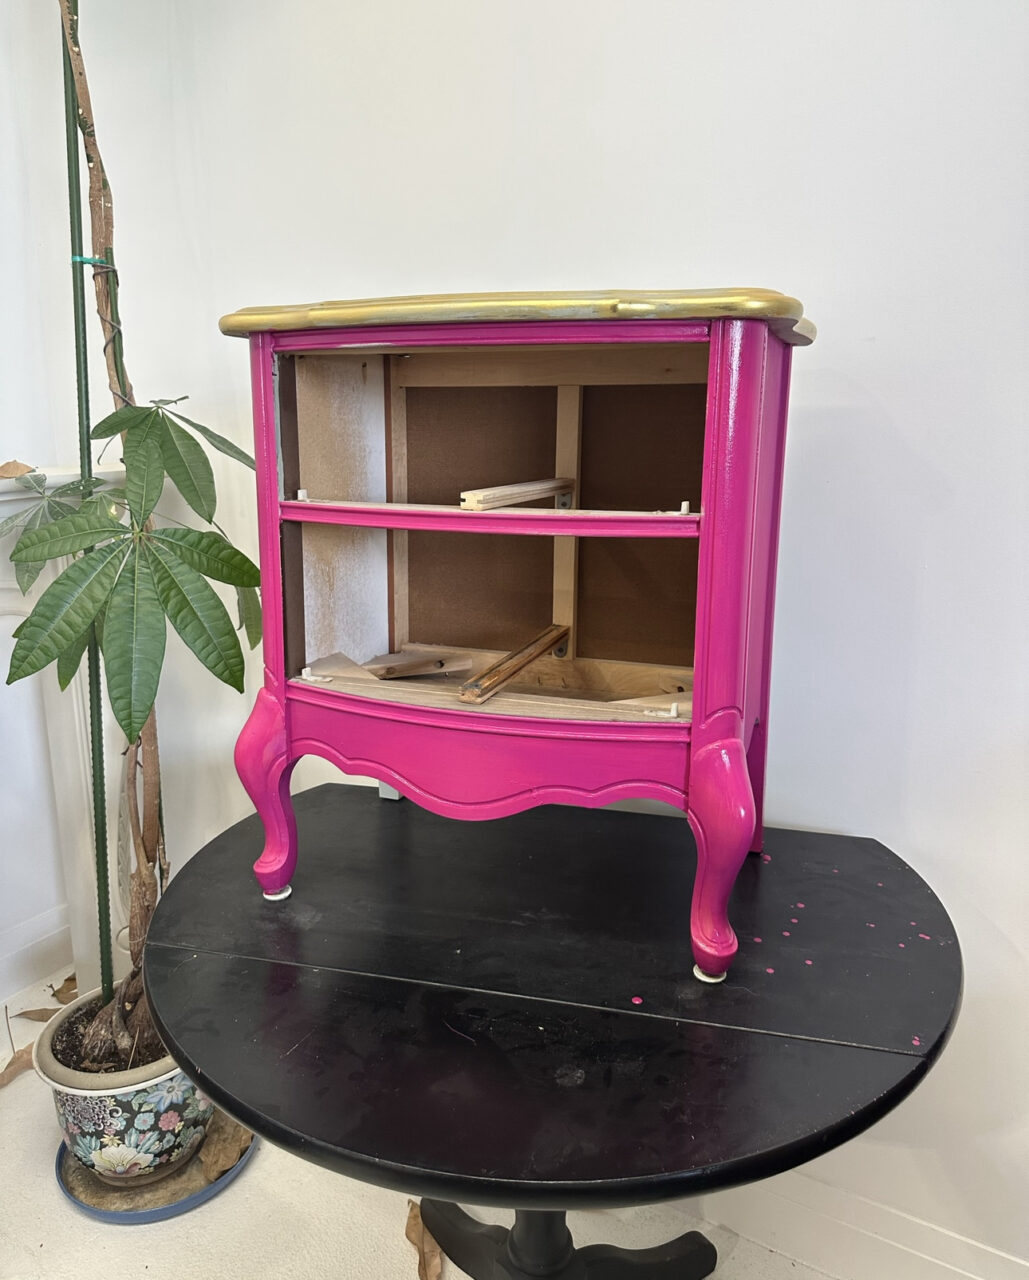
Barbie Pink and Gold highlights
Remove the drawers for a thorough paint job around the edges and to provide a flat surface for work. Alternate between painting and using the blow dryer for crackle effects where desired.
Milk Paint dries and cures simultaneously, typically within about 30 minutes. After a short wait, it’s time for the fun part – distressing!

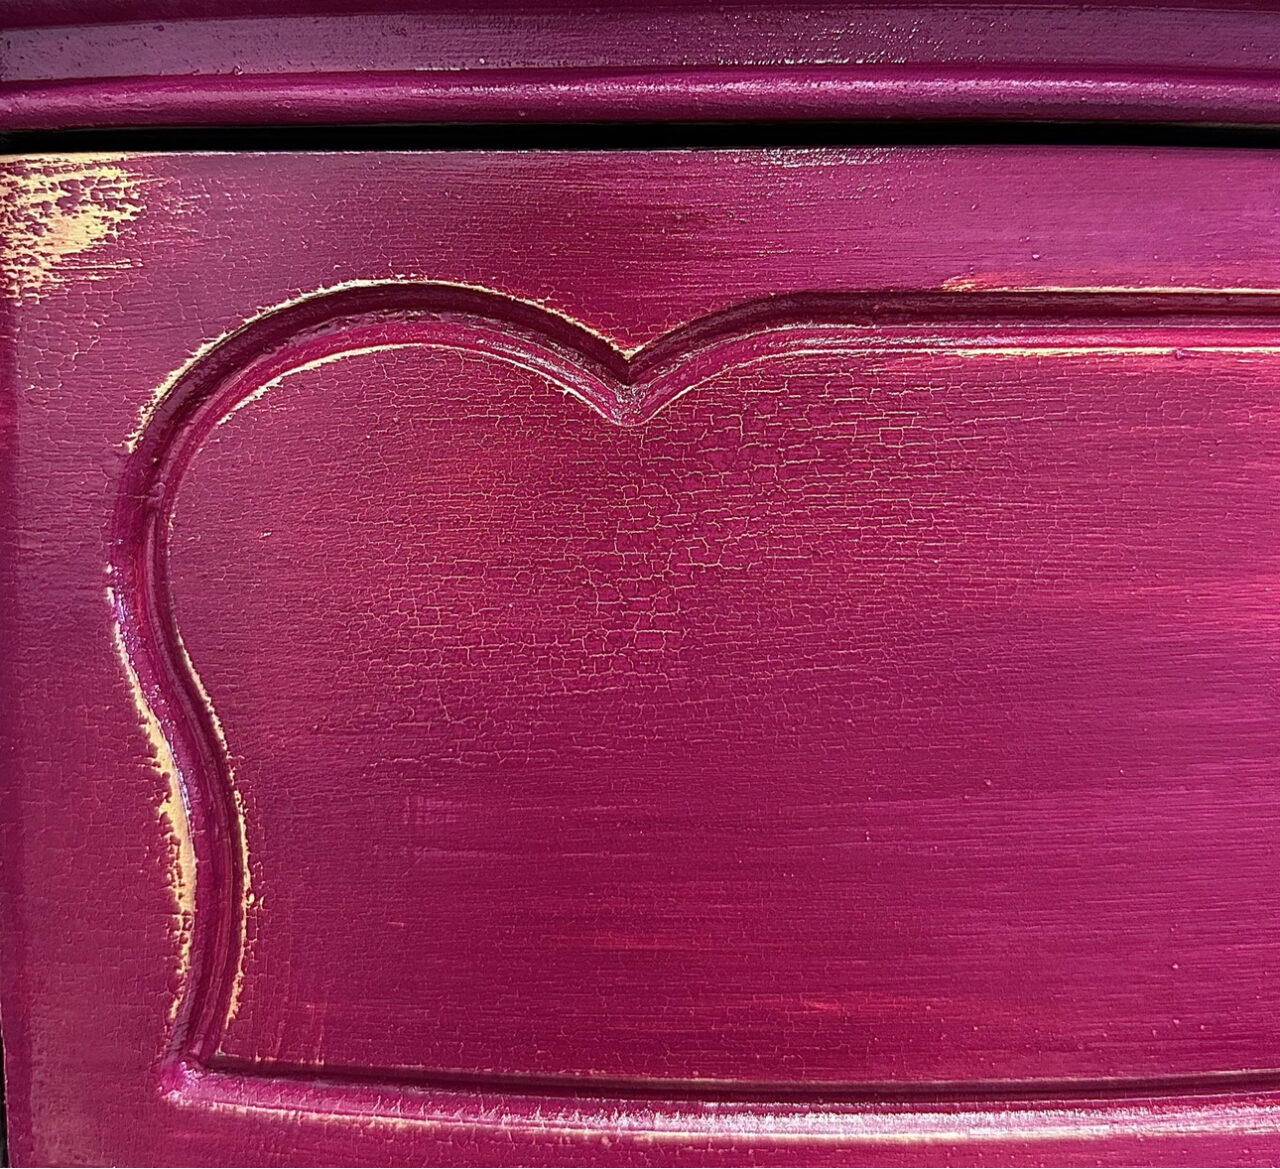
Creating the Distressed Look
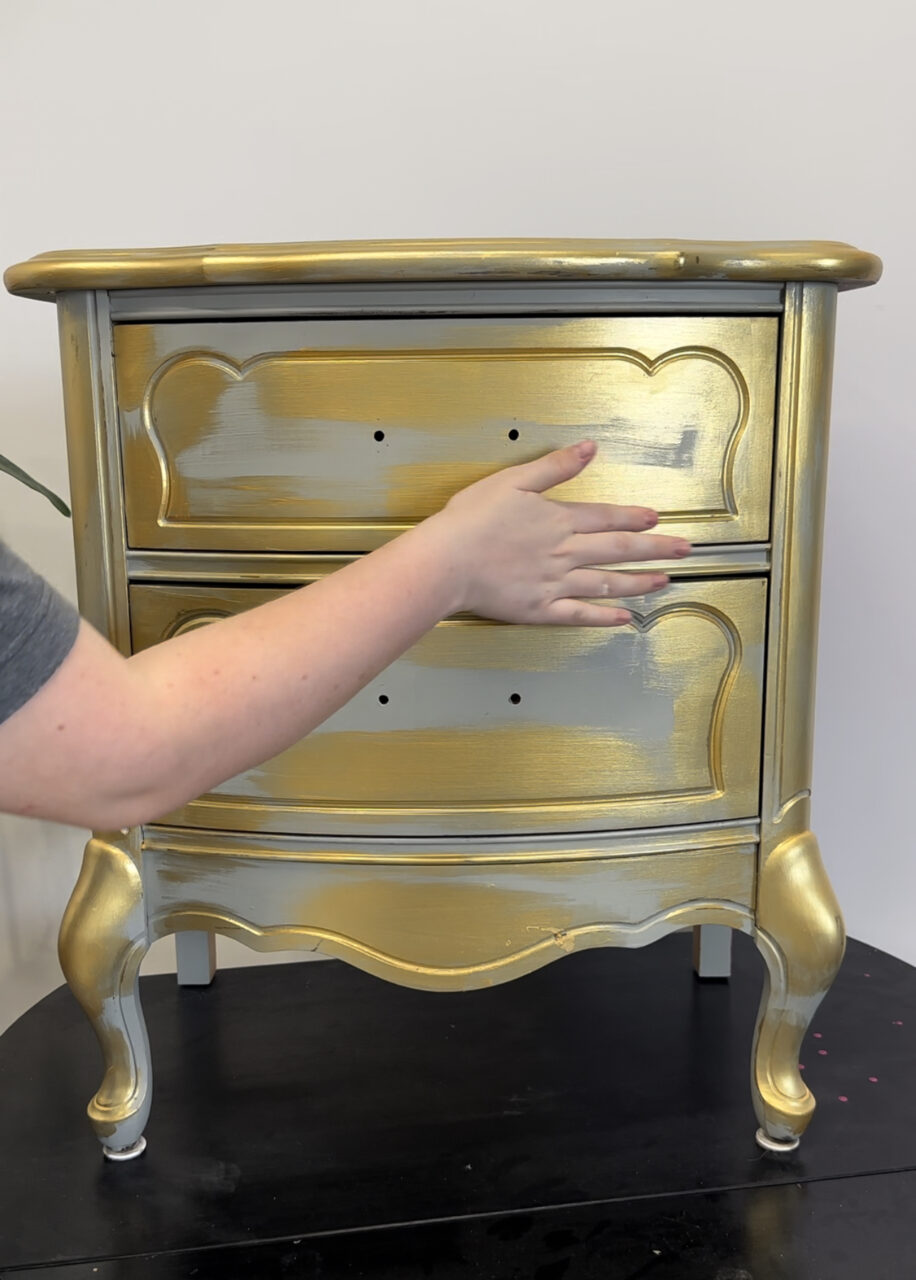
Now, let’s delve into the art of distressing, the final touch to achieve that authentically aged appearance. After applying the Fusion Metallic Gold and strategically waxing certain areas, it’s time to give your nightstand the perfect distressed finish. Here’s how:
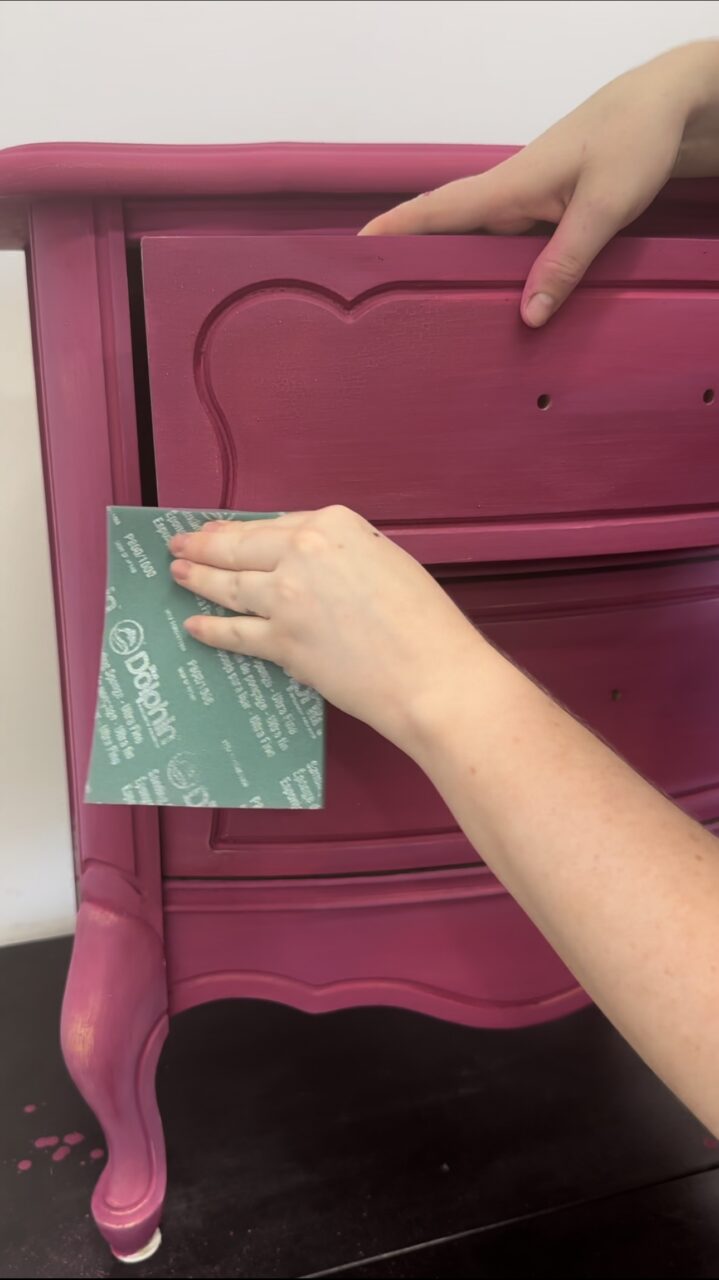
Start by gently sanding the waxed areas and the elevated surfaces where you applied the gold. This process allows the milk paint to easily fall off these spots during distressing, creating a weathered look. You can use a Fusion Sanding Pad for this step.
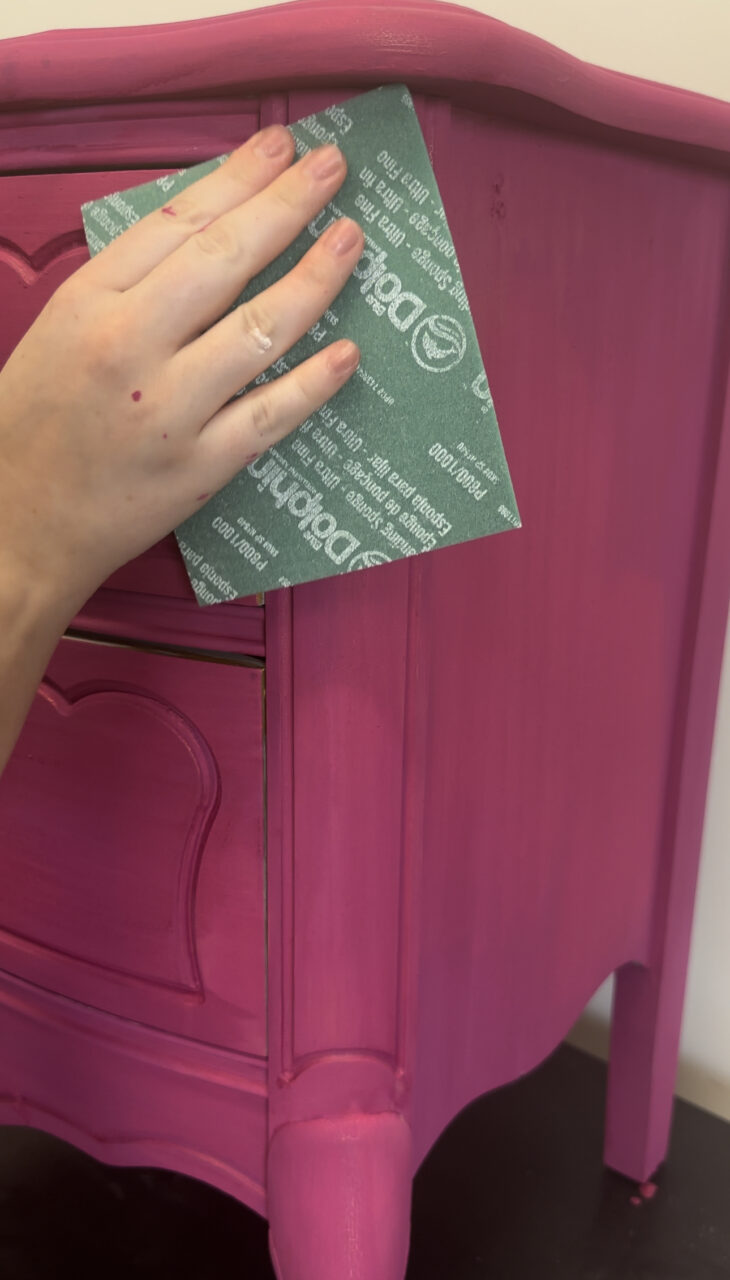
Next, take your time distressing the piece. Focus on the edges, corners, and anywhere that would naturally wear over time. Think about how the nightstand would naturally age and where the paint would naturally chip away.

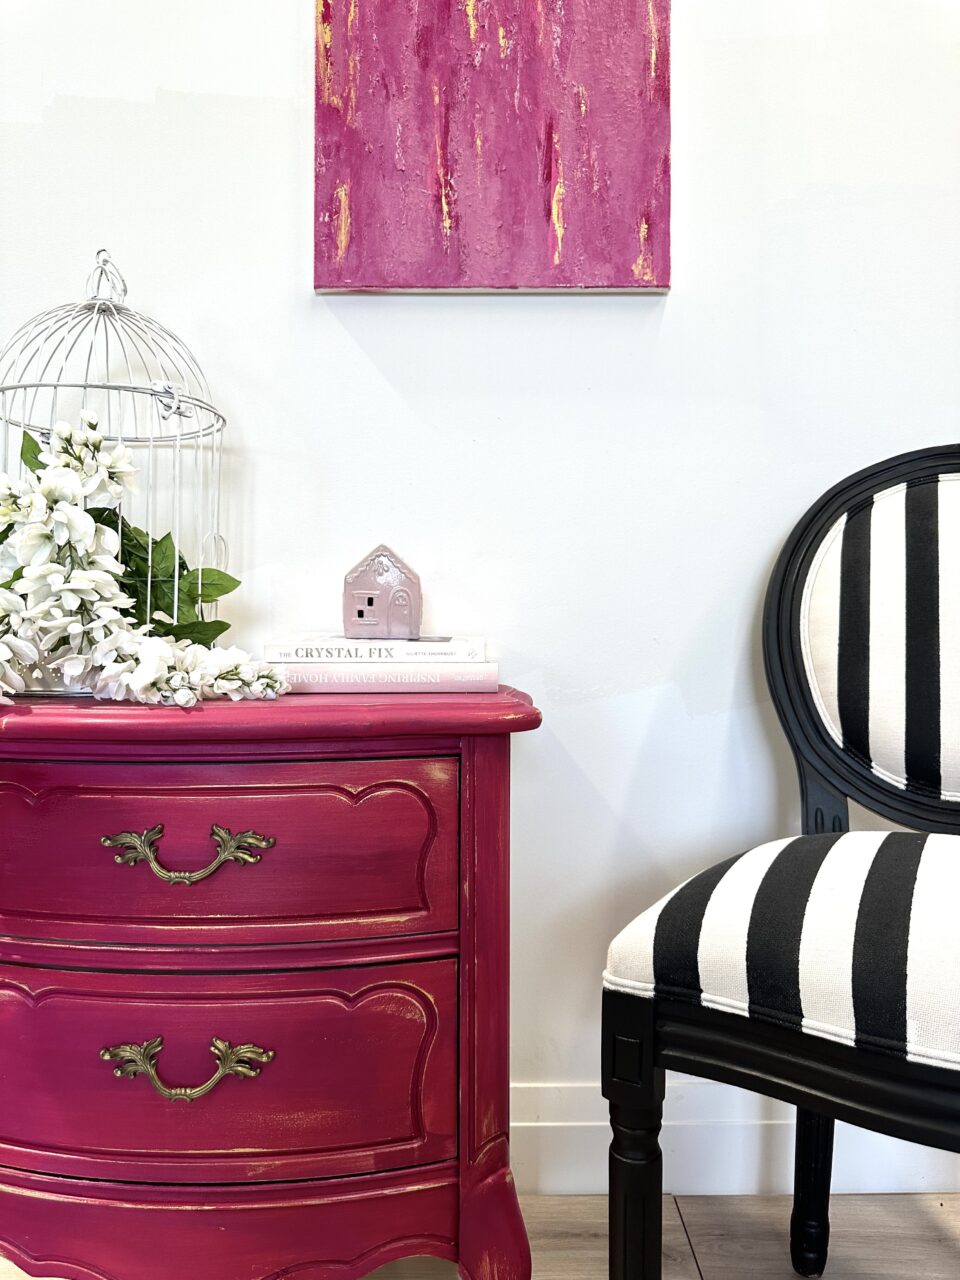
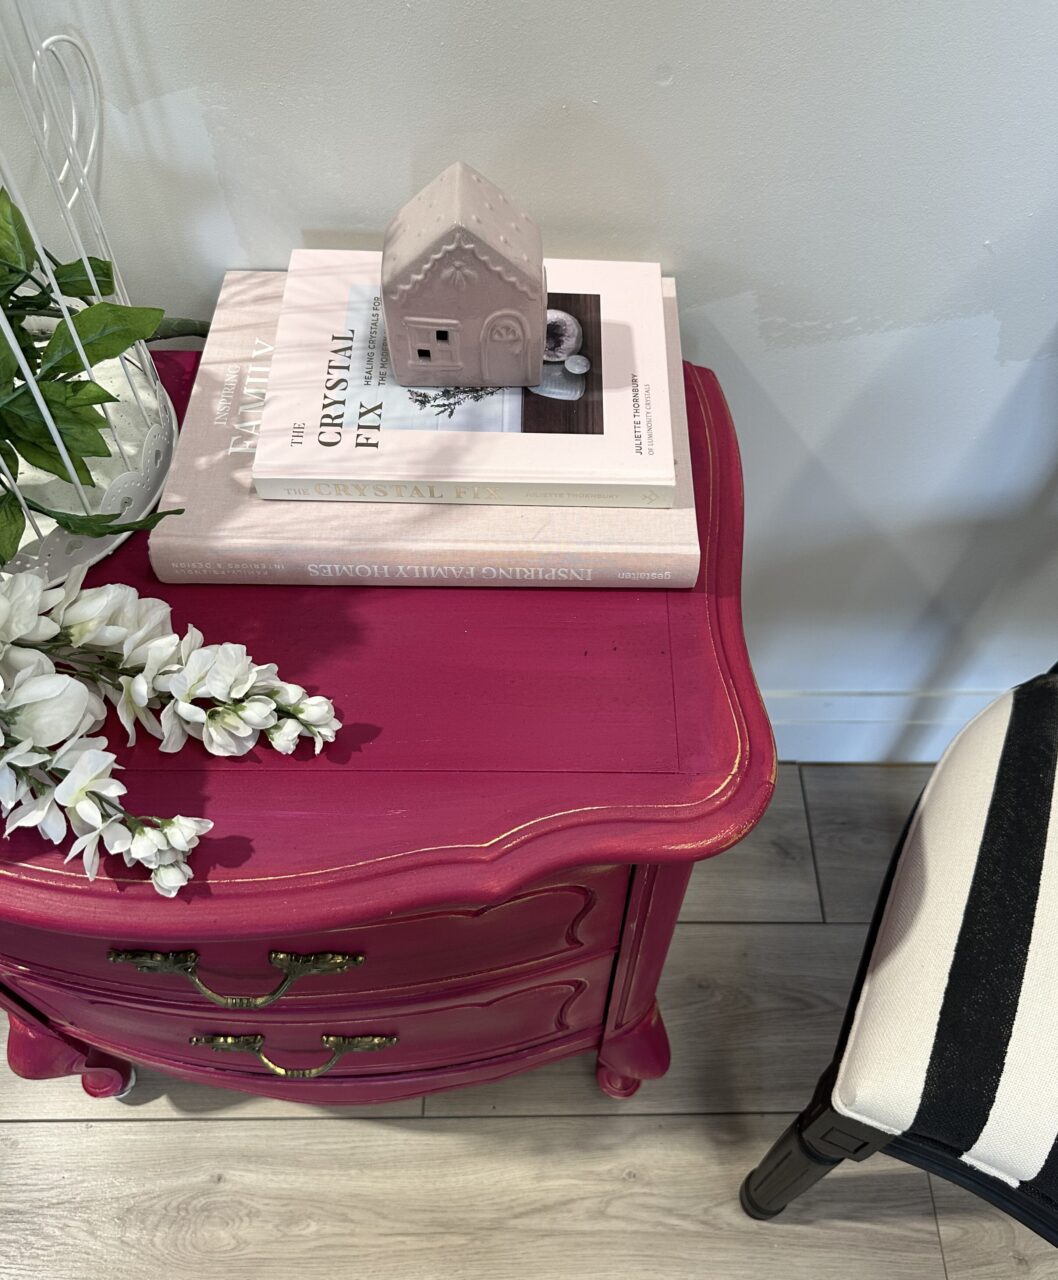
As you work, you’ll notice the gold accents peeking through, adding a touch of elegance to the worn appearance. The combination of gold and distressed Beret paint creates a captivating contrast, giving your nightstand a truly unique and eye-catching finish. So, embrace the art of distressing, and watch your furniture piece transform into a work of art inspired by the latest Barbie trend.
Hemp Oil and Wipe and Reveal
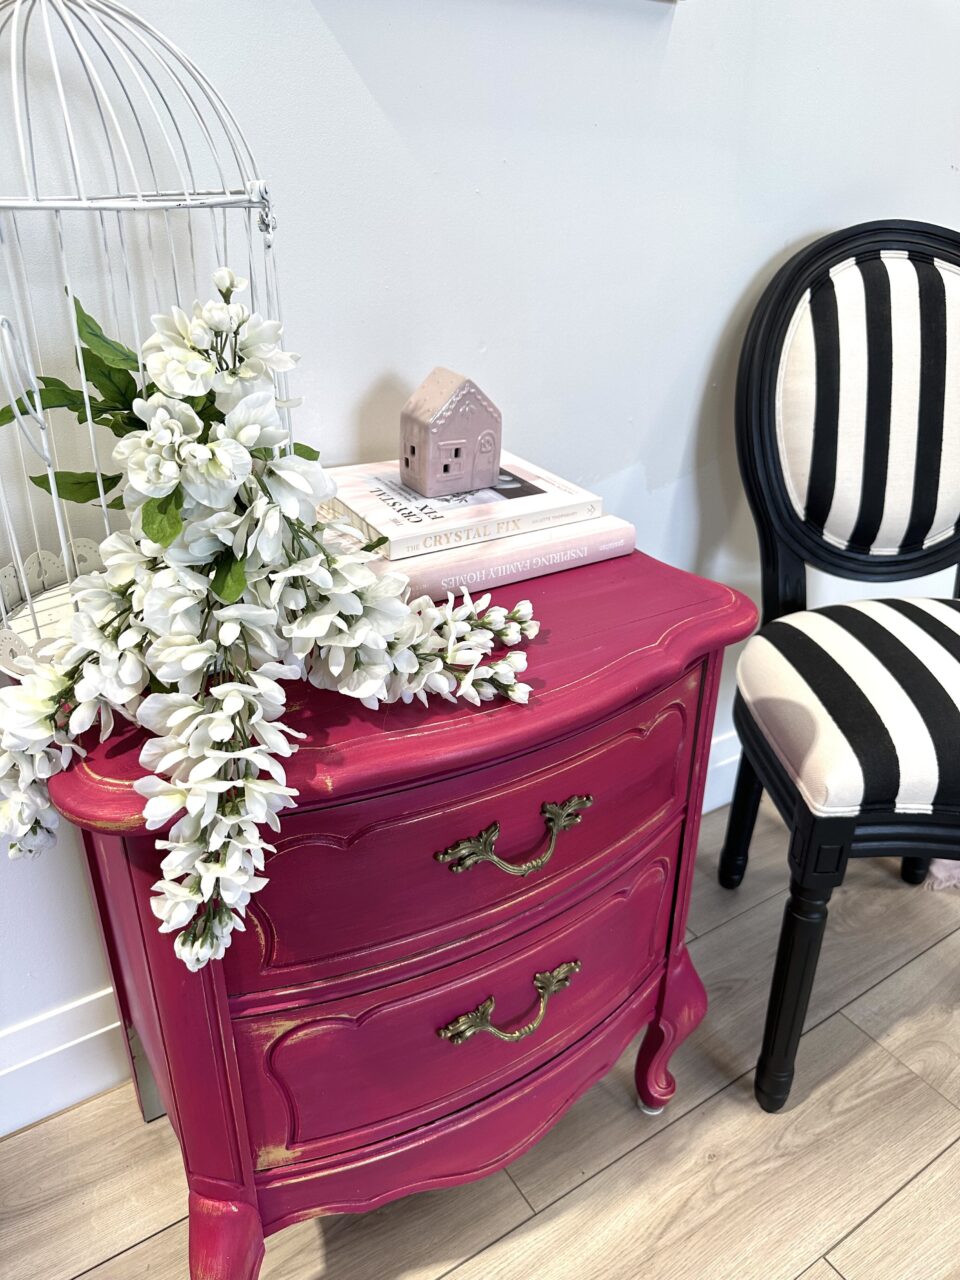
To restore your paint’s colour and seal it, use Homestead House Hemp Oil generously. Starting from the top and working your way down, watch as Beret comes back to life.
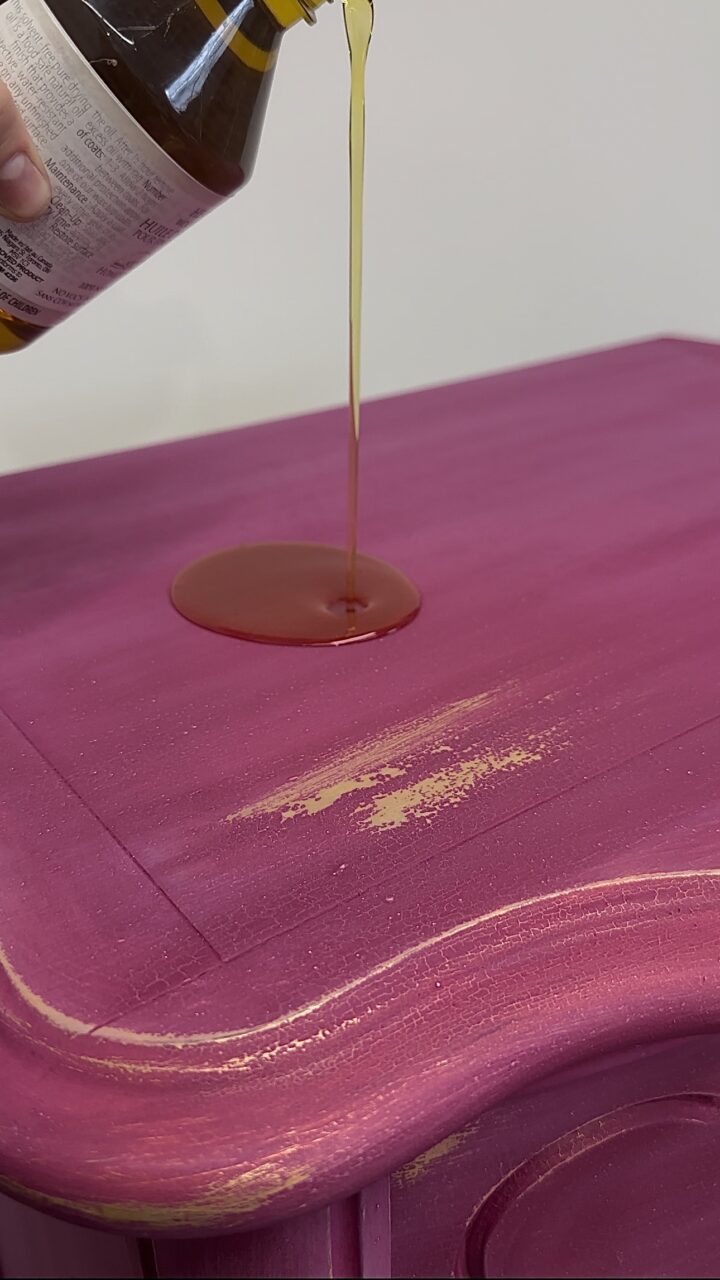
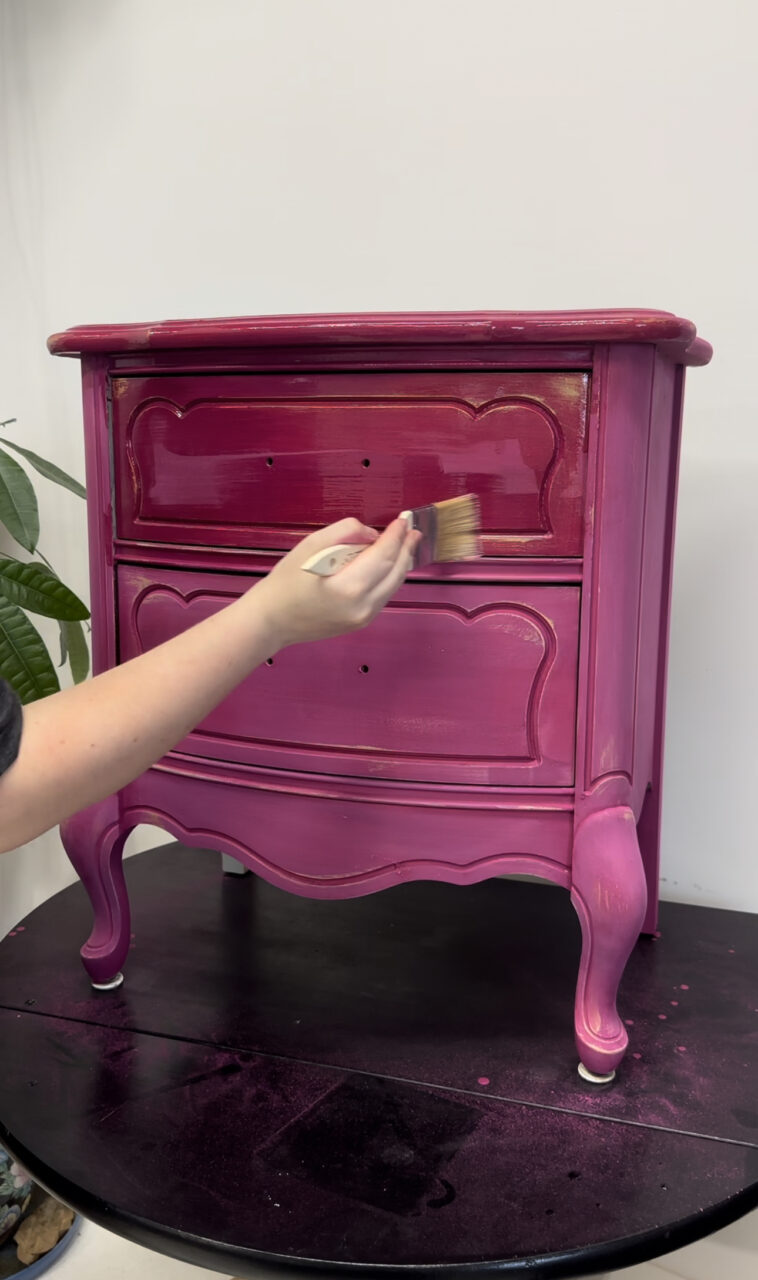
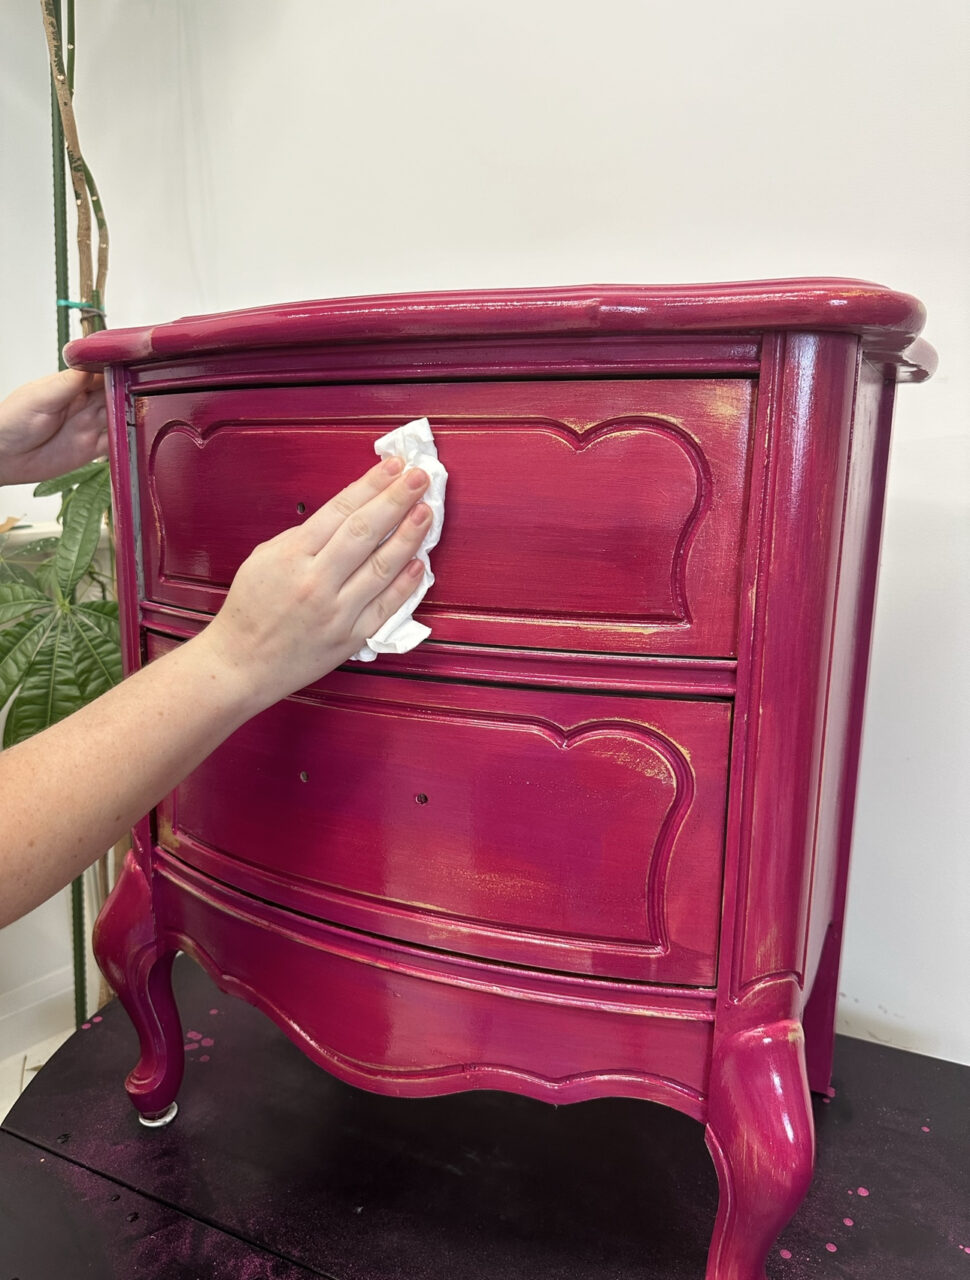
Notice: The gold accents shimmer through more brilliantly when contrasting against Beret’s pink tones.
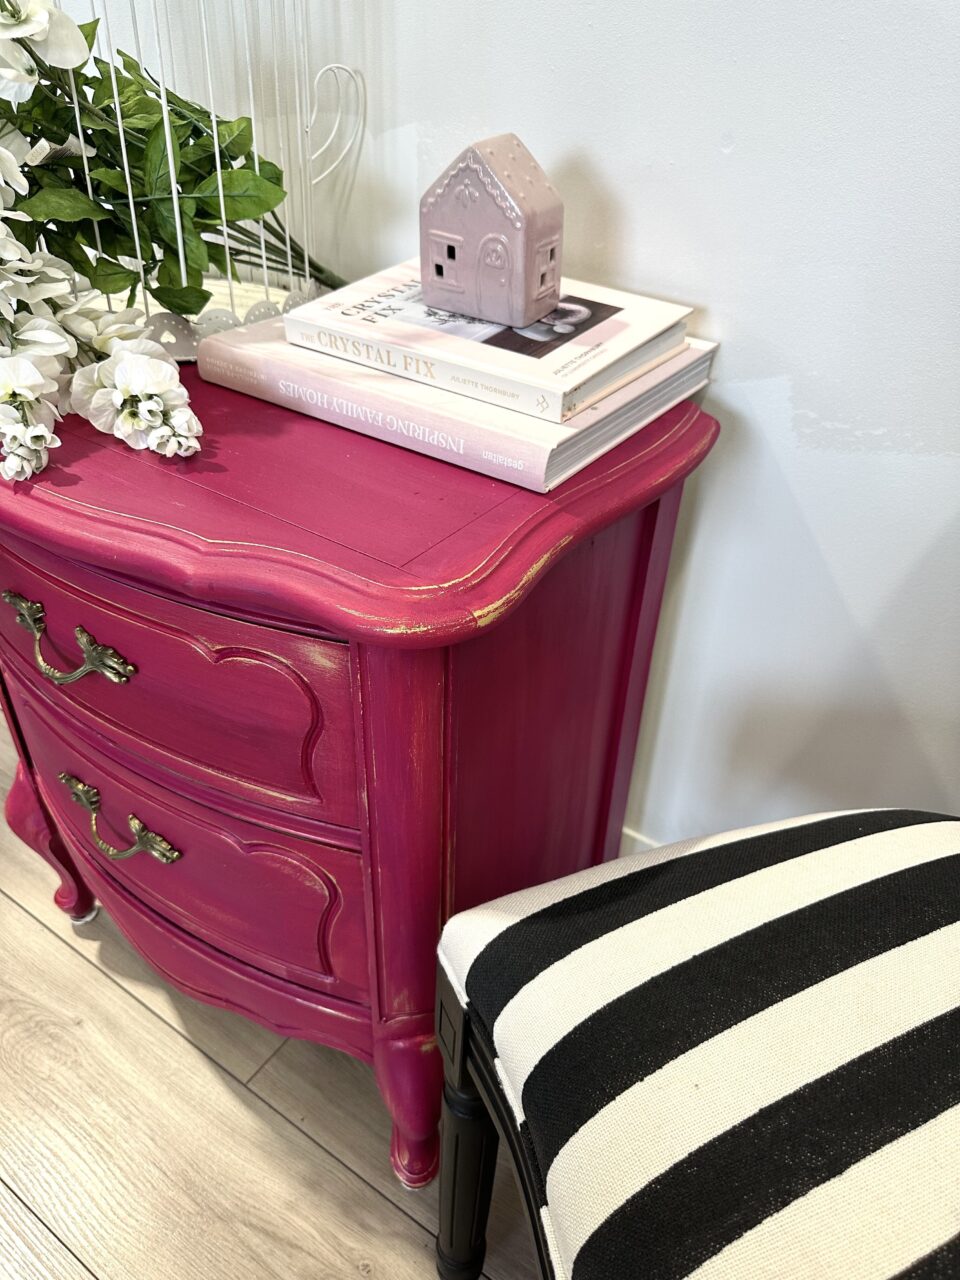
Using a lint-free cloth or towel, wipe away the excess oil to reveal your final look – a stunning pop of colour with delicate yet punchy Gold metallic accents.
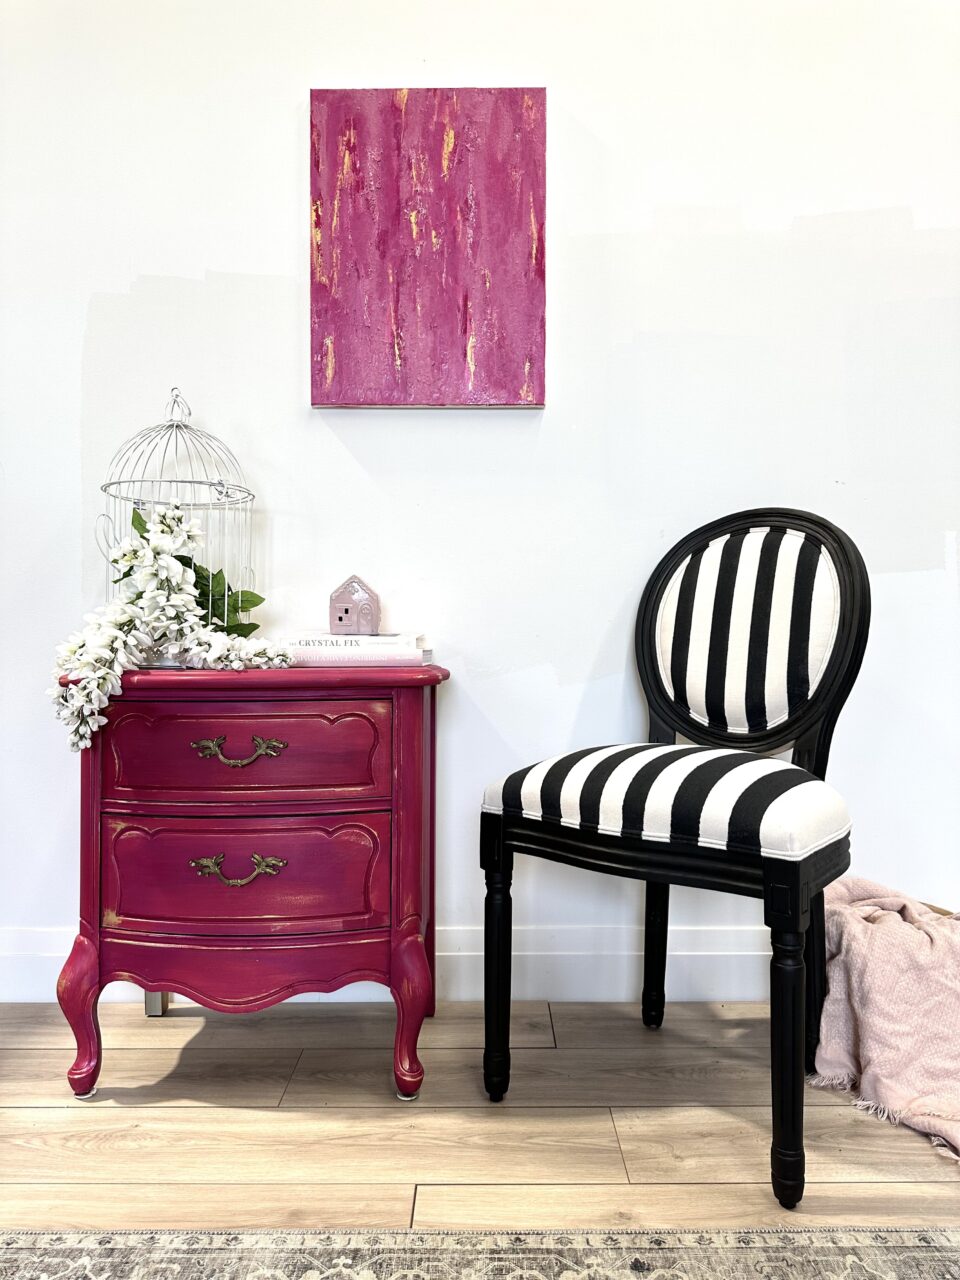
Barbie Trend-Inspired Nightstand Makeover
We hope to inspire you to create your own Barbie Trend-Inspired Nightstand Makeover. Try milk paint on a small project first to get your creativity going.

Fabric Painted Stripes
In our quest to infuse a dash of Barbie’s iconic striped bikini charm into the room, we took on a thrilling project – revamping a classic chair with bold stripes.
Materials Used:
- Painter’s tape
- Staalmeester Finch Angled brush
- Staalmeester Decoration Spalter
- Coal Black
- TSP Alternative
Painted Stripes on Fabric
To get started, start with a clean surface you’d like to refinish. If the item has been previously painted, clean it well with soap and water. This ensures any dirt, oils or grease are removed for maximum adhesion of the new coat.
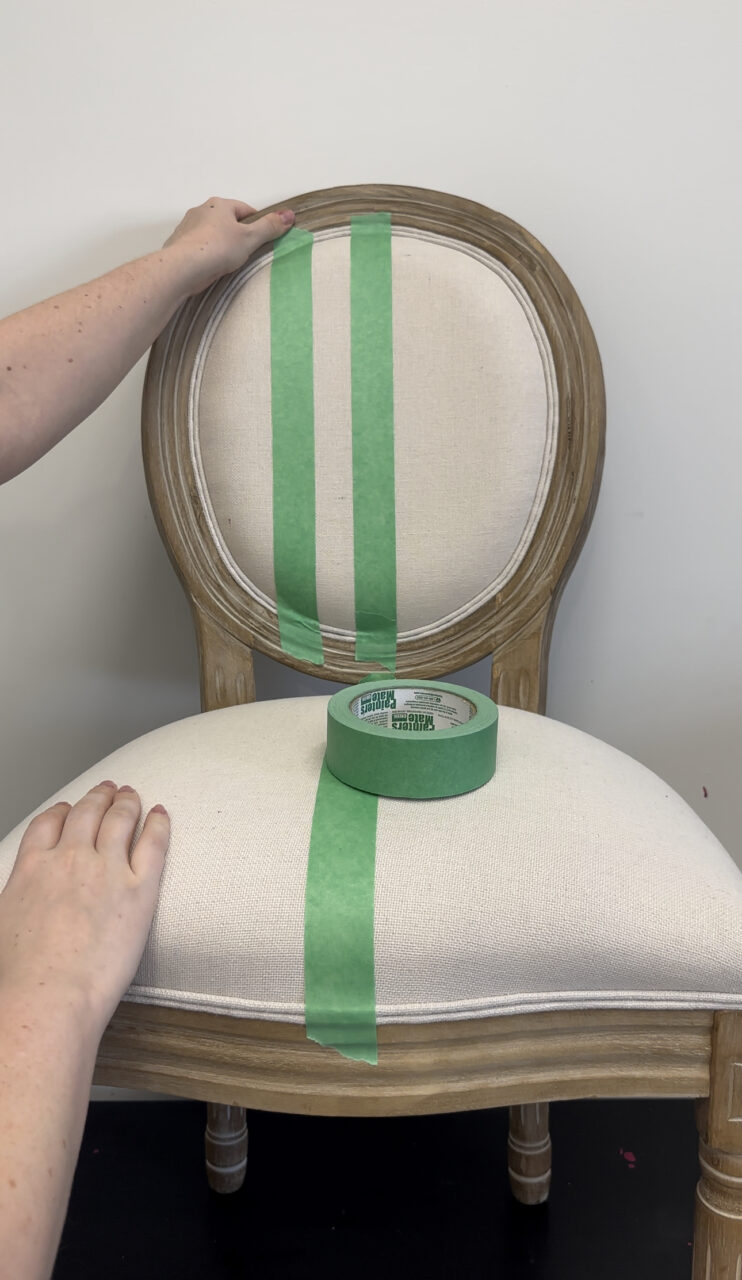
- Begin by thoroughly cleaning the chair frame to remove any dirt or grease, ensuring a clean canvas for your transformation.
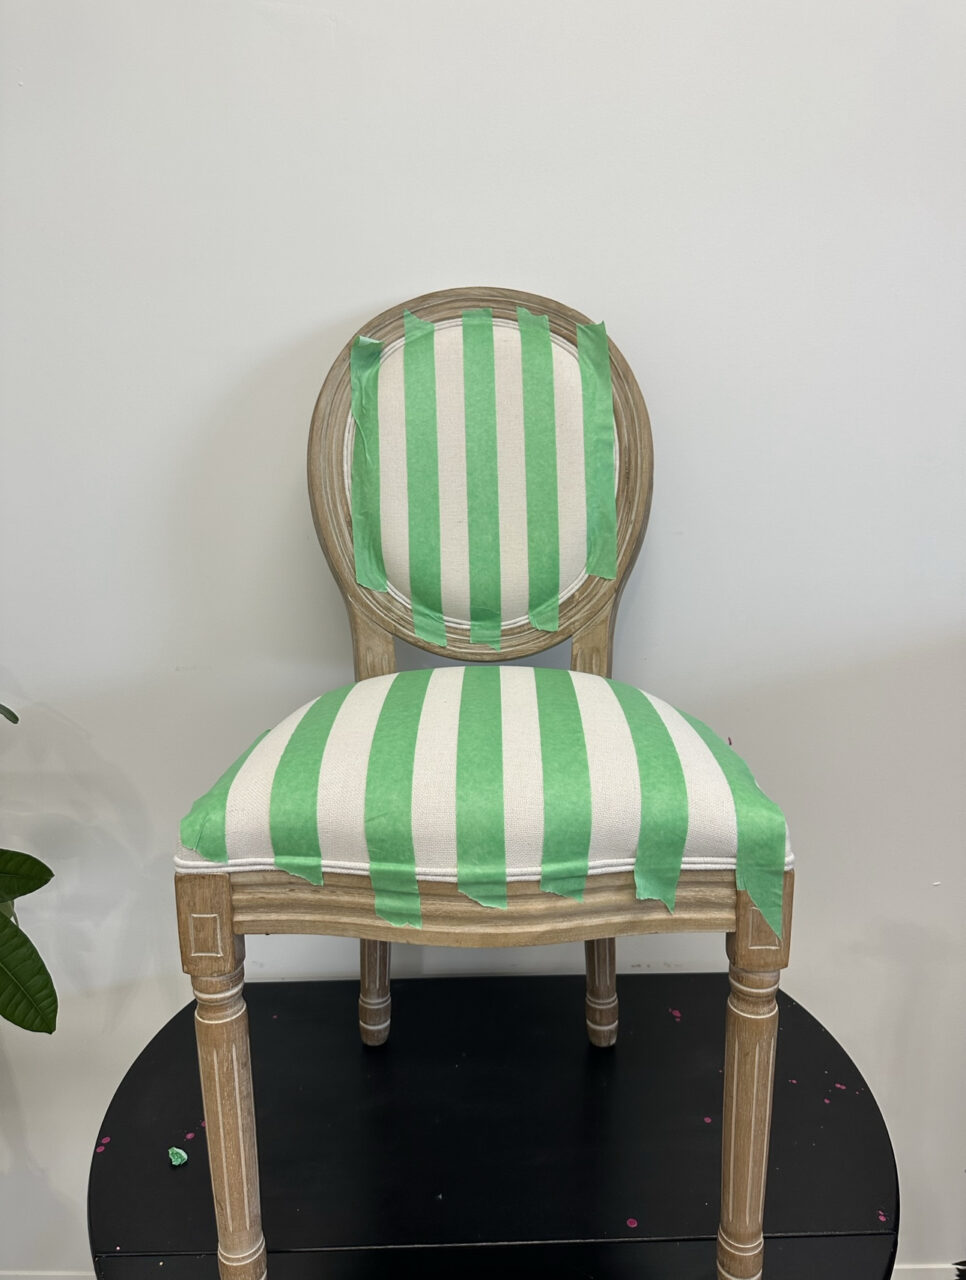
- To achieve those crisp, even stripes, carefully and strategically apply painter’s tape to mark out the areas where you want the white stripes to be.

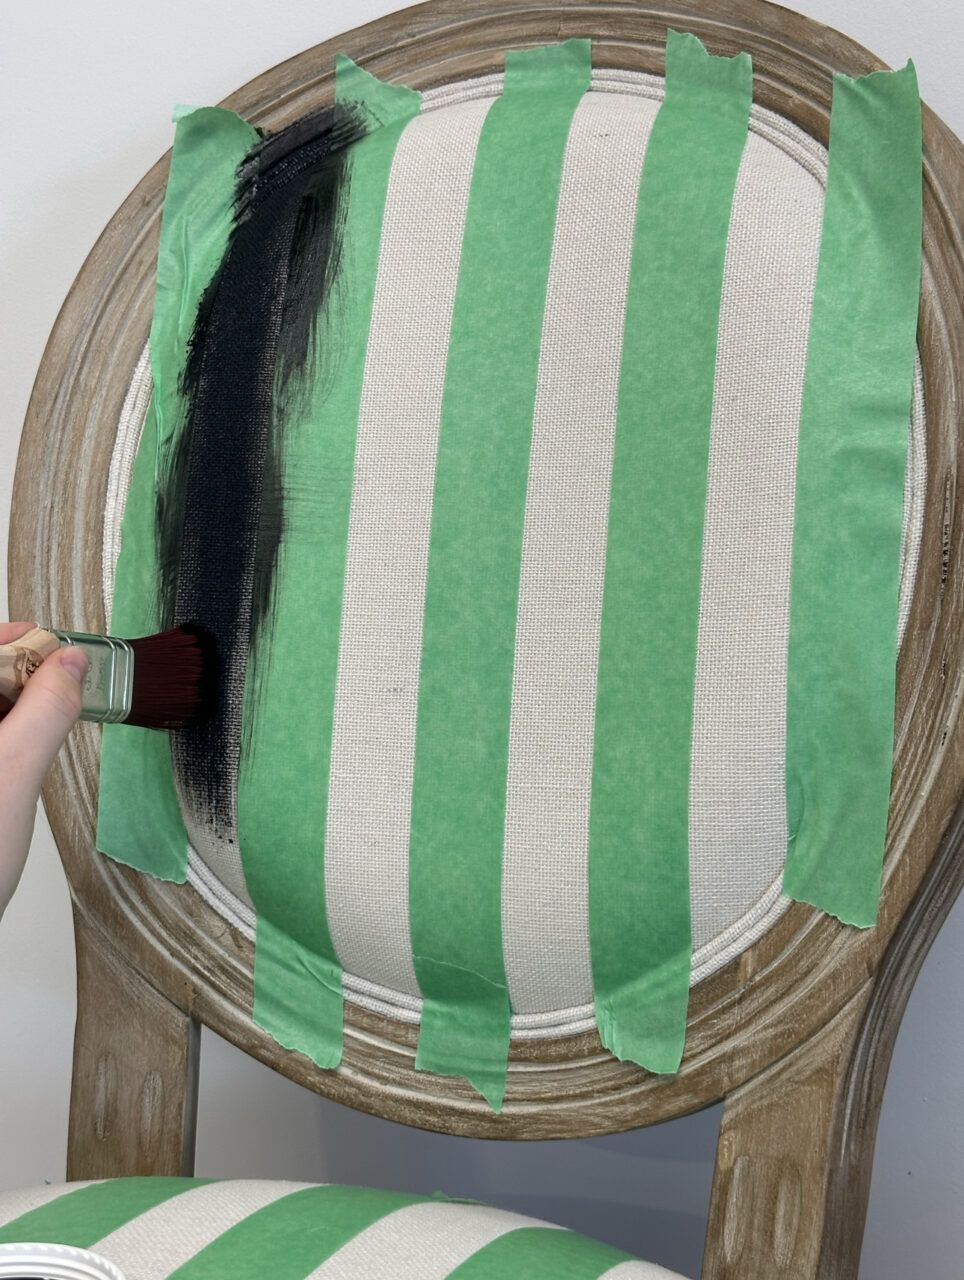

TIP: When painting with Coal Black, remember not to overload your brush to prevent any paint spillover underneath the tape. Thin coats is the way to go. Precision is key in creating those Barbie-worthy stripes!
Opting to paint fabric is a cost-effective alternative to reupholstering. It allows you to refresh and revitalize your furniture without the hefty price tag of buying new upholstery or hiring a professional. Let us know if you have tried it.
Don’t wait any longer! Start your eco-friendly furniture makeover today, and let your creativity shine with natural beauty while making a positive impact on the environment.