Gold Leaf is quickly becoming the next big thing in the furniture world and we know why – gold leaf furniture is stunning and has a HUGE WOW factor. Ikea hacks are also huge. Pinterest is a SEA of pretty amazing Ikea hacks. Ikea is amazing for new furniture choices but we tend to see the same pieces over and over again. We wanted to share with our readers today how to apply gold leaf to furniture.
For those who aren’t sure what an Ikea Hack is, it’s when you take an item from Ikea and make it over somehow to suit your personal decor. For obvious reasons, we’re a little bit partial to painting many of their pieces of furniture to update them, add a personal touch or just make them completely different. They have a lot of simple furniture pieces that are just asking to be painted!. Just Google “TARVA hack” or “RAST hack” and you’ll see what we mean.
Gold Leaf Furniture
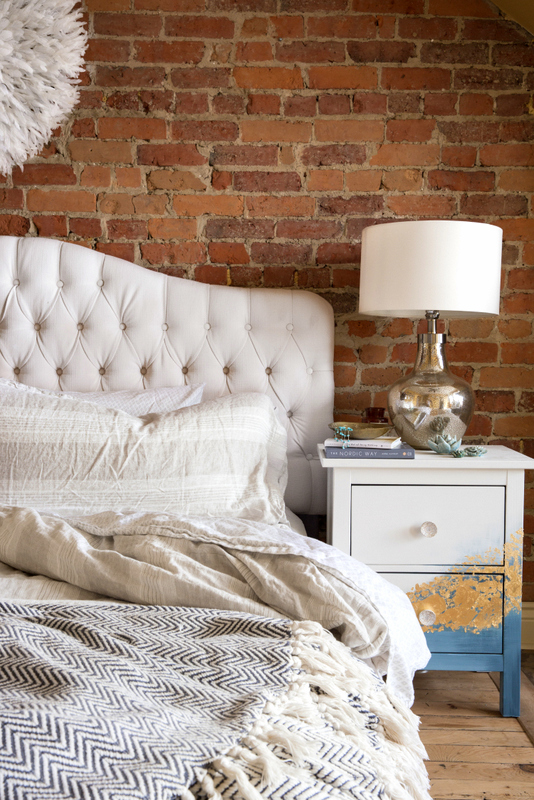
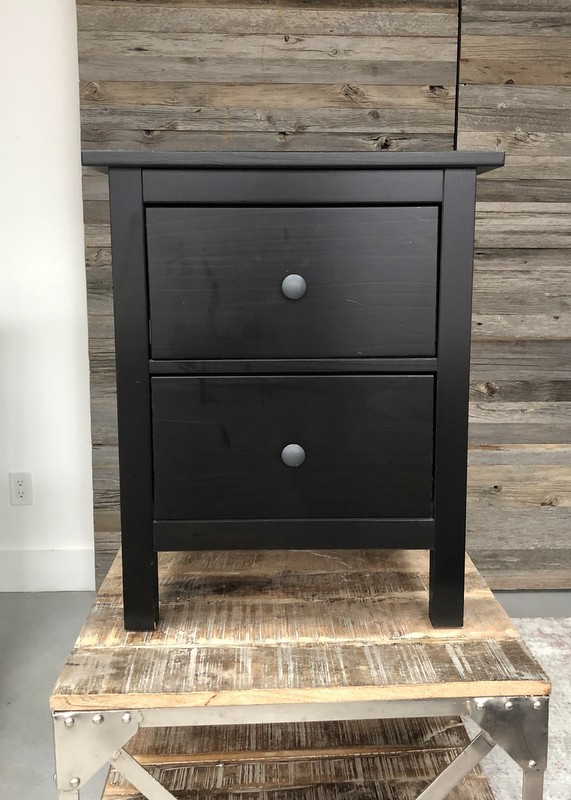
So when we had this old HEMNES side table, we thought it would be a perfect piece to makeover. The dark wood table was great for a while and served its purpose, but now it’s time for something different – something fresh and unique!
Now, if there’s one thing we’ve noticed in our Paint it Beautiful Facebook group, is that our community cannot get enough of gold leaf projects. We’ve seen some absolutely stunning pieces from both professional painters and members who were inspired by them to try their hand at it and have featured a lot of them on our Fusion Mineral Paint Facebook page. In which case, we wanted to combine the best of both worlds – an IKEA Fusion meets gold leaf paint hack!
Let’s get to it!
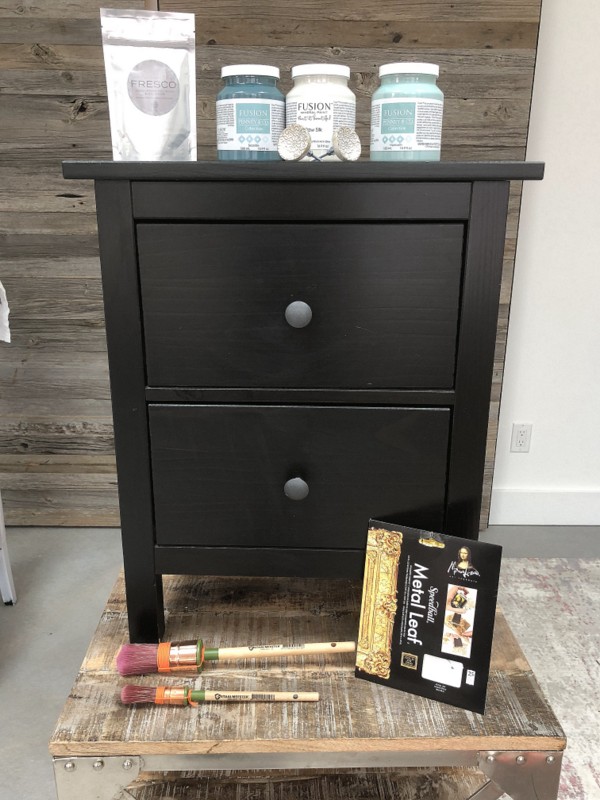
SUPPLIES USED FOR THIS GOLD LEAF SIDE TABLE:
- Fusion Mineral Paint in Raw Silk, Heirloom and Seaside.
- Fusion Fresco
- Staalmeester brushes
- Gold Leaf is found at Craft Stores like Michael’s or Curry’s Art Stores and the like.
- Size (the glue to stick the gold leaf) found at Michael’s or Curry’s Art Stores and the like.
STEP 1
The first thing we did is clean the entire side table with TSP. This helps to get rid of any dirt or residue. And as always, PREP is the most important part of the painting. You want to make sure you have a nice clean surface for your paint to adhere to.
STEP 2
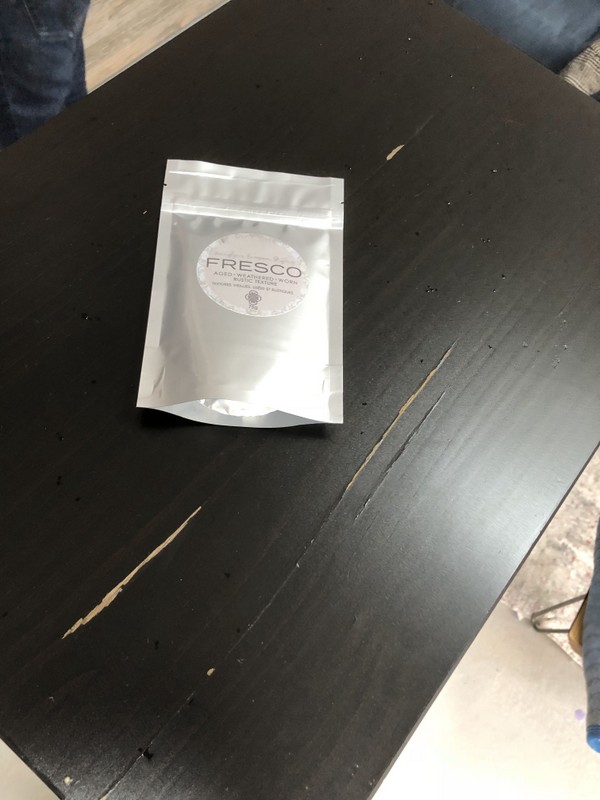
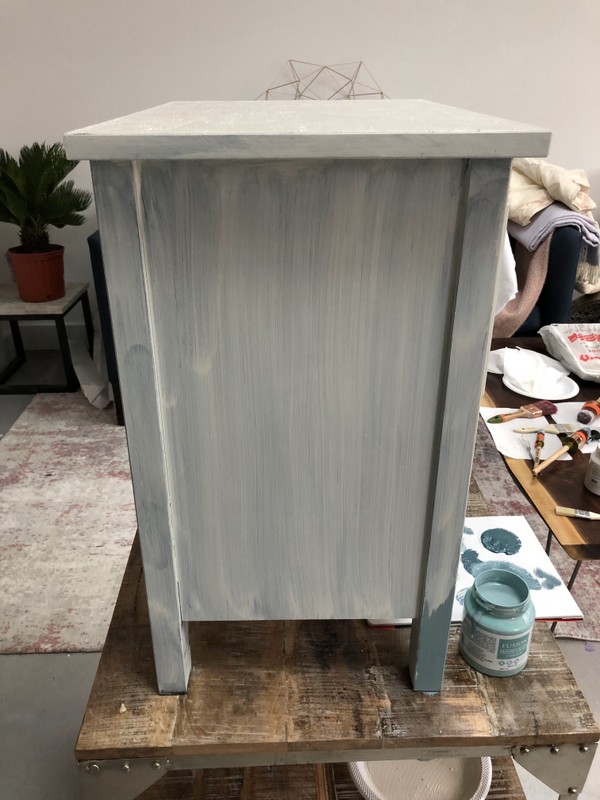
Now the top of the table was a little worn out over years of use. A simple solution to this was to use our Fresco. It gives you that weathered, worn and rustic, textured look, so instead of hiding cracks, we made it look intentional.
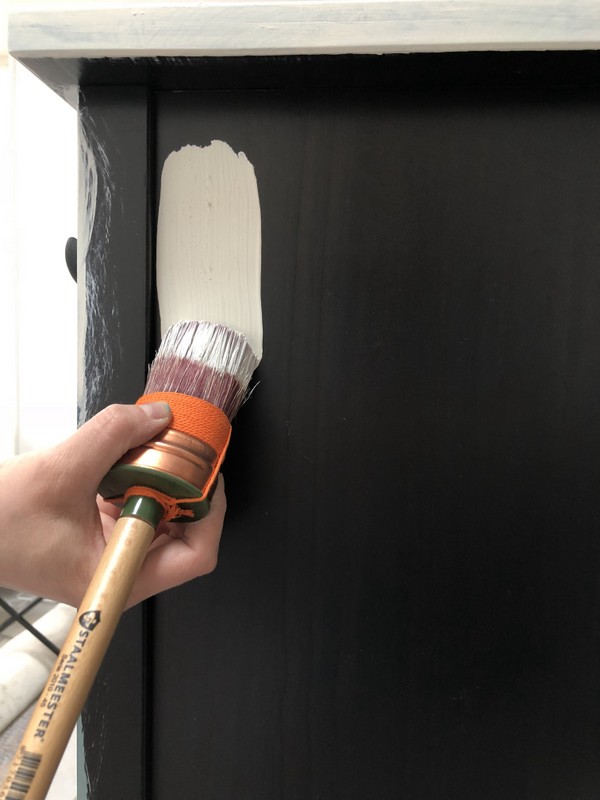
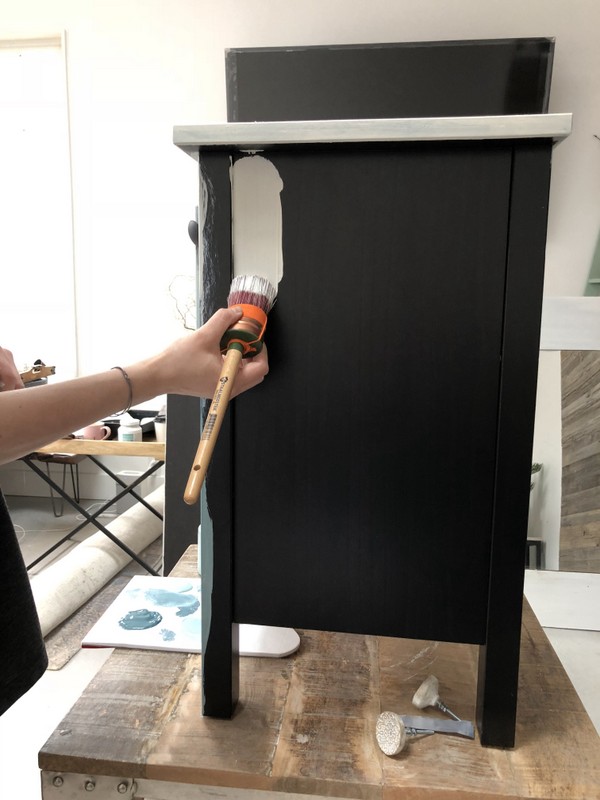
We mixed the Fresco with Raw Silk in a container and painted the top of the table using that mixture. The rest of the table was painted with only Raw Silk.
STEP 3
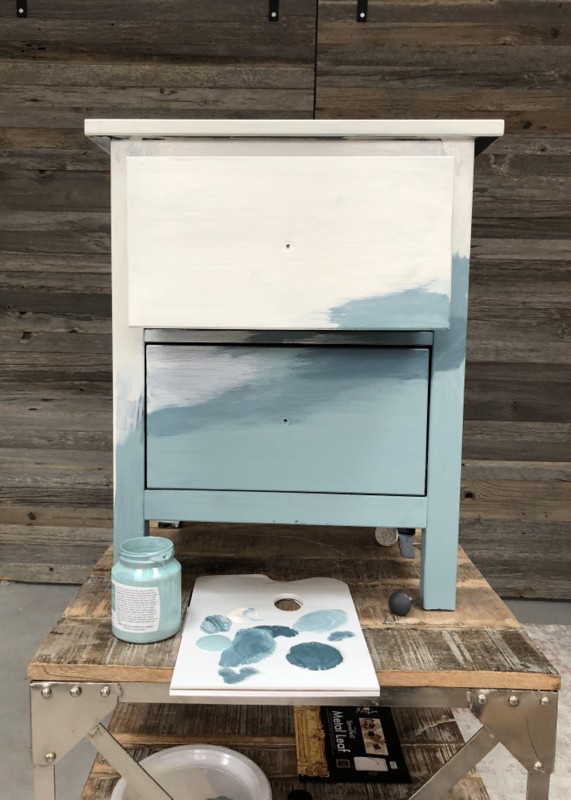
After painting the upper part of the table (in the middle we went diagonally across) with Fusion Raw Silk, the bottom was painted with Seaside and then the middle with Heirloom. We let that dry for a bit and then did another coat of each colour, paying special attention to blending the colours together. While there are different blending techniques, we always encourage you to have fun with blending, as it’s one of the best ways to learn how to blend in an aesthetically pleasing way.
NOTE: We’re working on a blog post about blending, so make sure to keep an eye out for that!
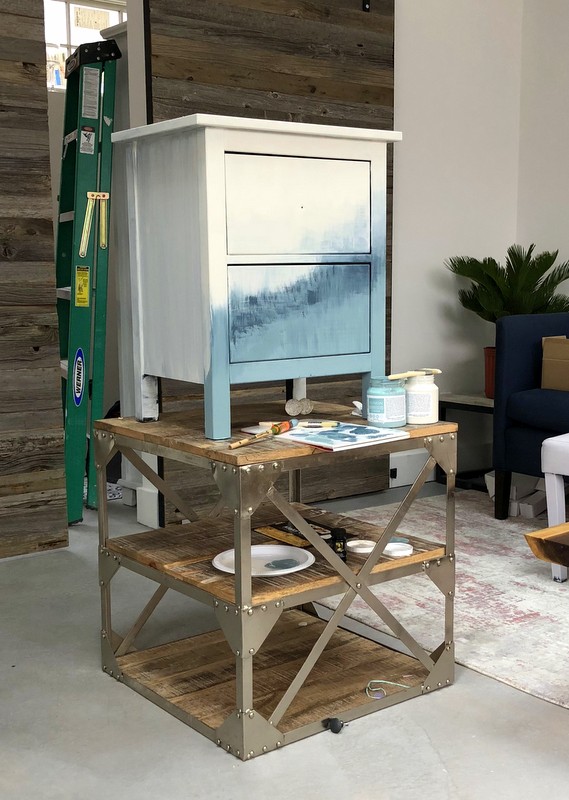
STEP 4
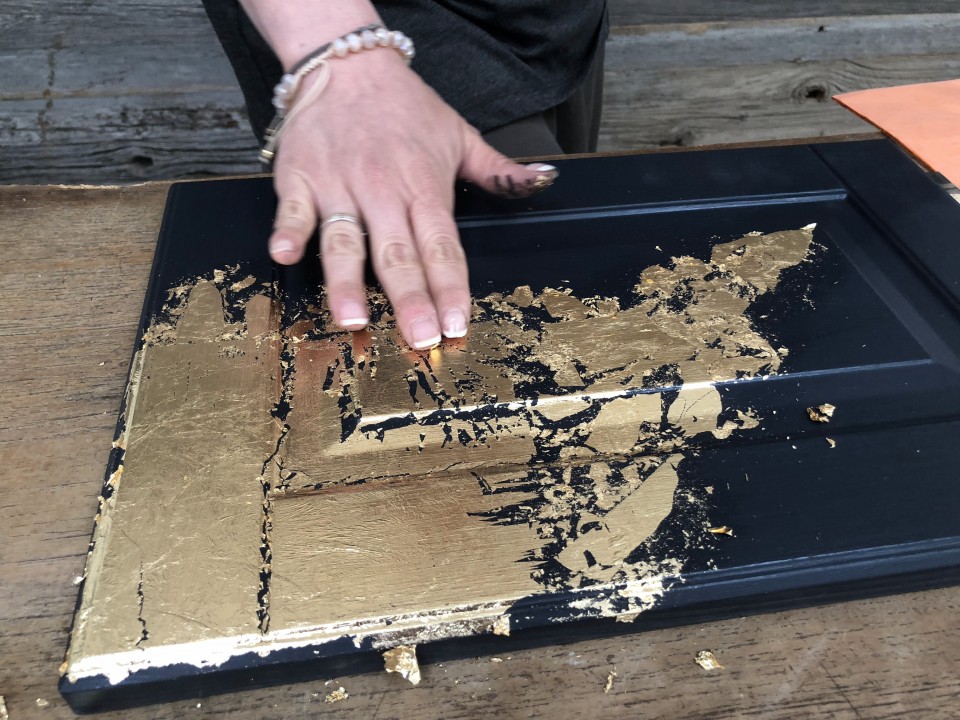
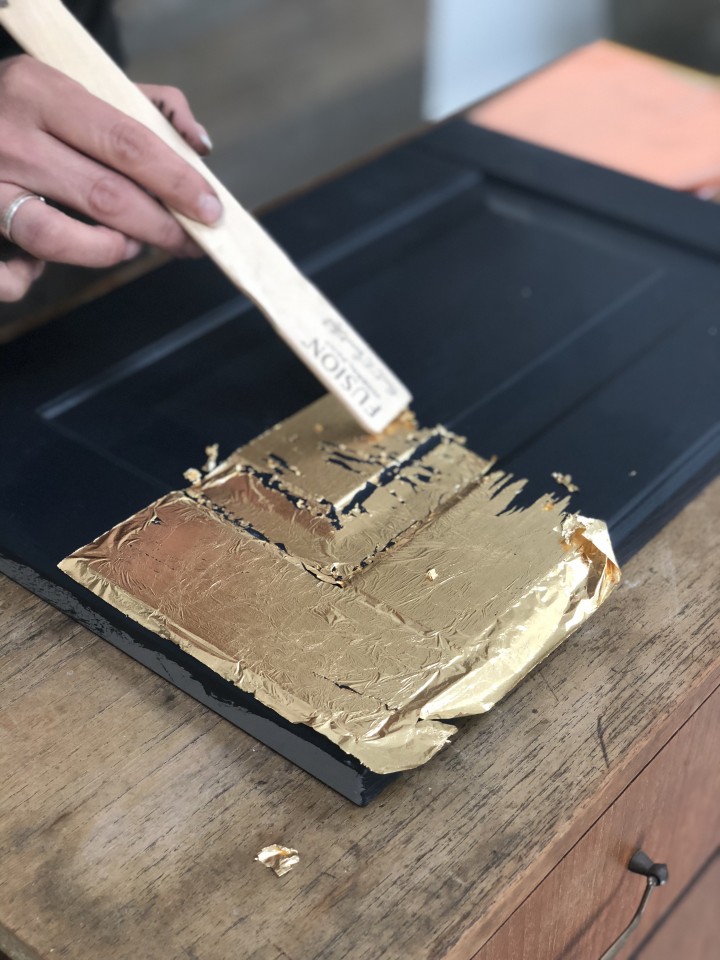
We began to apply the gold leaf in a scattered pattern to resemble almost sparkly pieces blowing in the wind. Applying gold leaf takes a bit of practice to learn so if you’ve never used it before, we strongly recommend you test it out on some scrap pieces of wood to see how it applies.
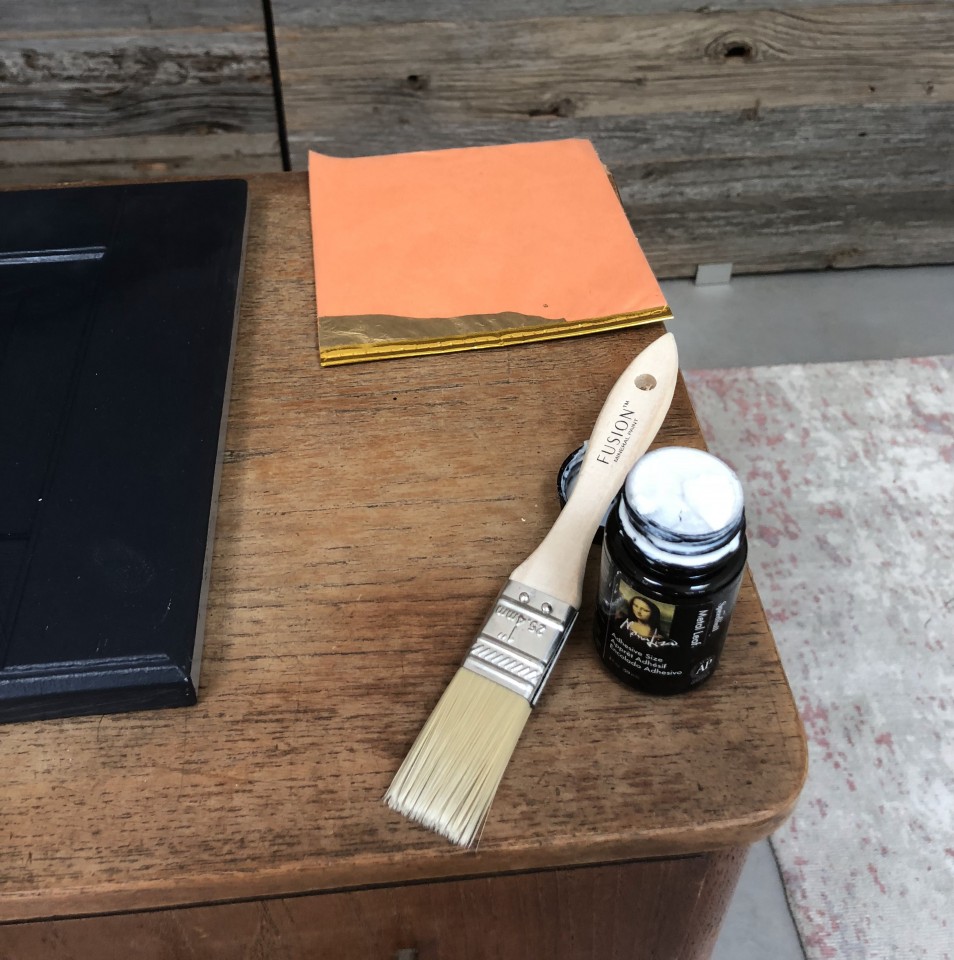
The process of applying gold leaf sheets is called gilding. It requires an adhesive that you apply to your surface, let it dry until it feels tacky and then apply the gold leaf over it.
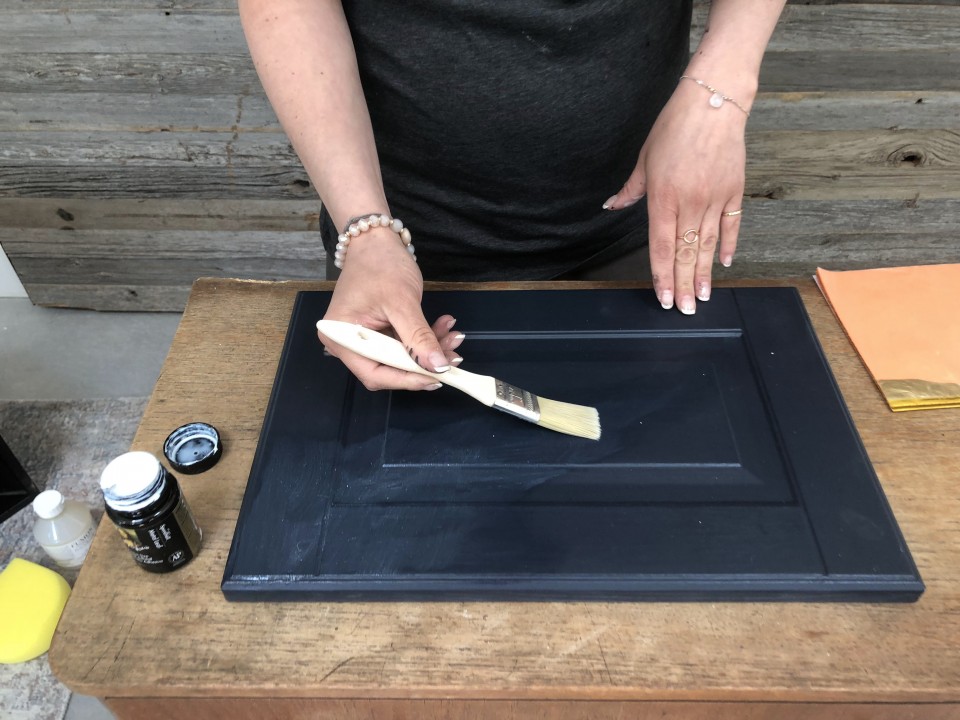
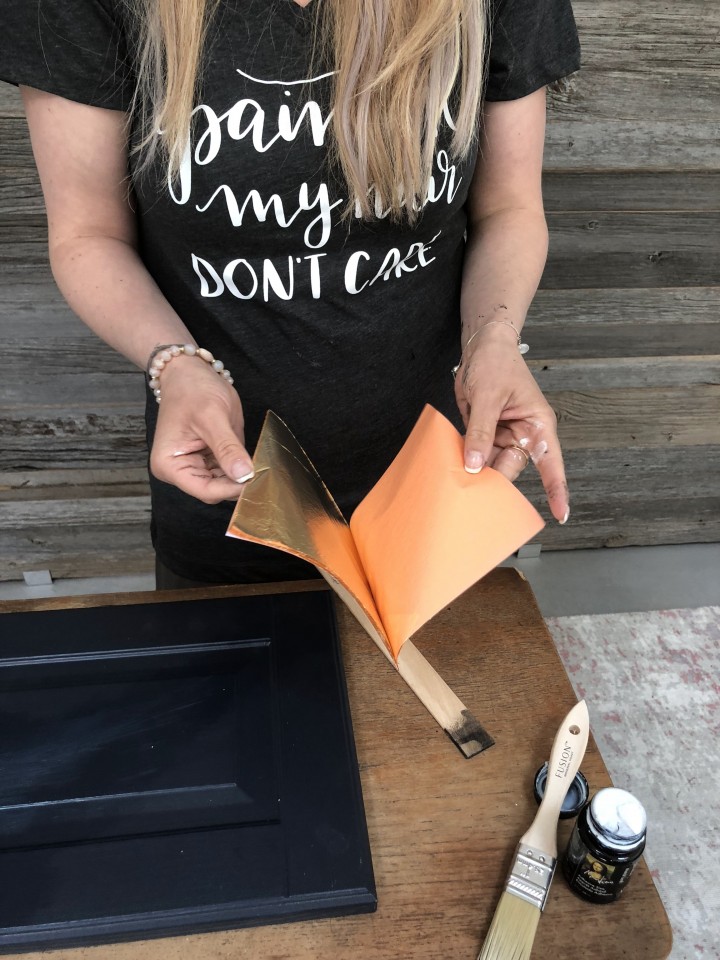
Afterward, you smooth it out with a dry paintbrush or your fingers. Depending on the look you want, you can either make the gold leaf look choppy or smooth. Whatever you desire, please make sure to follow the instructions on the gold leaf that you use for your project, this includes drying time and how to handle it with care, as some brands of gold leaf are very thin and tear more easily than others.
For this project, we did not seal our gold leaf and there are mixed opinions on doing so. Some say that gold leaf over 22 karats, doesn’t require sealing and if you seal it, it can dull the shine of the gold. But if it’s a high-traffic area, you may want to consider sealing it. This is a “use at your own discretion” choice, depending on the project you are doing. We have had Paint it Beautiful members use Fusion’s Tough Coat to seal their gold leaf and there is a great thread about this topic in the group that you can read about here.
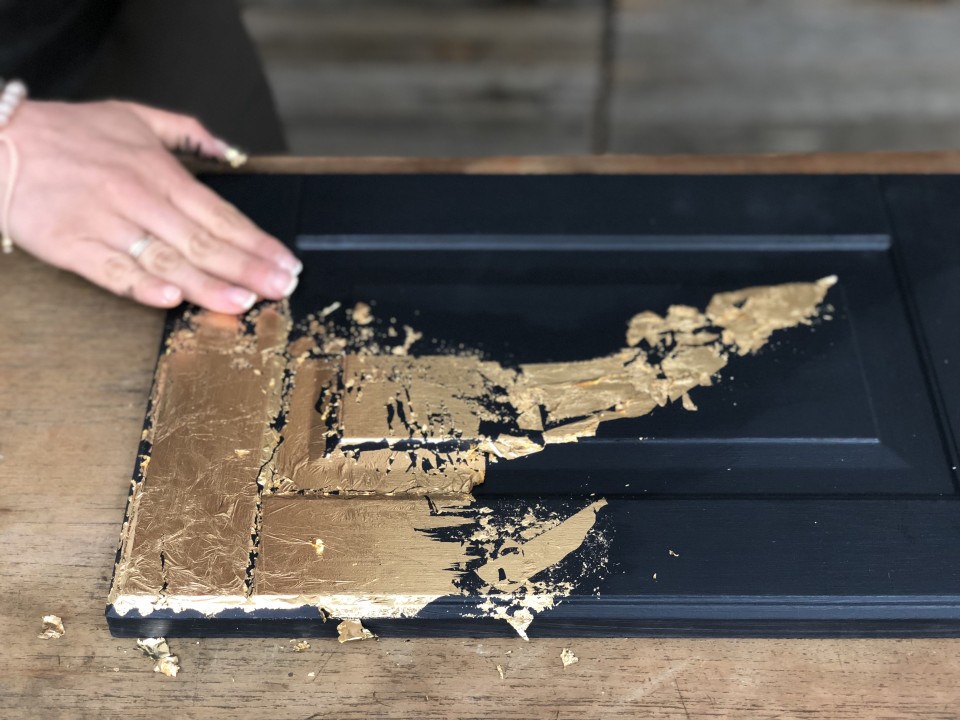
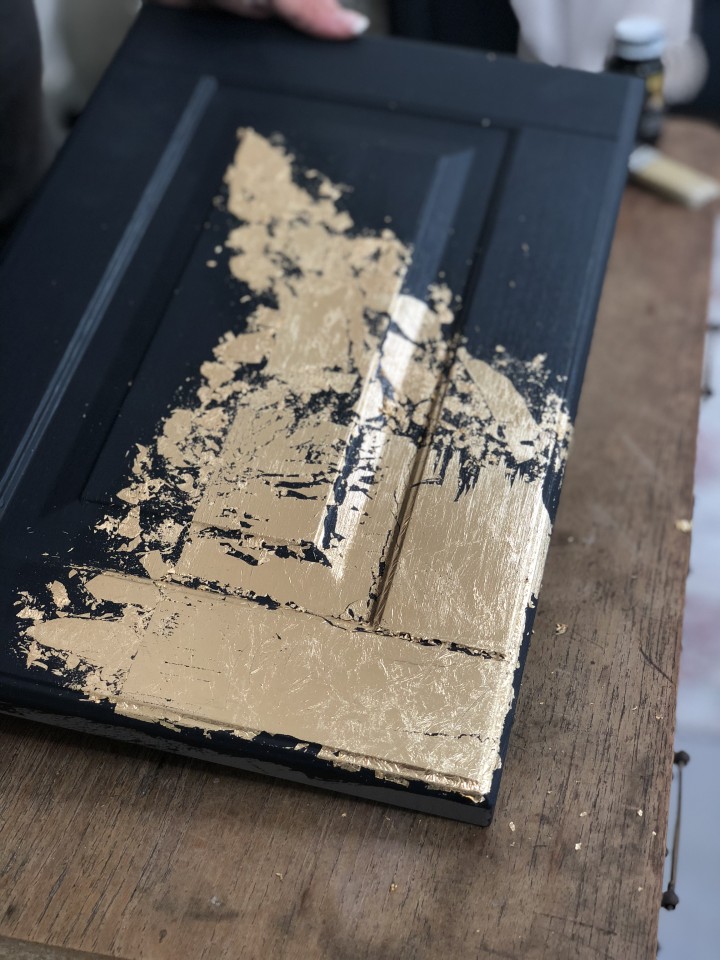
Again, we cannot emphasize this enough, test out an area with both before you use it to cover your actual project IF this is your first time applying it.
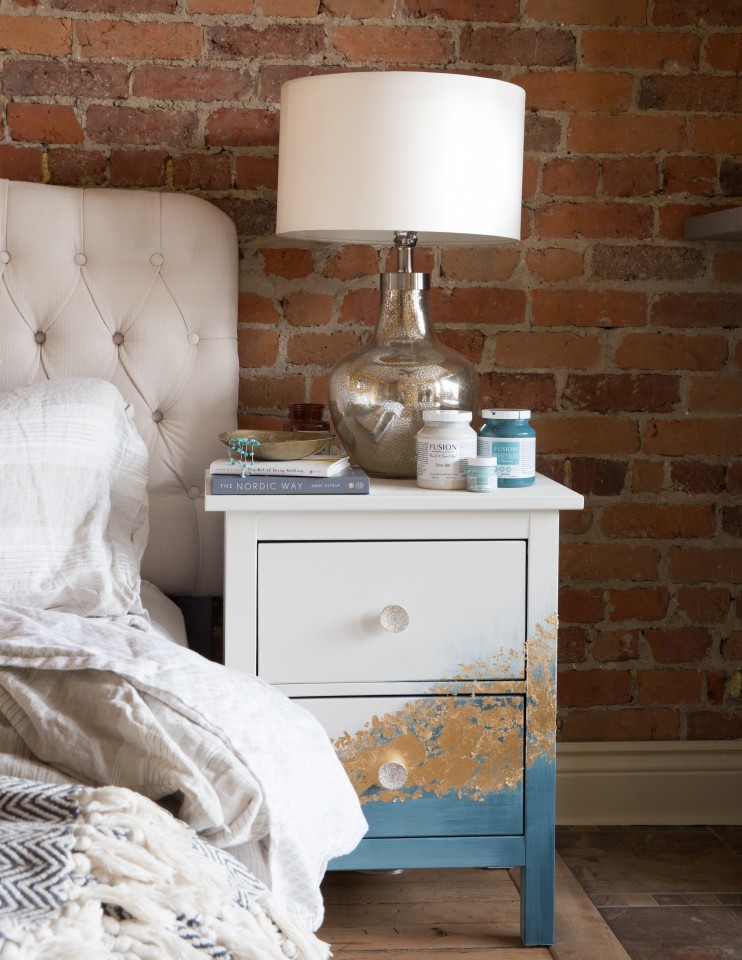
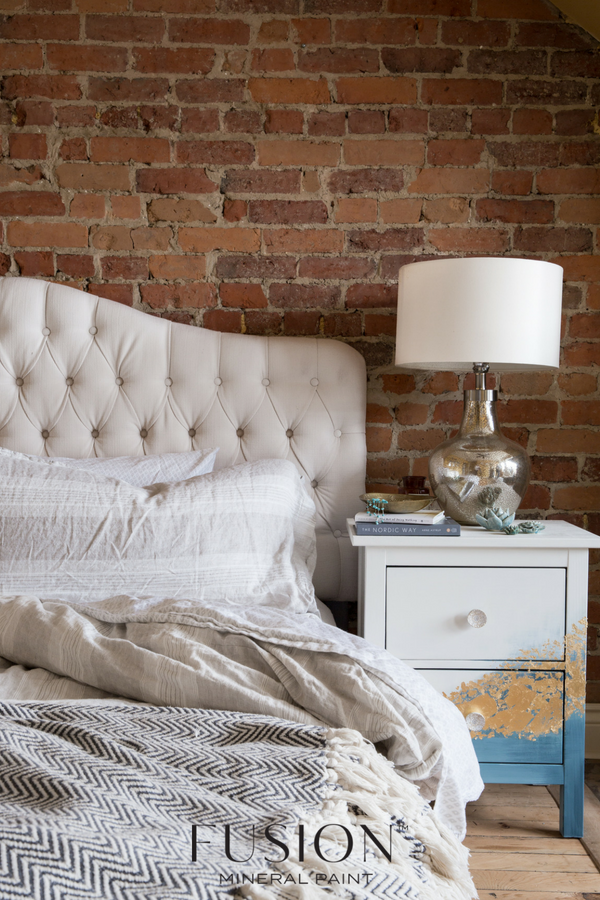
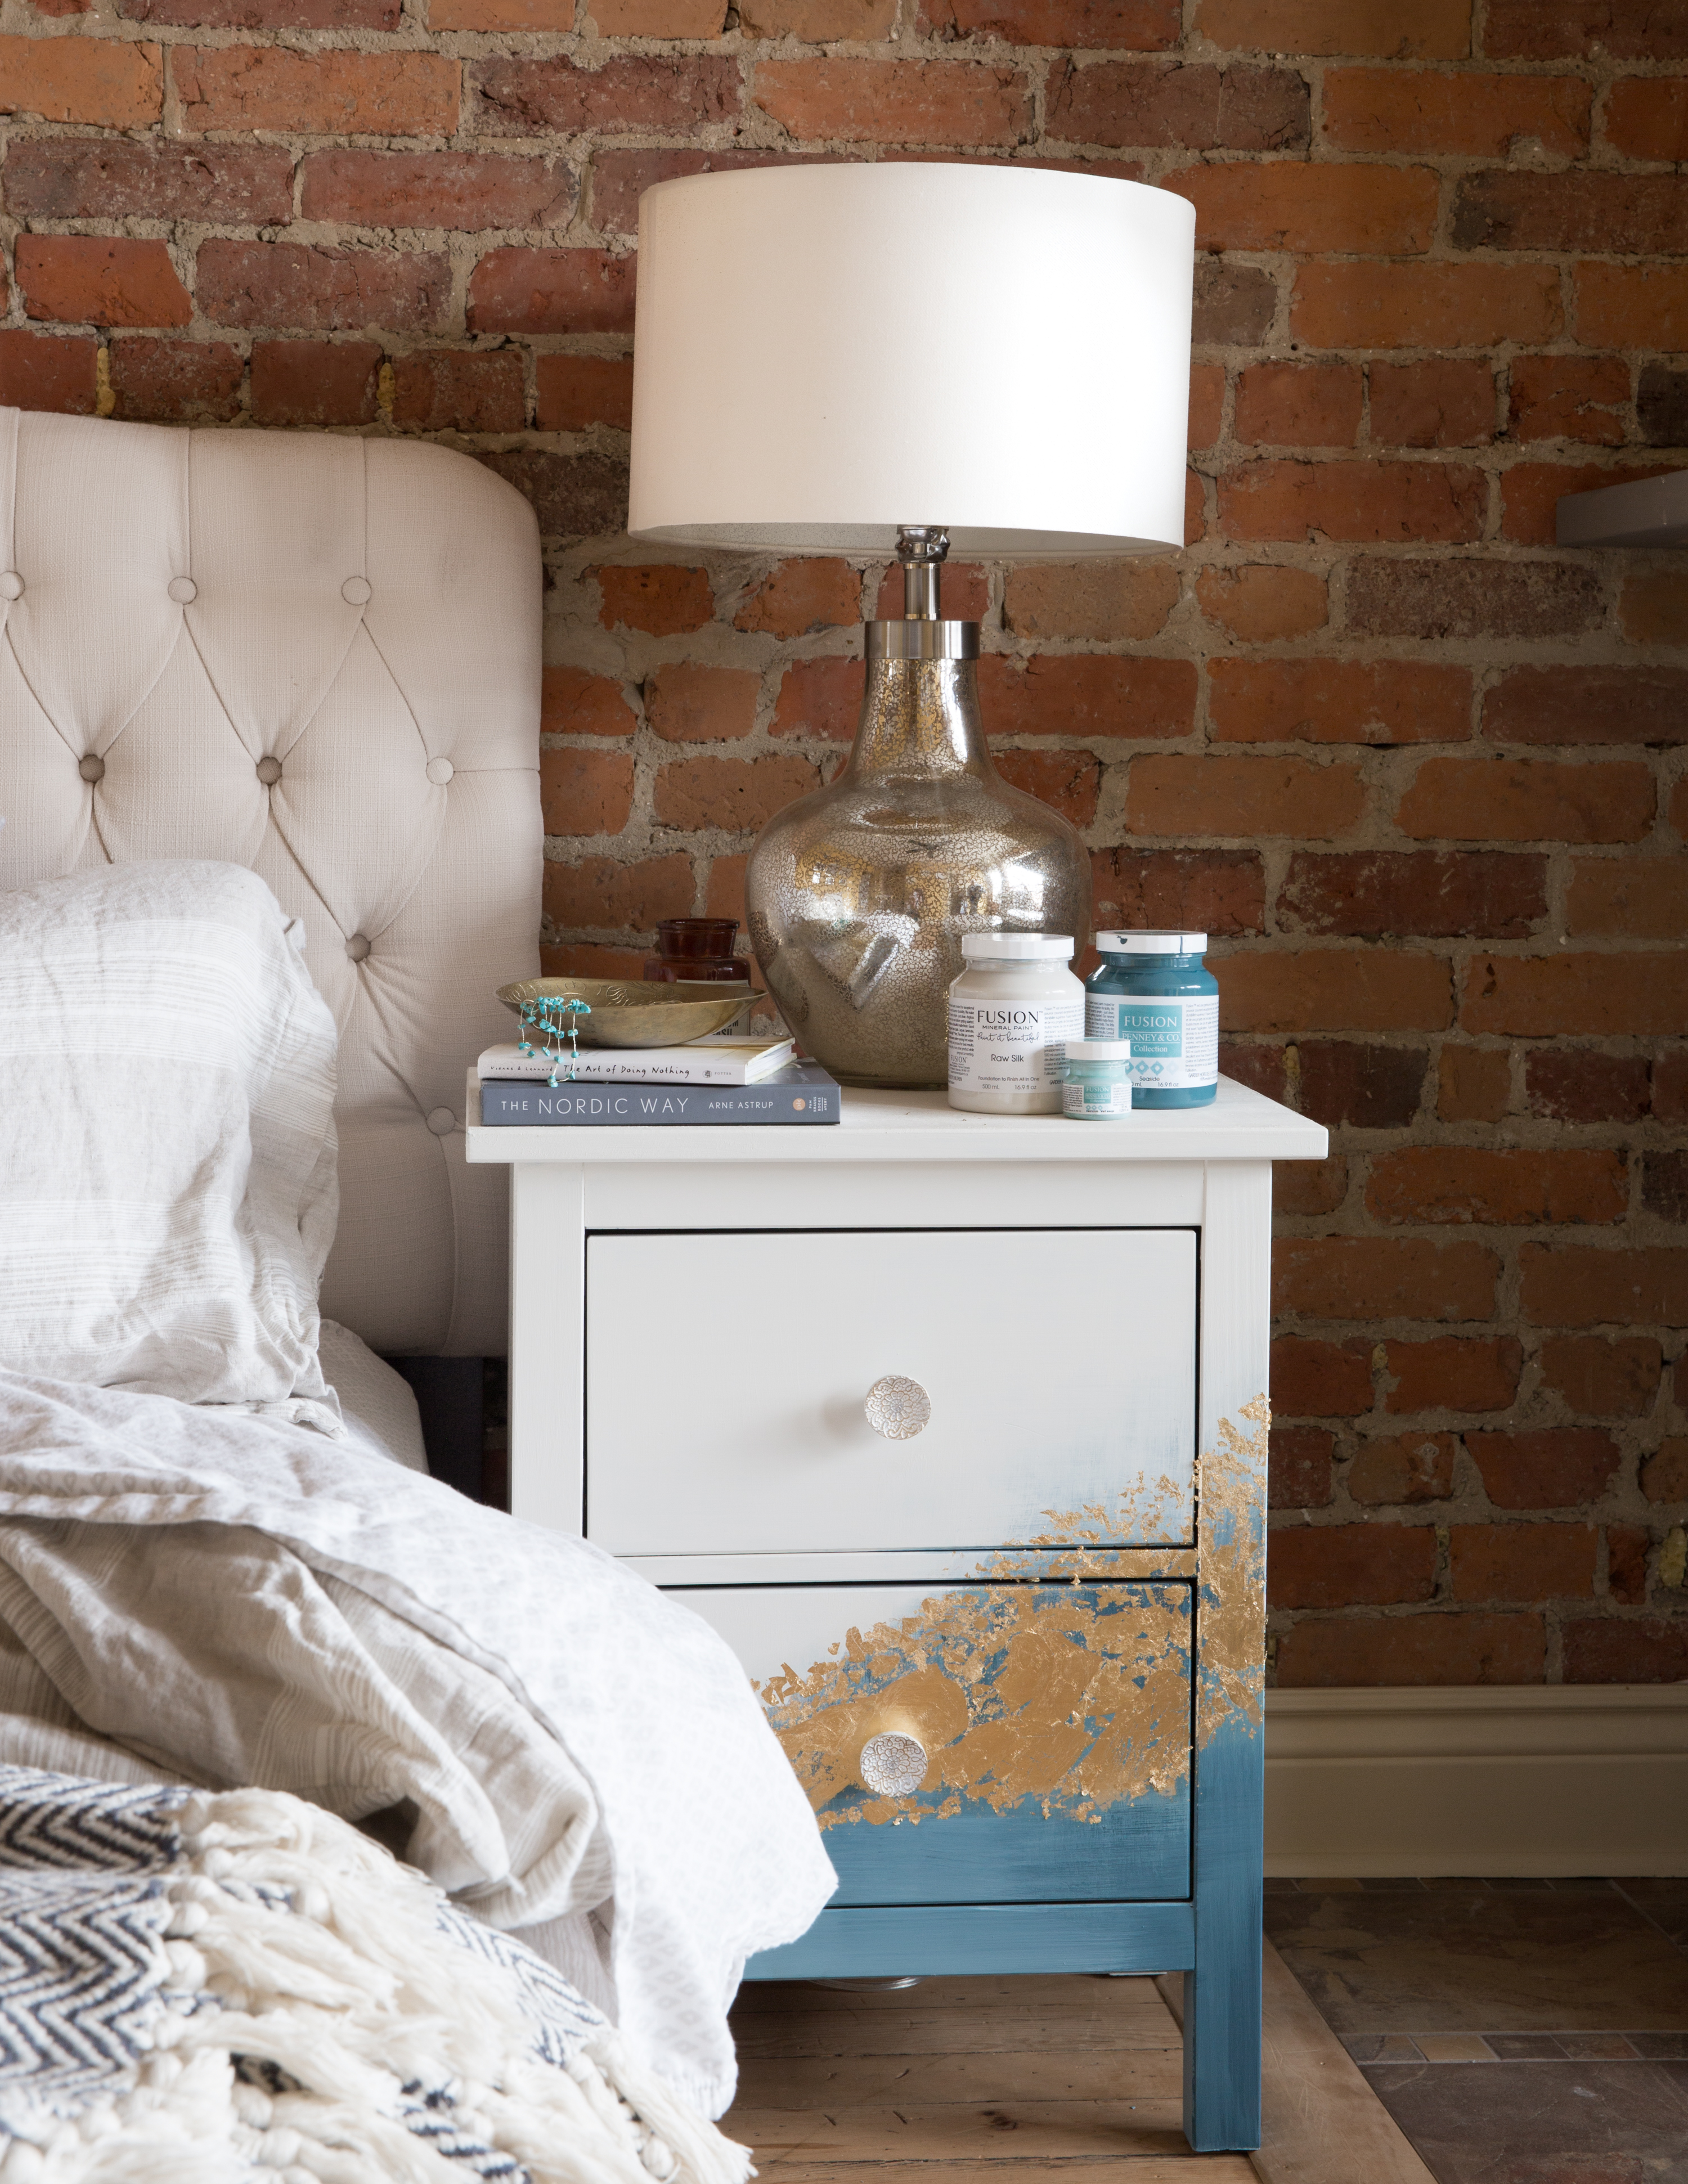
And how did our side table turn out? We now have a beautiful IKEA Fusion Gold Leaf hack!
PIN IT FOR LATER!
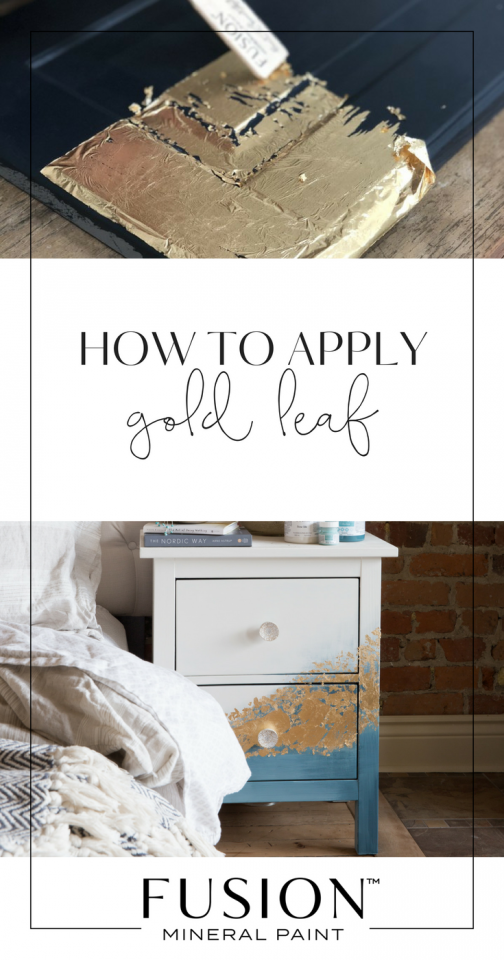
If you have any Fusion gold leaf projects, definitely share them with us in our Paint it Beautiful group! We’d love to see them!
After pictures were taken by Lauren Miller and styled by Christine Hanlon. FABULOUS Toronto based creatives!


4 Responses