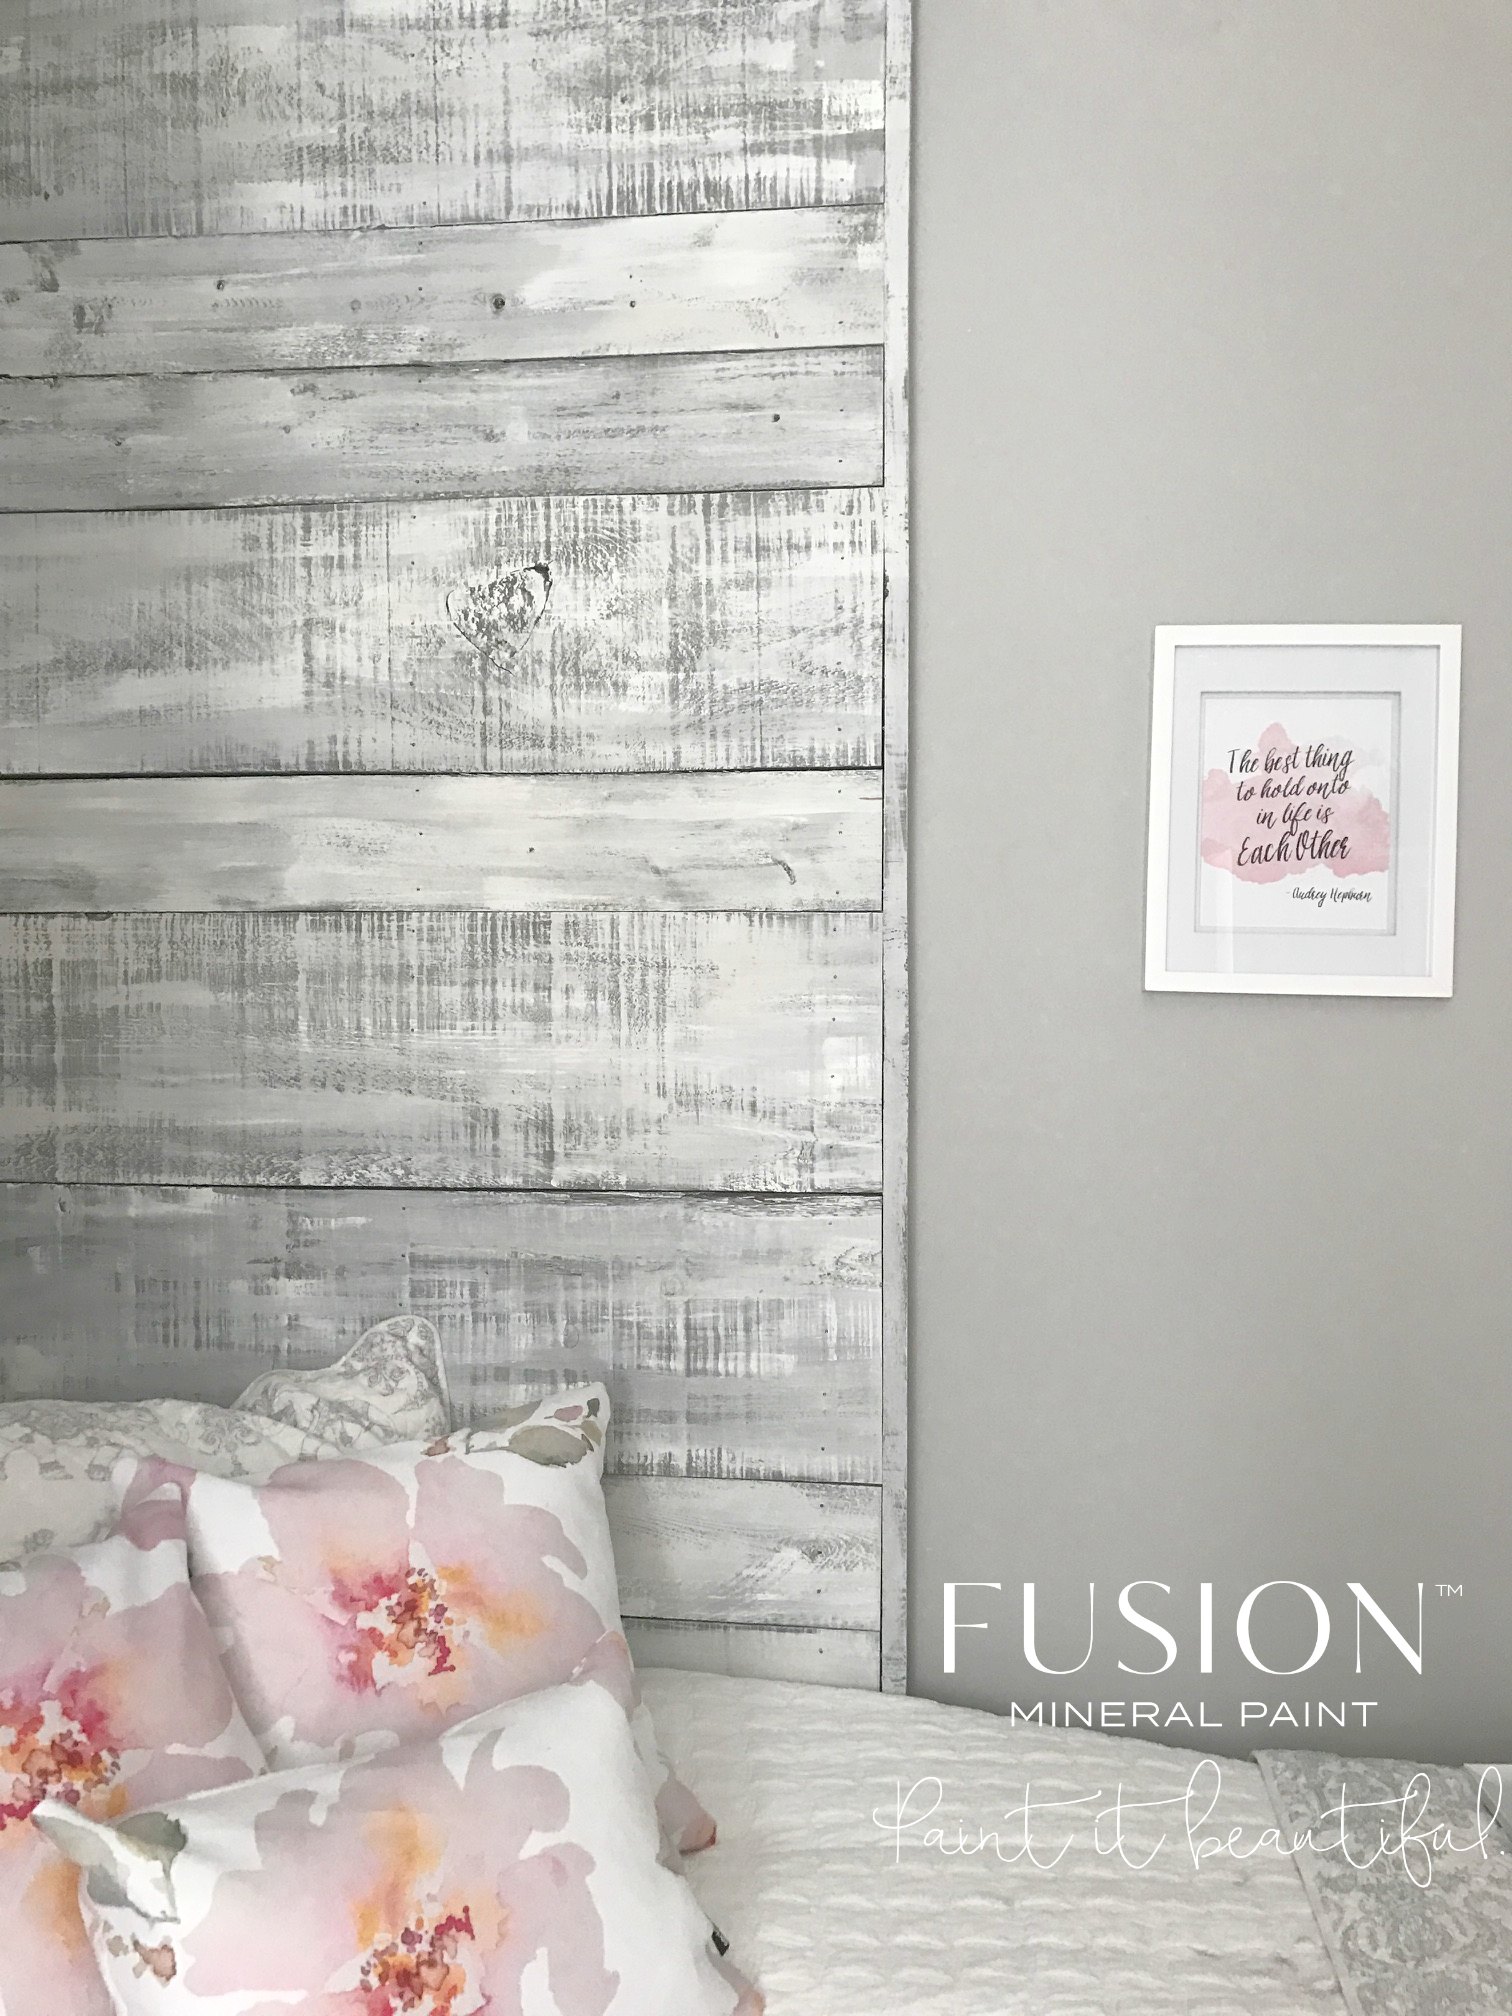
Ever wanted to learn how to paint your own barn board headboard feature wall? I love the look of the Farmhouse trends these days. with Magnolia designs taking over the HGTV scene and shiplap everywhere, I wanted my own take on this using rough-cut rustic Cedarwood to create a floor-to-ceiling headboard. Adding a rustic paint finish to the wood made this take on a Farmhouse meets Urban Chic guestroom makeover super easy! Read on for how to Paint a Barn Board Headboard and get a dry brush white wash finish!
Some projects take longer than you expect… not because you don’t have good intentions, sometimes life takes over, priorities take over. I’ve learned over the years not to rush things. When I started this room, I never would have thought of adding Pink and gold accents, however, I’ve fallen in love with that look over the past 6 months, and have incorporated it into my guest room makeover. You won’t believe where it started — here is the before!
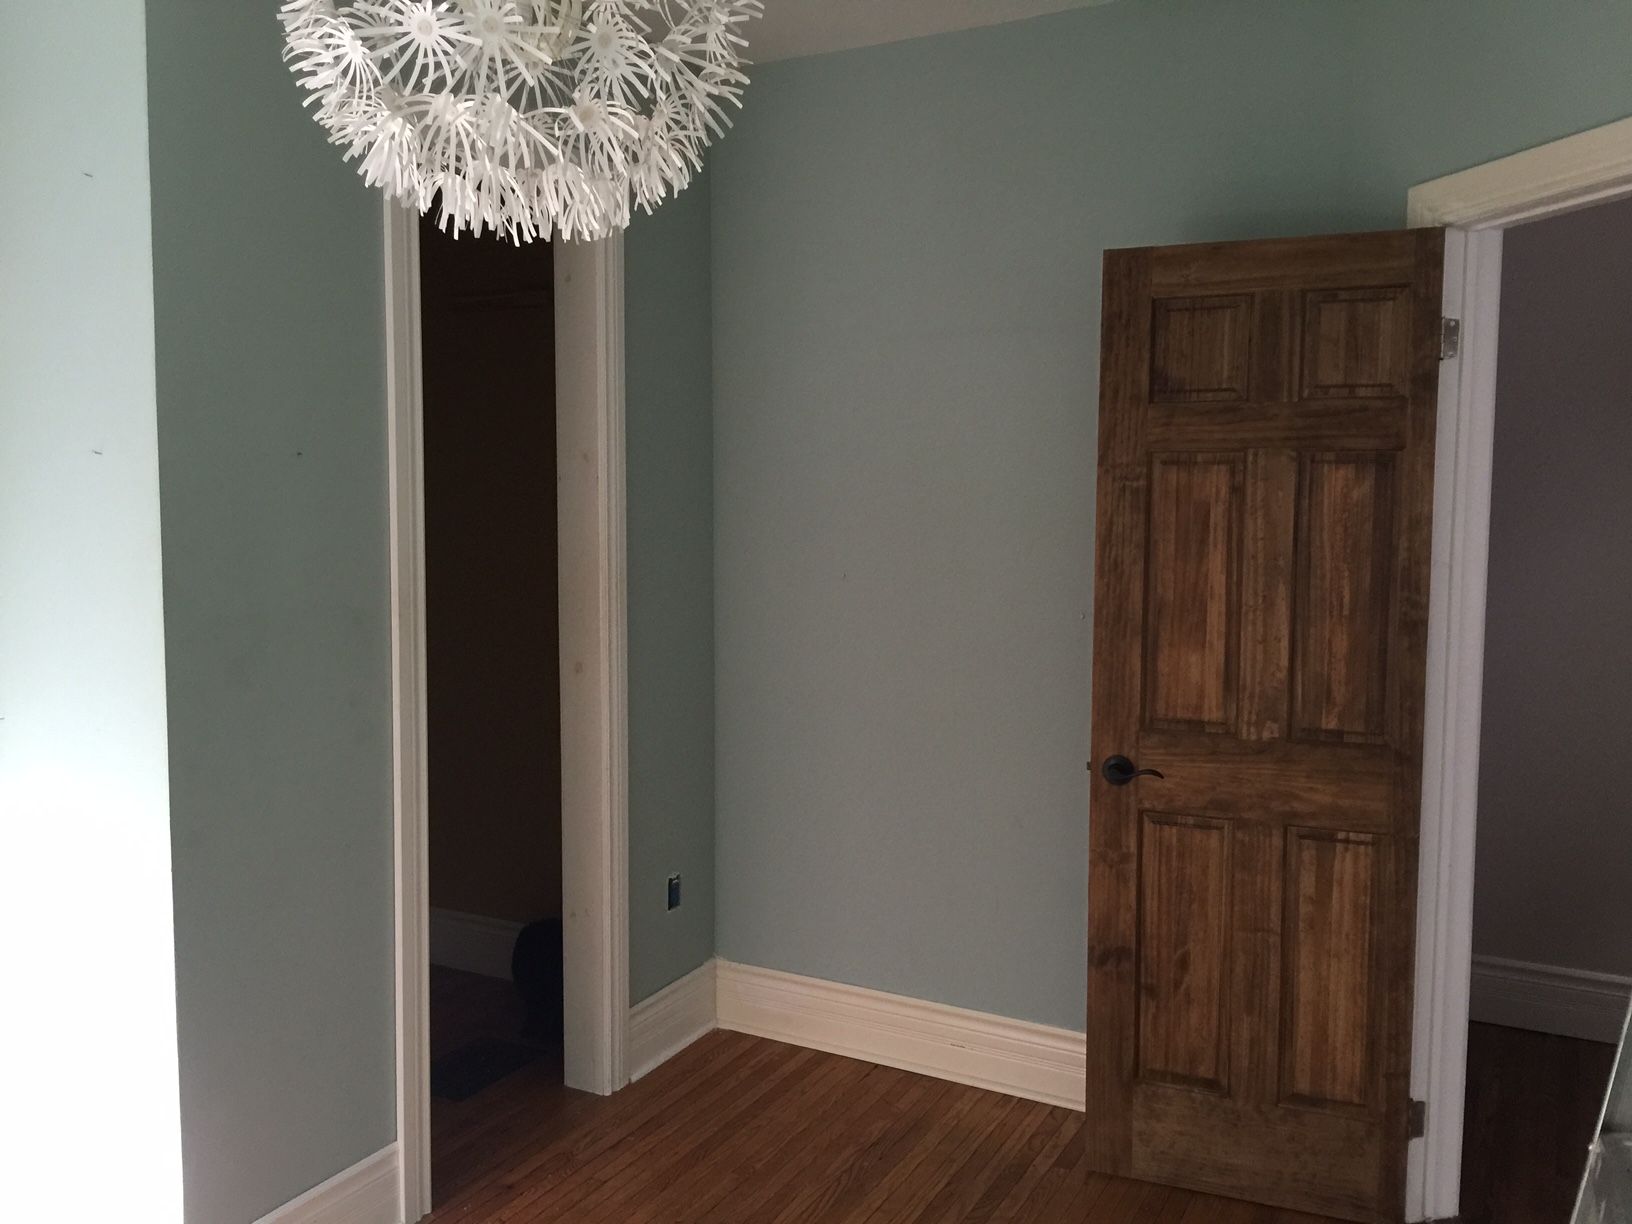
Looks pretty right? It sure was! But it was small! The closet was a walk-in, but it wasn’t functional!
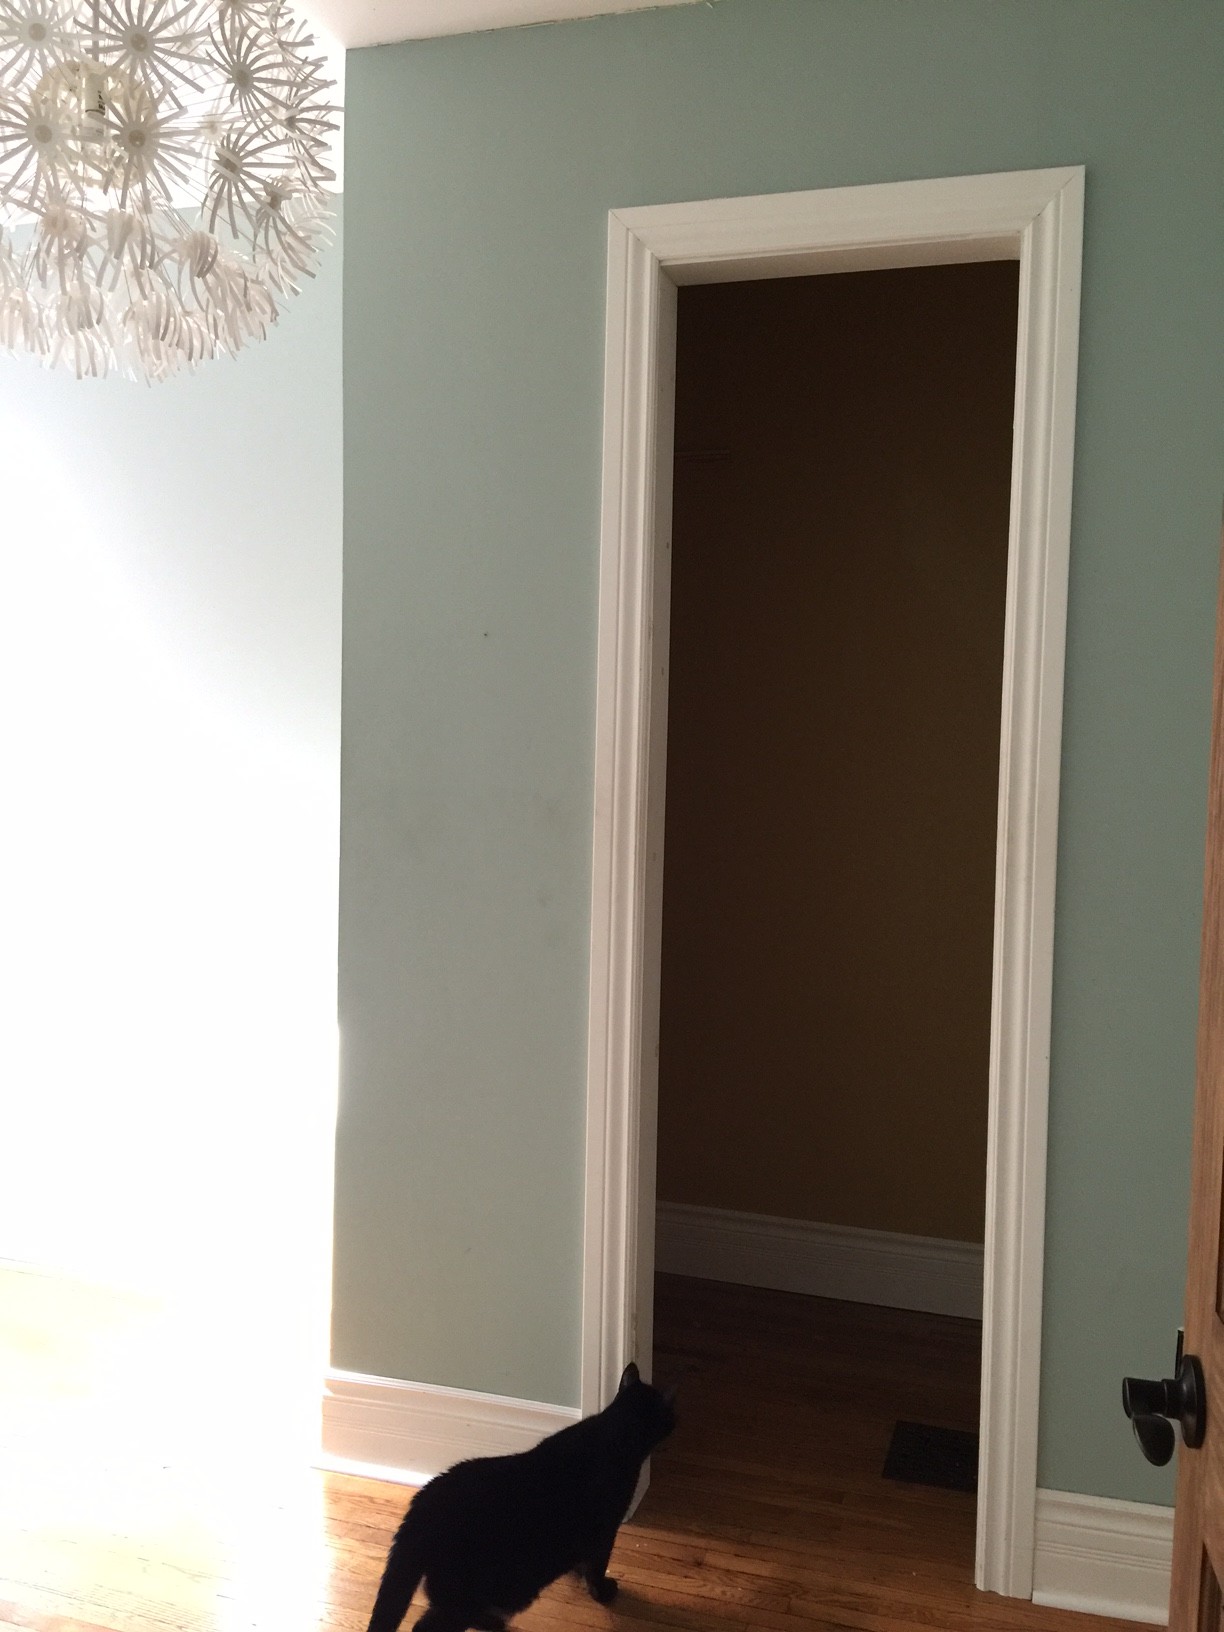
It was quite a small room, with a LARGE closet. I had some creative hands-on help with this project. My mother and my partner and I got creative and did some measurements, and decided that if I ripped out the closet I could actually fit a queen-size bed in the nook where the closet was, opening up the room to feel double the size.
We removed the closet! and just like that, the space doubled!

I wanted to lighten the wall colour and go for a real farmhouse light and bright white feeling.
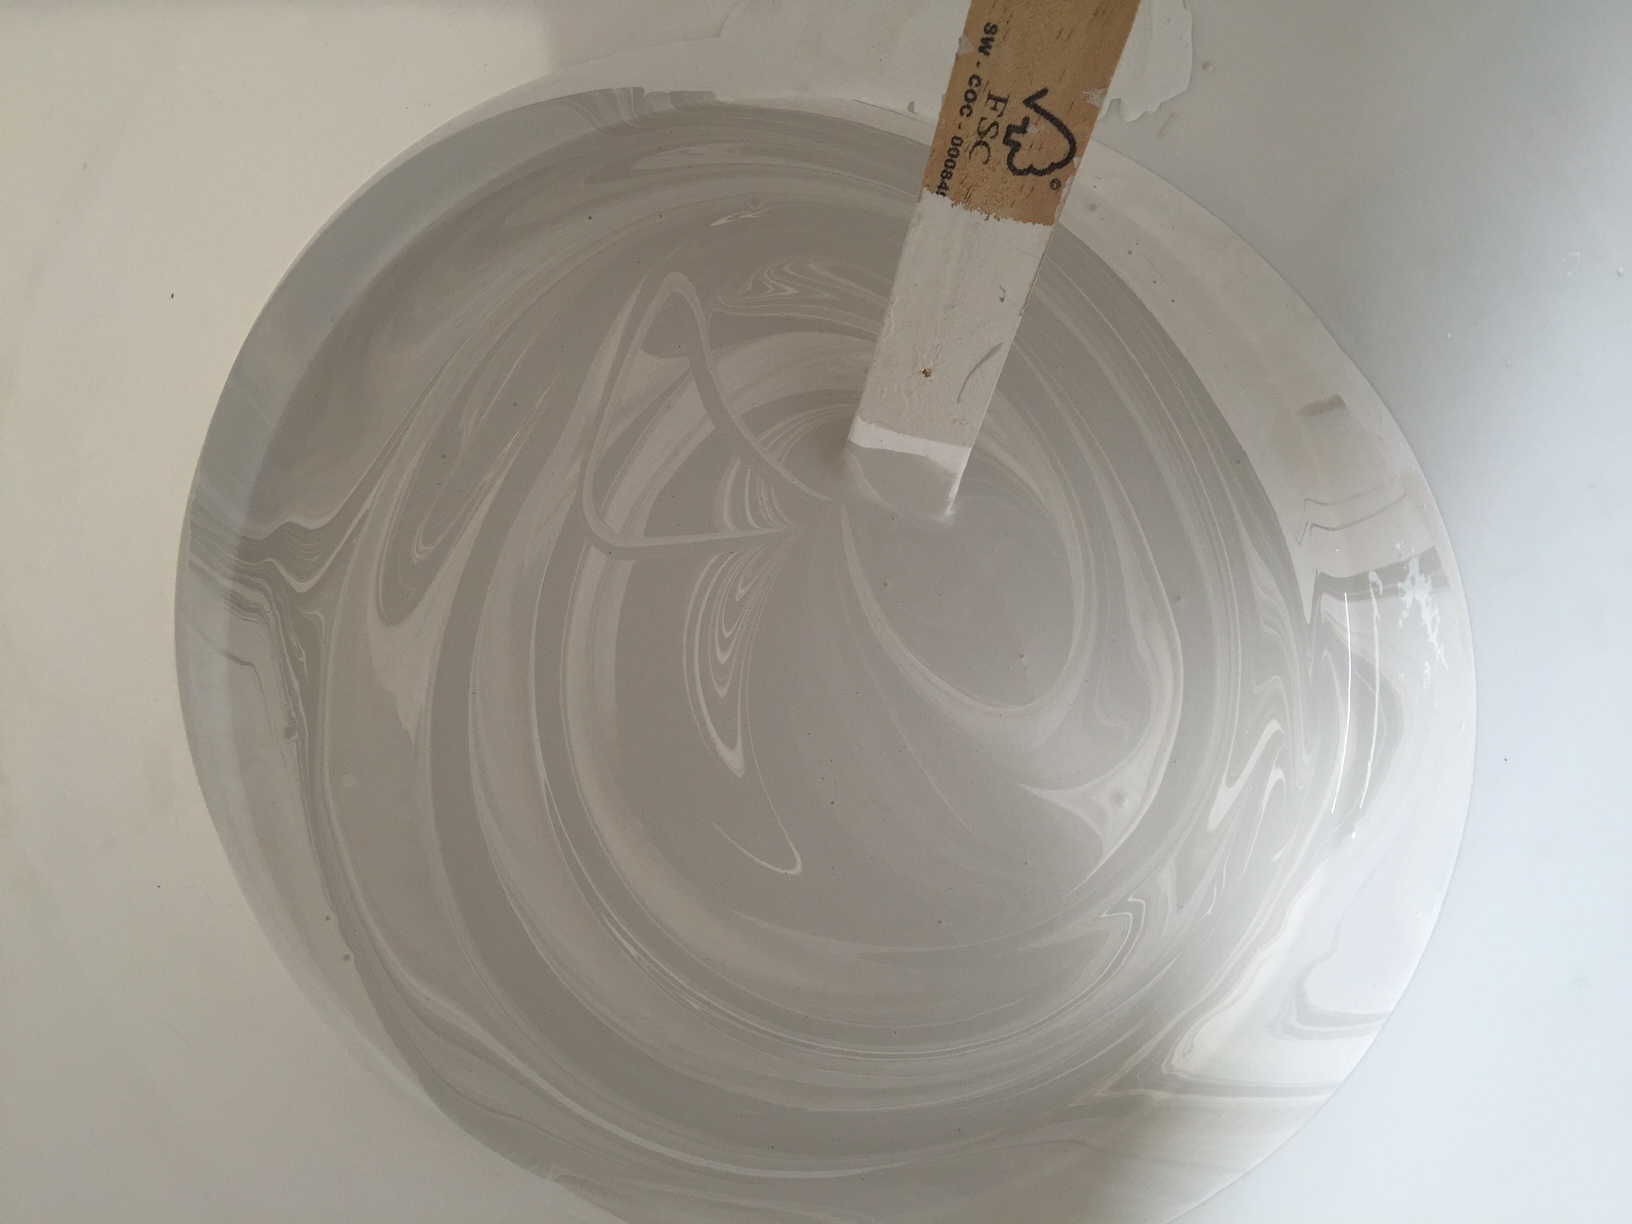
Using a couple of Fusion Pints that I had lying around, I created a custom blend after my driftwood wall was finished. I poured everything I had into a large 5 gallon bucket, and then slowly added a touch of Ash to darken up the Casement and Sterling that I used on the Driftwood Feature wall.

After a bit of stirring it blends super easily! I tested it on the wall, and it needed to be warmed up a bit- so I added a touch of Algonquin. Perfect!
I wanted to create a barn board headboard finish, and knew that I wanted grays to be dominant in the space.
We grabbed rough-cut Cedar boards. (This room smelled SOOOO good while working on this!) We cut everything to size, measured it perfectly and did the full installation! What a vision!
Step 1. Paint all the boards a darker grey. We used a grey Milk Paint similar to Gotham Grey. I think it is one of the most perfect greys out there and wanted it to be part of this room.
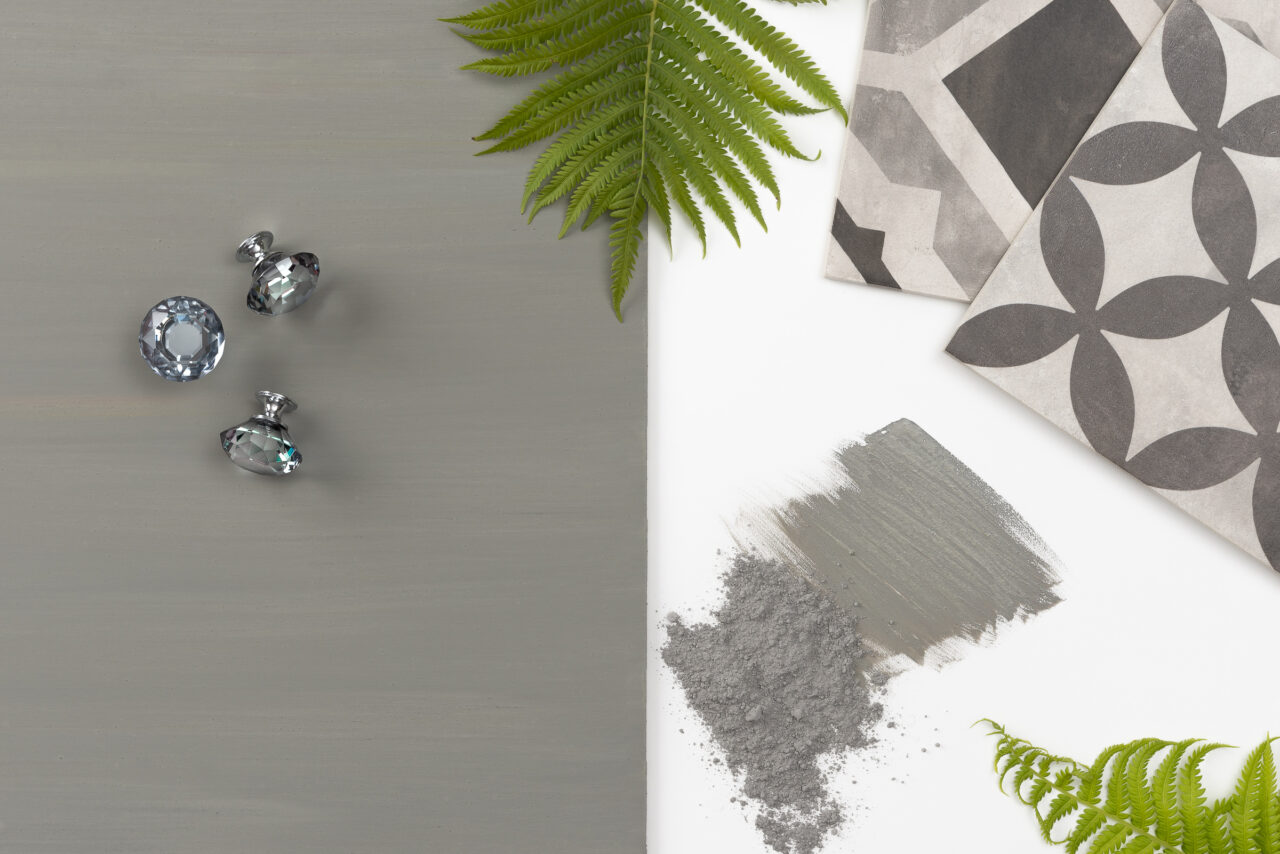
Here’s 1 coat of milk paint on the rough-cut cedar. Quite solid and opaque.
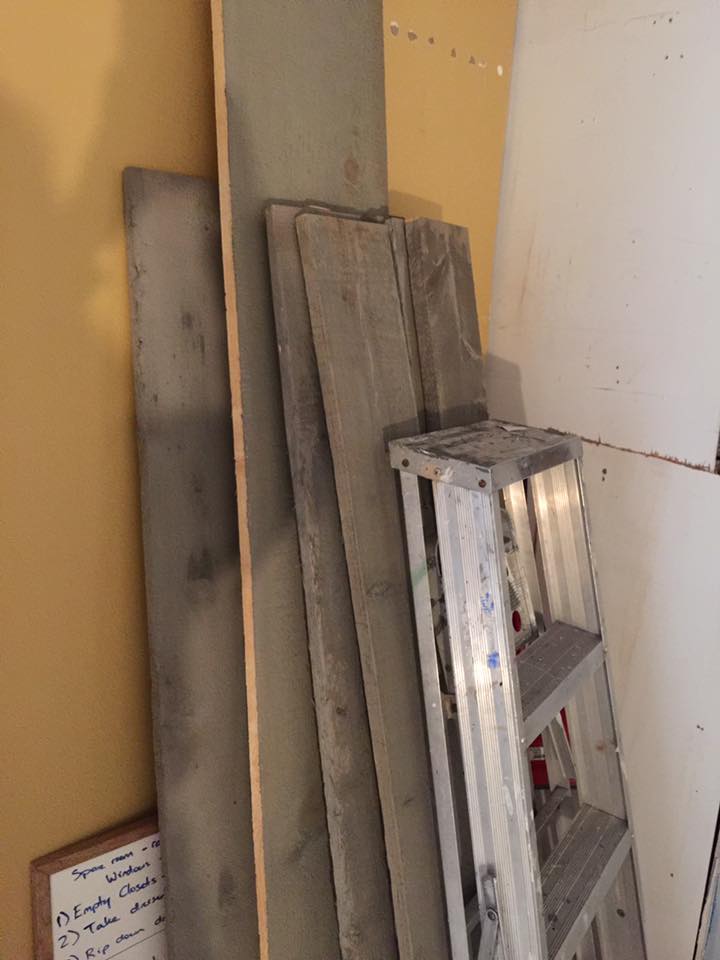
Step 2. We took Sterling and added 50% water. 1 Part Paint and 1 Part water to get a really watery coverage but an overall lighter gray.
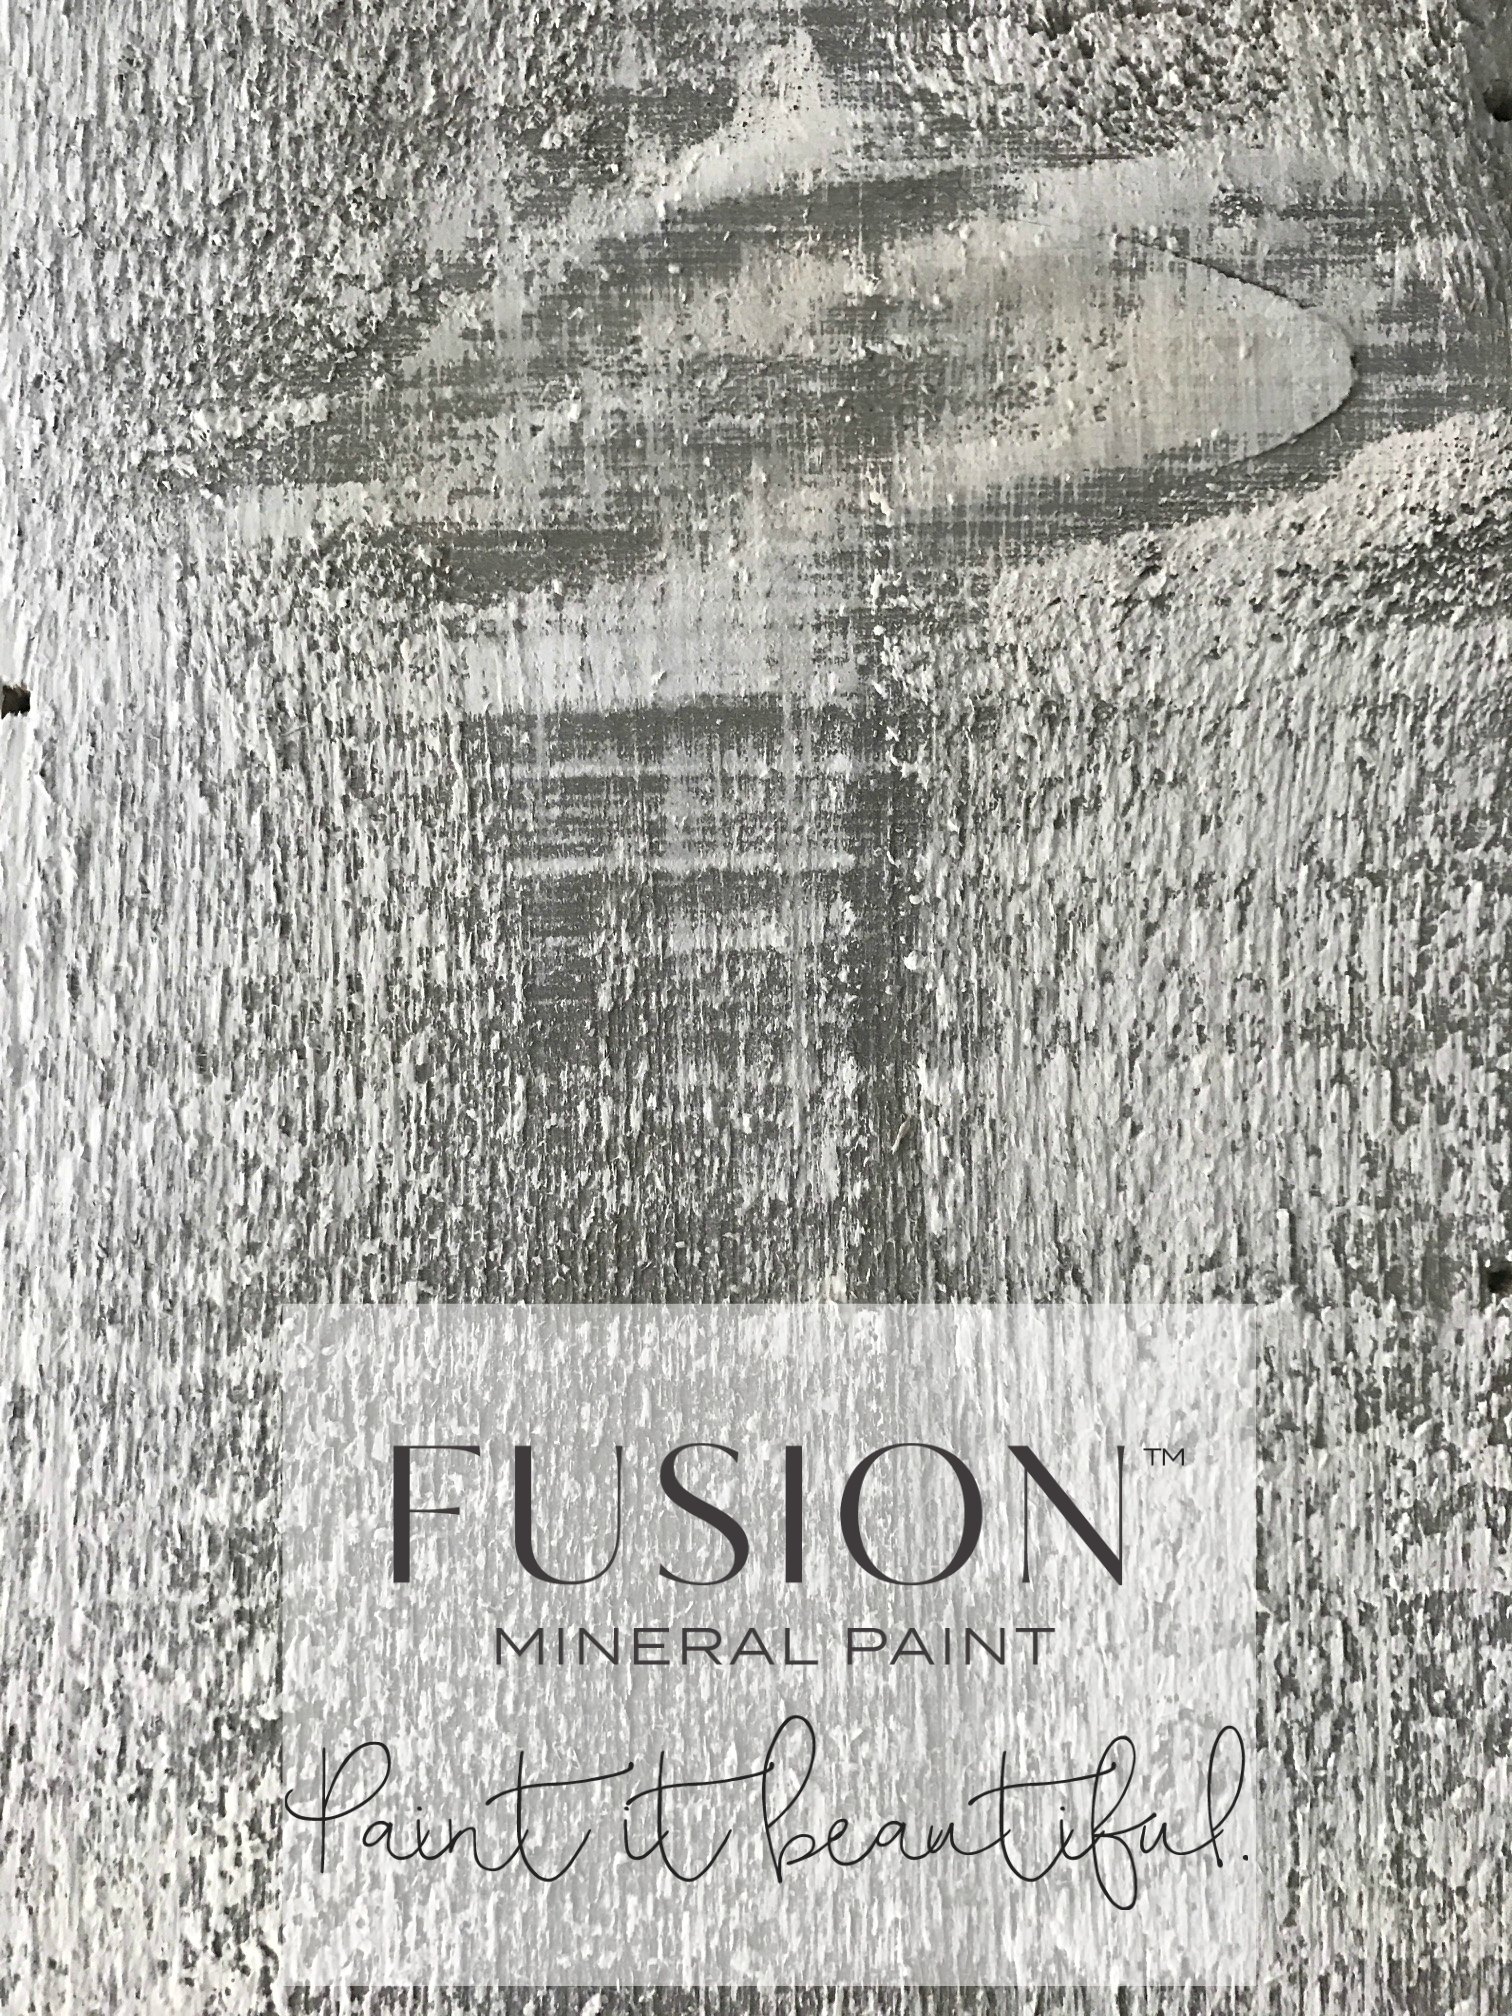
It gave an overall lighter look and was a good transition colour to the white dry brush step next. I really enjoy layering multiple colours at a time that are very similar in tone. It gives a real sense of dimension the more you layer and blend!
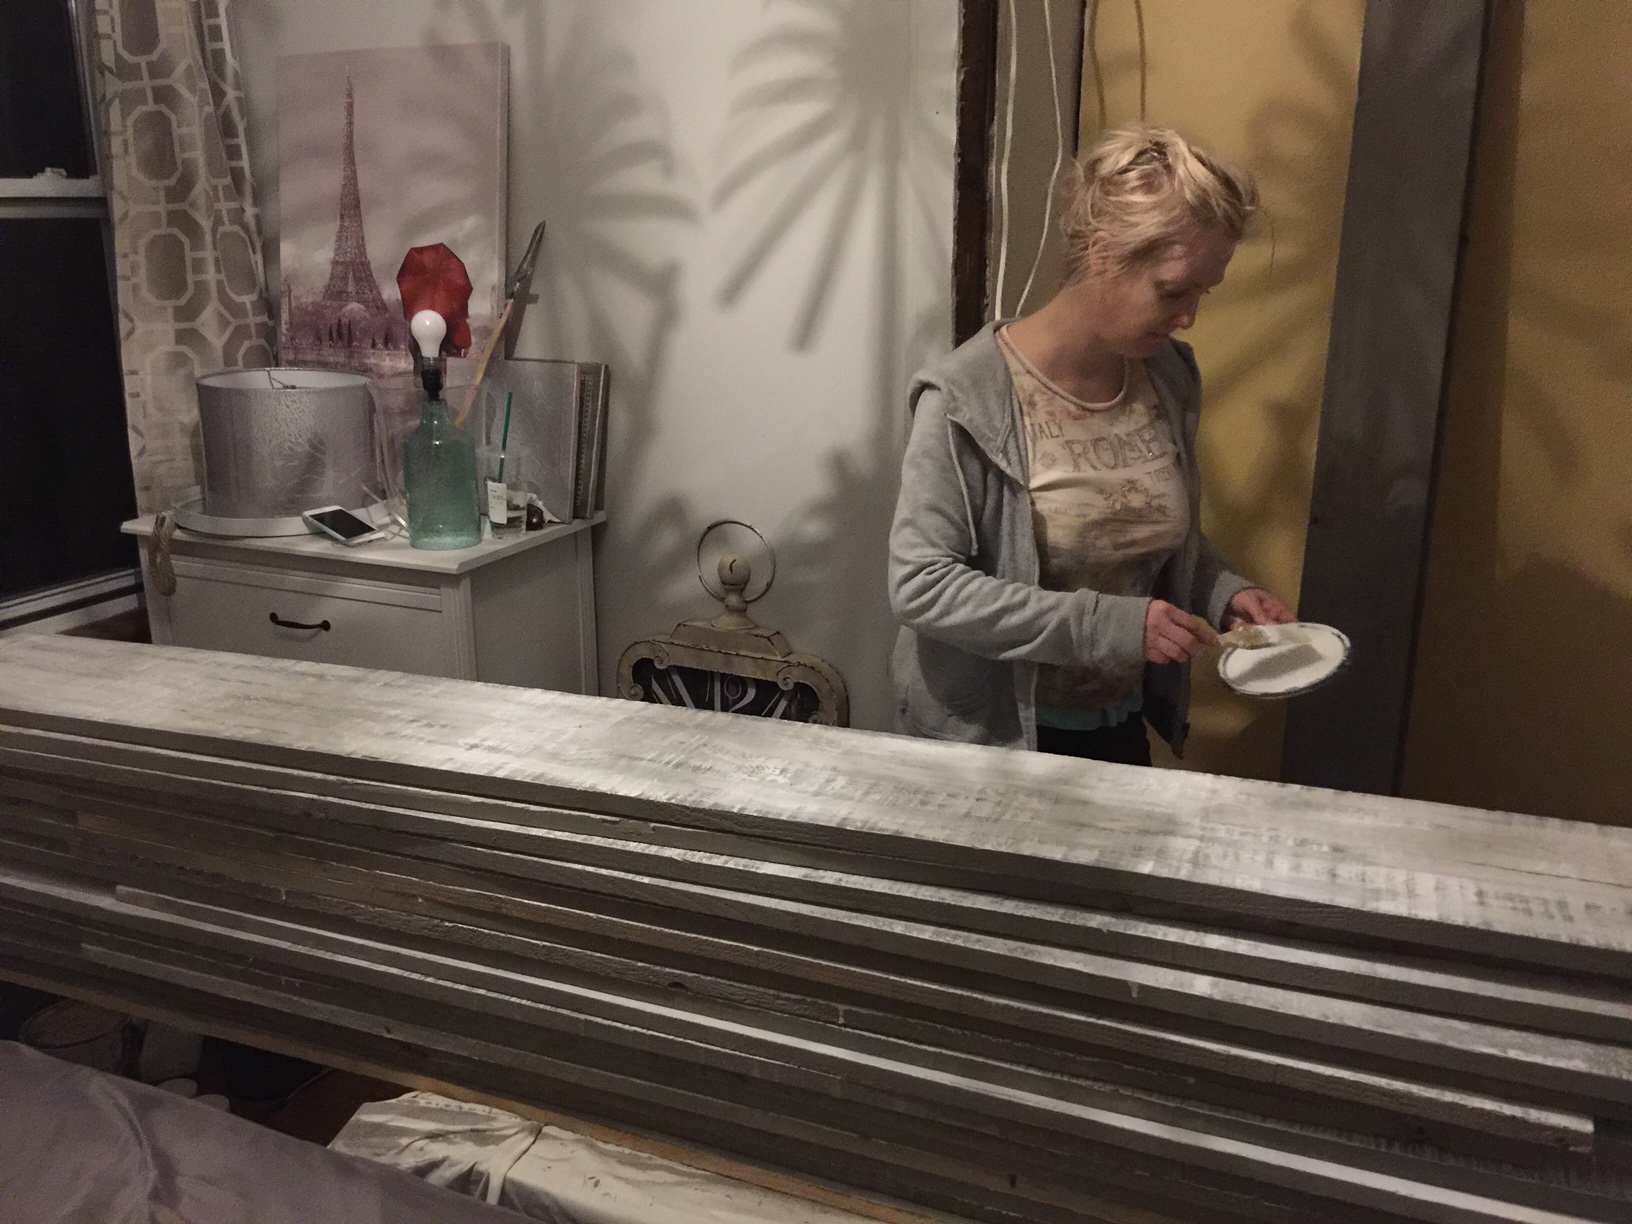
Step 3. Then we took Casement and dry brushed over top. Here is a photo of my mom Loree working late at night trying to finish painting up these boards.
How to Dry Brush
Literally just as it sounds! You want to lightly dip your brush into the paint, then remove most of it off the brush onto a piece of paper towel so the brush is virtually dry. Then, ever so lightly brush across, holding the brush horizontally to the piece of wood, dragging it across. Only the smallest amount of paint will be left behind on the areas that are the most raised.
I couldn’t be happier with the outcome of this Barn Board Paint Wall. A Rustic Farmhouse style floor to ceiling custom built headboard with built in reading light, meets Urban Chic with floral prints of blush and rose gold accents in the room. My guest room Oasis.
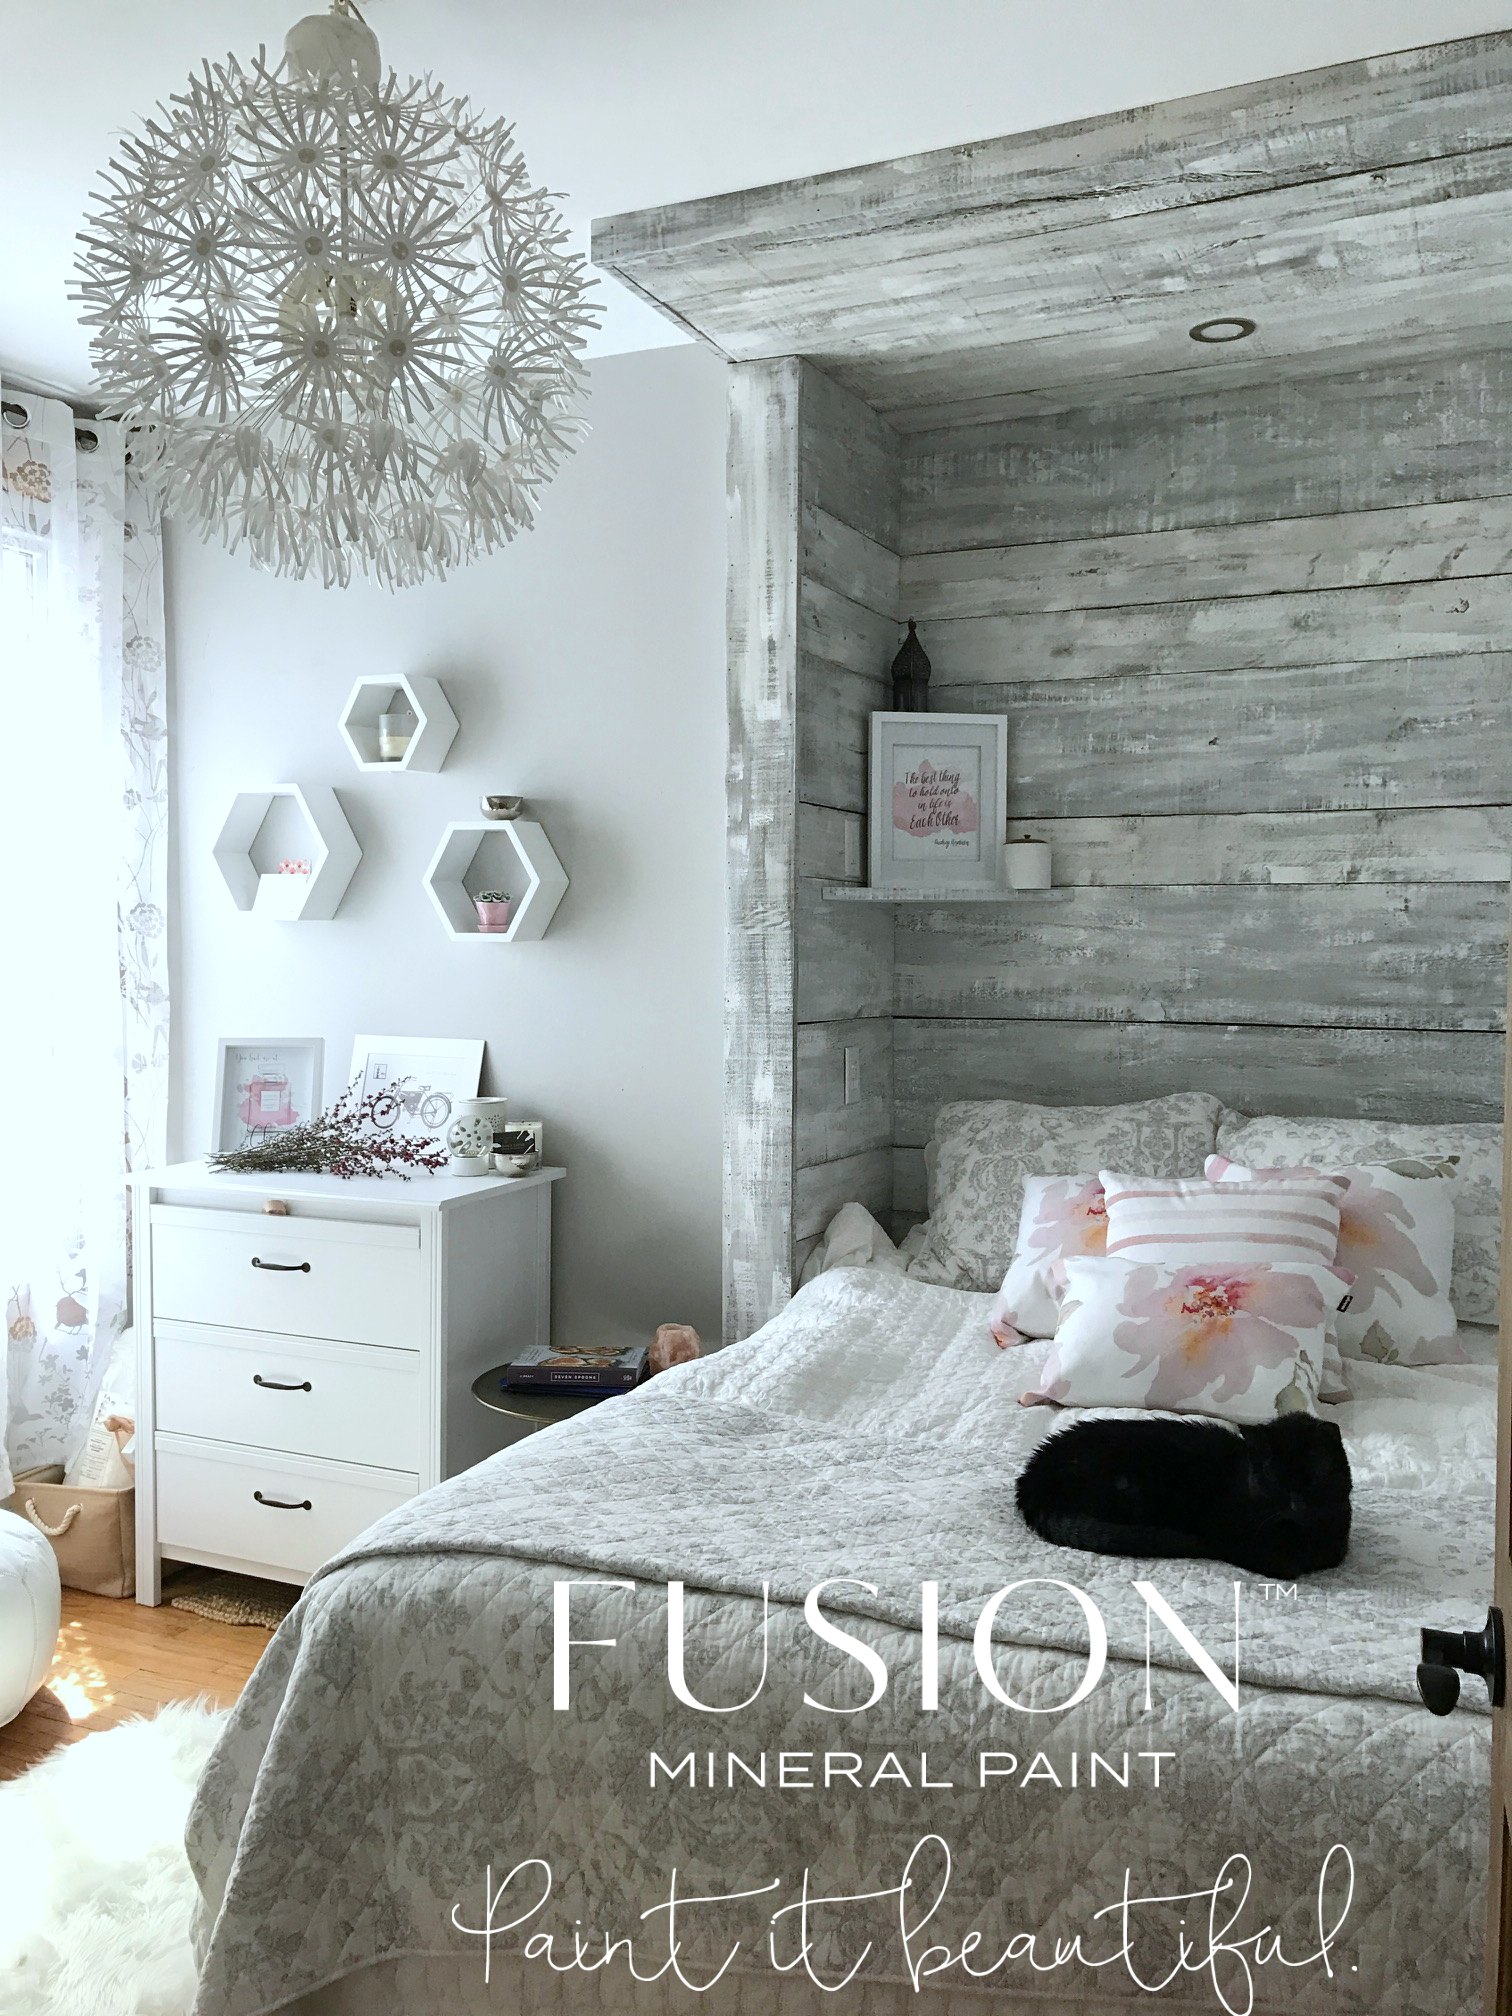
And that custom blend colour on the walls using some leftover paint turned out beautifully. It covered the Inglenook in 1 coat! I used about 3 pints to paint the entire room!
And there you have it, a Barn Board Paint Wall
By keeping the existing light fixture there were some extra savings here. As well as some inexpensive thrift store items as well as some other collectibles I’ve been storing up for a few years that all magically worked so well in this room!
I love these accent pillows by Craftberry Bush!
What is your dream makeover for your guest room?


when can I book in?
haha anytime!!
Well done! It is absolutely gorgeous. You must be so thrilled with the finished product.
Thank you- I am sooo pleased! It’s an absolute dream!