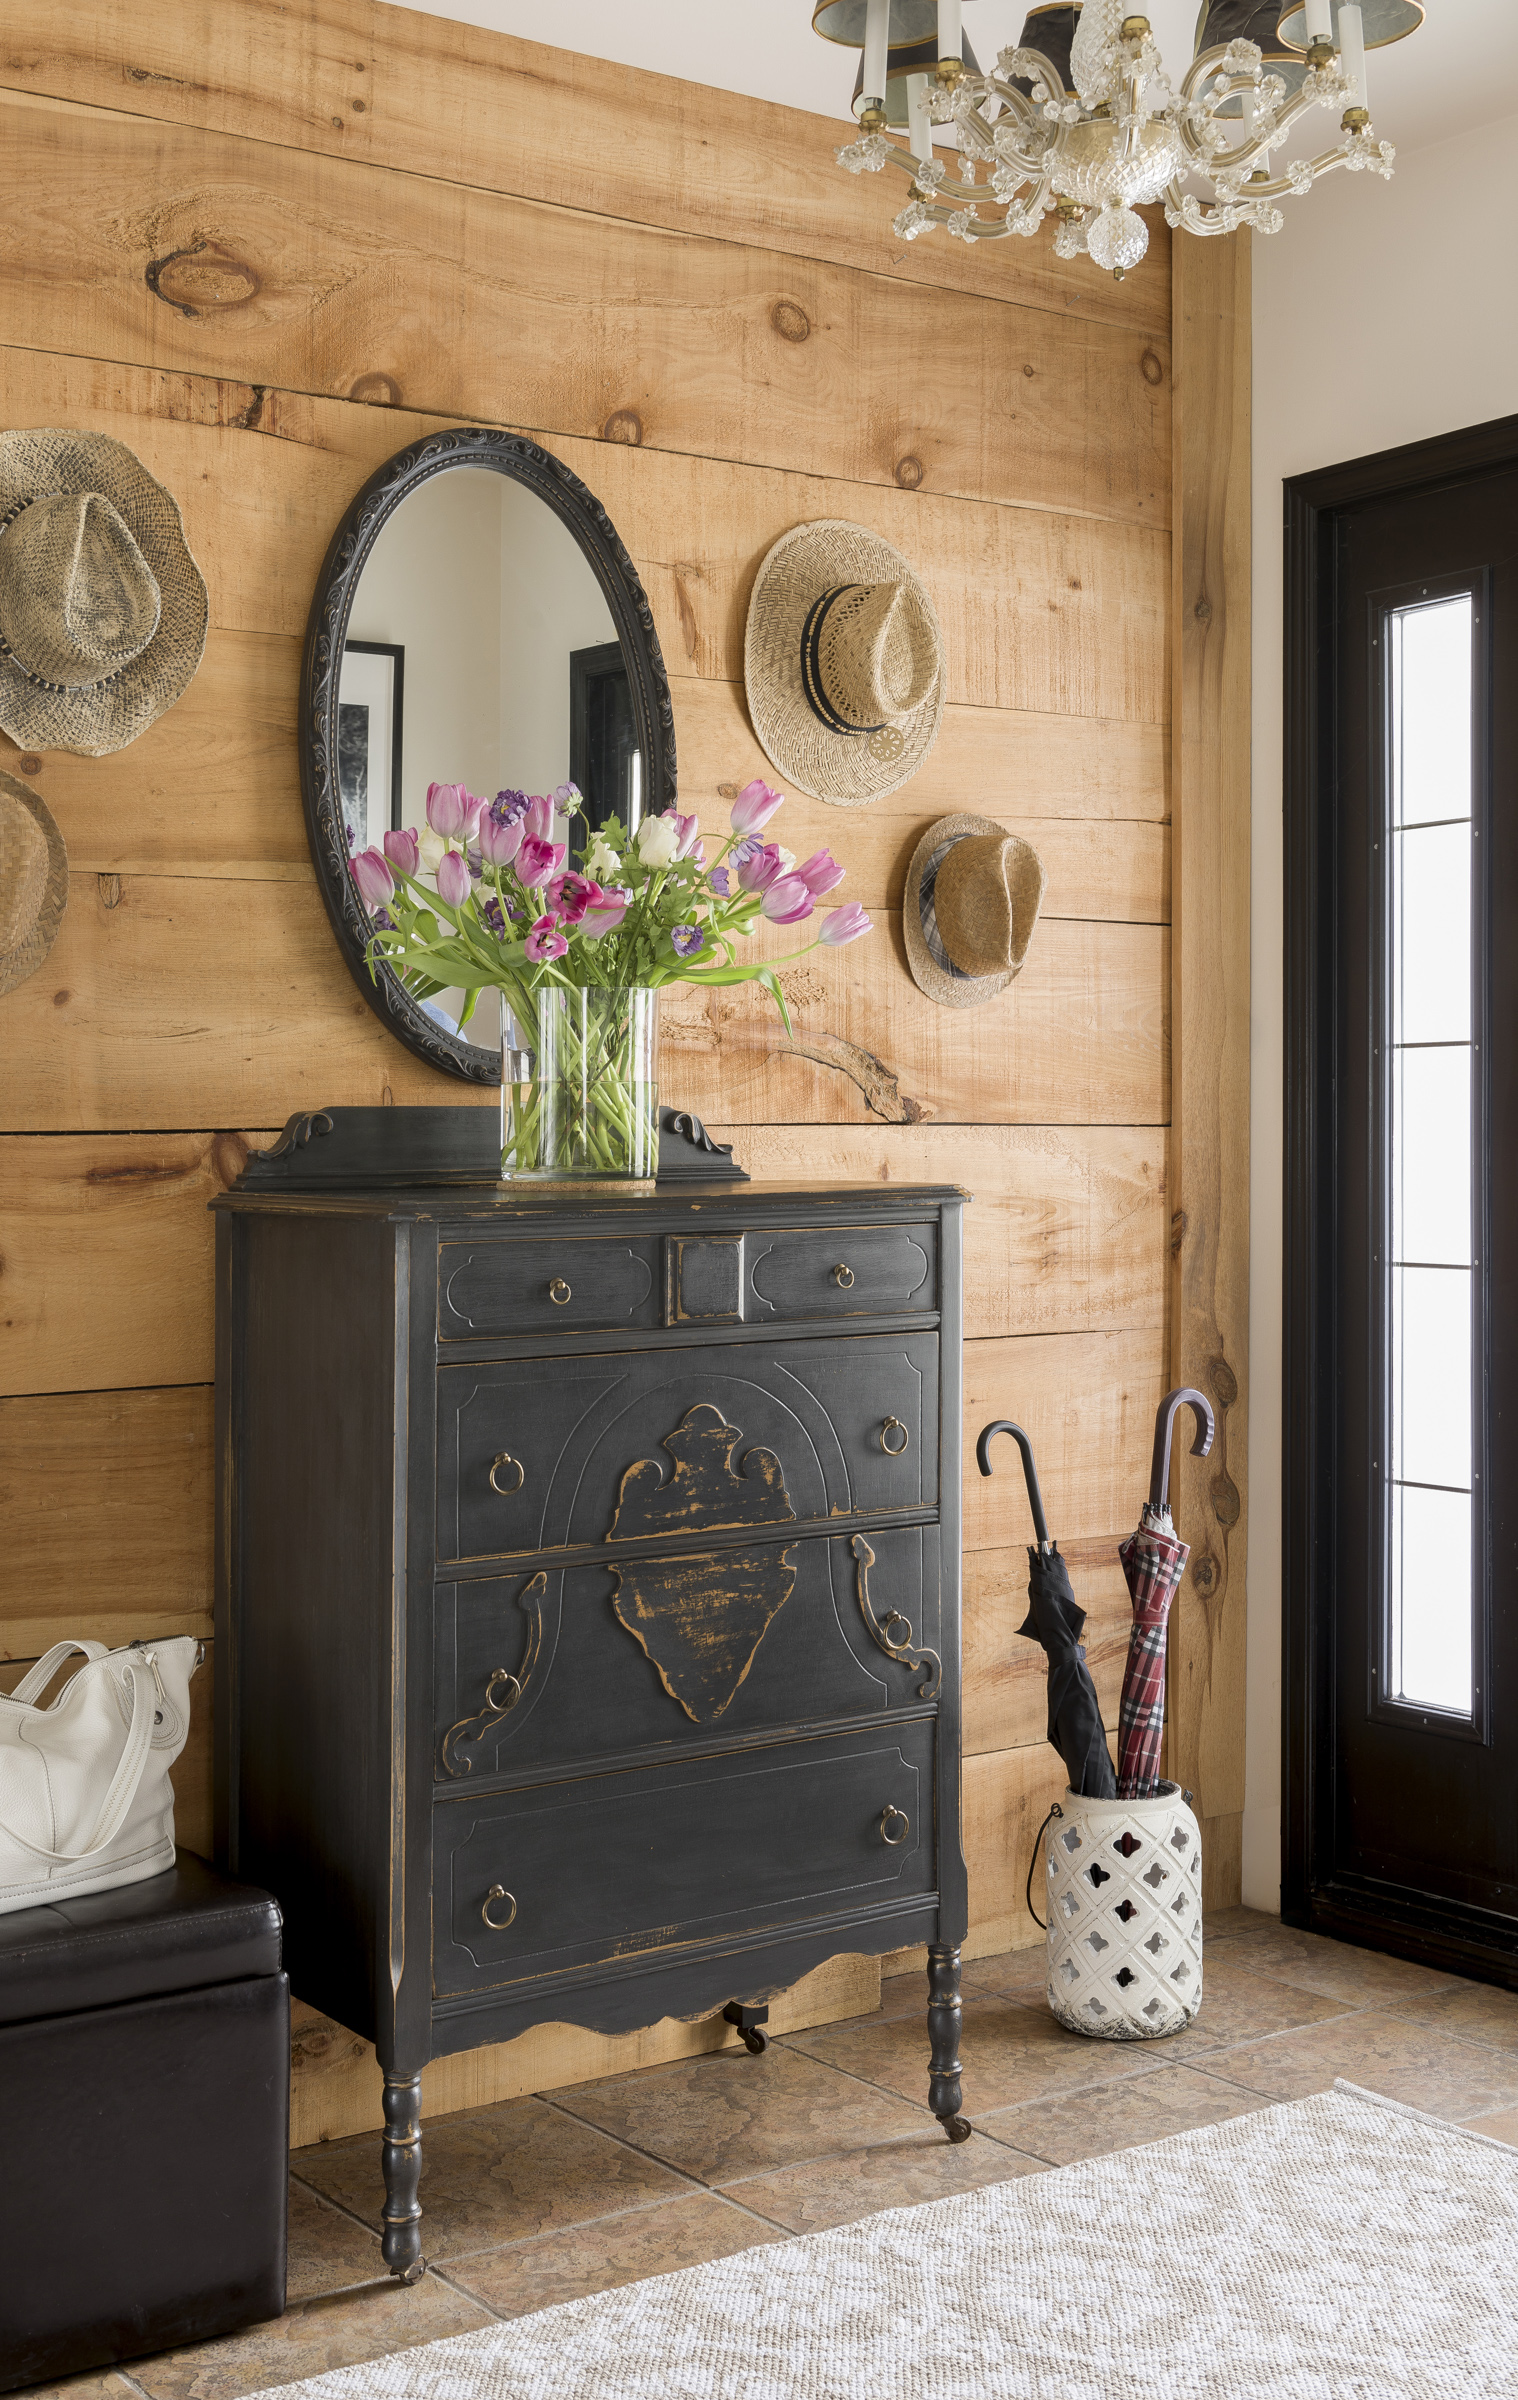
Getting a distressed look with milk paint is super simple and easy to do. Follow along to find out how. This beautiful tall dresser was perfect for the space in the hallway, but it needed some love, and a coat of paint to match the newly rescued console table.

List of supplies needed for this project.
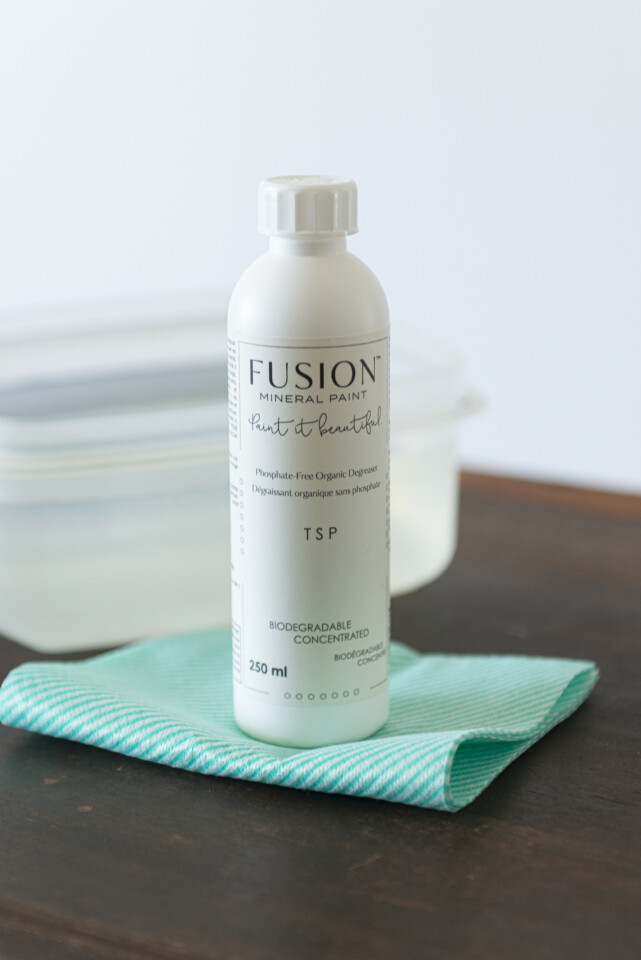
- TSP for cleaning your piece.
- Clean rags for cleaning and buffing wax
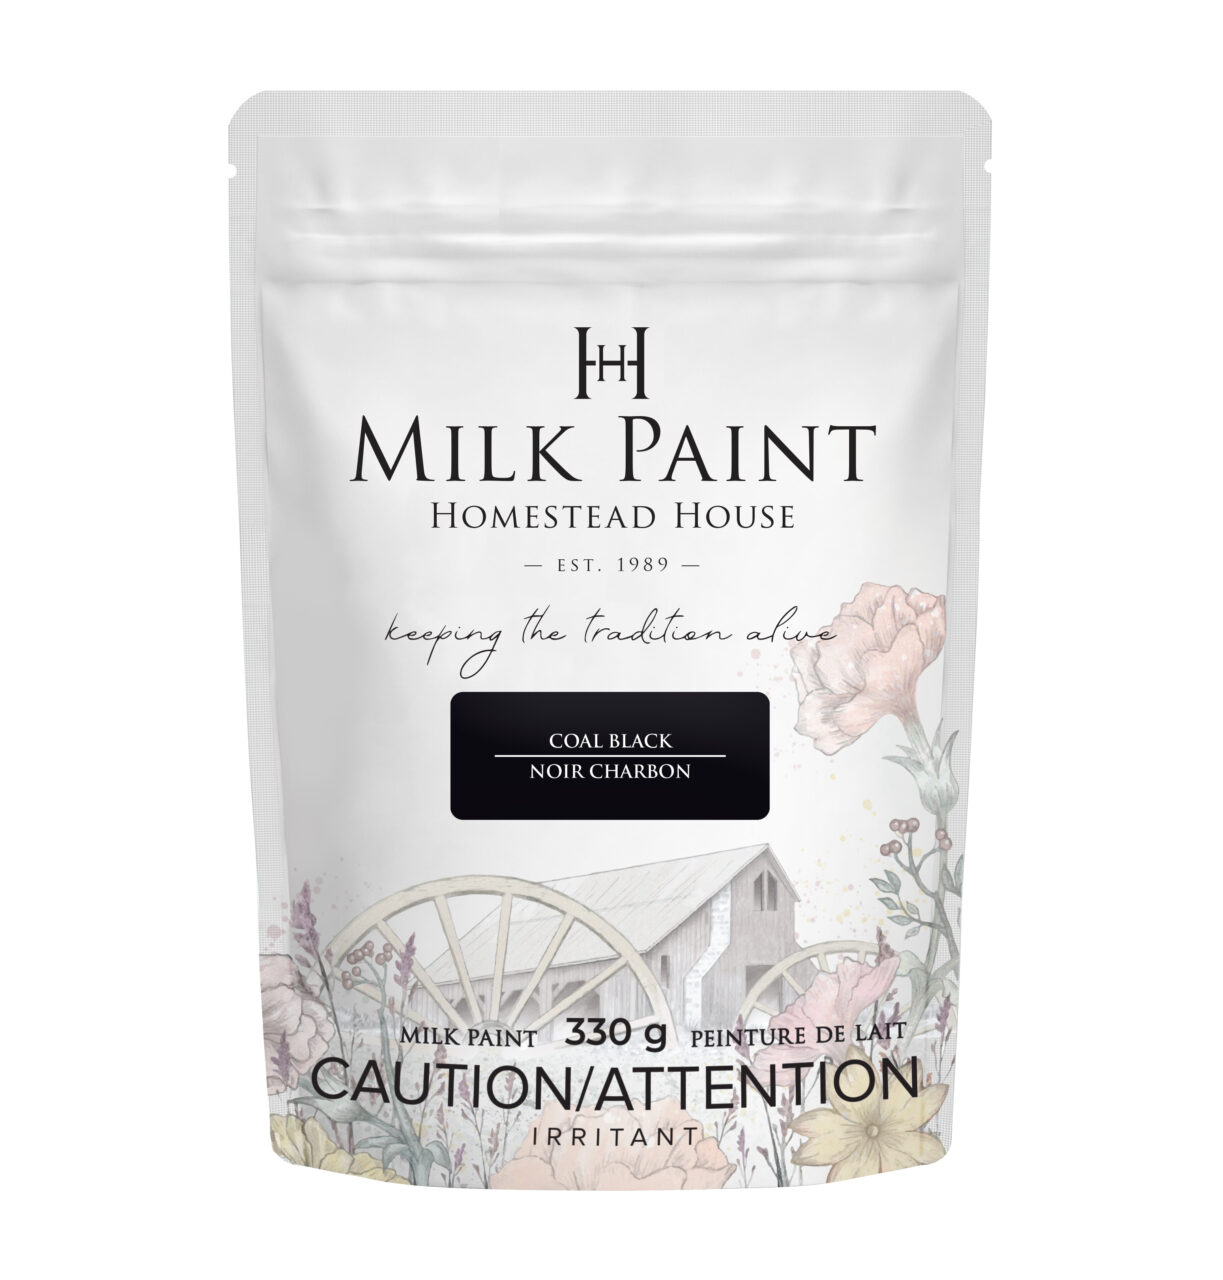
- Coal Black Milk Paint
- Staalmeester oval brush
- Antiquing wax
Coal Black Milk Paint was chosen to get the desired ‘antique worn’ look. Coal Black milk paint is jet black but with a softness, you just don’t get from regular paint.
PREP
Clean well with TSP and a rag to remove dirt and grease. Next Scuff-sand the dresser lightly, and then wipe down with a wet rag to remove any dust. To ensure you get no chipping at all. Sand well and use Ultra Grip in your first coat. The recommended ratio is one part mixed milk paint to one part Ultra Grip. For this piece, we didn’t mind if we had chipped, so just a good clean and scuff sand was all that was needed.
PAINTING WITH MILK PAINT
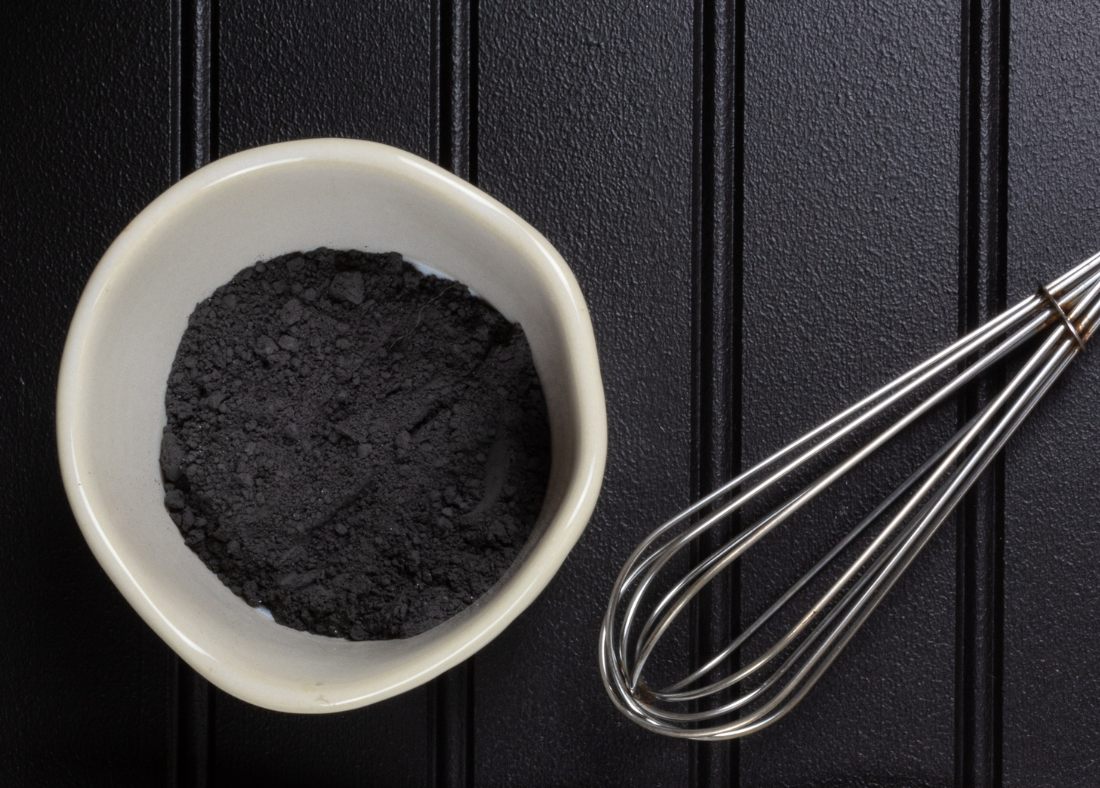
Using Homestead House’s Coal Black milk paint, prep enough to paint the dresser. For a dresser this size it took approximately 6/7 tablespoons of powder per coat. As with all Homestead House milk paints, you’re prepping equal parts powder and water, then stirring until you have a smooth consistency. It doesn’t take long at all, just a minute or two!
If you are new to Milk Paint be sure to check this out > How to mix milk paint
ACHIEVING THE DISTRESSED LOOK.
Once the paint is dry use a sanding sponge to distress the areas of interest including the raised panel and the edges of the drawers. You should try to choose the places that would get worn naturally for an authentic look. Milk Paint is easy to distress, so you get the look you want. To reduce dust you could distress after applying a topcoat like Hemp Oil, but for this piece, we wanted to use our furniture wax. You can easily get the distressed look with Milk Paint.
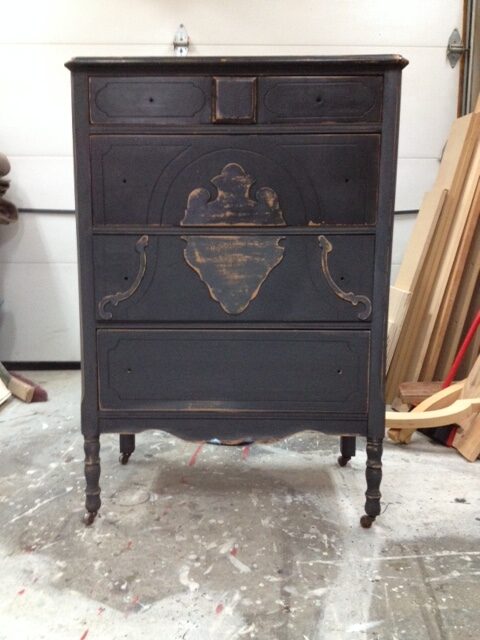
You decide on your project how little or much distressing you want!
SEALING MILK PAINT
We sealed the dresser with Homestead House Antiquing Wax. Sealing using our luxurious waxes is simple, either brush on or apply with a cloth. We then removed all the excess and buffed to a pretty low lustre sheen. The hardware was re-attached and put in place in the newly refreshed entryway.

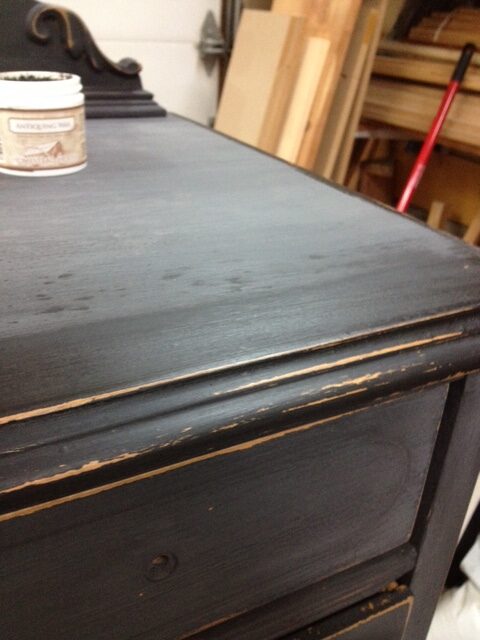
Our luxurious waxes can be applied with a brush or a cloth. After allowing the wax to sit for a few minutes, wipe away the excess wax and buff it to your preferred sheen. Our waxes are made from a 40-year-old family recipe right here in Canada. They are museum quality, buttery smooth, and have a very low odour.
Refreshed Entryway with Homestead House Milk Paint
A simple makeover using Milk Paint that anyone could do. Distressed to perfection and looking like an antique rather than a newly painted piece of furniture. Using the same colour across two different product ranges gave this entryway a fresh and harmonized look.
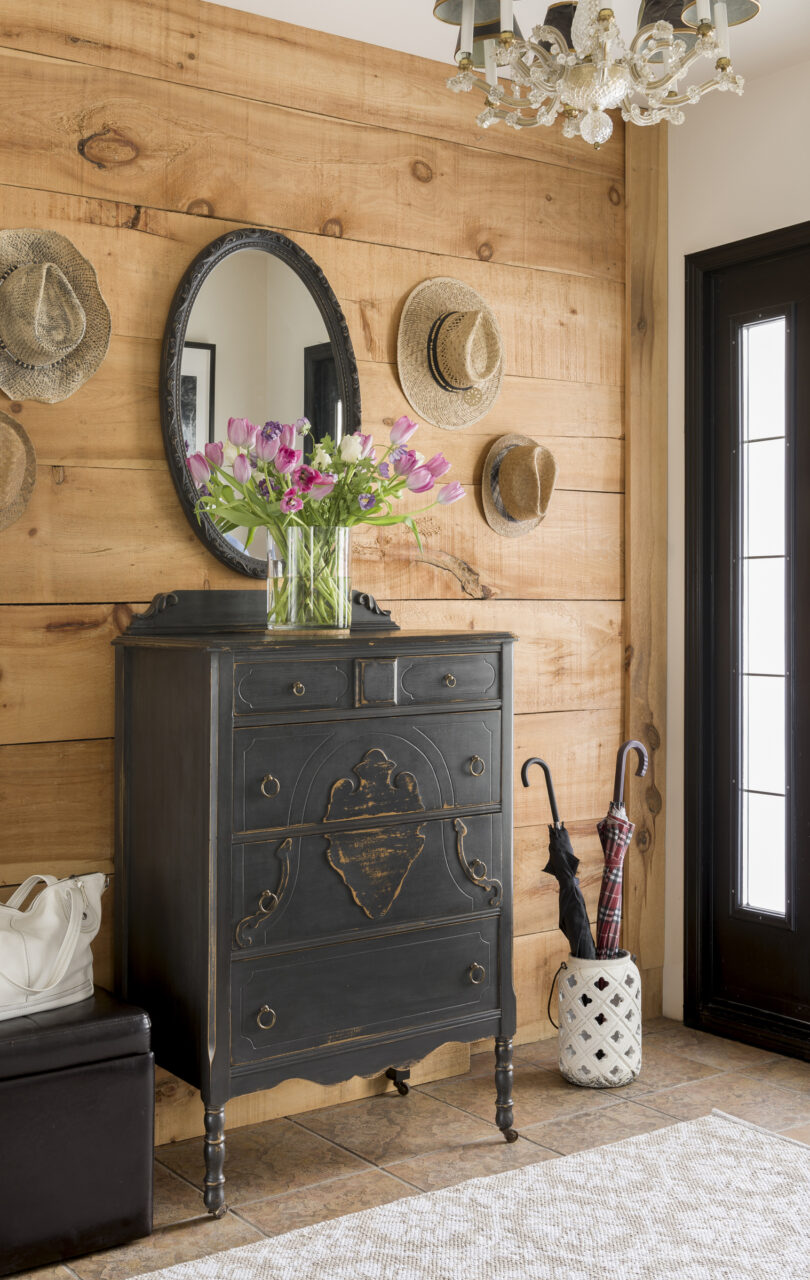

You can see both pieces here, and they look right at home with the other black elements in the space like the door trim, the doors, and the art.


Would you have done two of the same colours in the same space? Or done a complementary colour palette? Do you like the Distressed look? Let us know in the comments below.
More Milk Paint projects
See more Milk Paint inspiration here on the blog!
- How to paint metal with Milk Paint
- How to wax Milk Paint
- Sealing Milk Paint outdoors
- 3 Top Tips for using Milk paint
- What is Milk Paint
Are you looking for more information on getting started with Milk Paint? Click Here


