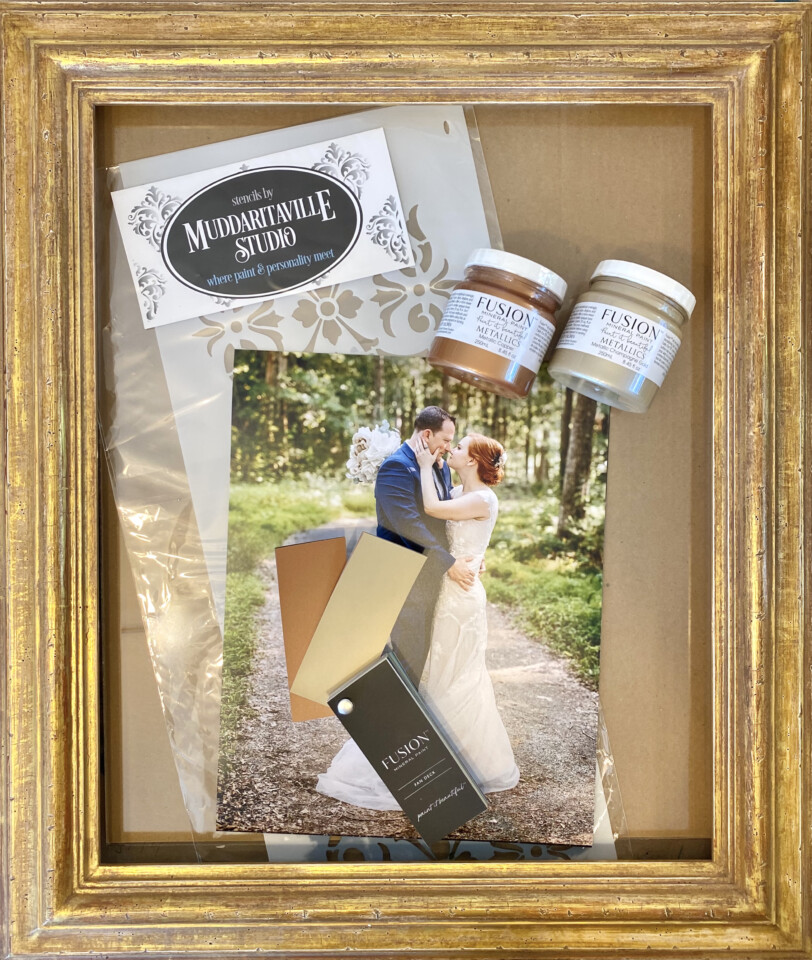
In June this year our daughter Mia and fiancé Paul tied the knot in a gorgeous woodsy setting, followed by a reception in a fabulous barn. This was our first wedding, with so many special moments with family and friends. We waited quite impatiently for the photos – but over 450 gorgeous images arrived weeks later. So worth the wait. It was difficult to chose “the one” but I did it and love this one. I wanted to frame this wedding portrait it in a creative way, using this gilded frame I had made years ago and Fusion Mineral Paint with a Muddaritaville Studio stencil. I decided to create a stenciled glass picture frame mat.
Let’s do this!
BEFORE YOU BEGIN!
If you have never painted in reverse on glass, click here to hop over to my Getting Started page. Then return here.
MATERIALS
Framing glass (I had to have my piece cut, but you can use the one already in a frame)
Picture frame & photo
FUSION MINERAL PAINT
Metallic Copper & Metallic Champagne Gold
Staalmeester Felt Roller & Handle
OPTIONAL Fan Deck
MUDDARITAVILLE STENCIL
Stencil brushes, paper towels, rags, glass cleaner, painters tape, scrap clean paper, ruler, pencil, blade, double-stick tape
NOTE! You are working on regular, easily breakable glass, with edges that can cut your fingers. So, handle with care.
STEP 1
Clean and dry the glass.
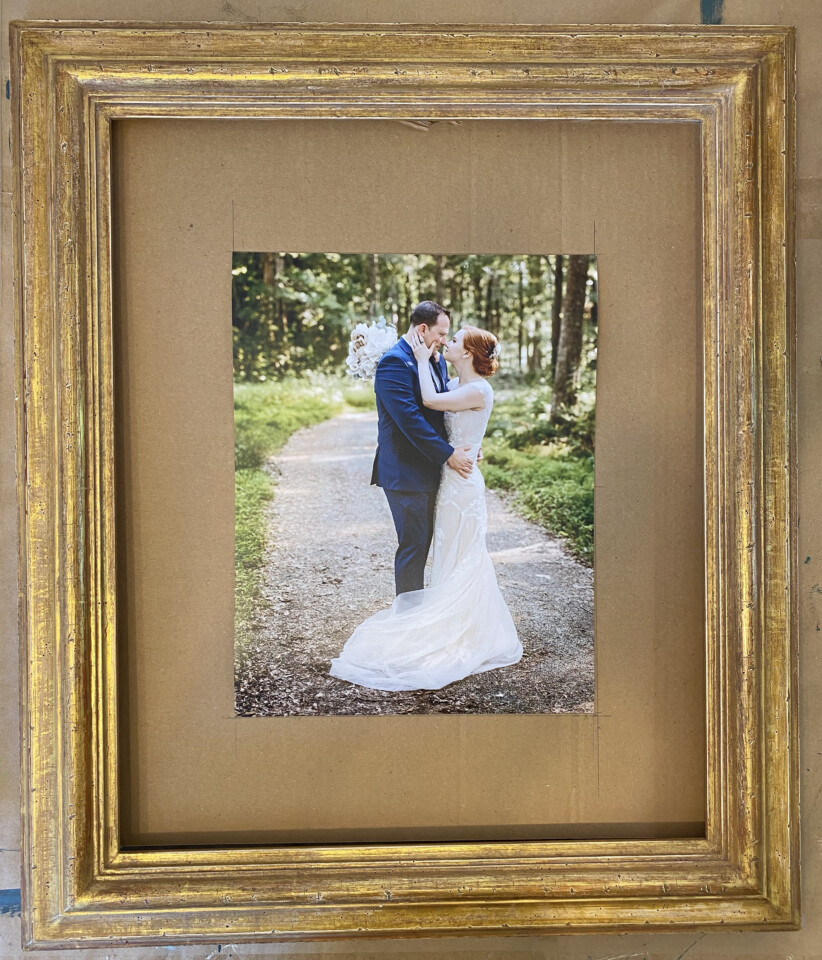
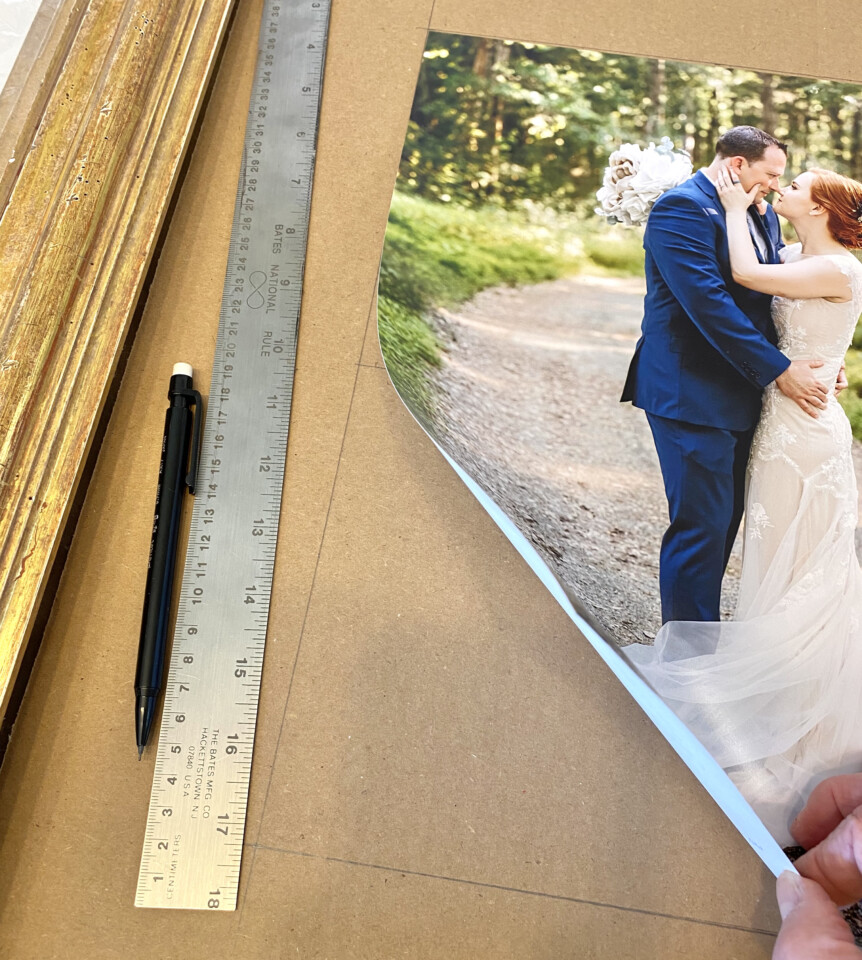
On a clean piece of scrap paper (or in my case, the cardboard that wrapped my newly cut glass) find the center of the framed area and mark it in pencil on the paper.
STEP 2
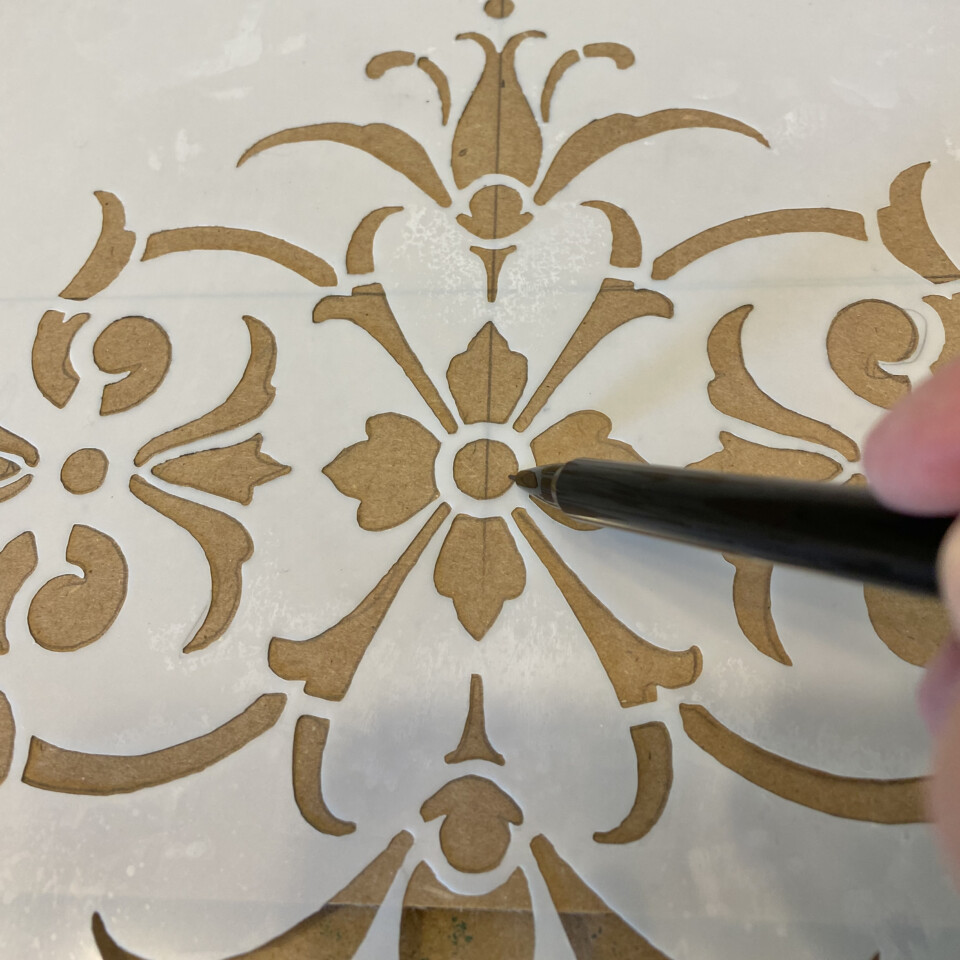
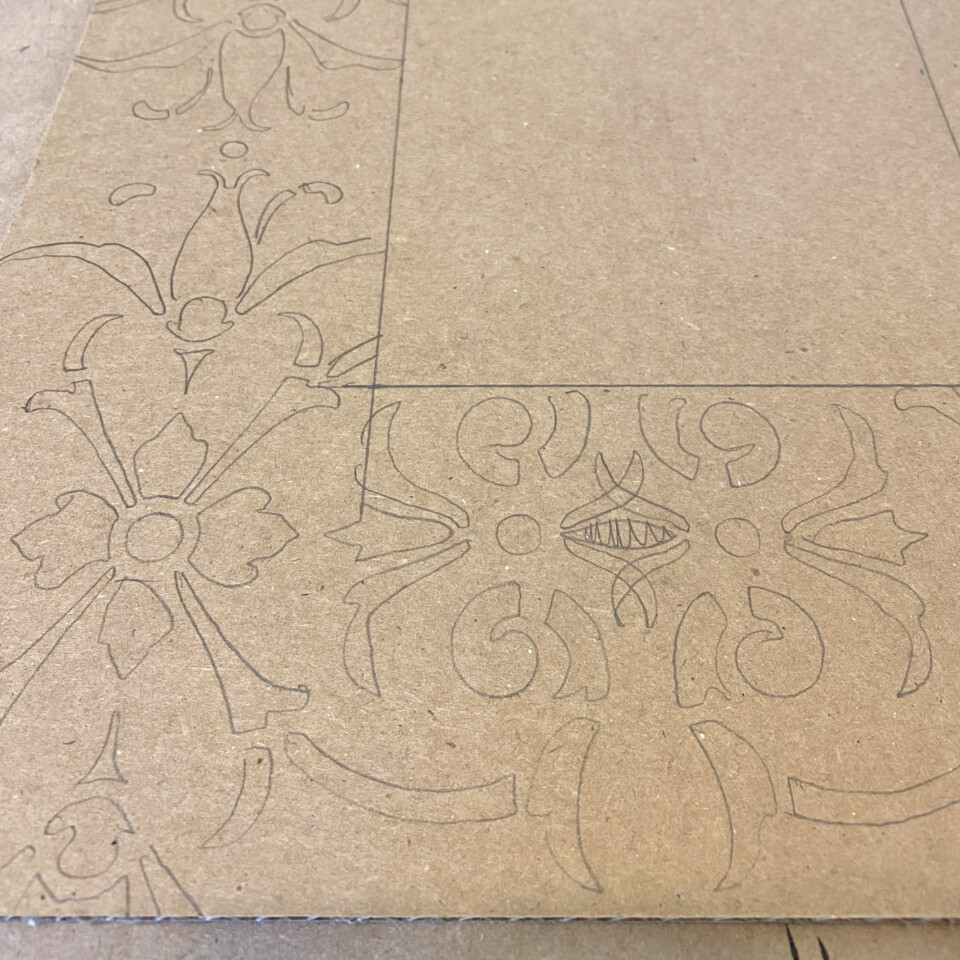
Take the time to lay out the stencil pattern around where the photo will go. Use a pencil to trace out the pattern, beginning in the center to be certain the design will look amazing. It is totally worth it to do this.
STEP 3
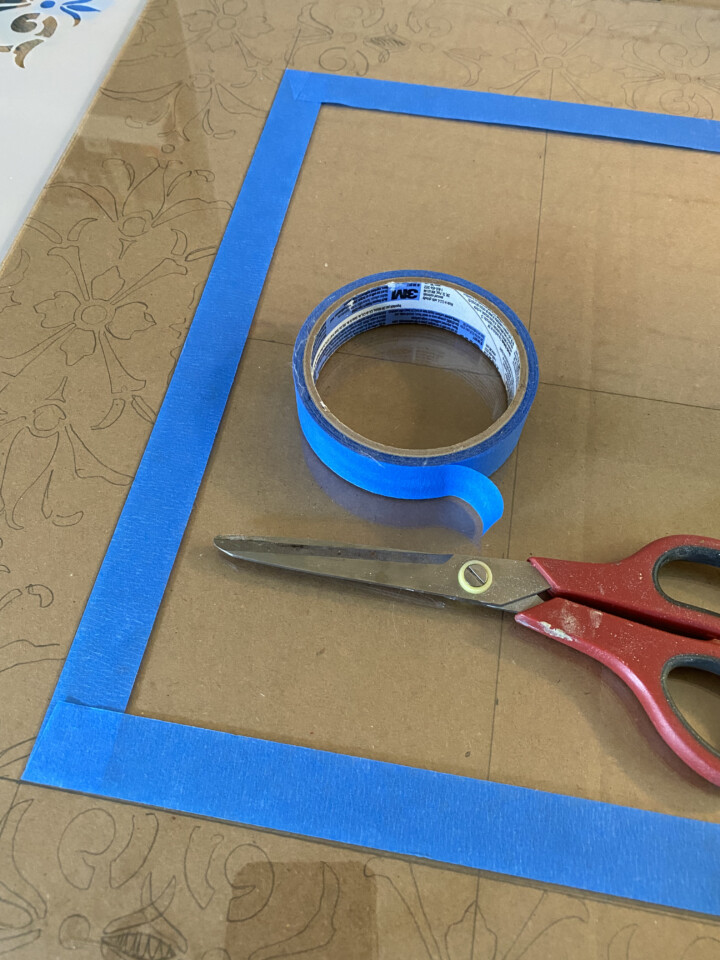
Lay the glass on top of the paper pattern. Tape just inside the rectangle to keep from stenciling beyond the edges.
STEP 4
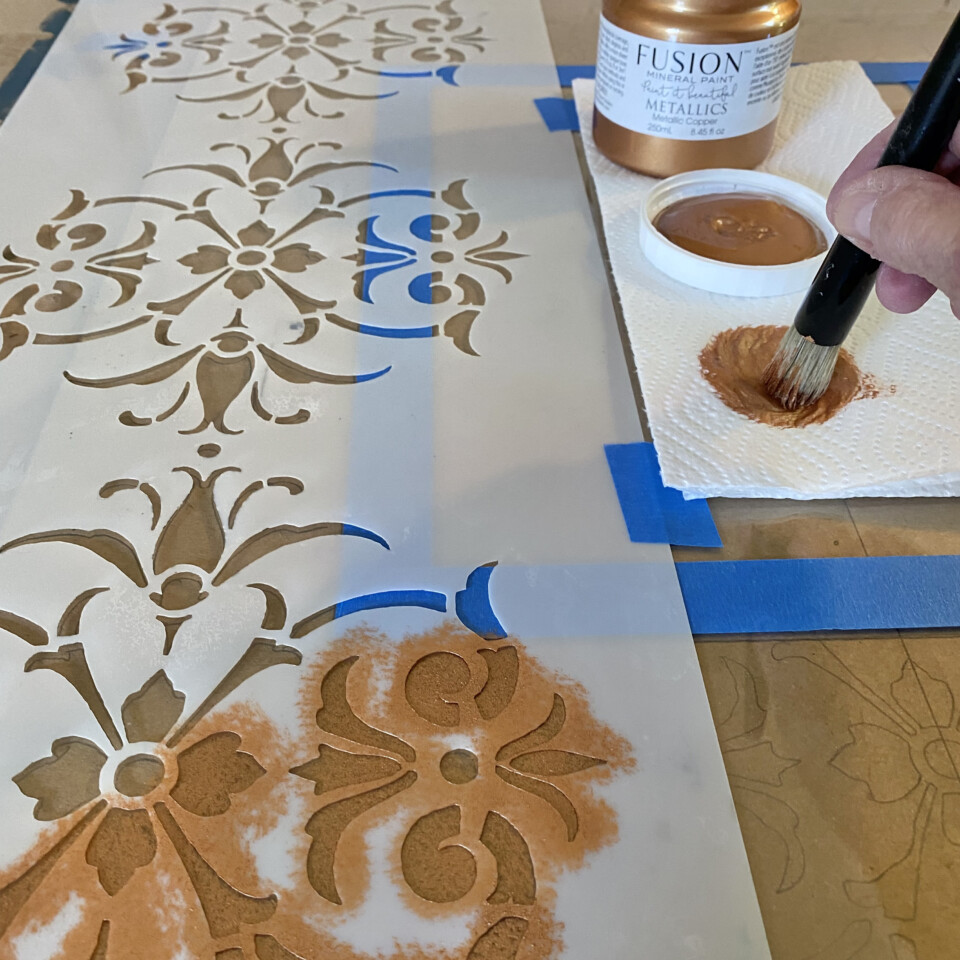
Lay the stencil on the left side and tape it down. Use the Metallic Copper paint to stencil the pattern.
Dip just the tips of the stencil brush into the paint and use a swirling motion to offload the paint onto paper towels. Resist the urge to skip this to be sure you don’t push paint under the stencil. Use a tapping motion to lightly stencil over the pattern. When you finish the first layer, leave the stencil in place and let the paint dry well. Stencil another coat.
Gently remove the stencil and move it over and position it over the penciled paper pattern you traced. Tape down and continue stenciling. Let dry well between coats.
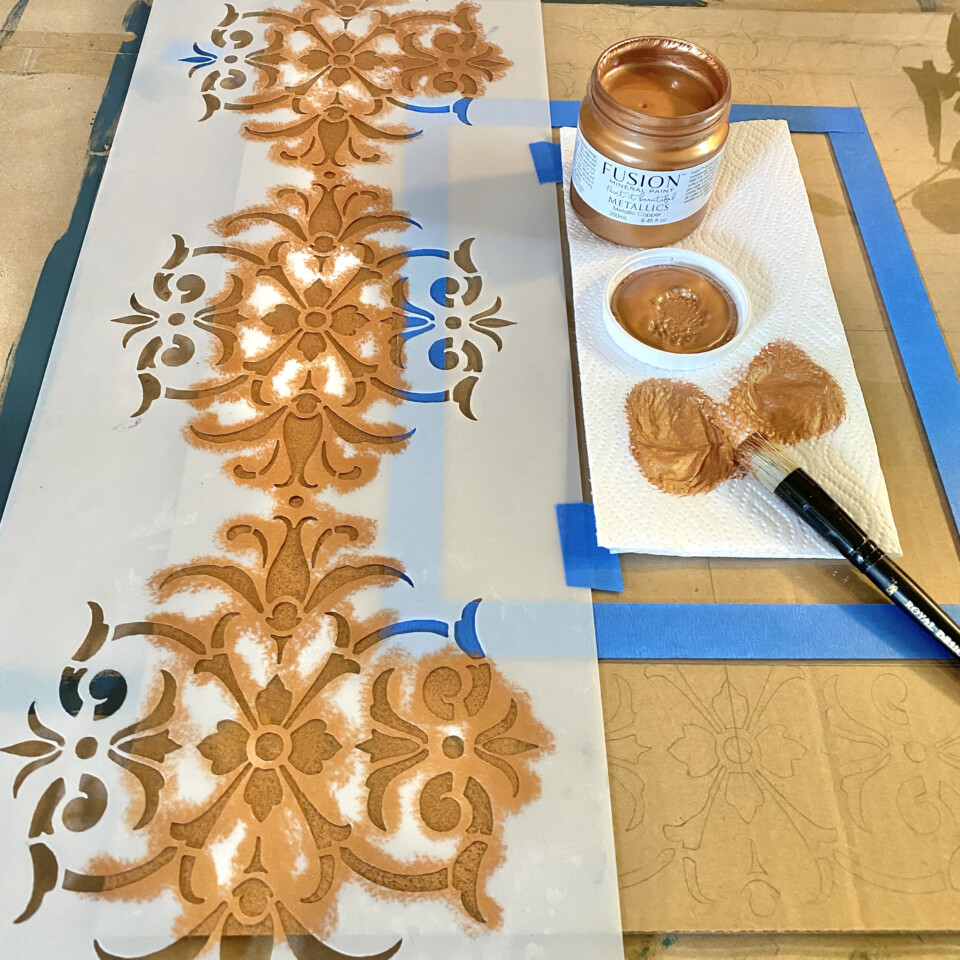
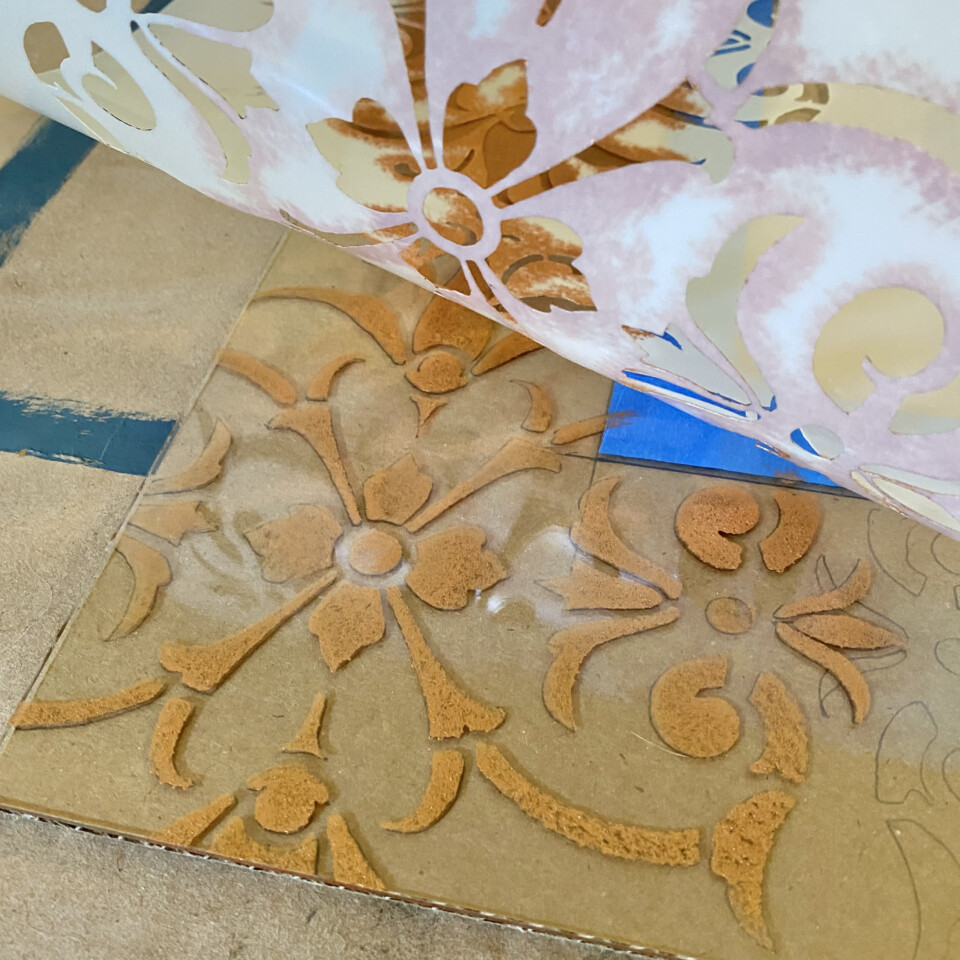
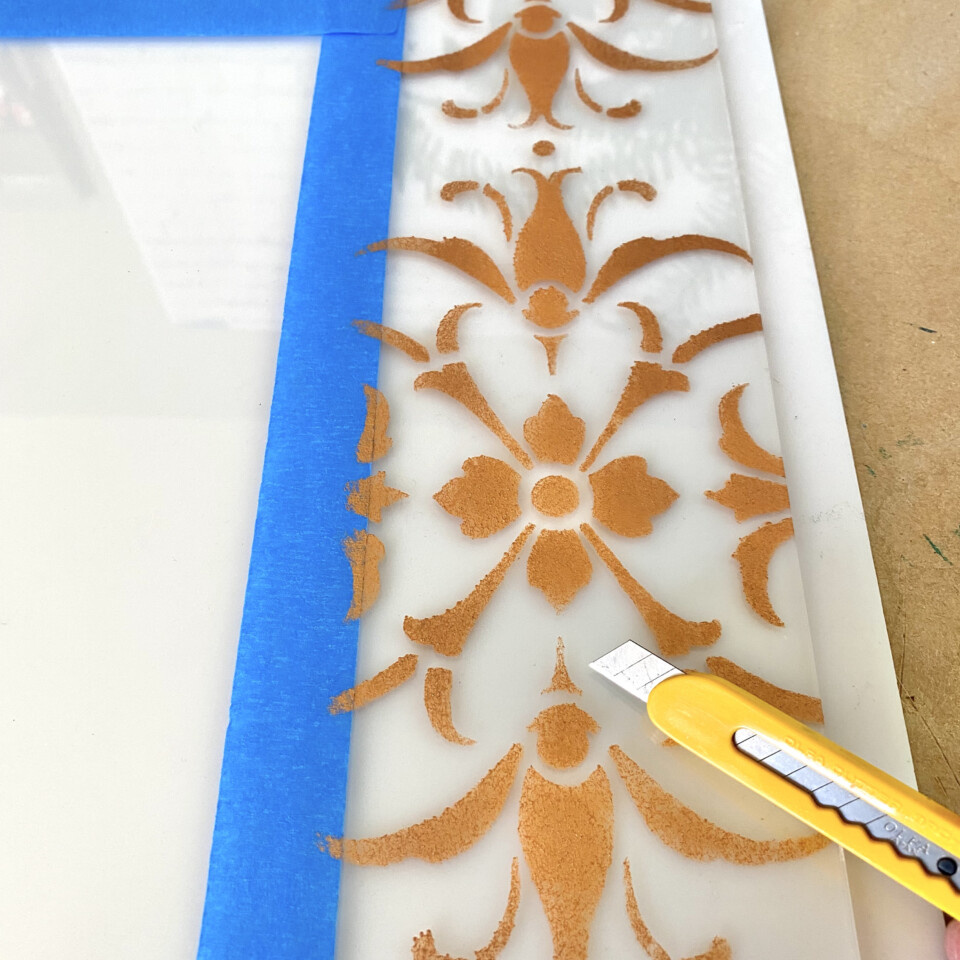
PRO TIP Once the paint is dry you can flip it over onto a light piece of paper or fabric to see if there are any goofs you want to correct. If you missed a spot, replace the stencil and stencil it in. If there is a spot you don’t like, just use a blade to gently scratch it off. Don’t go crazy, though. We want this piece to have handmade look.
STEP 5
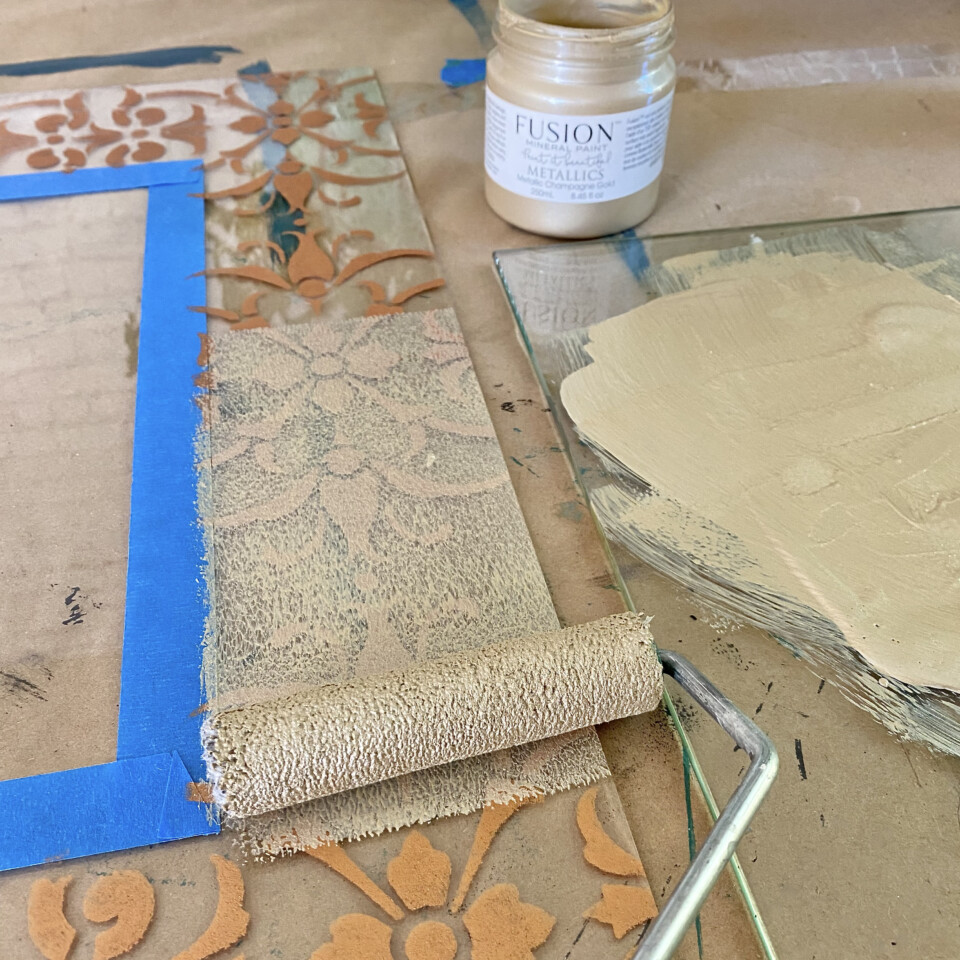
Pour some Metallic Champagne Gold onto a palatte. Use the Staalmeester roller to roll on a coat just over the patterned area. Let dry and roll on another coat. Let dry overnight. Gently remove the tape.
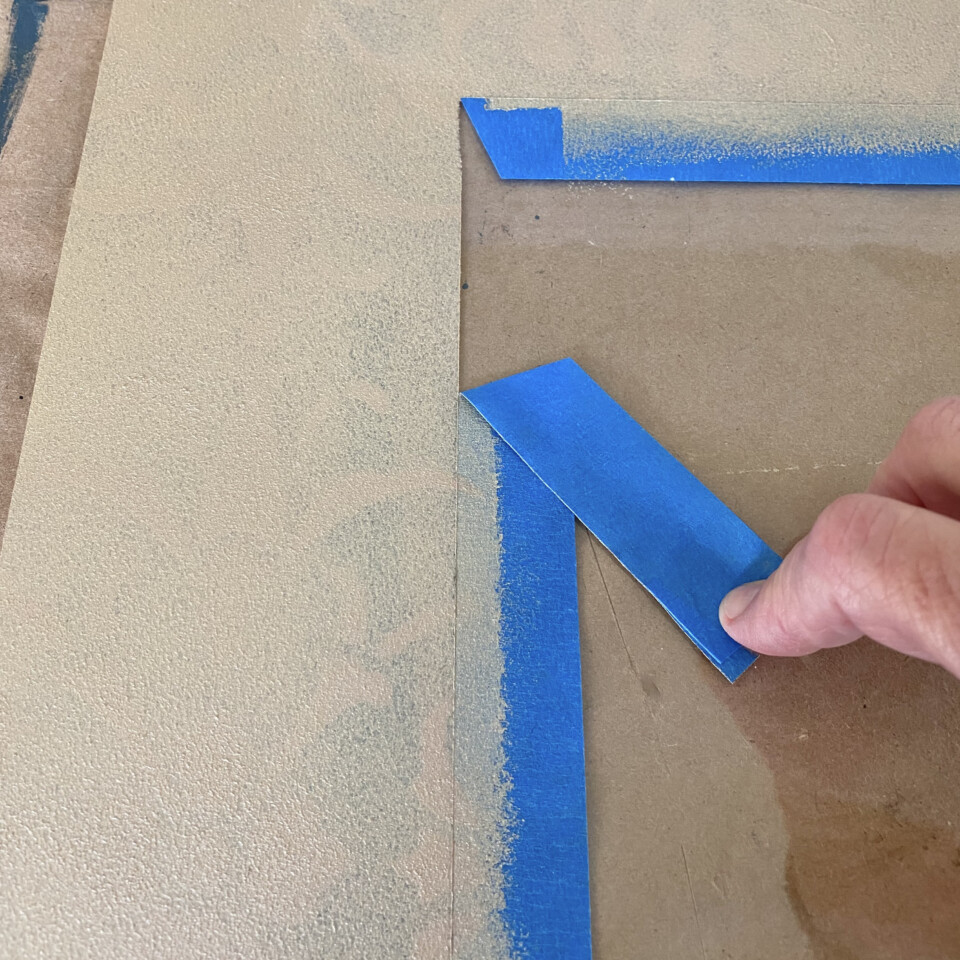
Use some double-stick tape to tape the photo to the cardboard or paper pattern you made, and place the glass on top. Then place it all into the frame.
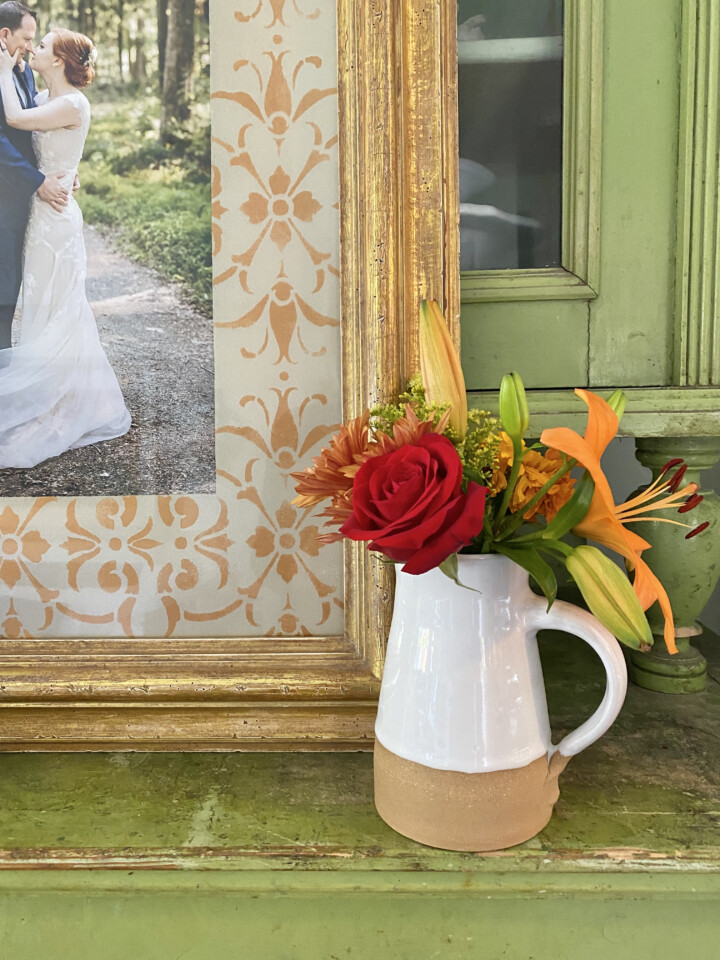
Stenciled Glass Picture Frame Mat
A bit of creative magic to celebrate a special day. Of course, you can use this technique for any frame and photo. A great project for gifting, too.
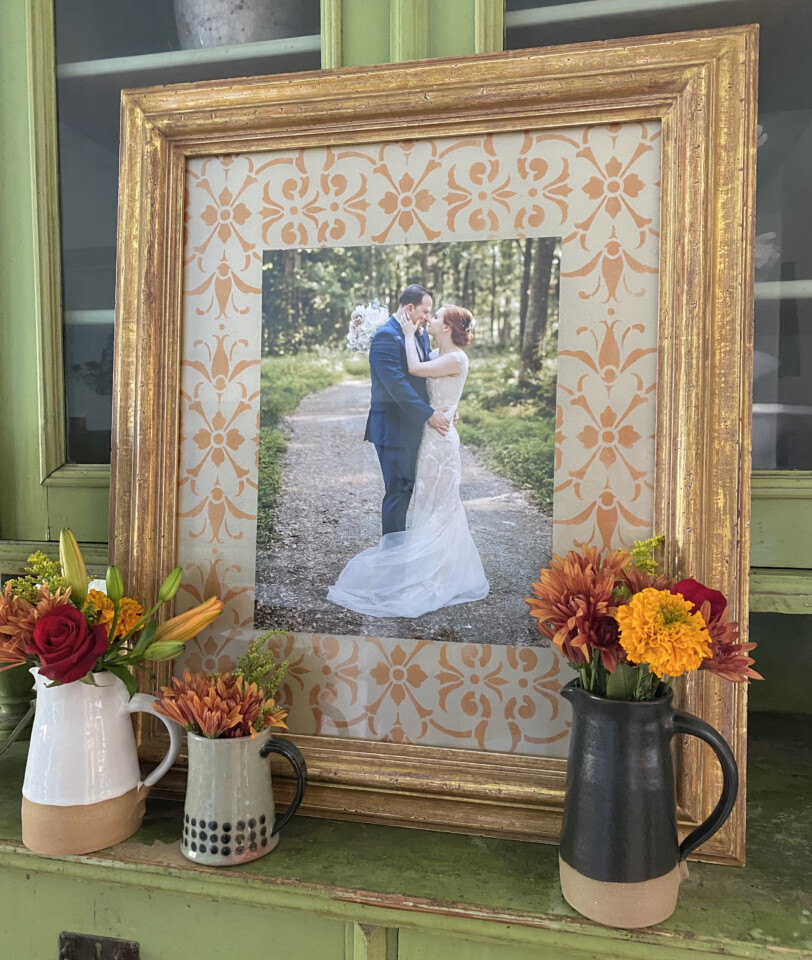
Wedding photo by MelissaTomaPhotography.com
Be sure to check out all of the other reverse-painted glass projects here on the blog.


