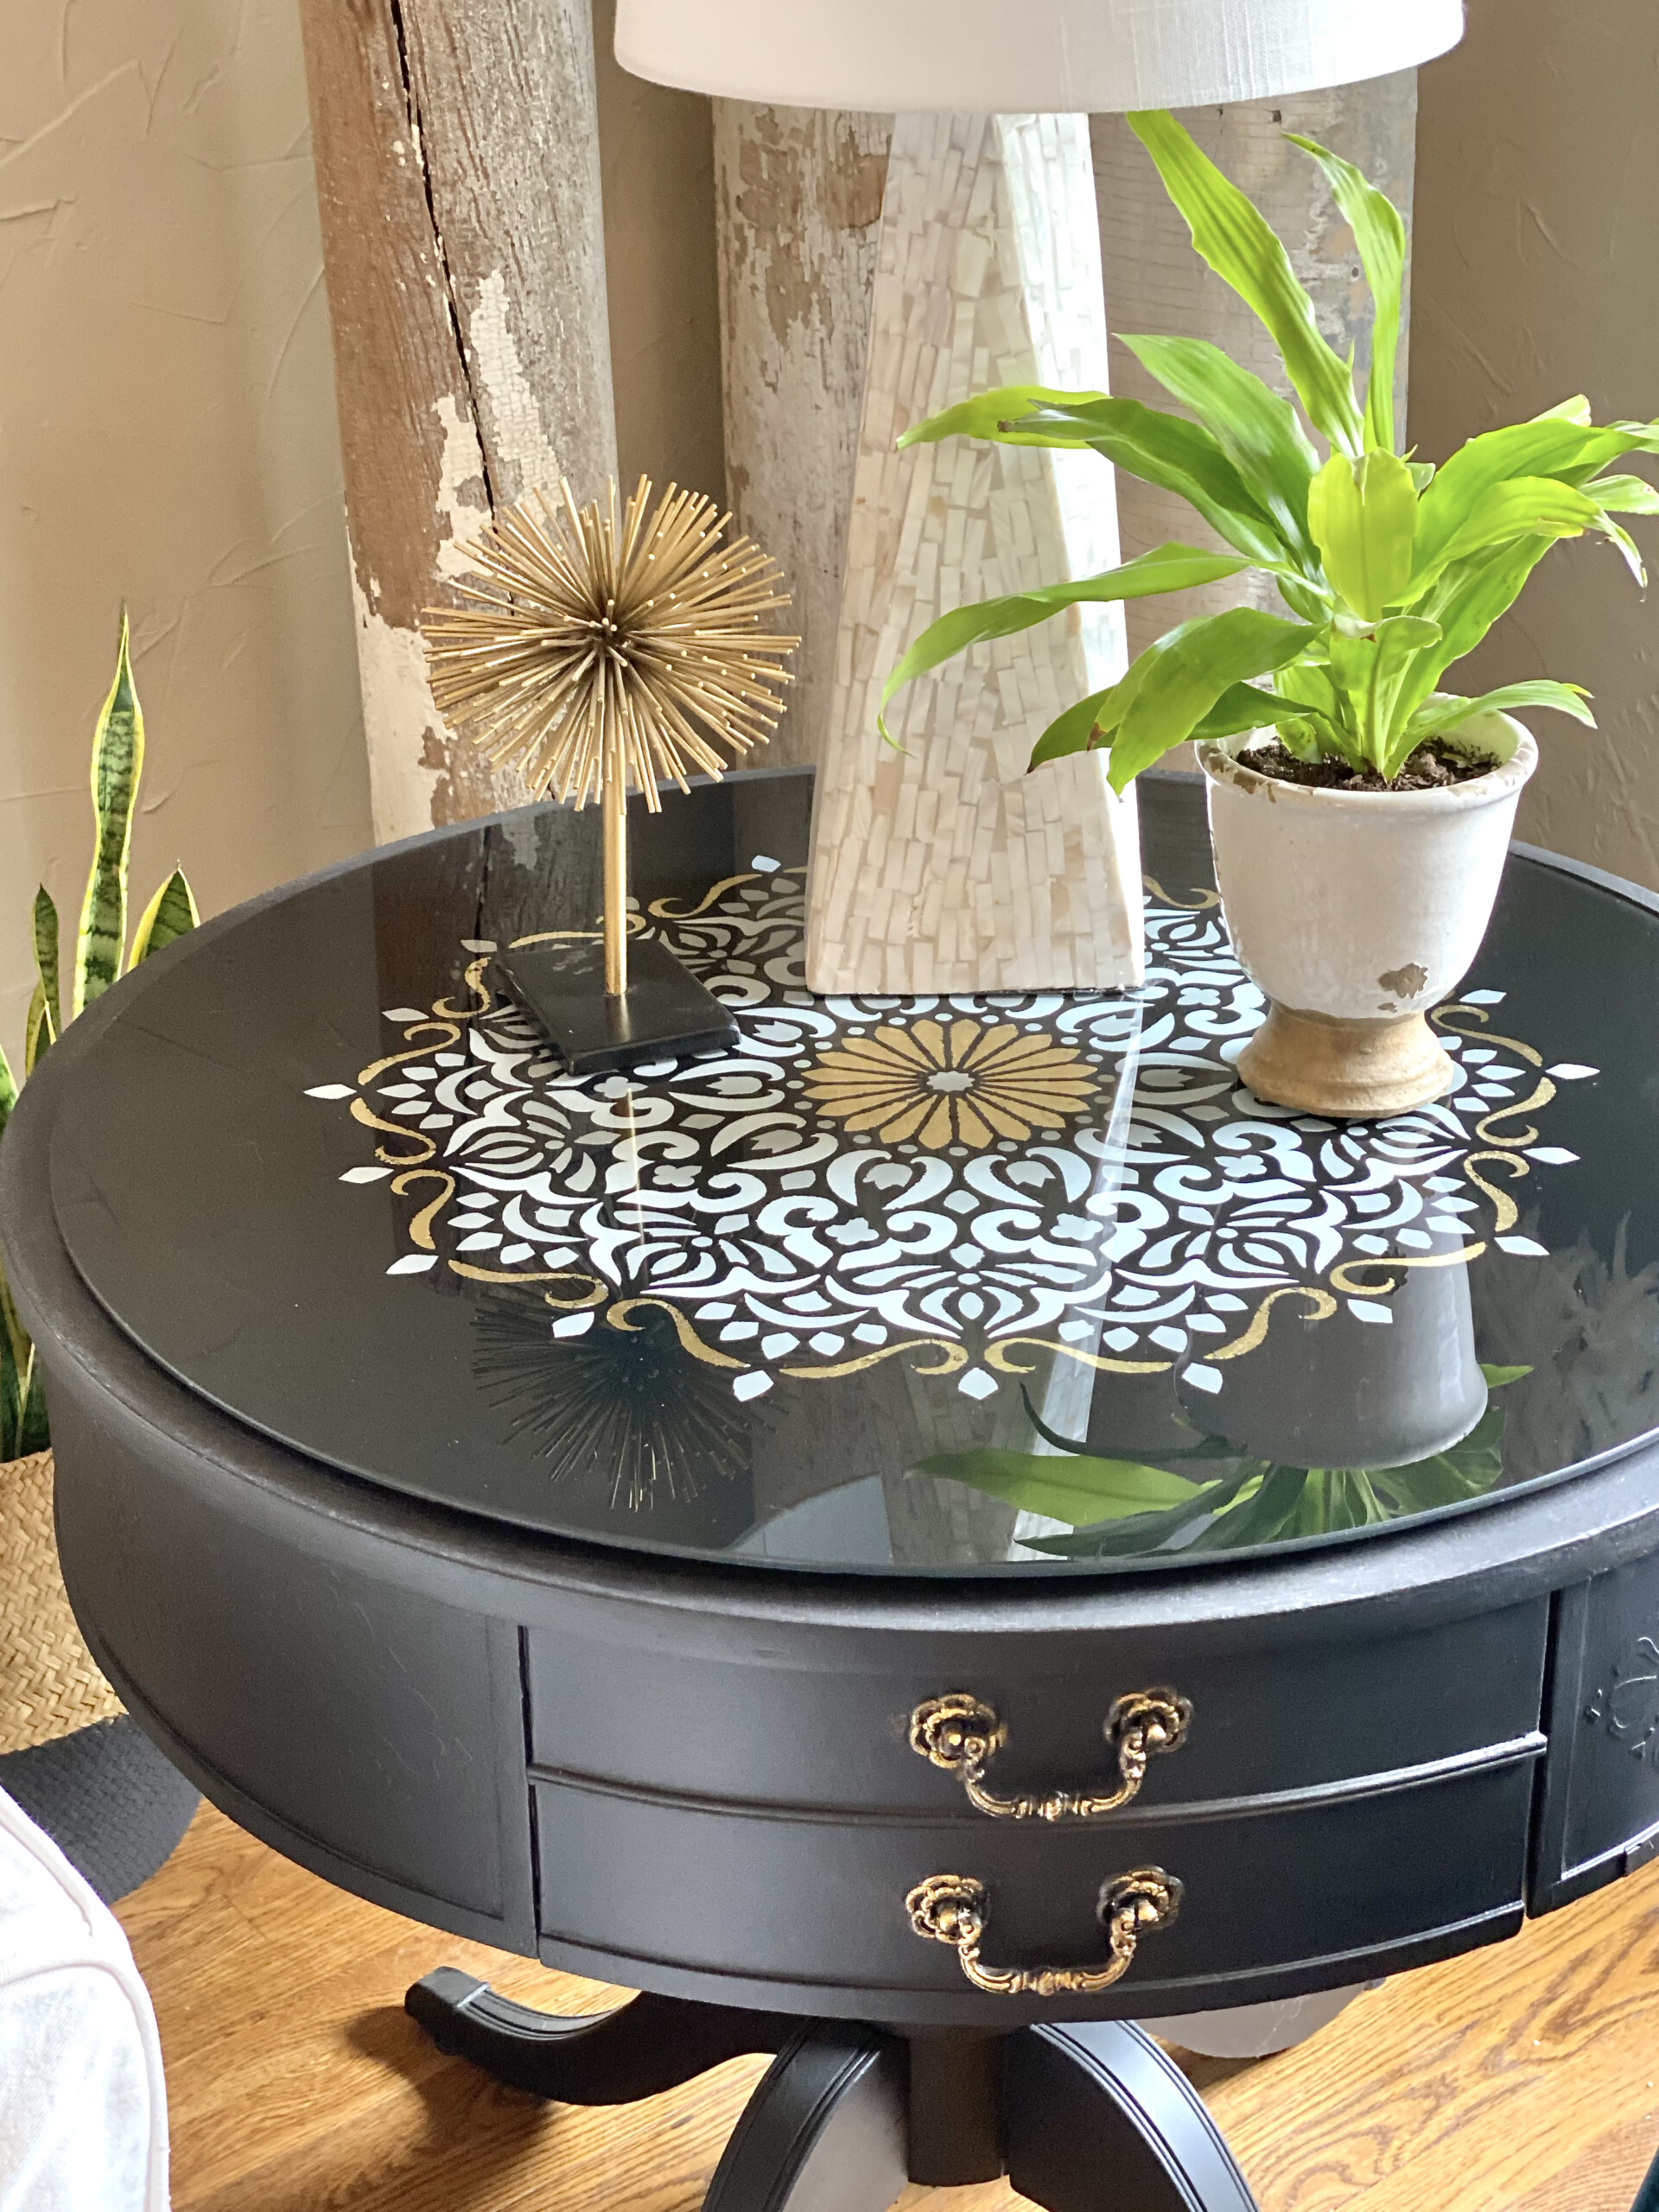
Do you love to paint furniture, but always assumed that you could not paint glass – for cabinet doors, full-size doors, tabletops, serving trays, dishware, and more? Thanks to my exciting collaboration with Fusion Mineral Paint, we are debuting ten fabulous new tutorials, created just for you! Each one will demonstrate new skills for you to learn, using all water-based products from Fusion, and a few unexpected surprises. First up this reverse painted table!
This is a sponsored post by Debbie Dion Hayes of DebbieDionHayesCreative.com for Fusion Mineral Paint.
Reverse-Painted Round Table Glass
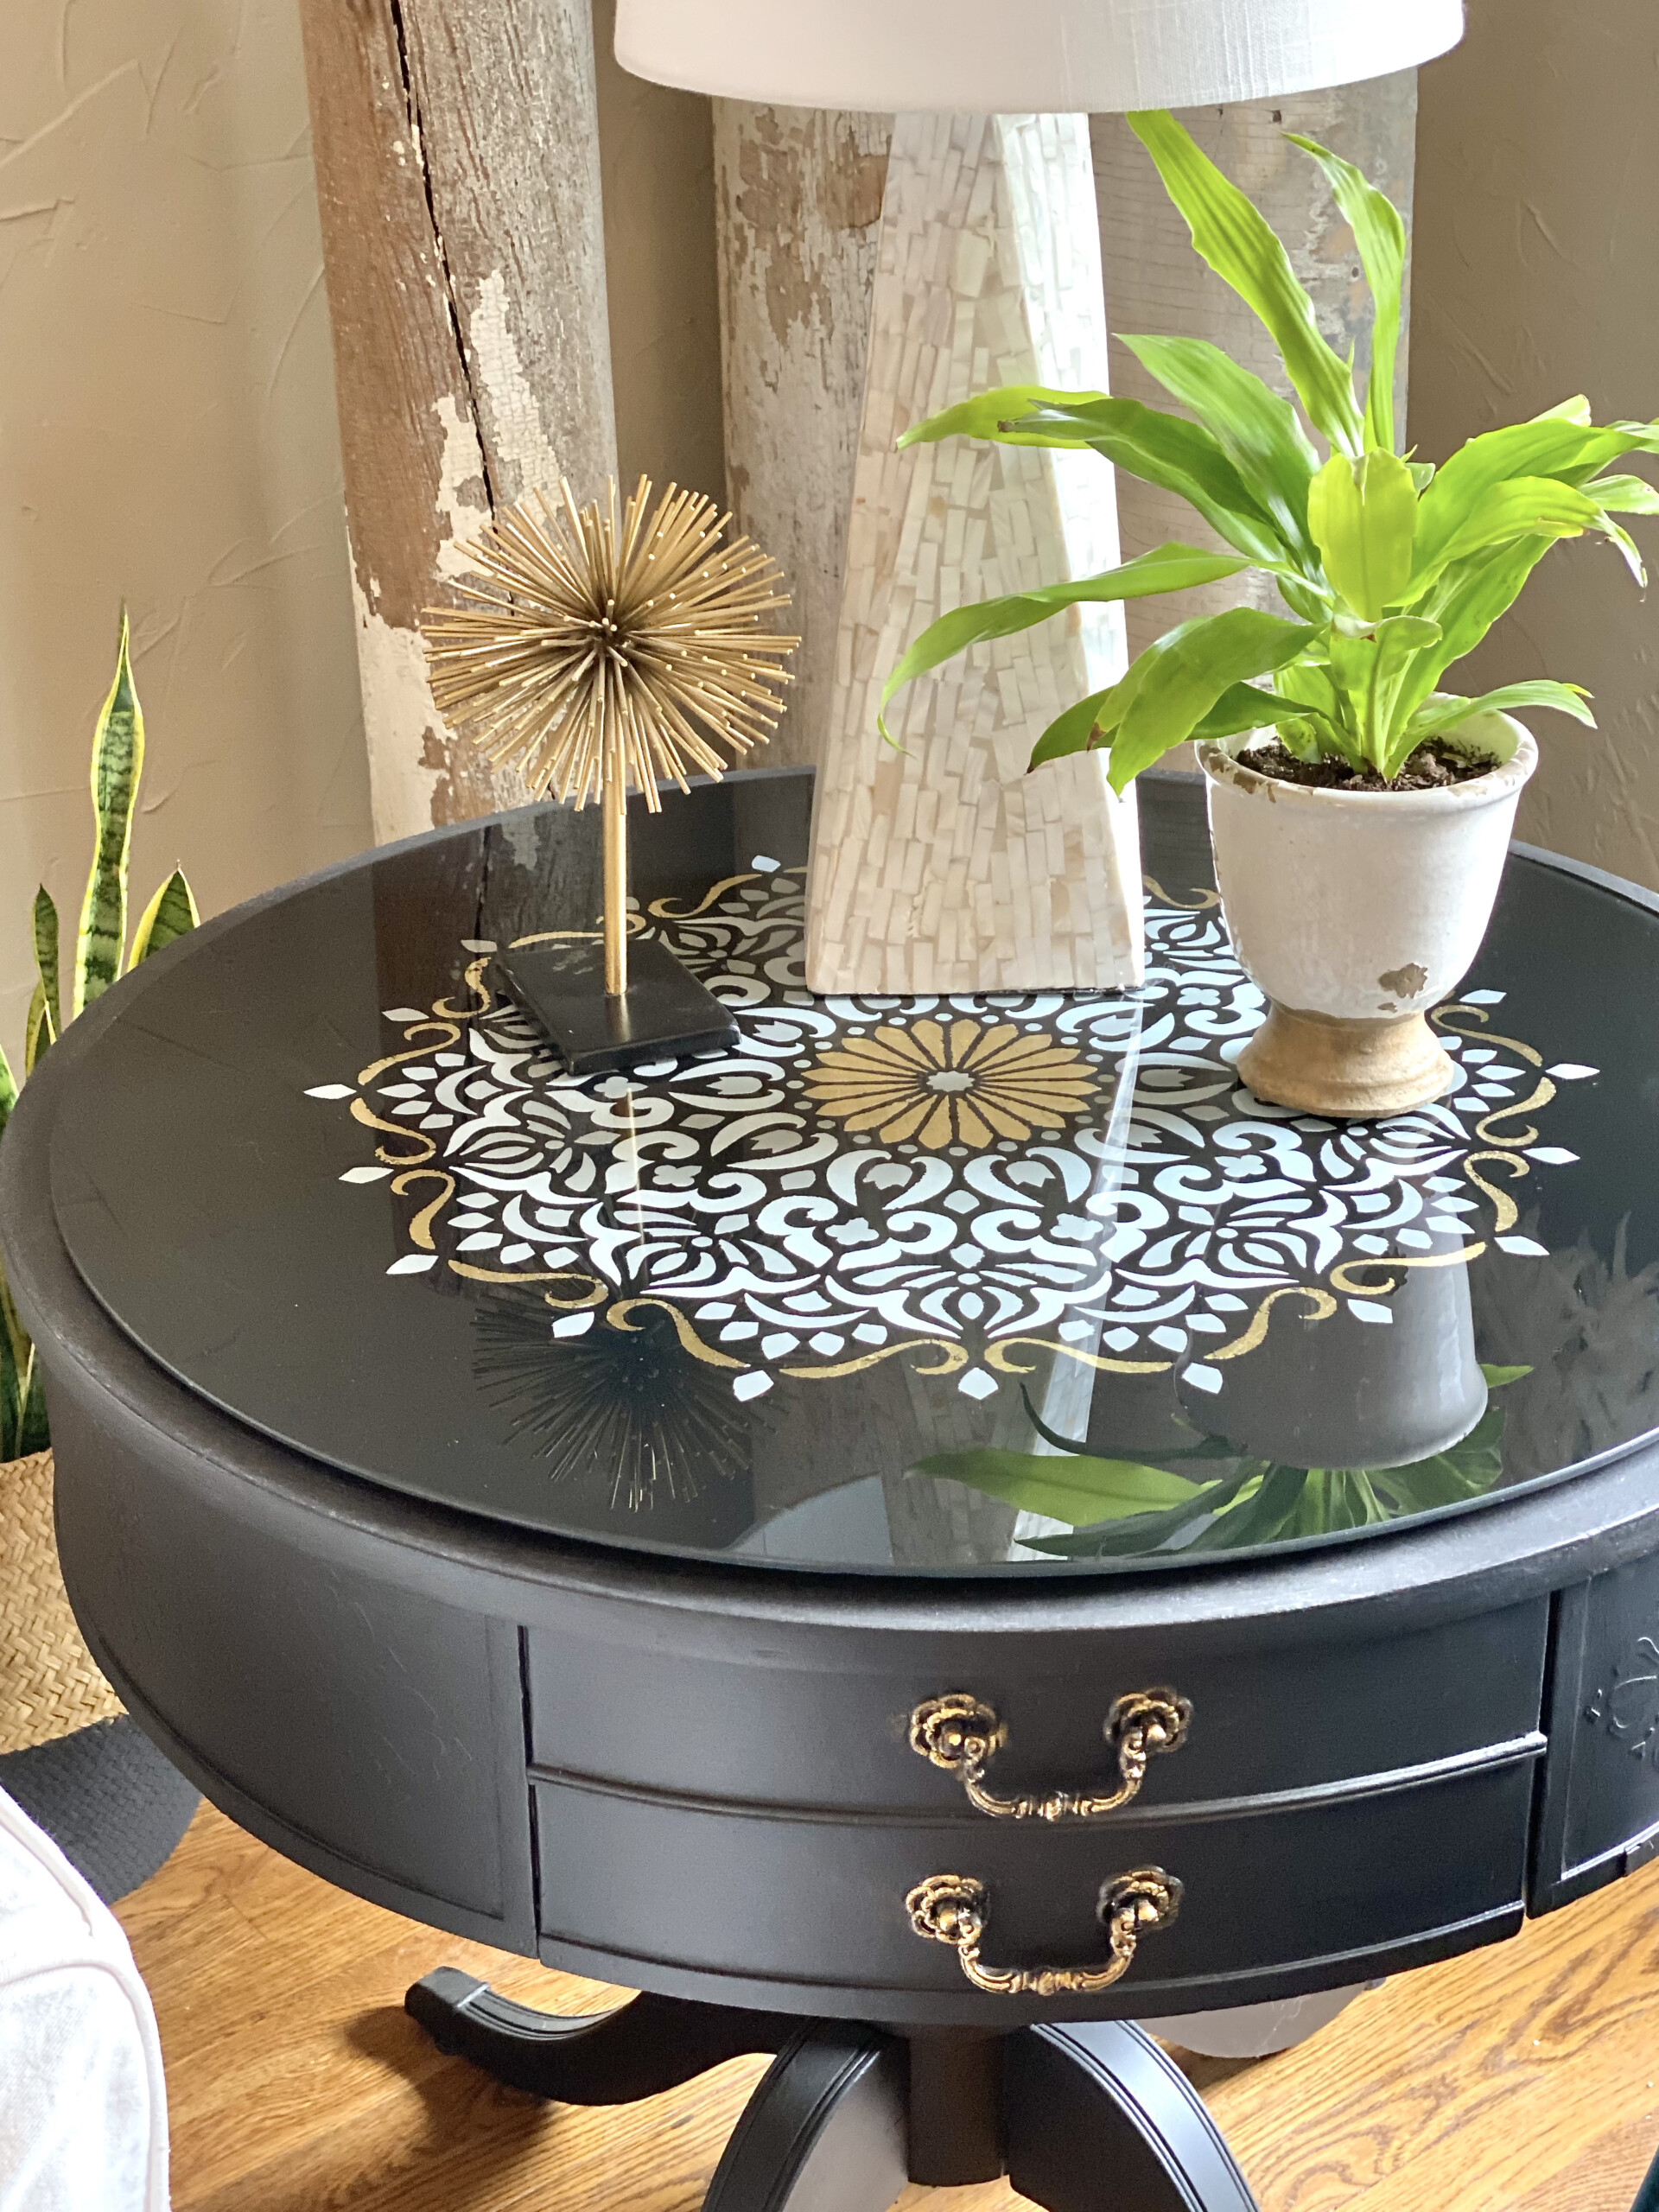
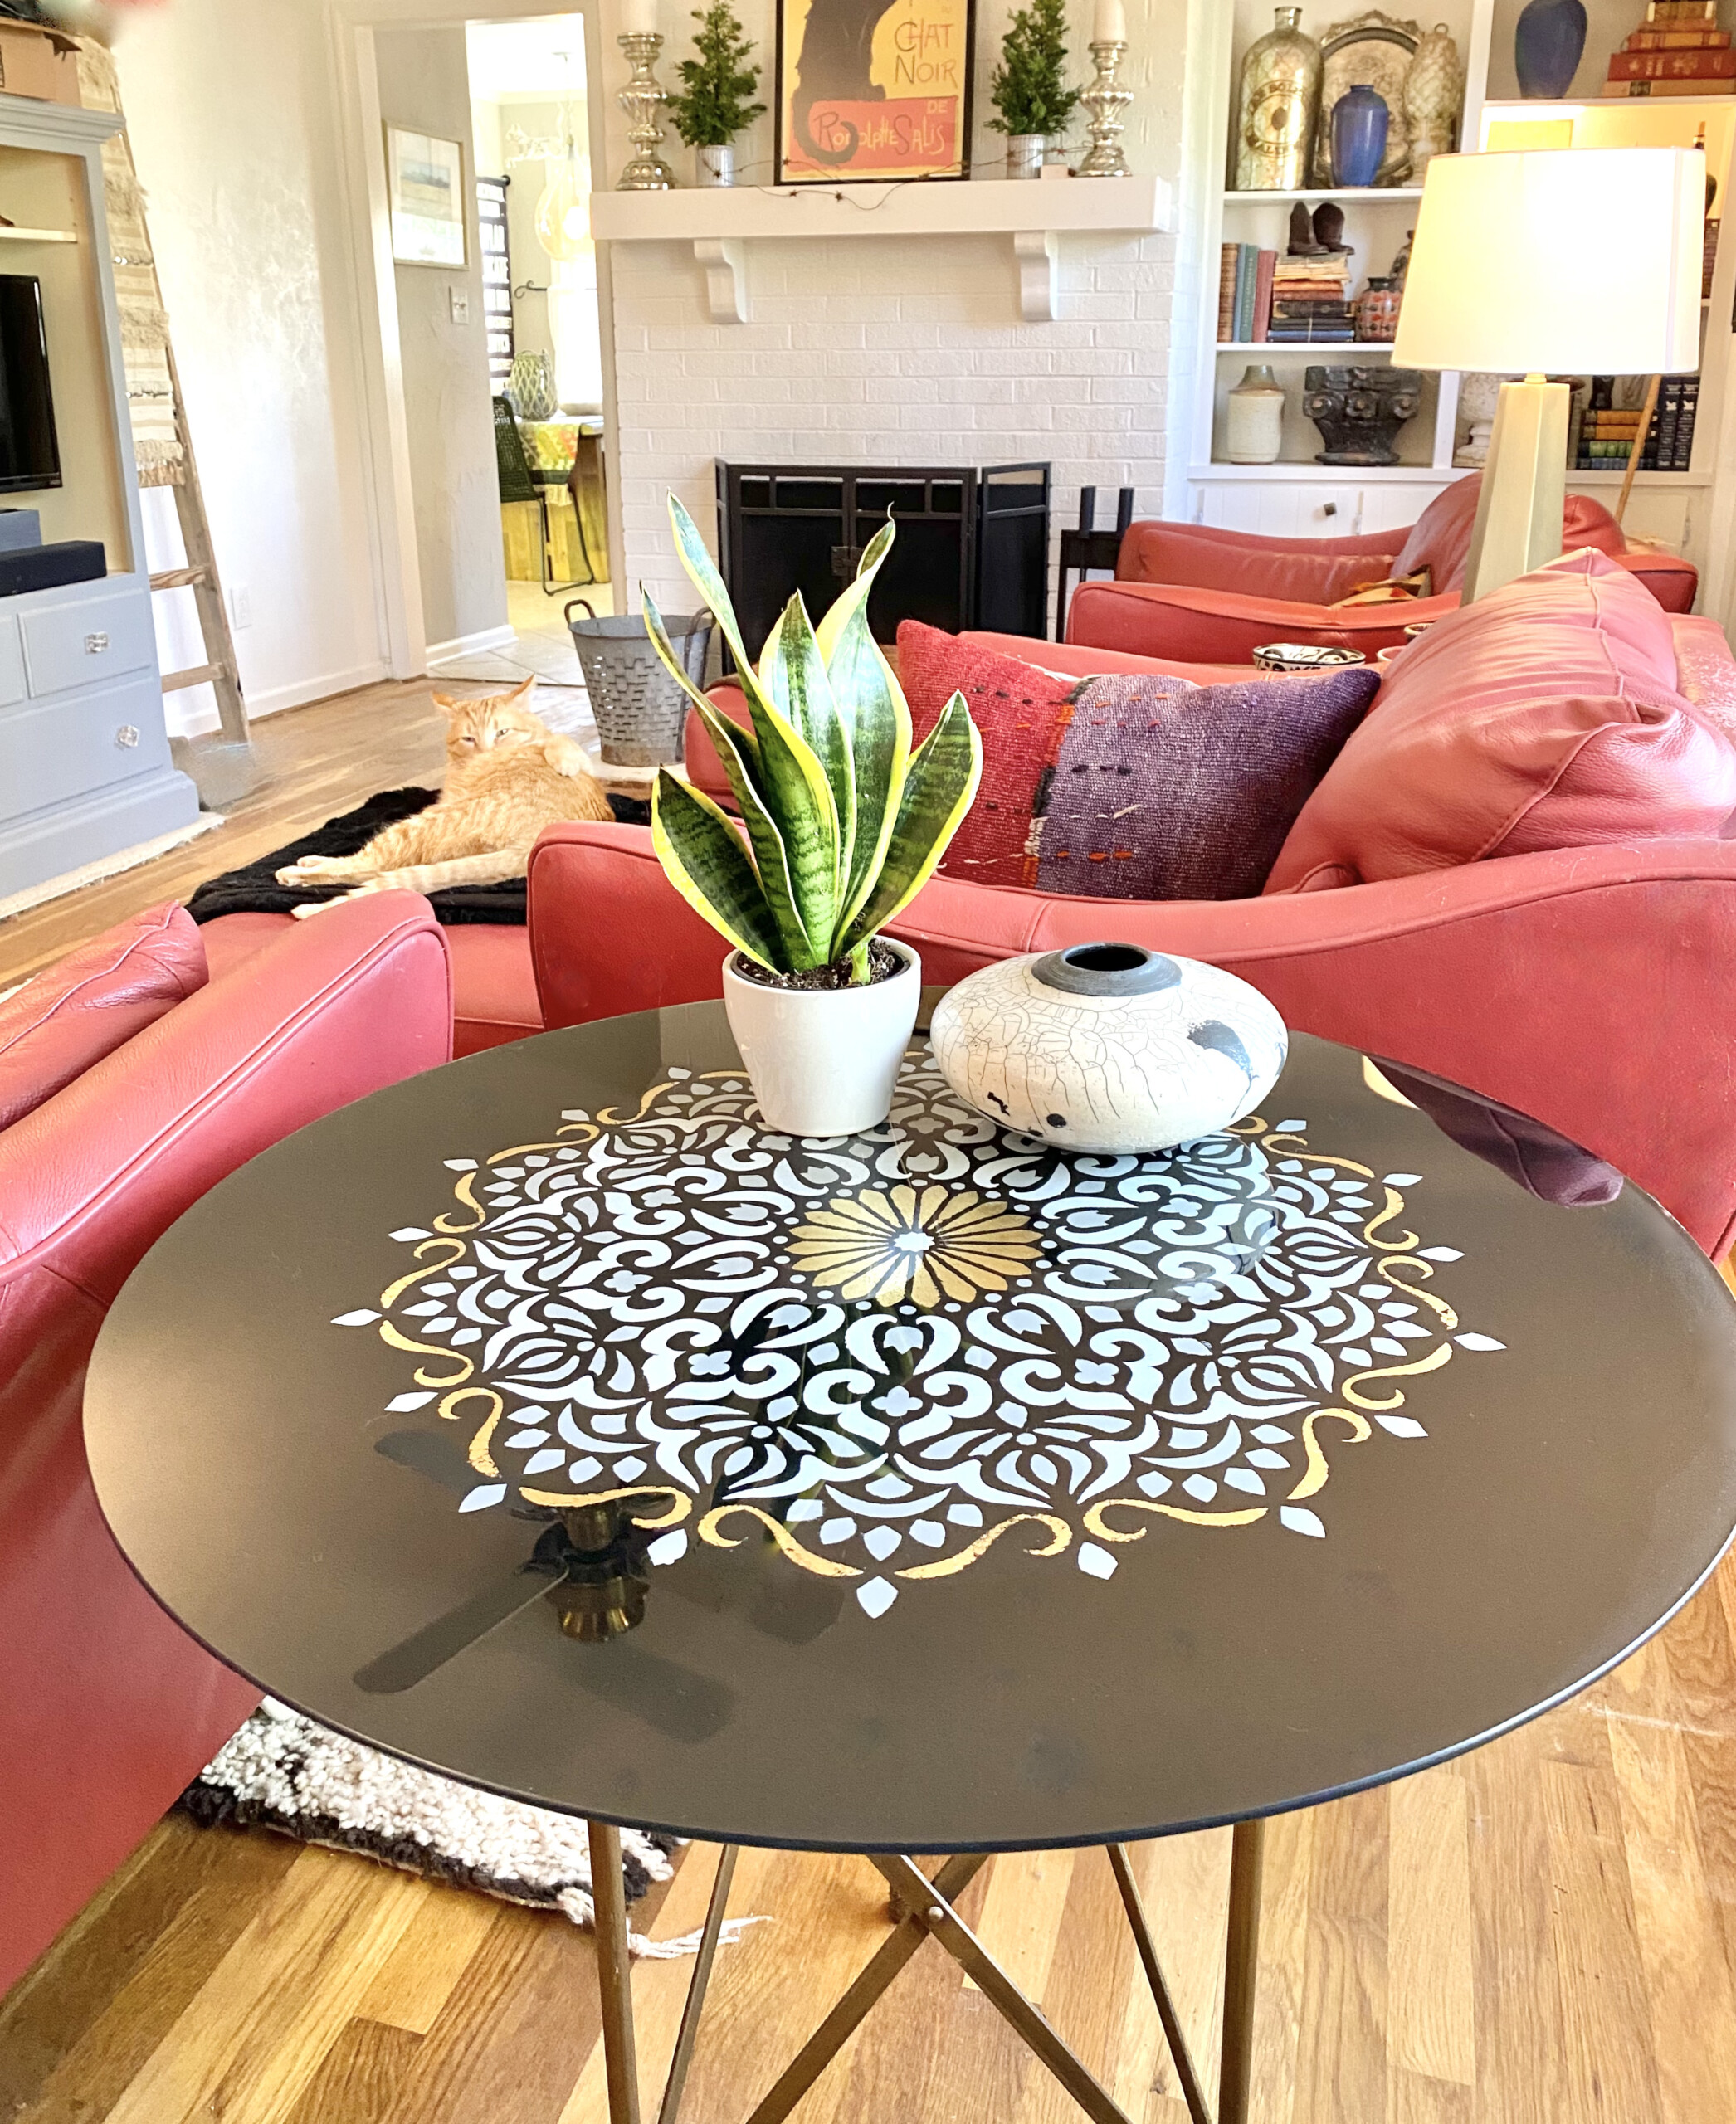
We’re beginning the series with reverse-painted round table glass. I have a cute old round table that is painted Fusion Coal Black, and it needed some bling. I bought a 30″ round piece of glass, pulled together my paint and materials, and wow!
Before you begin!
If you have never painted on glass, please hop over to my getting started page here. It will let you know the basic materials we will be using, and answer your questions before you jump in.
6 STEPS TO PAINTING THIS ROUND TABLE GLASS – BACKWARDS!
MATERIALS
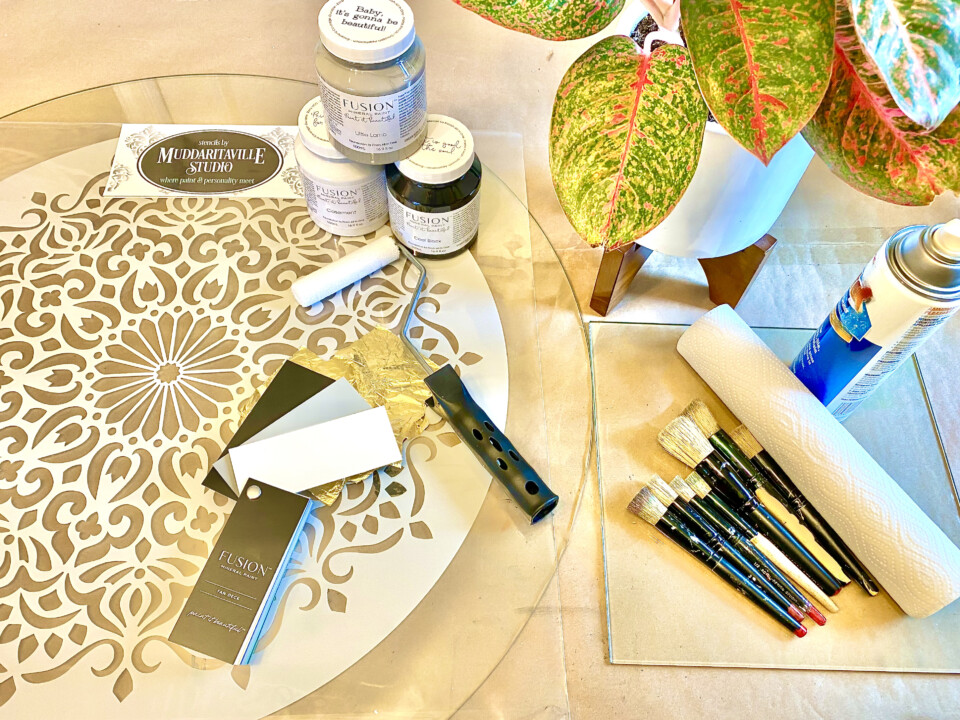
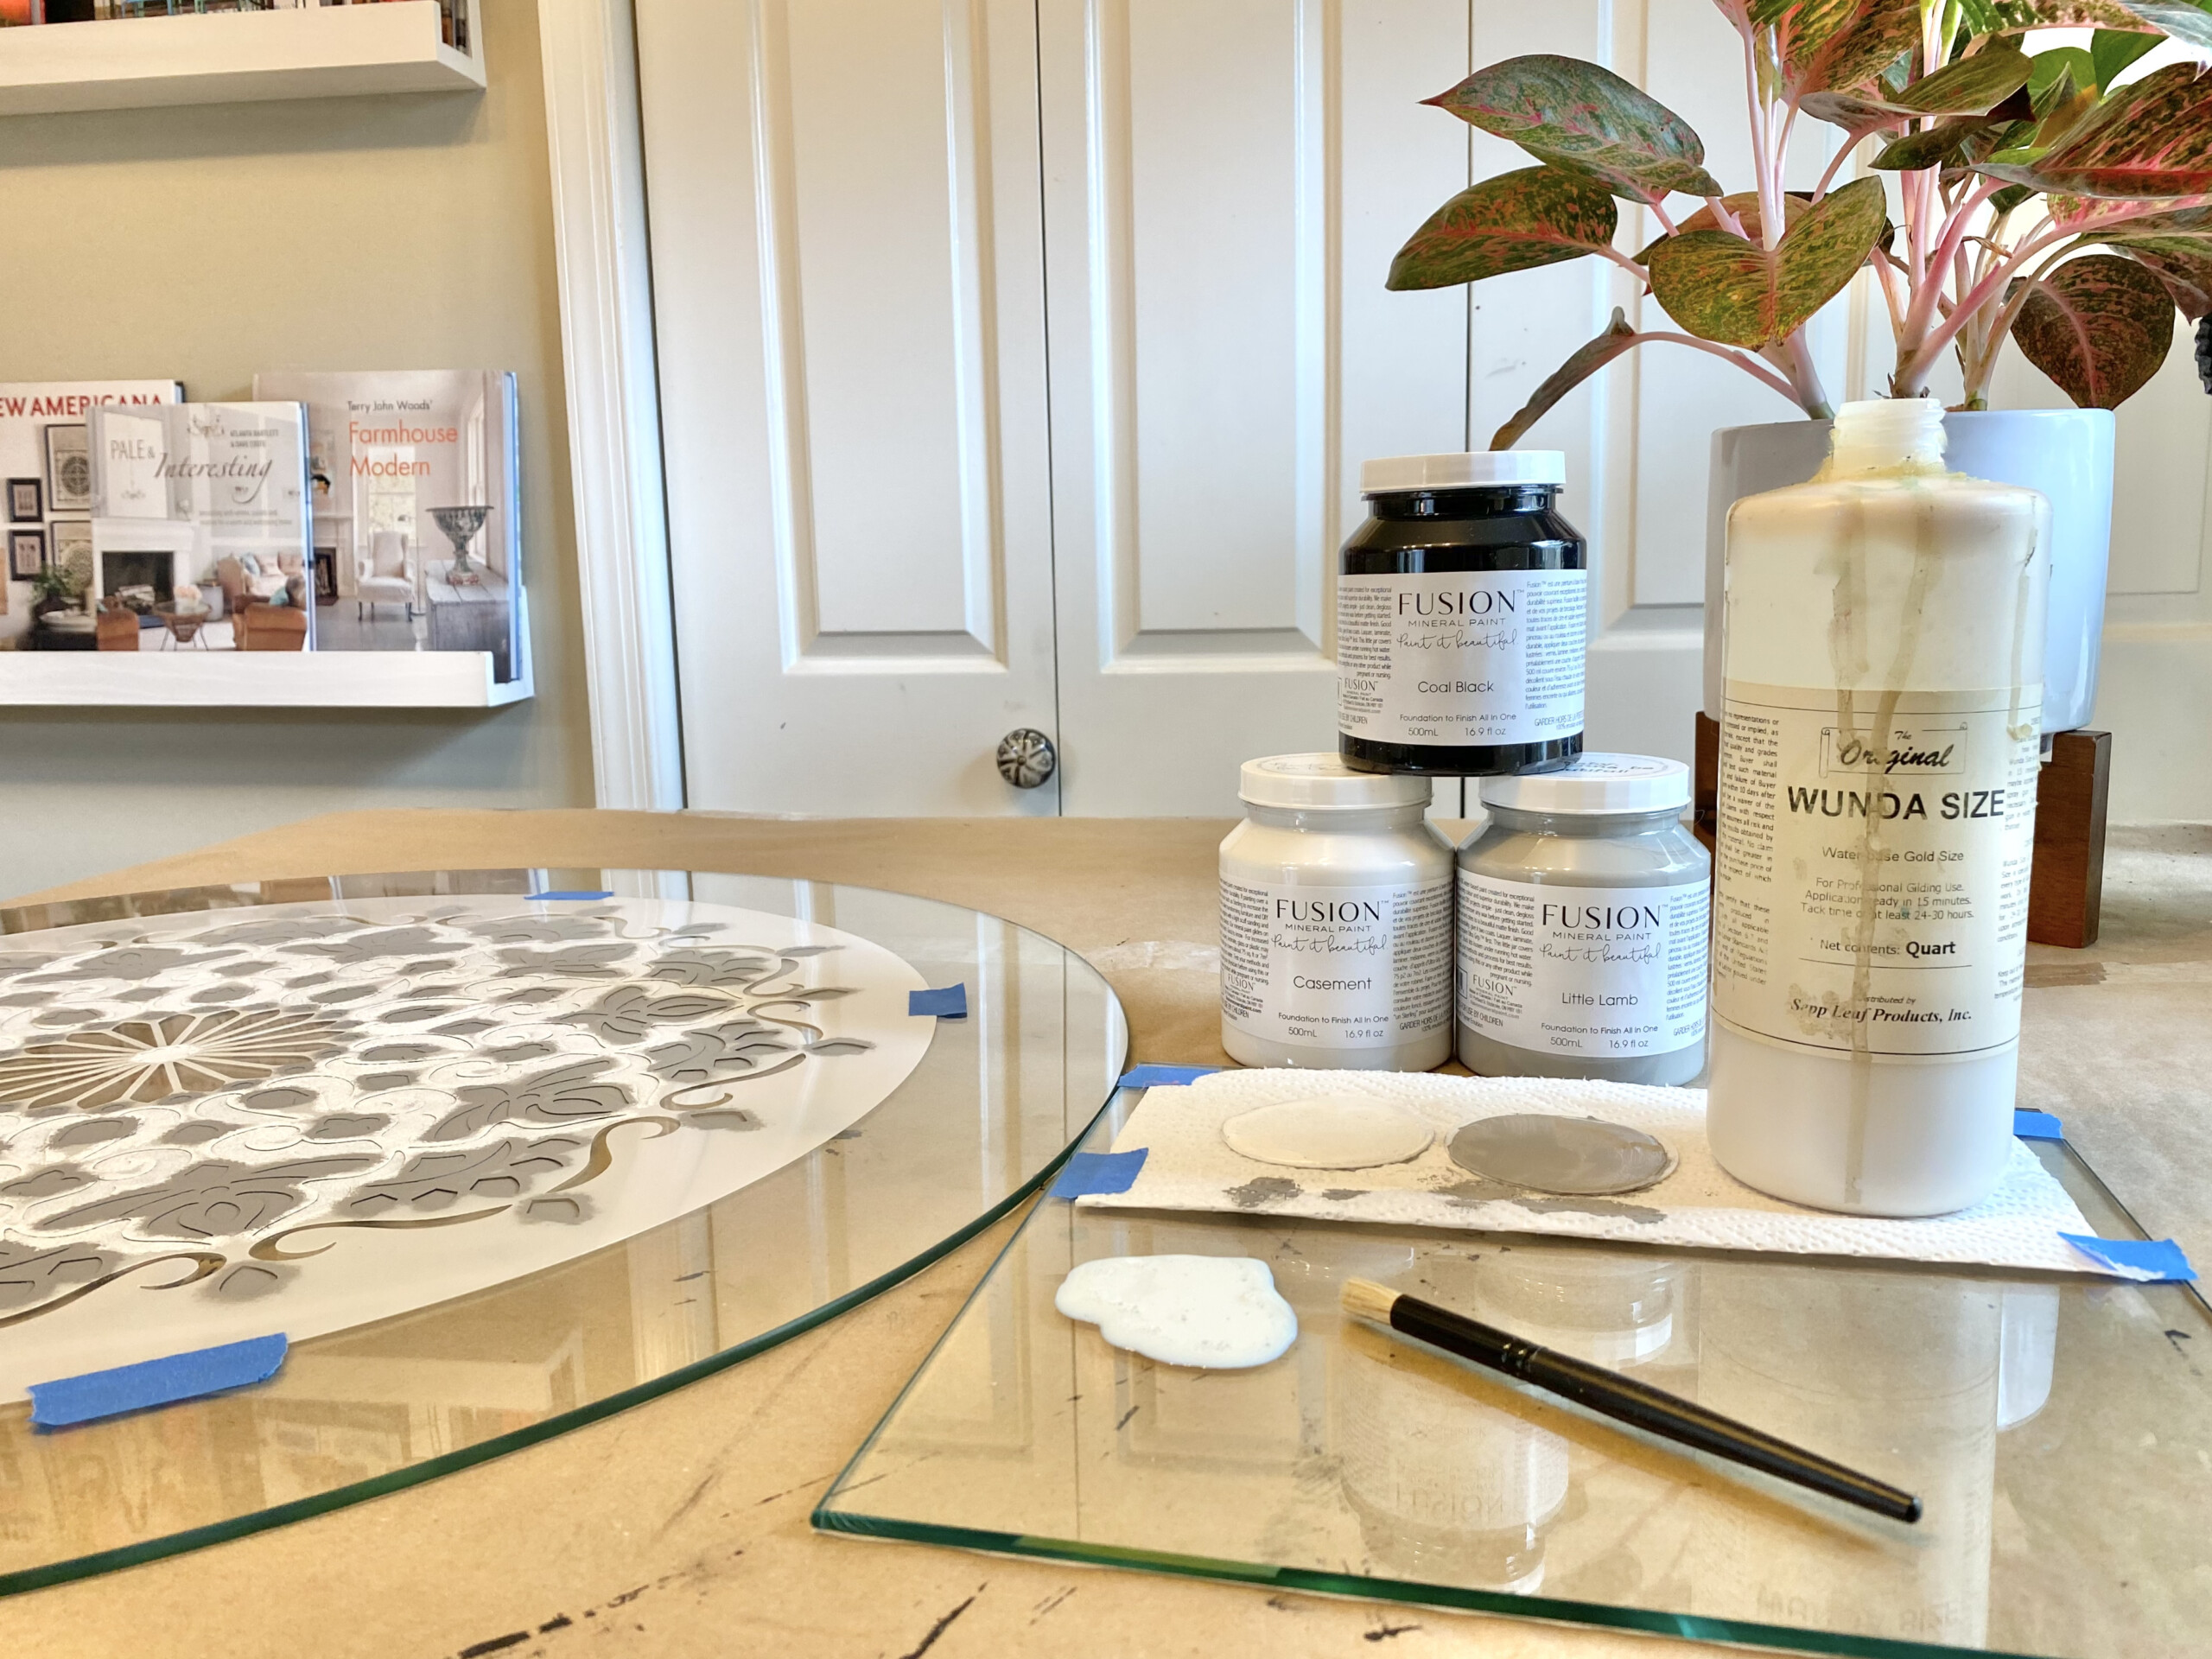
- Fusion Mineral Paint in Casement, Little Lamb, Coal Black
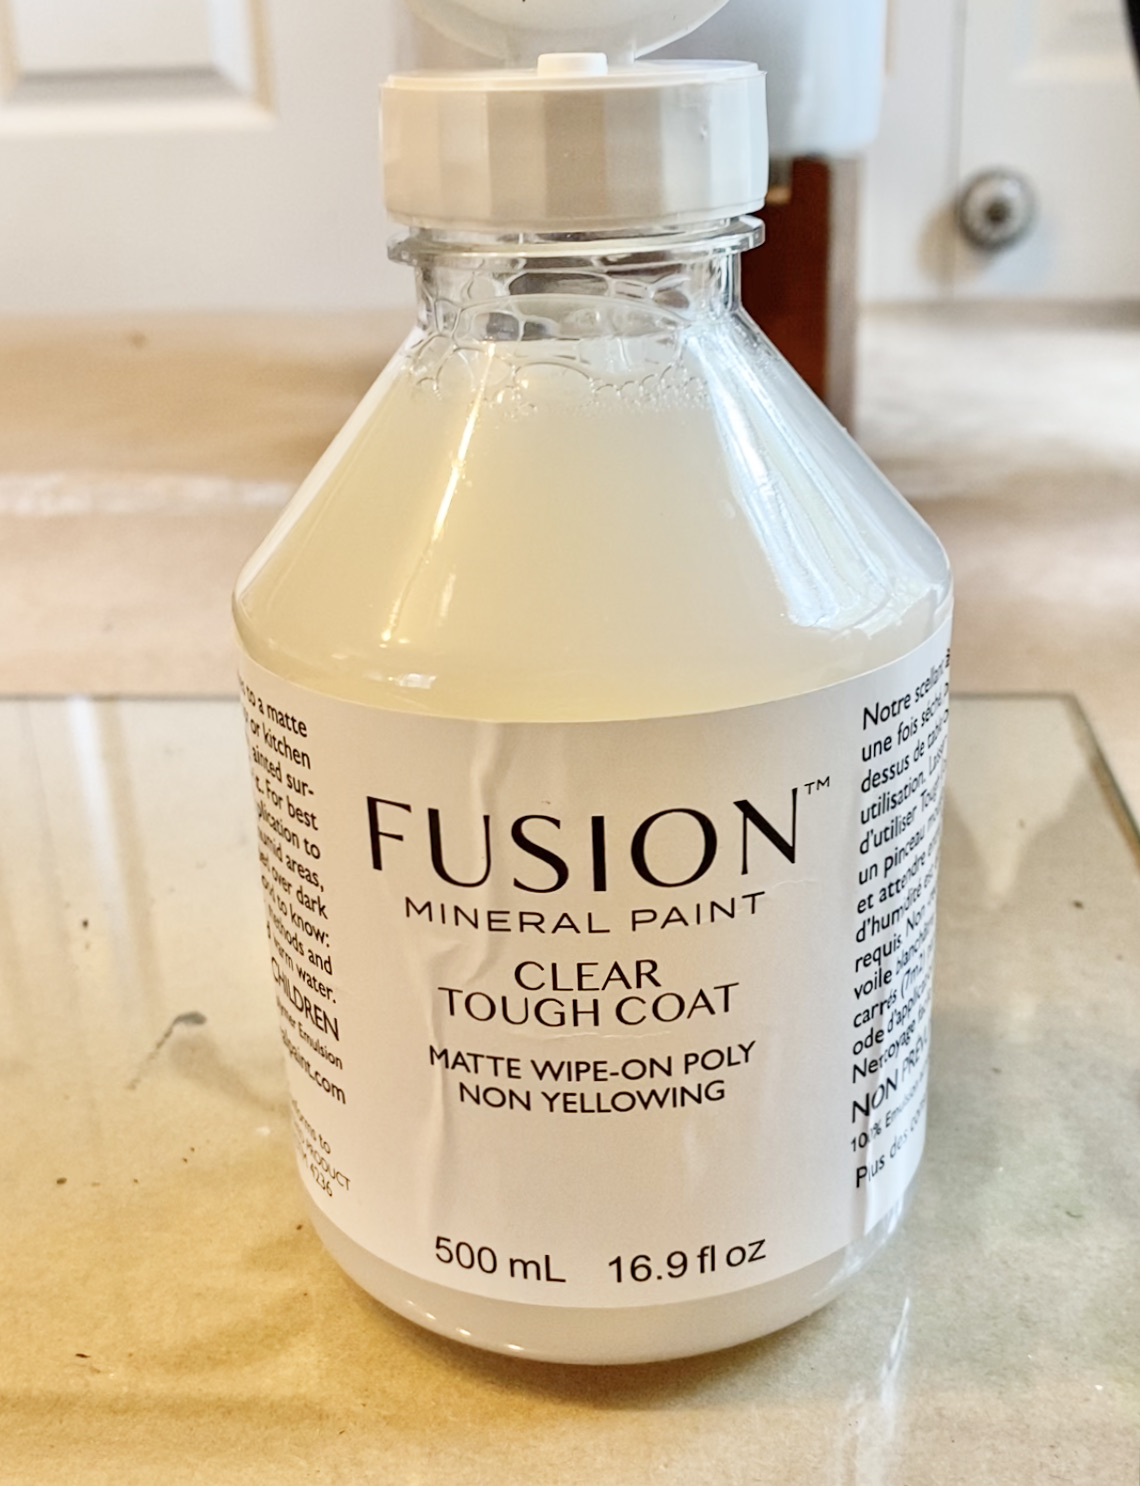
- Fusion Tough Coat
- Microfiber Roller and frame
- Staalmeester brush
- Small stencil brushes
- Muddaritaville Decorative Mandala Stencil – 22″
- 30″ tempered, 3/16″ thick round glass (see link above for sourcing)
- Extra small piece of glass or a paint palette
- Rags & paper towels
- Glass cleaner
- Gold leaf and size (Amazon or a craft store, any brand)
- Measuring tape
- Pen & pencil
- Paper
- Foam brush
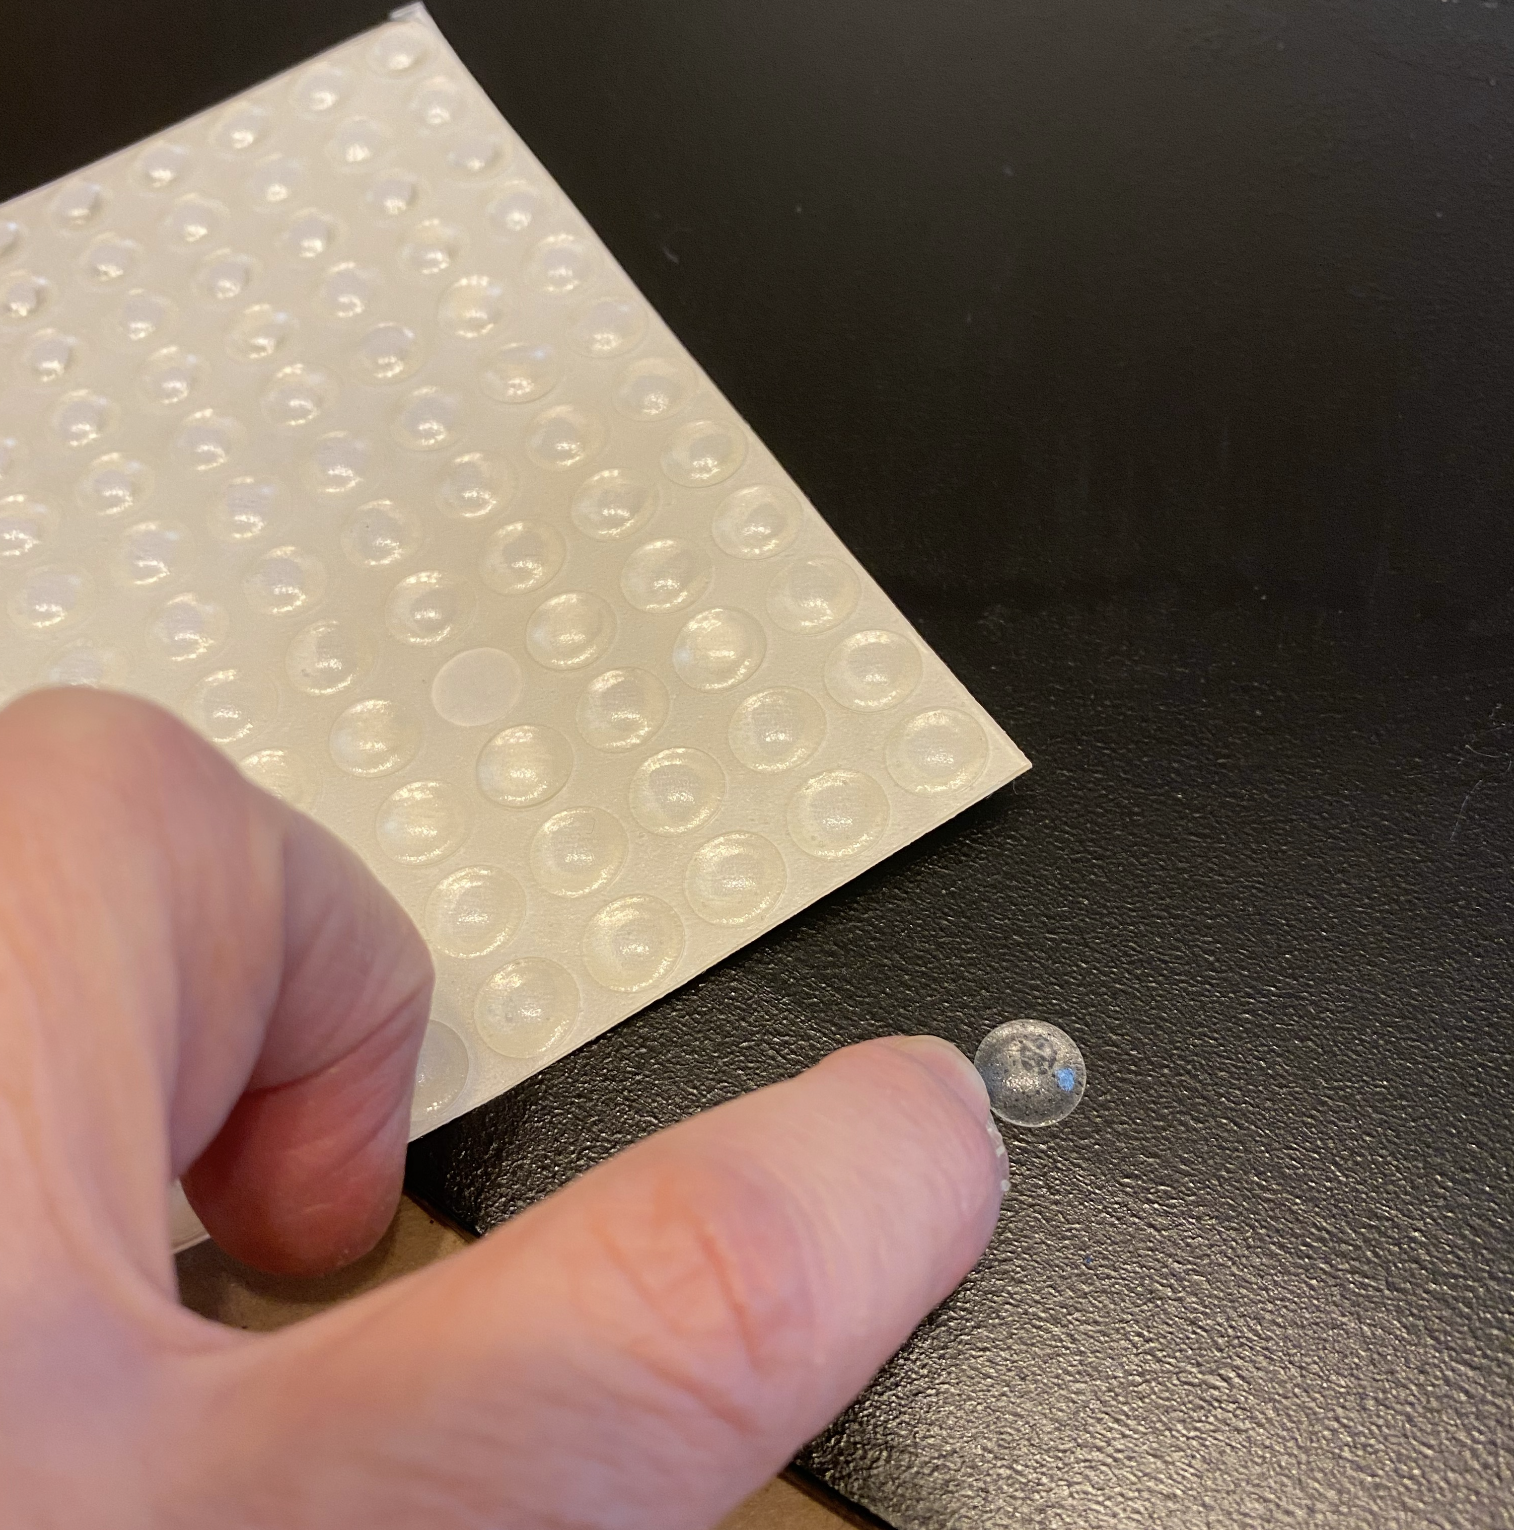
- Small felt dots or any kind of protective dot for furniture surfaces
STEP 1 – Prepare The Glass & Stencil
Clean and dry the glass. Find and mark the center of the glass with tape. Do the same for the stencil. Check all around the edges of the pattern to be sure that the stencil is centered. Remove the center tape and tape the edges.
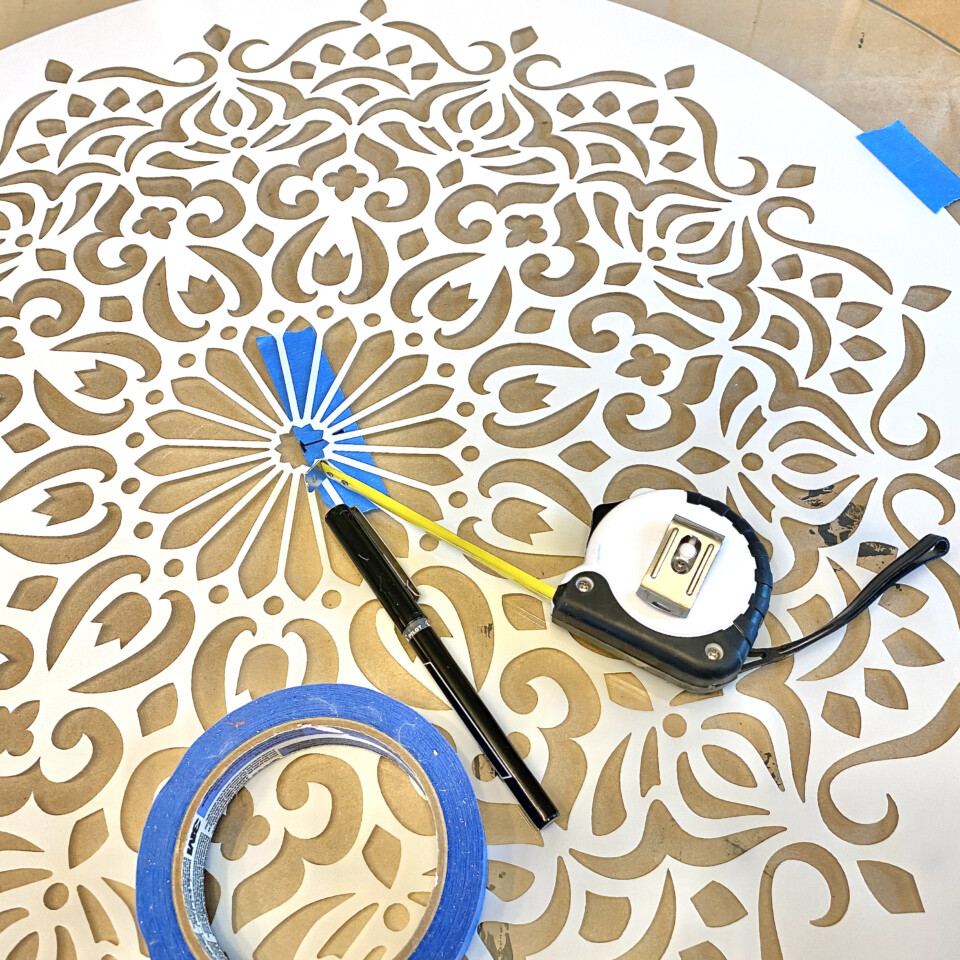
Slip a sheet of white paper under the stencil and decide where your colours, and the gold leaf, will go. Pull it out and set it aside for referral.
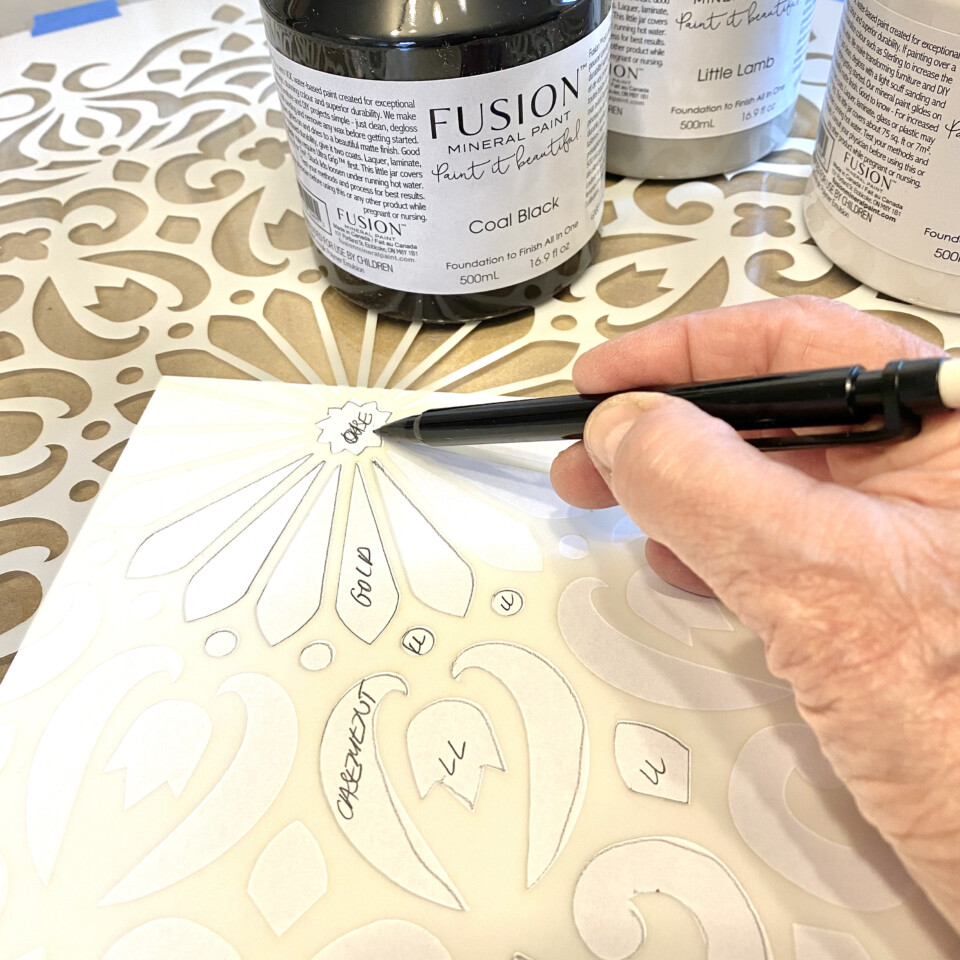
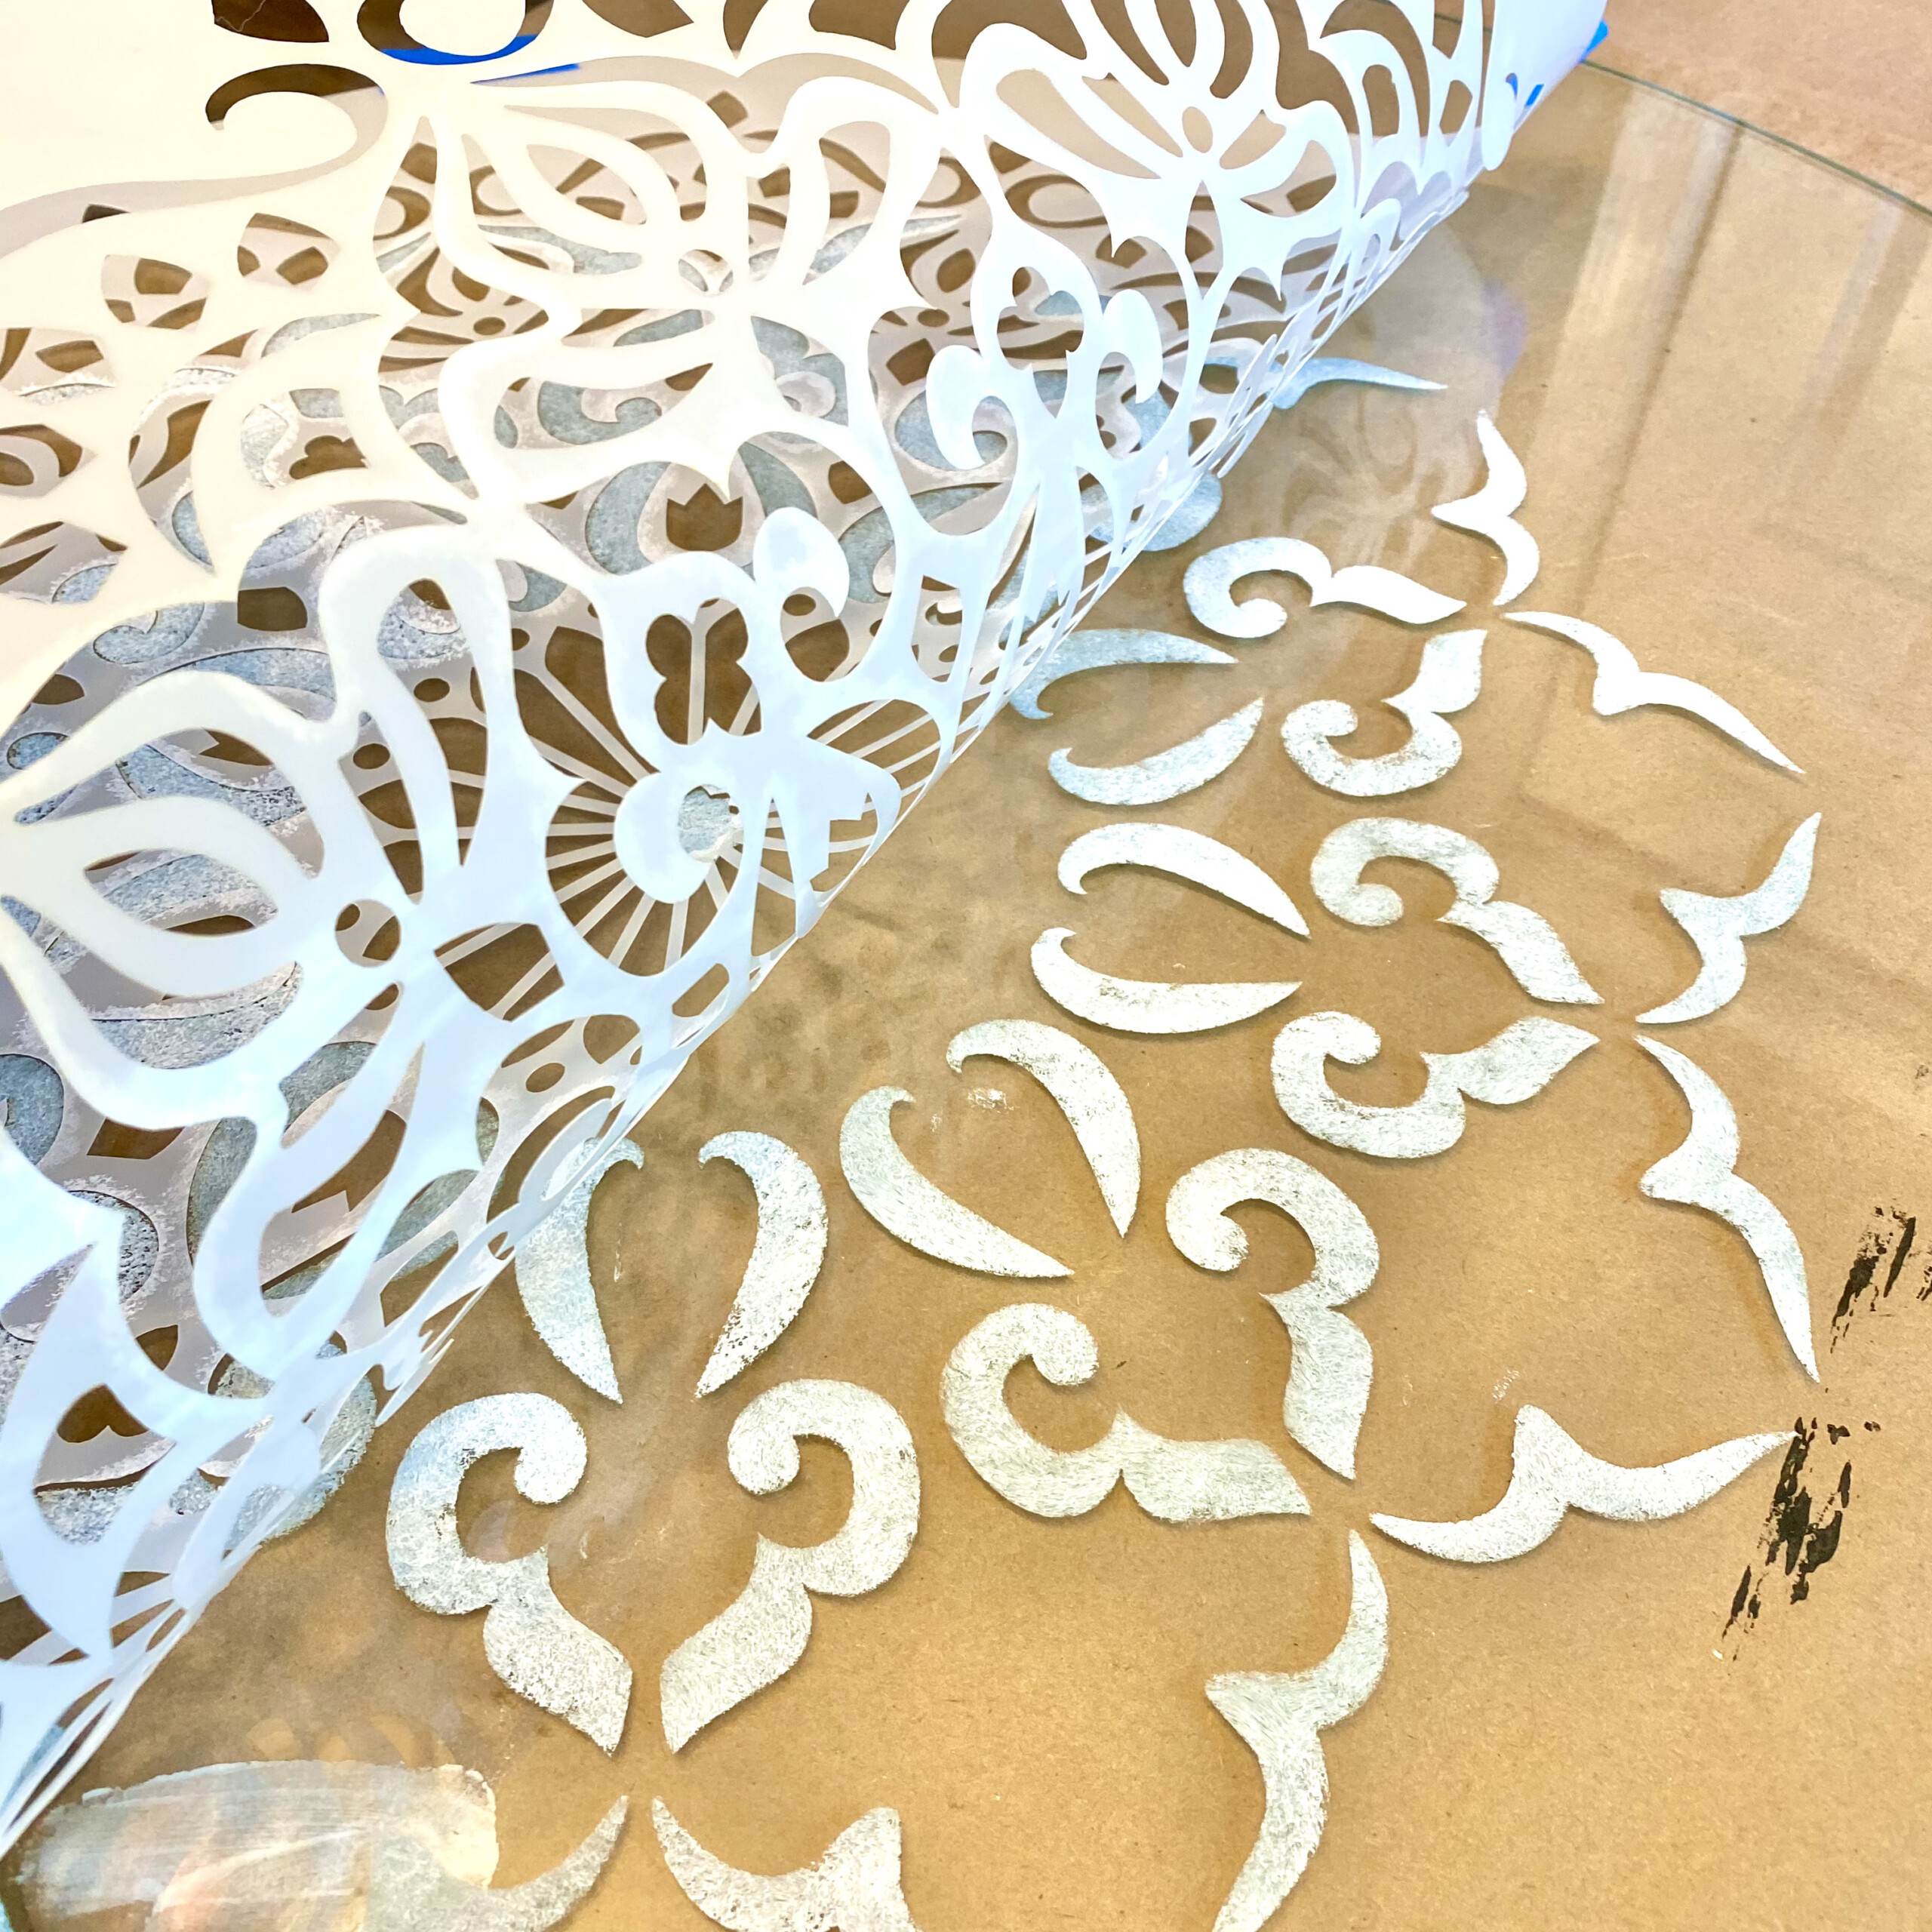
STEP 2 – Stencil The Casement Color
Use your small brush – trust me, this is important – and dip only the tips into the Casement colour. Swirl the tips of the brush on the paper towel until you think there is no paint on it. To stencil, tap gently, straight up and down, over the areas where the Casement colour goes. Try not to overlap into areas where other colours will go. When you have completed a coat, gently peel up the stencil in one area to see your work. Carefully clean up any goofs with your fingernail or a rag. Tape the stencil back down. As soon as the first paint layer is dry, add one more layer. Take your time, put on some music, and enjoy the process.
PRO TIP – your goal is NOT to get paint seeping under the stencil. Less paint, and two coats is the best way to go for a professional-looking result. If this is happening, no worries: pull up the stencil, wipe off the paint, dry the surface and start again.
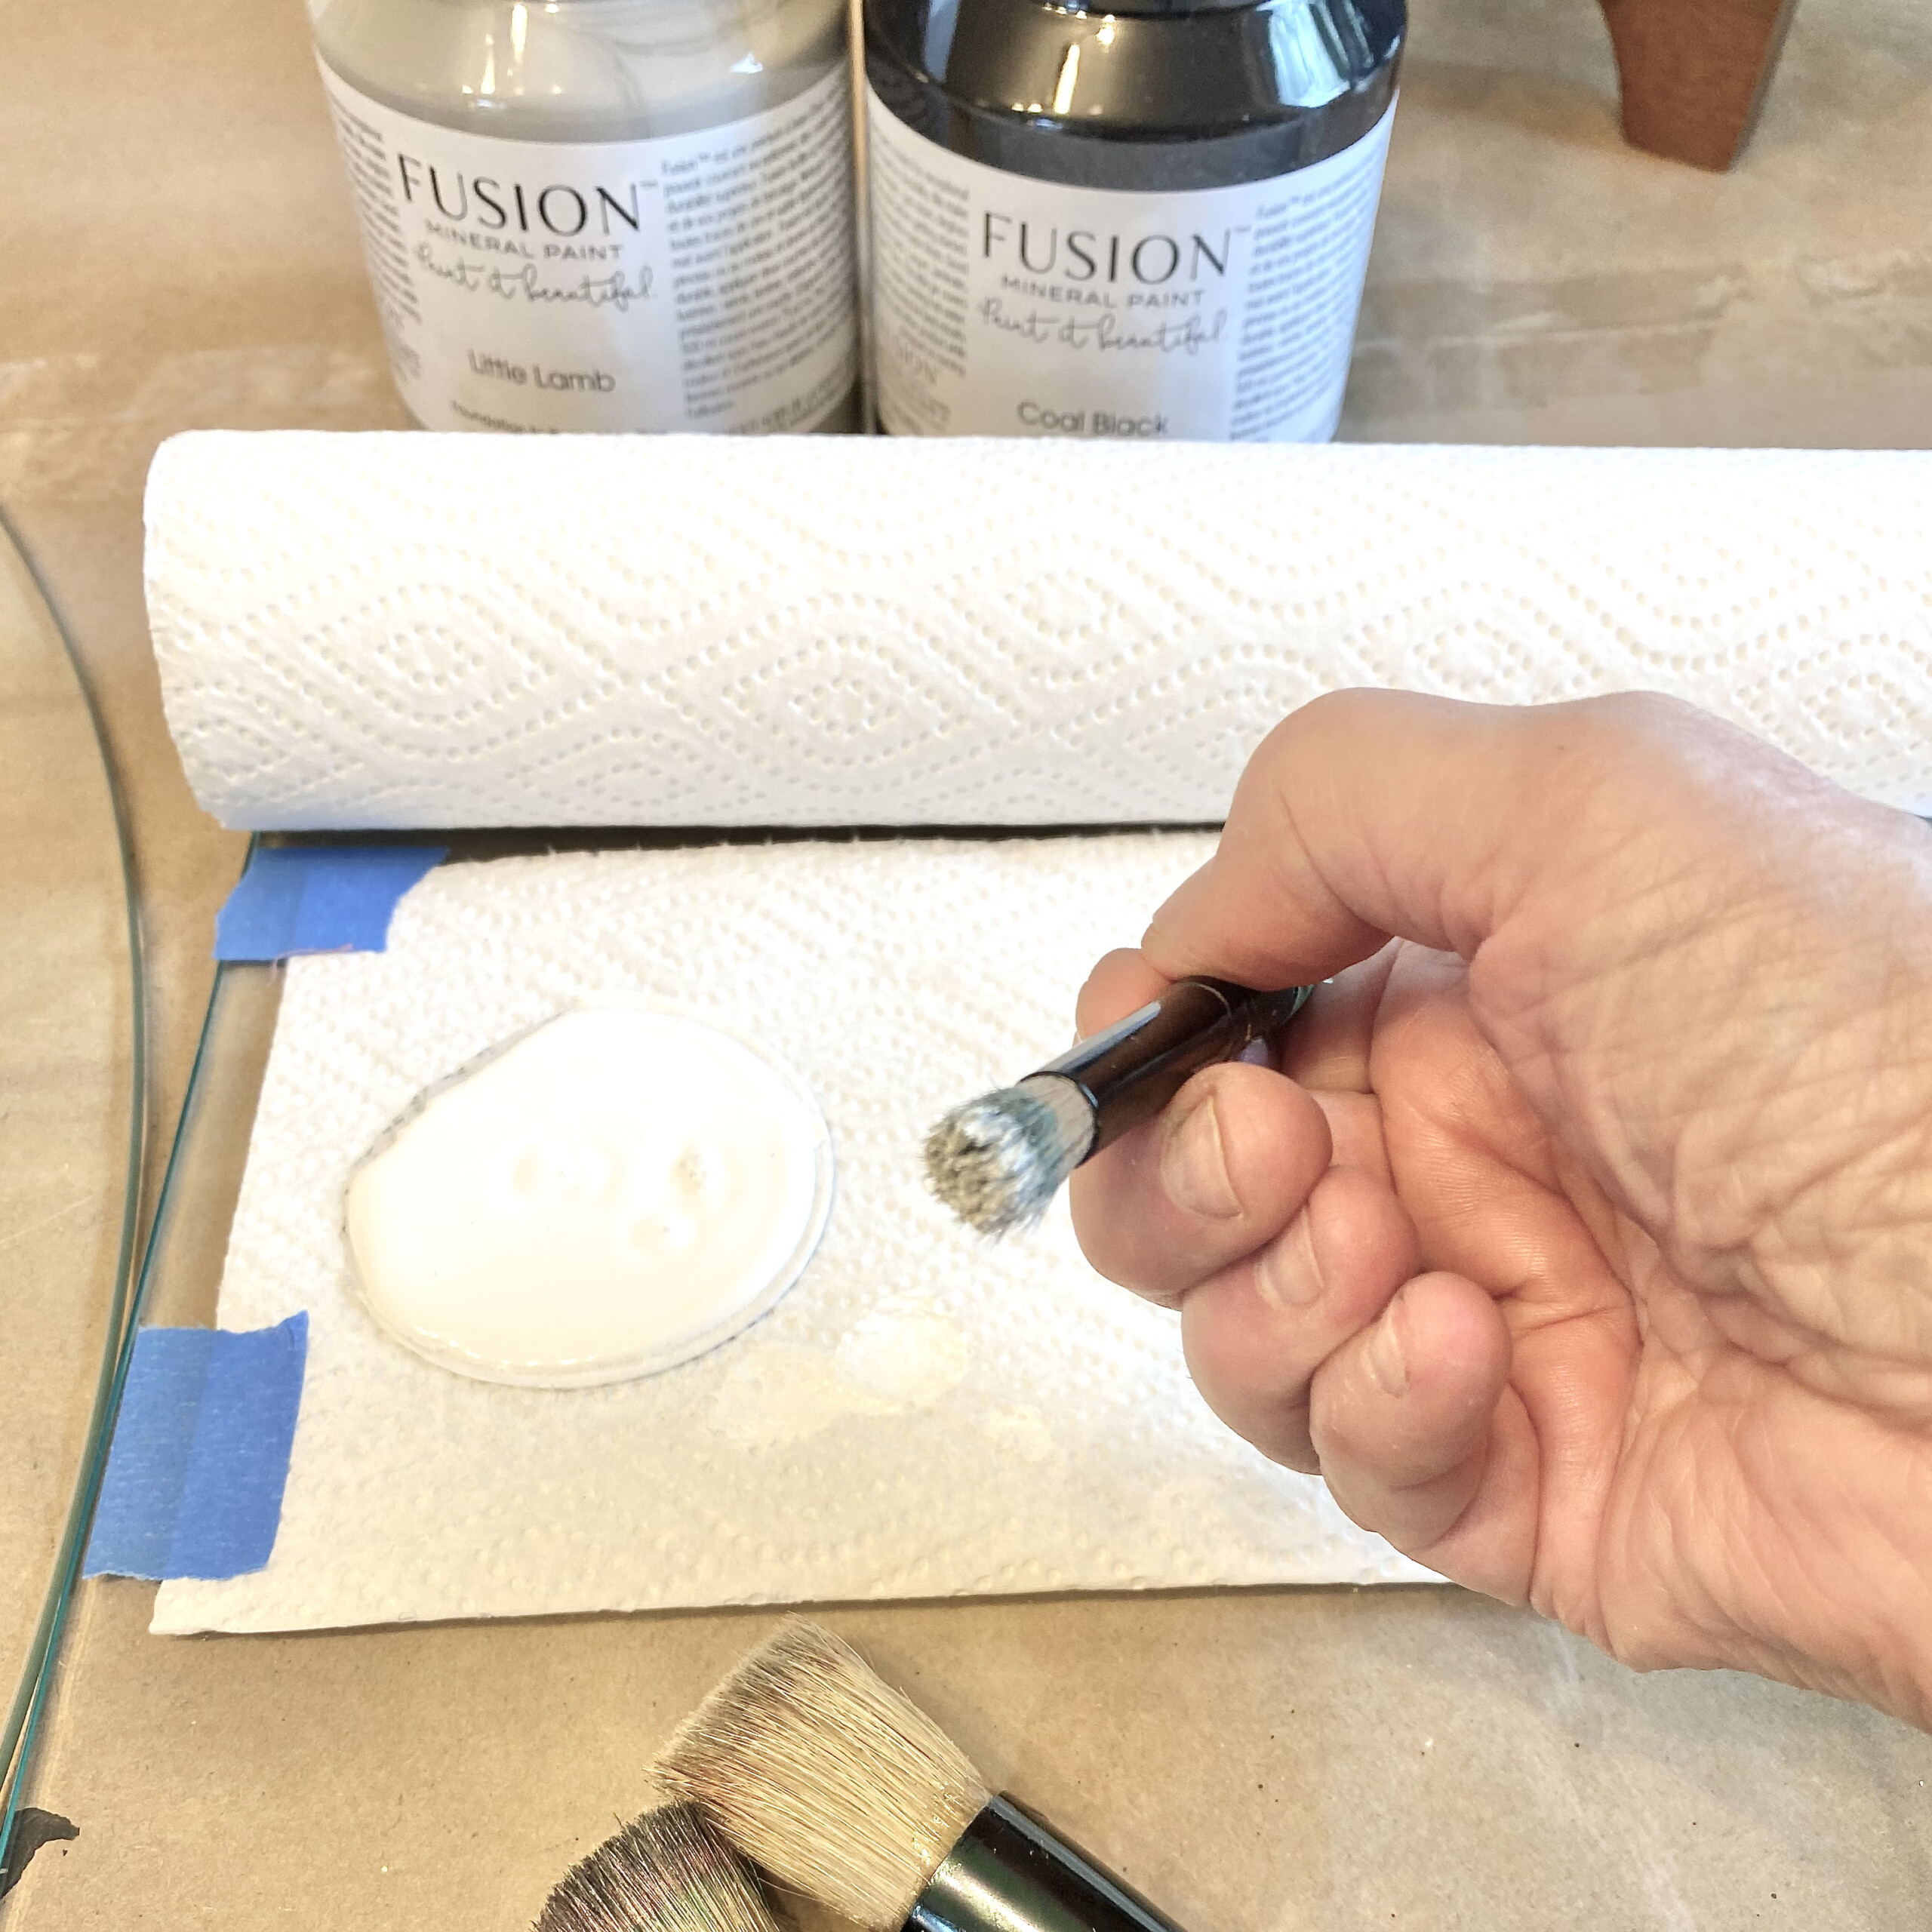
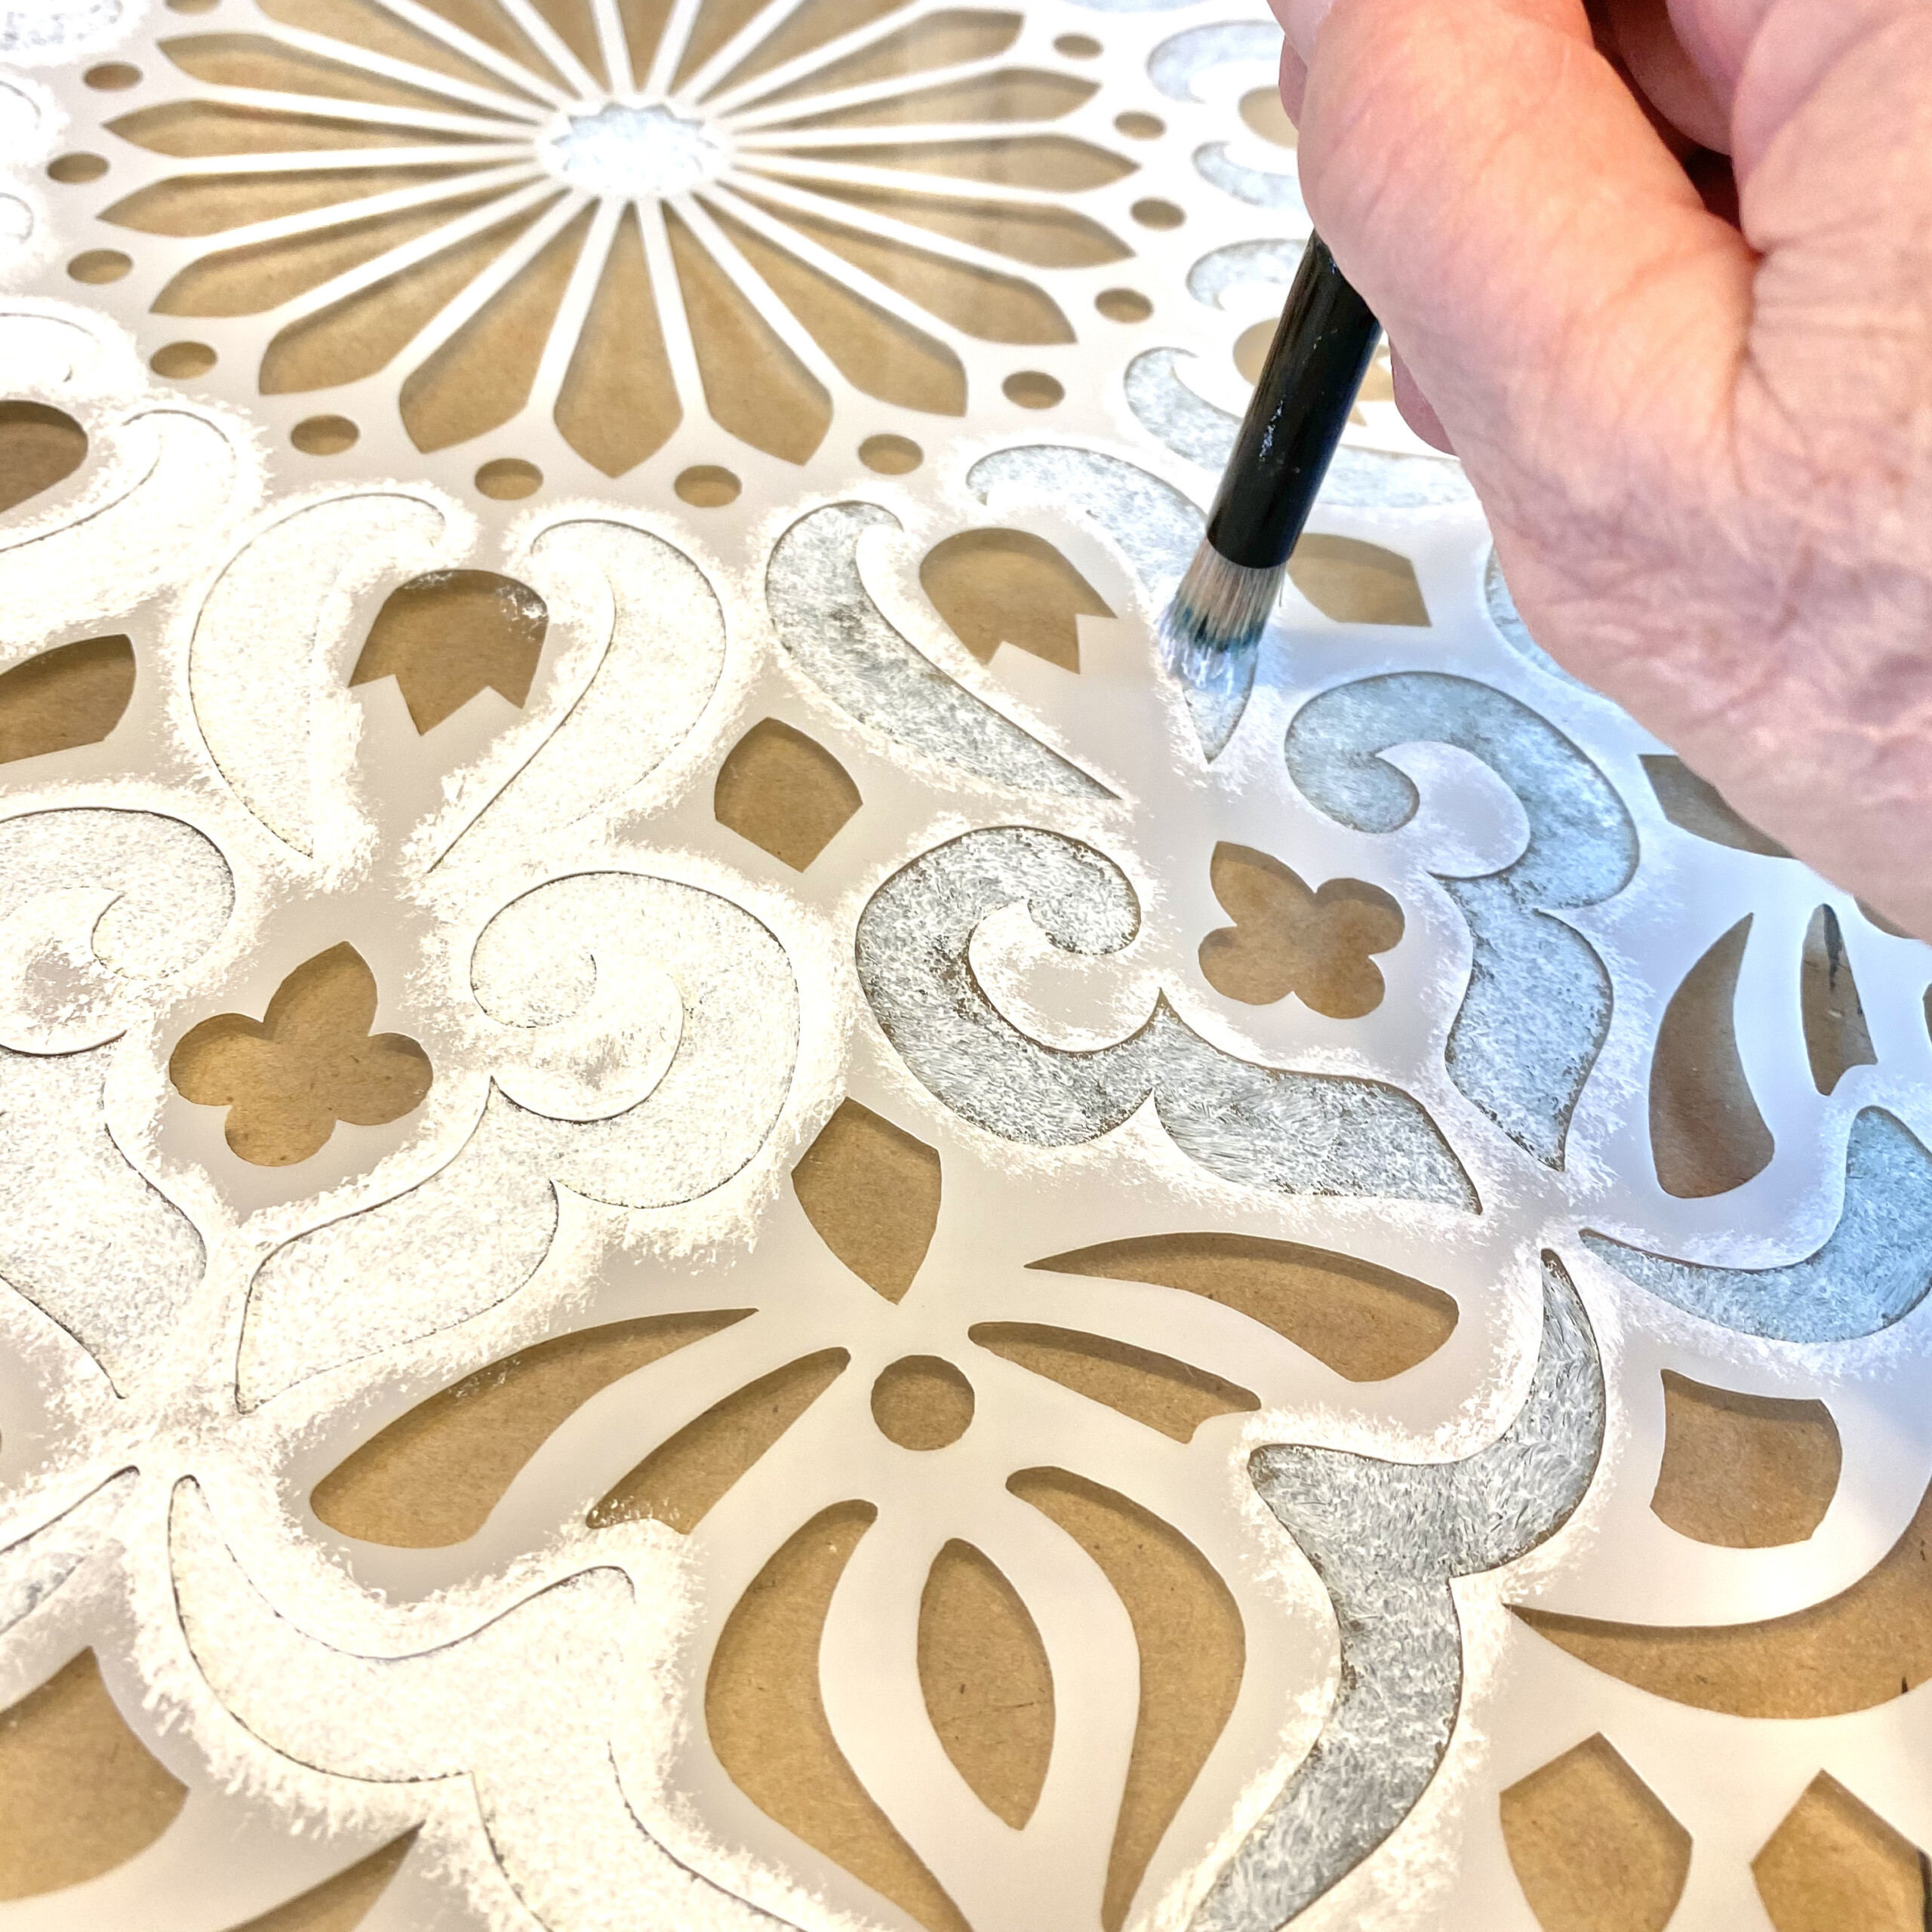
STEP 3 – Stencil The Little Lamb Color
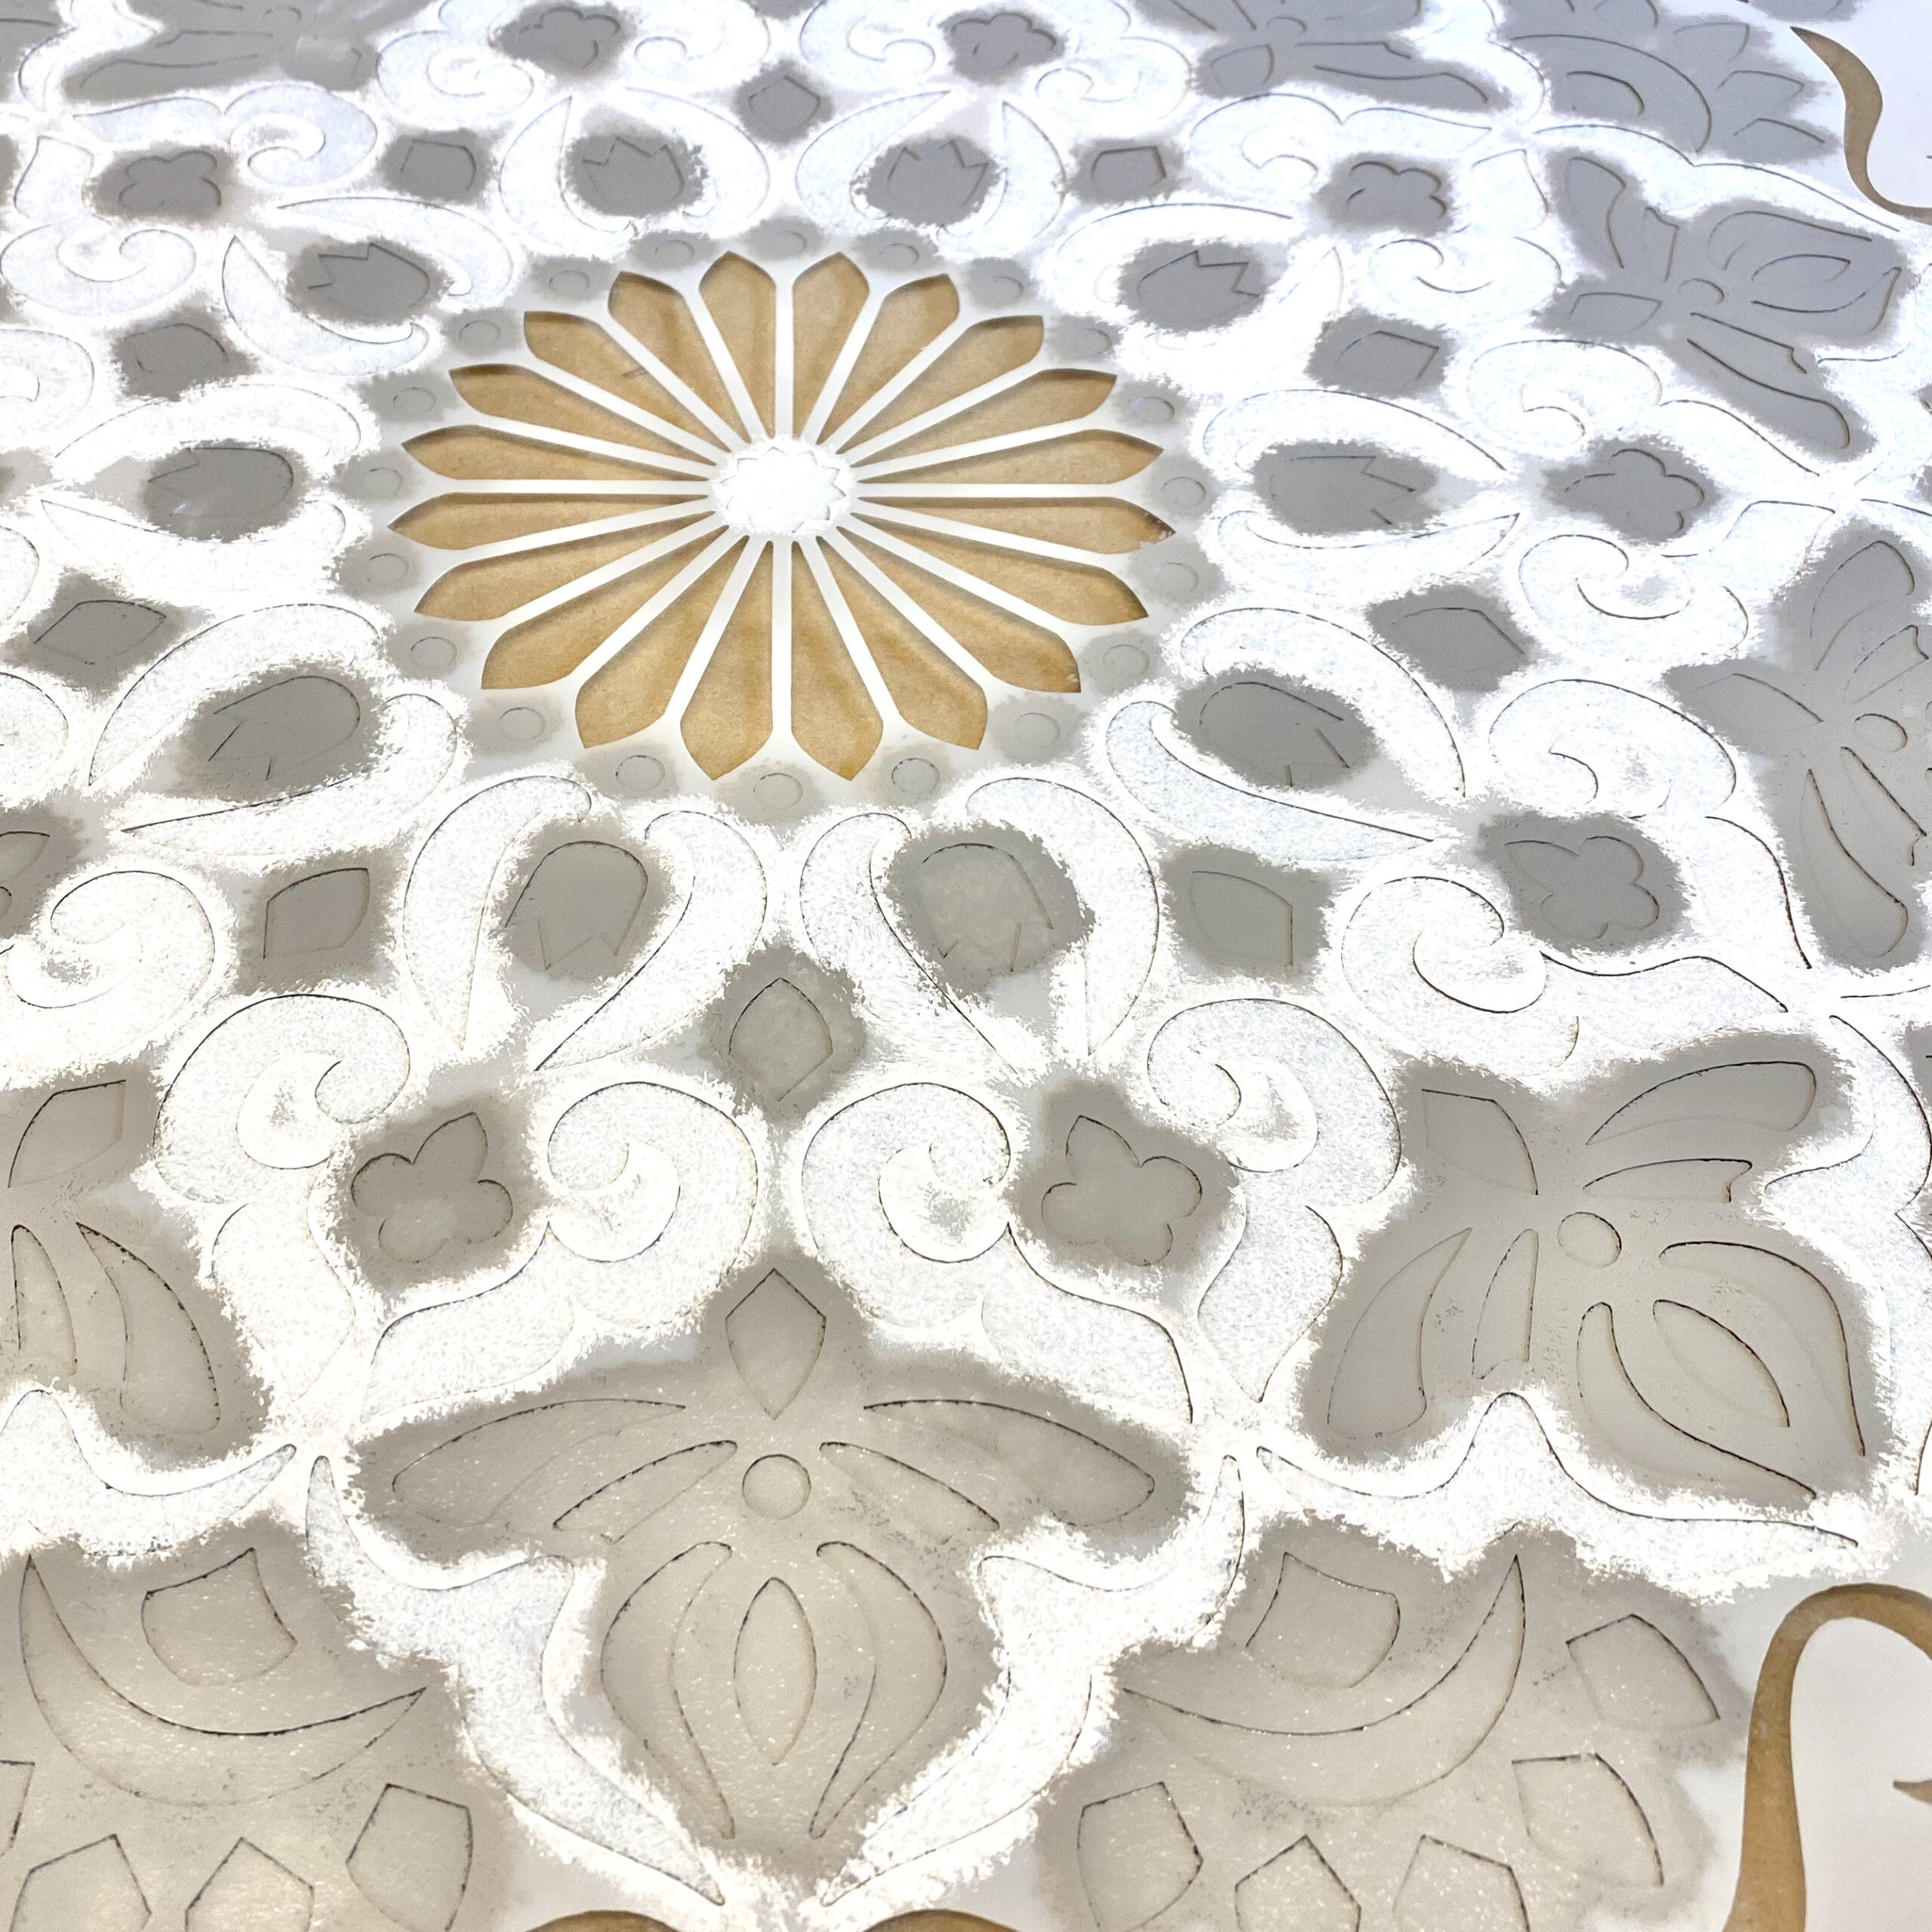
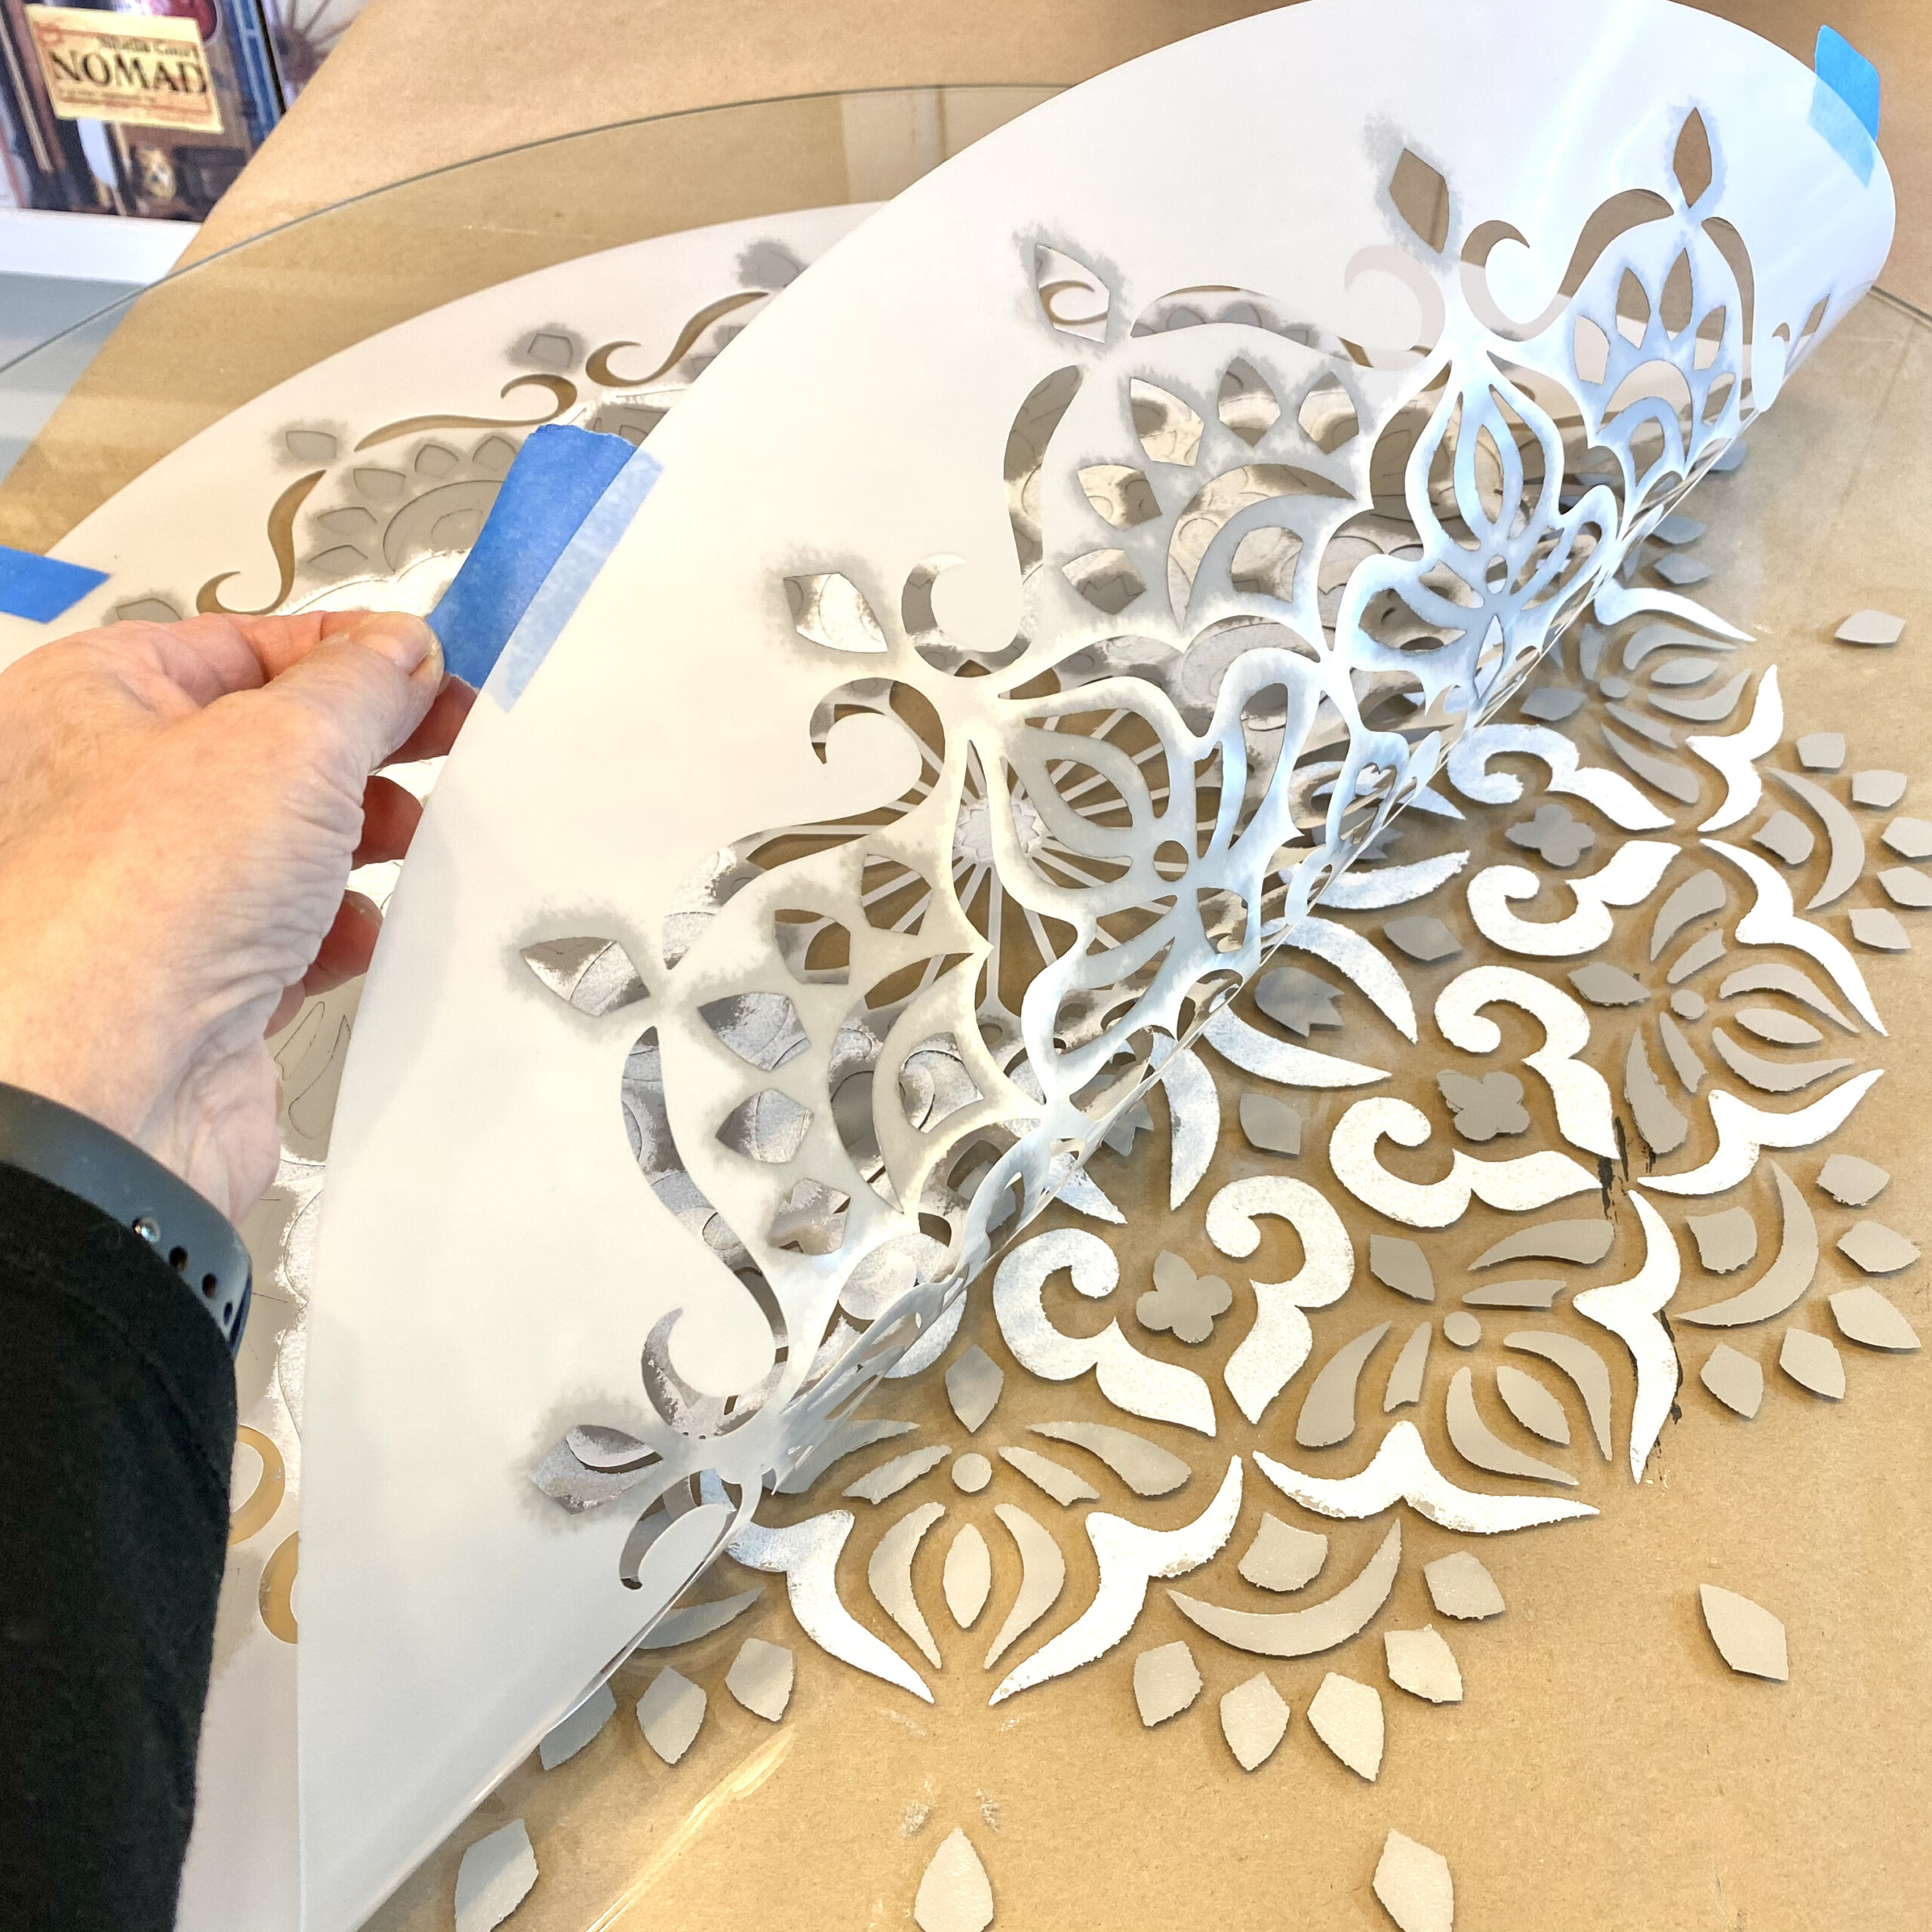
Follow your paper guide to stencil two coats of Little Lamb. When complete, peel up a small area to check your progress, then re-tape.
STEP 4 – Add The Size & Gold Leaf
If you have never worked with gold leaf before, no worries, it’s really easy and fun. For this project, you need very little leaf and size, so no need to purchase a lot. My bottle of size has lasted years.
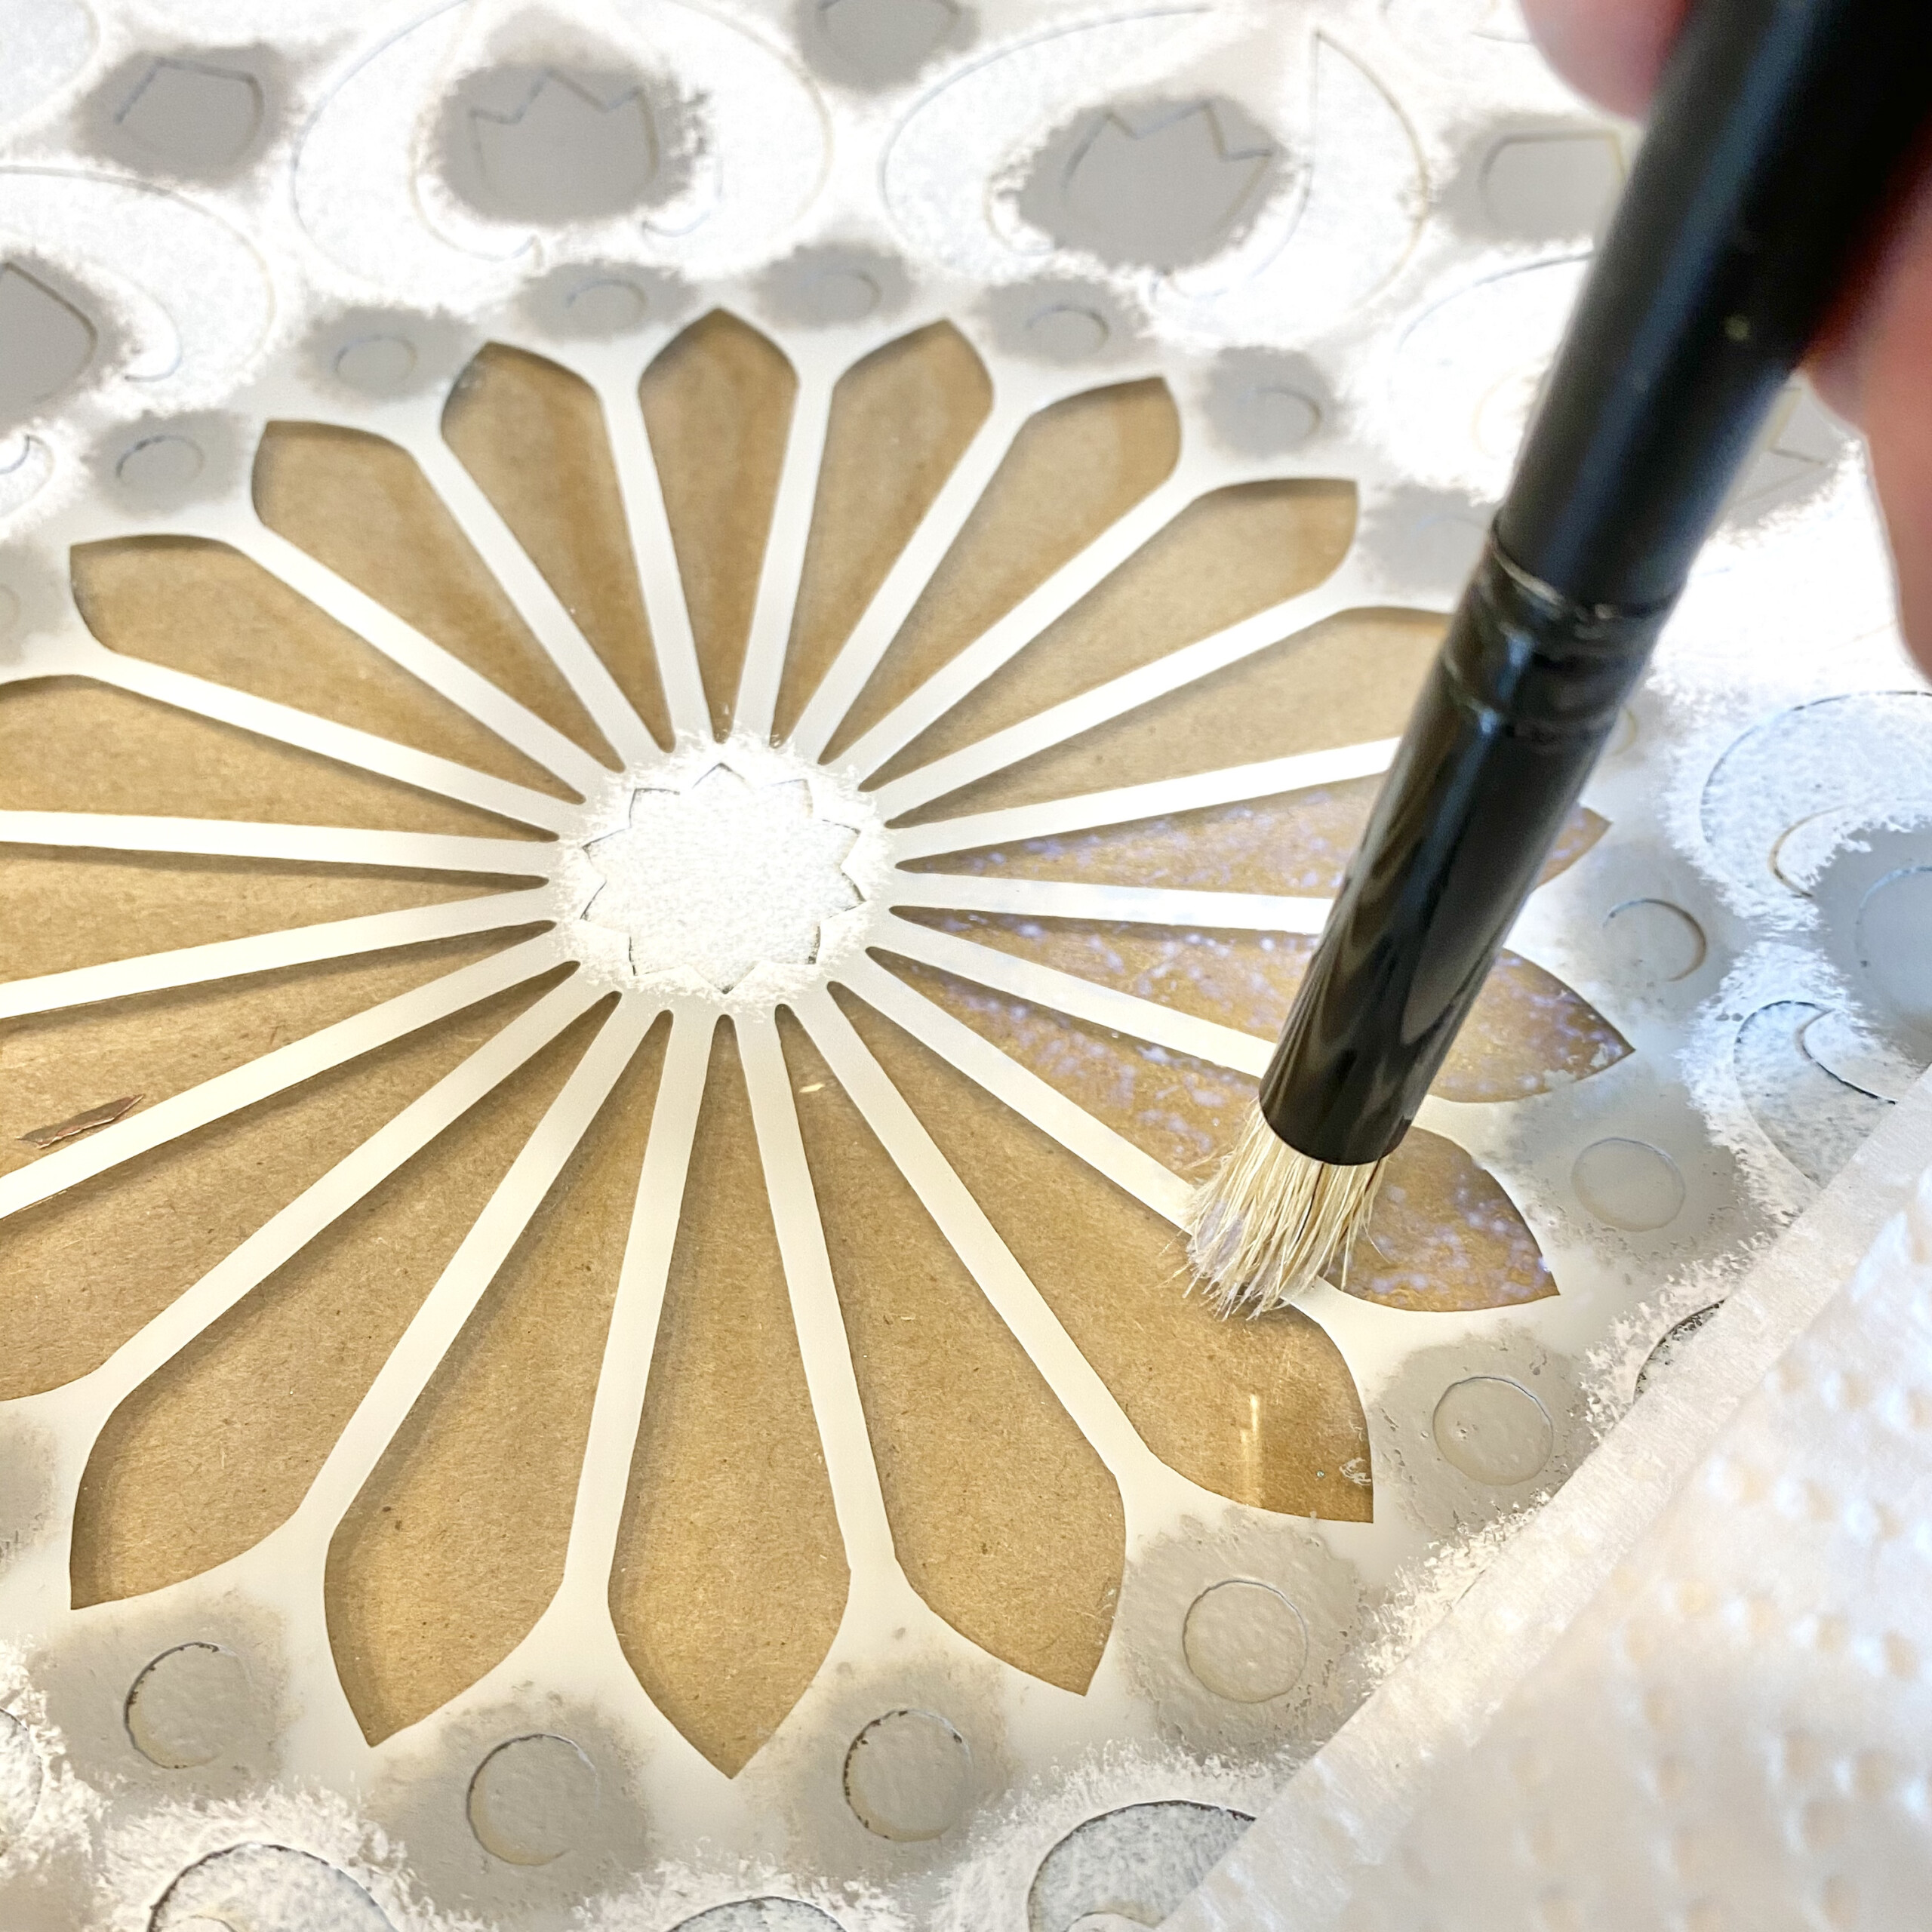
PRO TIP: USE AS LITTLE SIZE ON YOUR STENCIL BRUSH AS POSSIBLE. It is a very watery product that can easily seep under the stencil, and, gold leaf is incredibly thin and needs almost nothing to stick to.
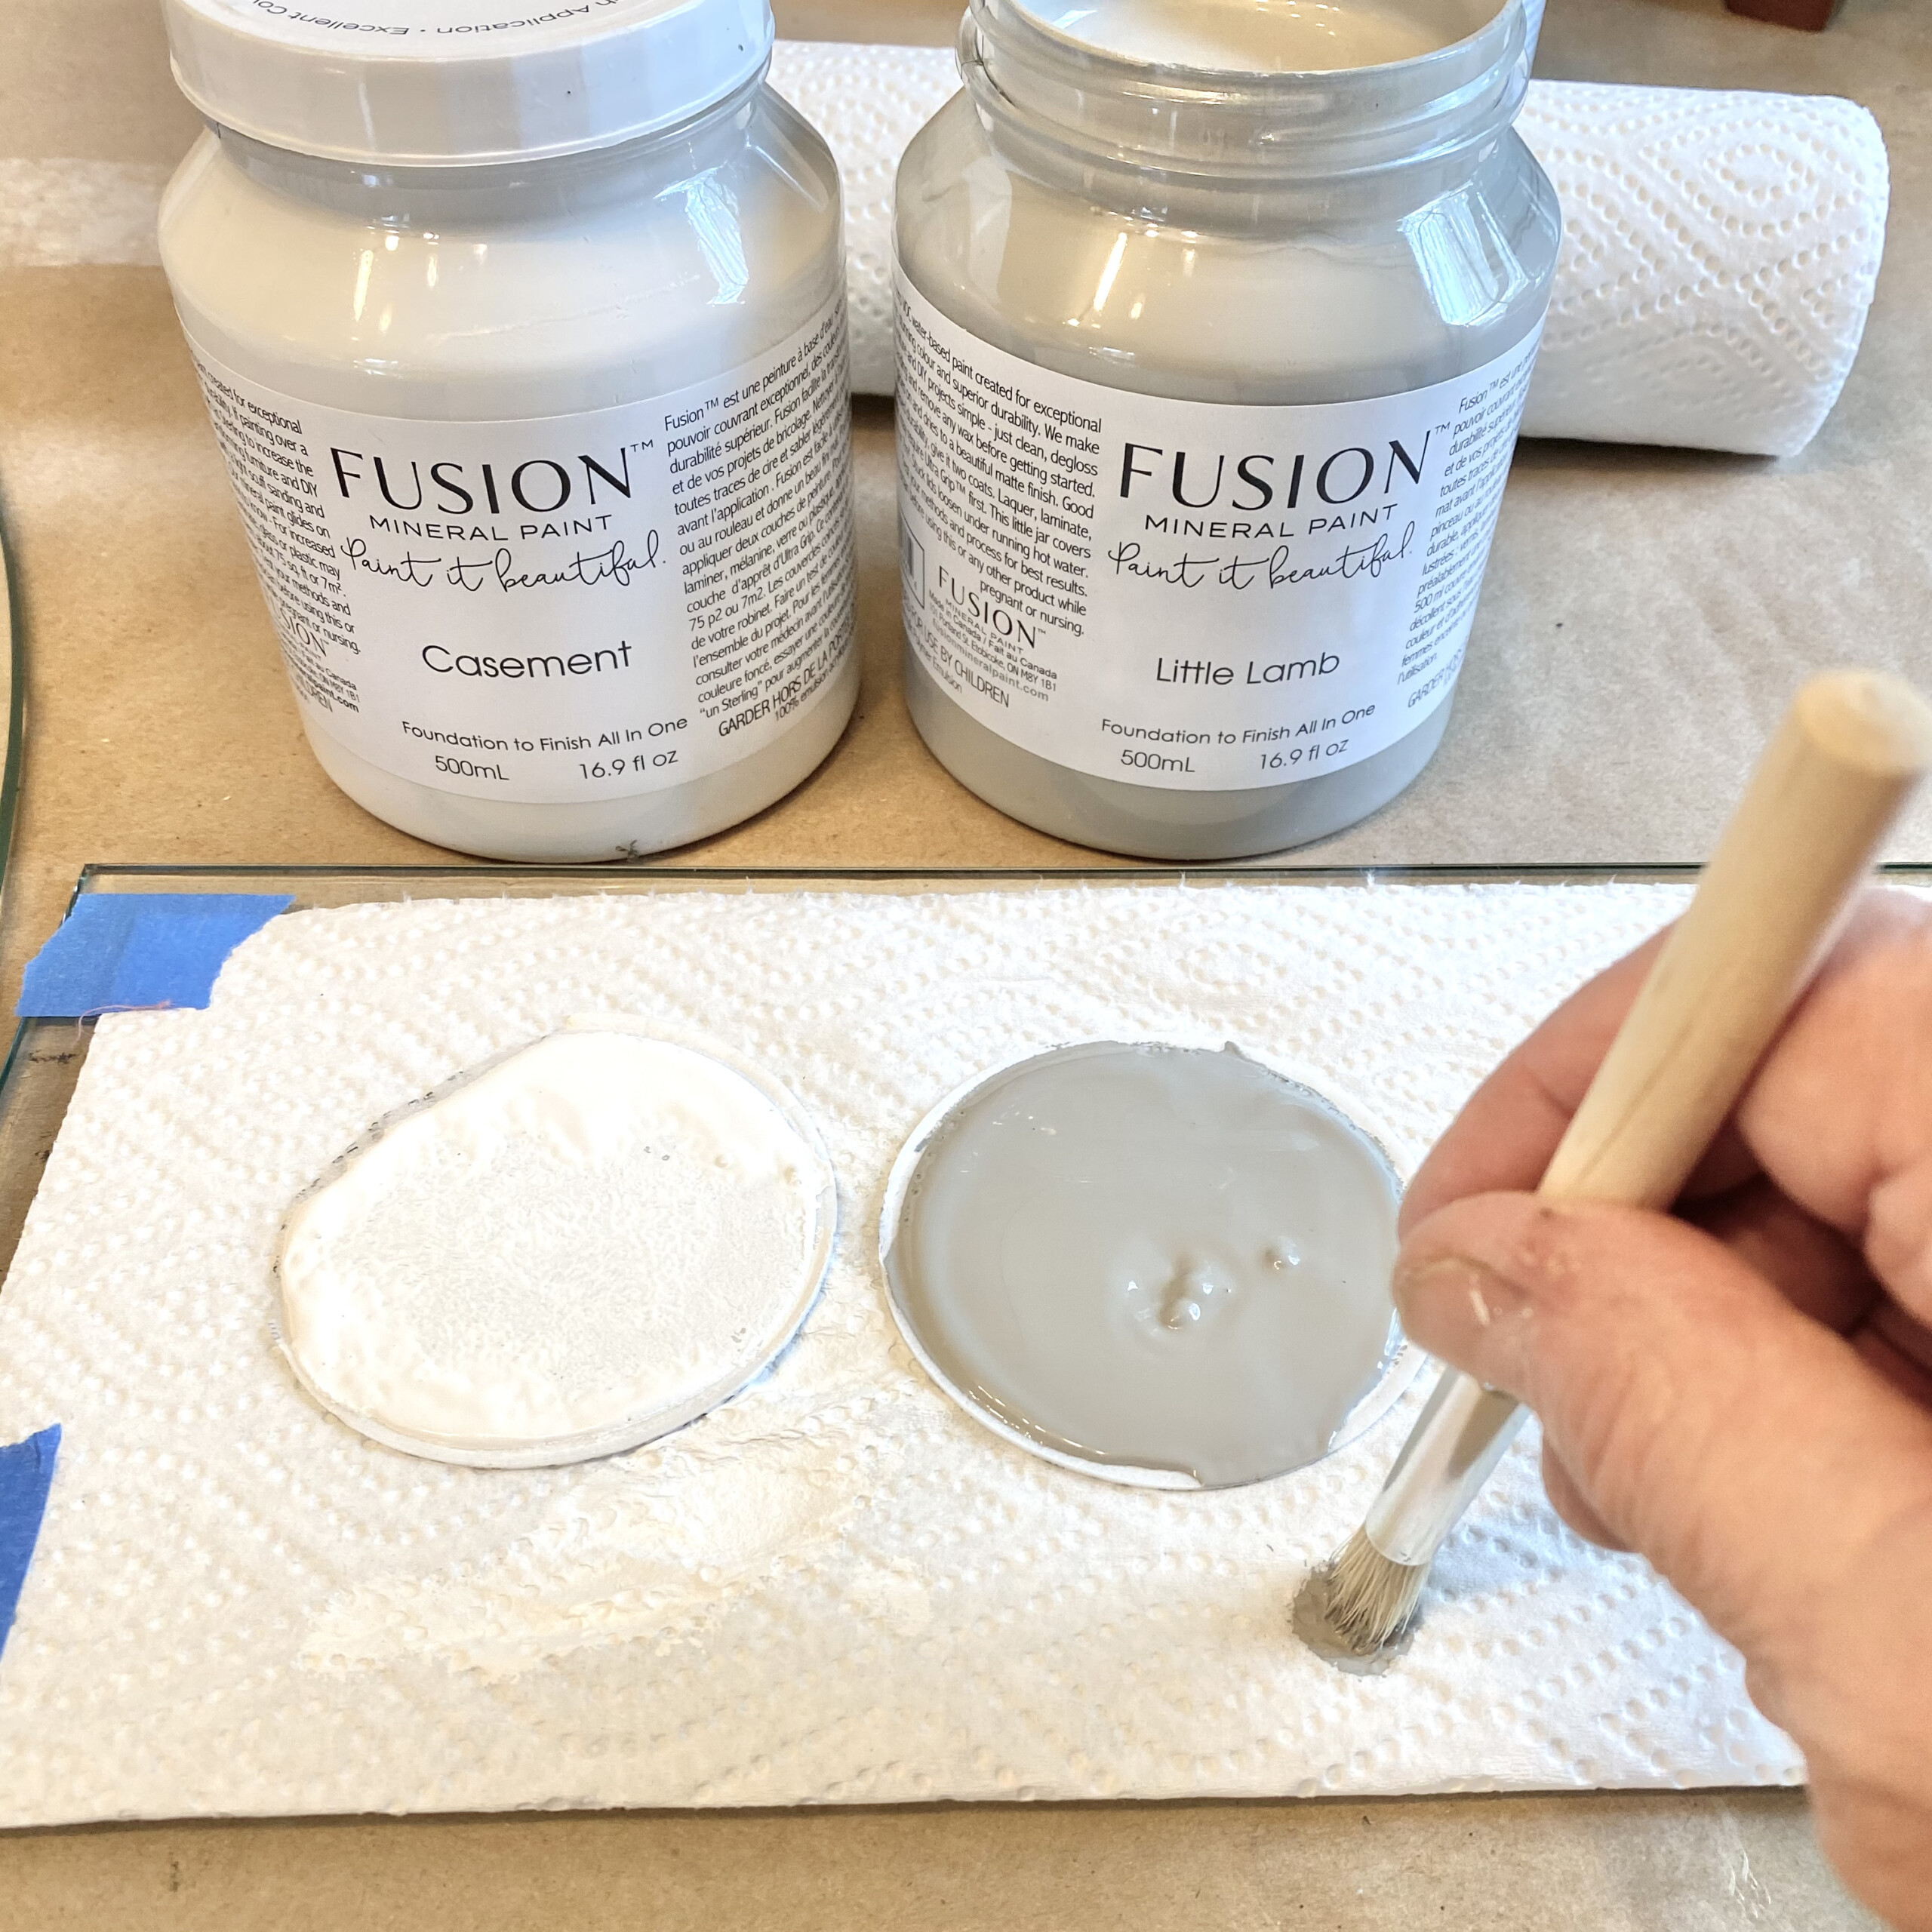
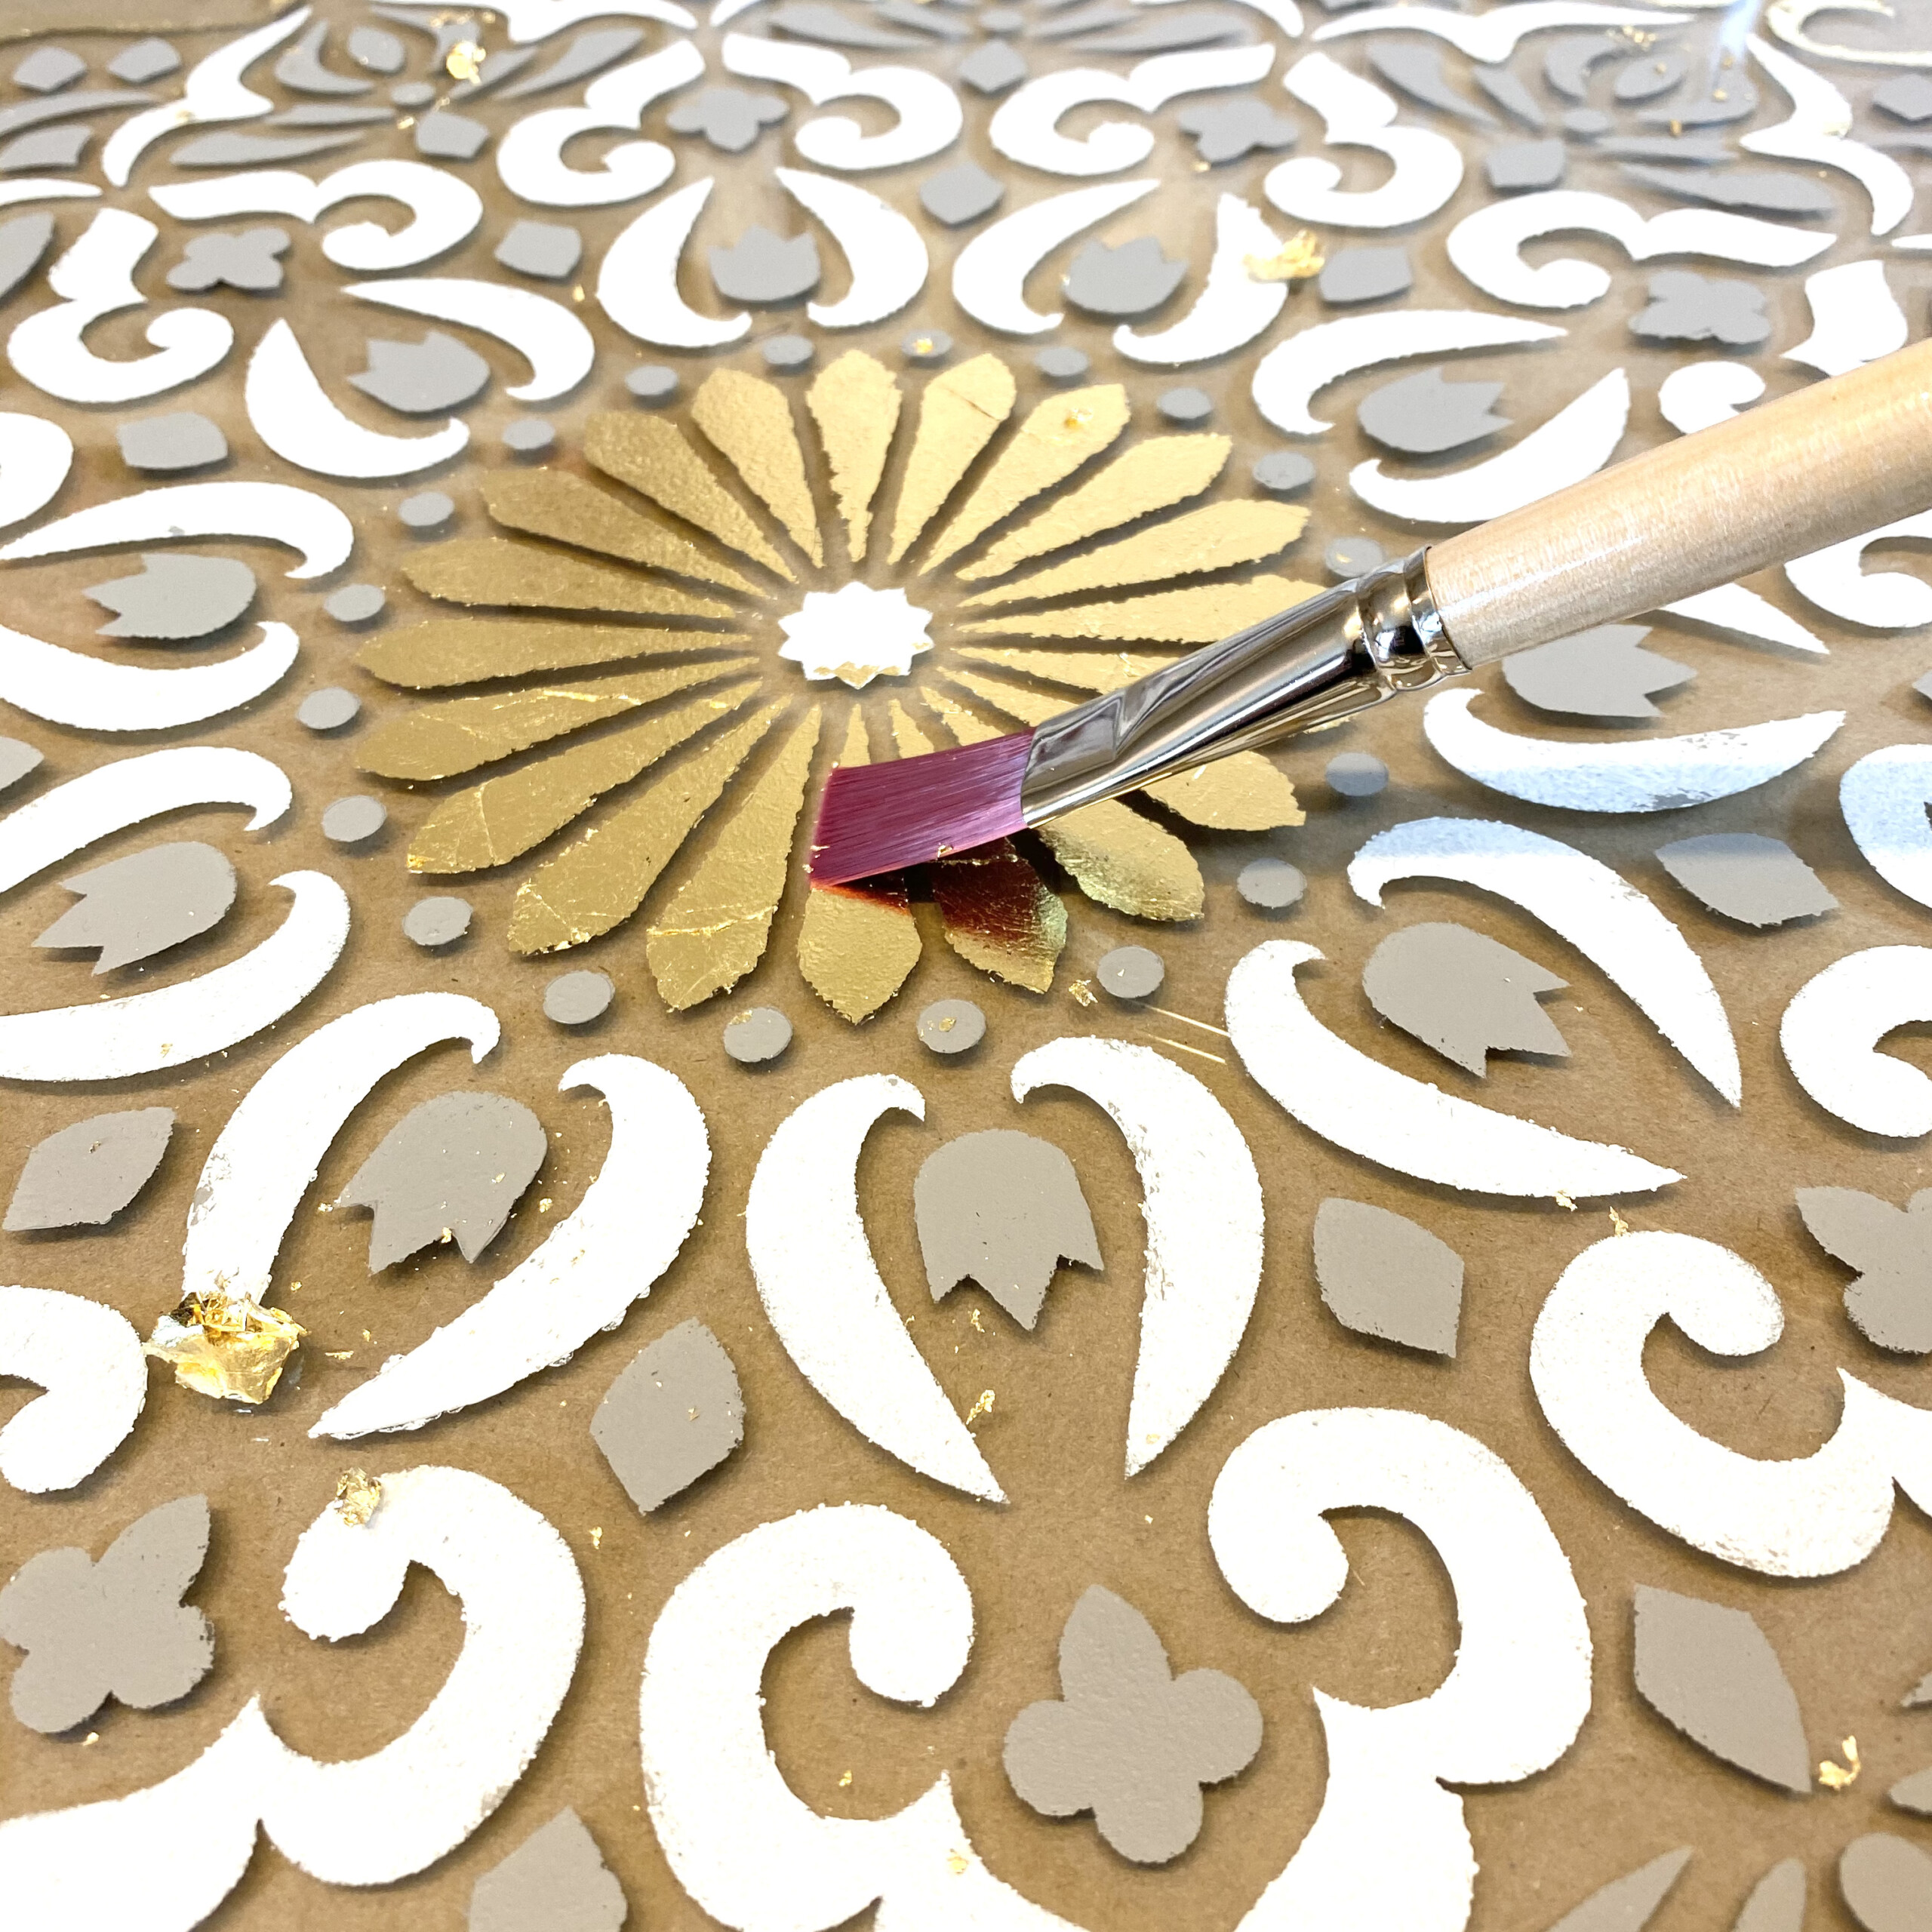
Pour a tiny bit of size onto your palette. Tap a clean stencil brush into the size and swirl the brush on paper towels until it seems like none remains on the brush. Tap the brush gently, straight up and down, in the open areas designated for the gold leaf. If you see tiny bubbles, just tap into them and move the size around in the stencil opening. When you complete all of the areas, let the size come to tack for at least 15 minutes. It will stay sticky for up to 24 hours.
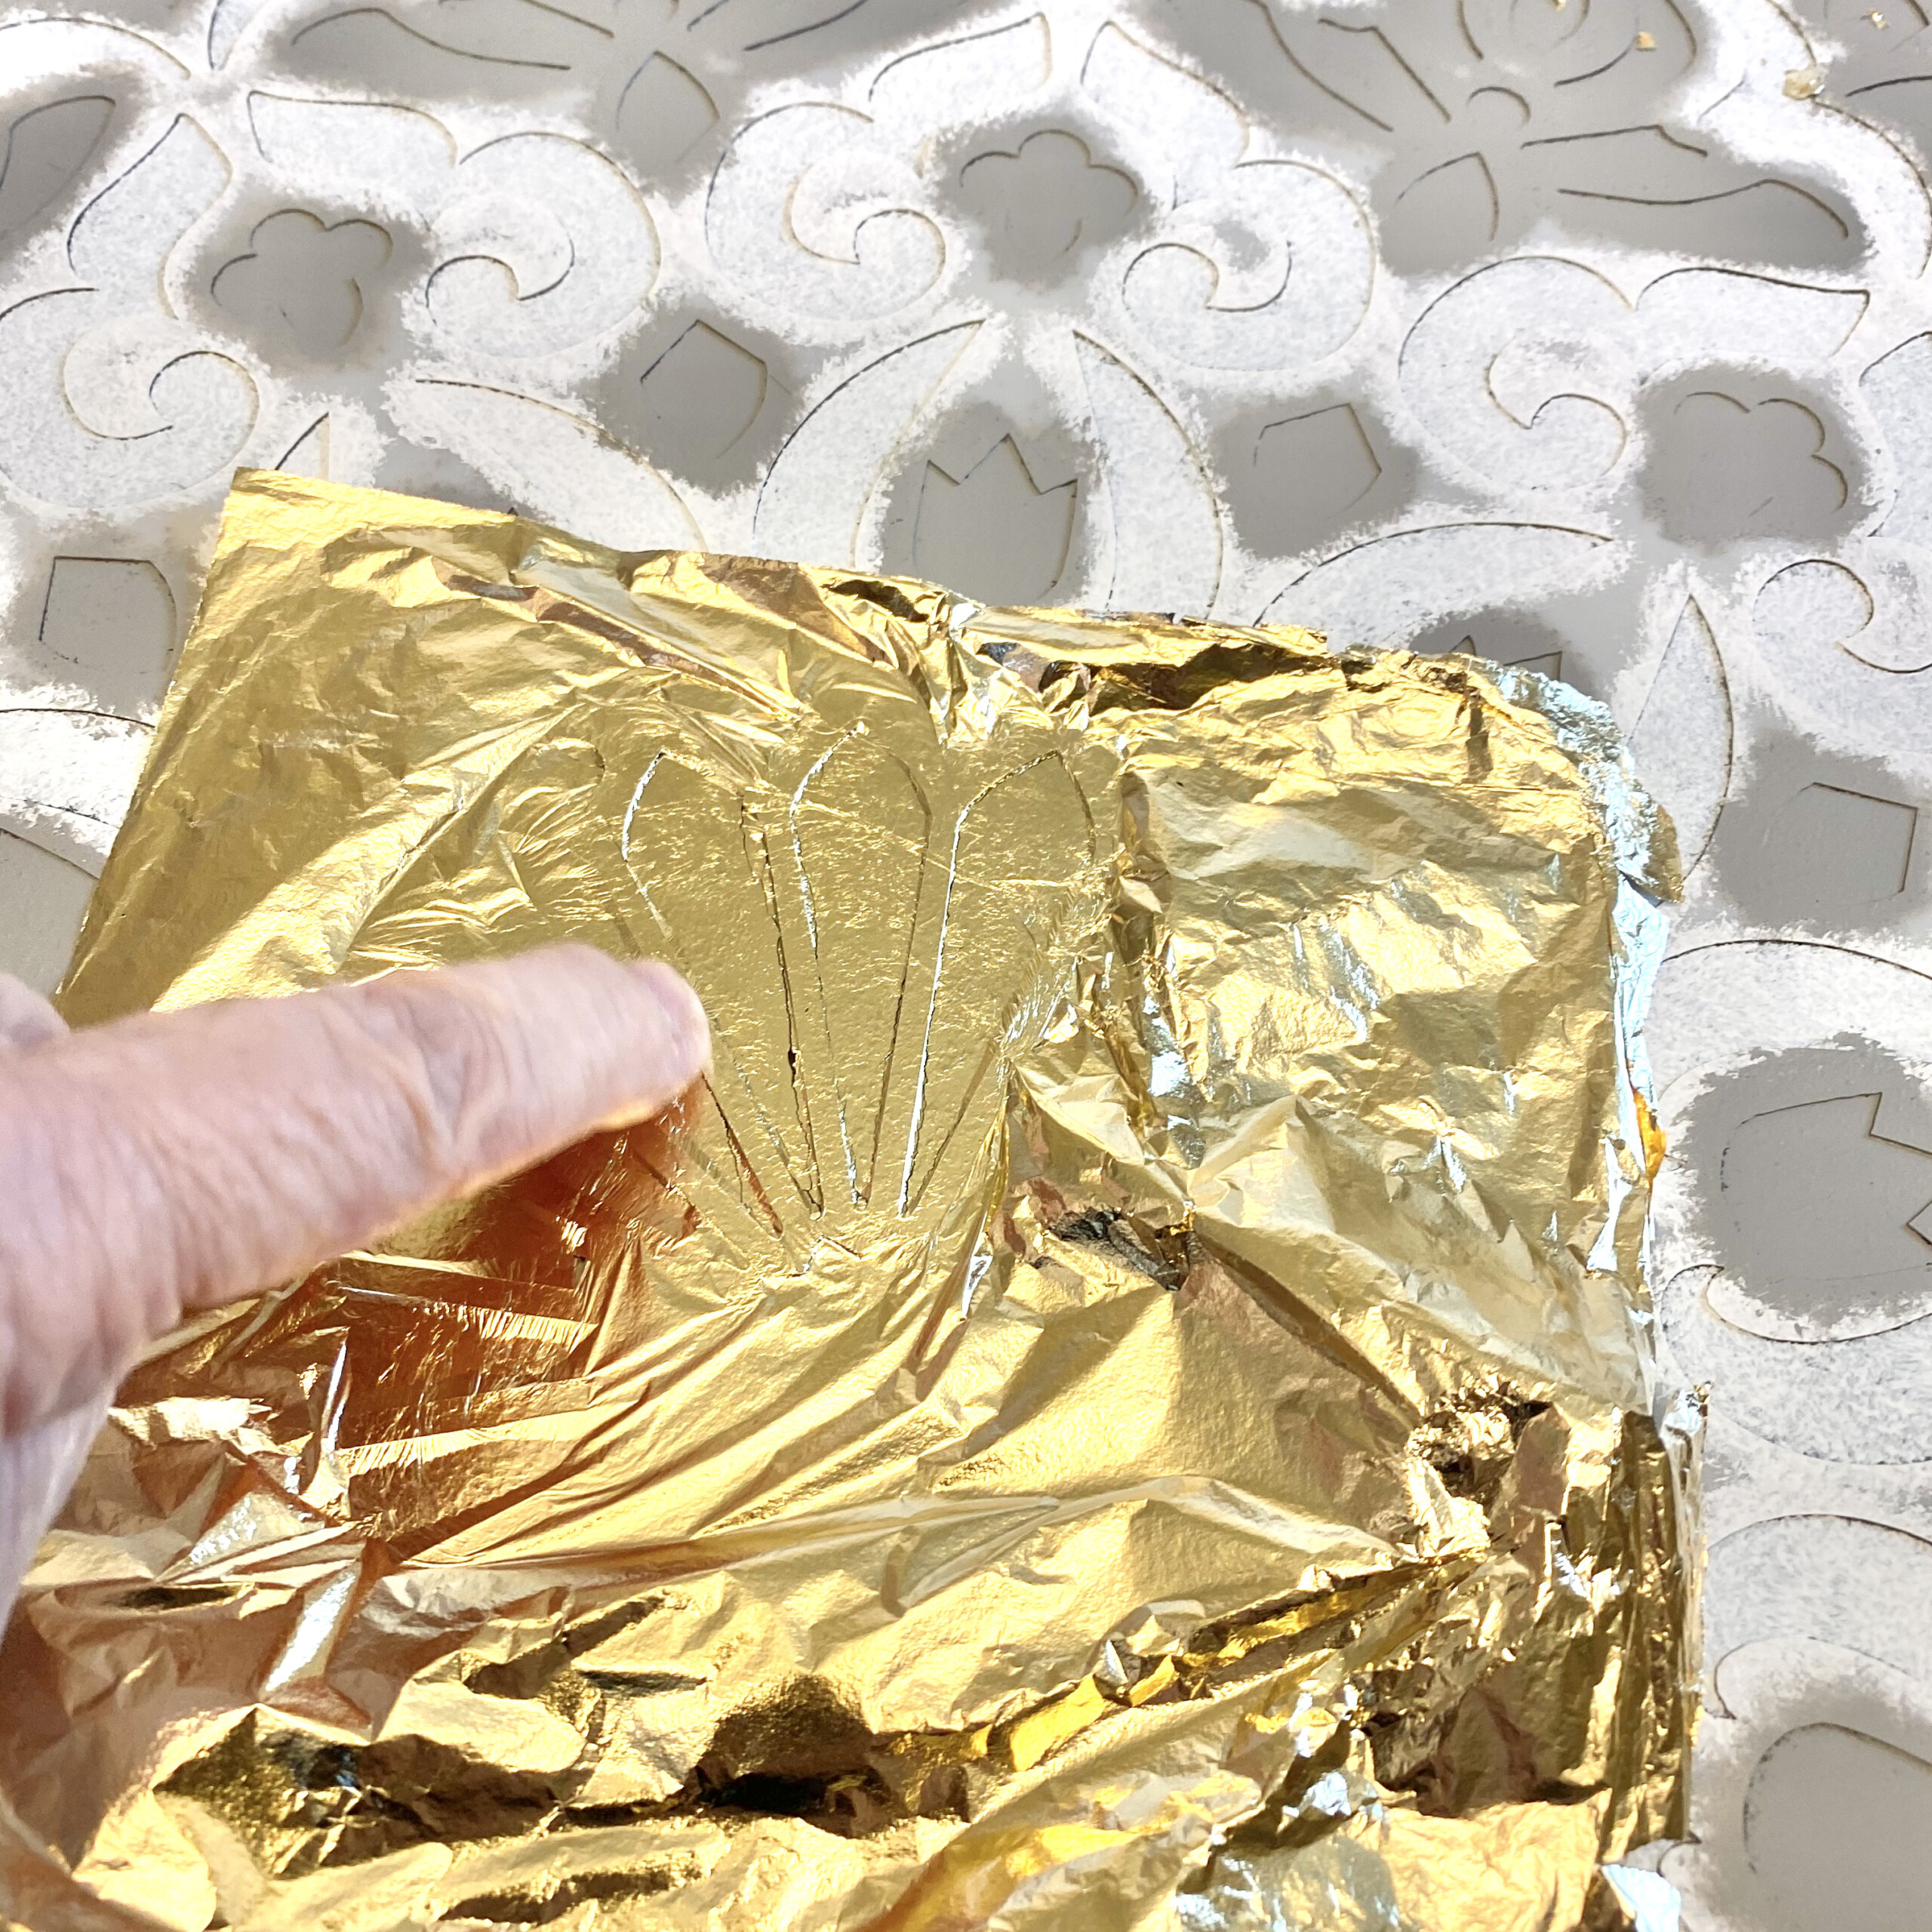
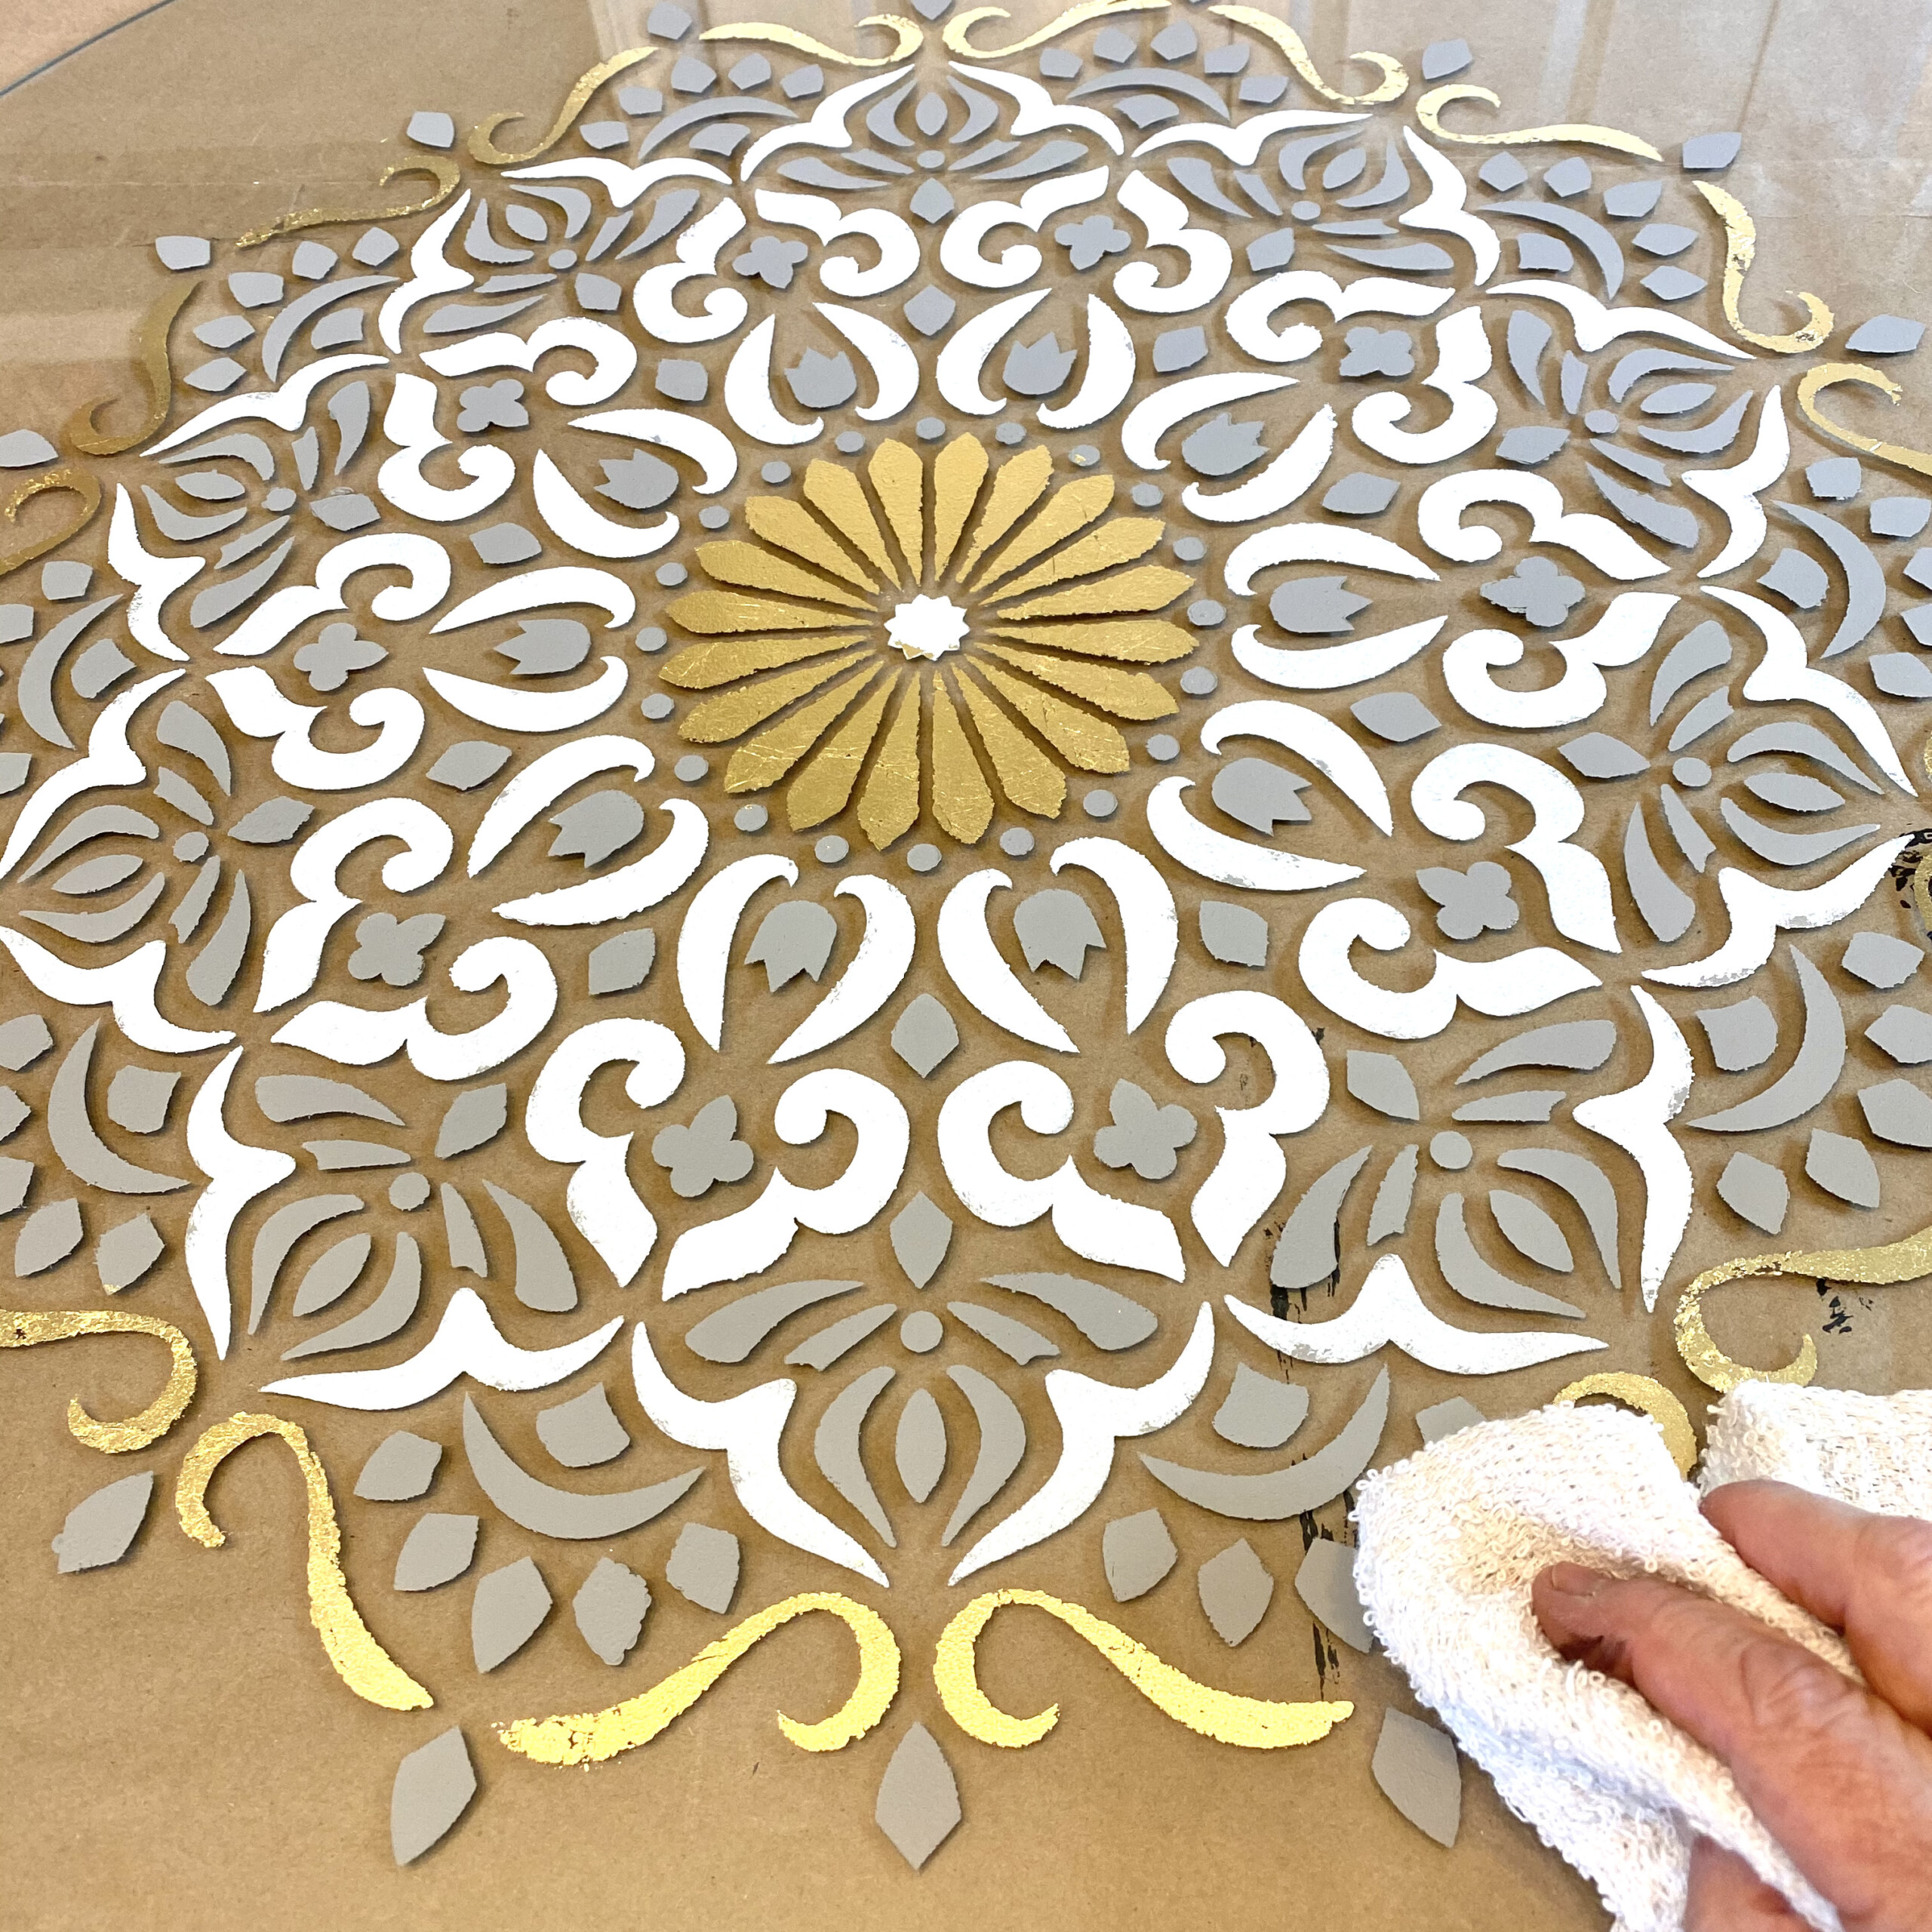
With the stencil still in place, pick up a piece of gold leaf and place it over the stencil openings. Press with your fingertip so that the leaf hugs tightly into the edges. Complete all areas and remove the stencil. Wipe the surface with a clean rag to remove all of the leaf skewings.
STEP 5 – Paint Coal Black Over The Entire Glass Piece
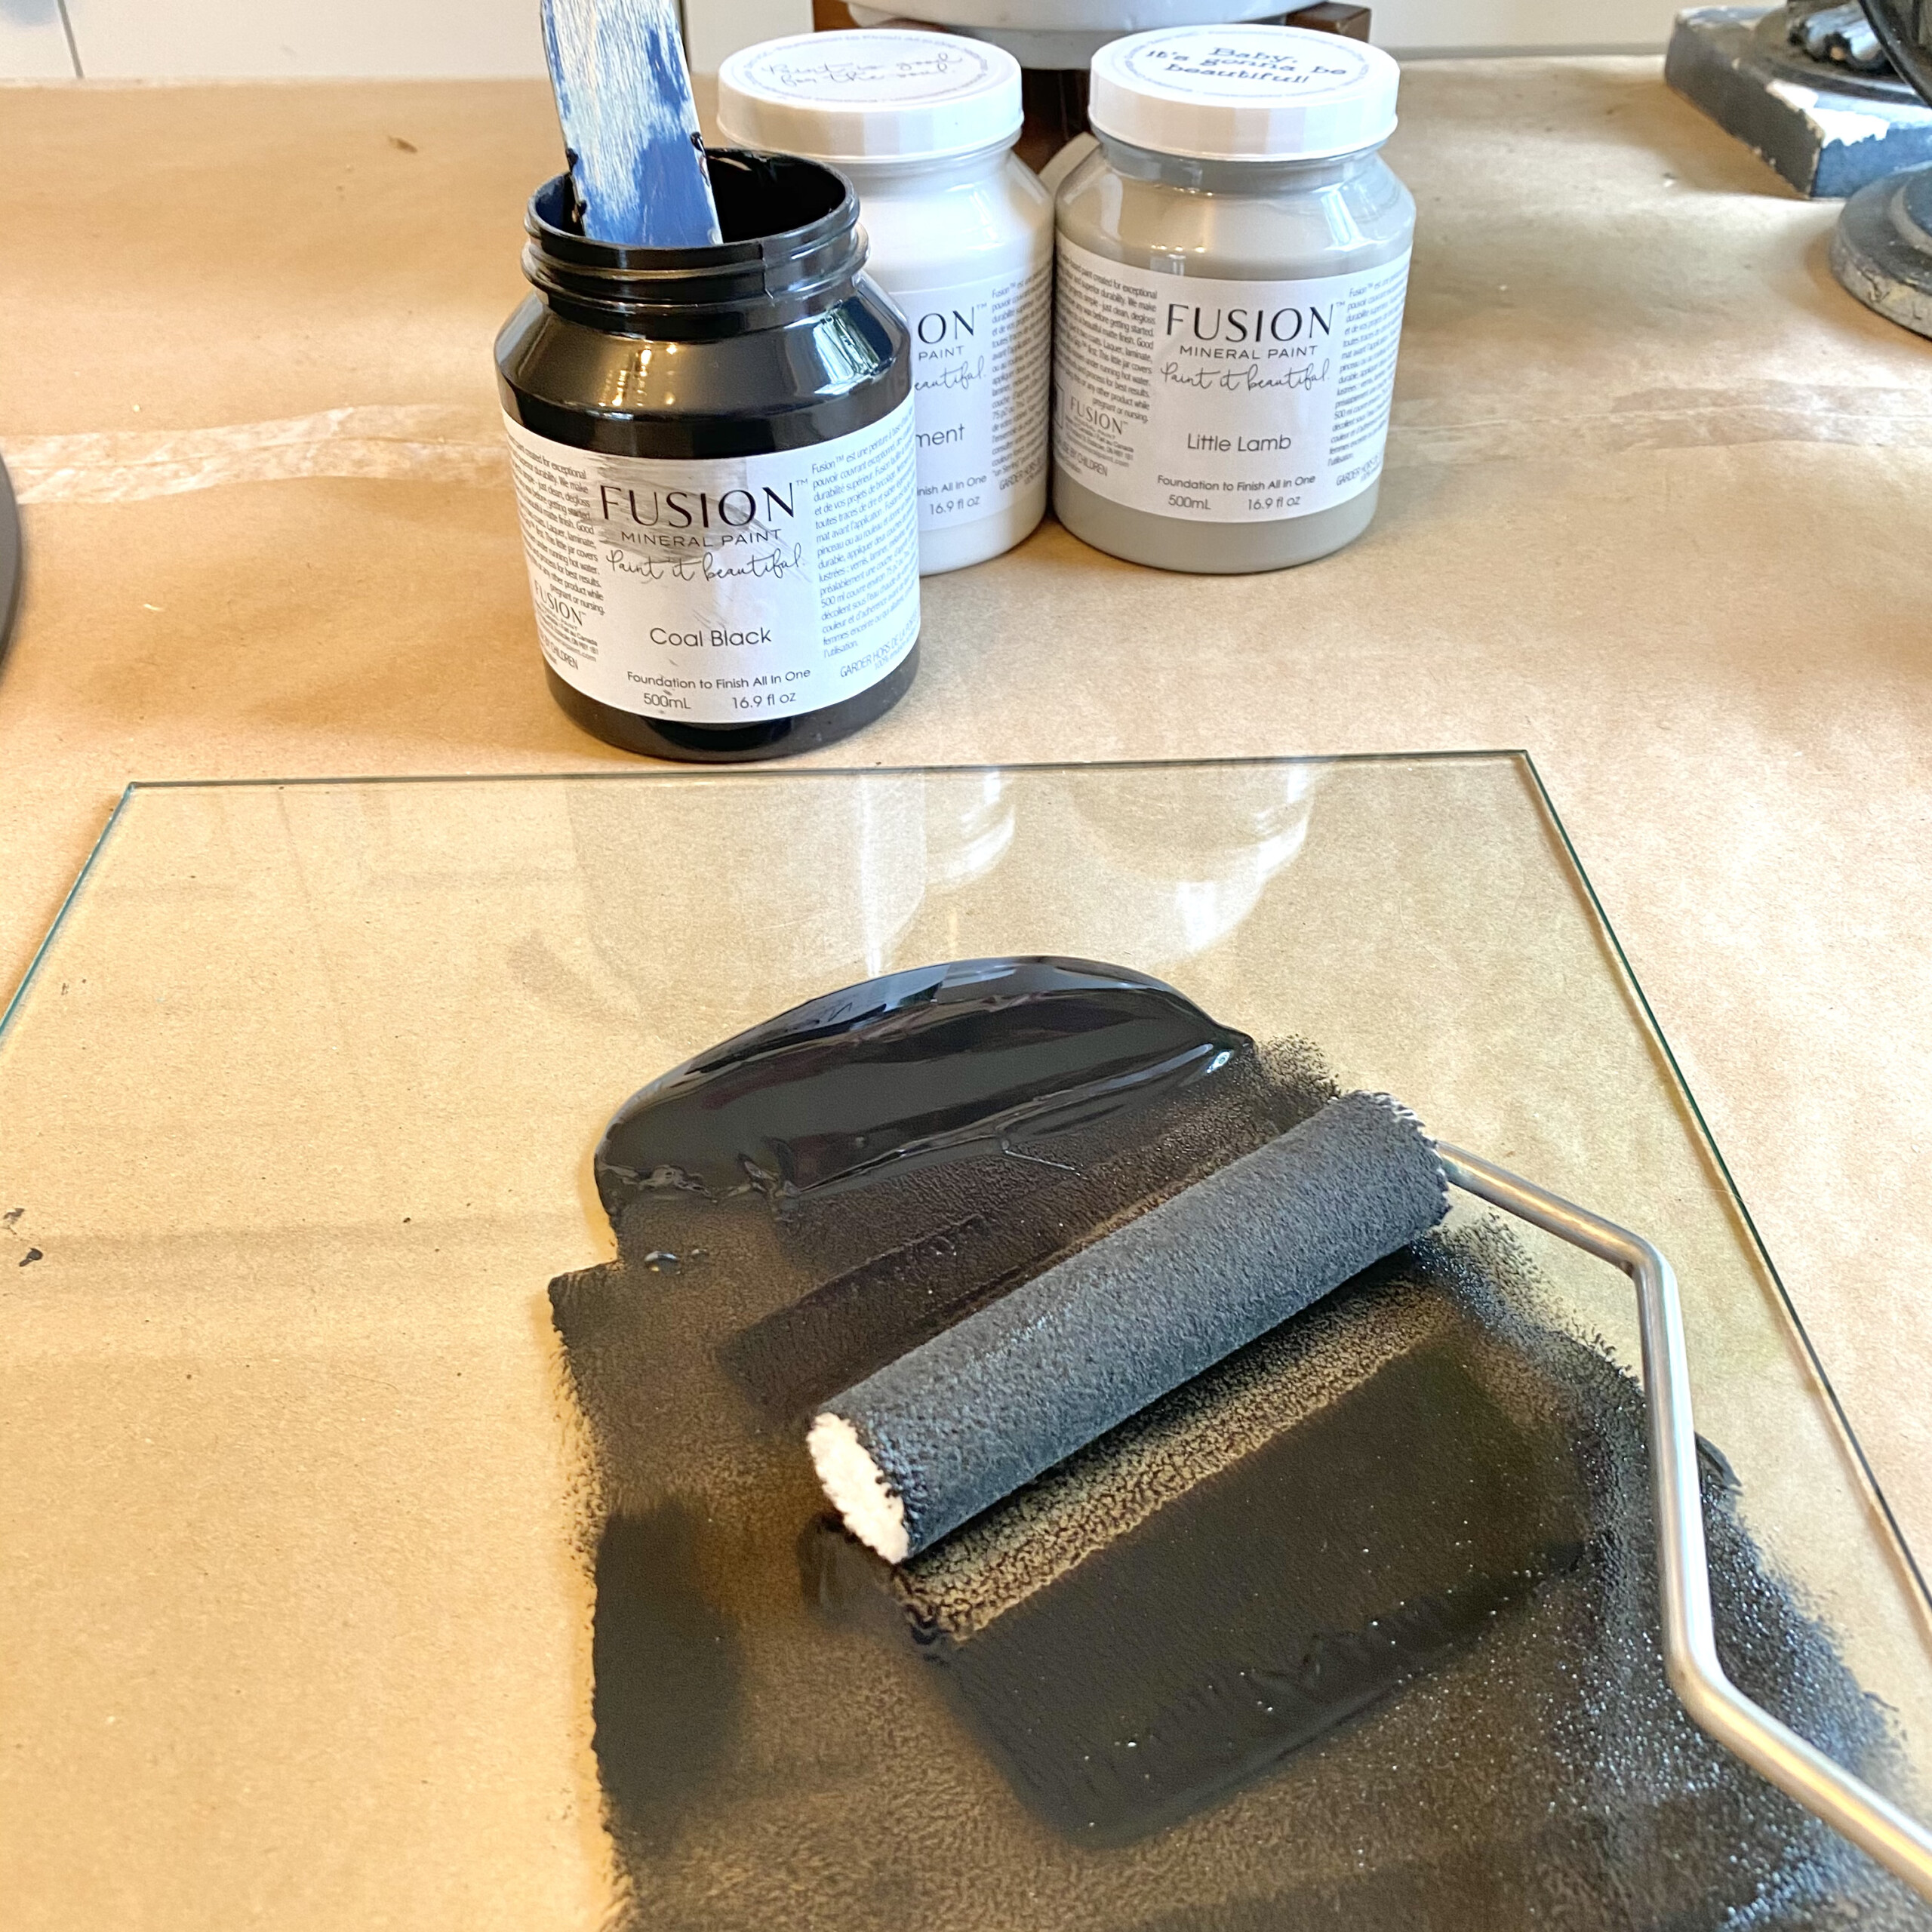
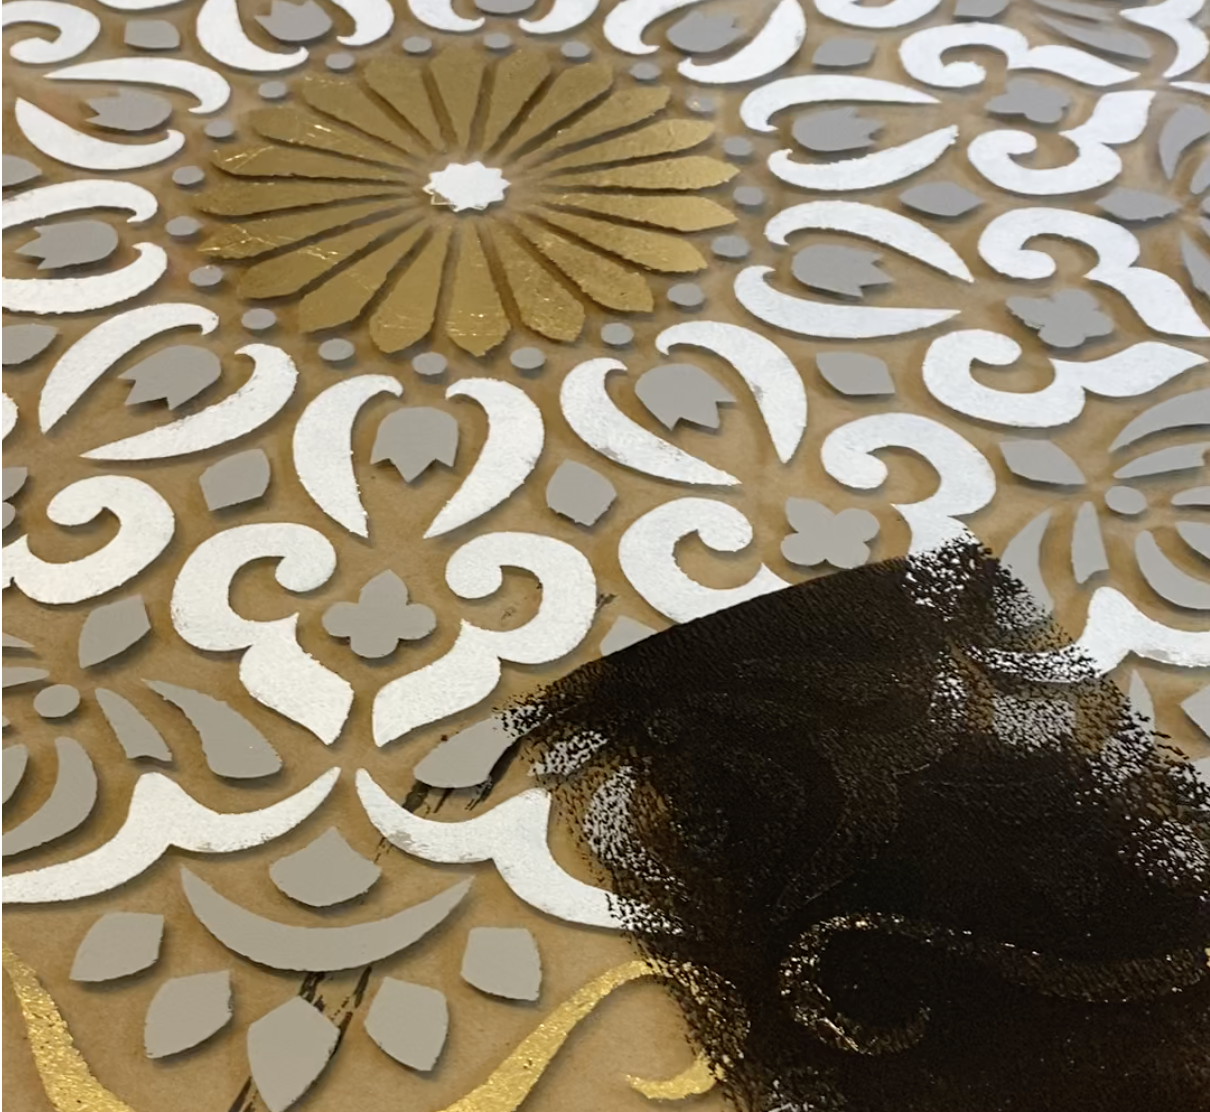
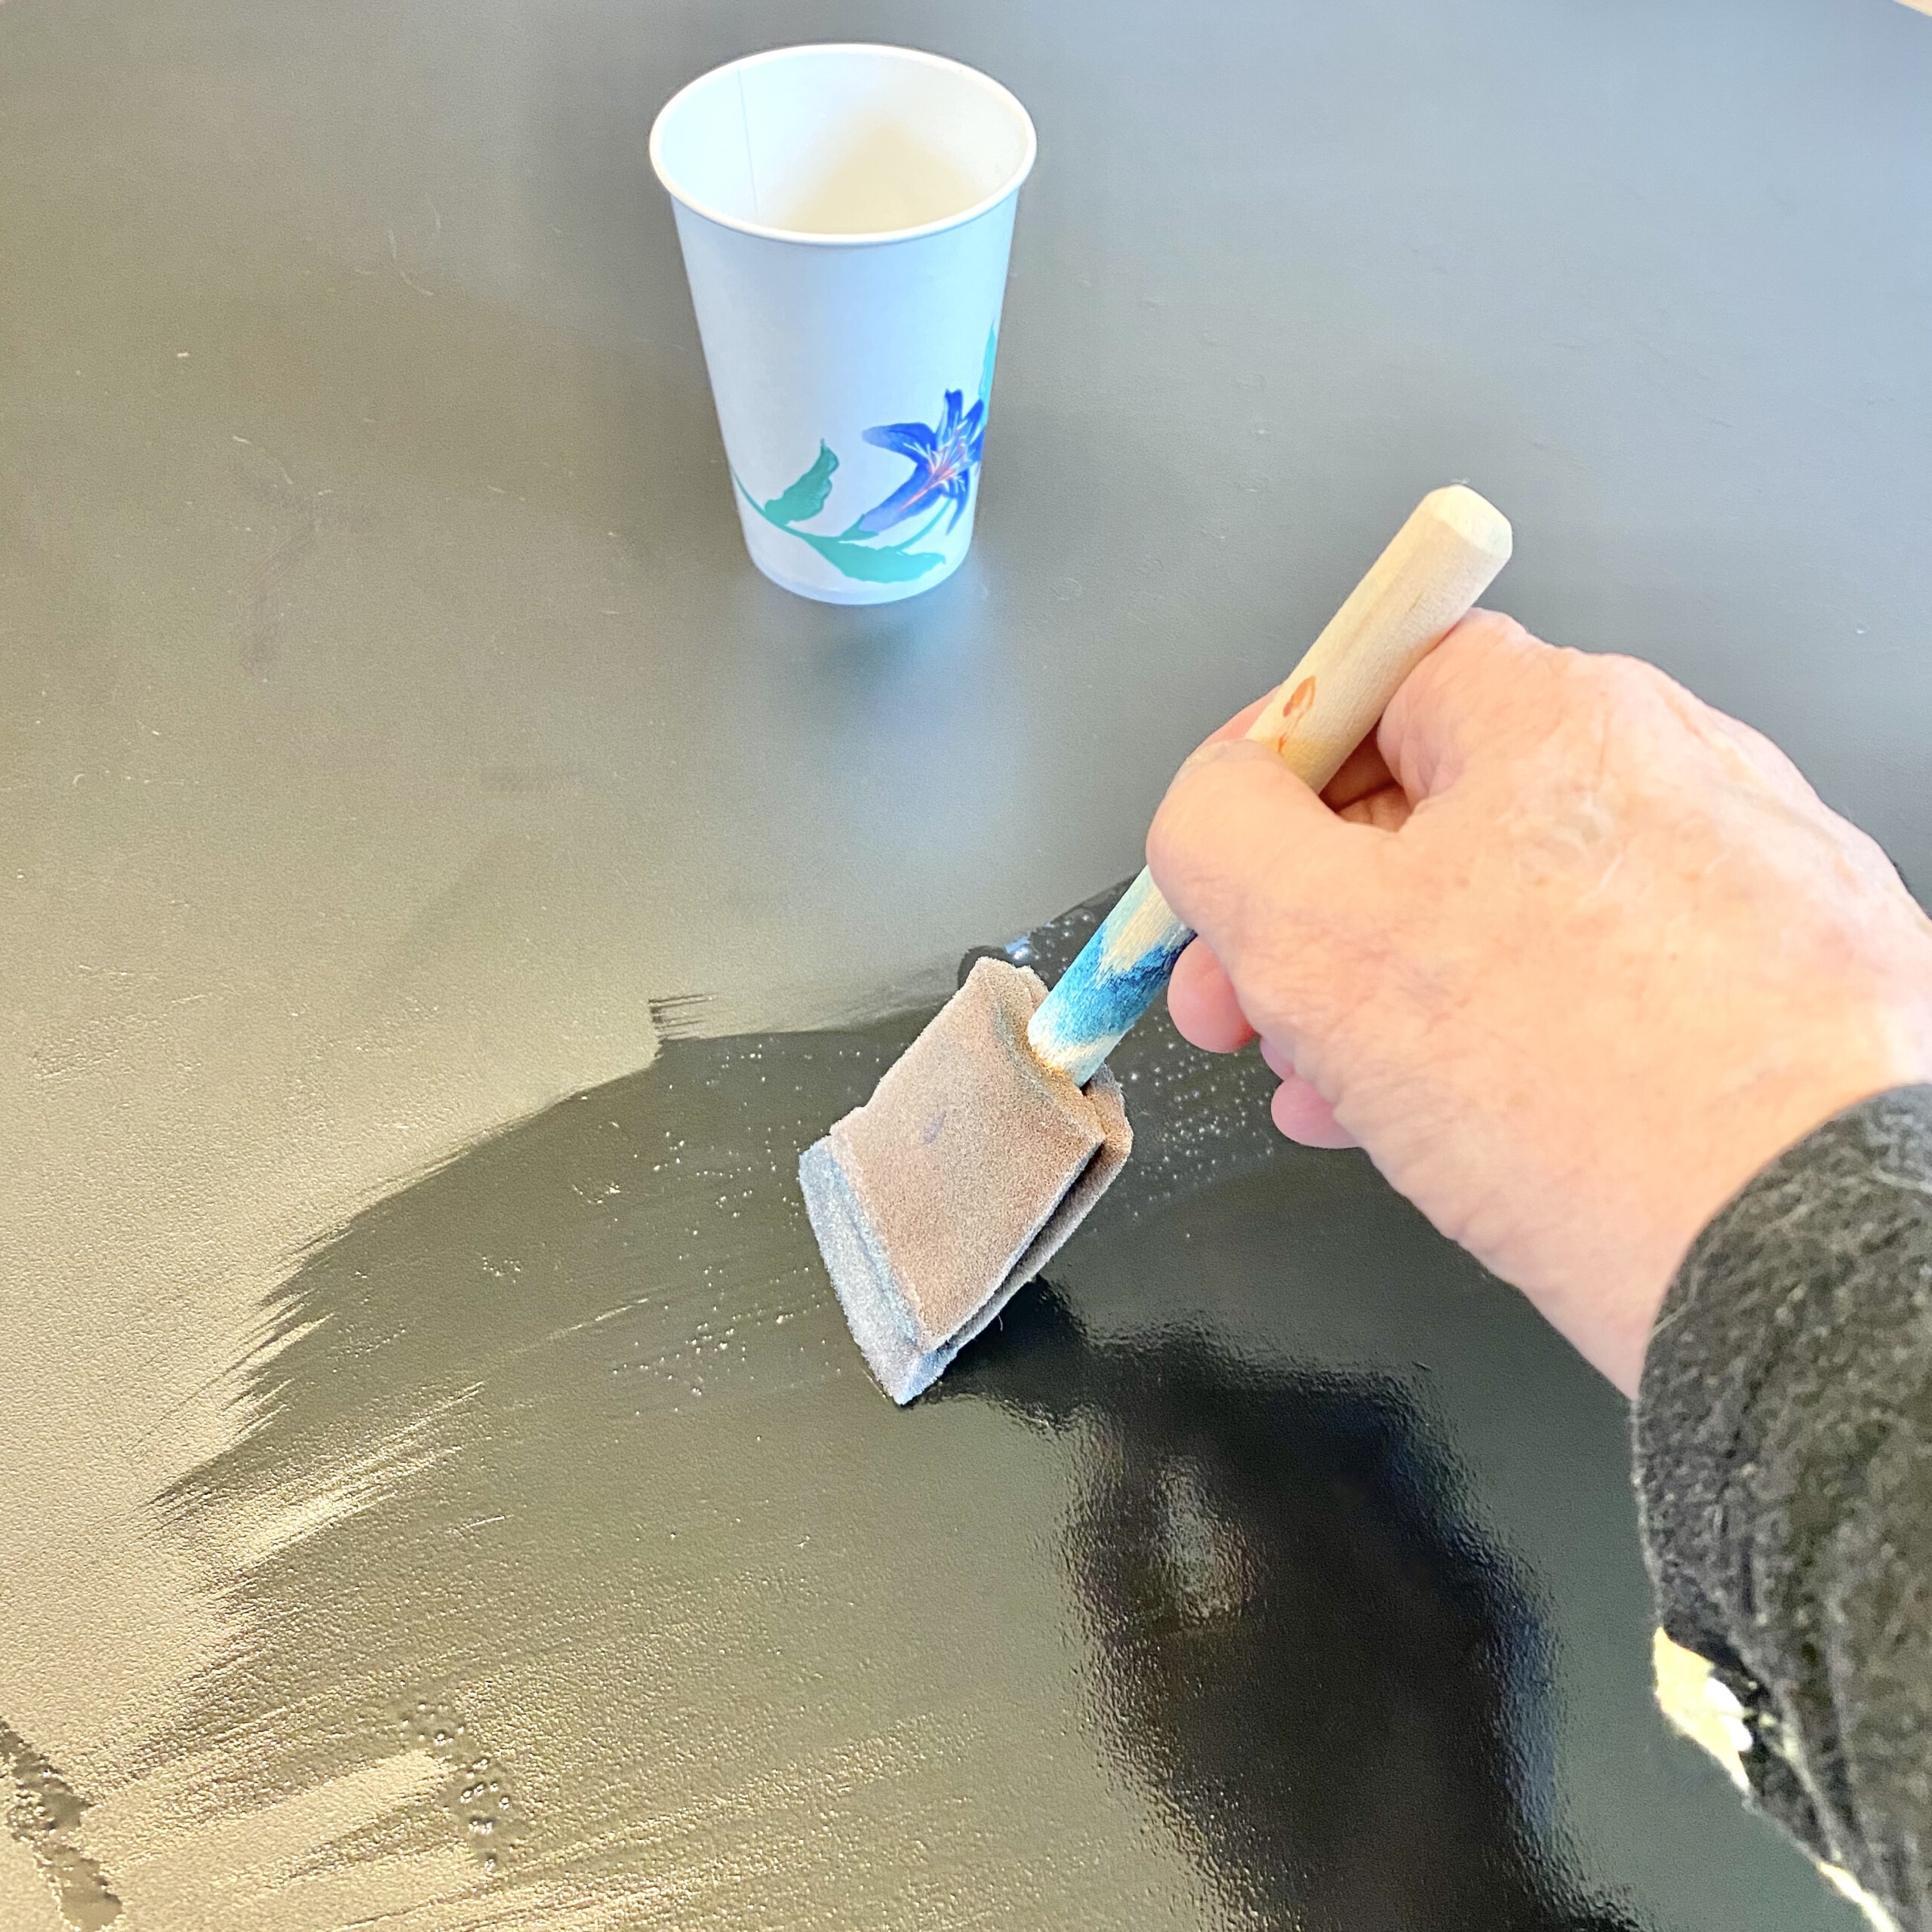
Using the micro roller, roll a layer of Coal Black onto the entire stenciled side of the glass. (A bit scary, but go for it.) Let dry and repeat twice more. Let dry overnight.
STEP 6 – Roll On The Tough Coat Sealer
Let the Coal Black dry overnight, or at least 12 hours. Pour some Tough Coat into a small container. Use a foam brush to brush on one coat of sealer. Wait 2 to 4 hours for the paint to dry, then roll on one more coat. Let dry overnight. NOTE: The container says not to use Clear Tough Coat on dark colours. However, we are only using the product to protect the paint, and it will remain unseen. Add a few round felt or plastic dots to protect the furniture.
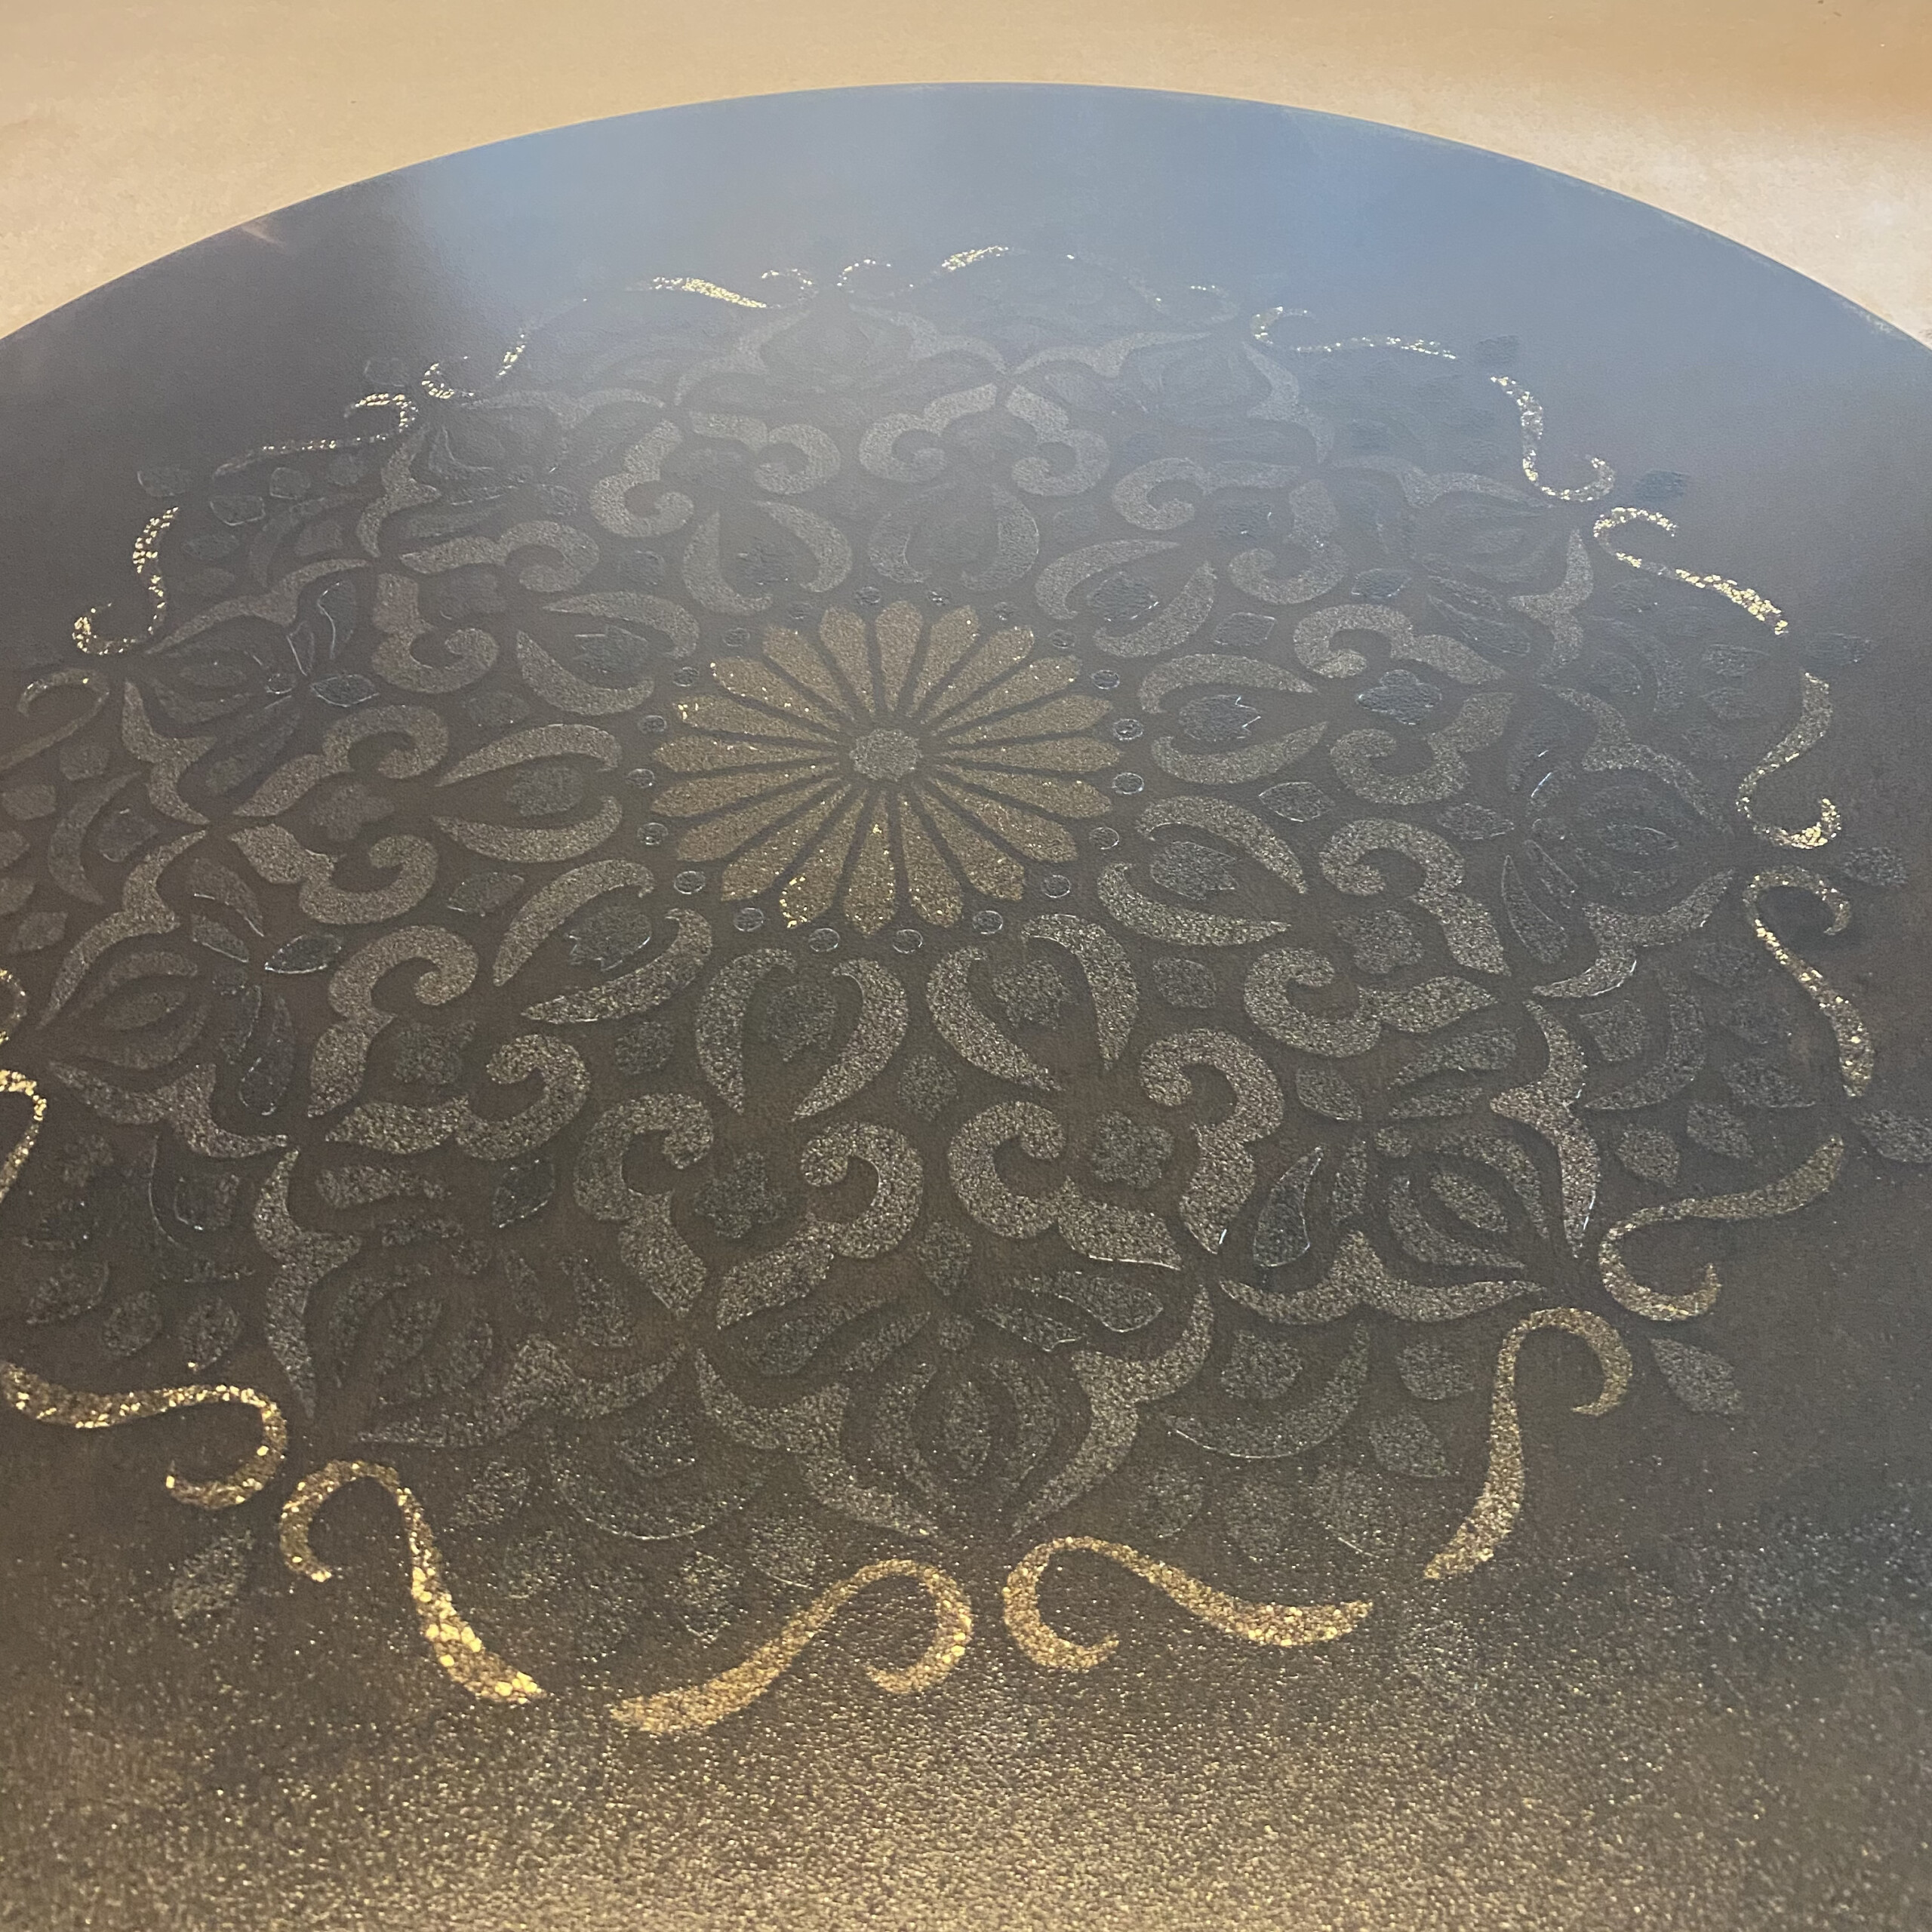
Turn over your glass and WOW! Are you thrilled?
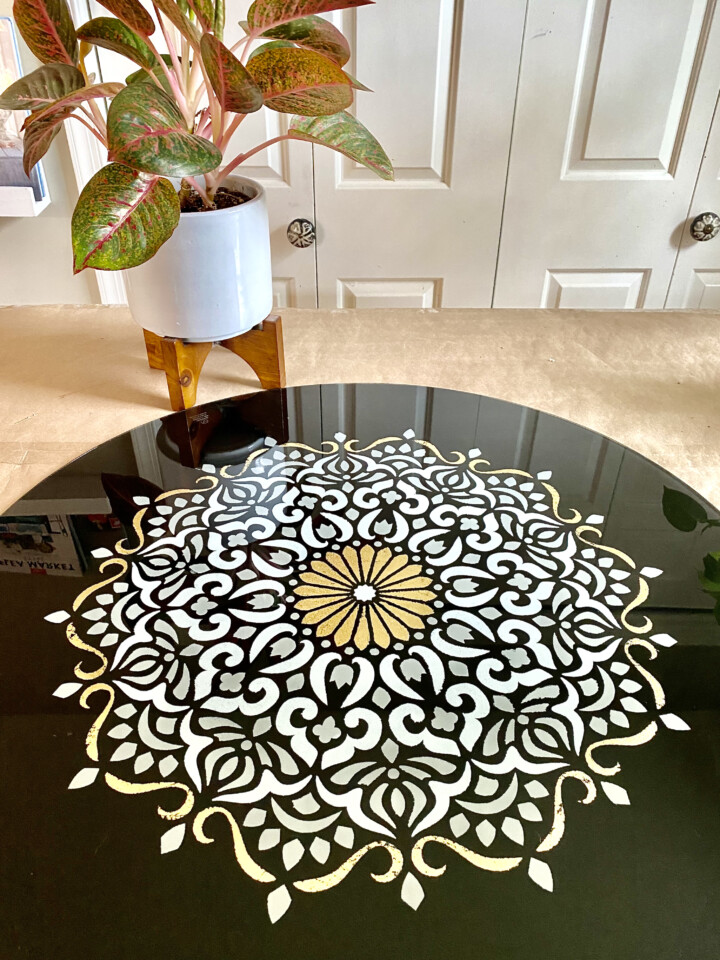
You did it! And, now that you know the basic techniques, can you just imagine a zillion new projects using Fusion Mineral Paint and products?
Click here to see what Fusion paint guru, Jennylyn Pringle did using this stencil!
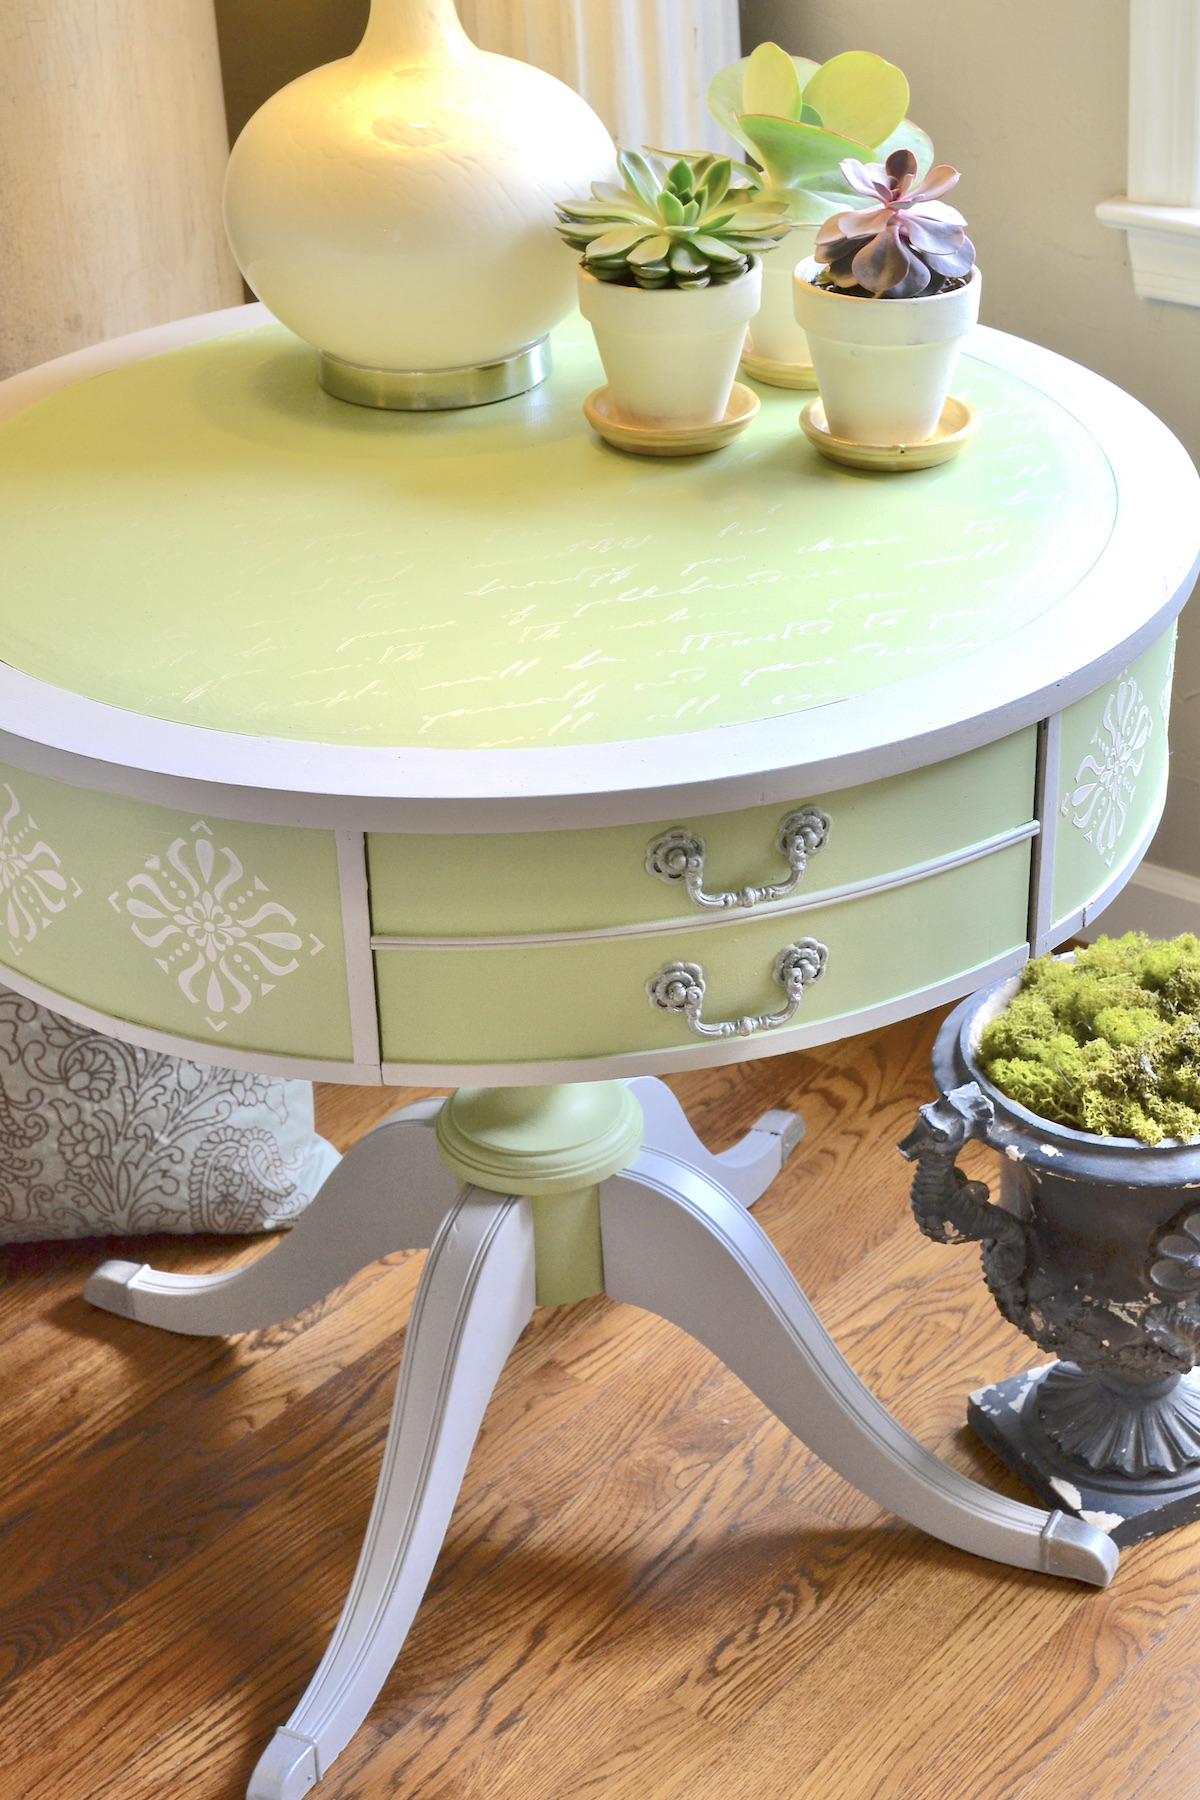
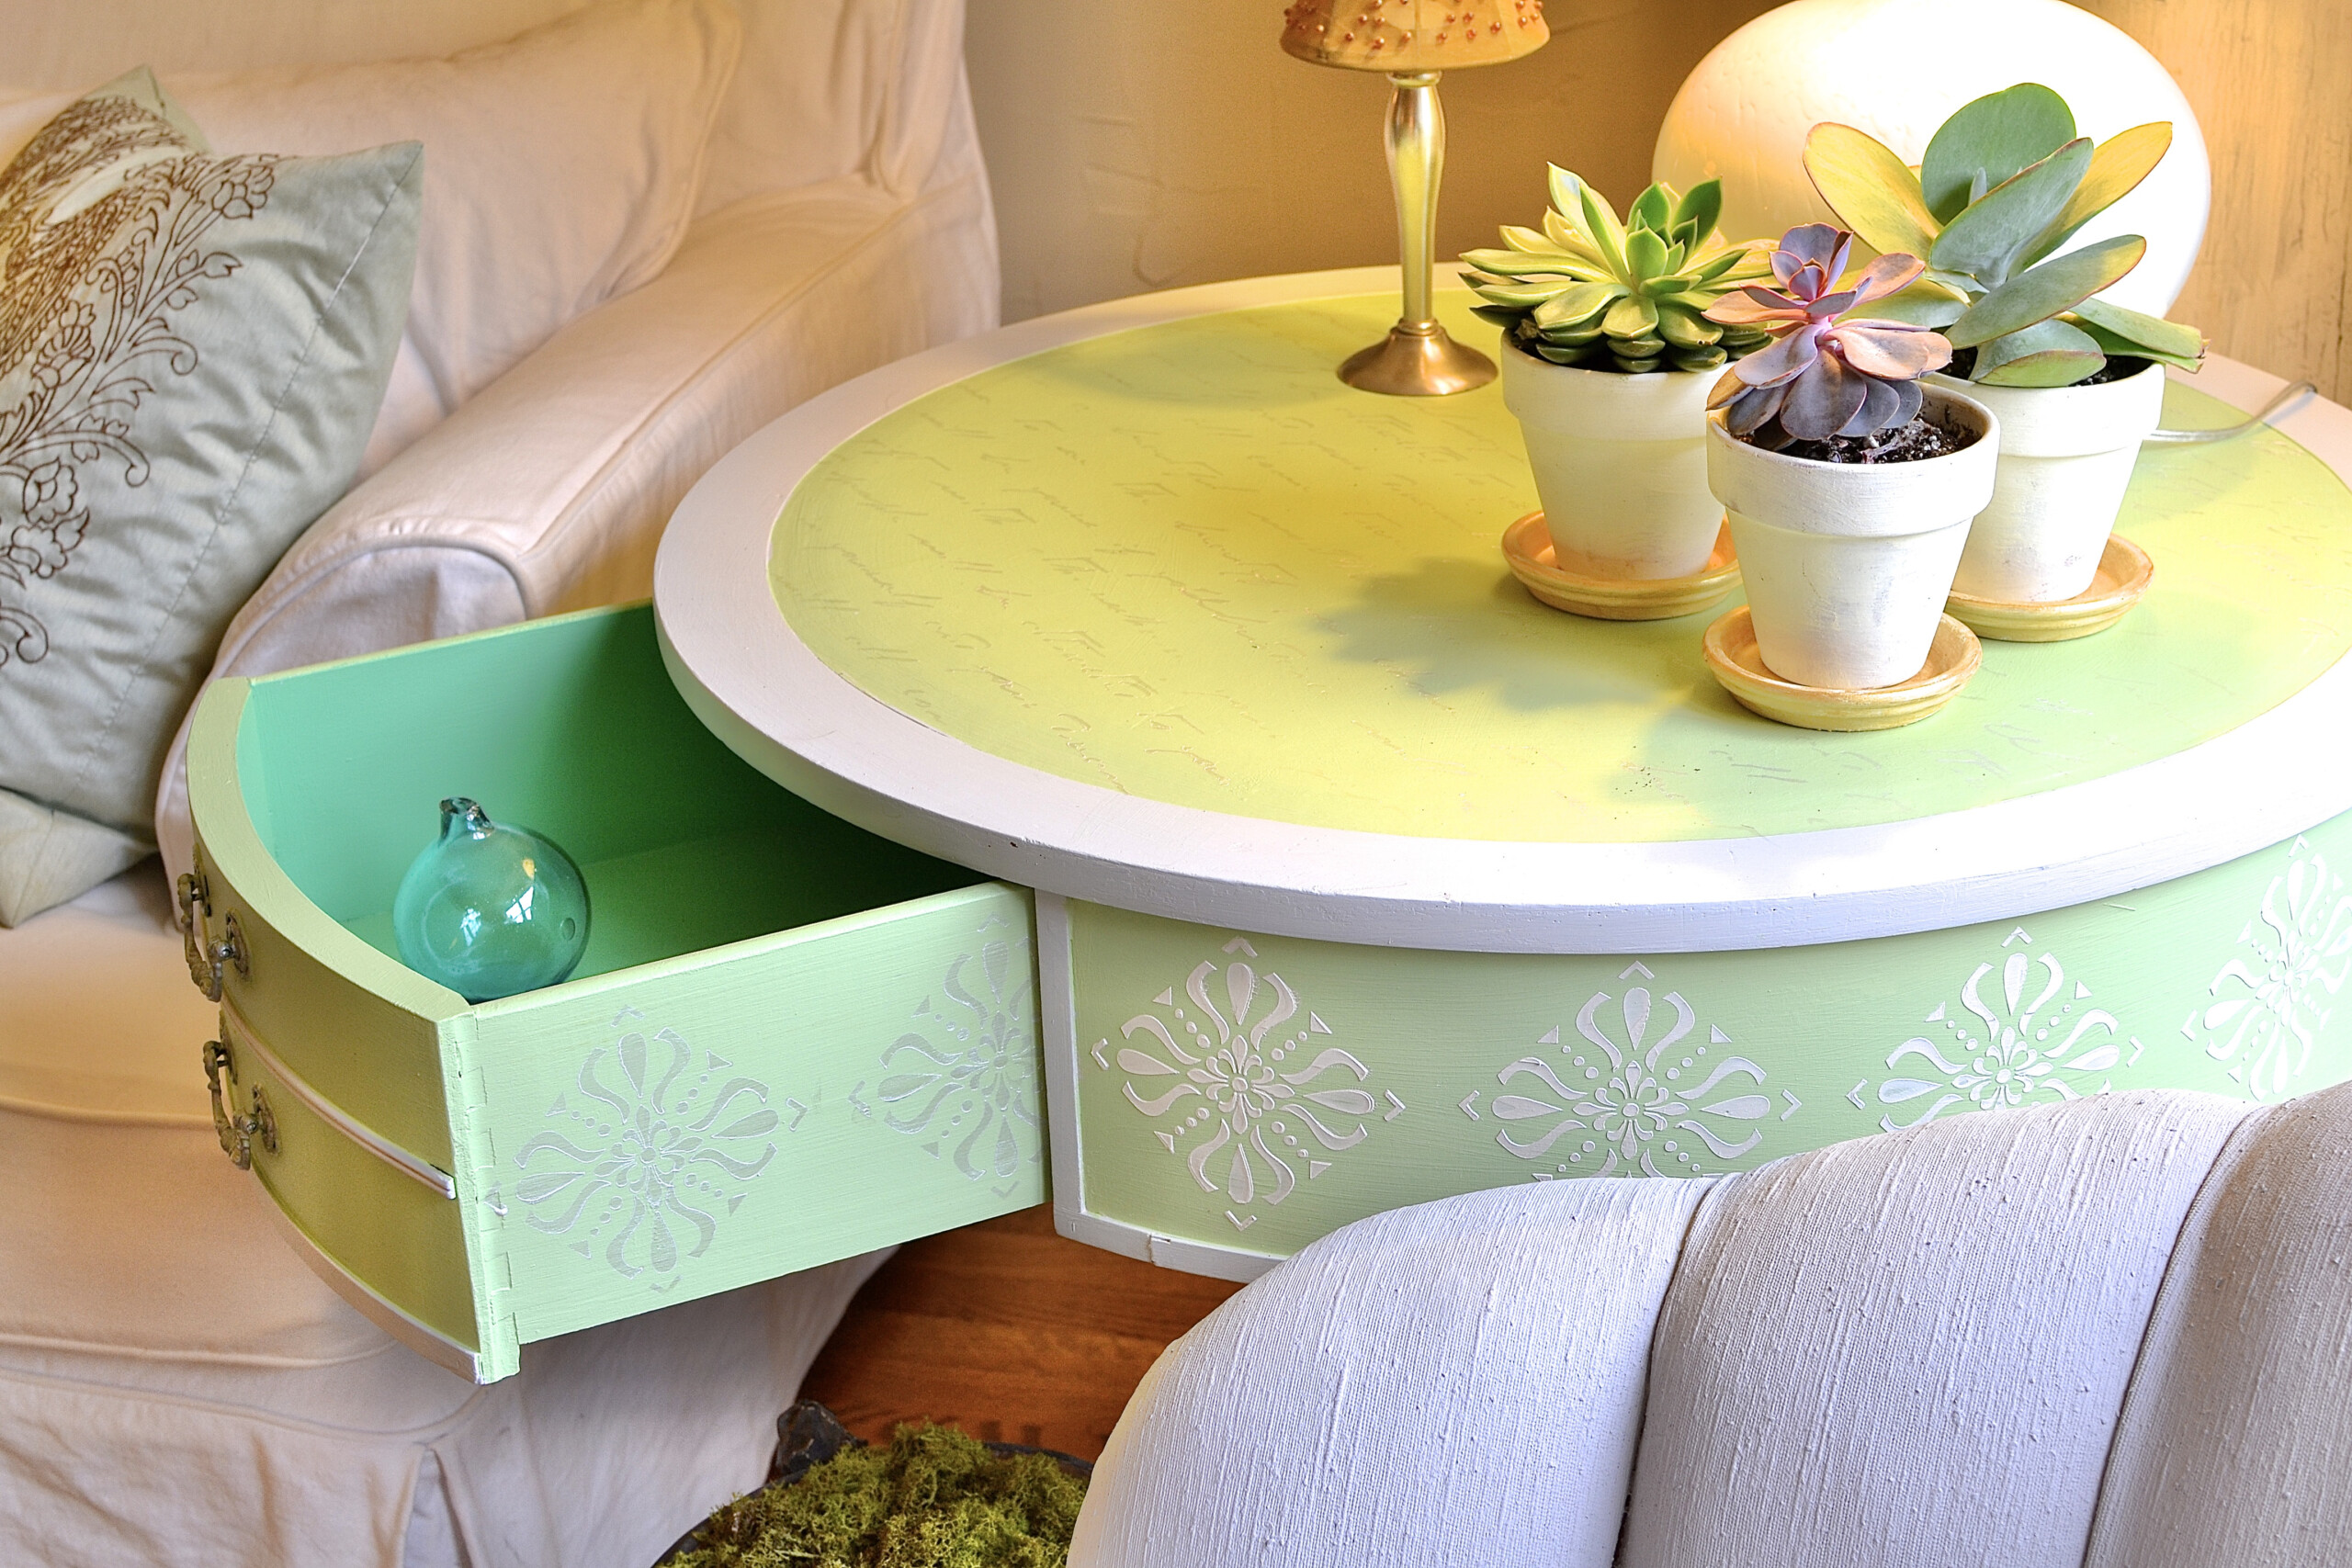
Looking back to my earlier projects, here is the same little round table, using several Fusion Mineral Paint colours, products and stencils. Get the how-to on Hometalk here.
Stay tuned for more, more, more!
Hop over to this page for care instructions and answers to questions.


