
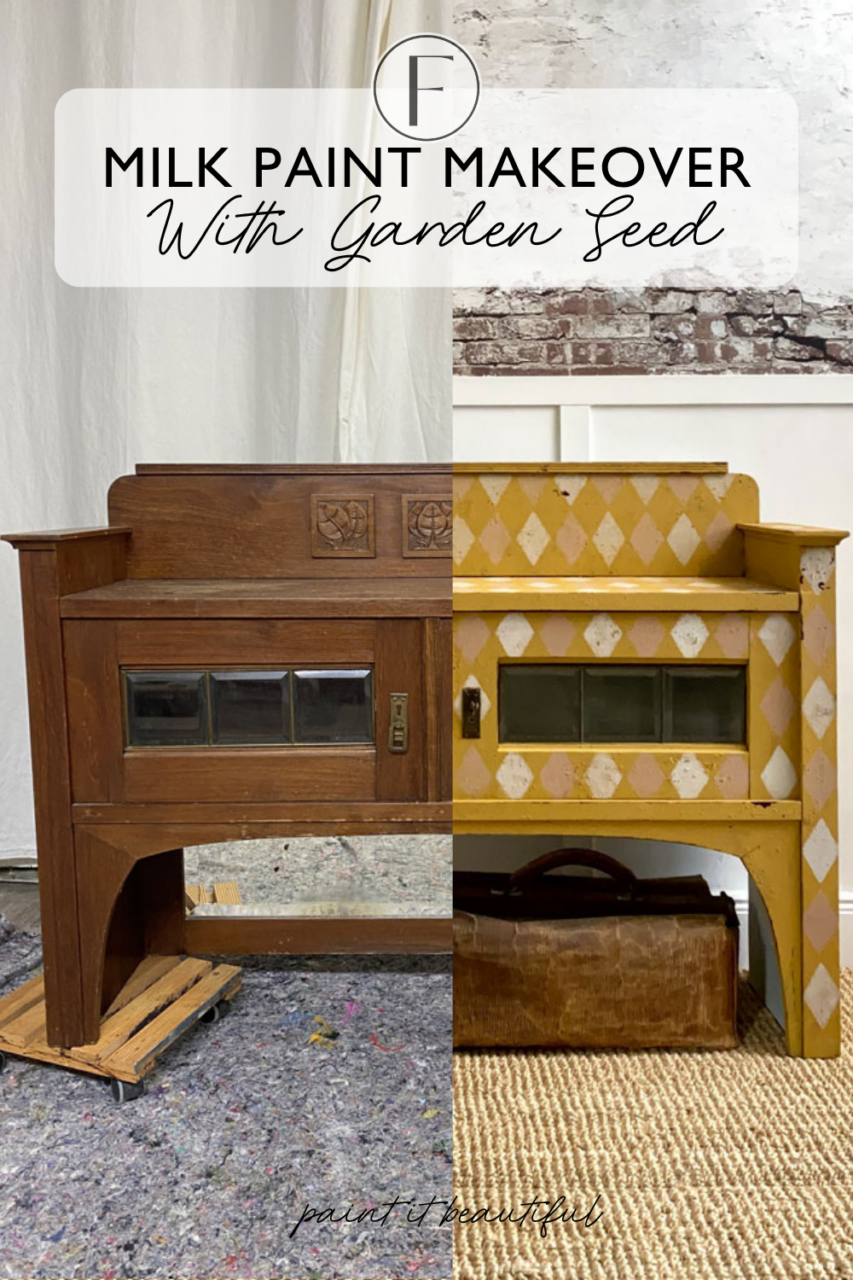
There’s something incredibly special about transforming a forgotten antique into a piece full of charm and character. This project started as an old dresser attachment, and with a bit of creativity, it’s now a beautifully rustic decorative bench that feels like it belongs in a cozy garden corner.
If you love layered texture, soft aged finishes, and that perfectly imperfect vintage look, this one is for you.
The Vision: Rustic, Aged & Full of Texture
The goal for this piece was never perfection; it was character. By embracing texture, layering colours, and allowing the wood to peek through, this bench became a statement piece that feels authentically timeworn, not overly polished.
And that’s the beauty of Milk Paint… it gives you that organic, old-world finish in a way nothing else can.
Materials Used
- Stencil (Amazon)
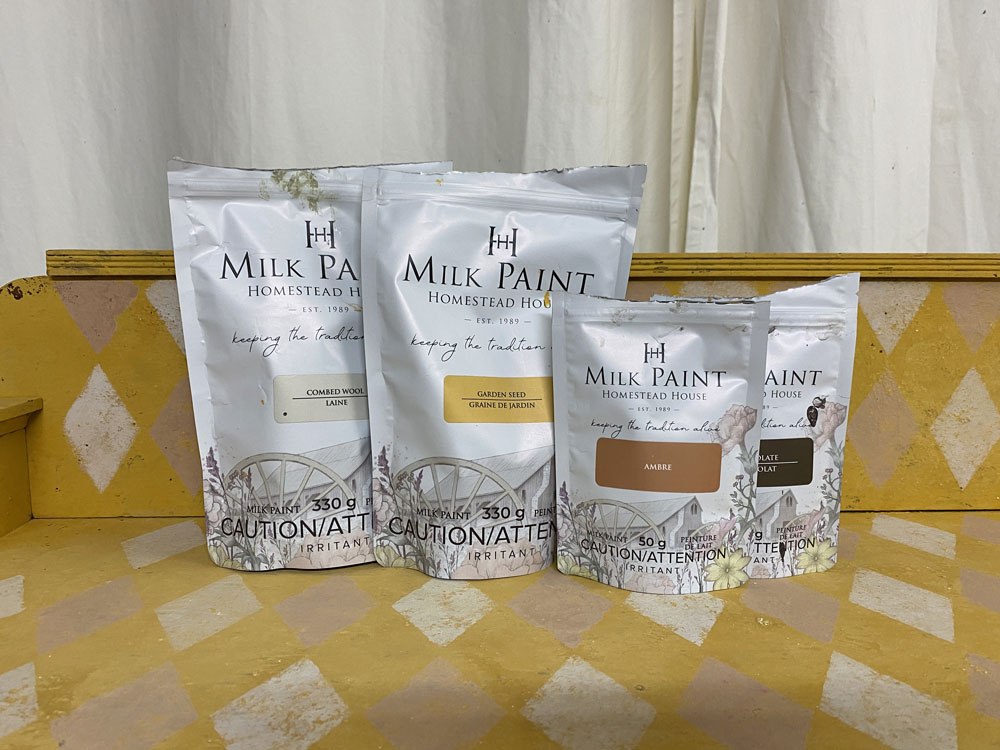
- Fusion™ Milk Paint in:
- Fusion™ Hemp Oil
- Staalmeester Brushes
- Stippling Brush
- Application Pad
- Sandpaper
- Painter’s Tape
- Fusion™ TSP Alternative
- Wood Filler
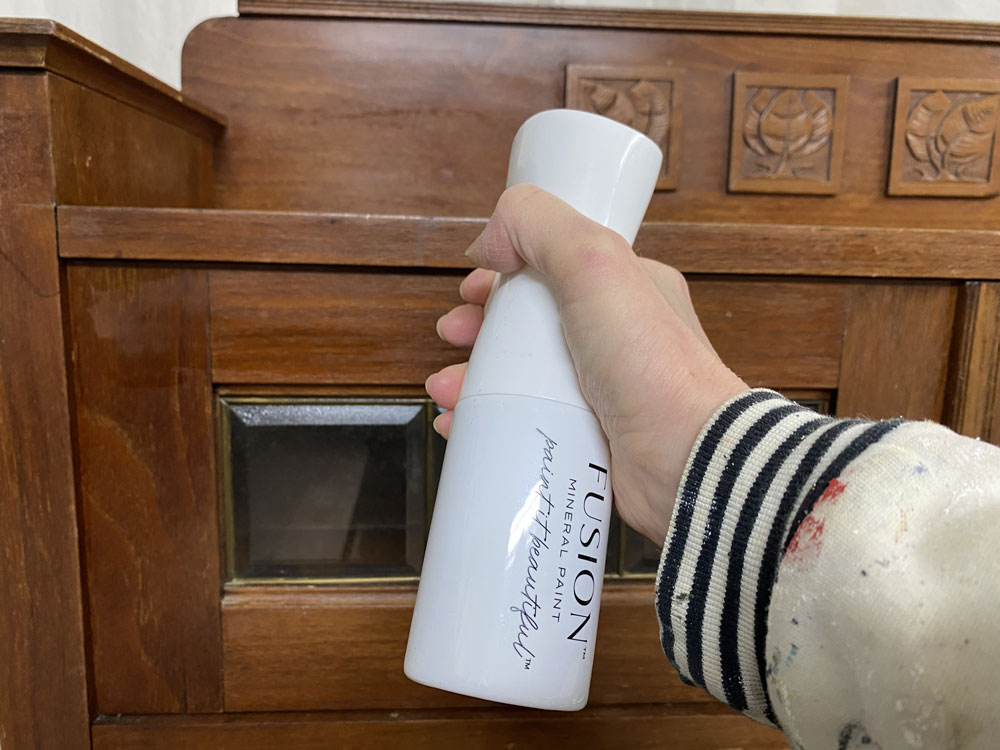
Step 1: Prep Work Matters
Before diving into paint, proper prep sets the foundation for a long-lasting finish.
- Cleaned thoroughly using Fusion TSP Alternative to remove dirt and residue
- Removed the mirror backing (the mirror was damaged and unnecessary for a bench)
- Took off decorative elements for a cleaner, more refined look
- Sanded the seat and back smooth using an electric sander
- Lightly scuff sanded the rest of the piece
- Completed repairs using wood filler on armrests
- Sanded filler smooth once dry
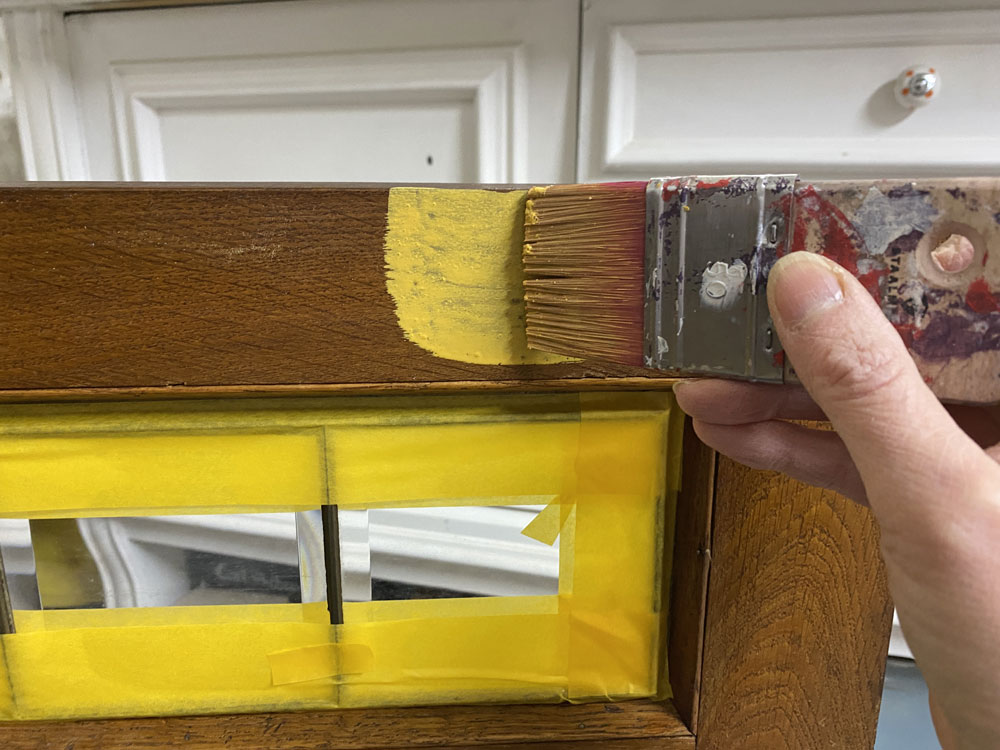
- Taped off the glass for protection
This step ensures your paint adheres beautifully and keeps your finish looking professional.
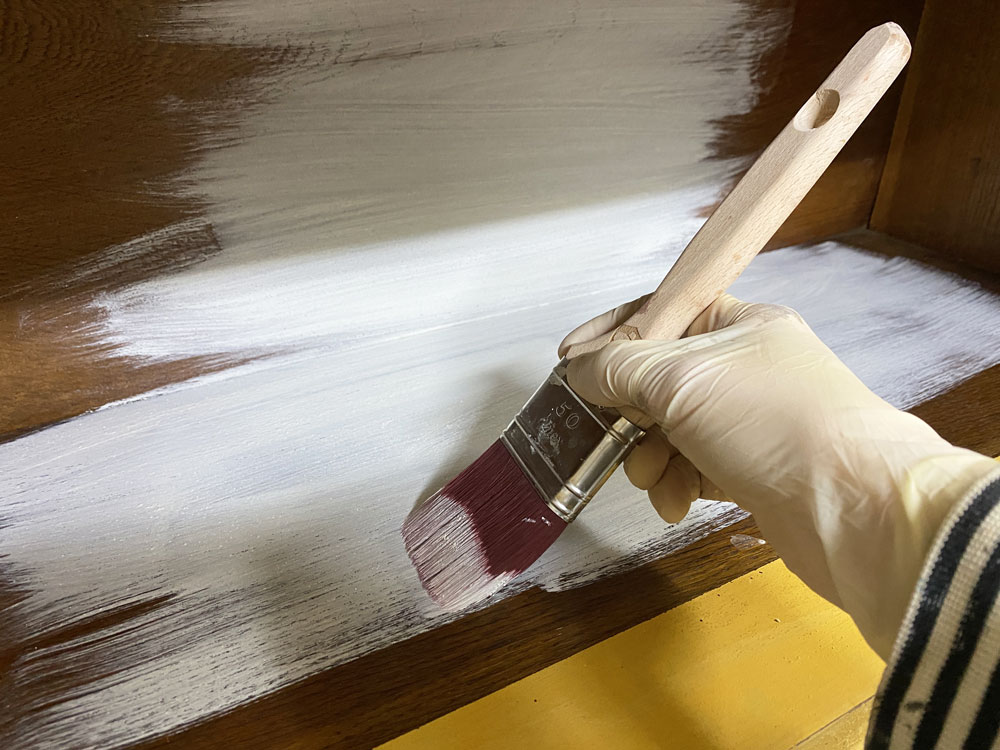
Step 2: Building the Base with Garden Seed
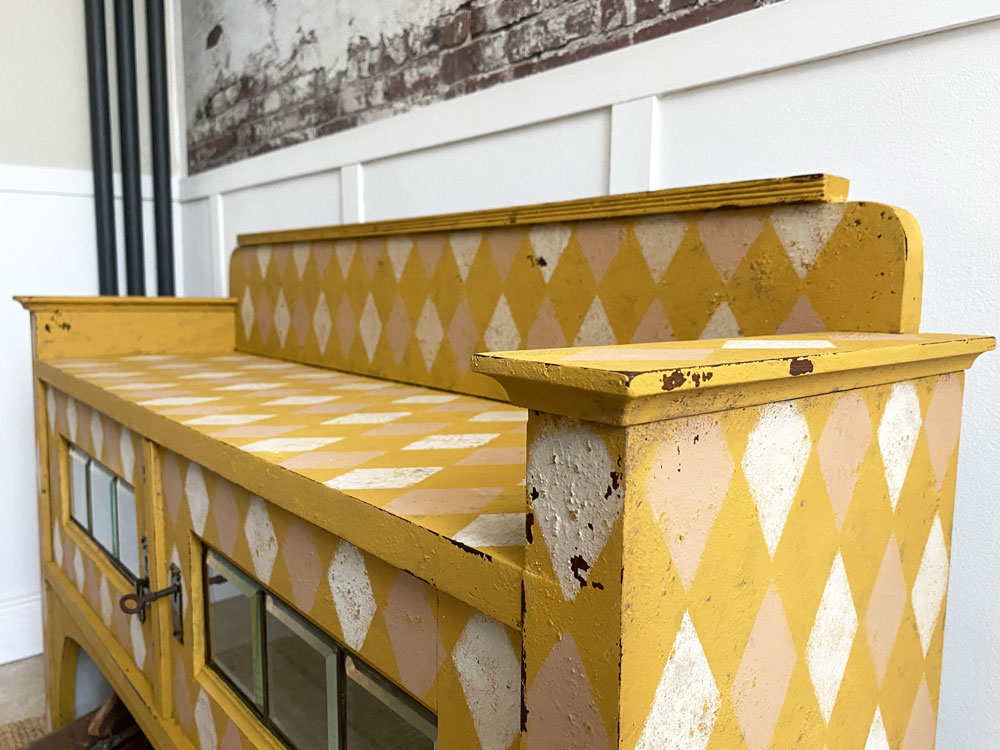
The transformation begins with Milk Paint in Garden Seed, a soft, earthy yellow that brings warmth and vintage appeal.
- Mixed Milk Paint and applied the first coat using a Staalmeester brush
- Allowed it to dry fully
At this stage, the colour starts to come to life but the magic really happens in the next layers.
Step 3: Creating Texture with Thick Milk Paint
Here’s where this piece becomes truly unique.
- Mixed a thicker batch of Milk Paint (more powder, less water)
- Applied using an old brush with a stippling motion
- Worked in sections, intentionally leaving areas uncovered
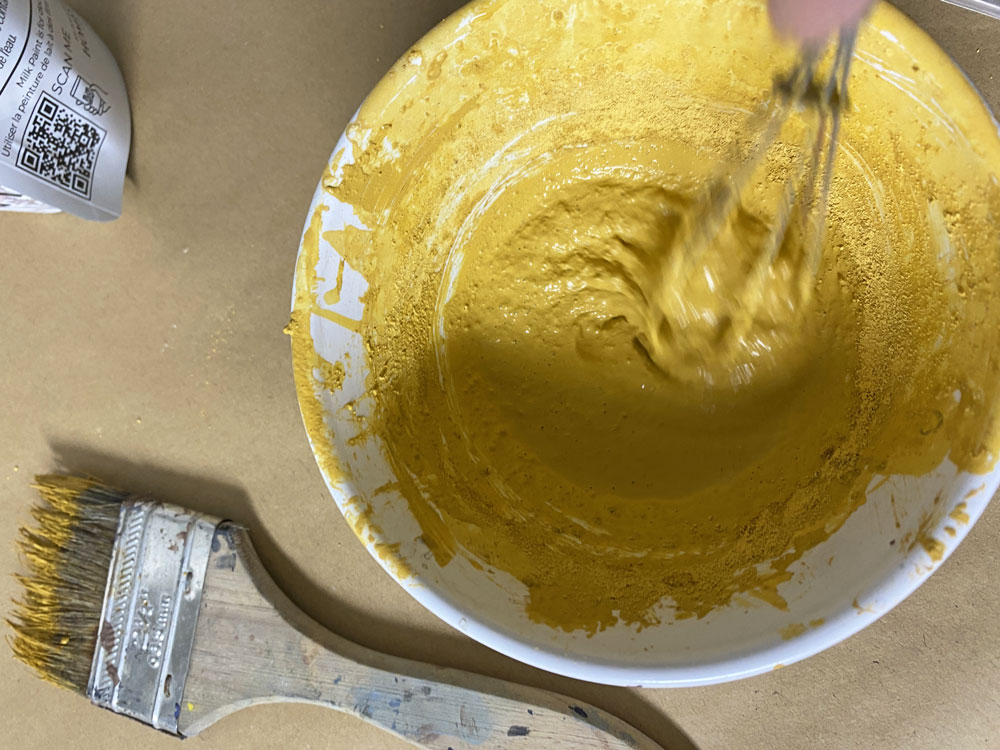
This technique builds dimension and texture, giving the piece an aged, slightly weathered feel.
Let it dry completely before moving on.
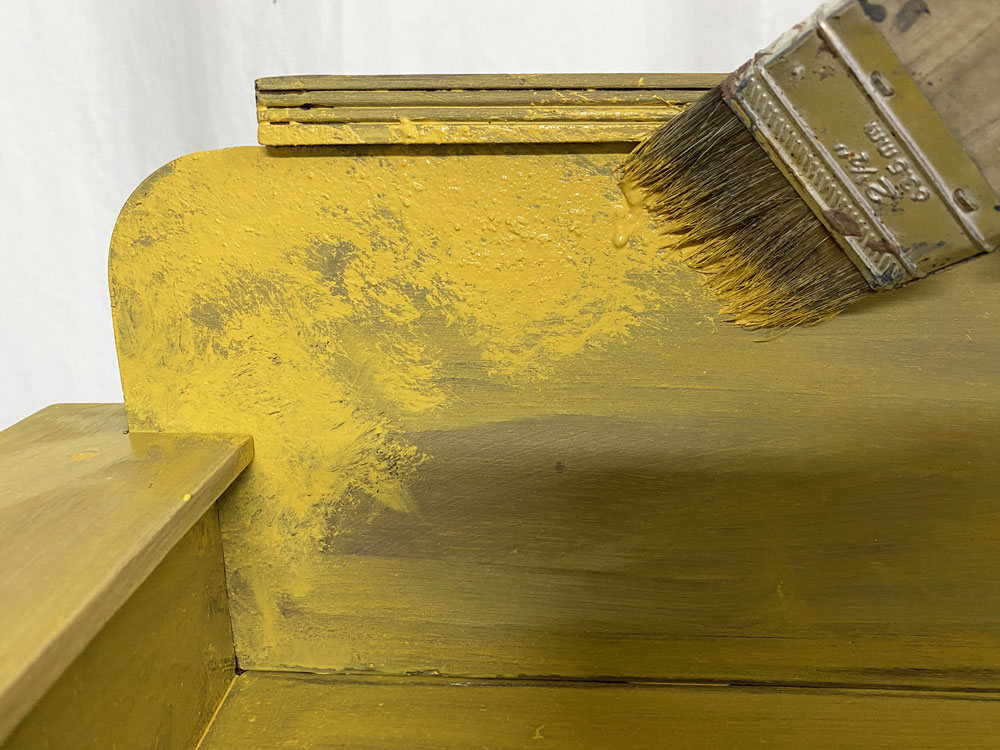
Step 4: Layering for Depth & Variation
To soften and balance the heavy texture:
- Mixed a standard 1:1 Milk Paint ratio
- Used a round brush to lightly stipple over areas that were missed
This creates:
- A more irregular finish
- Subtle variation in tone
- Natural wood peeking through for added warmth
The result? A beautifully layered, non-uniform surface that feels authentically aged.
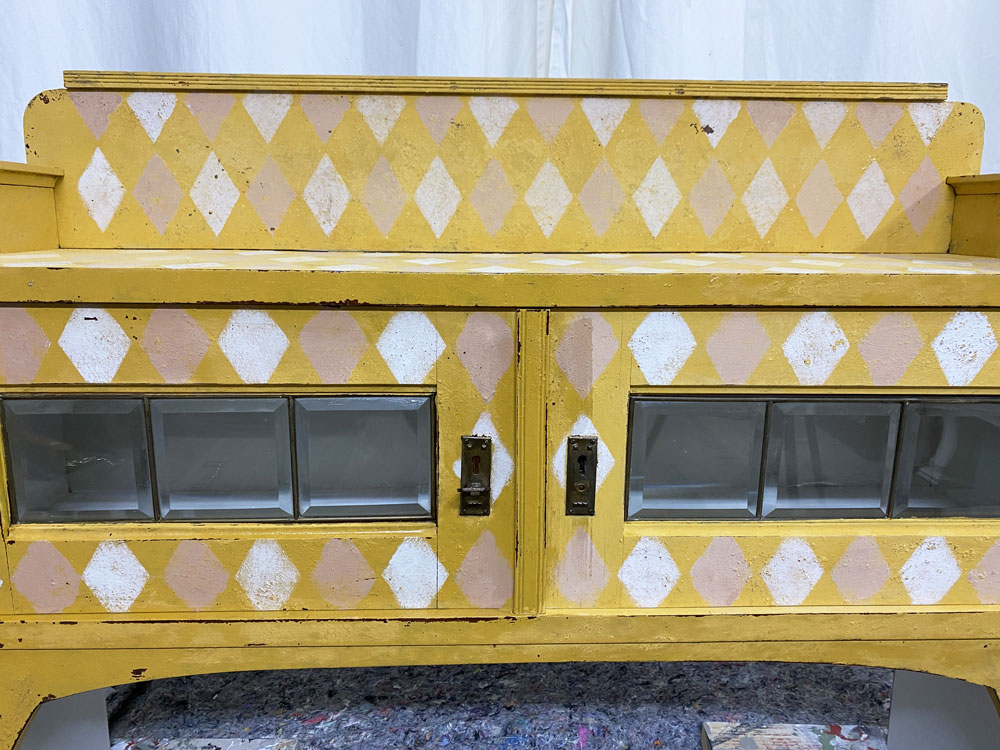
Step 5: Adding Character with Stenciling
To elevate the design:
- Mixed Milk Paint in Ambre and Combed Wool
- Applied a stencil across the entire surface using both colours
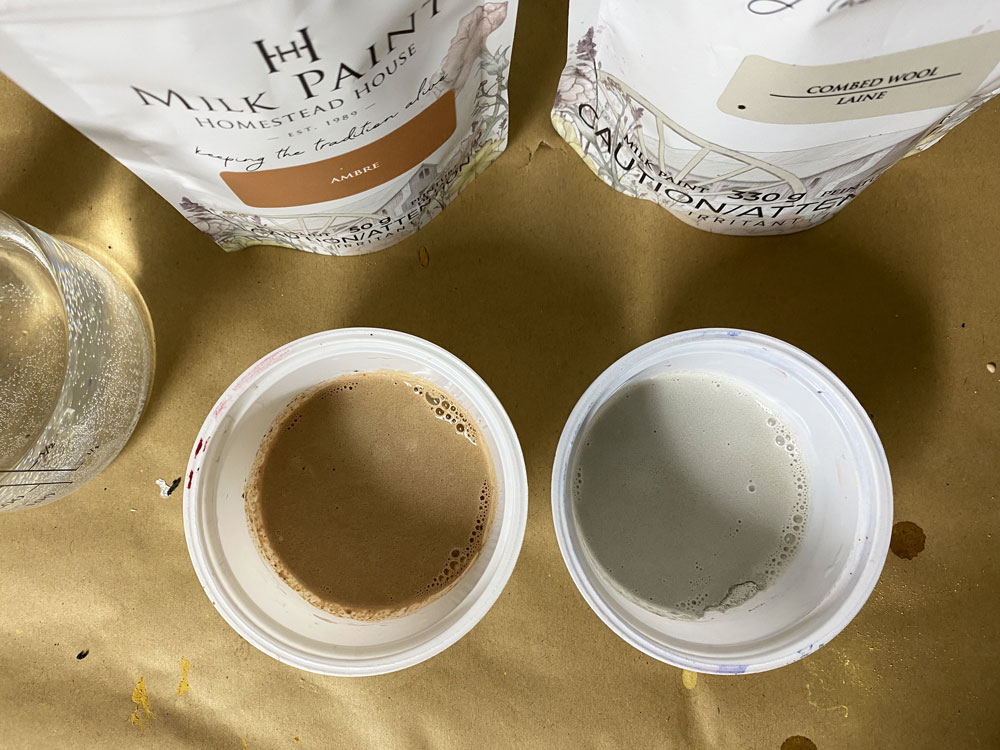
This step adds a soft decorative detail while still keeping that rustic aesthetic intact.
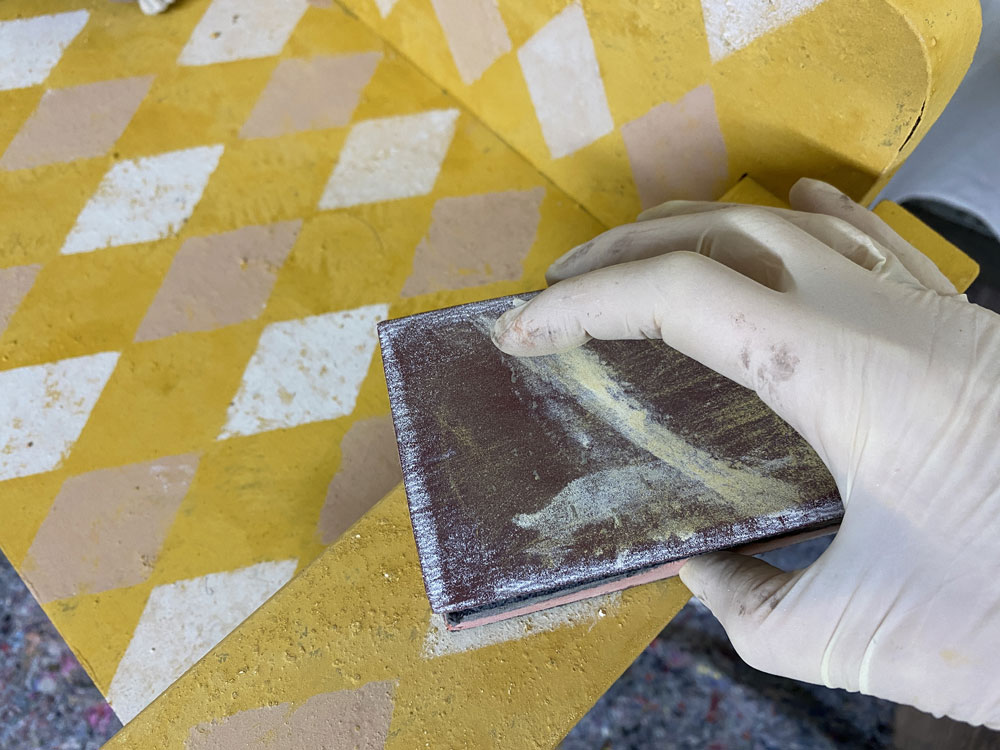
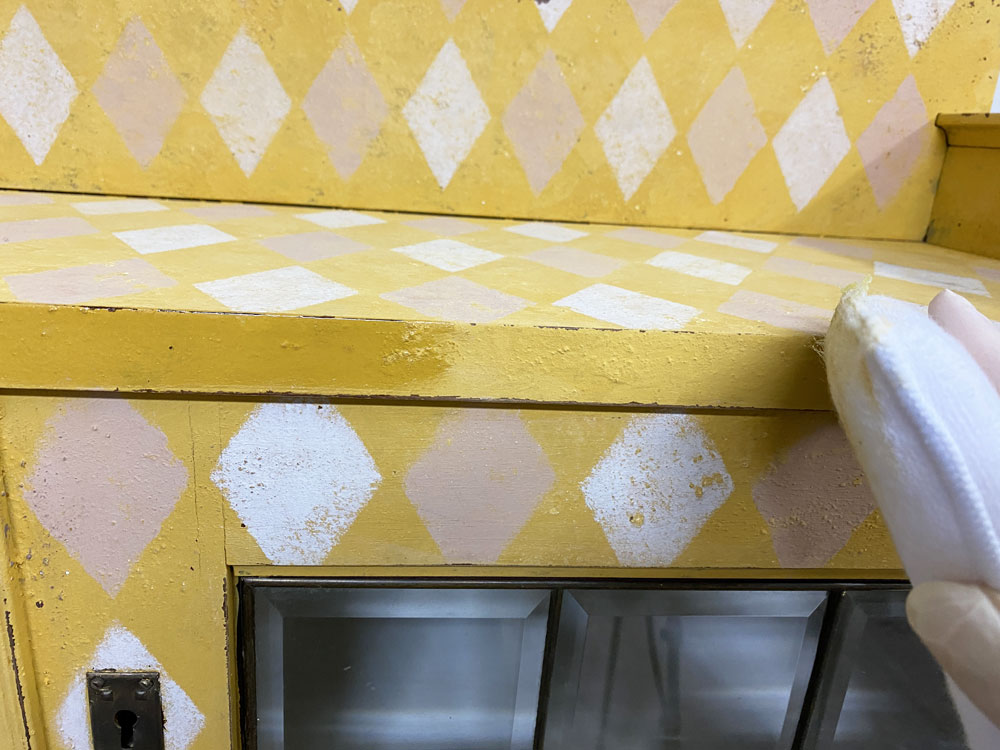
Step 6: Distressing for an Authentic Vintage Look
Now for the fun part—bringing out that timeworn charm.
- Sanded the entire piece to soften the heavy texture
- Focused on edges and raised areas for natural wear
- Used tape to pull off paint in sections for a realistic chipped effect
This tape technique is a game-changer. It creates that perfectly imperfect, aged finish that looks completely natural.
Step 7: Adding Depth with Dry Brushing
To enhance contrast and dimension:
- Mixed Chocolate + Ambre to create a lighter brown
- Used a stippling brush to dry brush into textured areas
This adds subtle shadowing and richness, making the details pop.
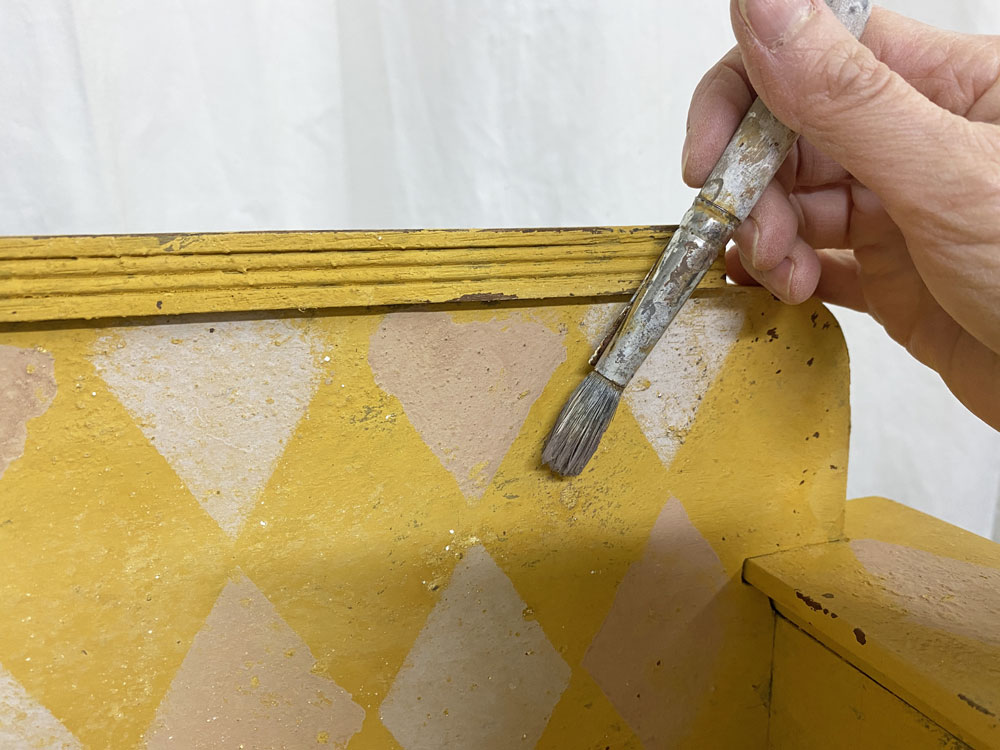
Step 8: Finishing Touches
- Painted the inside and bottom in Combed Wool for a soft neutral contrast
- Sealed everything with Fusion Hemp Oil using an application pad
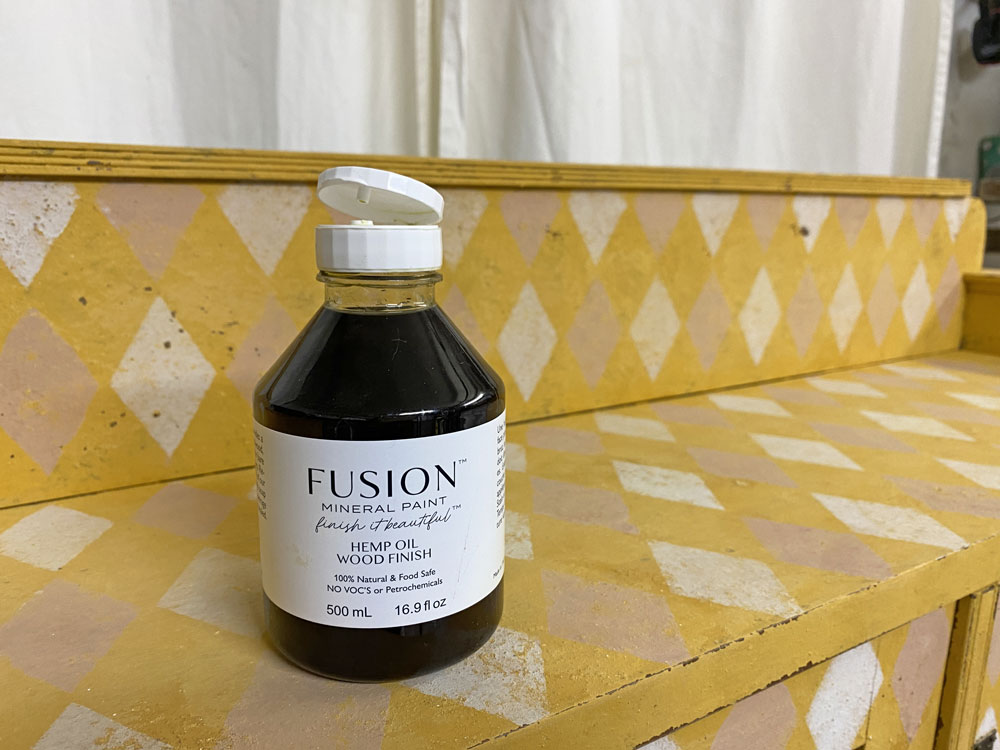
Hemp Oil enhances the depth of colour while giving a soft, low-sheen finish that feels natural and touchable.
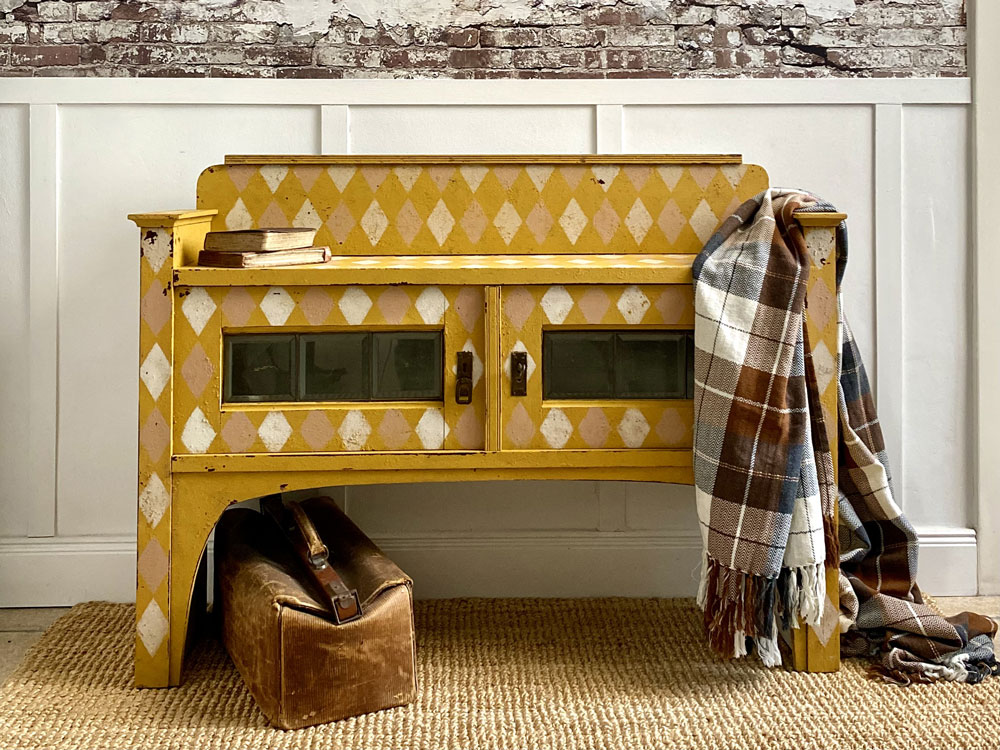
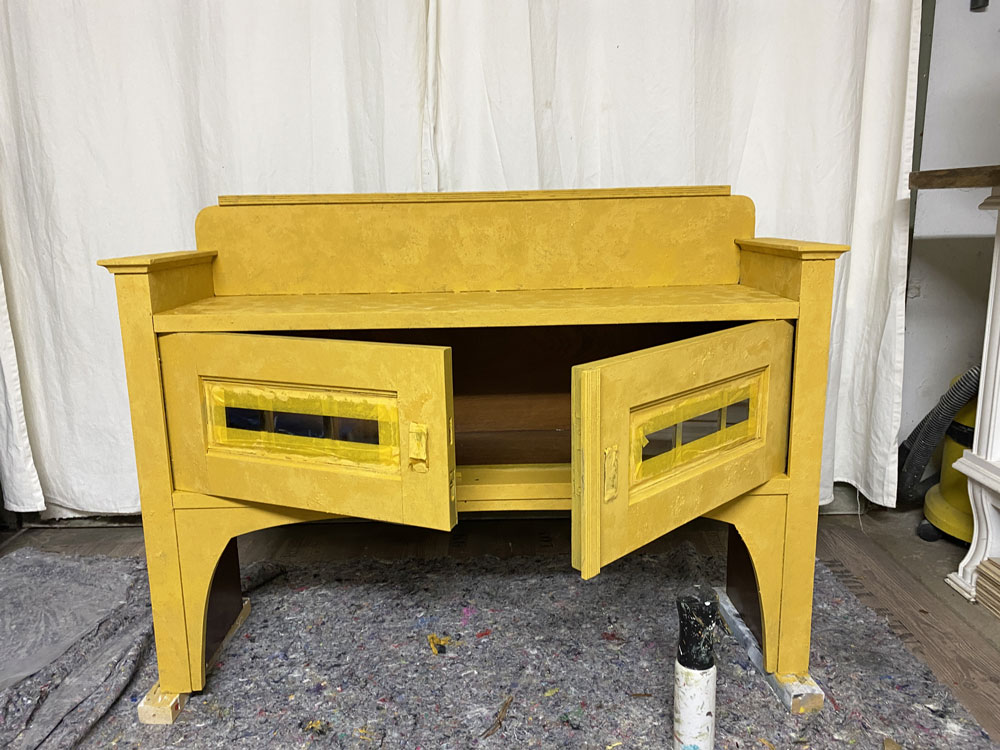
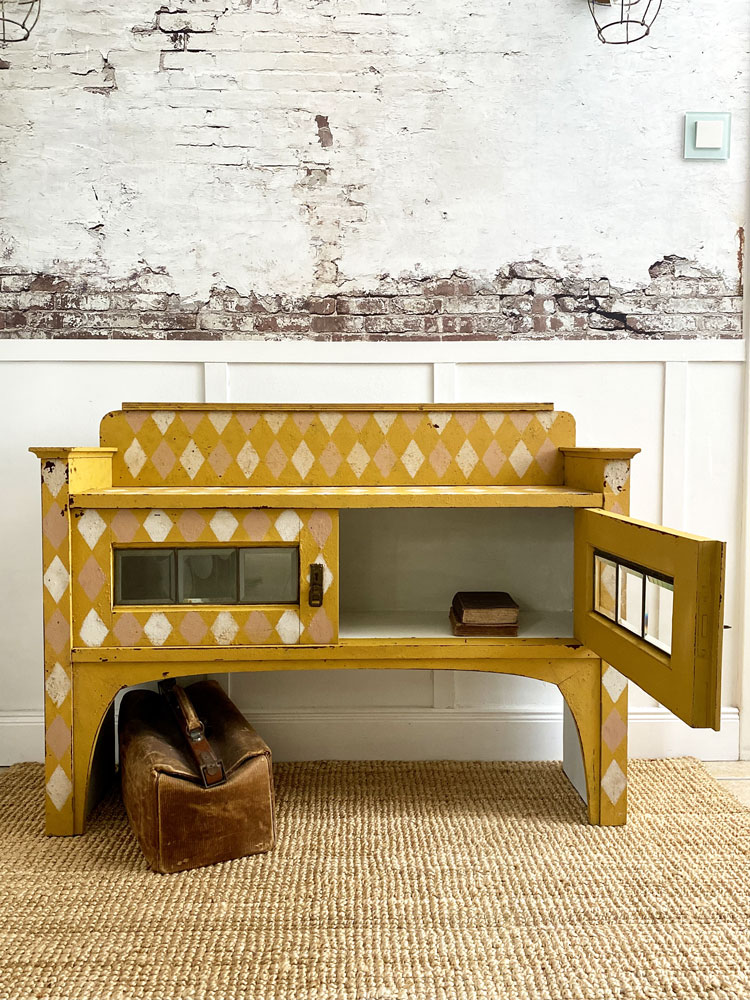
The Final Result
What started as a dated dresser attachment is now a rustic, garden-inspired bench full of texture, warmth, and personality.
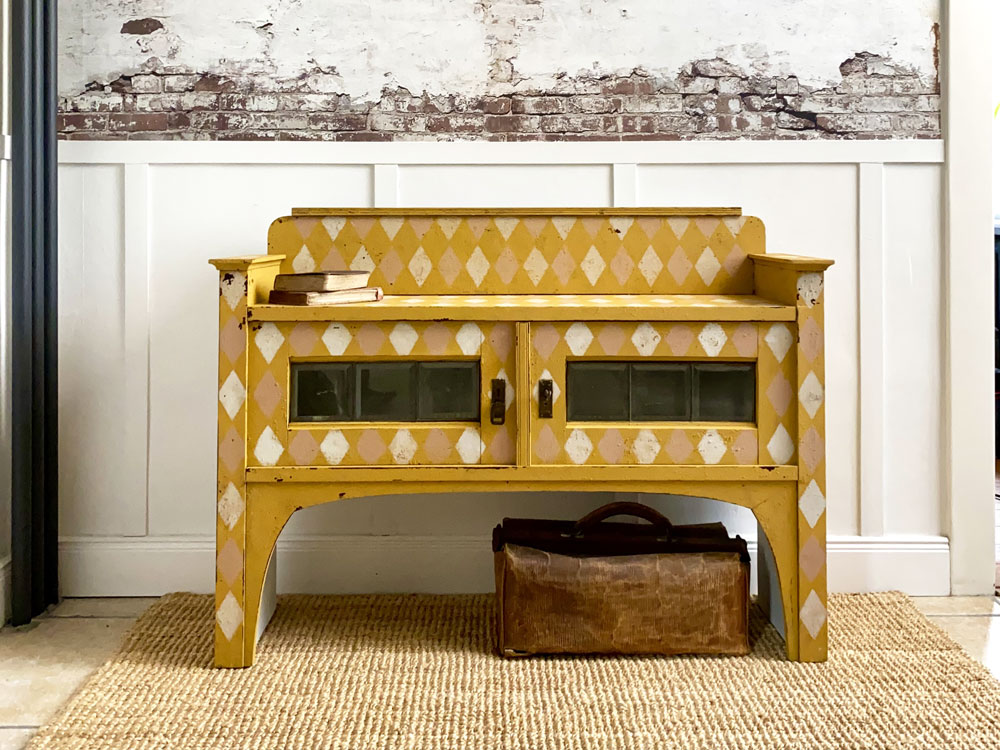
This project is a perfect reminder:
You don’t need perfection to create something beautiful—you need layers, intention, and the right products to bring it all together.
Why This Technique Works
Using Milk Paint in multiple consistencies—from thin washes to thick, textured layers—allows you to:
- Create authentic aged finishes
- Build depth and movement
- Achieve a one-of-a-kind result every time
And when paired with thoughtful prep and a beautiful sealer like Hemp Oil, you get both beauty and durability.