

The best part about decorating is that it’s often the unexpected touches that give a space its charm. We all have those quirky pieces that don’t quite fit or need a little something to make them work. Figuring out how to blend them in can be tricky, but there’s one simple trick that always seems to bring it all together, making each piece feel like it was meant to be there all along. That’s where a little creativity comes along for a furniture makeover with peel and stick wallpaper! It’s one of our favourite ways to give those unique finds new life not just on walls, but behind shelves, inside drawers, or even wrapped around furniture. This quick, DIY-friendly update pulls everything together in a fresh, unexpected way and turns those “odd” pieces into true statement-makers.
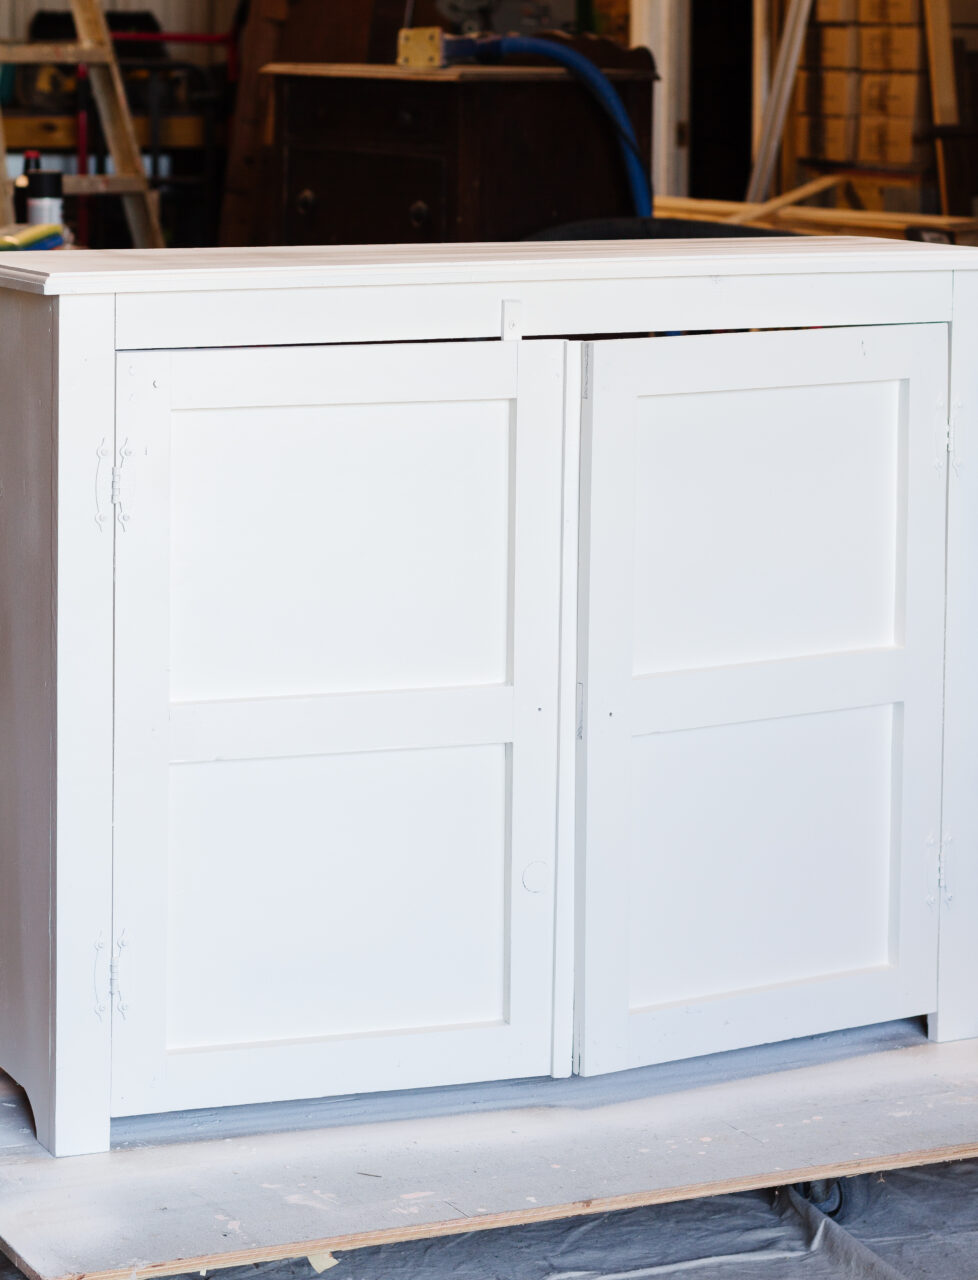
Here is the before of our furniture project:
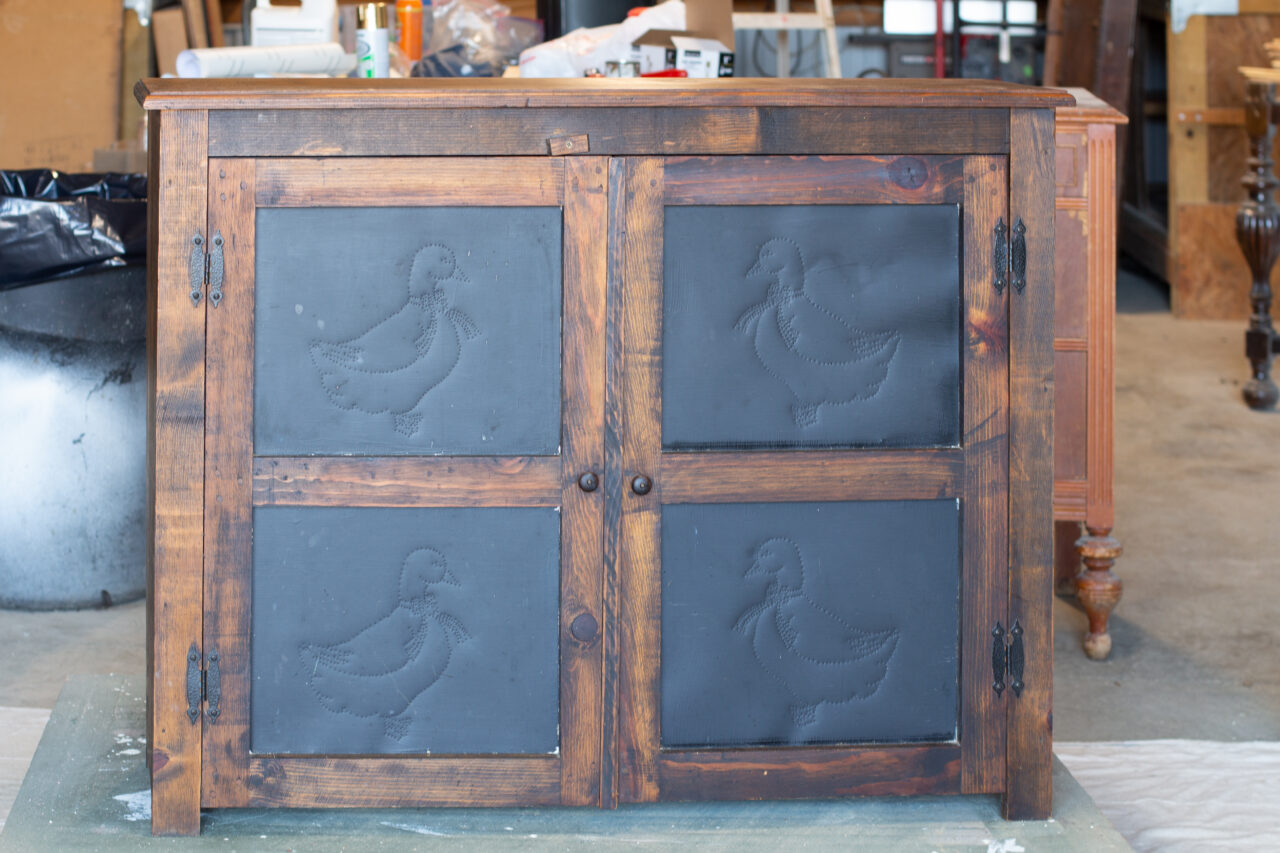
It was a solid wood piece with great structure, but the dark finish and dated tin panels made it feel heavy and out of place. The shape was a little boxy, almost like a black cube. Yet its sturdy build and compact size made it a perfect candidate for a stylish storage makeover in a space short on room.
Below is a list of supplies you’ll need to complete a similar project.
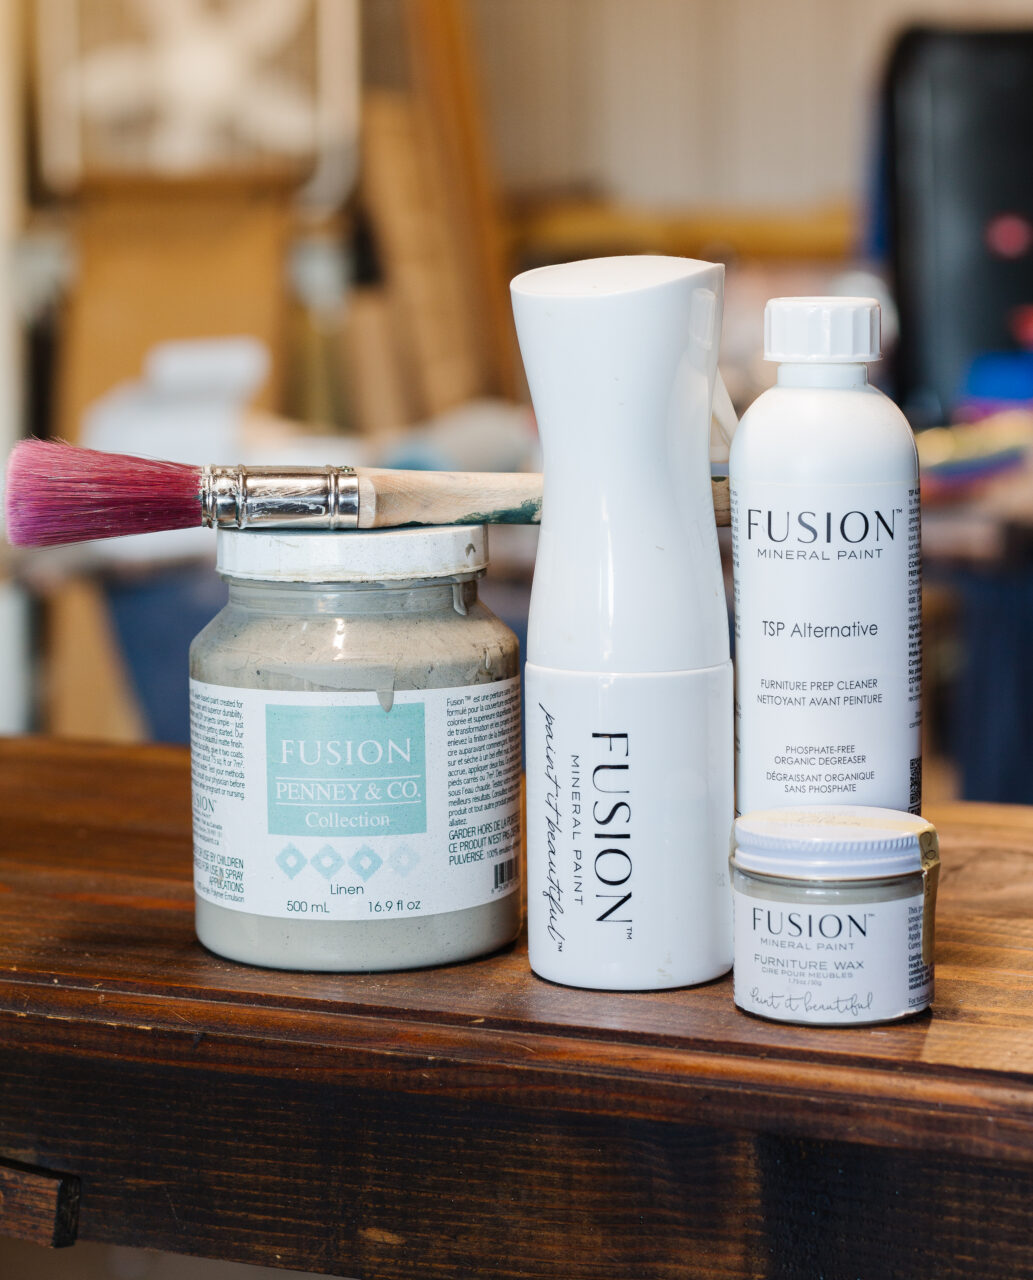
- Fusion TSP Alternative + Wiping Cloths
- Electric Sander and Sanding Pads/Paper
- Caulk
- Peel and Stick Wallpaper
- BIN Shellac Primer
- Fusion Clear Furniture Wax
- Lint-Free Cloth
- Plywood Drawer Bottom Panels
- Fusion Mineral Paint “Linen” (retired colour, we recommend “Putty“)
- Shop Towels
- Disposable Foam Roller
- Staalmeester 2 inch synthetic brush
Prep
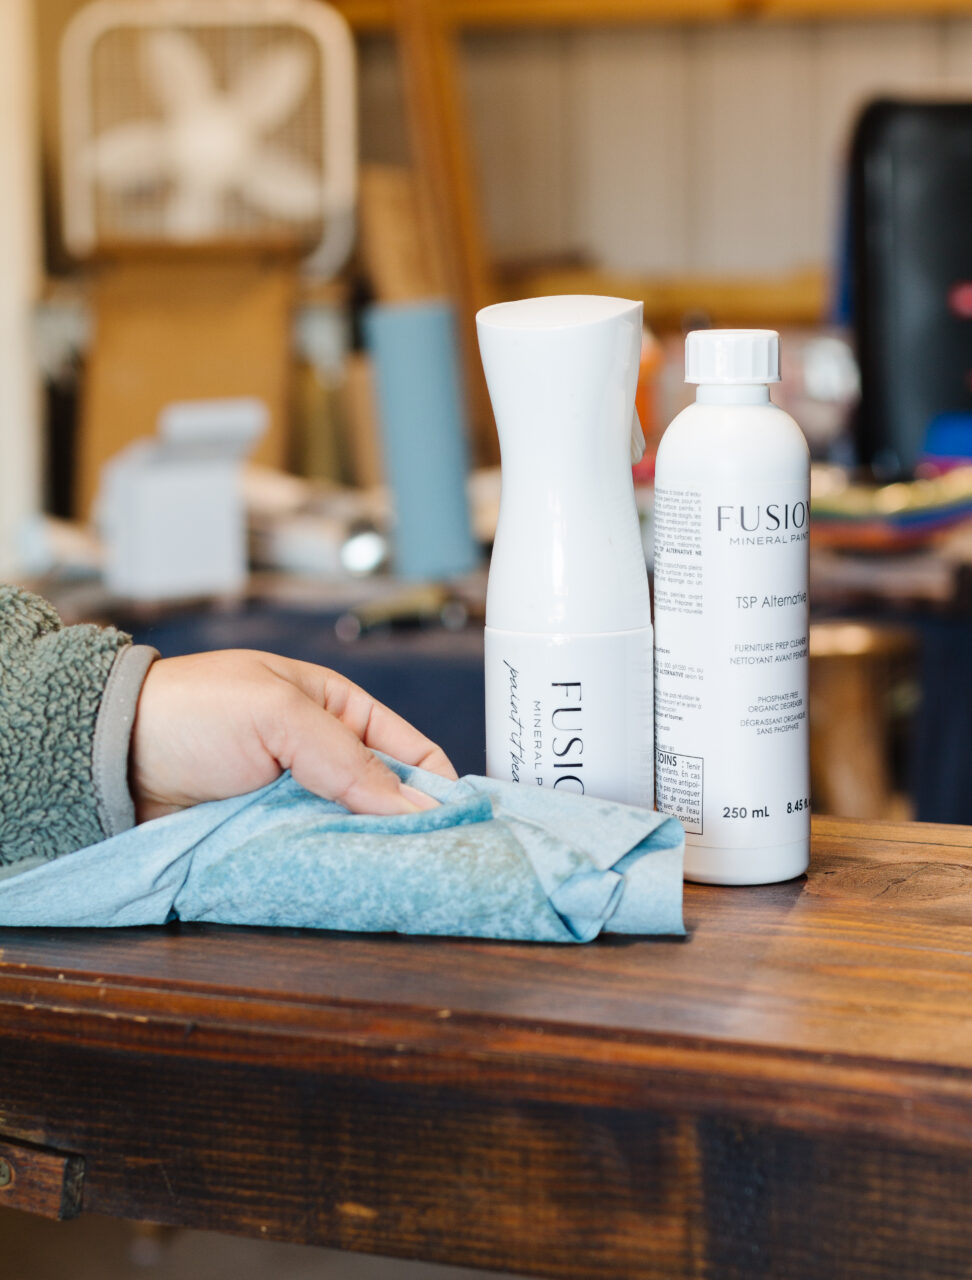
We knew the wood was dark, but it was hard to tell whether that came from the original finish or just years of buildup. To find out, we reached for our Fusion TSP Alternative, mixed with warm water to give the surface a deep clean. Since it’s a concentrated formula, we diluted it at a 1:3 ratio in a spray bottle for easy application. This piece needed a few rounds of scrubbing to reach the bare wood. We like to use shop towels during the process as they help soak up excess water before it seeps into the grain and make cleanup quick and simple.
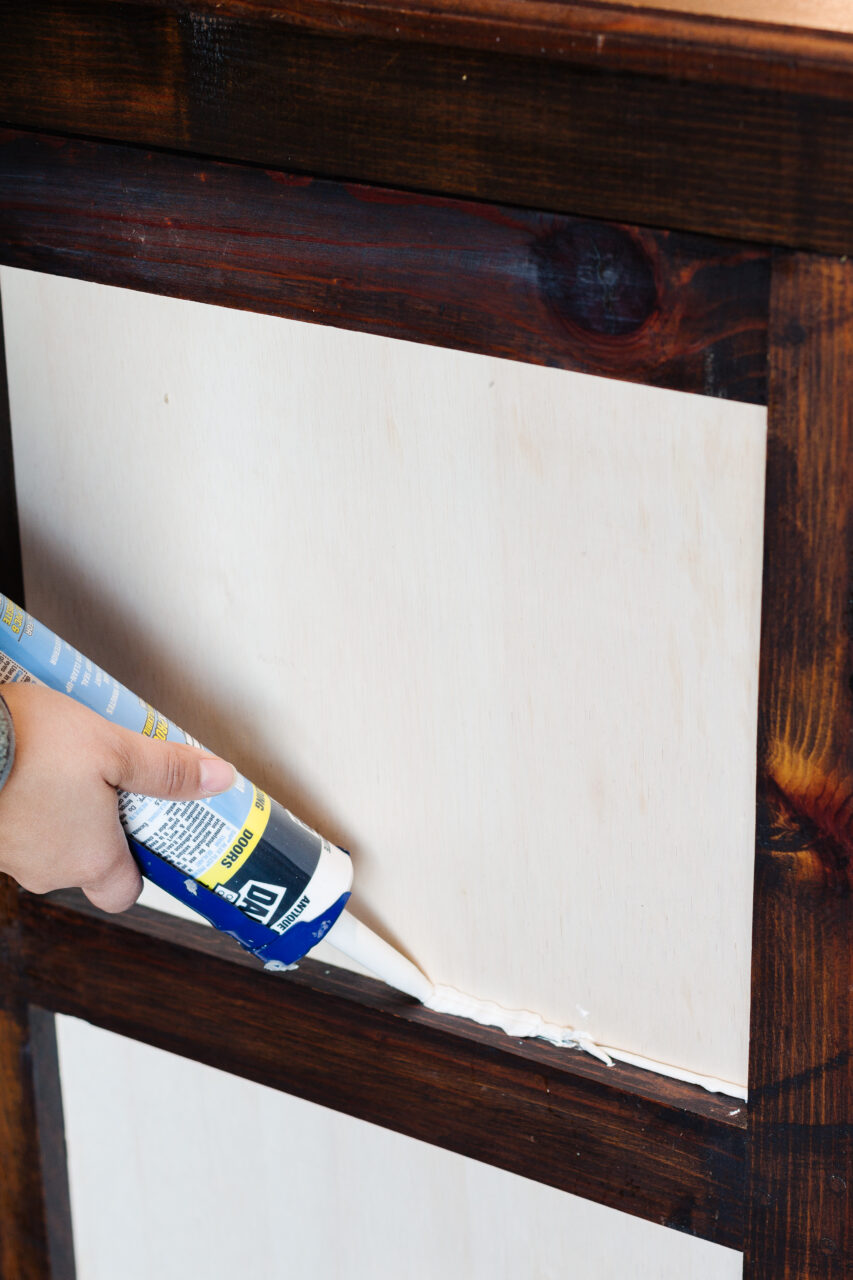
Once the piece was completely dry, we removed the dated tin panels and used them as templates for the new inserts. To replace them, we chose thin bottom-mount plywood panels, the kind you can find at most hardware stores for drawer bottoms. They’re lightweight, affordable, and super easy to cut to size. After fitting them in place, we secured the panels with pin nails and sealed any small gaps with caulk for a clean, finished look.
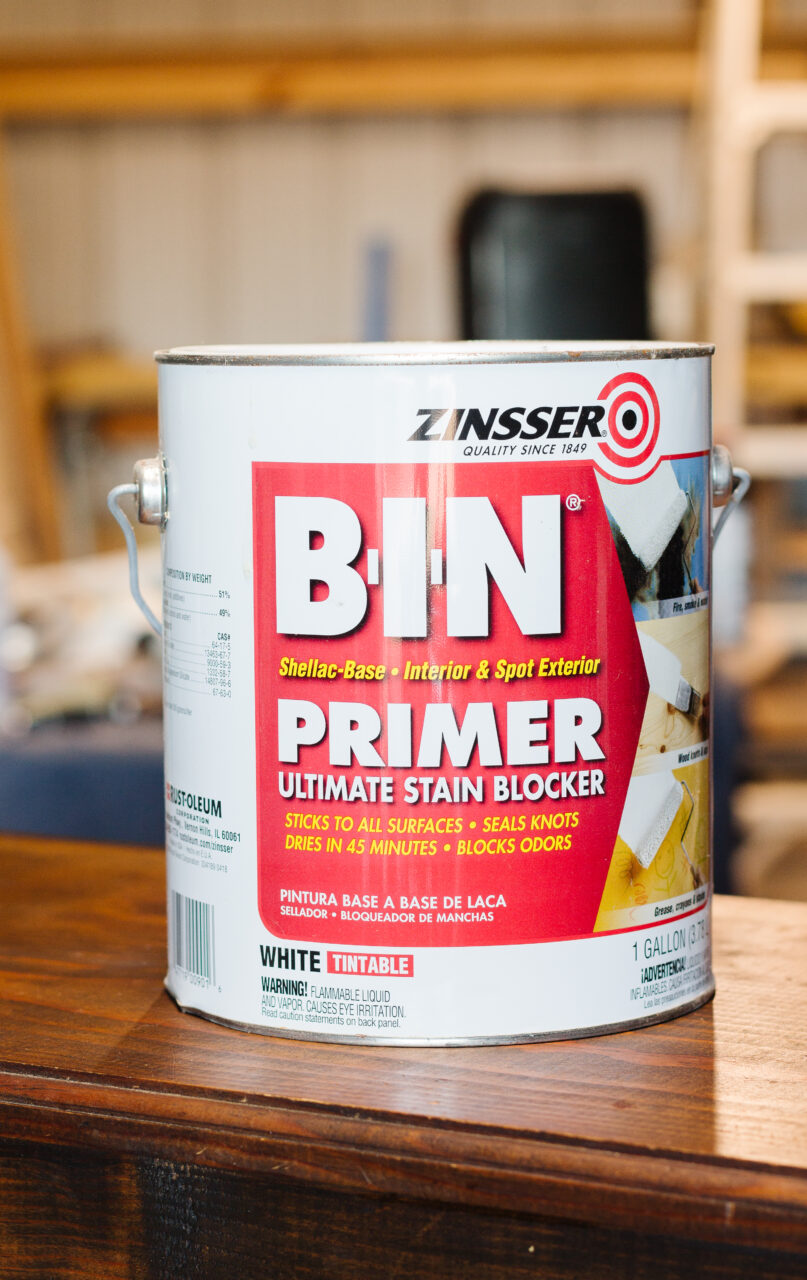
Next, we applied three coats of BIN Shellac Primer. We probably went a little overboard with the number of coats, but since the wood was so dark, we didn’t want to risk any bleed-through, especially with the plan to transition from a dark to a lighter finish. We used a foam roller for easy application as it holds plenty of product and, best of all, it’s disposable. That meant almost no cleanup afterward which is a big win when working with shellac-based products.
From Dark to Light
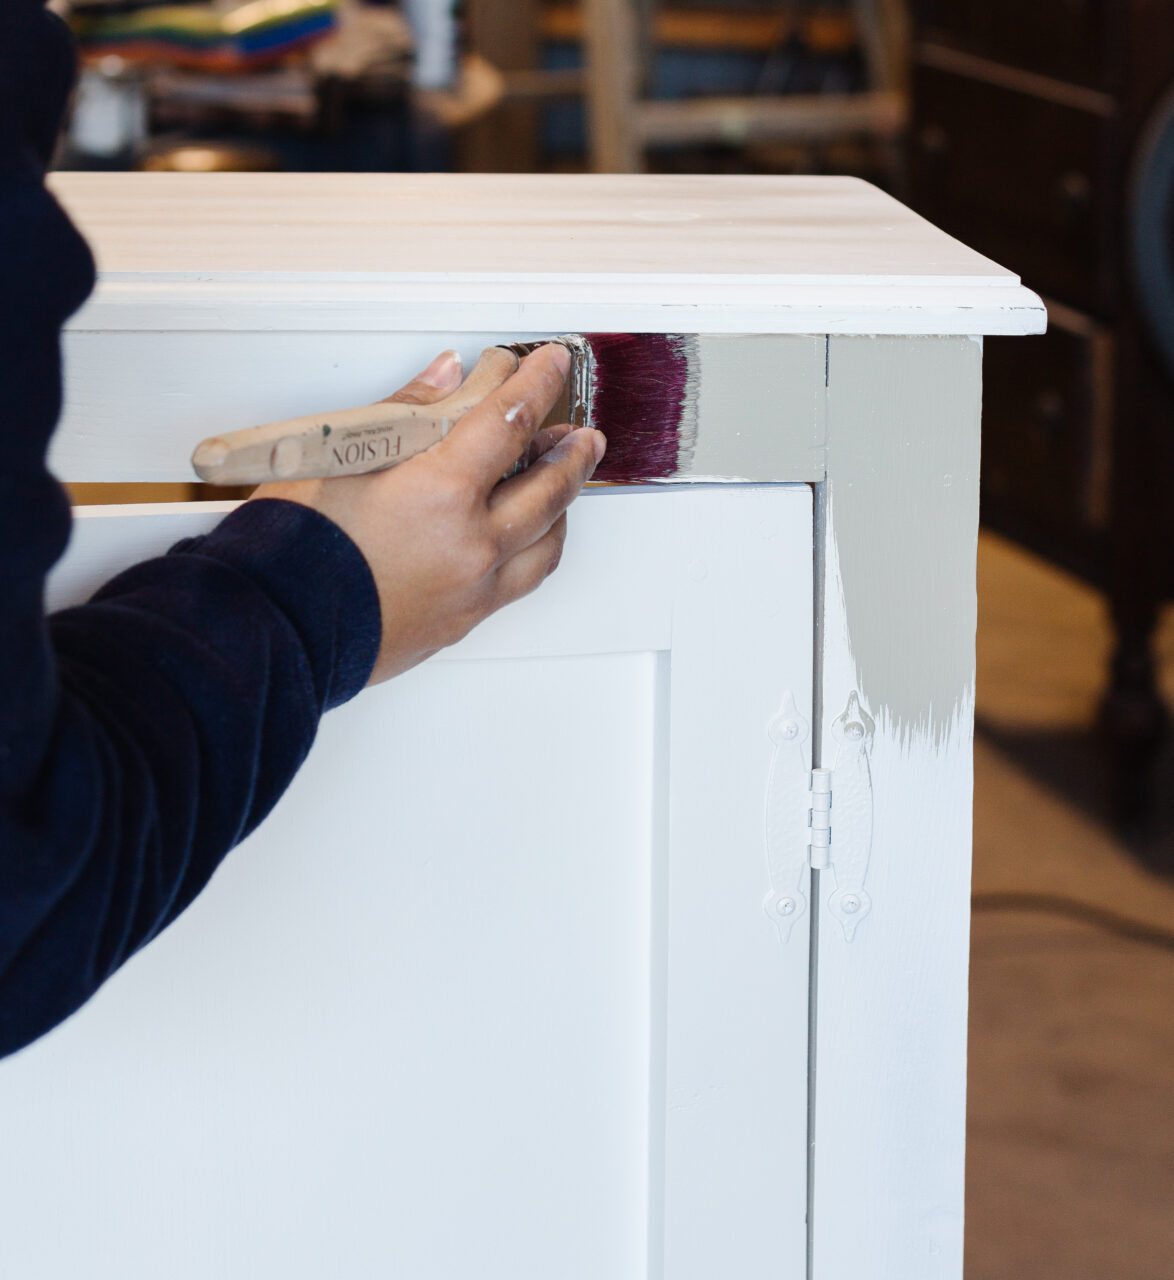
Once the primer had fully dried, we gave the surface a light sanding with a high-grit sandpaper to smooth everything out. Then, we applied two coats of Linen using our Staalmeester 2-inch synthetic brush. These high-quality brushes make such a difference — they go on smoothly, leave a buttery finish, and make applying additional coats so much easier.
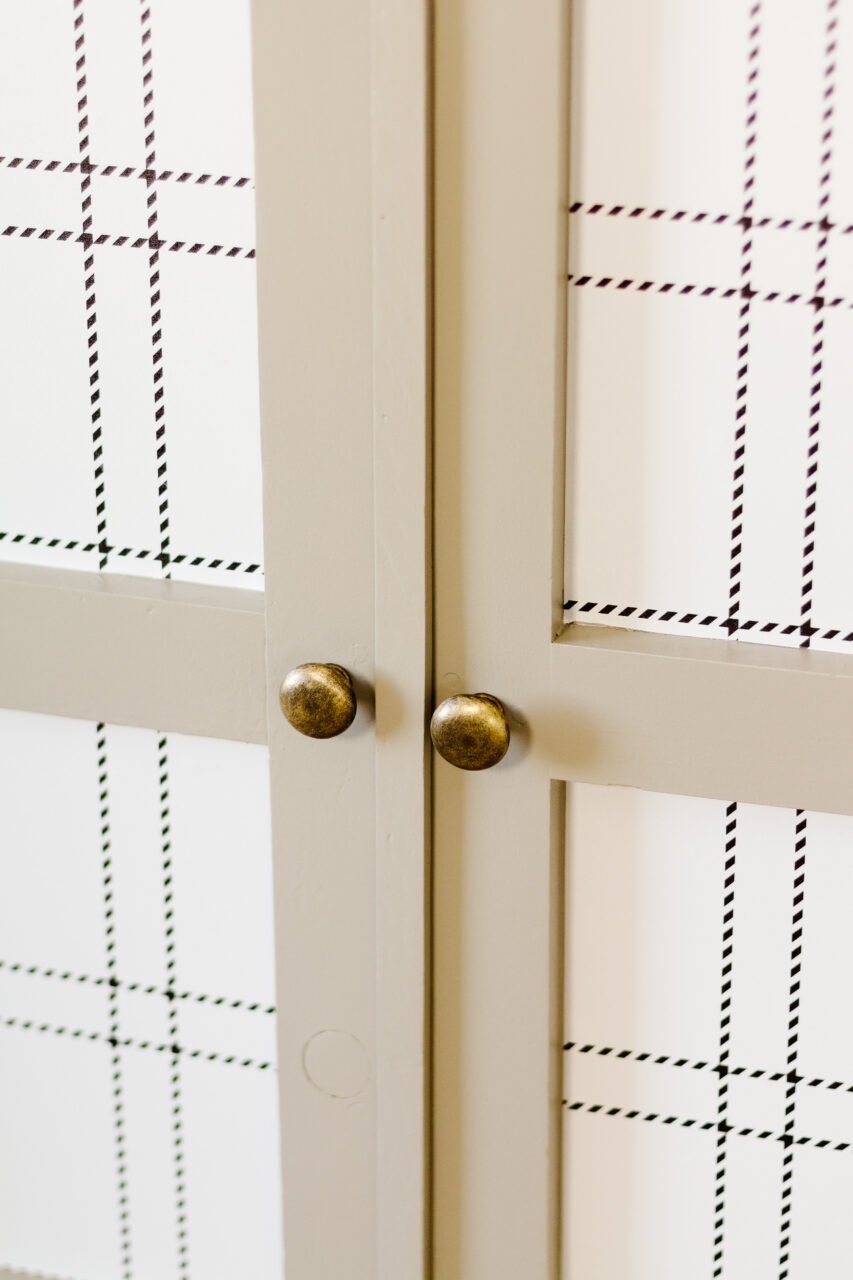
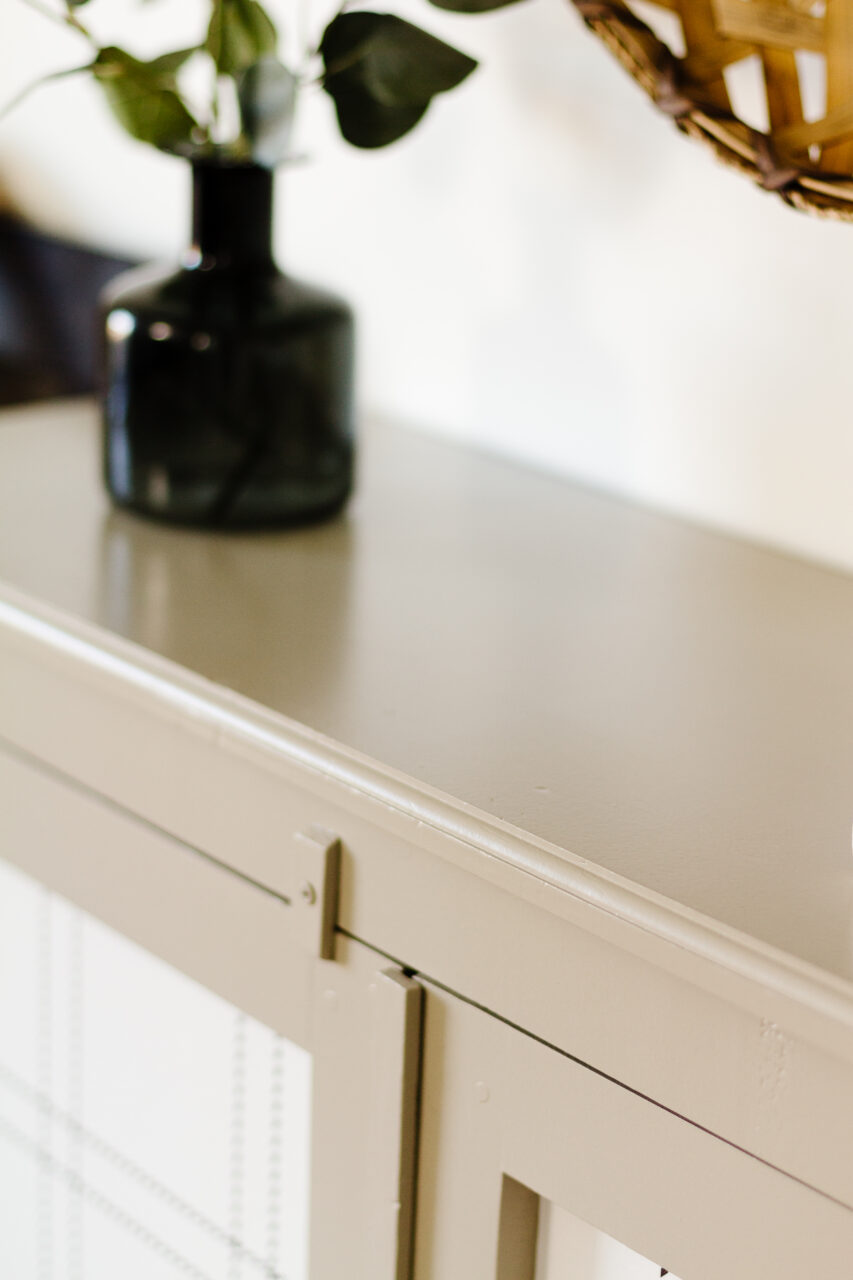
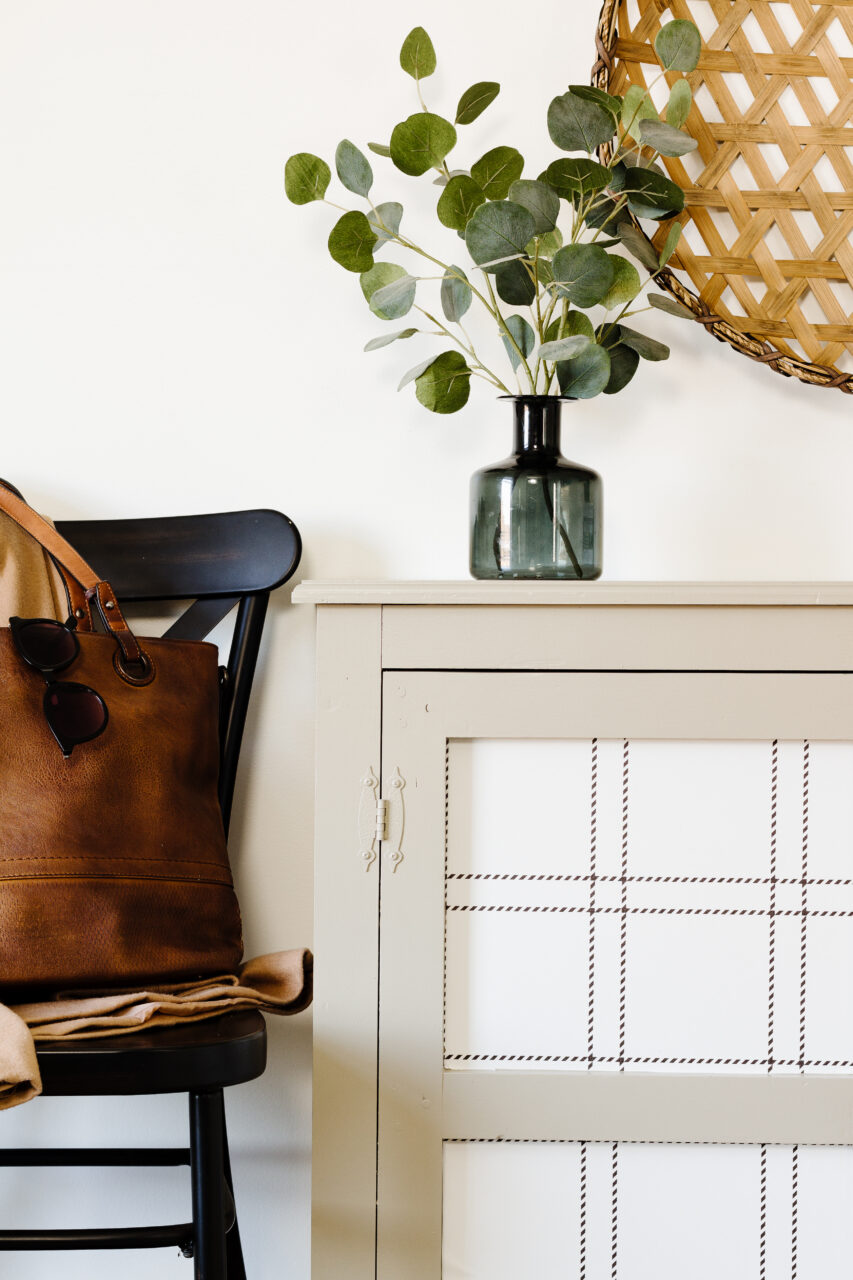
Finally, it was time for the finishing touches. We applied two coats of Fusion’s Furniture Wax and buffed it with a lint-free cloth to achieve a soft, satin sheen. To make the front of the piece really stand out, we added a black-and-white plaid peel-and-stick wallpaper to the panels making a simple detail that completely transformed the look and gave it that perfect pop of personality.
A Modern Furniture Makeover with Peel and Stick Wallpaper
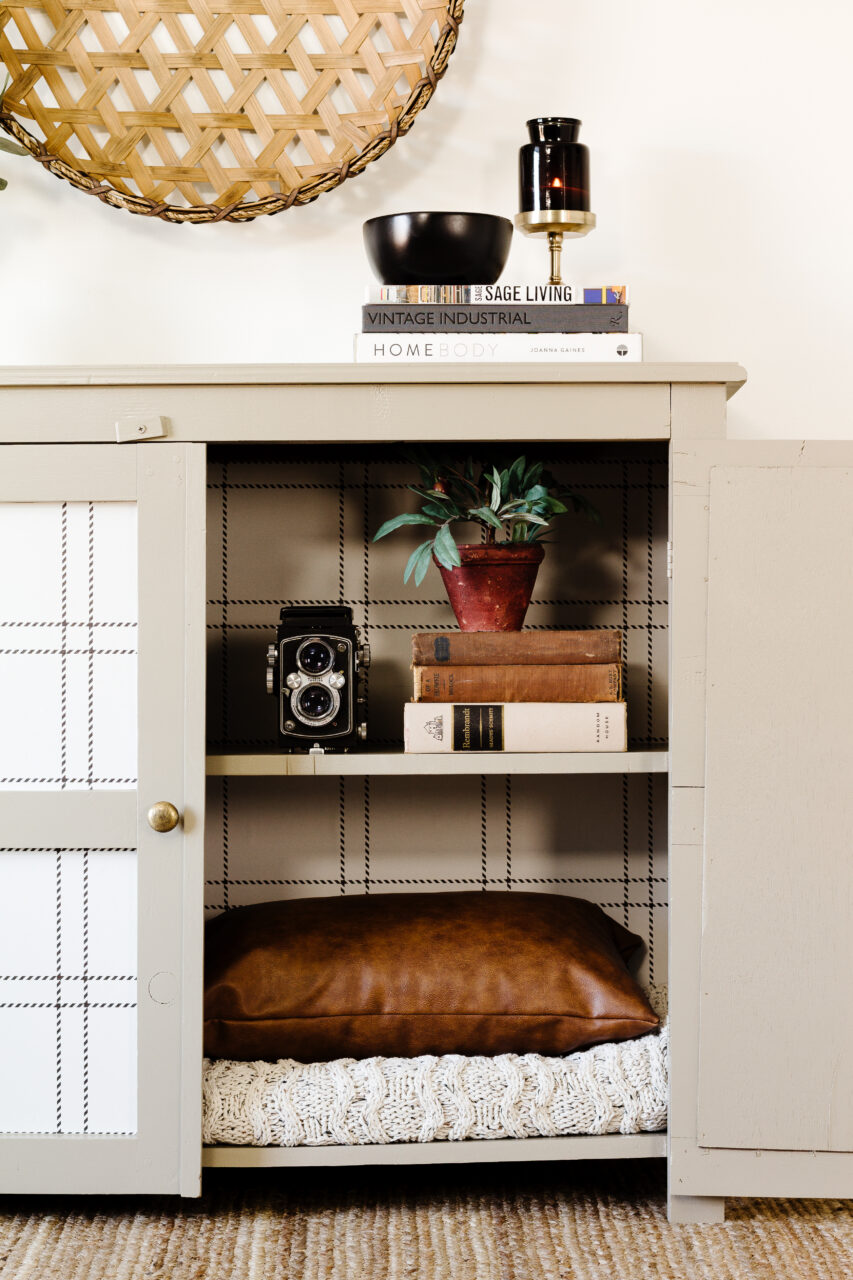
This piece went through quite the transformation. From a dark, boxy eyesore to a bright, modern statement piece that’s both stylish and functional. The added storage makes it super practical, while the black-and-white peel-and-stick wallpaper adds a fun pattern that perfectly complements its clean, straight lines.
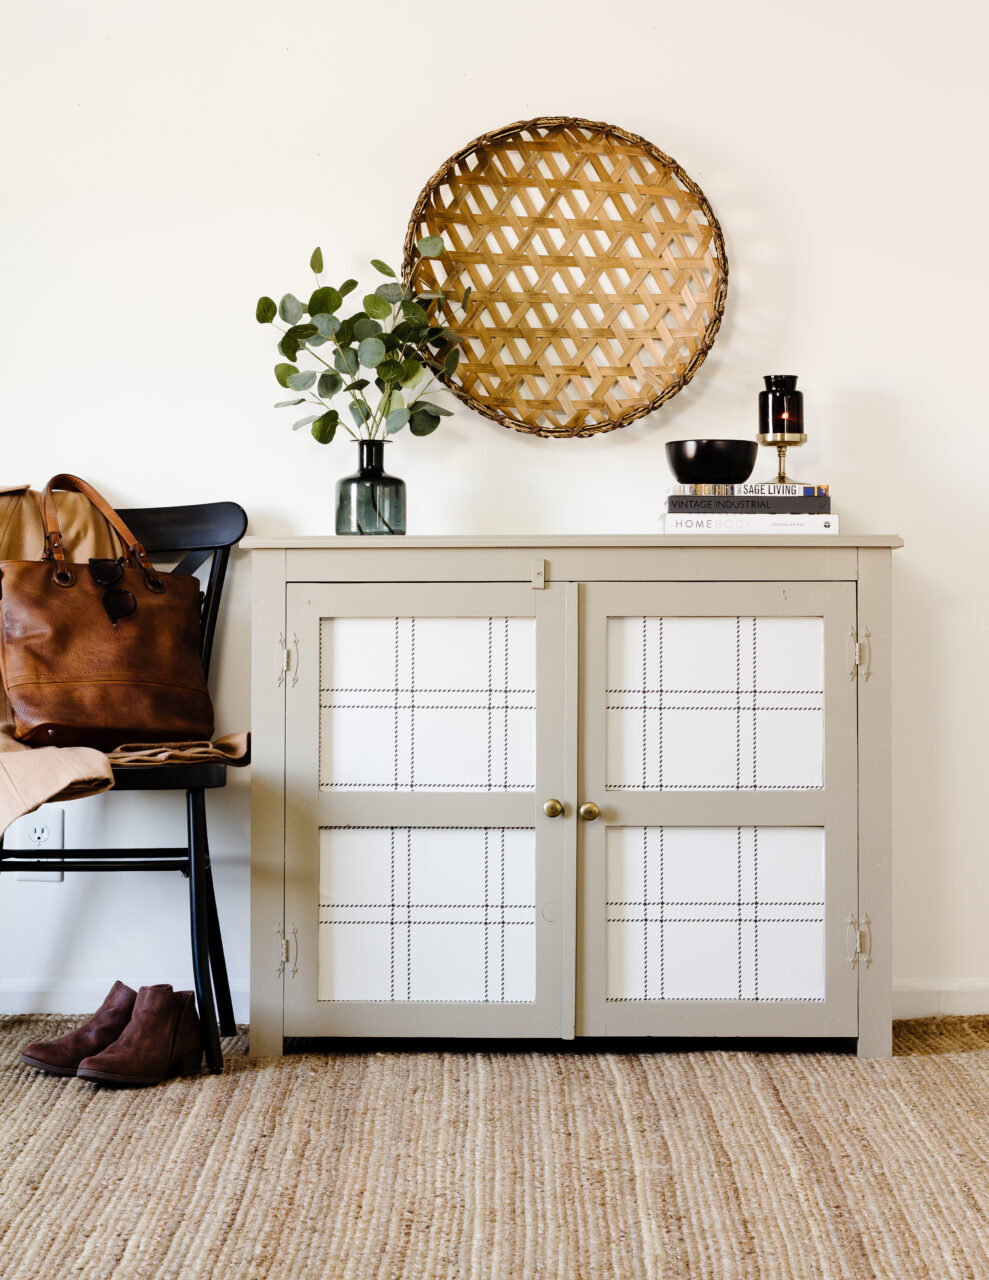
The lighter paint colour completely changed the way this piece feels in the room. Instead of standing out for its bulky shape, it now blends in beautifully with the space. The size and square design feel much softer and more intentional. The neutral tone adds a modern touch that works with almost any style, making it a versatile piece that can easily move from room to room and still look right at home.

You can even have a little fun with it! Try adding peel-and-stick wallpaper to backboards, shelves, or even small décor pieces nearby to tie the whole look together. It’s an easy way to create a cohesive, custom feel without a lot of effort or commitment.
The furniture wax glides on smoothly for a soft, buttery finish. With a little elbow grease and a lint-free cloth, you can buff it to the prettiest satin sheen.
And just like that, this once-dark, awkward piece has a whole new life. With a little creativity, some fresh paint, and a few unexpected details like peel-and-stick wallpaper, it’s proof that even the trickiest finds can become something special. Sometimes, all it takes is seeing the potential and having a little fun with a furniture makeover with peel and stick wallpaper.
Have you tackled a similar project, or do you have an unusual piece waiting for a makeover? I’d love to hear about it! Share your transformations, ideas, or tips. Let’s inspire each other to turn more “what do I do with this?” pieces into statement-making favourites.
