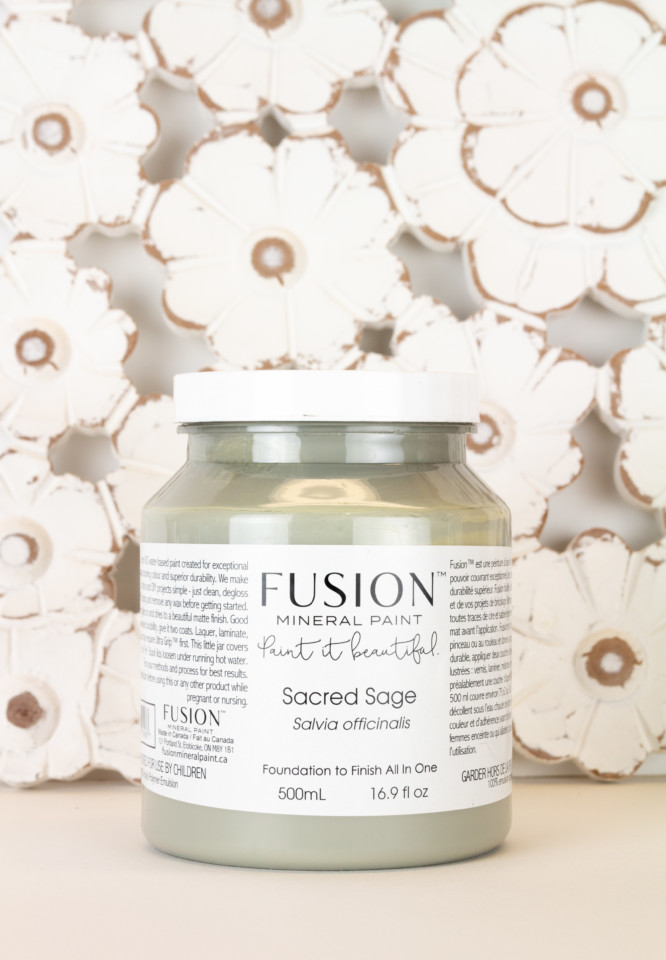
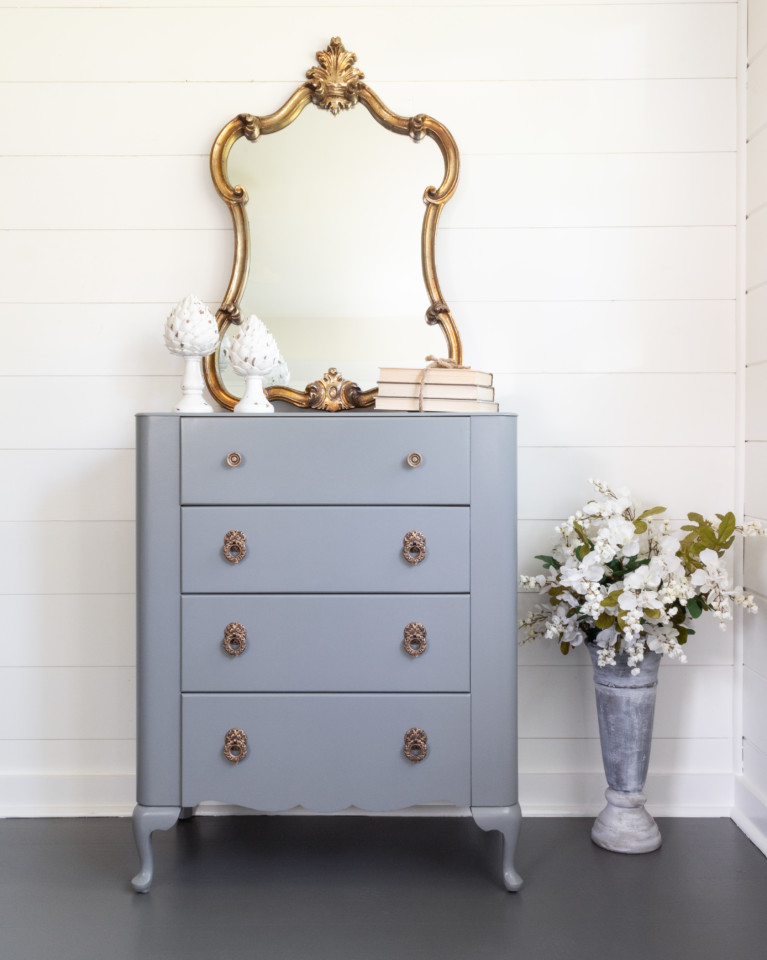
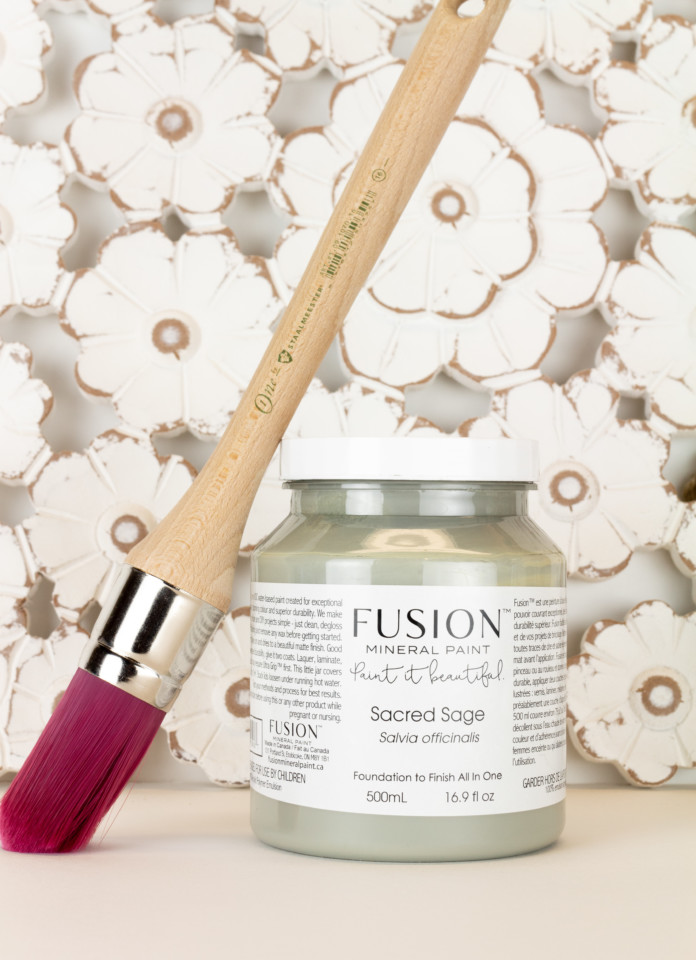
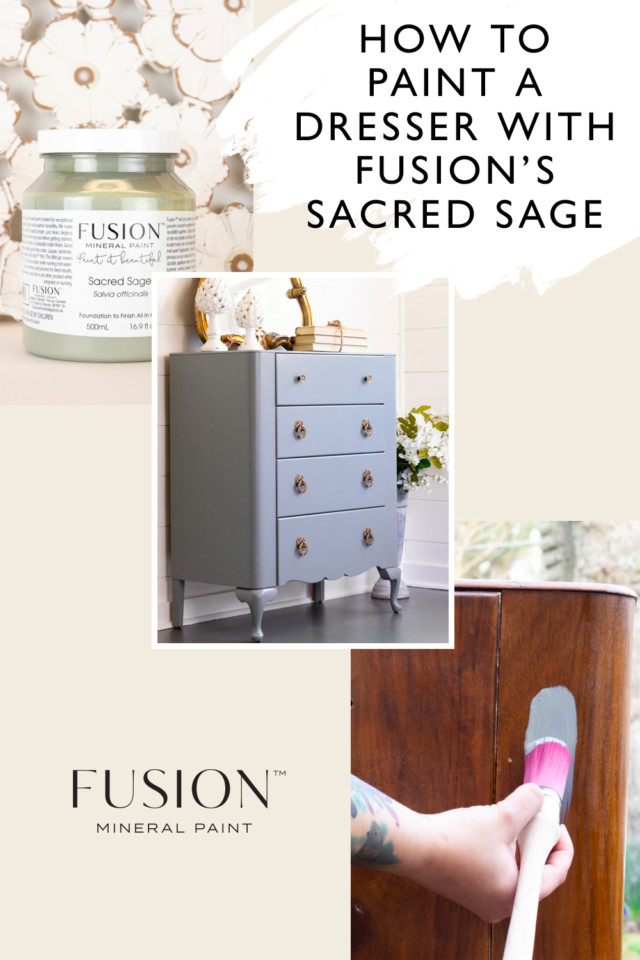
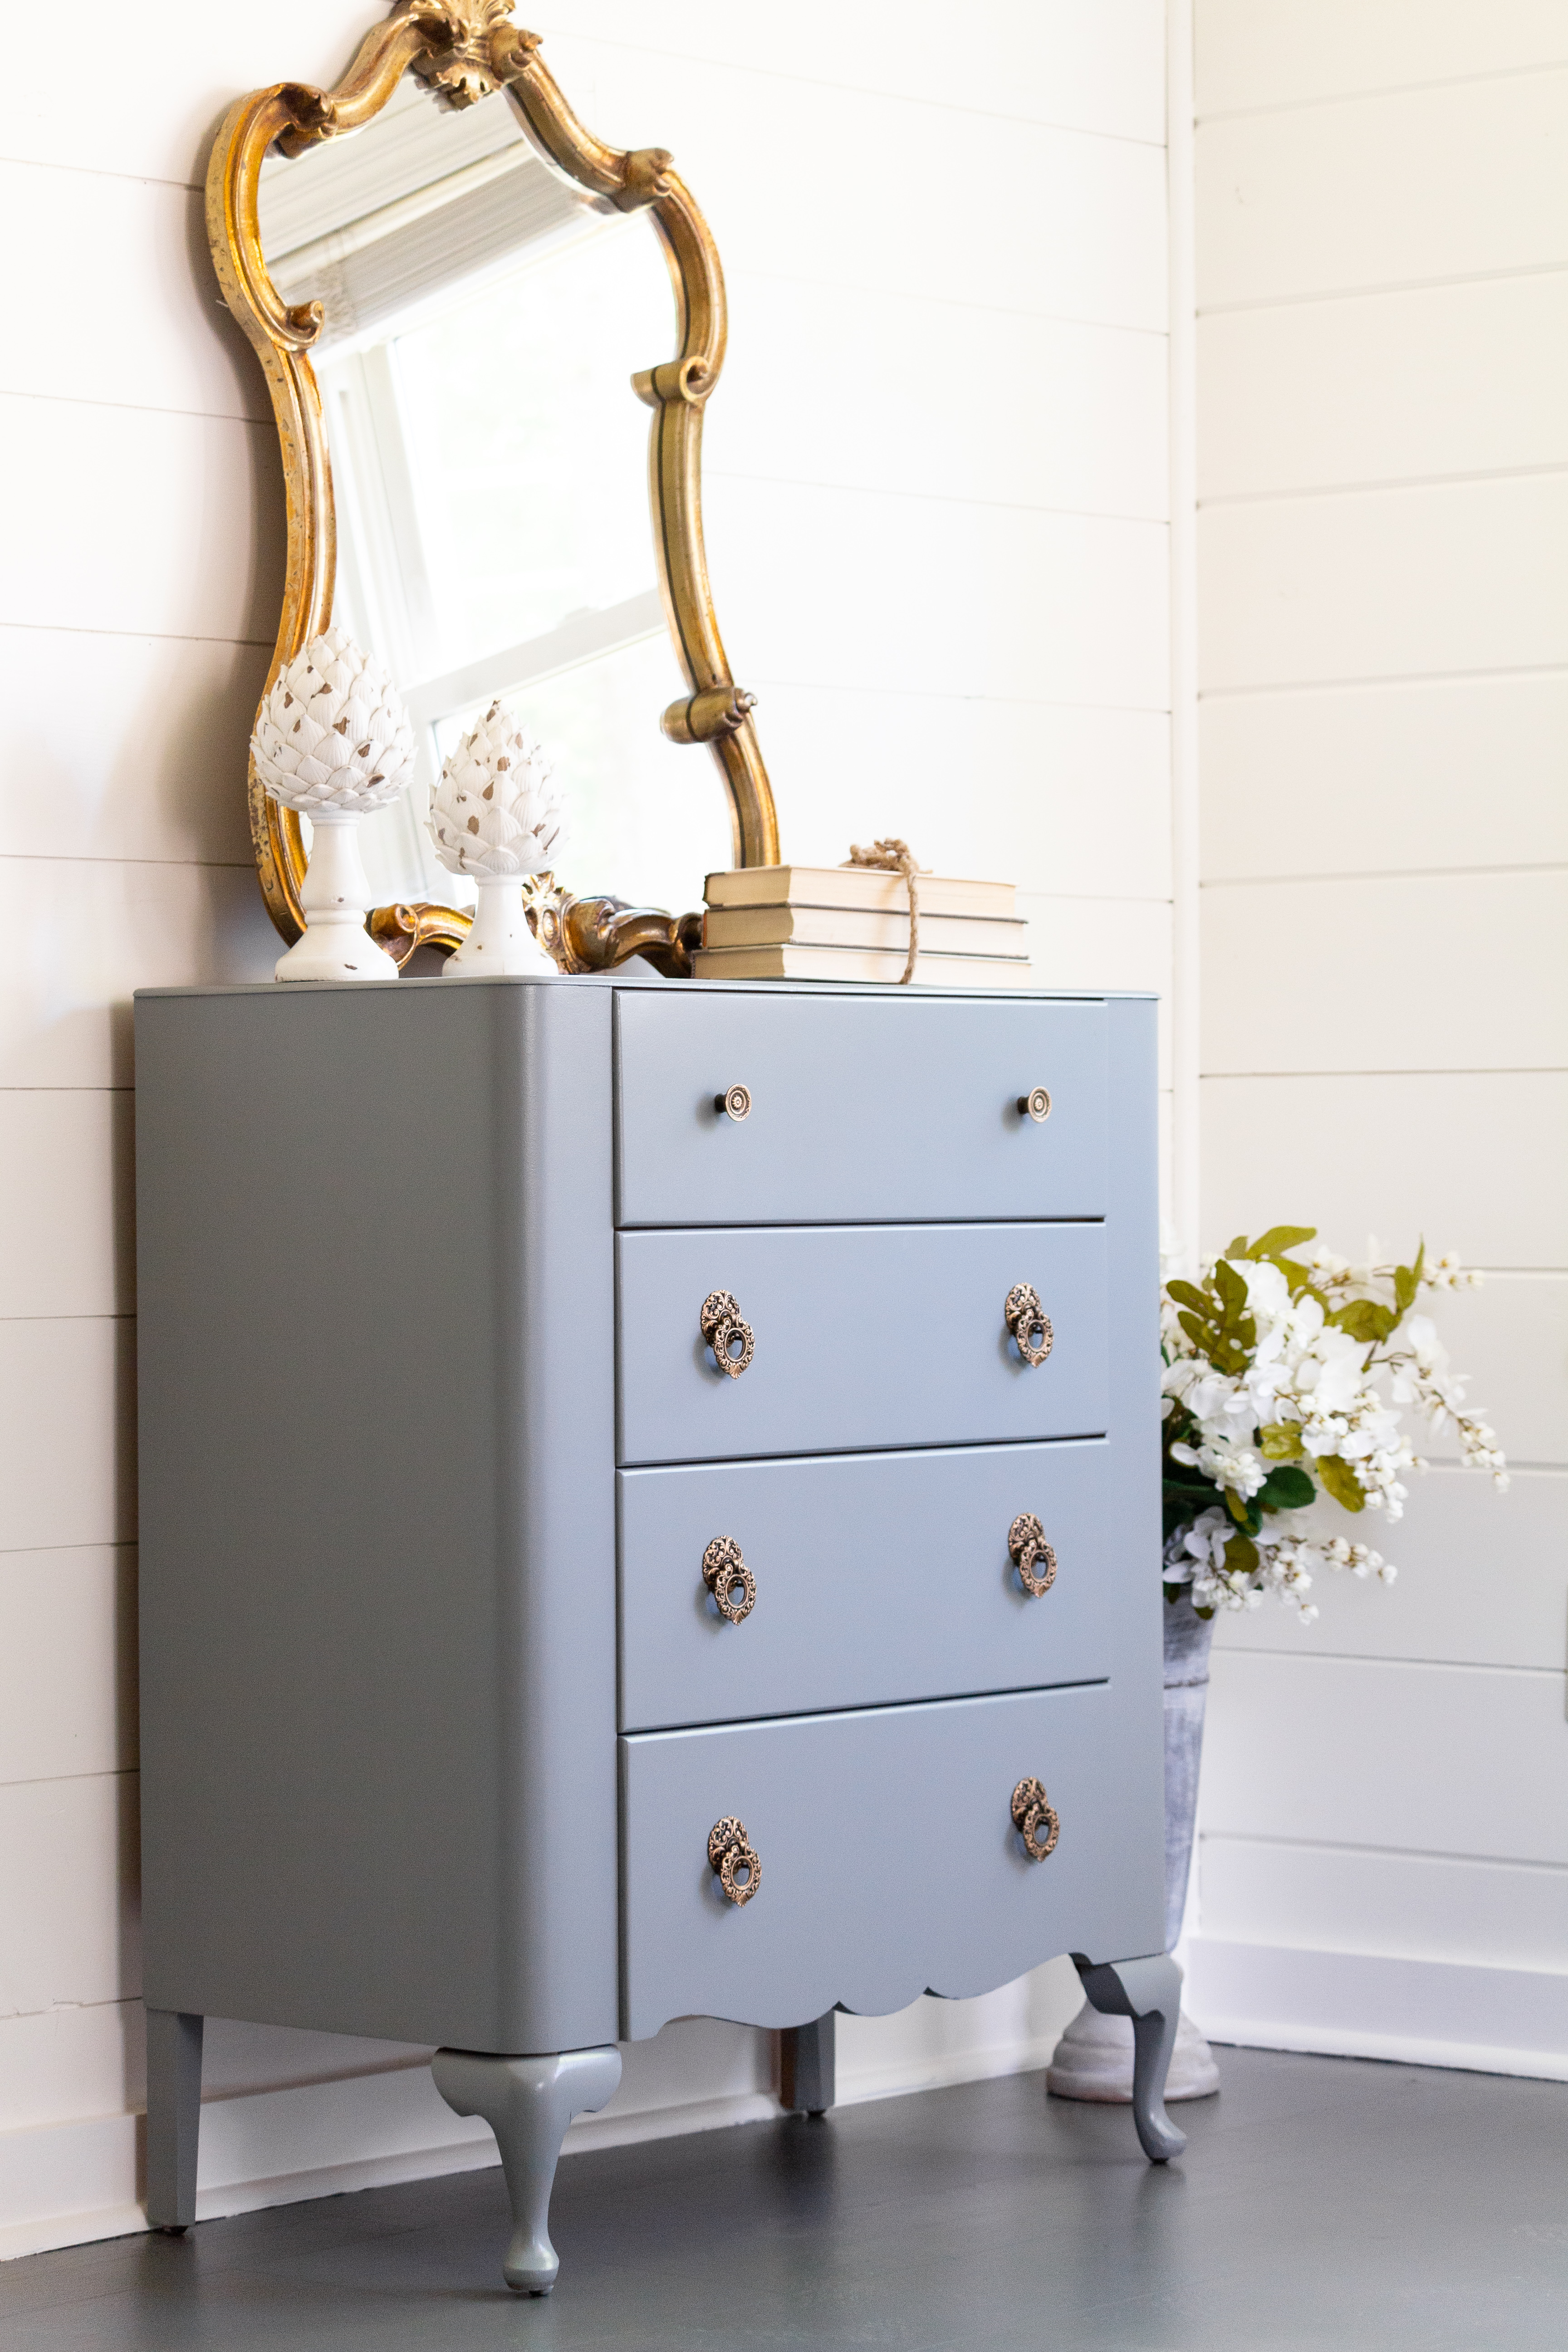
Sacred Sage is one of those colours that changes depending on the lighting in the room. In some cases, you’ll think it’s grey. In others, you’ll wonder if you’re seeing green. In any lighting it is lovely and we’re showing you how we used it on this dresser makeover where the Before and After will have you running to your nearest Fusion merchant to get your hands on this beautiful colour!
Please Note: Sacred Sage has been discontinued, we recommend Bellwood or Eucalyptus instead!
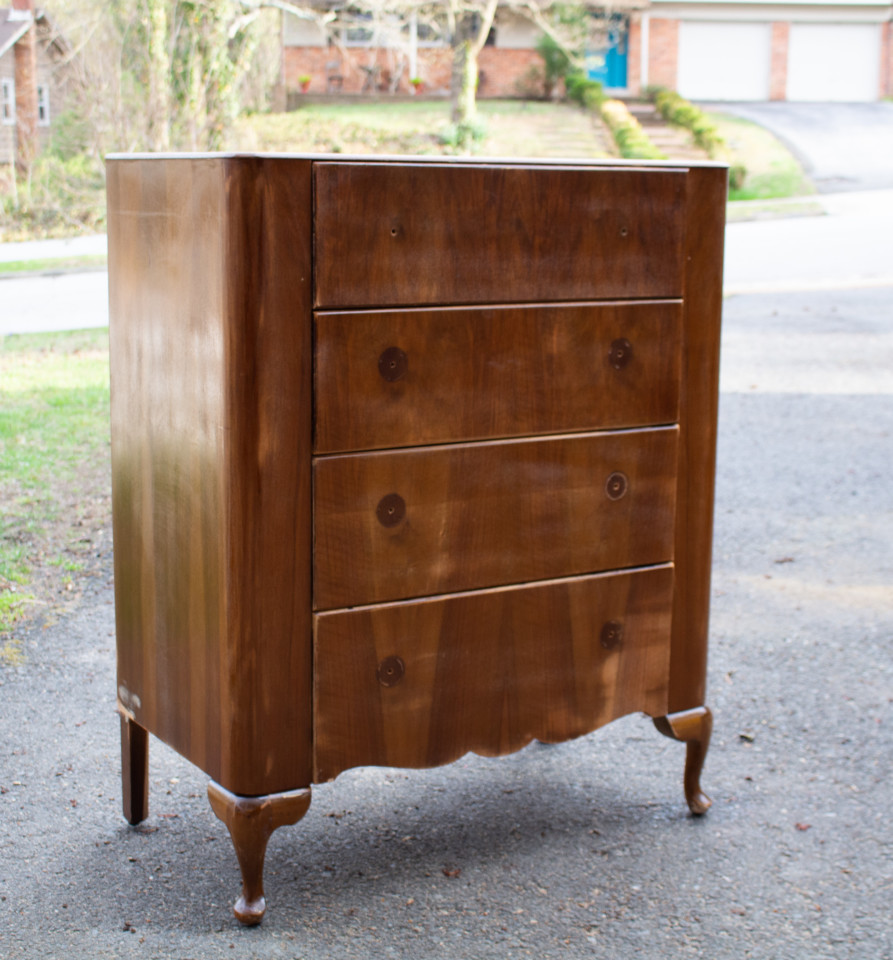
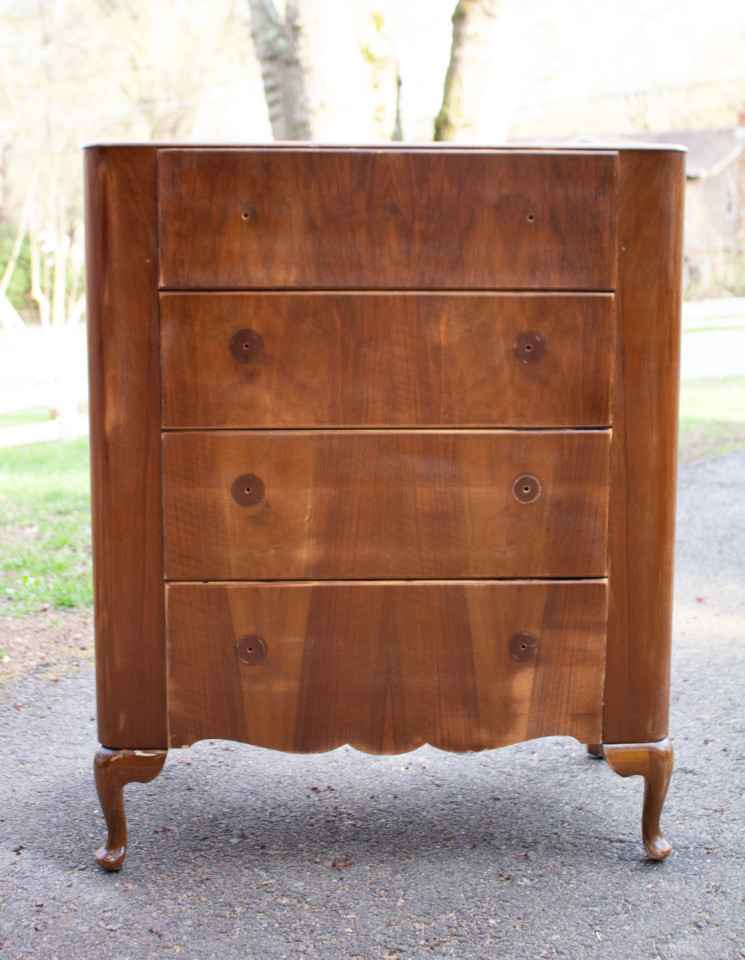
A dresser makeover – the Before and After with Fusion’s Sacred Sage
SUPPLIES USED:
- Fusion Mineral Paint in Sacred Sage (discontinued, we recommend Bellwood or Eucalyptus)
- Staalmeester Round Ultimate One paintbrush
- Fusion Sanding Pads
- Zinsser Shellac Based Sealer spray
- Fusion TSP
HOW TO PAINT A DRESSER WITH FUSION MINERAL PAINT
STEP 1
PREP
We removed the hardware and cleaned it with soapy water as it had seen much better days. The dresser itself with cleaned up with Fusion’s TSP which helps to remove any grease, dirt or grime.
STEP 2
SANDING
We get a lot of questions about whether or not one needs to sand before painting. The good news is with Fusion, you don’t need a lot of sanding or rather the type of sanding where you go down to the bare surface of the project you are working on.
However, it is important to note that sanding is dependent on your project and the state of the surface you want to paint. Sometimes you need to use wood filler and then sand everything down to even out your surface. Other times you need to sand to scuff up the shiny surface as this will absolutely make the paint adhere better. Your paint job is only as good as your prep. So ensuring the right prep will make it that much easier to paint. Sanding is very much project-dependent. Even unfinished and unpainted wood can have small remnants of wood sticking up in spots so eliminating those is a must.
We gave this one a light scuff sanding due to its shiny surface, with a 180 grit Fusion Sanding Pad, followed by a quick wipe down with damp cloth to remove dust.
After that, we sprayed a base coat of shellac to prevent bleed-through tannins (read all about what bleed-through is in this blog post).
STEP 3
PAINTING
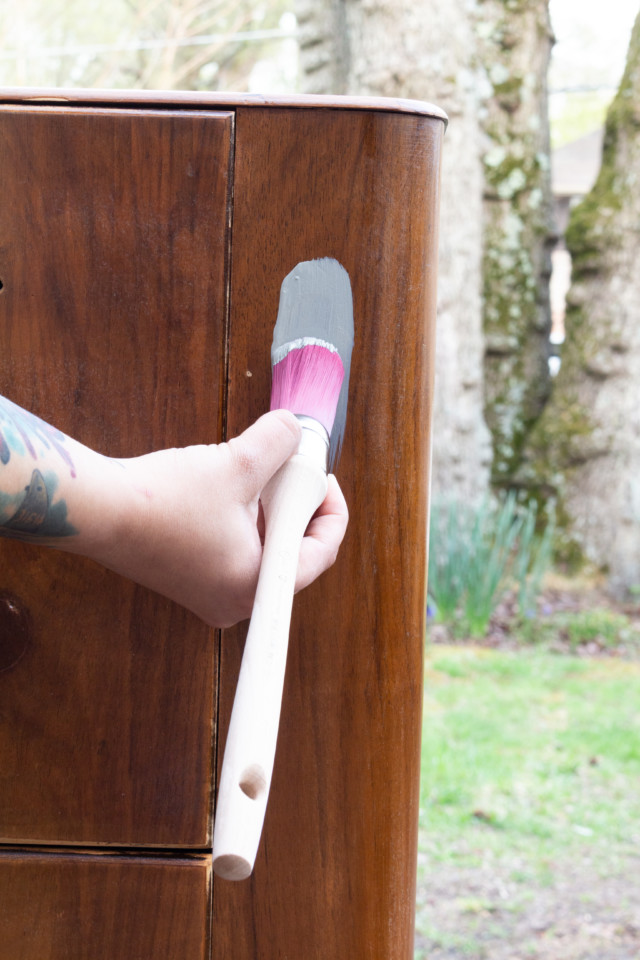
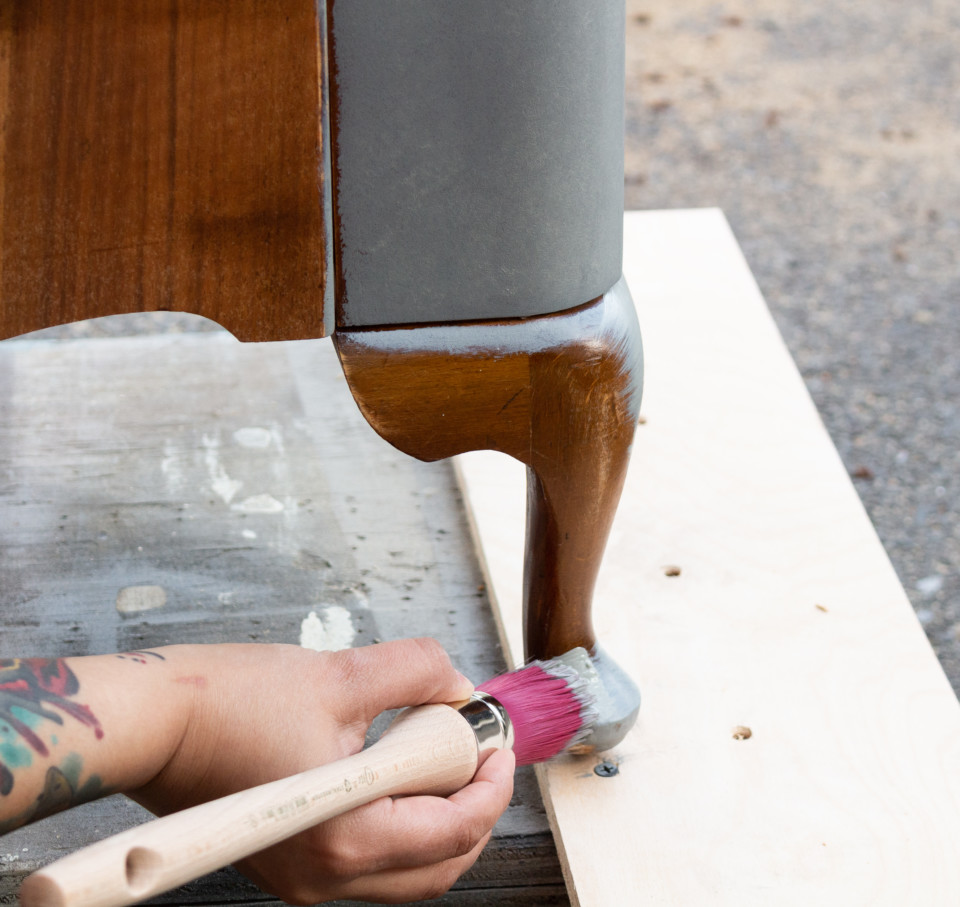
Using a Staalmeester Ultimate One Round Brush to paint hard-to-reach areas with details such as the legs and drawer sides/tops.
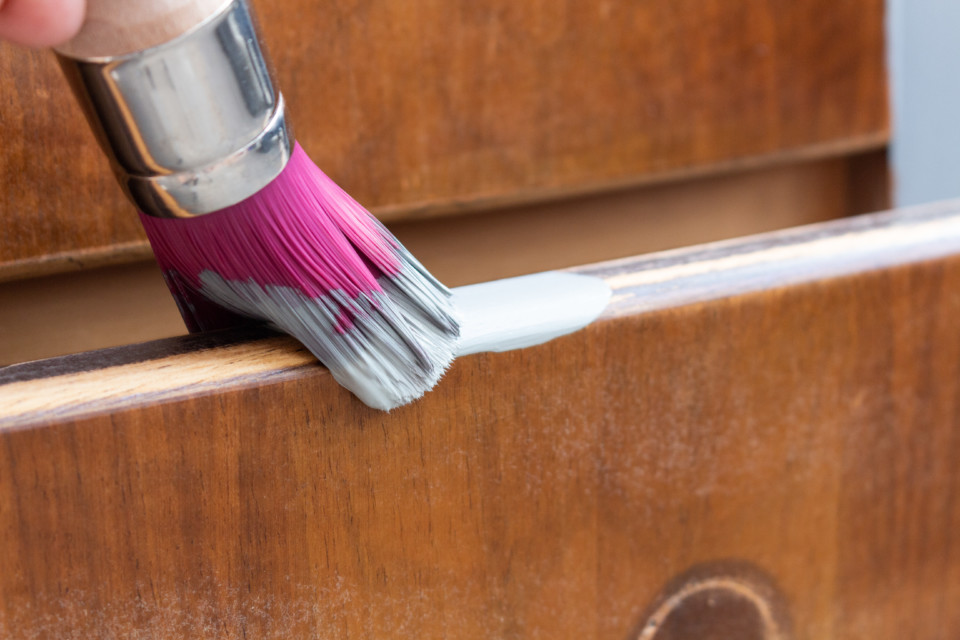
We applied two coats of Sacred Sage to the dresser. After the final coat of paint has dried, we took some 220-grit paper to knock down any fibres or clumps and then cleaned it up with a damp cloth.
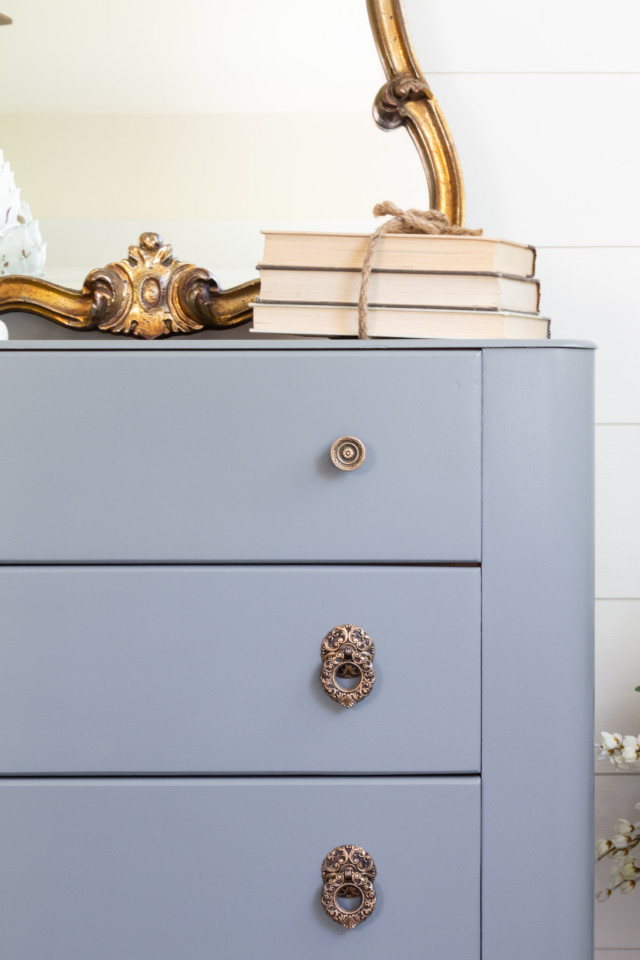
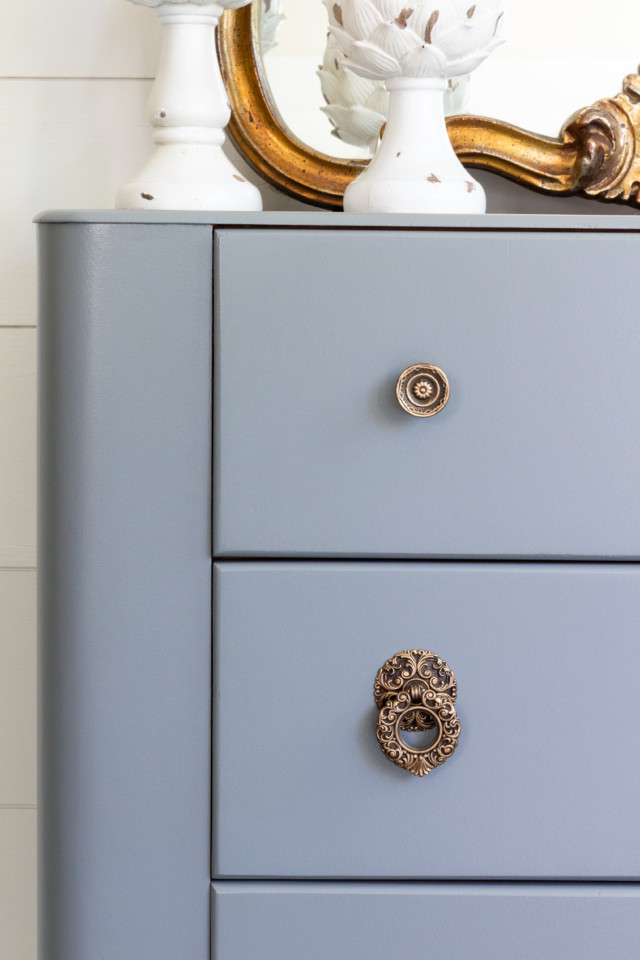
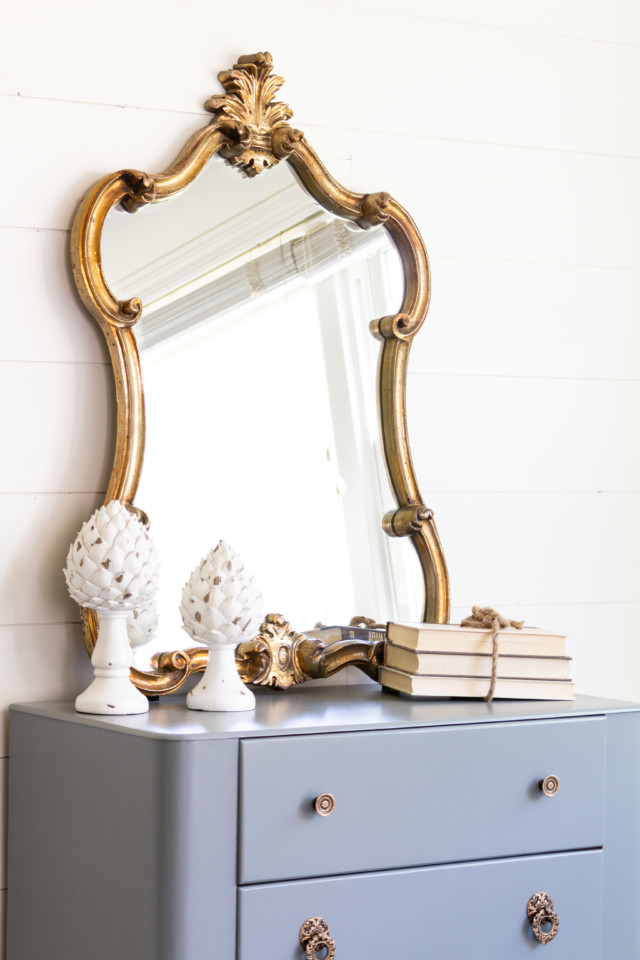
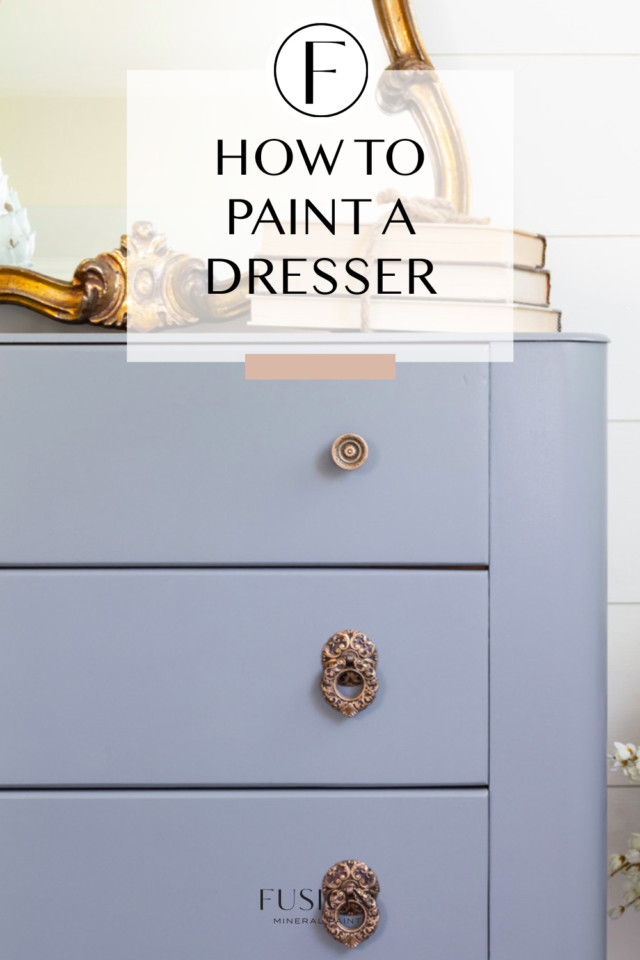
And here is the beautiful after! Sacred Sage is that perfect classic colour that feels updated for today’s decor trends.
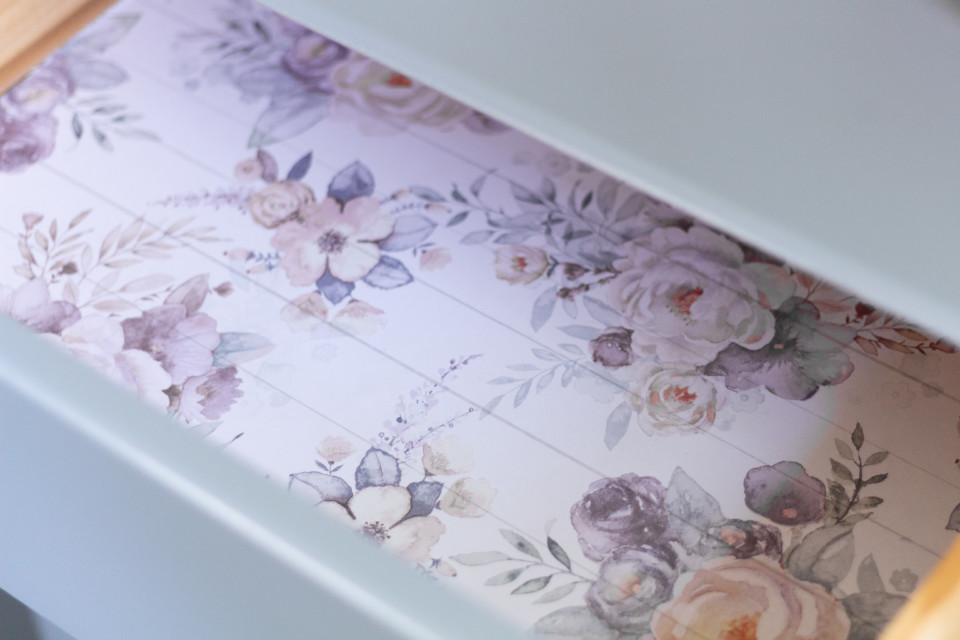
For a touch of a little something extra, it’s always nice to line the insides of your drawers for a customized look. How ethereal is this?
If you have finished any projects featuring Sacred Sage, tag us on social using the hashtags:
#SacredSage
#FusionSacredSage
and as always #FusionxLMH for the Lisa Marie Holmes collection!
PIN IT FOR LATER!


One Response