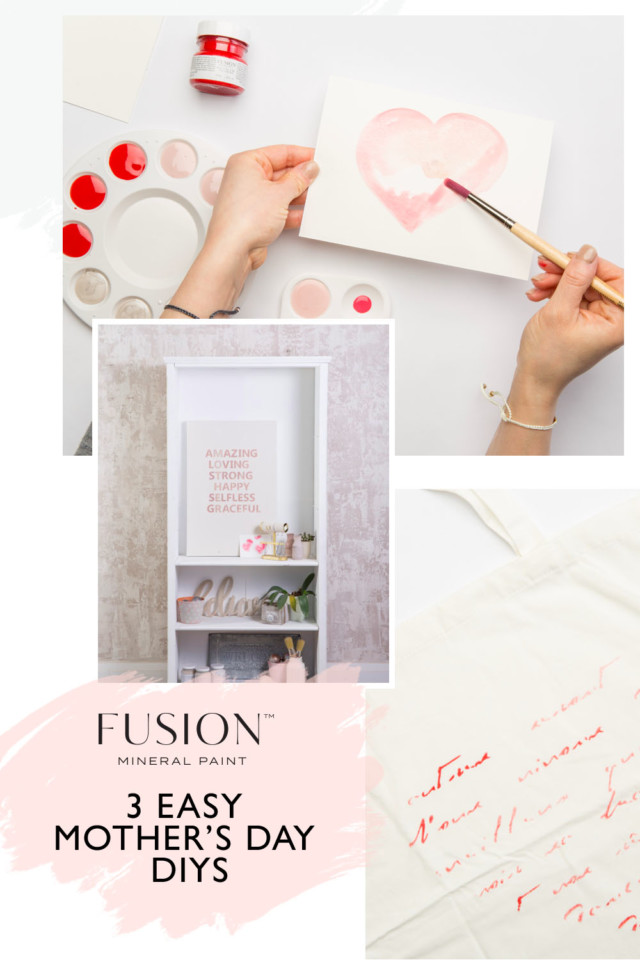
Mother’s Day is this Sunday and if you haven’t gotten your Mom a gift or are struggling to find inspiration for something handmade, we’ve got your back! Often times the best gifts are the ones that come from the heart so we’ve put together 3 easy Mother’s Day DIY projects using Fusion Mineral Paint! While Fusion is often used for furniture projects, these DIYs are a perfect opportunity to test out that colour that you’ve wanted to check out by picking up a tester-size pot of Fusion or even creating your Mom’s favourite colour!
3 Easy Mother’s Day DIYs using Fusion Mineral Paint
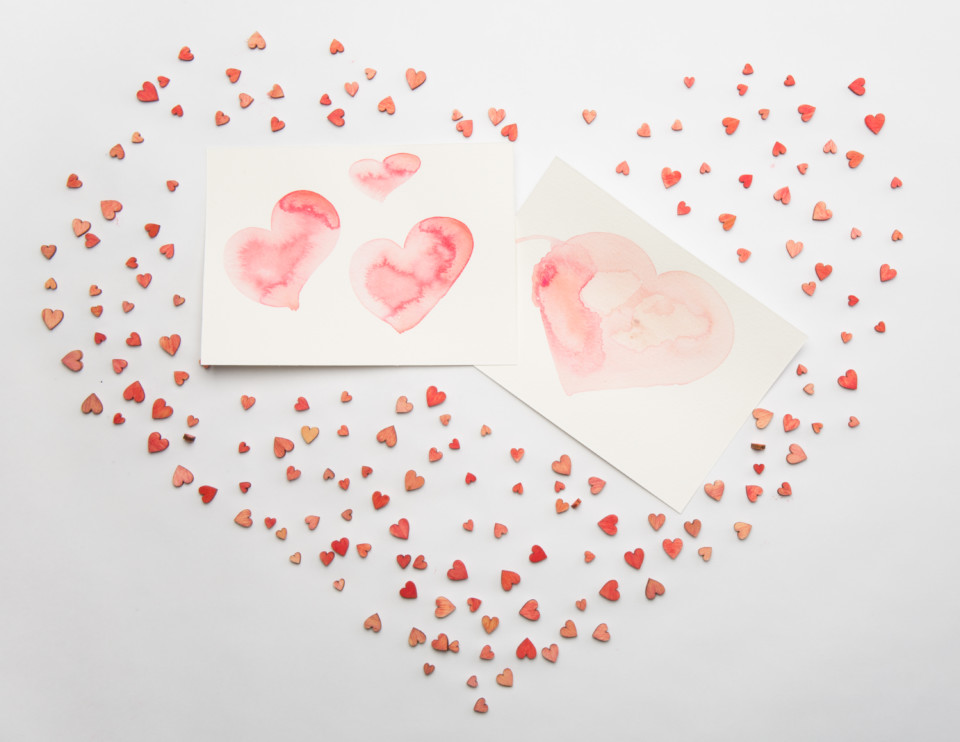
1) DIY Watercolor Hearts Card
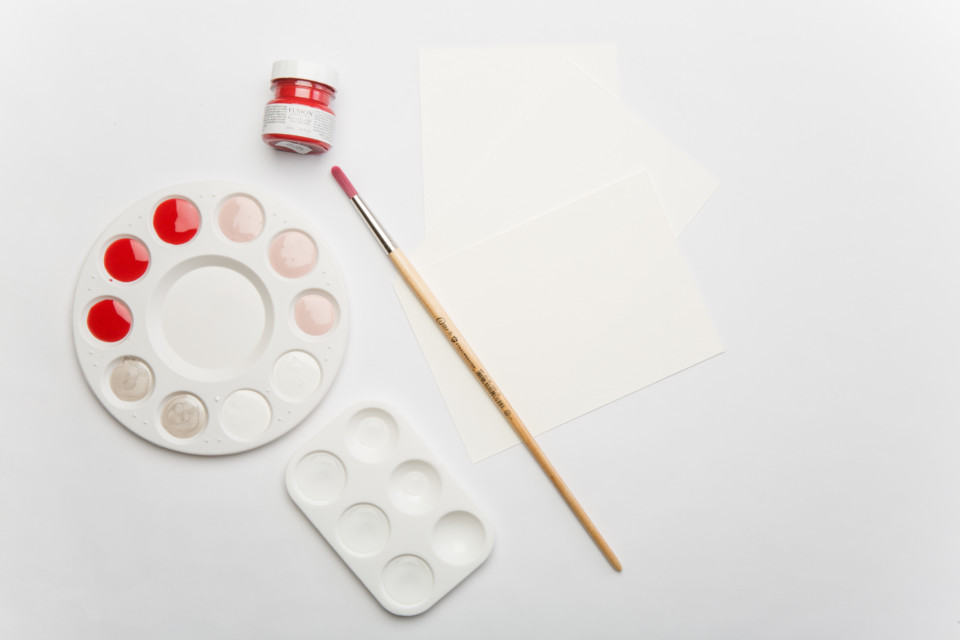
What you need:
- Card stock – we got ours pre-folded into cards
- Fusion Mineral Paint in Fort York Red, English Rose (discontinued, we recommend Peony instead), or any colors you would like (we also have Vintage Gold and Picket Fence – on the palette but decided on the first two for the hearts)
- Plastic paint palette for mixing
- Water
- Small craft paint brush
This DIY Mother’s Day gift is so easy!
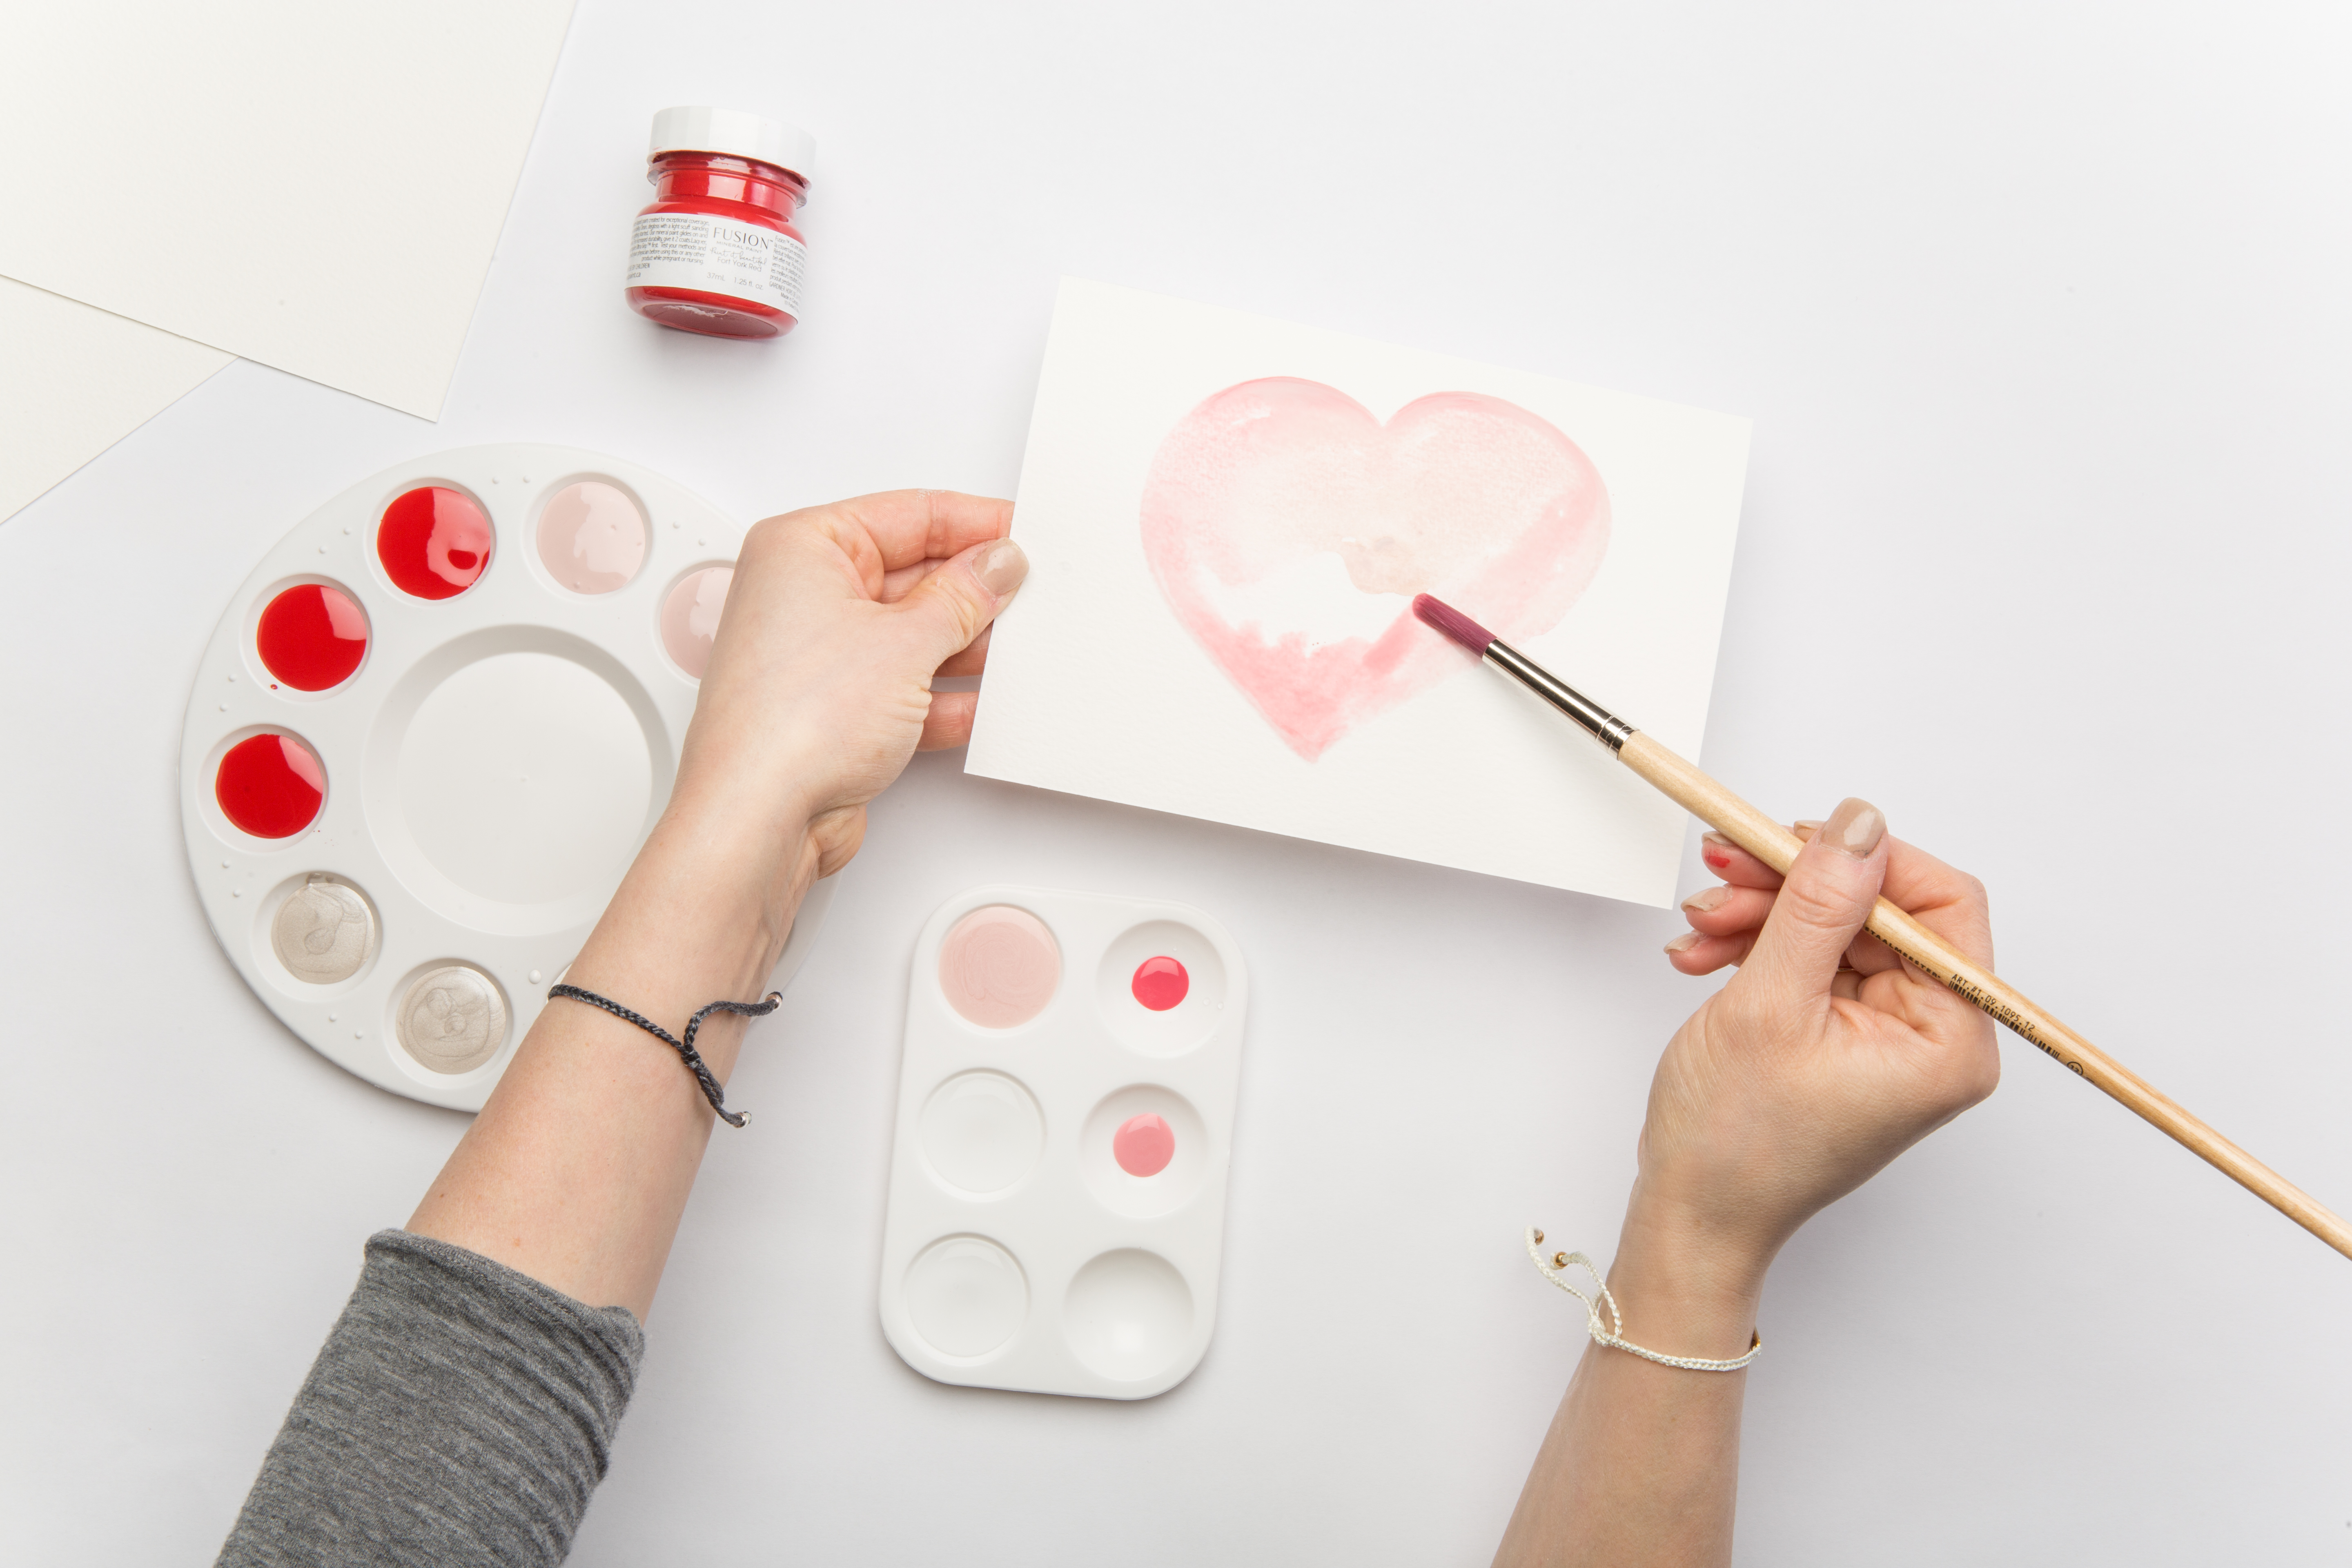
First, you need to make “watercolour” paints. This is as simple as adding a little bit of paint to some water! We usually do about 50/50 to make it easy to remember. We used plastic palettes for mixing because they are easy to clean out at the end of the day.
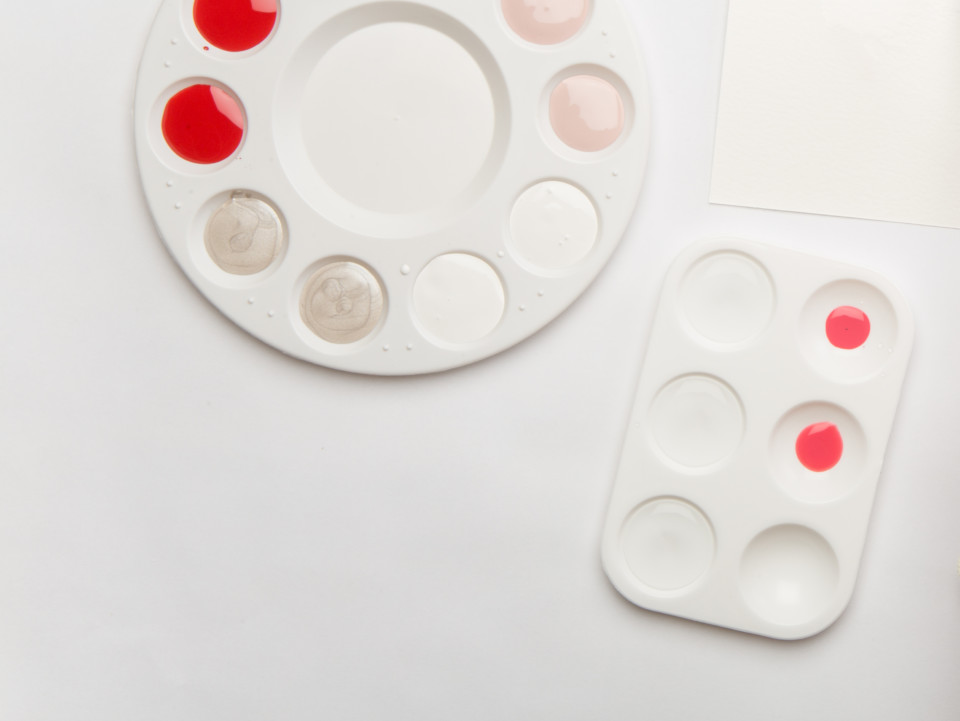
If you don’t feel confident painting freehand, lightly outline your design with a pencil. Jennylyn was feeling the painting vibe today so she went freehand! She used a small artist’s brush to paint the watered-down Fusion onto the card stock.
For the large heart in English Rose, Jennylyn first outlined the shape, then she filled it in.
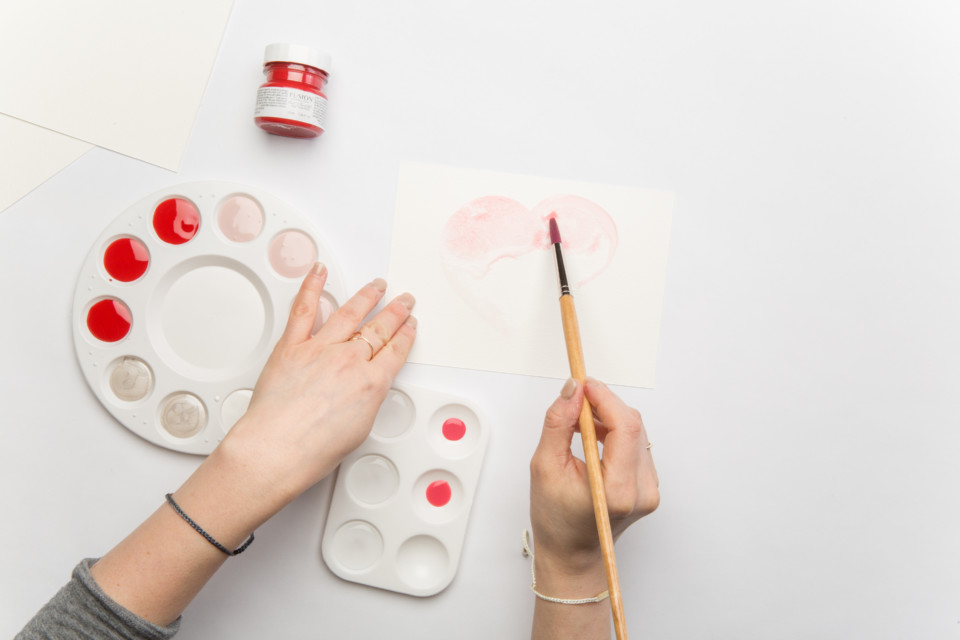
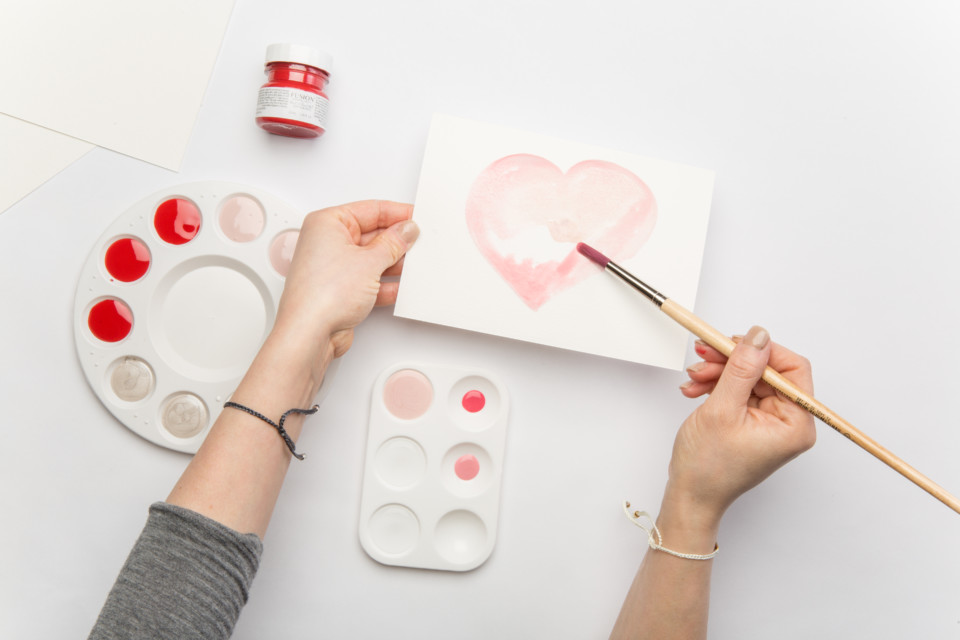
For the Fort York Red hearts, Jennylyn painted them smaller so they didn’t need outlines!
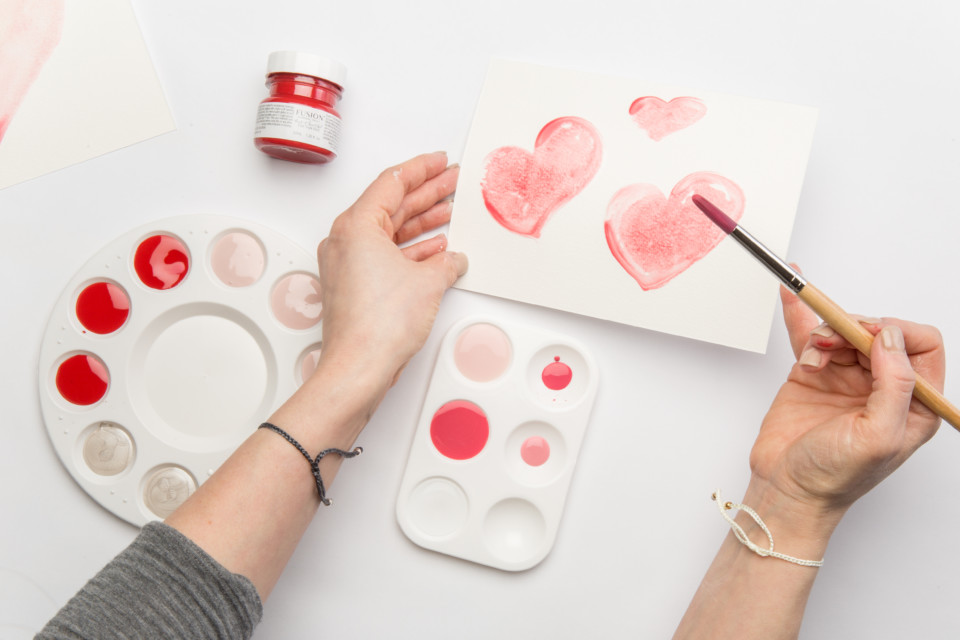
Don’t worry about making perfect hearts – it’s the thought that counts! Mom will totally appreciate this imperfect handmade card over any store-bought card.
2. DIY Custom Stenciled Tote Bag
What you’ll need:
- Canvas tote bag
- Patterned stencil – we used “Illegible Script” from Muddaritaville
- Large piece of paper (about as big as your stencil)
- Scissors
- Paper towel
- Stencil brush – we actually used a Staalmeester Oval 45
- Fusion Mineral Paint – we used Fort York Red
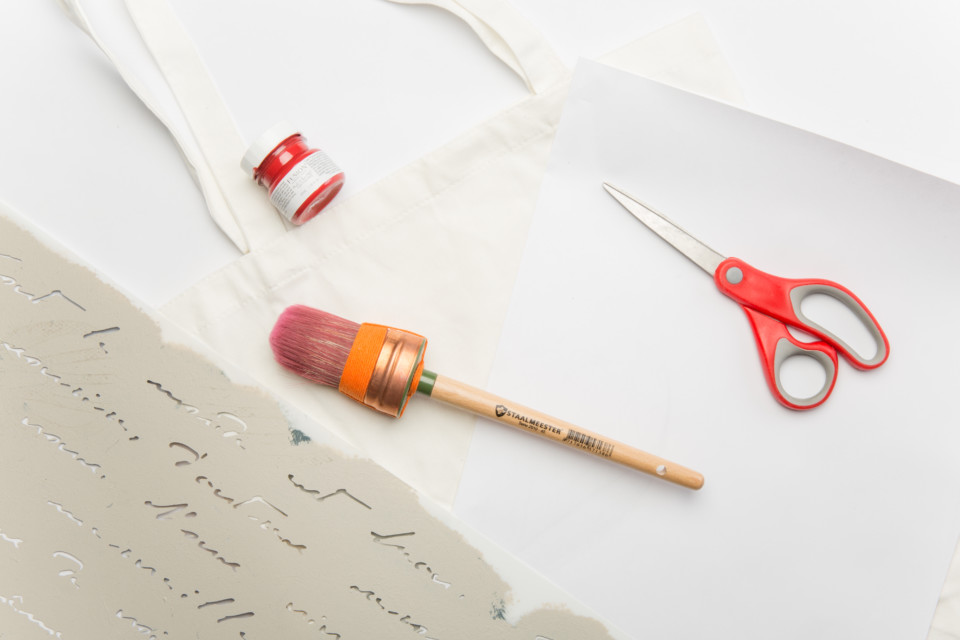
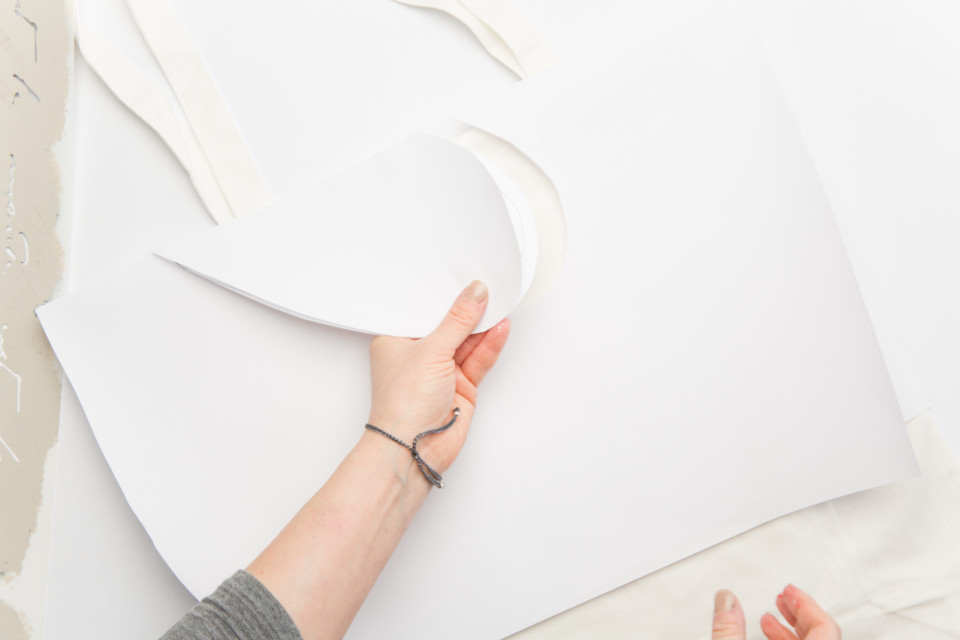
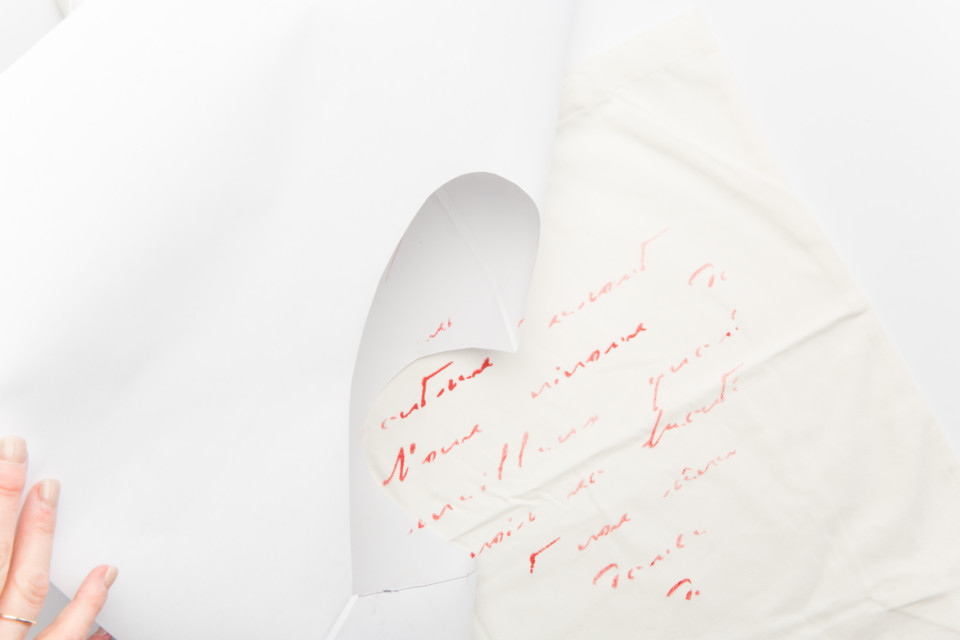
First, you will want to cut your piece of paper into whatever shape you want.
We used a heart and made it super easy by first folding the paper in half, then cutting, so we finished with a perfectly symmetric heart-shaped hole.
You could end the tutorial here and use the paper cutout as your custom stencil, but we wanted to make things a little more interesting!
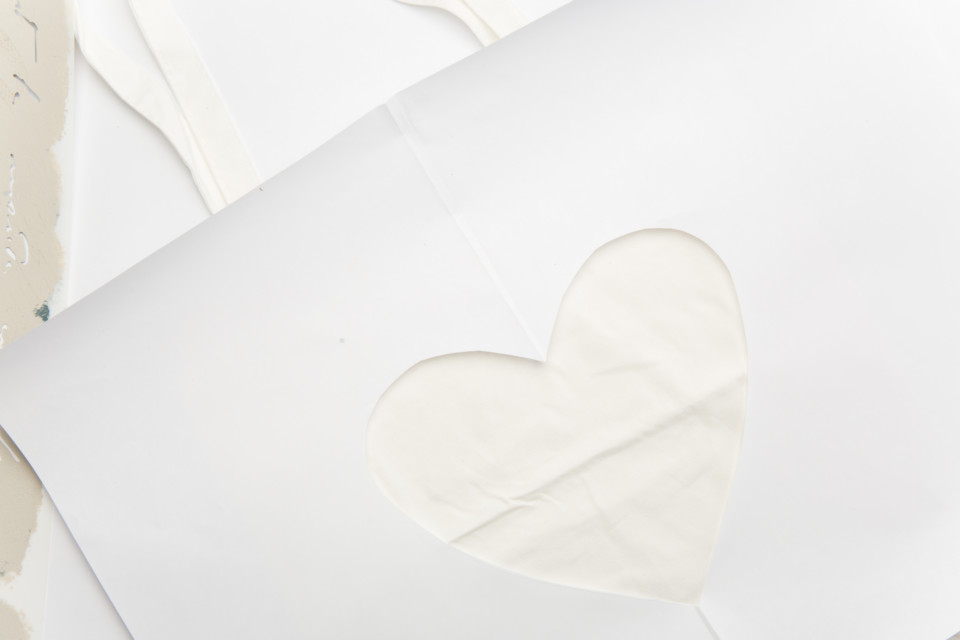
To really add some dimension to this custom stenciled tote bag, we placed the Illegible Script stencil on top of our heart cutout.
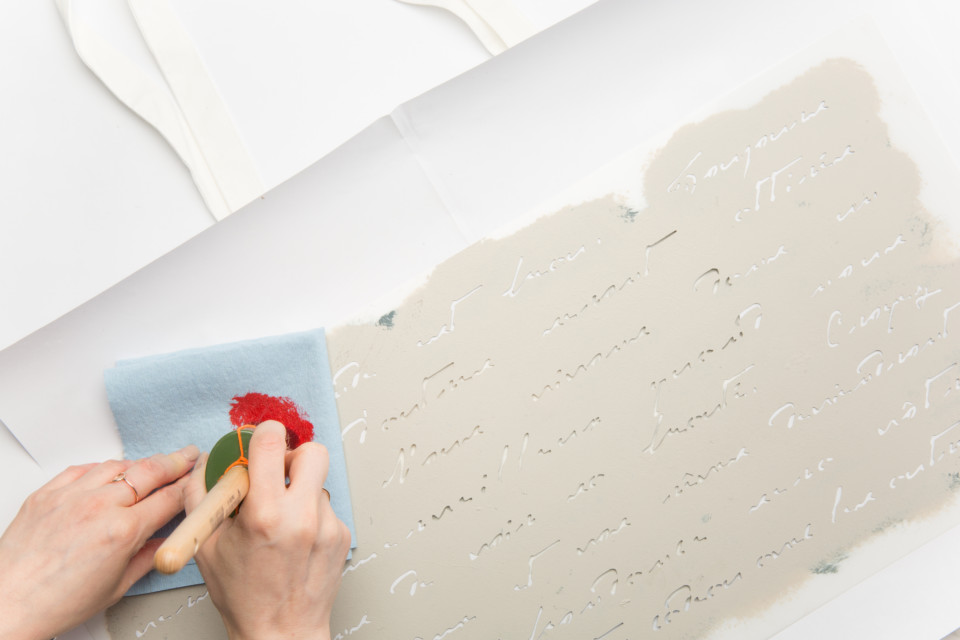
Then, we used Fort York Red to stencil. If you’re new to stenciling, here are some tips:
- Keep a paper towel close by to “offload” the paint from your brush – you essentially want the brush to be dry so you don’t get any bleeding of the paint under the stencil
- Practice on the leftover paper from the cutout. It will be a bit different when you go to stencil on the fabric, but you’ll see how much paint you need to use.
- If you don’t have a dedicated stencil brush, tie an elastic around any round brush to make the bristles a bit more constricted. This will help to keep the bristles from sliding under the stencil!
- We use either a “pounce” method or a “swirl” method. Both are great methods and it’s totally a personal choice.
- To learn more about stencilling check out our YouTube video “How to Stencil“.
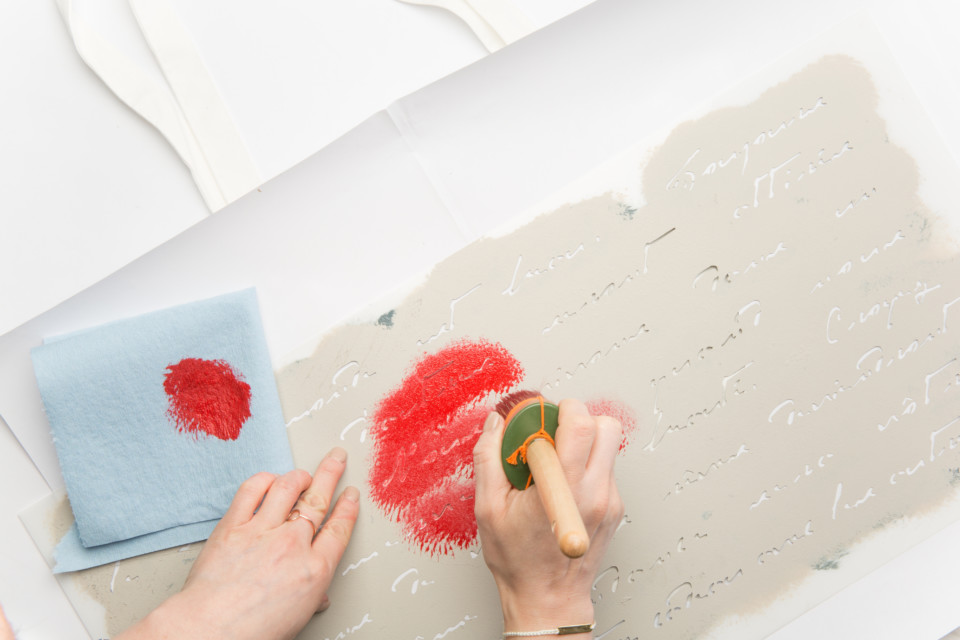
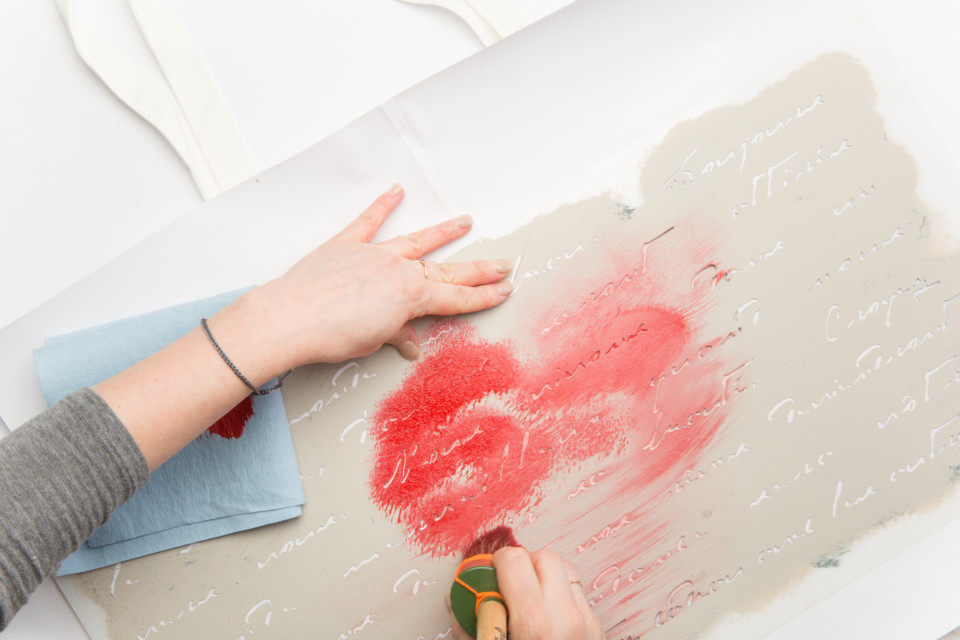
Once Jennylyn was satisfied with the paint she applied, it was time for the big reveal!
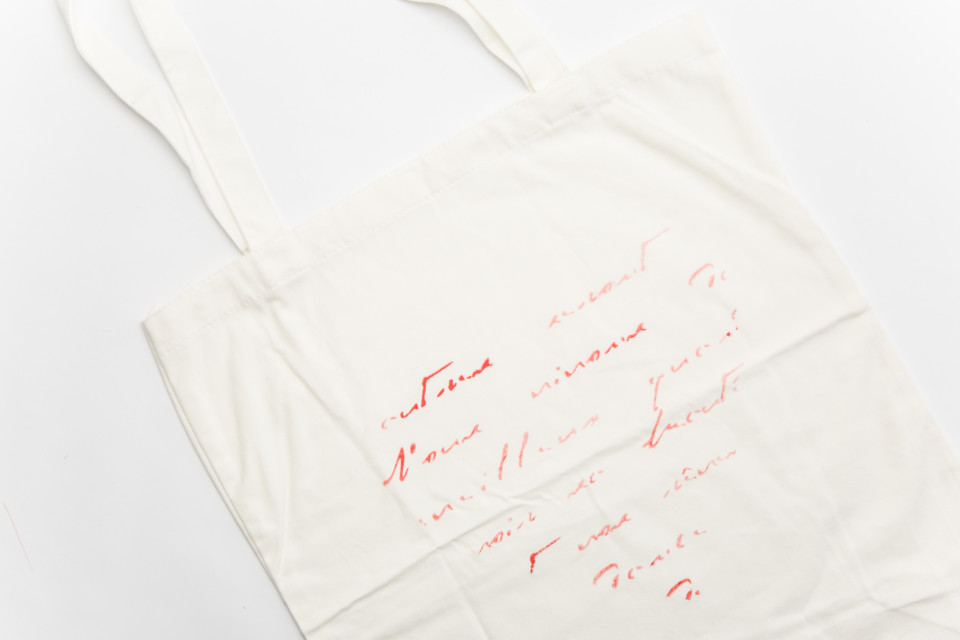
First, the pattern was removed. Here you can see how the paper cutout kept the stencil within the shape of a heart.
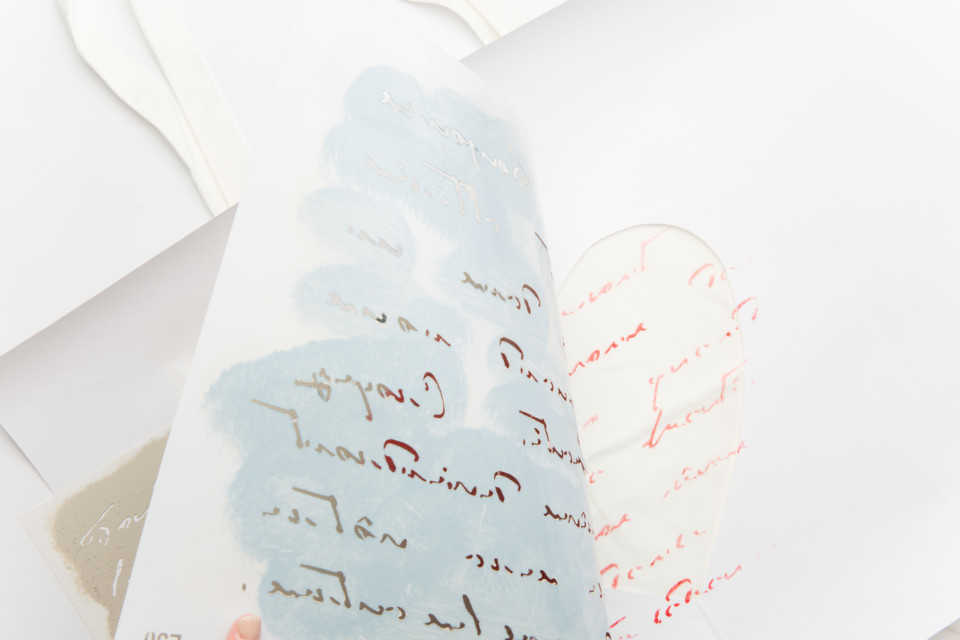
Then we removed the paper, and voila! A custom stencilled tote bag for Mom.
May we suggest filling it with fresh flowers or her favourite products that celebrate her?
Now that you’ve got these skills down, there are endless opportunities for custom stencils. You can do any shape, pattern, and colour you desire.
3. DIY Mother’s Day Acrostic Poem Art
What you’ll need:
- MOTHER Poem stencil from Muddaritaville
- Canvas sized to be a bit bigger than the stencil
- Low tack tape (the green or blue painter’s tape)
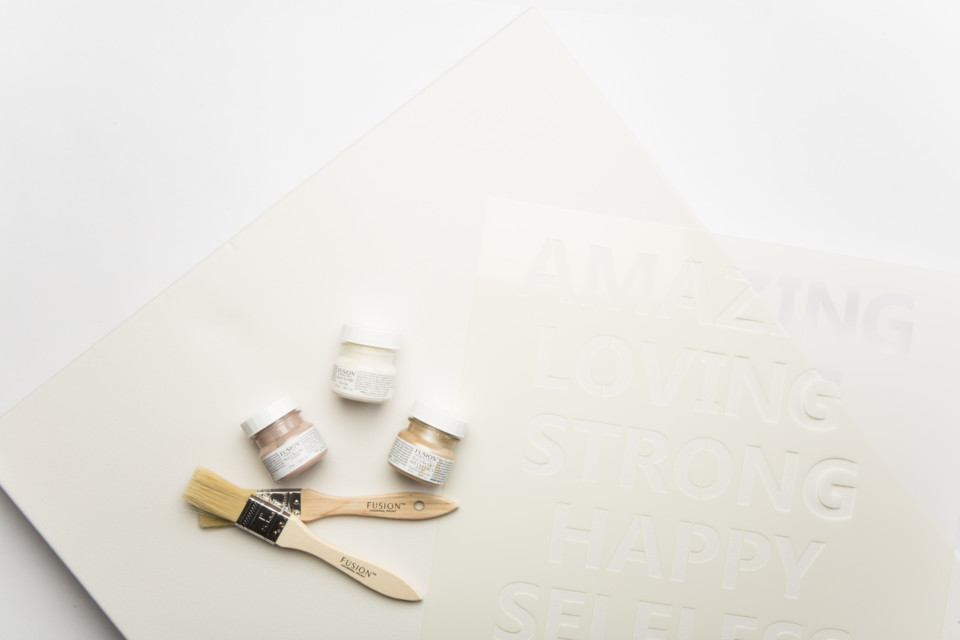
- Three Fusion Mineral Paint colors (we used Raw Silk, Damask and Vintage Gold)
- Brushes for painting and stenciling
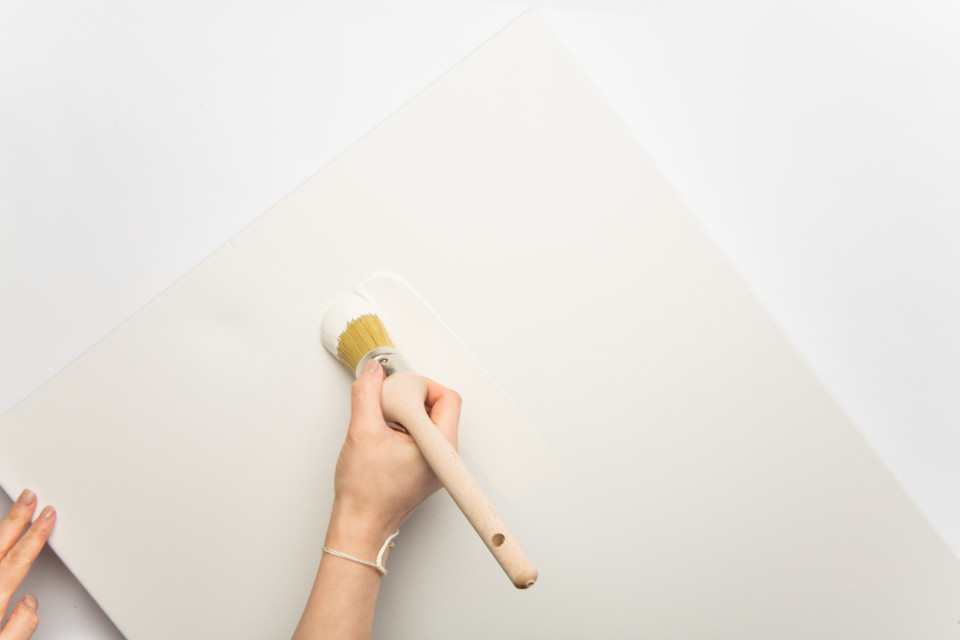
First, paint the entire canvas a background color. We used Raw Silk.
Next, place the stencil where you would like it…
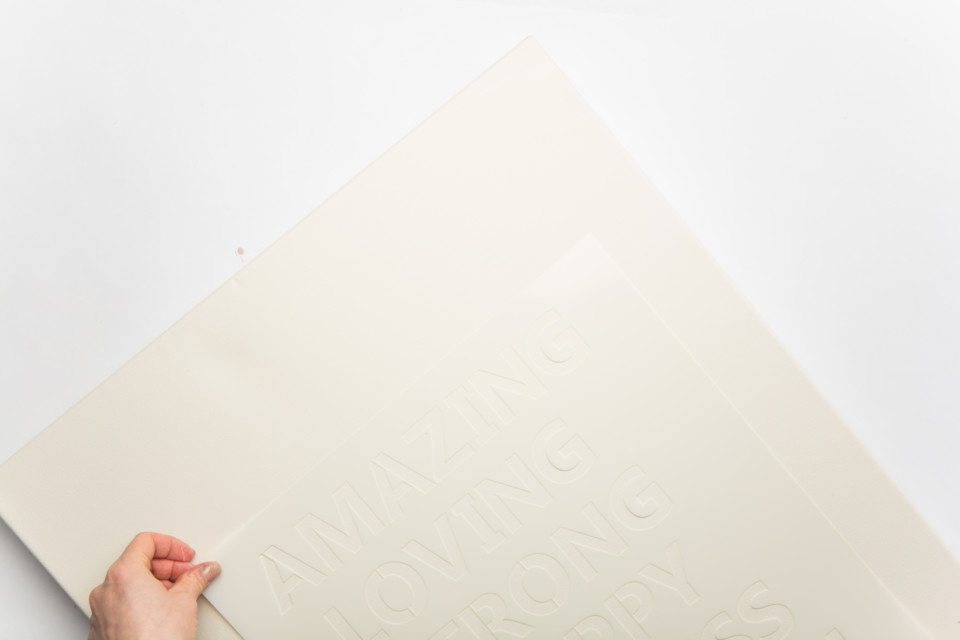
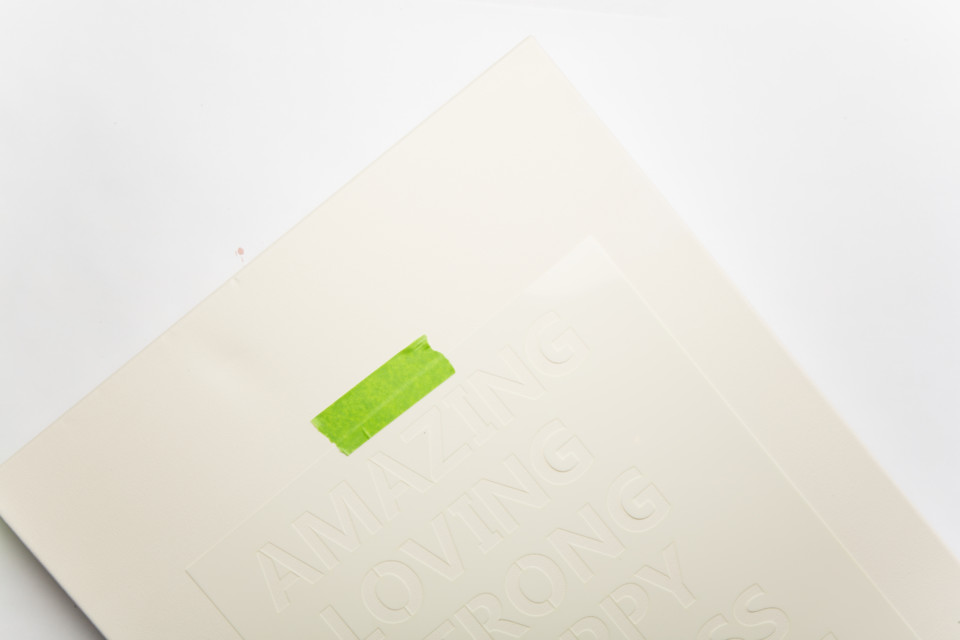
…and tape it in place to avoid movement while you stencil.
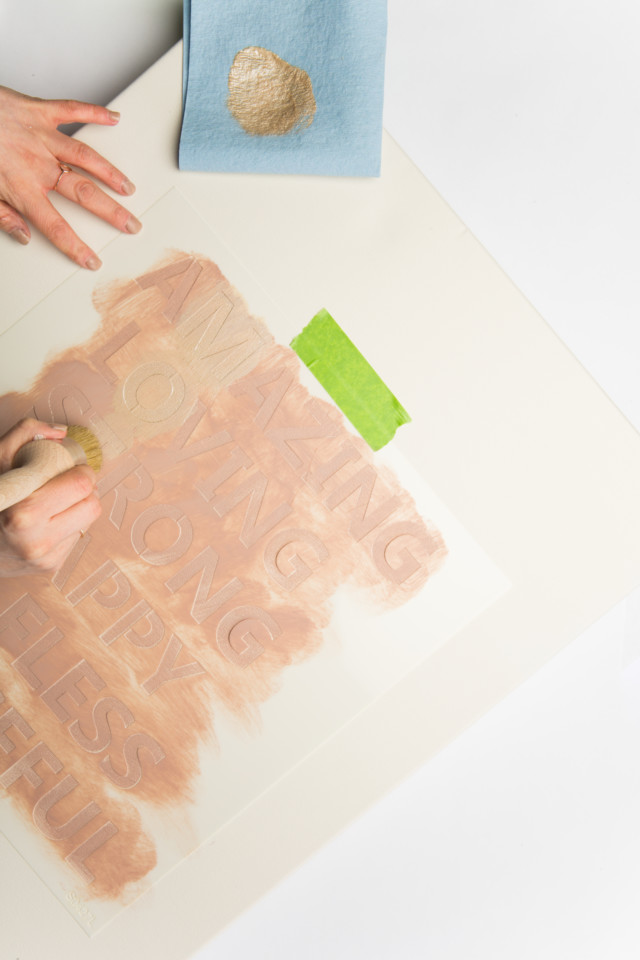
Next, stencil your first color. We used Damask and covered all the letters, providing a base for the semi-translucent Vintage Gold to be added later. Don’t move the stencil while the paint dries or it will be difficult to perfectly line up later!
For stenciling tips, check out our YouTube tutorial mentioned earlier.
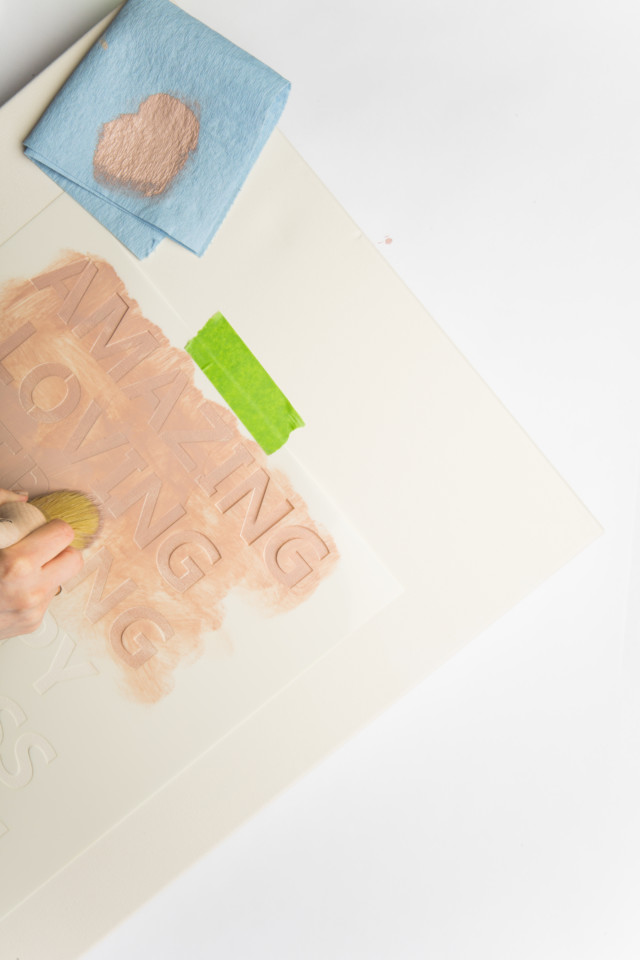
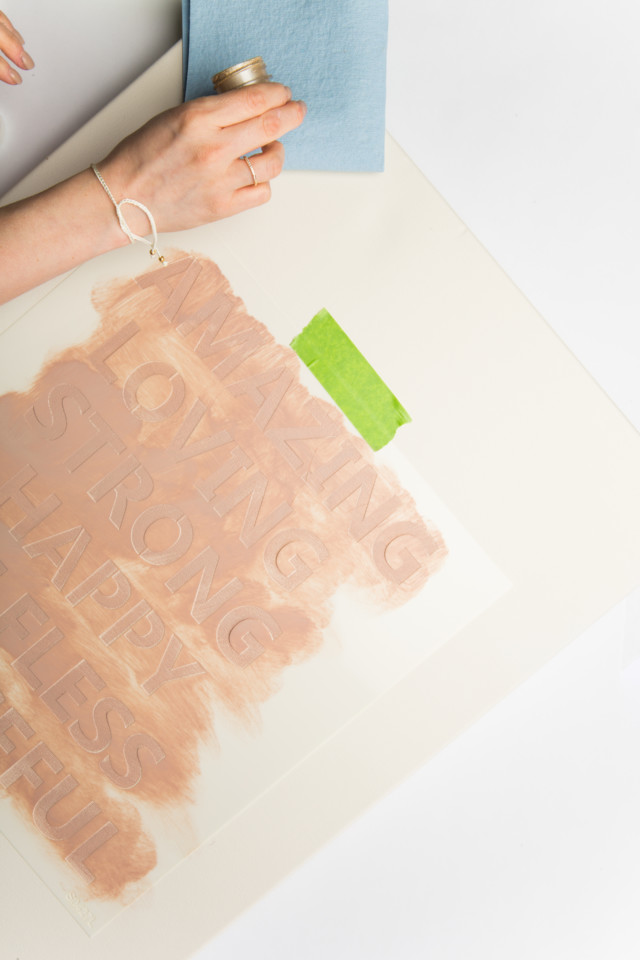
After the first colour dries, it’s time to stencil the second colour. Now if you are a messy stenciler, you may want to use some more of that low tack tape to tape off the areas where you won’t be stencilling.
In this case, anything other than the M O T H E and R on each line.
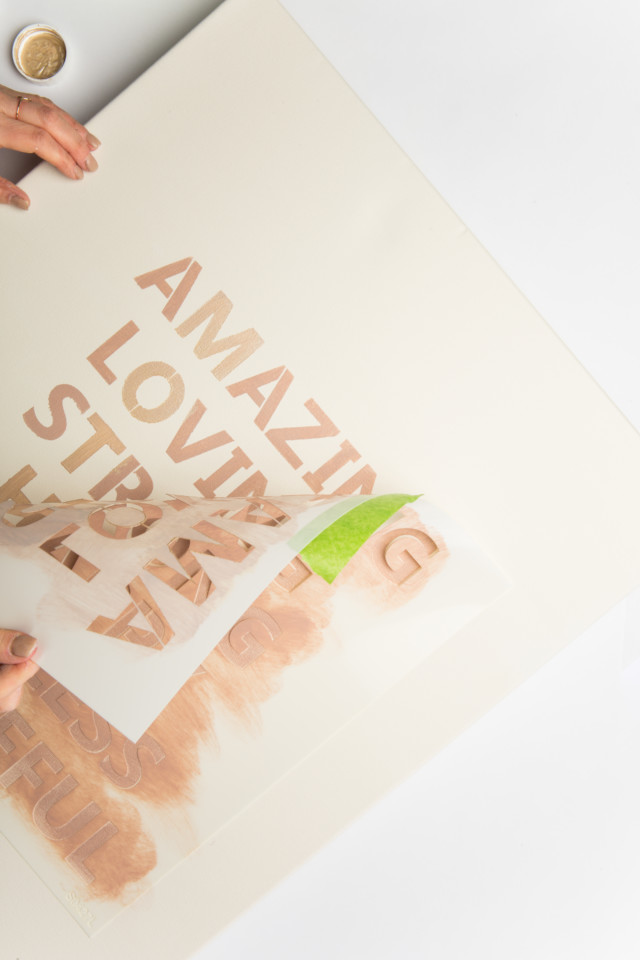
And finally, remove the stencil to show off your custom Mother’s Day canvas!
We hope you enjoyed these 3 easy Mother’s Day DIYs using Fusion Mineral Paint. Happy Mother’s Day to all who celebrate!
PIN IT FOR LATER!
