What would Easter be without a fun Easter Egg decorating craft? Well, we know you love using Fusion for craft projects because you share them with us all the time on Facebook (which we so appreciate!) so we’ve got a super quick but fun craft for Easter that you can do by yourself or with your kids. And the bonus is there are no chances of any eggs accidentally cracking because we’re using wooden eggs, so you don’t have to worry about any accidental mess other than paint clean-up! We’re sharing 3 ways to paint Easter eggs with Fusion Mineral Paint – it’s a great way to use up the remaining paint you have in your Fusion containers or pick up some tester pots that you’ve been eyeing for future projects to sample the colors.
3 ways to paint Easter Eggs with Fusion
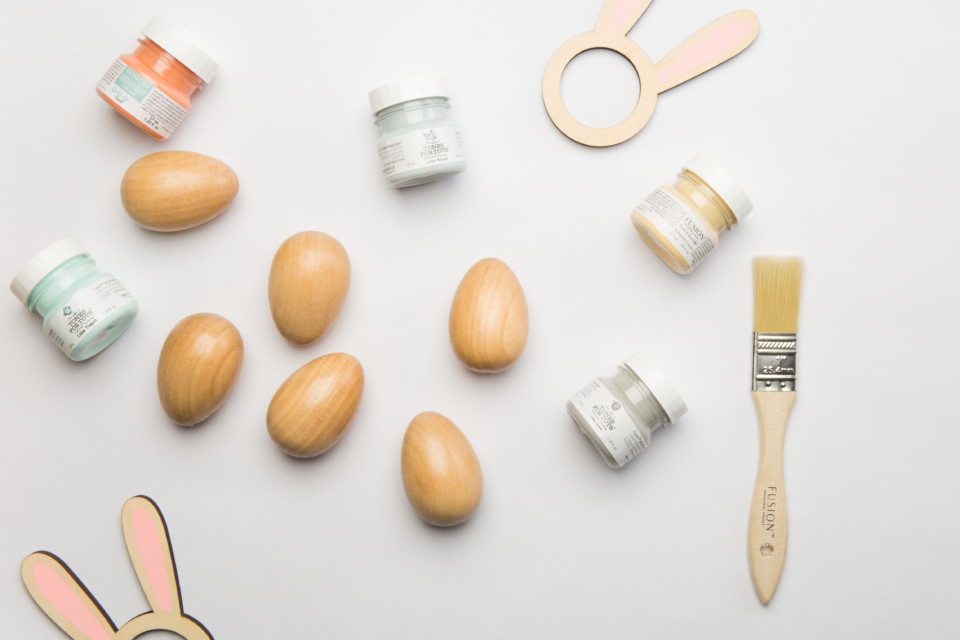
ITEMS NEEDED:
- Fusion Mineral Paint in Little Teapot, Little Whale, Little Lamb
- Fusion Mineral Paint in Coral and Buttermilk Cream
- Wooden eggs
- Paint brushes
- Painting tape
- Fusion Decoupage and Transfer Gel
- Napkin or vellum paper of your choice
Egg # 1
SOLID AND COLOR BLOCK EGGS
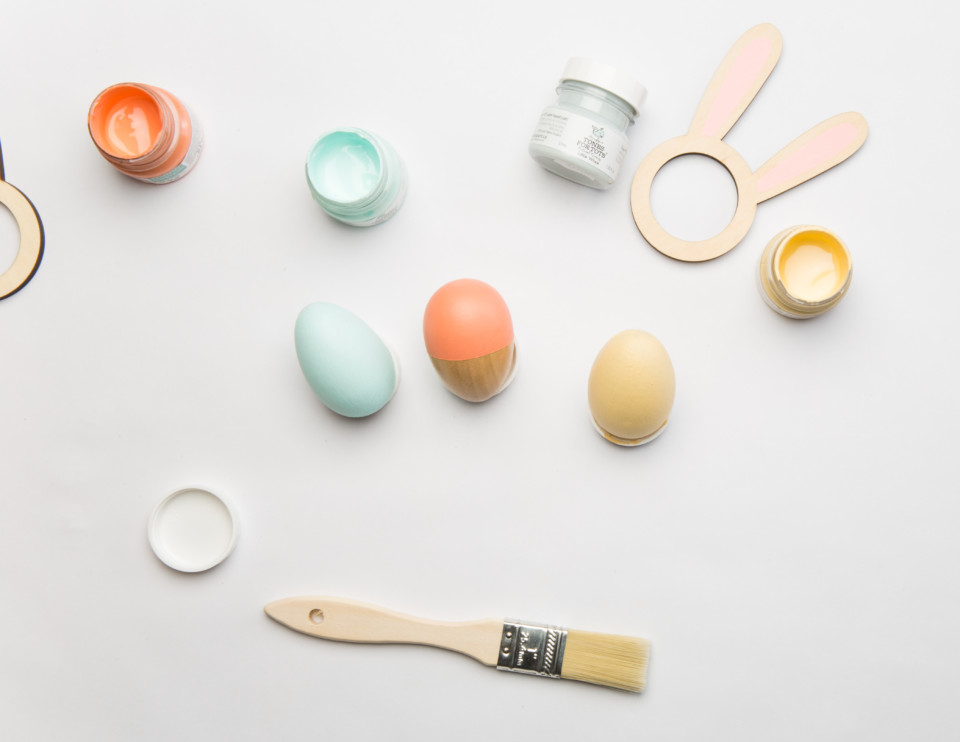
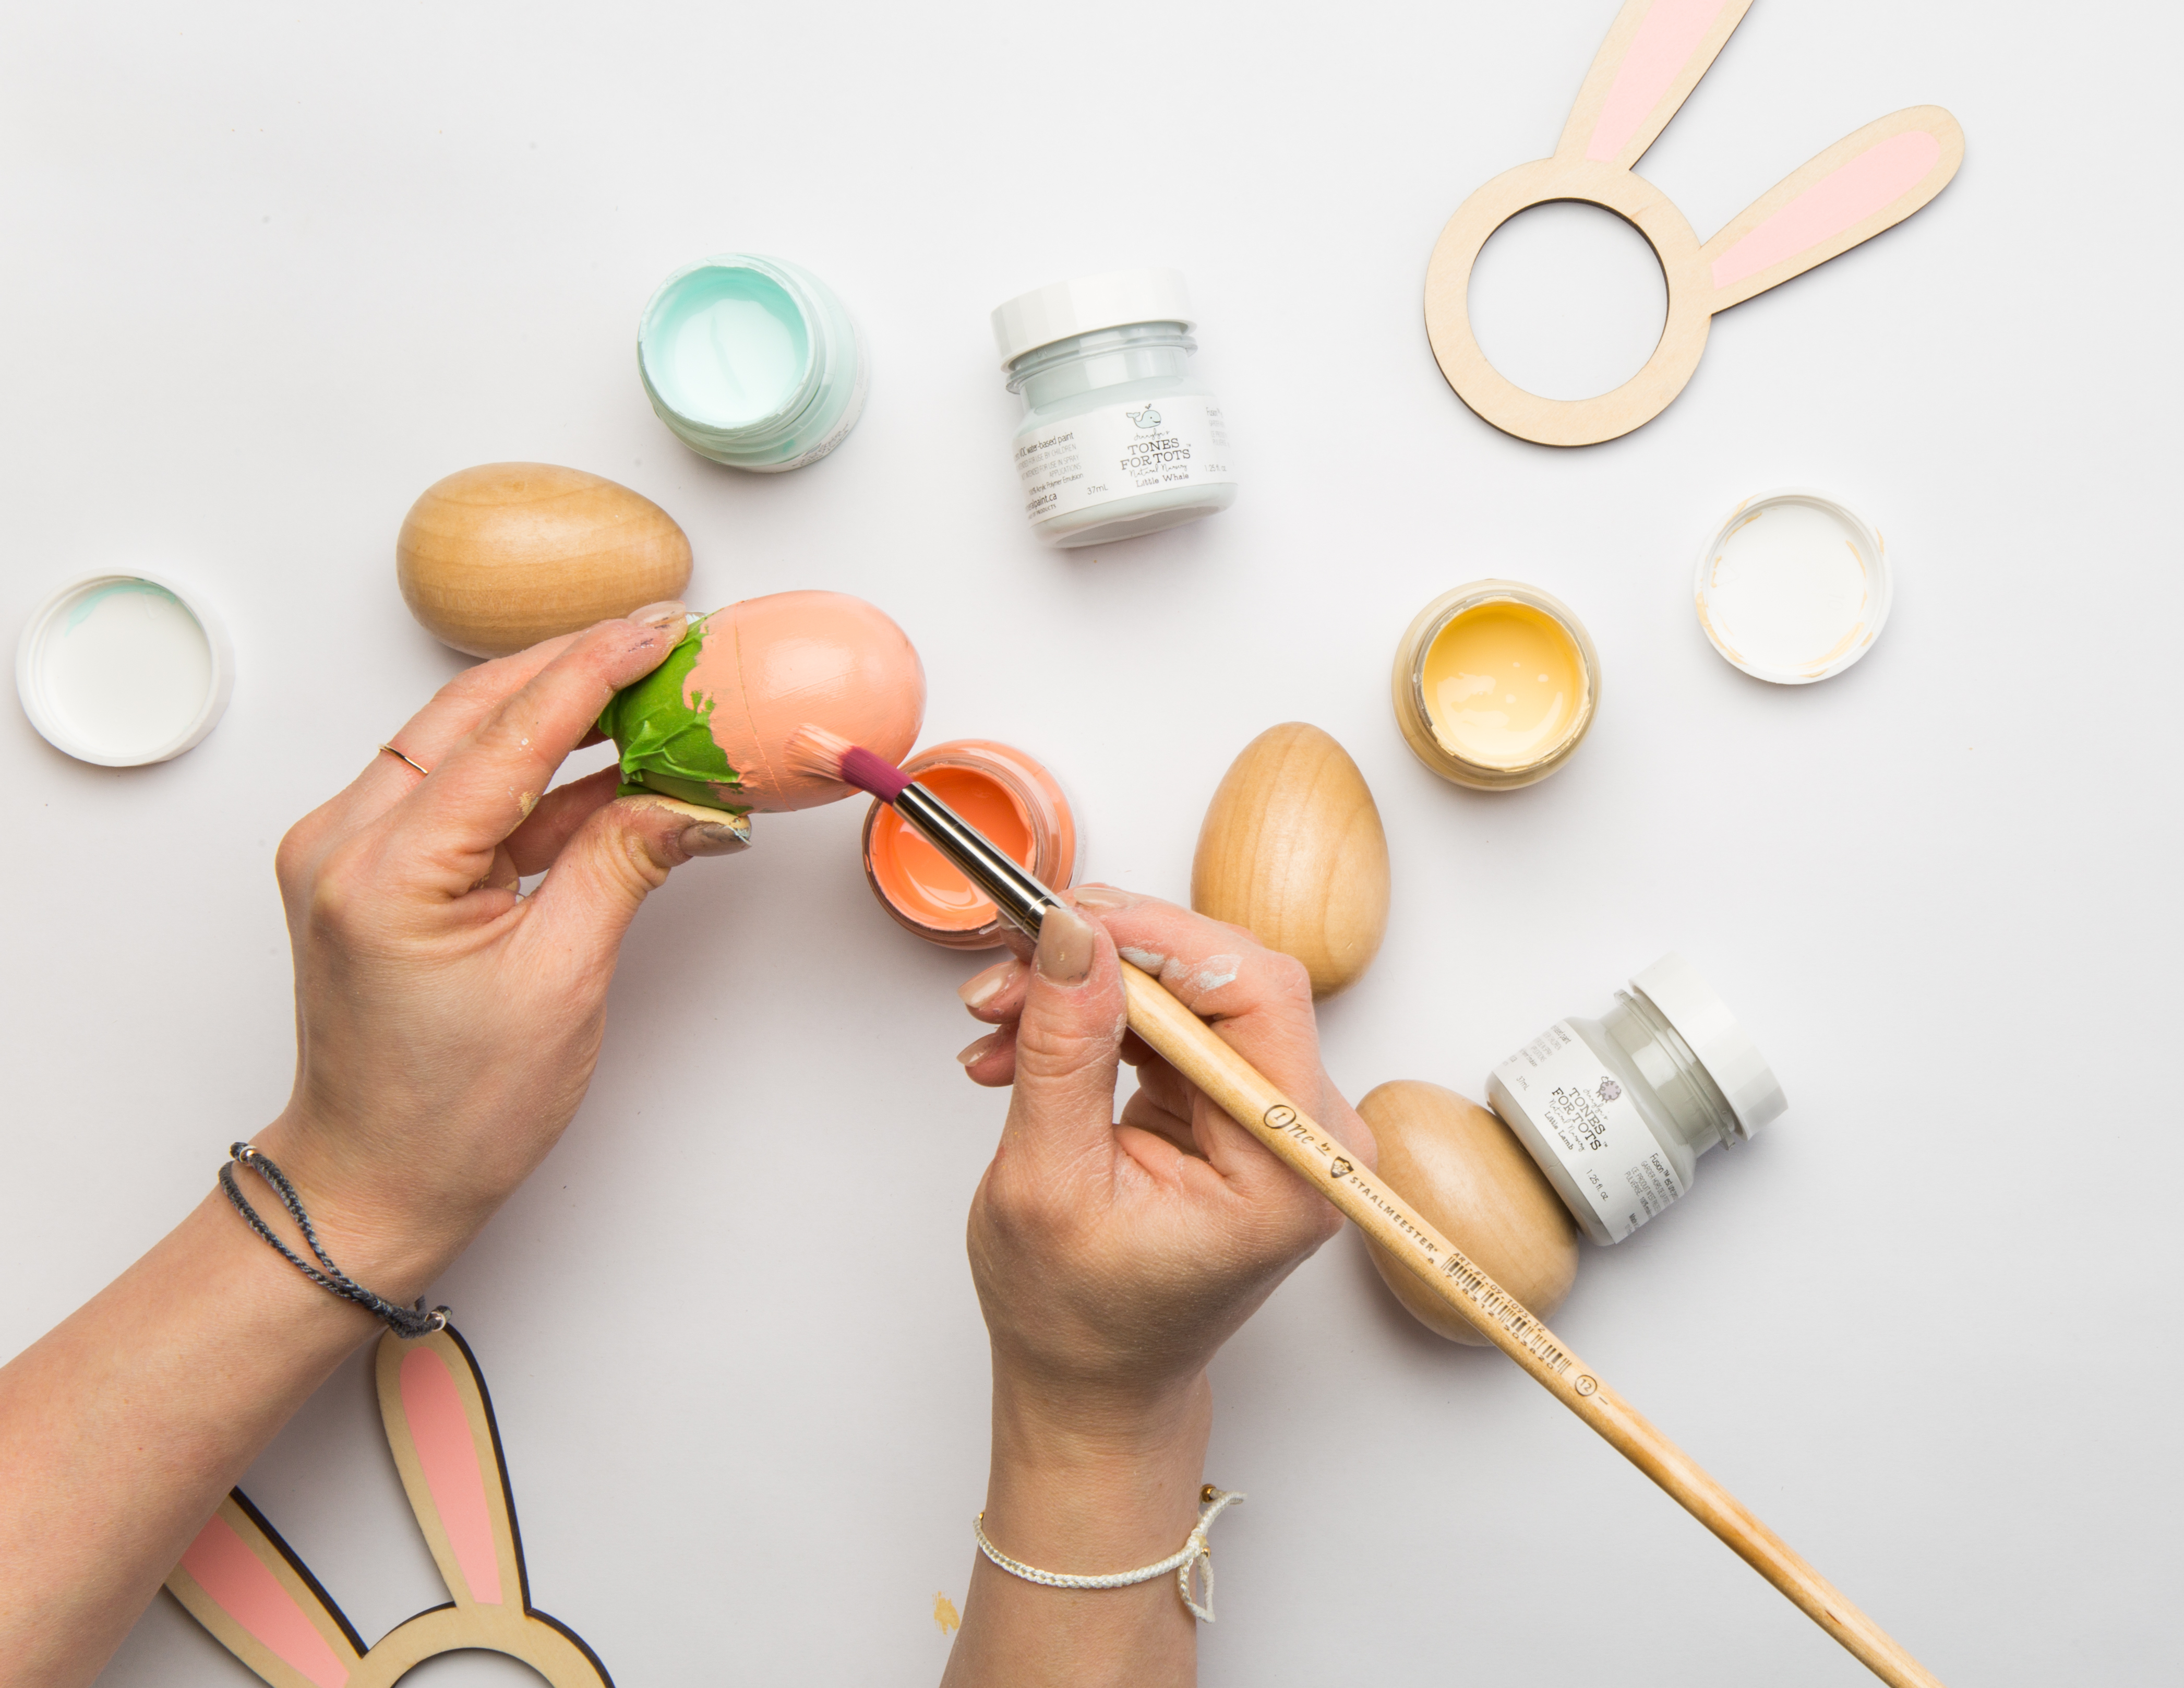
We painted two of our wooden eggs using Buttermilk Cream and Little Whale from our Tones for Tots line. Then for a modern twist on eggs, we love color blocking! There’s something very Scandinavian inspired about this method where the contrasting wood tones help accentuate the paint colors.
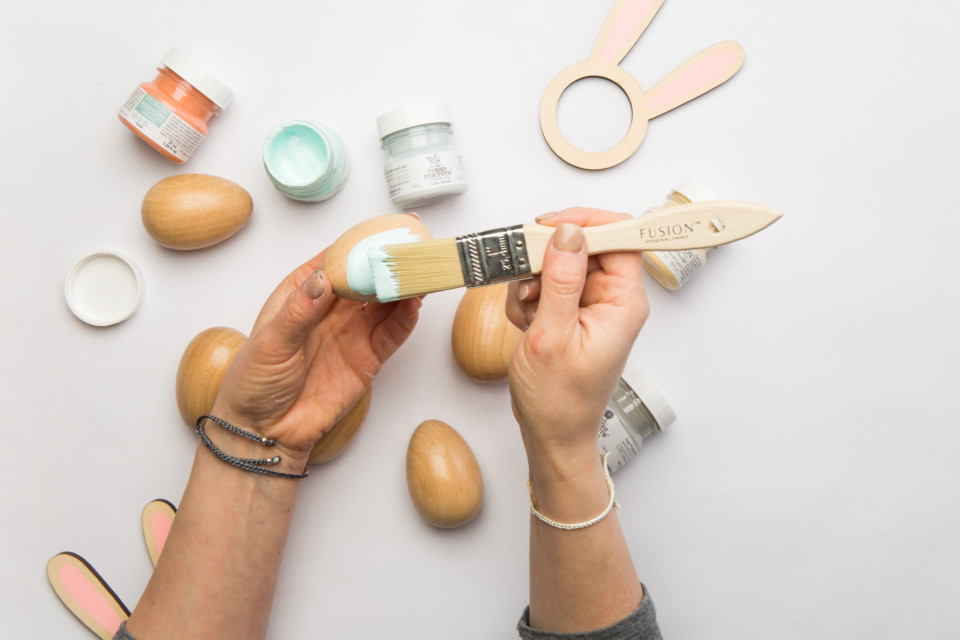
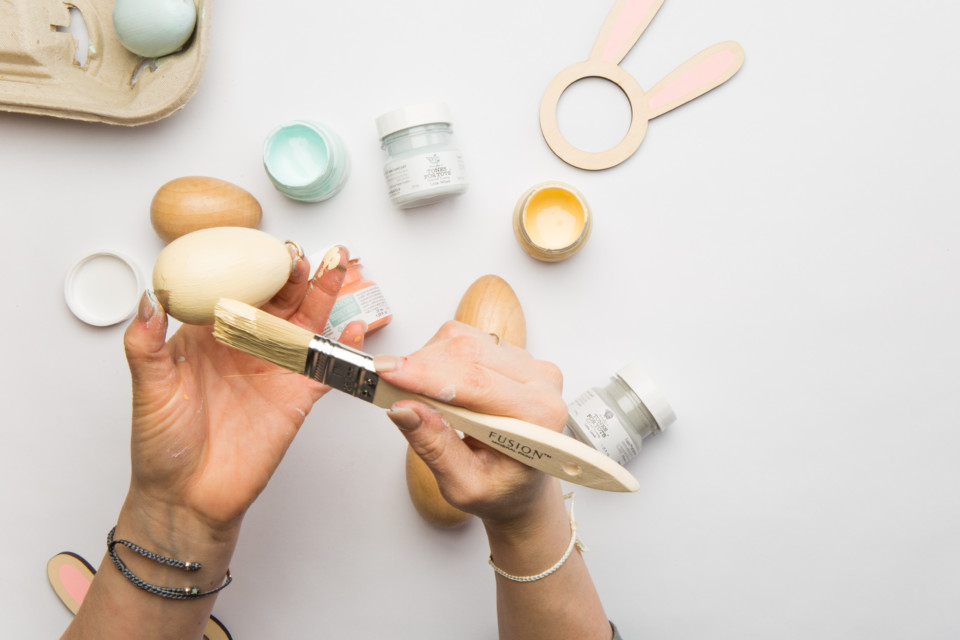
It’s easy as getting your painters tape out, wrapping it around your egg and painting the other half. Then peel your tape off and let dry. For our color-blocked egg, we used Fusion Mineral Paint in Coral.
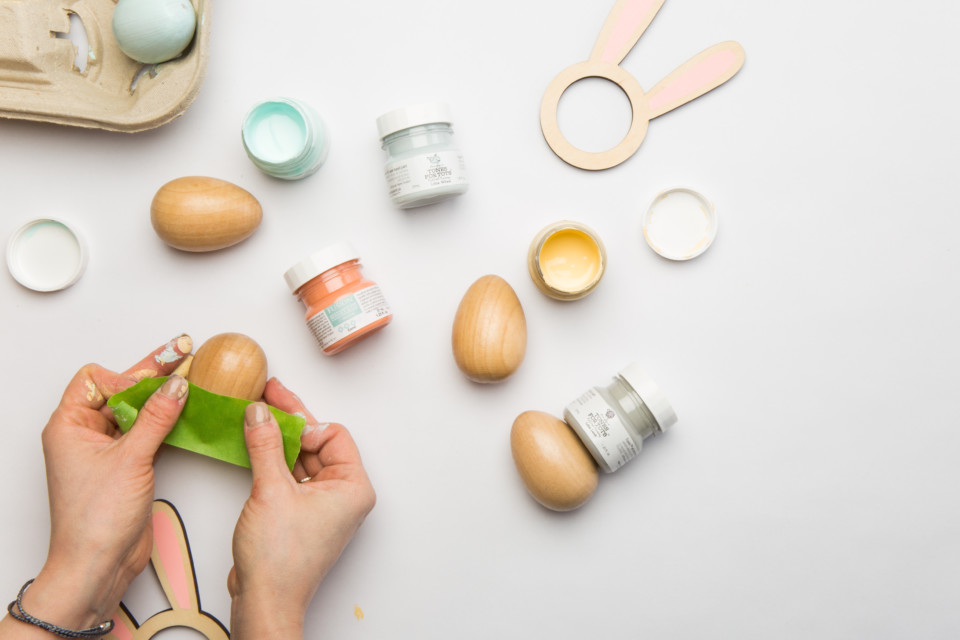
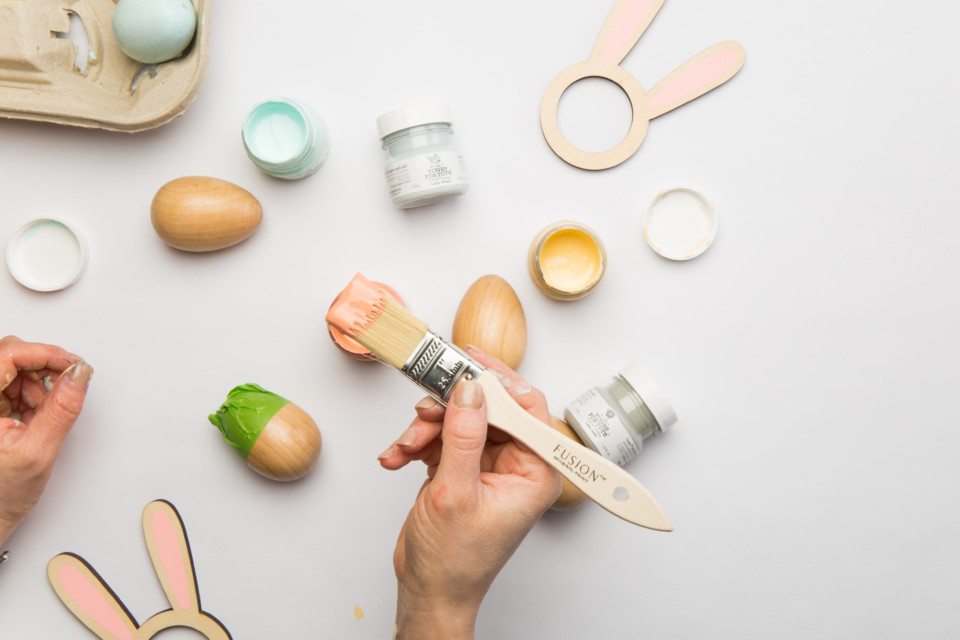
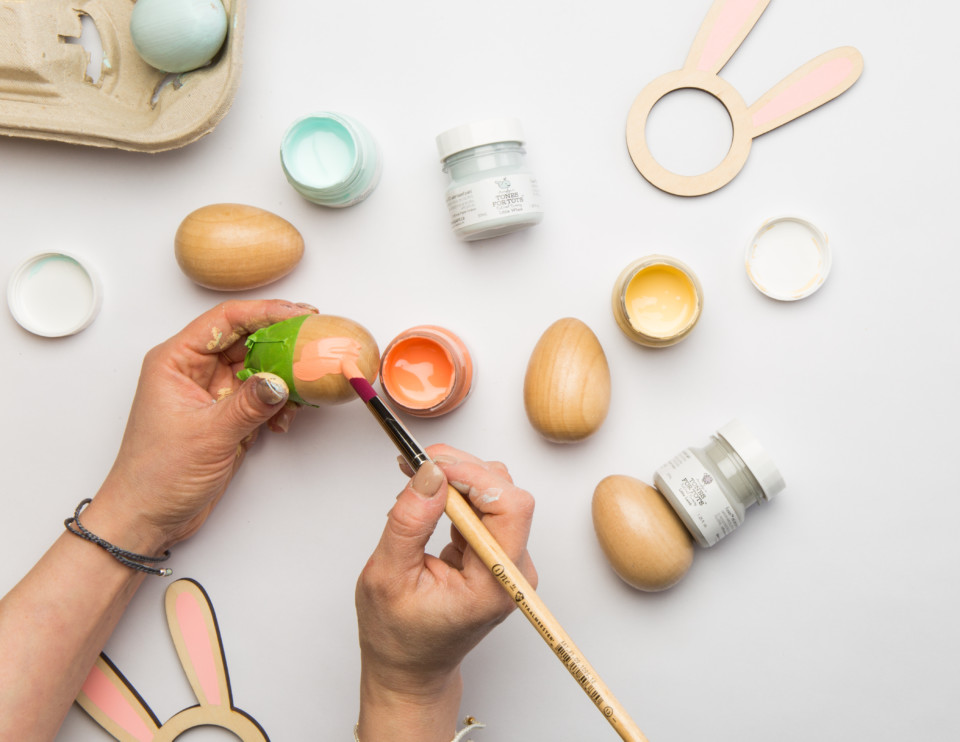
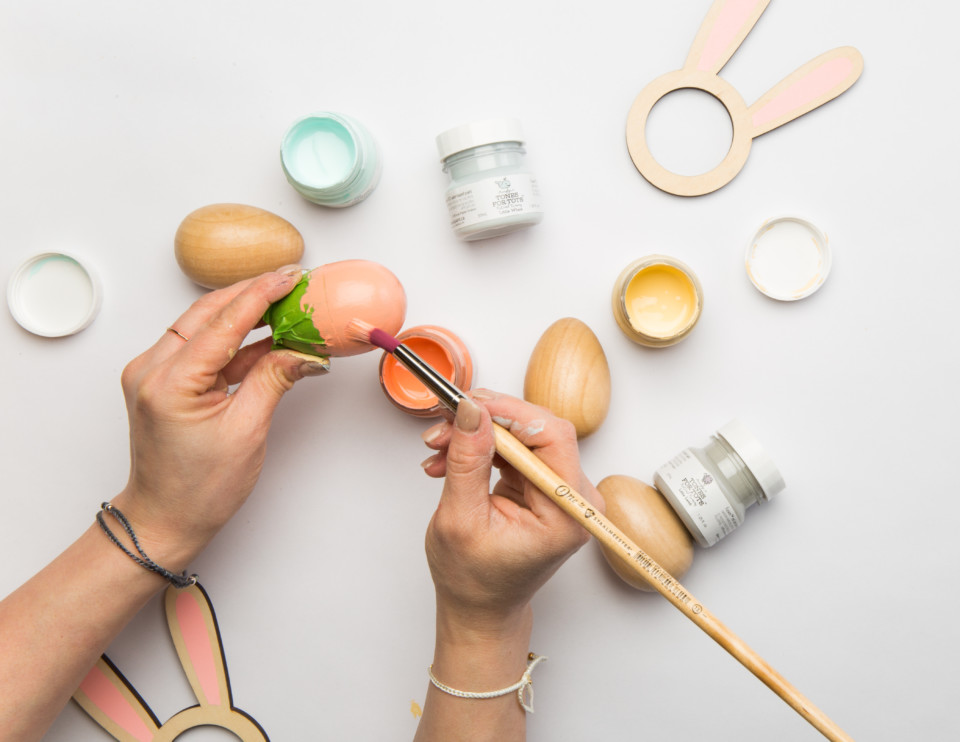
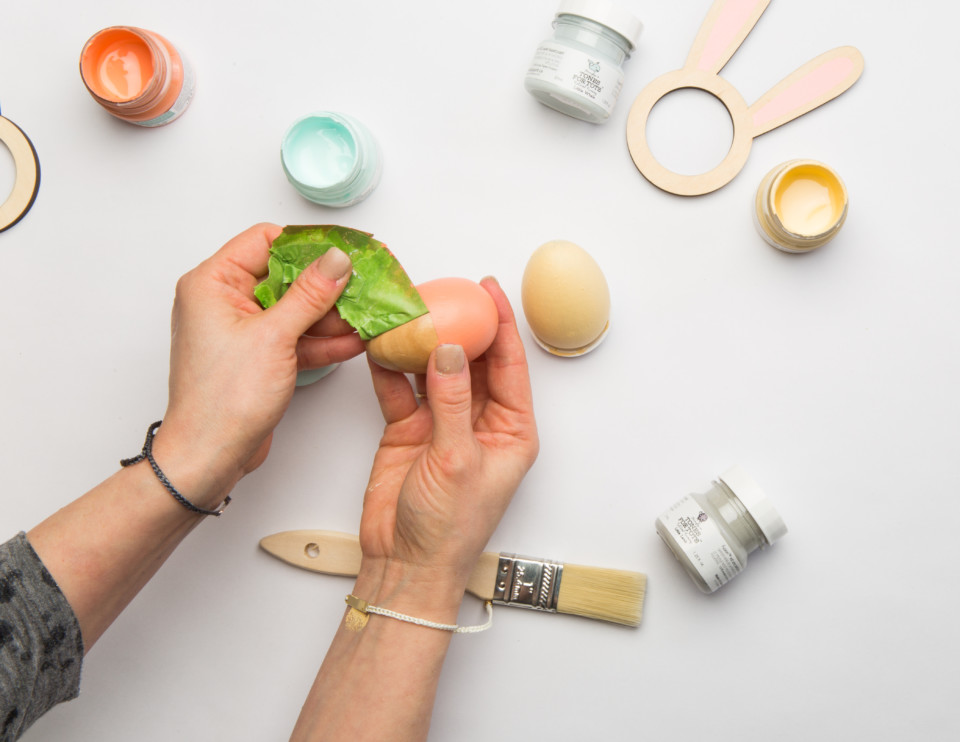
TIP: While it’s not shown, you can use an old egg carton to let your eggs dry with the paint side up. We used our old paint container lids because well, we have a lot of paint lids on hand!
Egg # 2
PAINT SPLATTER EGGS
You can use the same color block eggs you just painted or create new ones for this specific look. We used our painted ones. Lay out your eggs (we used clean paint container lids to set ours on) and then grab your paintbrush and lightly dip it into Little Lamb.
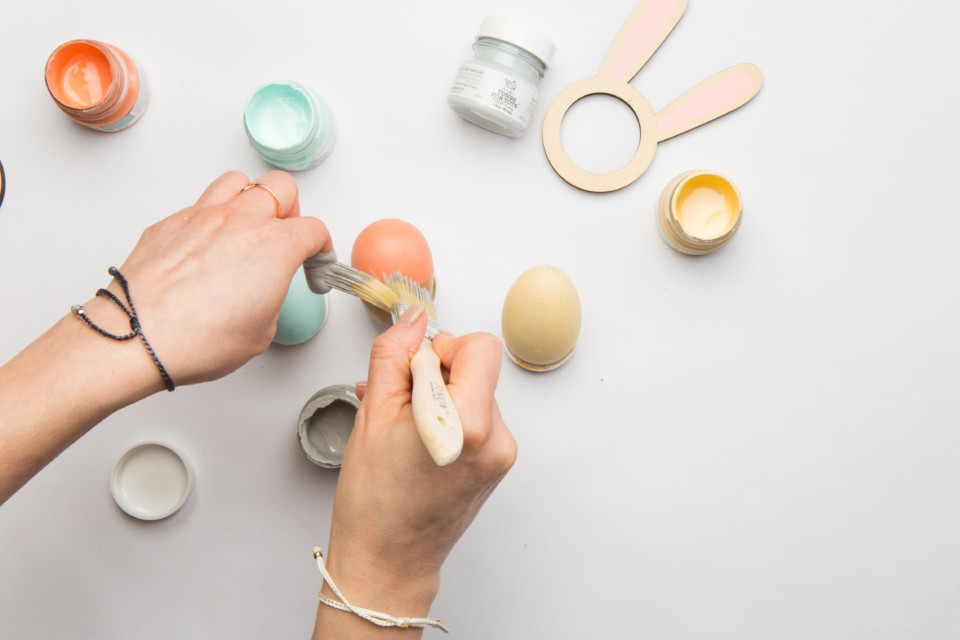
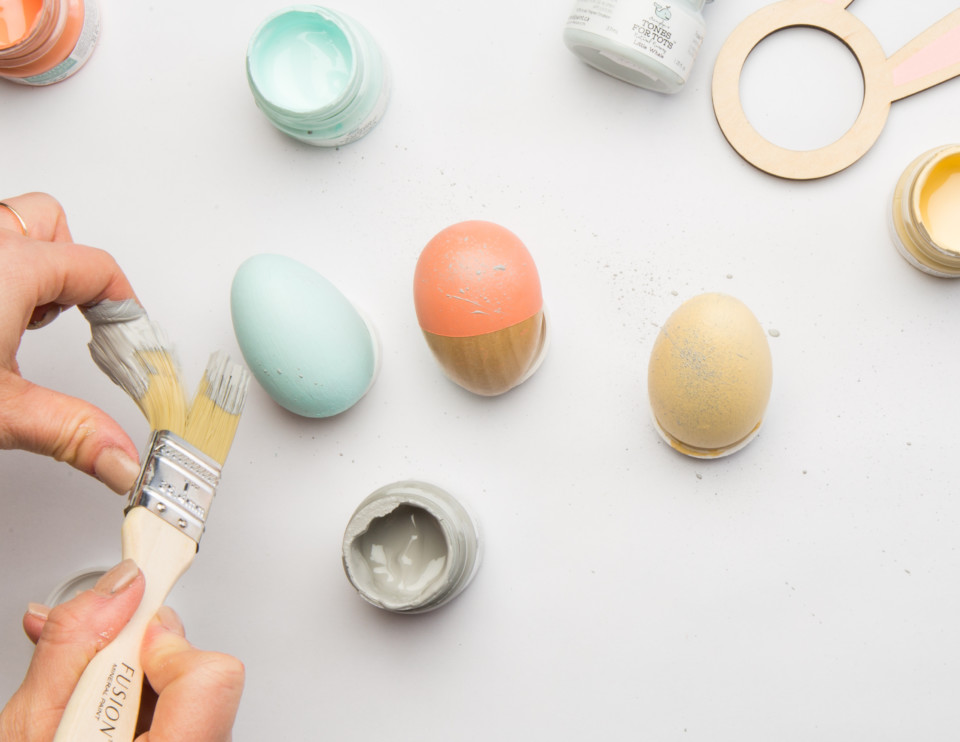
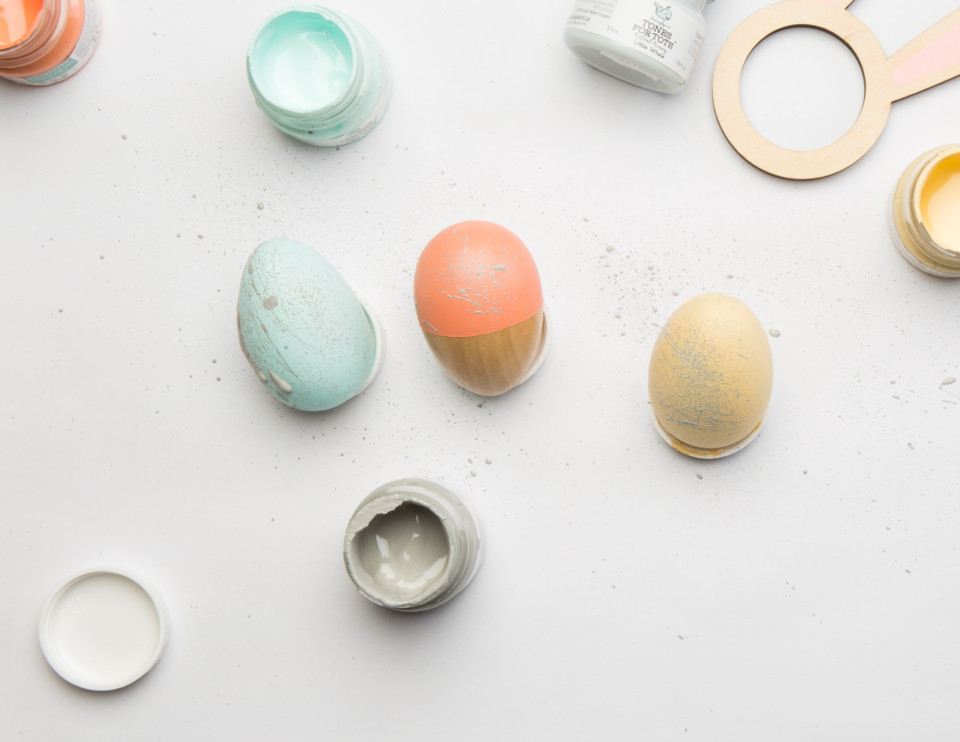
Then gently pull back the bristles to lightly spritz and sprinkle the eggs with a mist of paint. There’s something about paint splatter that really looks fresh and probably more complicated than it is to actually do but the results are always so cool looking! It is by far one of our favorite Easter egg looks.
Egg # 3
DECOUPAGE EGGS
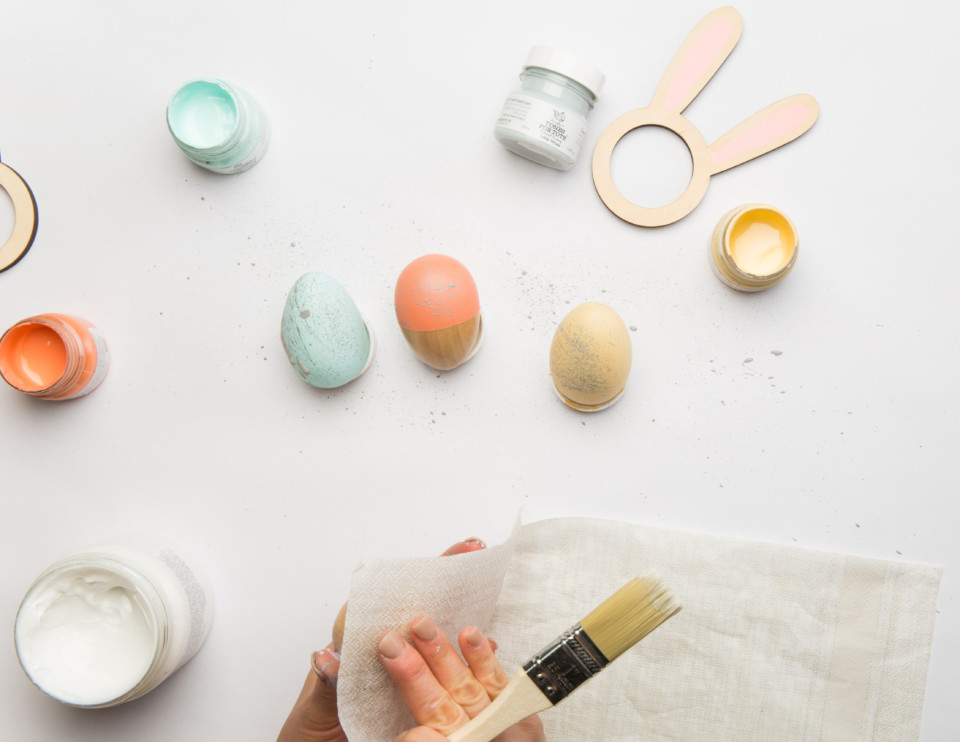
You can use any vellum or tissue paper that you personally would like on these but we had some napkins on hand and said, hey why not? Add a bit of texture to your egg display.
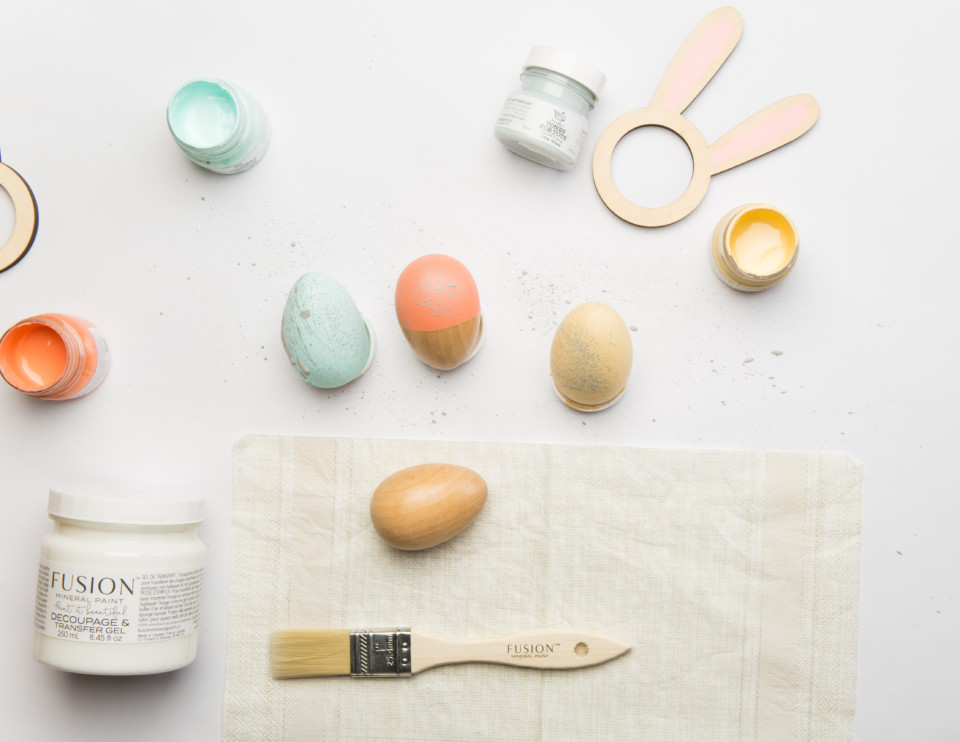
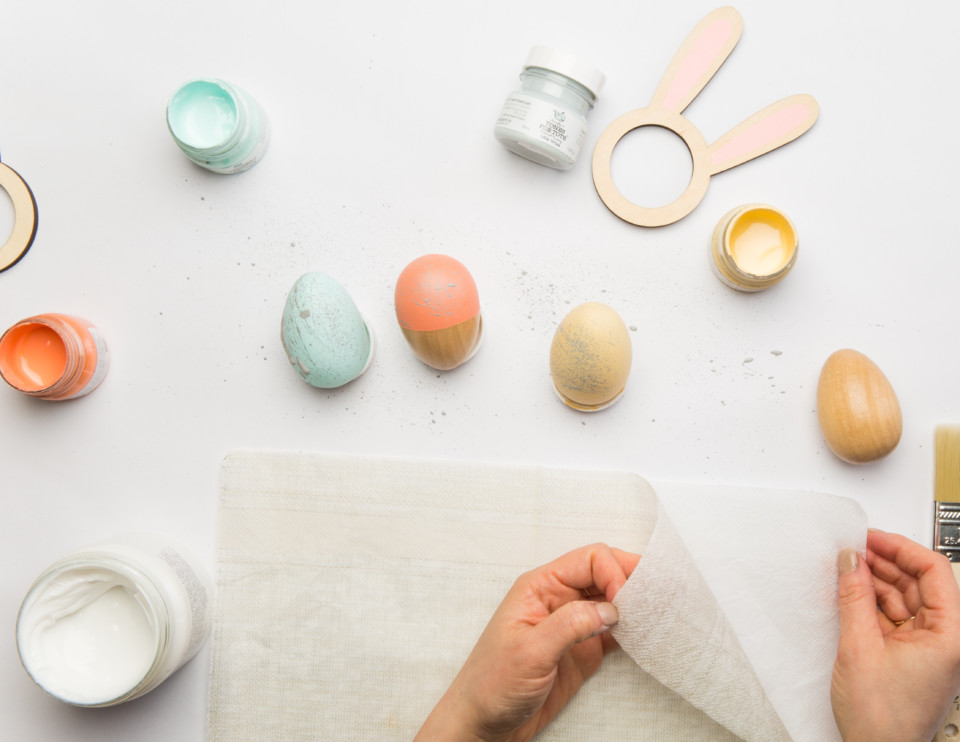
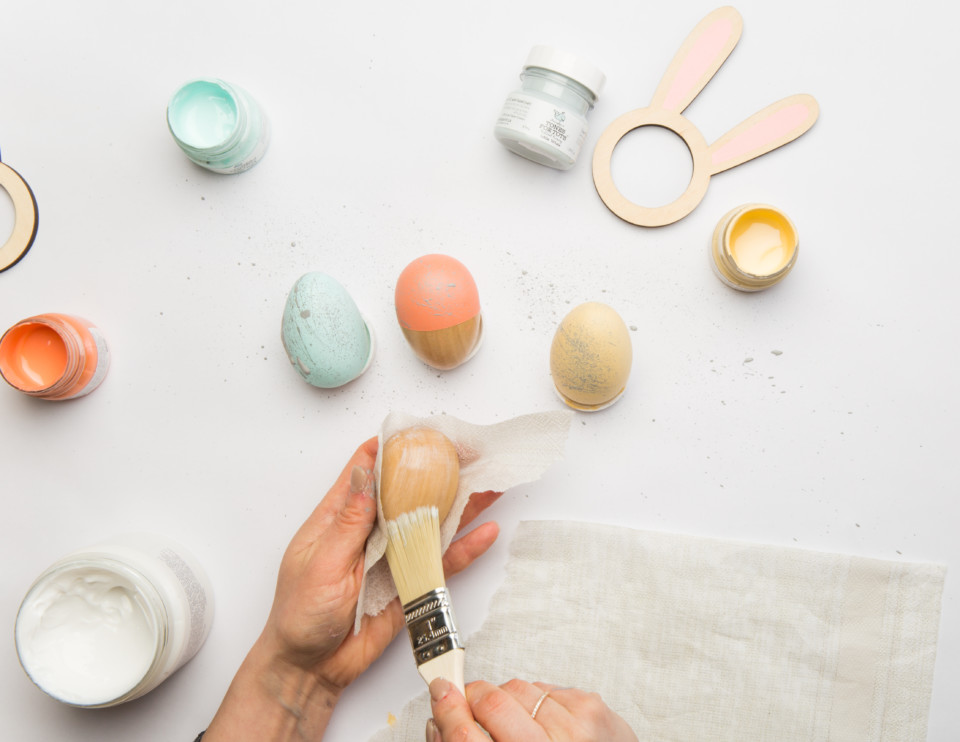
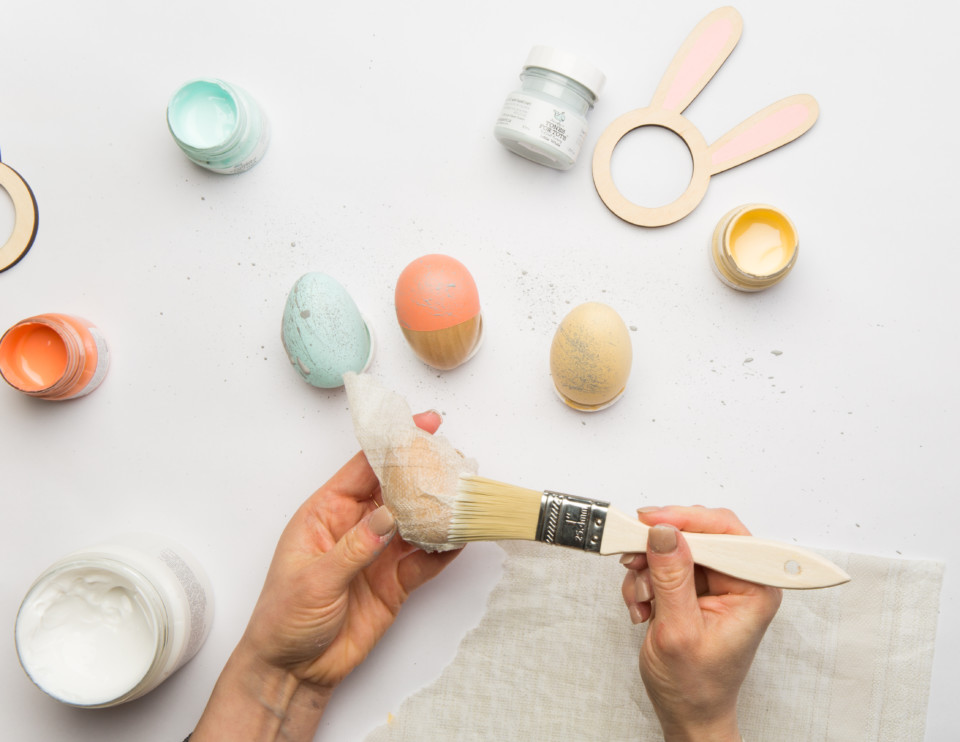
First, rip off a corner of your napkin or paper, enough to cover eggs surface. Then paint your wooden egg with Fusion’s Decoupage and Transfer Gel and cover it with the napkin.
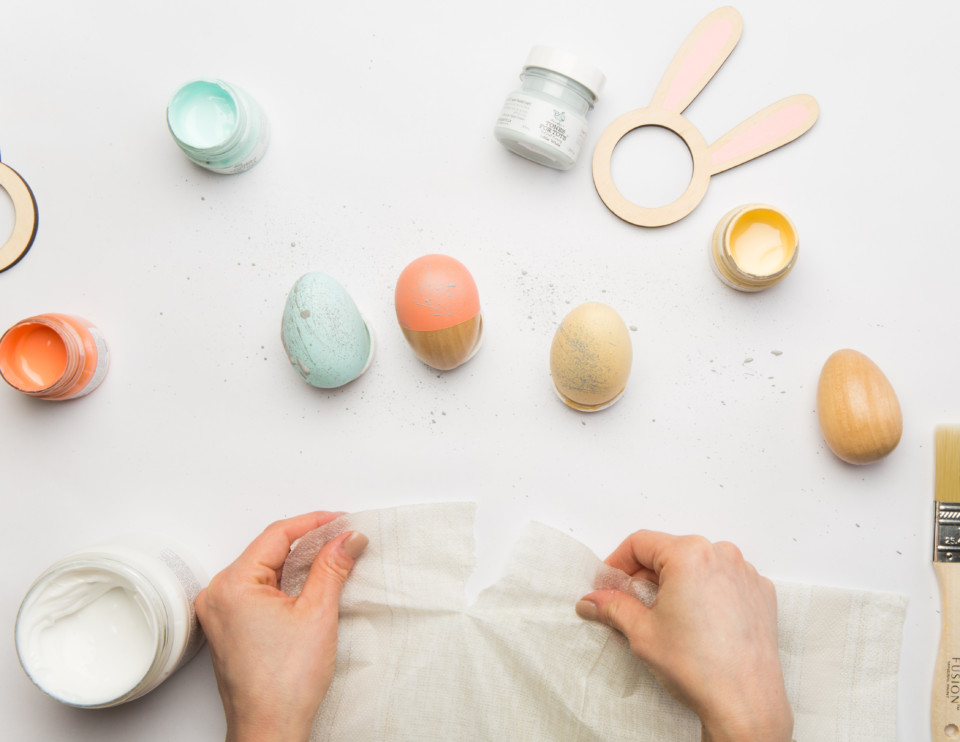
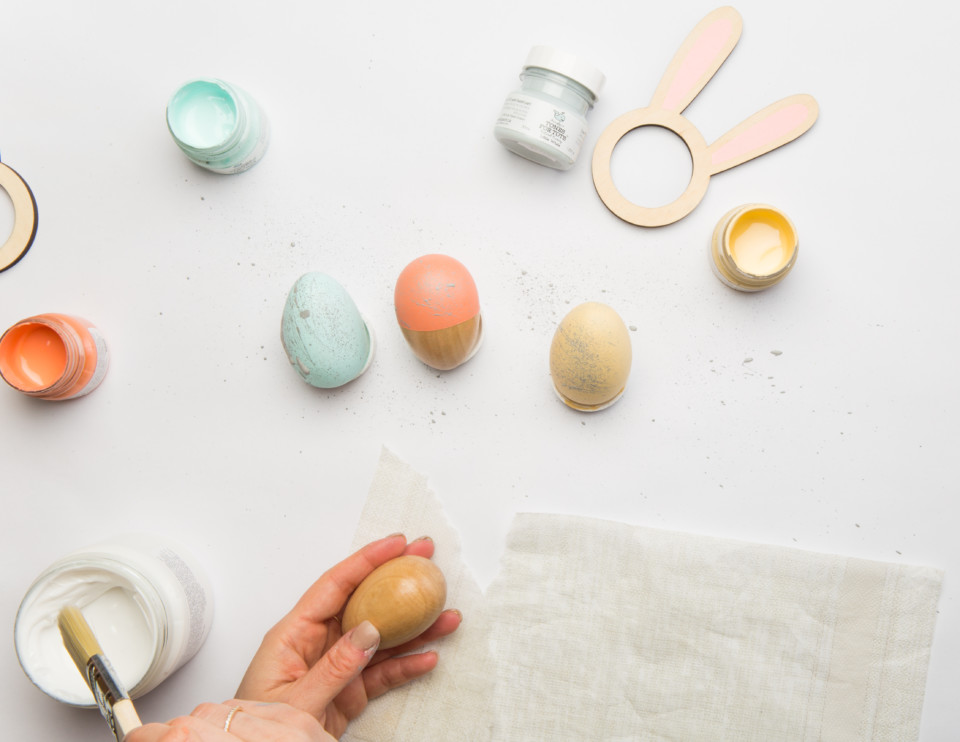
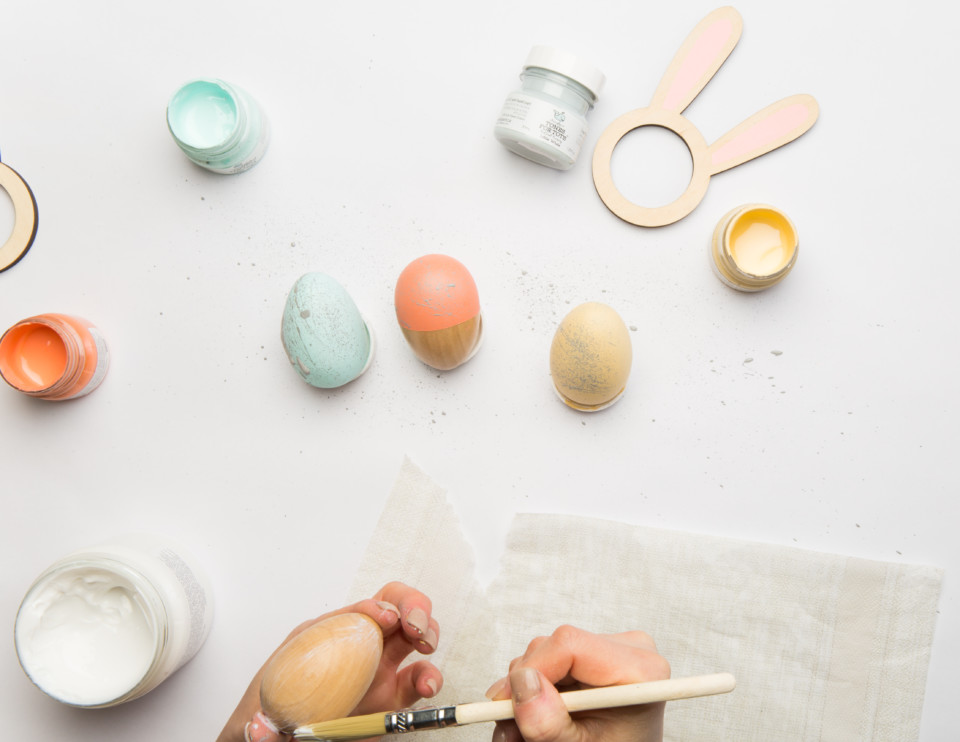
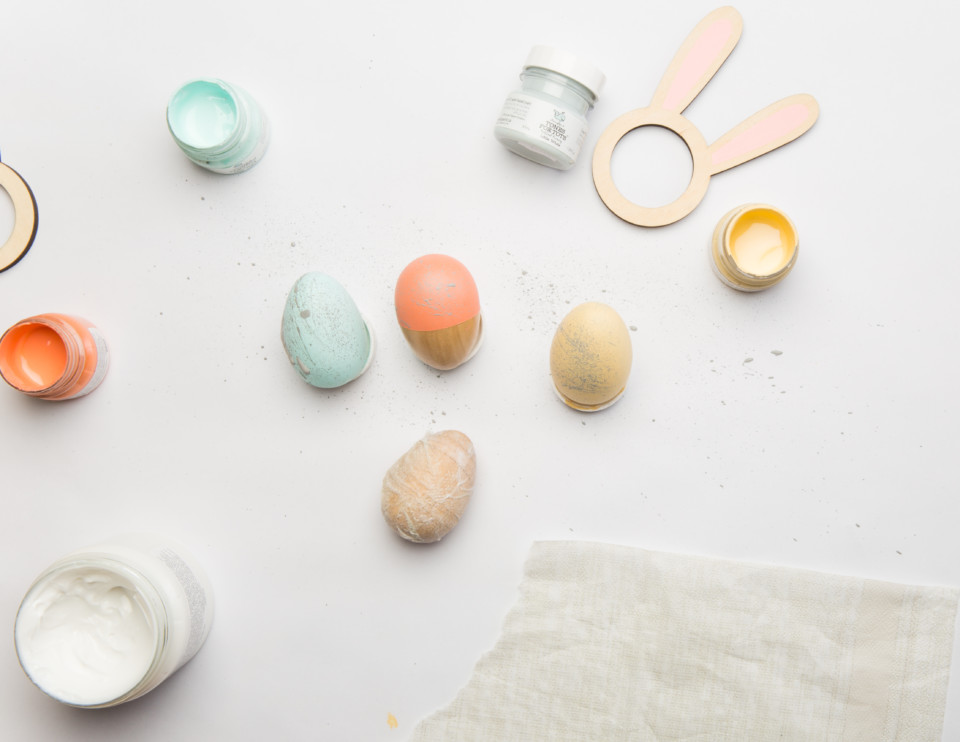
You can use your fingers to adhere the napkin to the surface and then continue to brush over the napkin on the egg with our Decoupage and Transfer Gel. Let it dry and you will have a really unique effect that adds a touch of texture to your eggs.
Get your favorite bowl or a basket and fill it with gift basket filler made of paper or wood for a complimentary look. Or use your eggs as part of an Easter tablescape like Jennylyn did with her table last Easter!
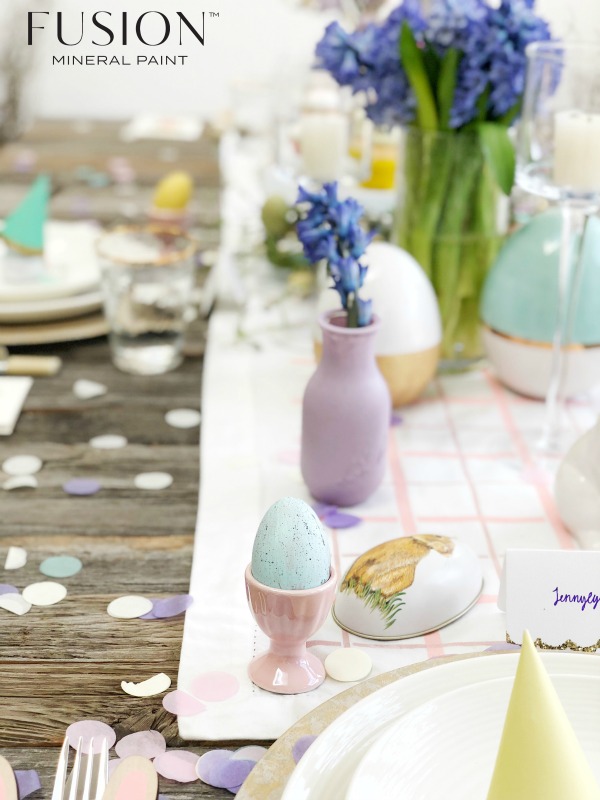
We want to see YOUR Easter projects! What have you painted for this season? Eggs? Any signs? What about baskets? Share them with us in Paint it Beautiful!
Use the hashtags #FusionMineralPaint and #PaintItBeautiful to tag us in your projects across social!


2 Responses