In our Fusion family, our little ones love to hold onto their cards for a long time long after Valentine’s Day, because they know how much time it took to choose the perfect one for their class. In getting ready for your kids card exchange, you can make a DIY Valentine’s Day Clothespin Garland so when they exchange them in class, it’s just pure joy! So when your kids come home with like a million little cards from their classmates, this DIY Valentine’s Clothespin craft will display them in an adorable way. Or perhaps even for a fun Valentine’s party! Plus when the season’s over you’ve got a ready built art display.
How to make a Valentine’s Day Clothespin Garland to display your Valentine’s Cards
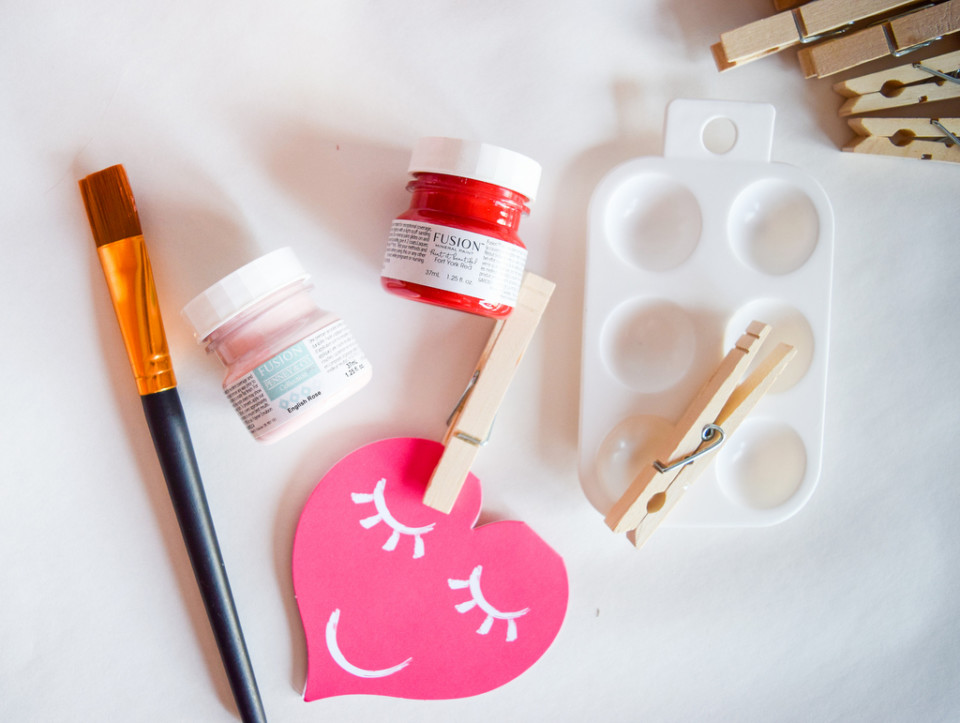
ITEMS NEEDED TO MAKE THE GARLAND
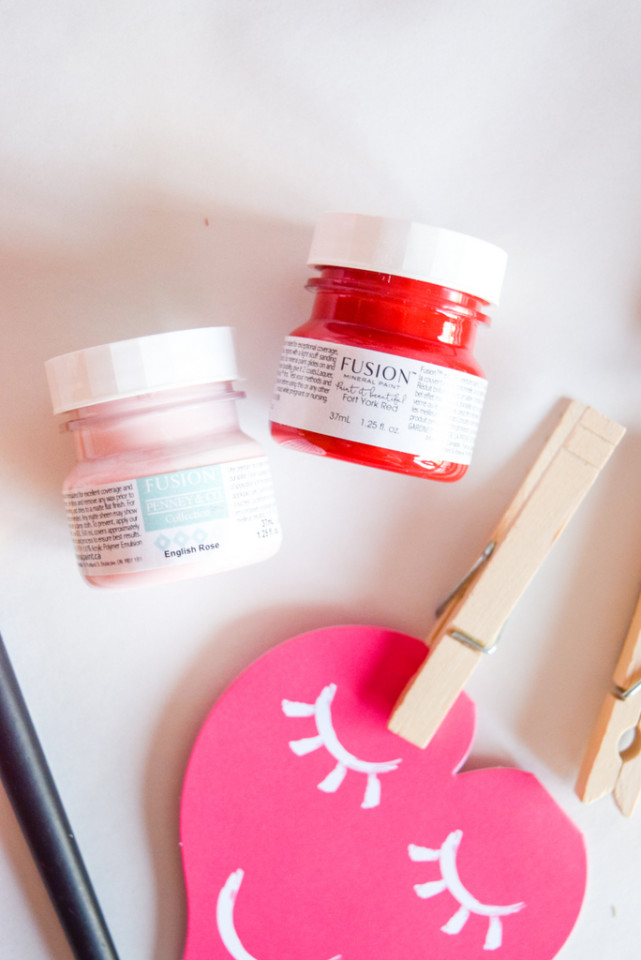
- Fusion Mineral Paint in the colours of your choice. We used Cranberry, Fort York Red, CUREiously Pink (discontinued), English Rose (discontinued, we recommend Rose Water as a replacement), Tuscan Orange and Little Piggy(discontinued, we recommend Peony as a replacement).
- Wood clothespins
- Paint brushes (small craft ones and foam ones)
- Bakers twine
STEP 1
PICK YOUR PAINT COLORS
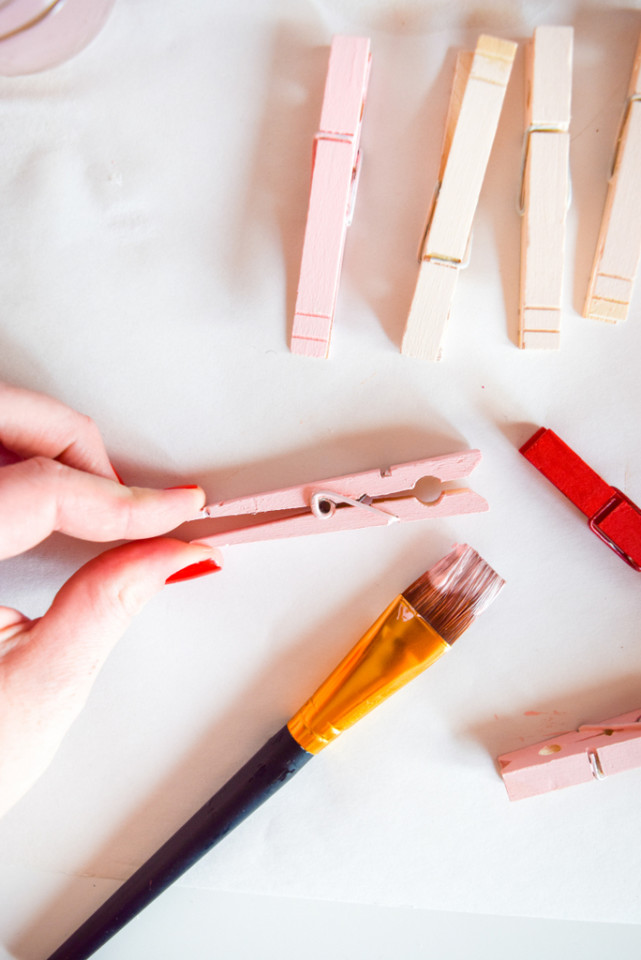
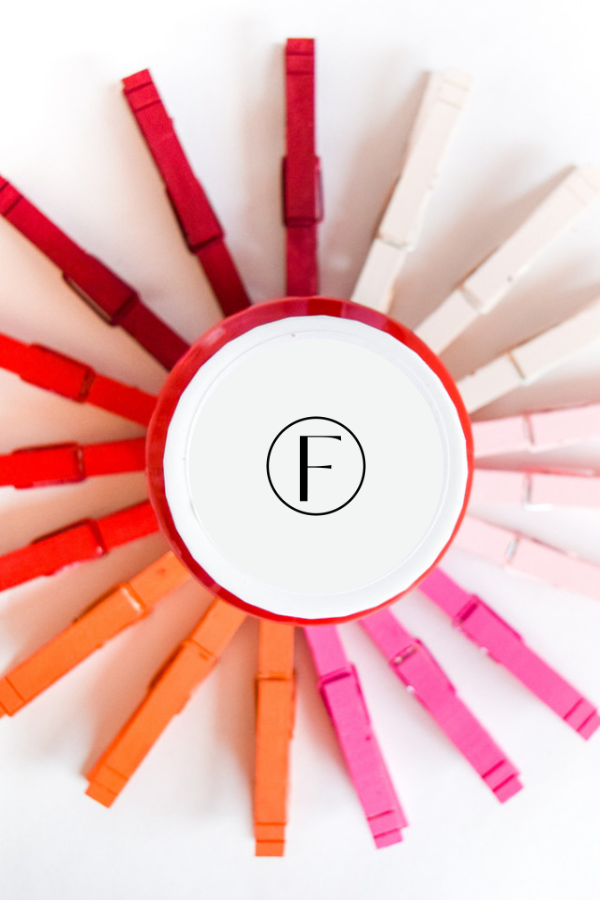
Start by choosing your color palette. For this Valentine’s Garland we did all the reds and pinks and some orange for a pop of color, in order to create a fun rainbow. Using a small paint brush, we painted 18 clothespins in 6 different colors – Cranberry, Fort York Red, CUREiously Pink (discontinued), English Rose (discontinued, we recommend Rose Water as a replacement), Tuscan Orange and Little Piggy(discontinued, we recommend Peony as a replacement).

STEP 2
ADD DOTS & STRIPES
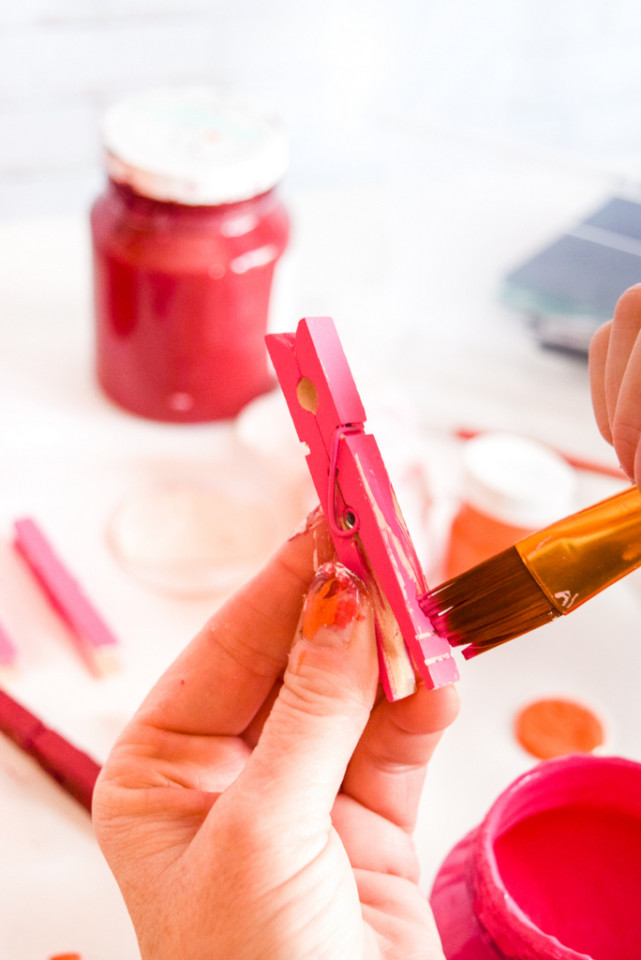
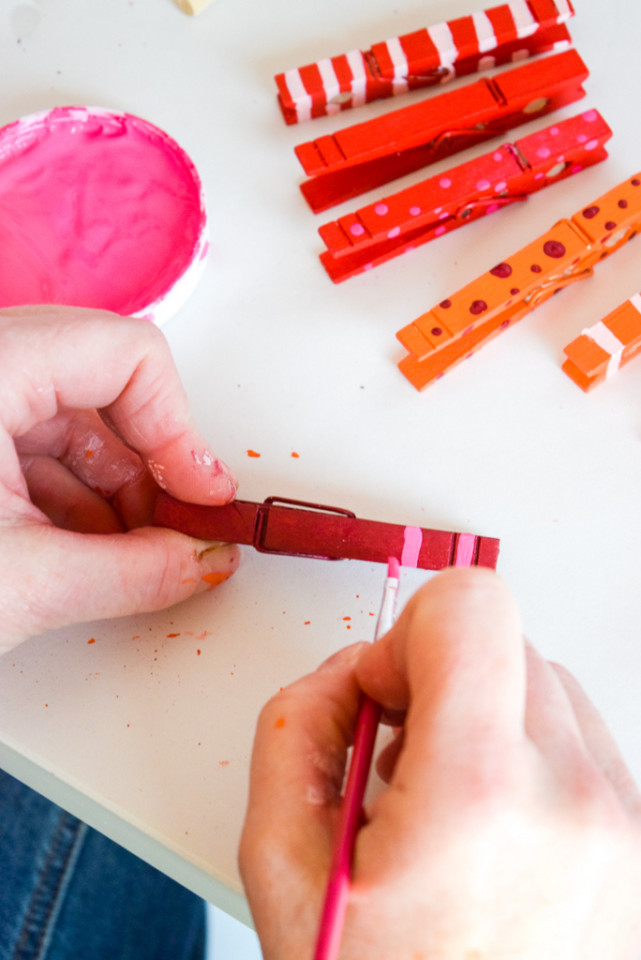
We let them dry and afterwards added little dots and stripes. You can do this easily with the back end of your paintbrush and a foam brush respectively. If you alternate the colors you can create a great contrasting effect, especially between the darker and lighter shades such as Cranberry and Little Piggy.
STEP 3
STRING YOUR GARLAND
While those dry, easily set-up your garland! Using red and white baker’s twine is a great way to add some charm to this look because who doesn’t love Bakers Twine? We did a double garland strand garland that hung above our table, against the wall, with the ends twine being tied to stands that are out of frame.
Another cute and easy way to hang this type of garland is by using washi tape and taping the ends of the twine to your kids bedroom walls. But obviously, hang it where ever it works for your home!
Using the painted clothespins, we alternated placement between the top and bottom string. This helps to get a staggered and layered look with the heart shaped cards. Of course, your cards will be much more personalized but for the sake of this craft display, we used these adorable paper hearts in place of the Valentine’s cards. Or you can use these types of cards behind your actual Valentine’s.


Once everything was up, it was styled perfectly for a quick piece of cake!

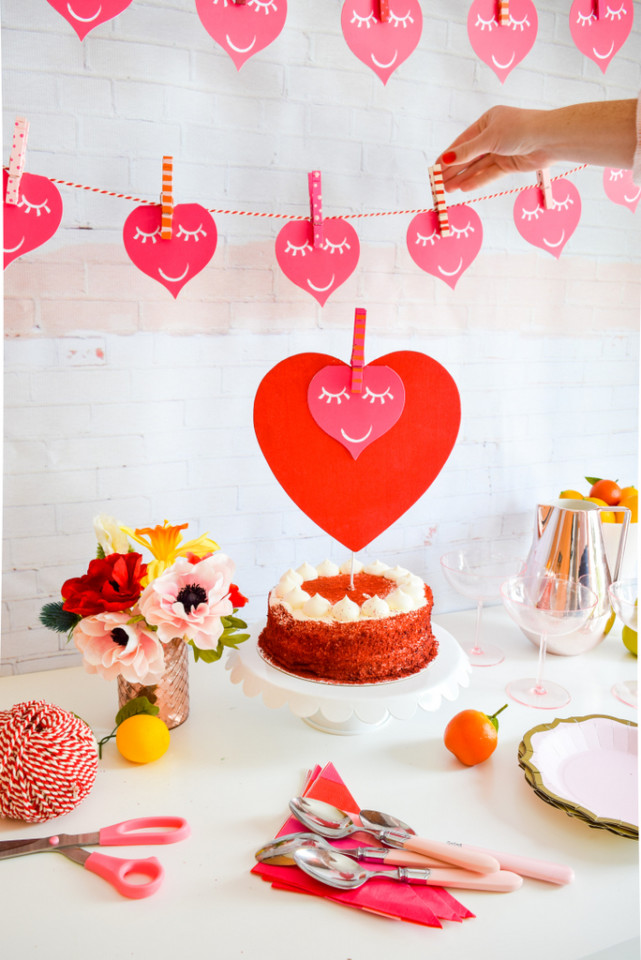


While we made this Valentine’s Garland with Valentine’s cards from your kids in mind, this is a great project for a party or any Valentine’s day celebration. It would even look lovely in front of a mantel as well. The choice is yours!

Happy crafting!
PIN IT FOR LATER
Project and styling by Ariel G.



One Response