Typically when people use Fusion Mineral Paint, they just think about how to use it with interior pieces since it is furniture paint after all BUT Fusion Mineral Paint is actually a fabulous, DIY paint for painting your front door! Our paint is perfect for exterior doors and an easy way to update, spruce up or completely transform the exterior of your home! Today we are teaching you how to paint your front door with Fusion Mineral Paint.
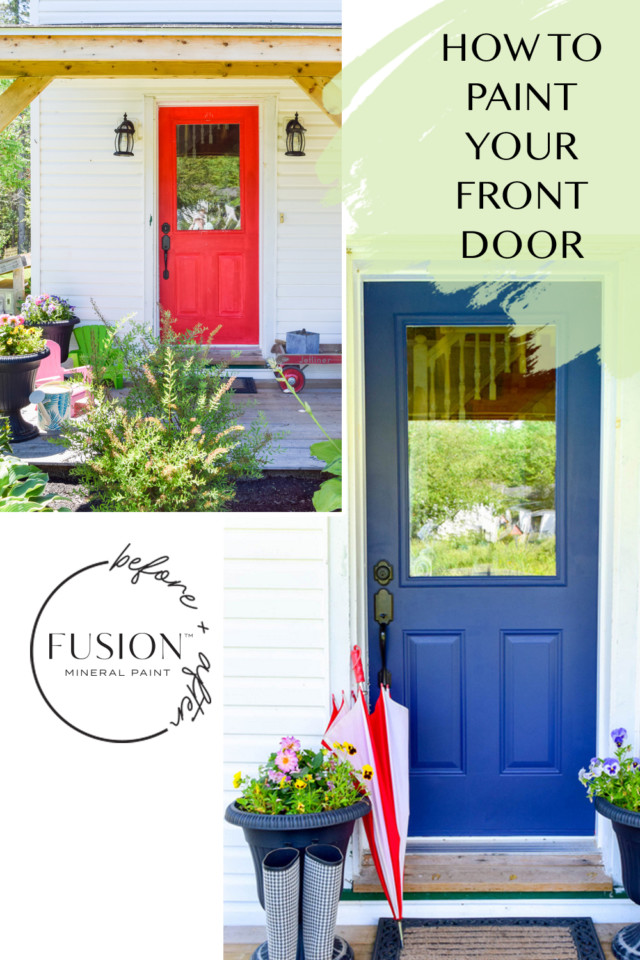
Our front door before
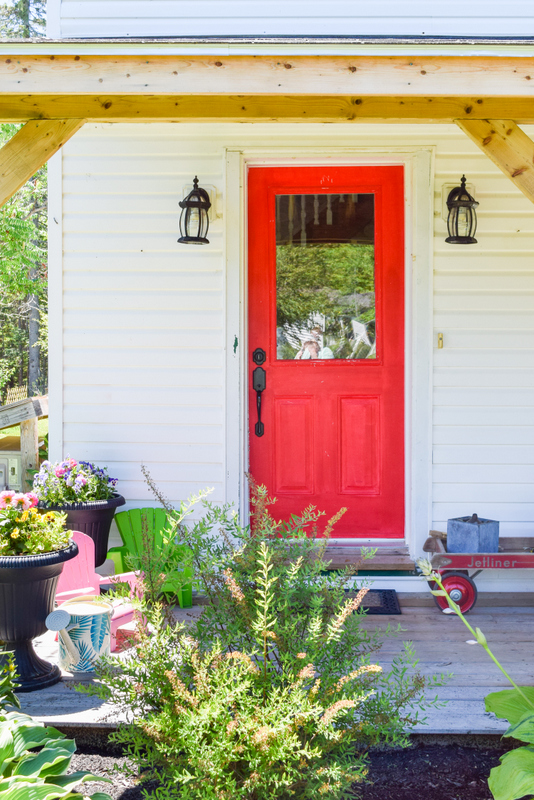
We were going from red to blue as we wanted a fresh new look to match the house shutters. Plus the previous paint was not aging very well so it was high time to change things up.
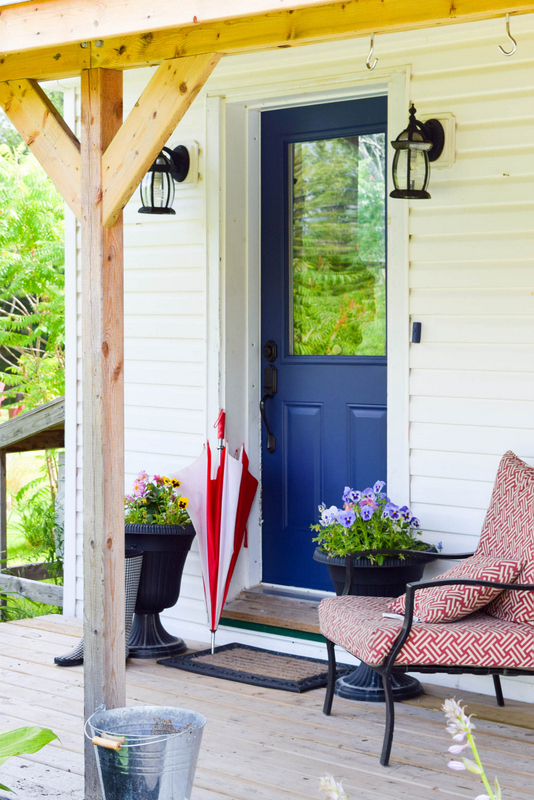
For this project, we went with Fusion’s Liberty Blue. This highly saturated, intense royal blue has been one of our original blues for over 20 years.
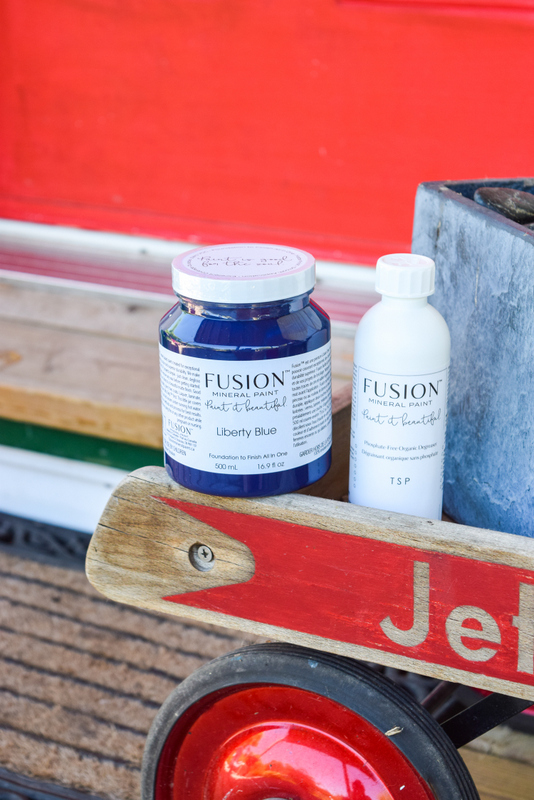
STEP 1 – PREP YOUR FRONT DOOR
A good cleaning is usually all you need to prepare your door for painting. Does not matter if it’s wood, steel or metal, you can clean them all with our TSP. This will help get rid of dirt, grime, oil and any sticky fingerprints left over from last summers little hands covered in melting popsicles, pushing it open. By using TSP, you are making sure that the surface is ready to be painted and that Fusion will adhere properly!
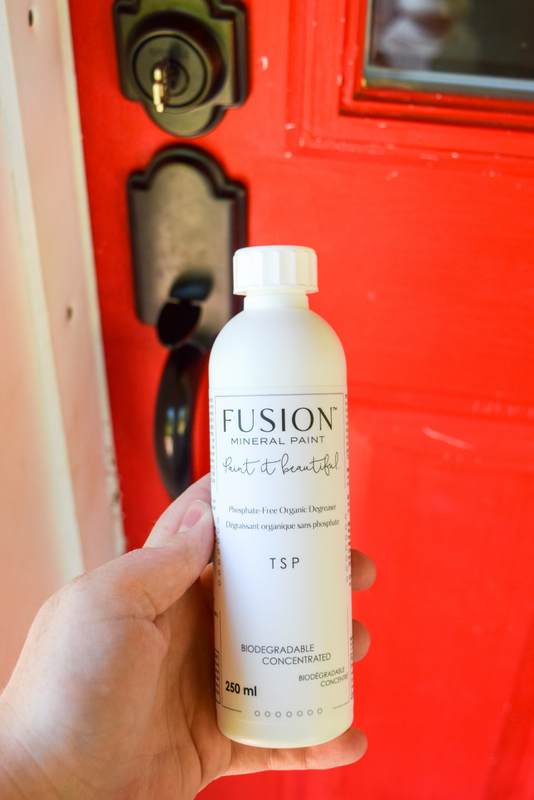
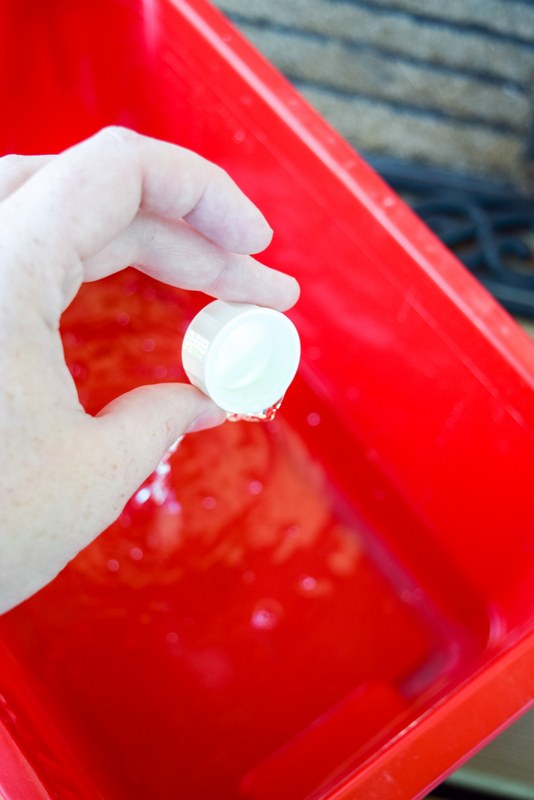
Fusion’s TSP is a concentrated formula and phosphate free so it’s very eco-friendly. All you do is use two full caps and mix them into 2 litres of water and clean. I Restore Stuff has a great video tutorial showing how to use it. And yes you can use this on a previously painted door.
PREP TIP: The one caveat we always mention is that make sure that your door is not covered in wax. Do the wax scratch test to ensure that it is free of wax. Drag your fingernail over the door and see if any wax comes off. If it does have wax on it, you must use Mineral Spirits to clean it, you cannot paint over wax.
Also if your front door is a wood, metal or steel door with peeling paint, a light sanding will help to remove any bumps or scuffs to ensure you have a smooth surface to paint on. Then lightly wipe to remove any dust or sanding residue. Again, you want to make sure there isn’t any residual dirt or sanded off materials that will get stuck in your fresh paint!
STEP 2 – REMOVING HARDWARE/USING PAINTER’S TAPE ON YOUR DOOR
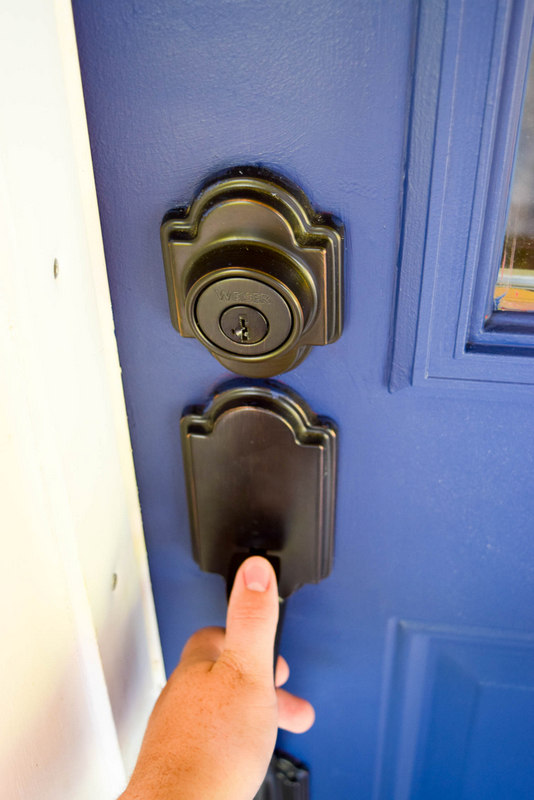
Now, you don’t “have to” remove your door handles and locks in order to paint your doors. You can use painter’s tape to tape around them. Removing hardware is a great way to avoid brush marks around the handles. However, oftentimes door hardware can be tricky to install again so unless you know what you’re doing, this is an easy fix.
However, if you’re planning on changing the hardware and locks, they won’t always fit in the exact measurements as the previous ones. The last thing you want is a trace of the previous color peeking out under a door handle. So in that case, obviously removing the hardware is a must.
Also make sure you do use painter’s tape around any glass areas that you cannot remove (especially in windows with grids). If you forget (we’ve been there, it happens) use a clean cloth with TSP to remove the paint from any surfaces. you don’t want it adhering to BEFORE the paint dries and especially before it cures, as you can use Fusion to paint glass and other mirrored surfaces.
STEP 3 – PAINT YOUR DOOR
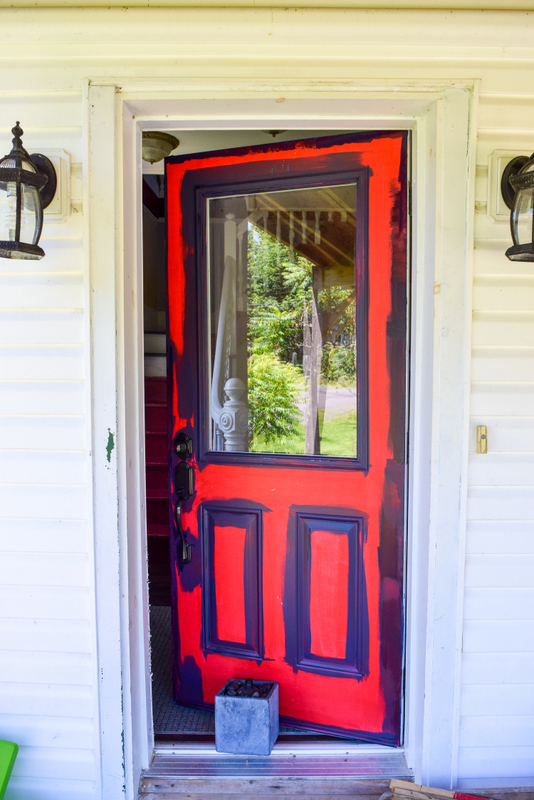
You can choose the tools that you feel comfortable using. Some people prefer a microfibre roller, while other are more comfortable using a brush. If you are worried about brush strokes, the key to not getting brush strokes is to paint in thinner, not thicker coats. Remember, less is more! We have a great post that covers the basic on how to paint to avoid brush strokes.
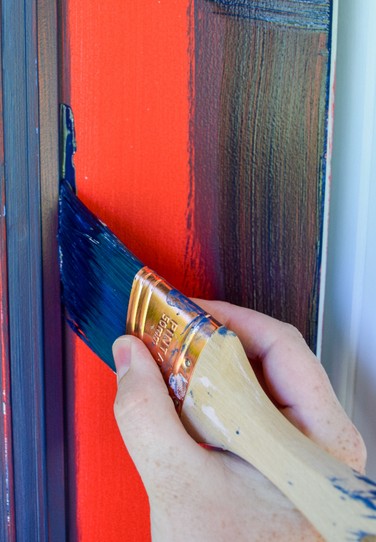
Because each door is different, a good rule of thumb is to paint the edges and any crevices on the door first. Then do a coat of paint with a roller on the flat surfaces.
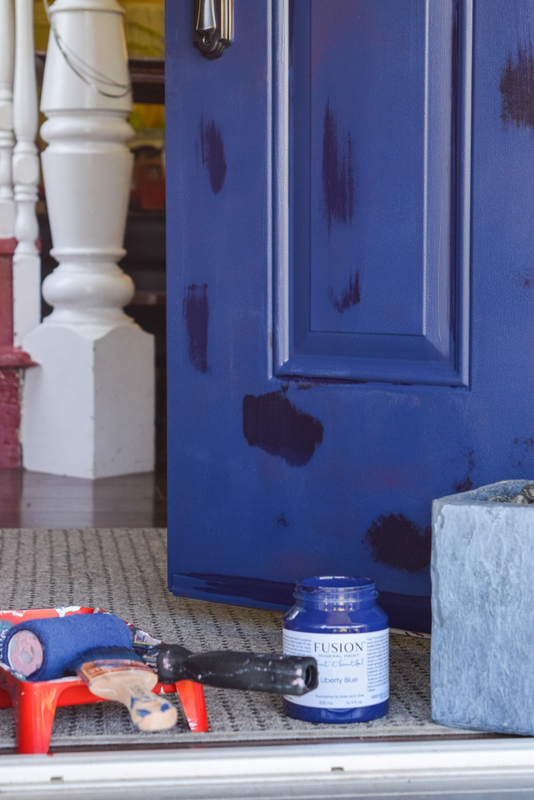
As the paint dries, you may notice some sections that are darker than others. This sometimes happens when using roller brushes as we don’t get an equal amount of paint all around the roller after we place it in the paint tray. Then, as we roll down a surface, some parts will appear thicker than others in your first coat or two (depending on what colour you’re using). It can even happen with a regular brush. As you become more experienced with painting, you will get a better feel for how to paint surfaces as to avoid this.
Resist the temptation of going over the areas around those spots with more paint during this time. This will cause an uneven surface. The rule of thumb with Fusion is to always use thin coats. Let it fully dry, and then do another coat. You can always touch up after. Remember, less is more!
The good news is that Fusion is a self leveling paint. Meaning even if you do find you made a mistake, the paint will do it’s best to ensure that it dries as evenly as possible.
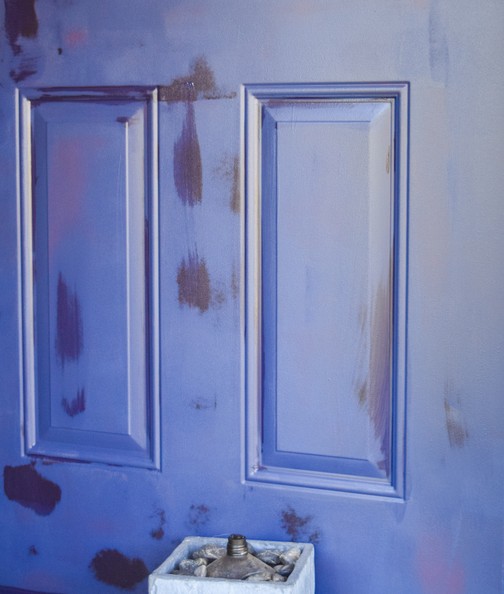
Again, let your door dry properly between coats as per instructions on the container.
PAINT TIP: Please do note that weather can affect dry times. Try to avoid painting on extremely humid days or days with extreme temperature changes. Or even very windy days to avoid paint splatter!
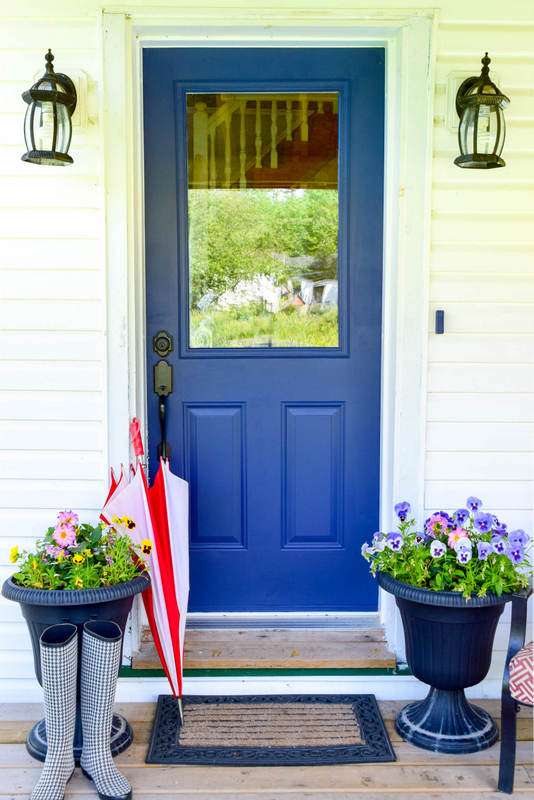
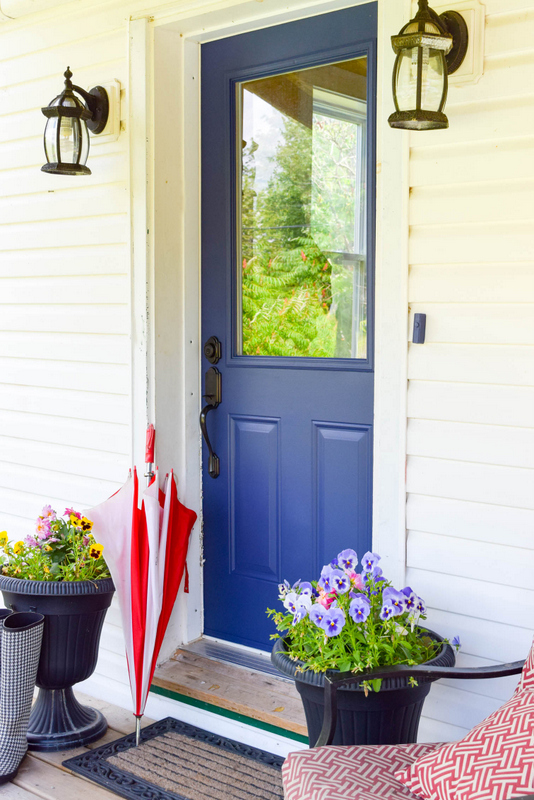
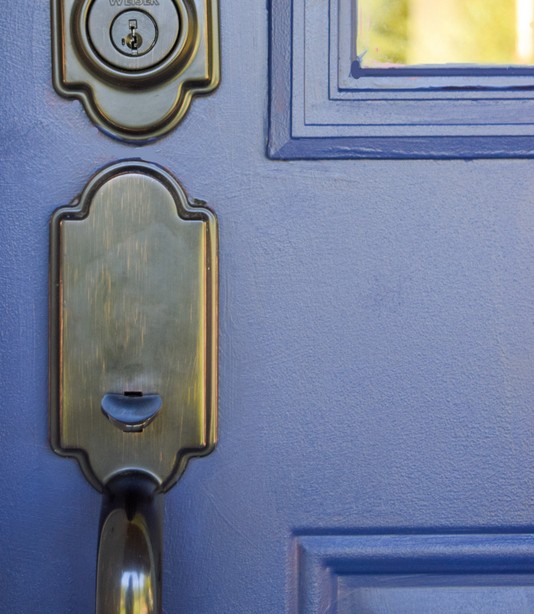
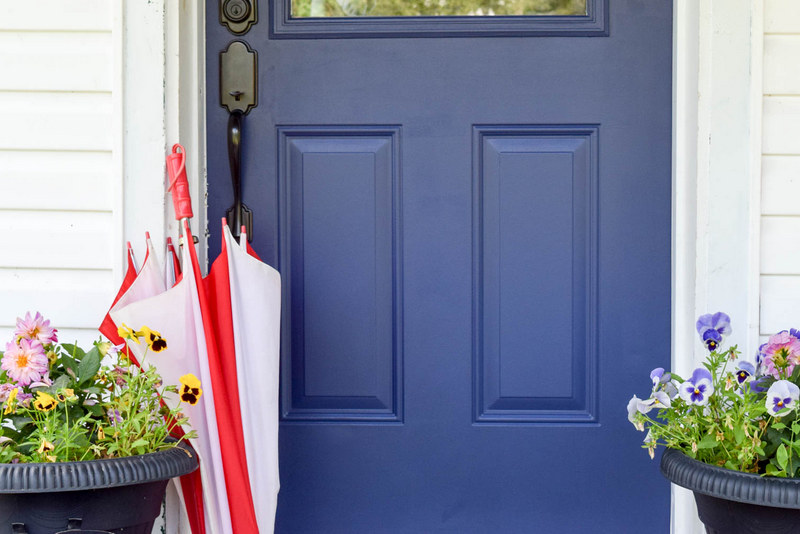
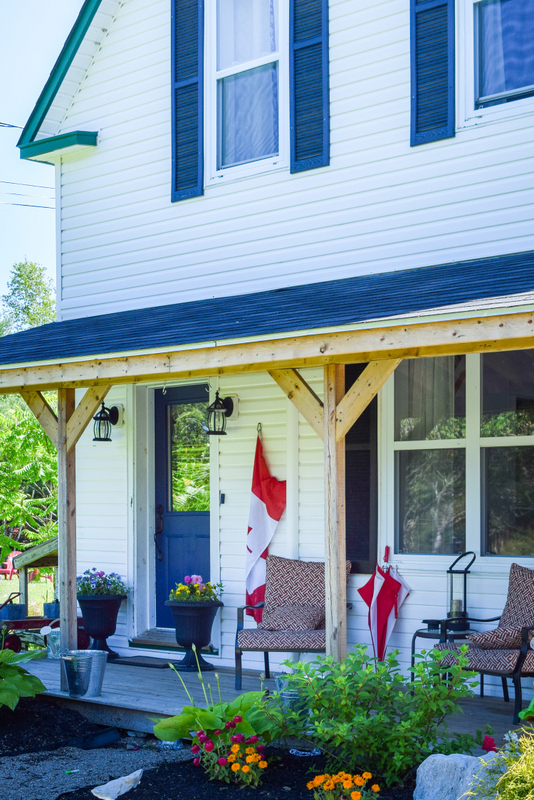
The end result? A gorgeous new look for our front door!
ADDITIONAL TIPS & QUESTIONS
ABOUT PAINTING YOUR FRONT DOOR WITH FUSION MINERAL PAINT
Do I need to use Ultra Grip prior to painting my front door?
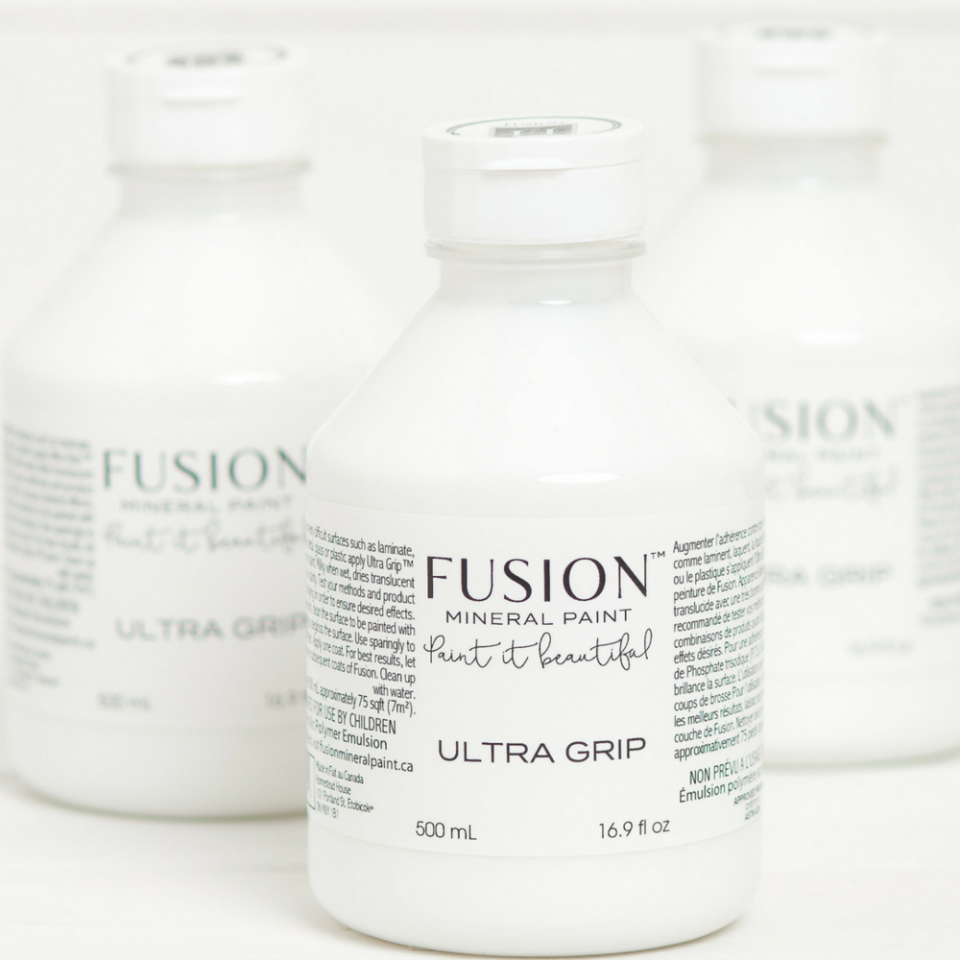
This depends on your starting surface. Ultra Grip adheres to hard to paint surfaces, in particular, melamine and thermafoil cabinetry. To decide whether or not Ultra Grip is right for your project, watch our video about Ultra Grip. Usually, with wood or metal, you do not need anything else but Fusion Mineral Paint. The only exception to that is using a shellac based primer to avoid bleed-through. (you can read all about that here!)
Do I need to seal my front door with a top coat?
Fusion Mineral Paint comes with a built-in top coat, the 100% acrylic resin. So you do not need to add any additional top coat for water permanency.
What about Fusion Tough Coat? Should I use that because my door is an exterior door?
Fusion Tough Coat is non-yellowing, clear top coat that we created for additional protection in high traffic areas. We want to emphasize that *most* cases, you do NOT need to use this. It was made because we know some of our customers just want that extra reassurance when painting high-traffic areas. We also wrote a very thorough post about how, when and if you need to use it.
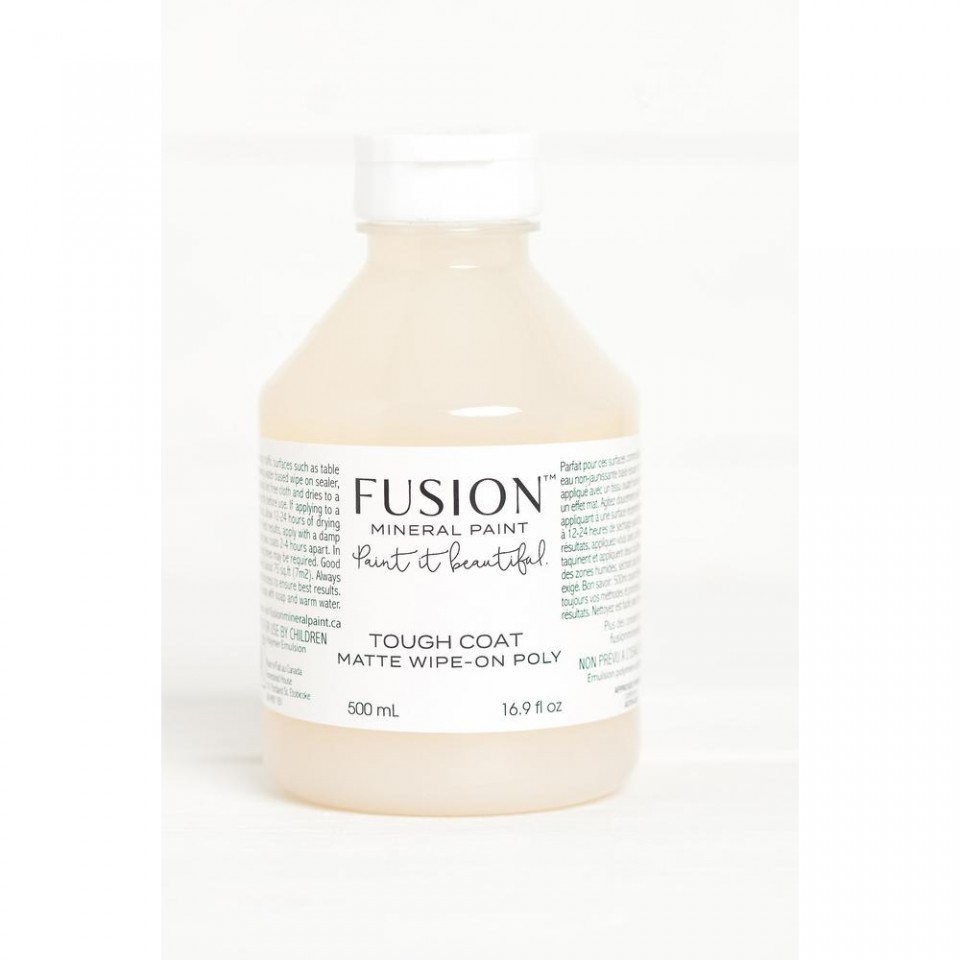
Some people who have painted their exterior doors, have done Tough Coat, top coat trick – a 3 layer technique approach with their Tough Coat and Fusion paint. This is where you paint one coat of Fusion paint, then a layer of Fusion’s Tough Coat, then a second coat of Fusion paint. This may be good in situations where your door faces a direction where a lot of natural elements get at it on a regular basis (think high winter winds blowing dirt and small rocks, beating rain with hail and so forth). So this is really a personal choice for you to decide whether or not to use on your door that only you can answer. In most cases, all you really need is Fusion Mineral Paint.
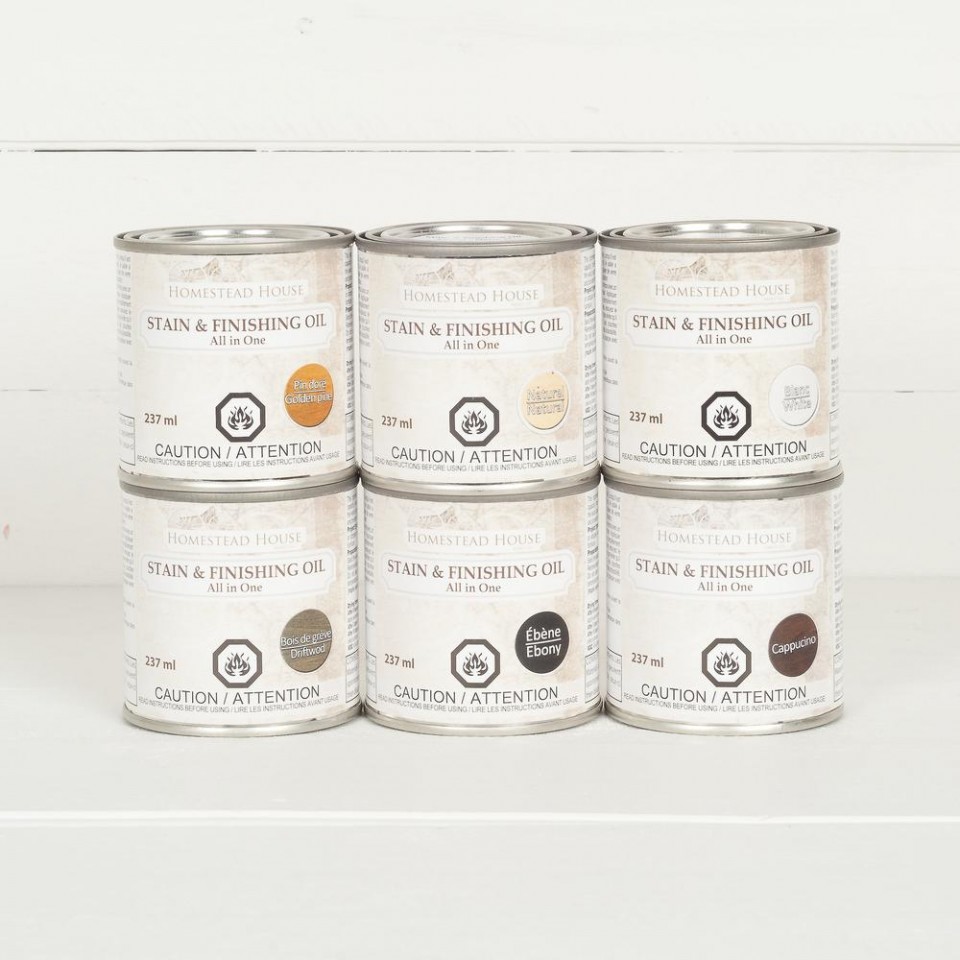
Also, please note that Tough Coat can be more visible on dark colors in particular. Should you decide to use it and streaking occur, you can simply apply the paint over top and leave it as is. A nice thin coat of our Natural color in the Stain and Finishing oil can be a lot more forgiving on darker colors.
My front door is in direct sunlight. Will my color fade?
We manufacture our paint with the highest quality, finely ground, natural mineral pigment and that means you will not get a better depth of color or coverage from any other paint. Because we use real mineral pigments, our paint is also naturally UV resistant and your color will not fade over time!
We hope this helps you to go give your door a fresh new look. Fusion Mineral Paint has hundreds of gorgeous colours to choose from to help you paint it beautiful!


One Response