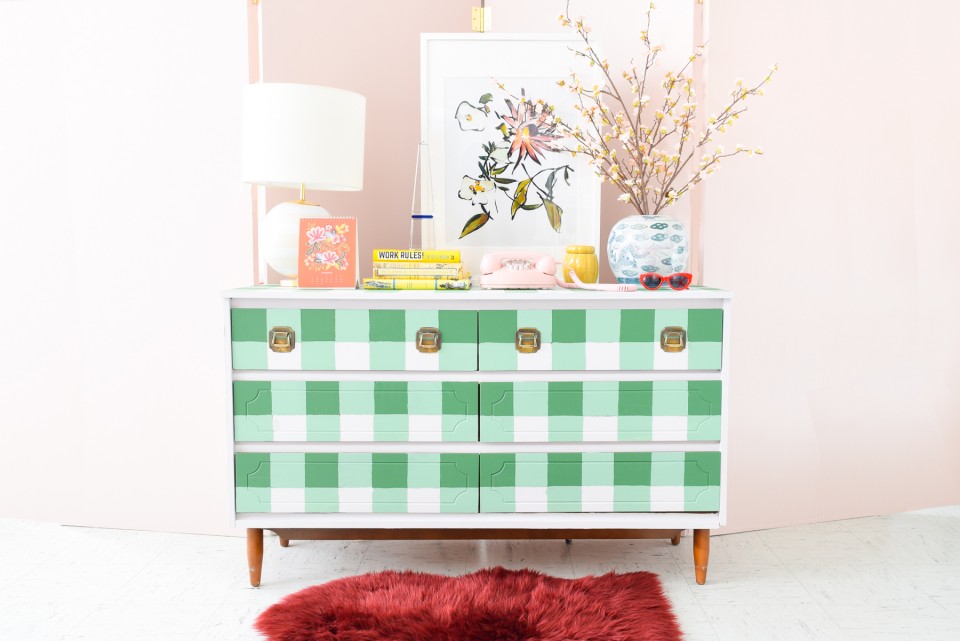
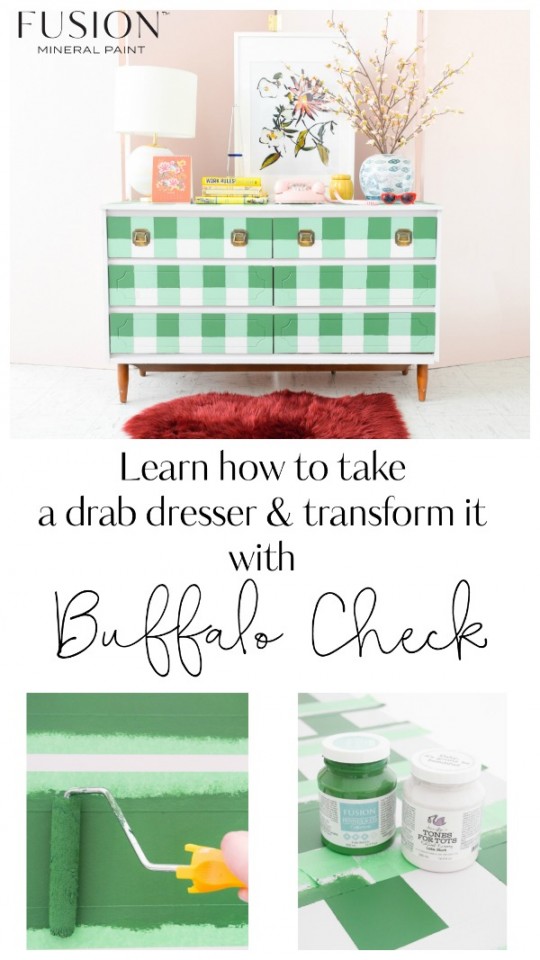
One of the things we hope we do for you here at Fusion Mineral Paint is to inspire you to think outside the box and showcase different home decor styles. This is because obviously everyone’s home is different. Some individuals love distressed pieces and make them feel more shabby chic, and rustic. Other people want that smooth, clean, monochromatic finish. But at the end of the day, no matter what your decor style is, it’s always amazing to see how paint can transform that old piece of furniture, into a customized look that suits your home. We think today’s piece is going to inspire you – we have a DIY Buffalo Check Dresser to share today.
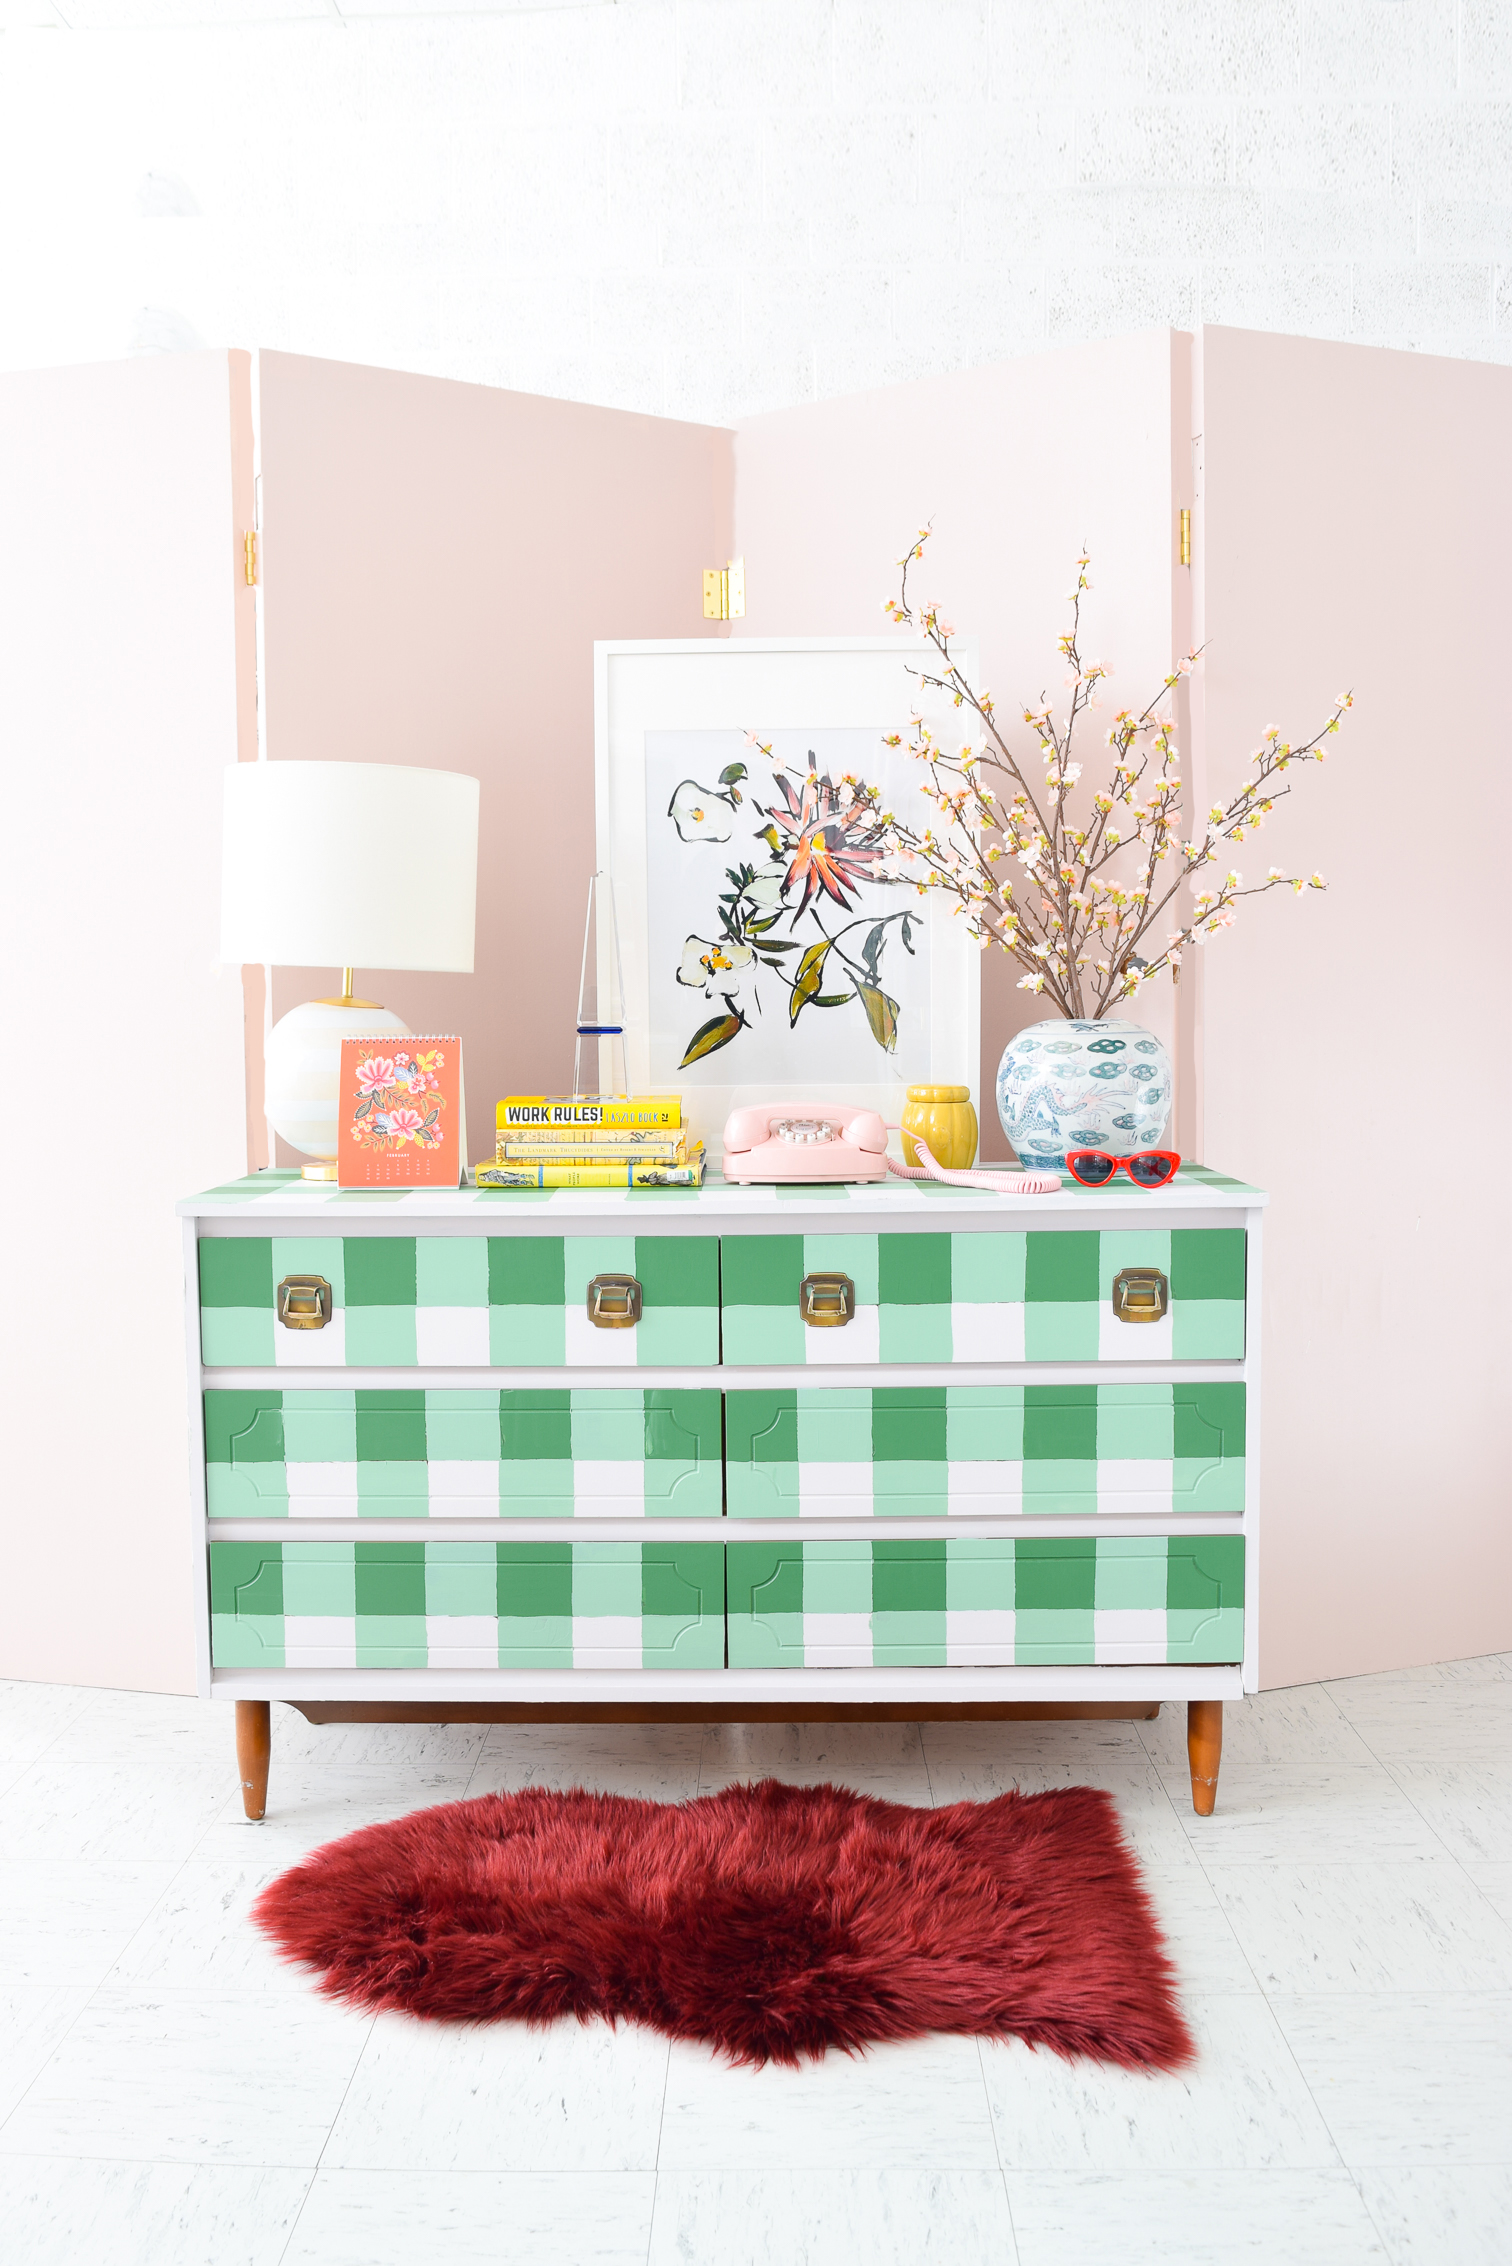
Case in point, Ariel at PMQ for Two loves vibrant colours in her home. Deep rich shades that pop off of your computer screen when you scroll through her Instagram feed. And today she’s sharing her mid-century Buffalo Check Dresser that she made so you can recreate the look in your own home, with the Fusion paint colors of your choice.
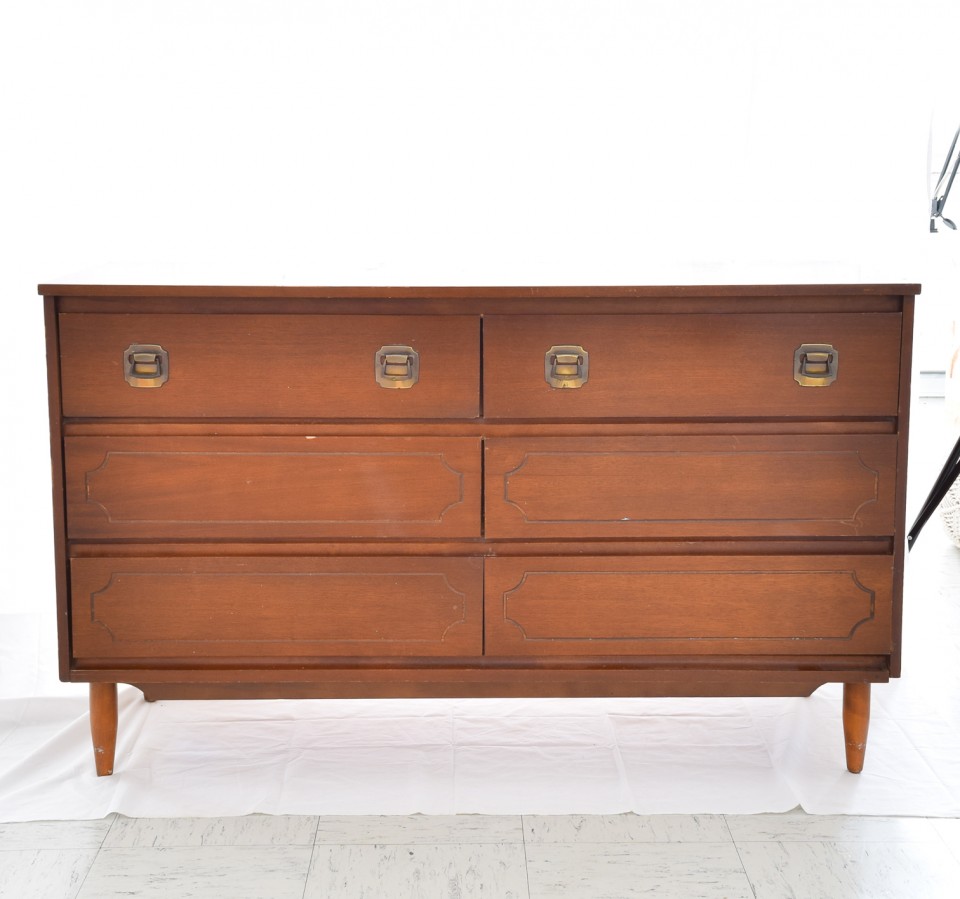
Step 1: Start by giving the dresser a light sand, just to remove any dirt and a light layer of the varnish. It will help with paint adhesion in the long run. Once you’re done give it a quick wipe down to remove any dust.
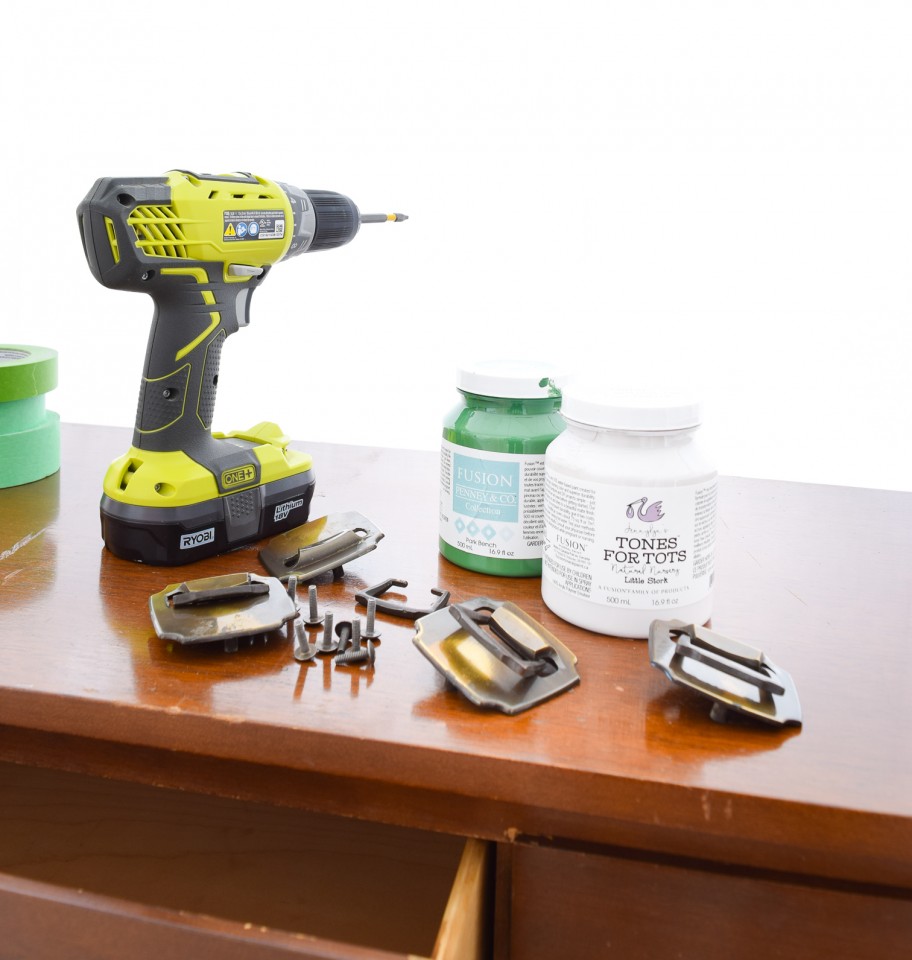
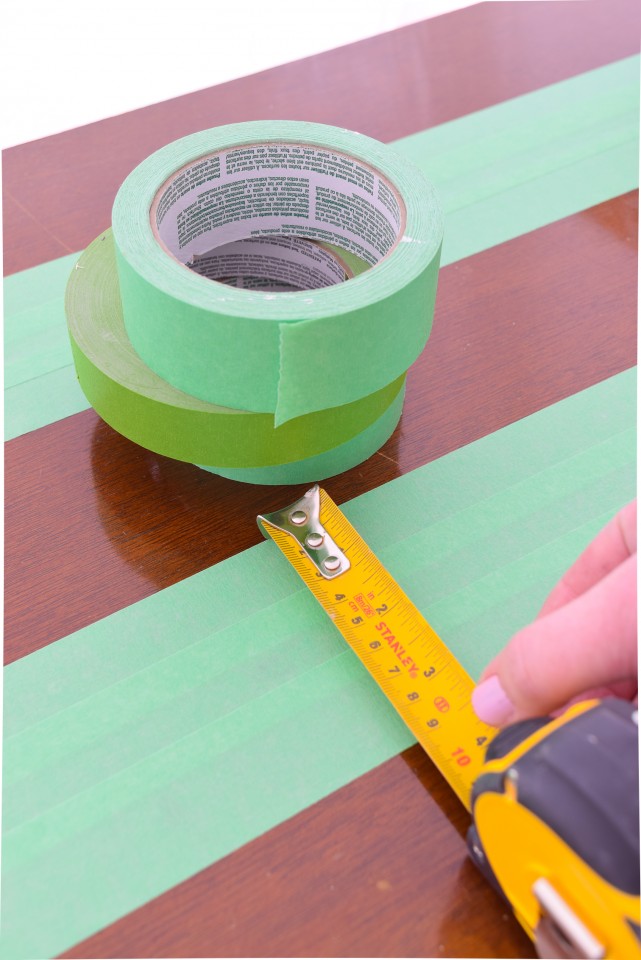
Step 2: Using painter’s tape, block off horizontal stripes on the piece. Keep the space equidistant by using a tape measure and everything will be even and concise. In this case, Ariel wanted a THICK Buffalo check. You will do this across the top of the dresser and the front of the drawers. Down the side of the dresser, those stripes will be vertical.
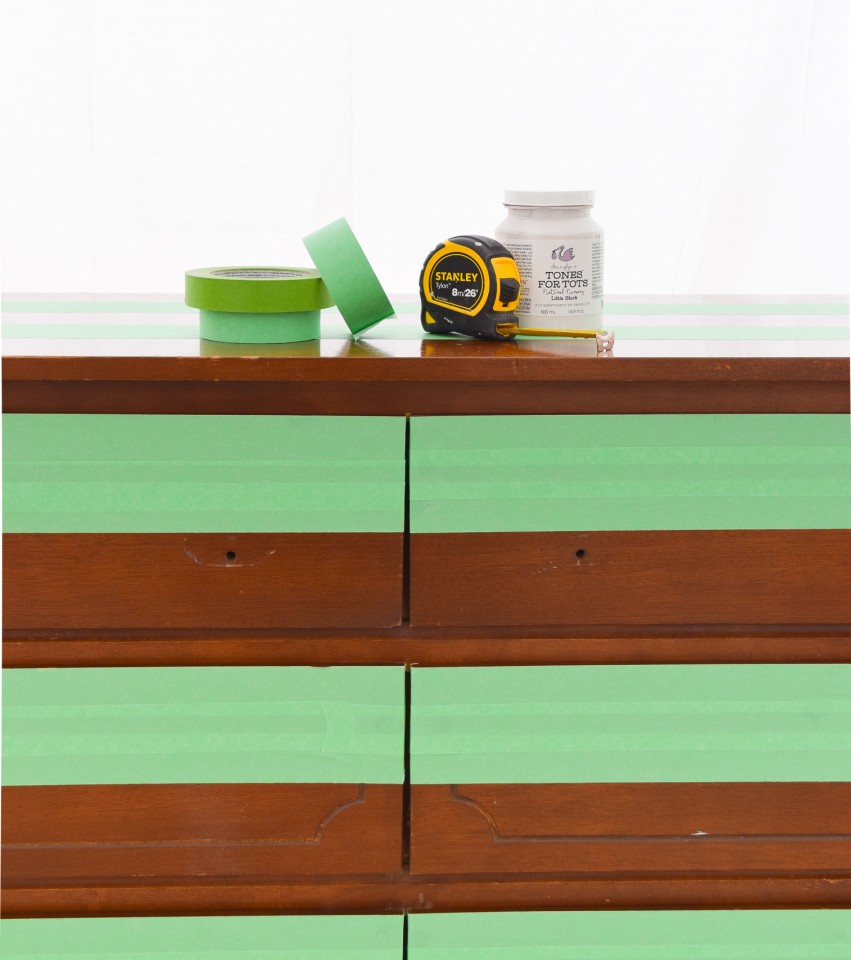
Step 3: Using Tones for Tots in Stork (discontinued), paint the space that’s not taped. You’ll probably need 2 coats to get the kind of coverage you want, but take the time and make sure it dries. If you aren’t sure how long you should wait, check out this blog post on paint drying vs. paint curing.
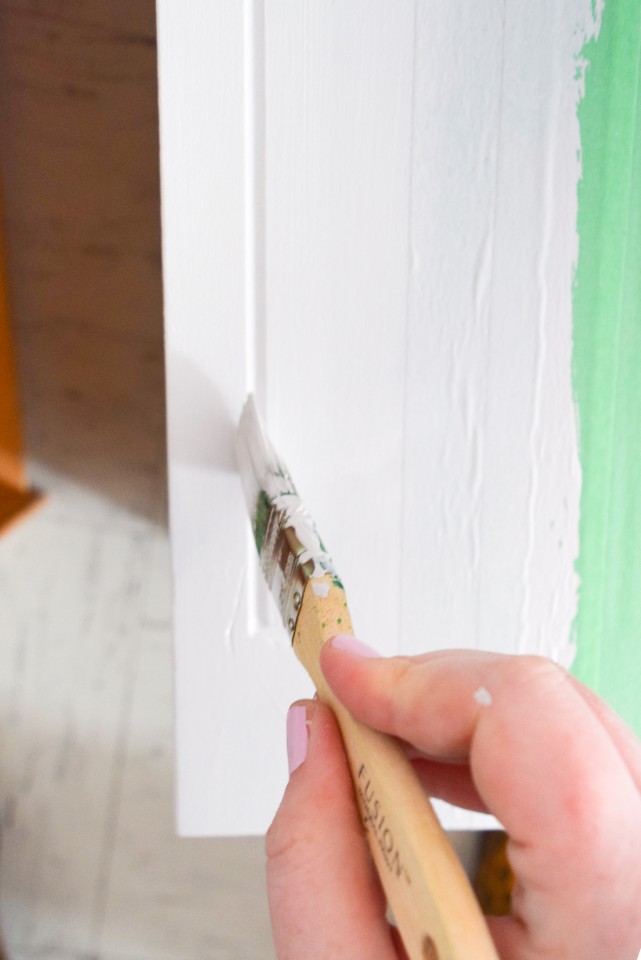
Step 4: Once the white is completely dry, slowly peel back the tape. I cannot emphasize how much you need to be careful doing this, because otherwise, the paint will peel up. If it does, it’s not the end of the world, just touch it up later.
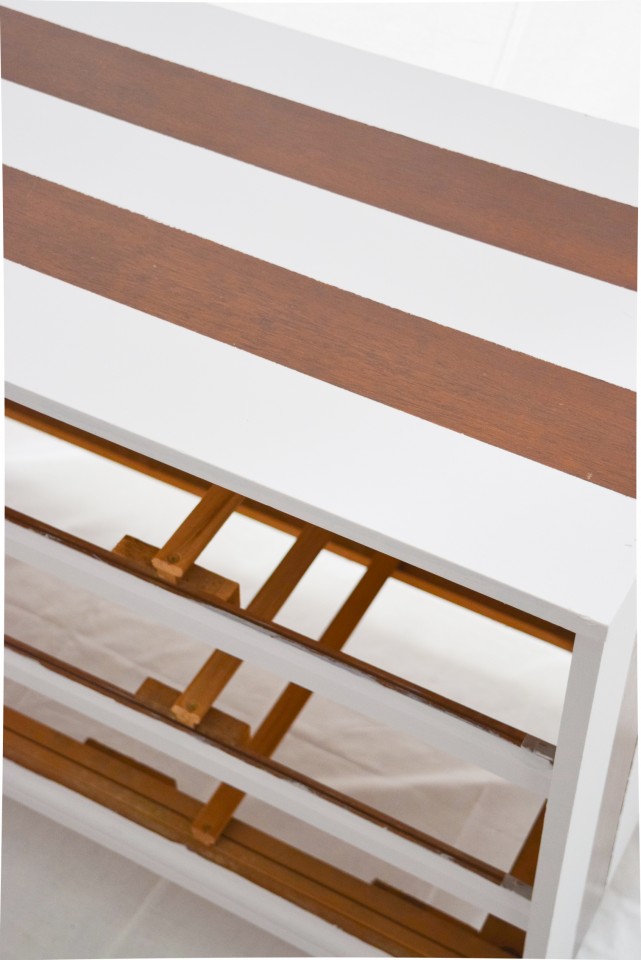
Step 4: Replace the tape over the white, so that this time you can paint the space that had previously been taped over. I used Park Bench, but you could use any colour, just be consistent.
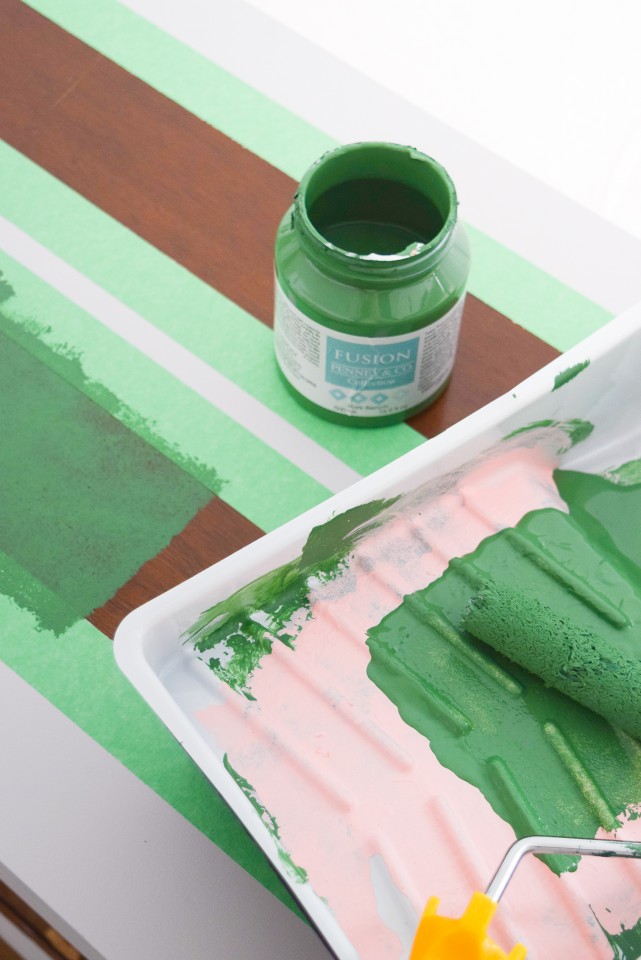
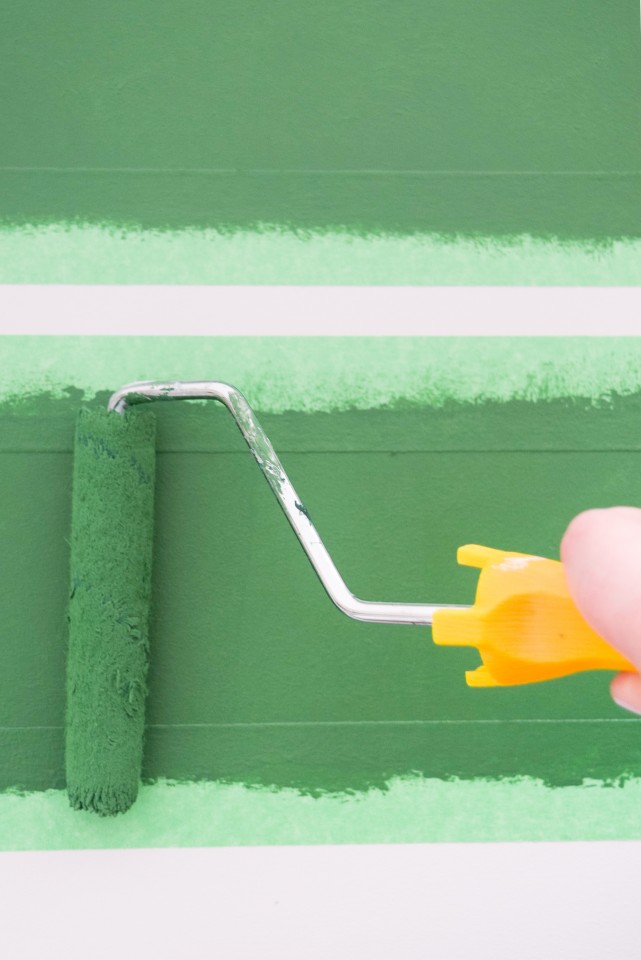
Step 5: Once the green is completely dry, you should have green and white horizontal stripes. Afterward, place vertical stripes using the painters’ tape over the horizontal stripes. Just as you did with the horizontal stripes, use a measuring tape to ensure the spaces between the vertical stripes are the same width apart.
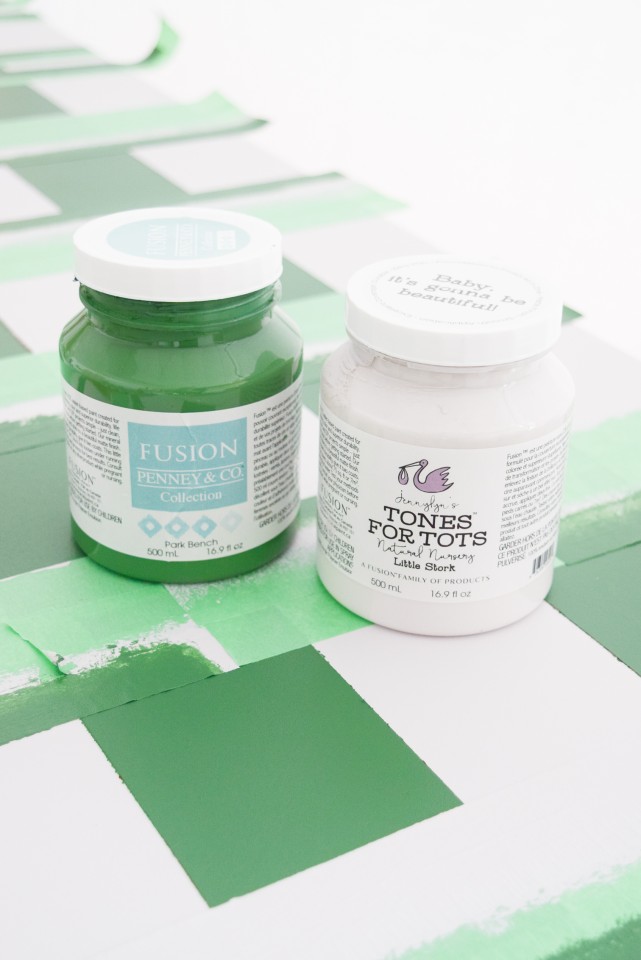
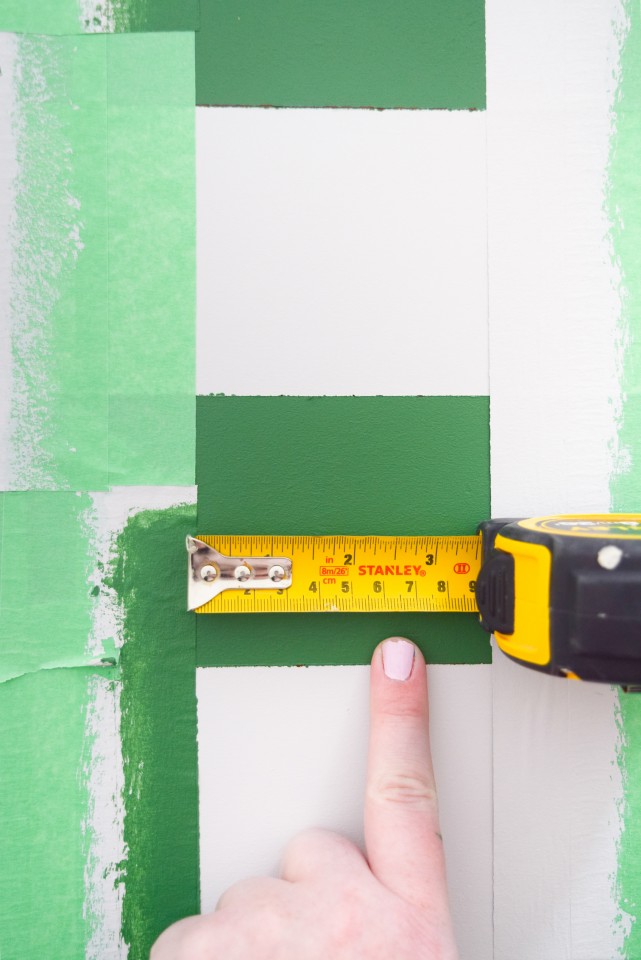
Step 6: Using more painter’s tape, create little boxes within the vertical stripe, at the intersection of the vertical stripe and the white. That’s where you’ll use the mixed color (there’s no need to repaint the green)
Step 7: Now comes the fun part, mix 1 part Park Bench and 1 part Little Stork (discontinued). You’ll then use this to paint in the little taped boxed on the vertical stripe.
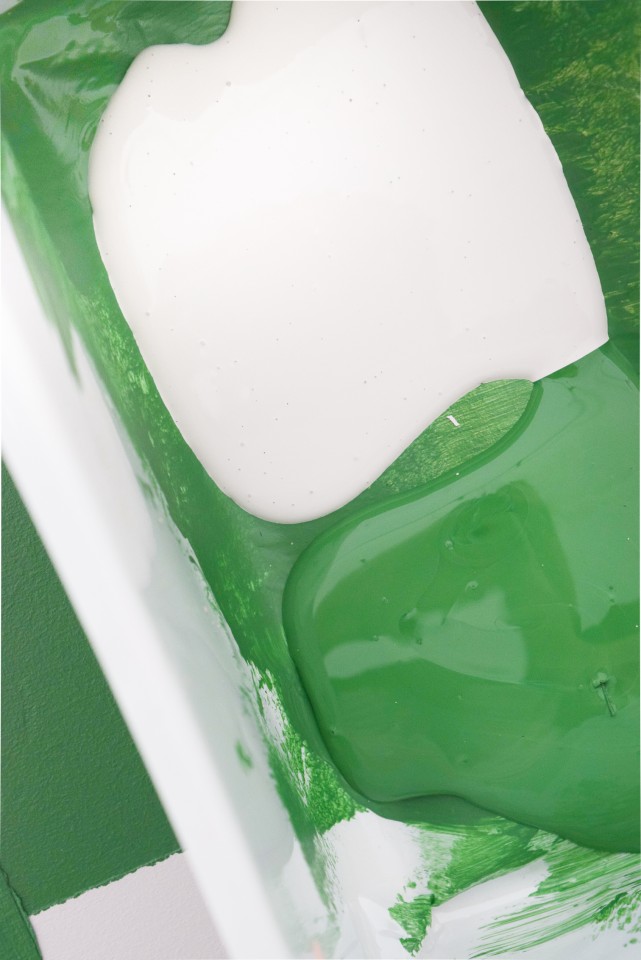
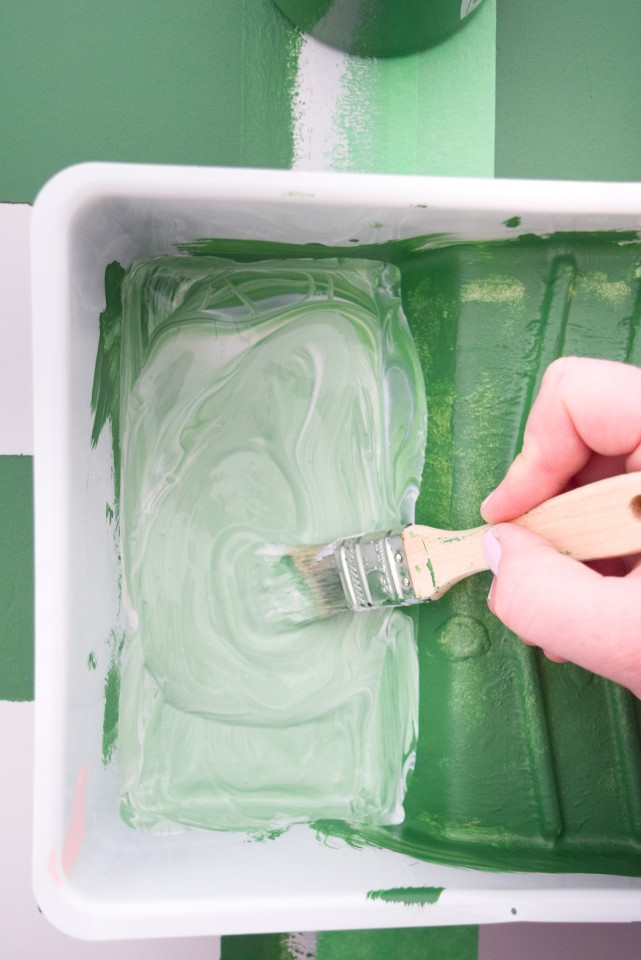
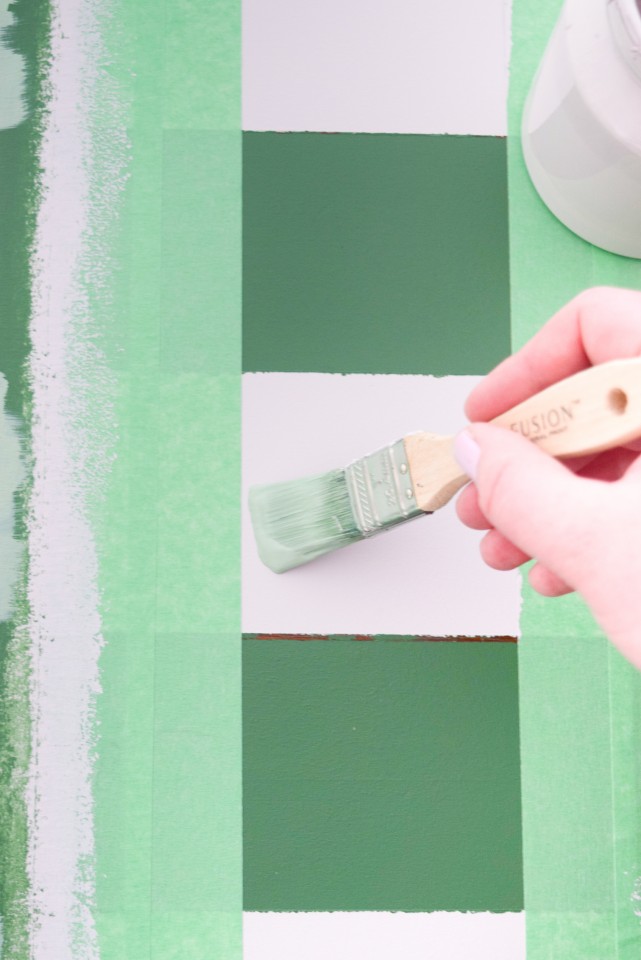
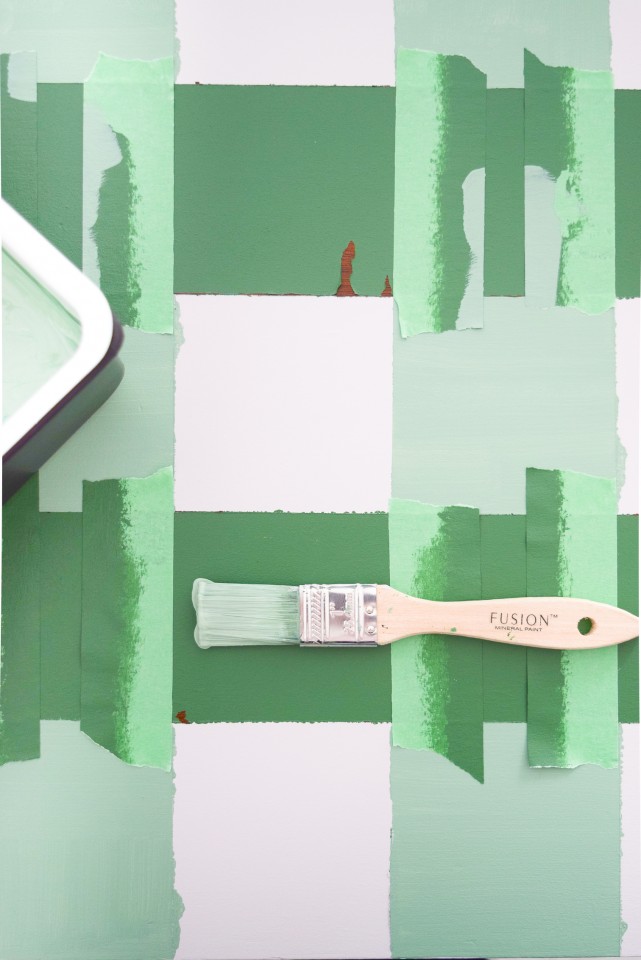
Step 8: Once the custom green is dry, slowly peel back the tape.
Step 9: Do any touch-ups necessary, especially where the painters’ tape might have pulled up some of the paint underneath.
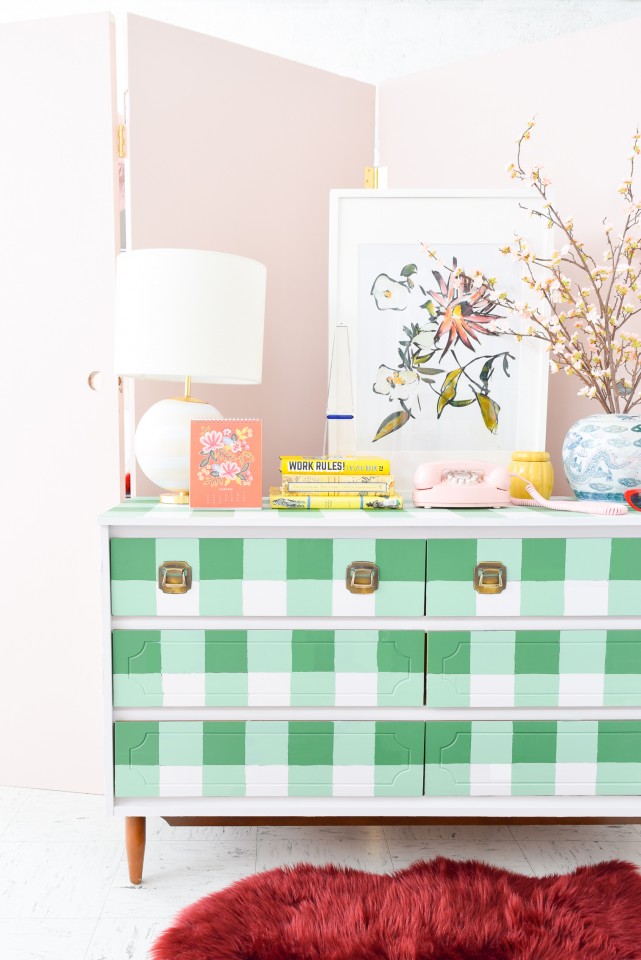
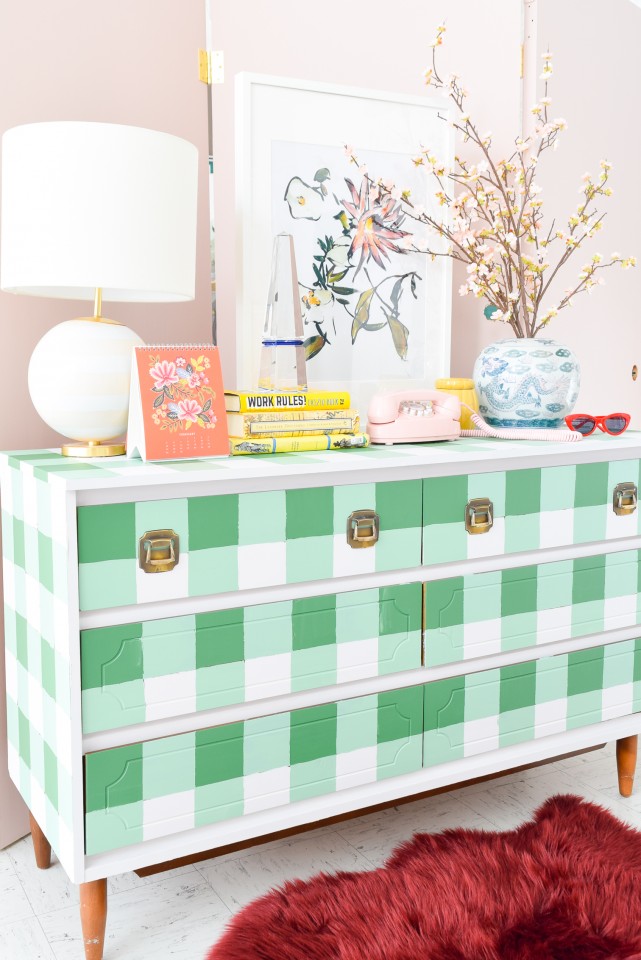
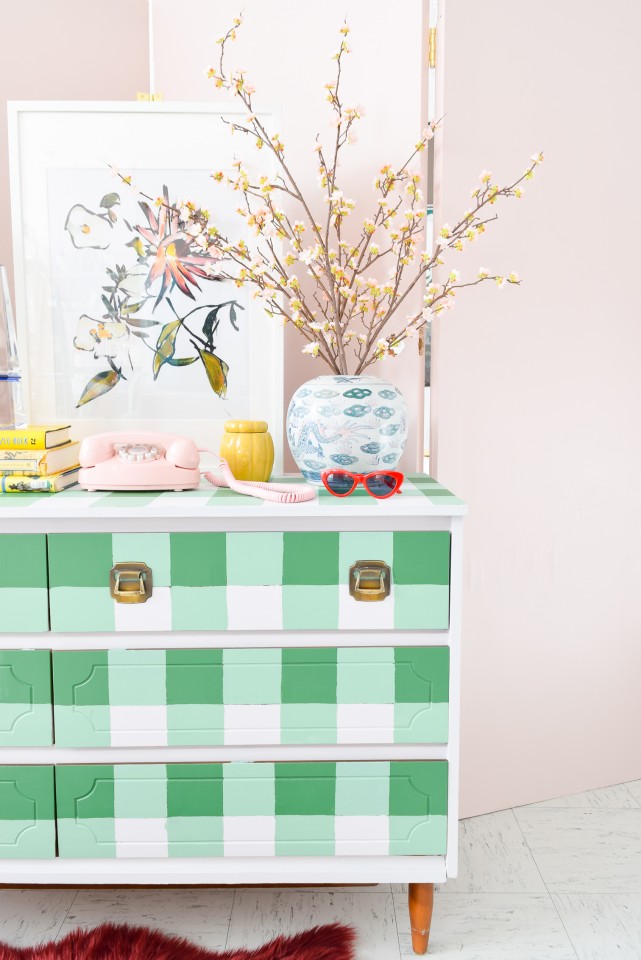
Important things to note:
- Don’t forget that you need to be doing all of these steps on the drawer fronts too.
- Depending on the type of dresser you use, there may be cabinet frontage that is also visible. so I recommend you paint that in white to help balance the intensity of the colours.
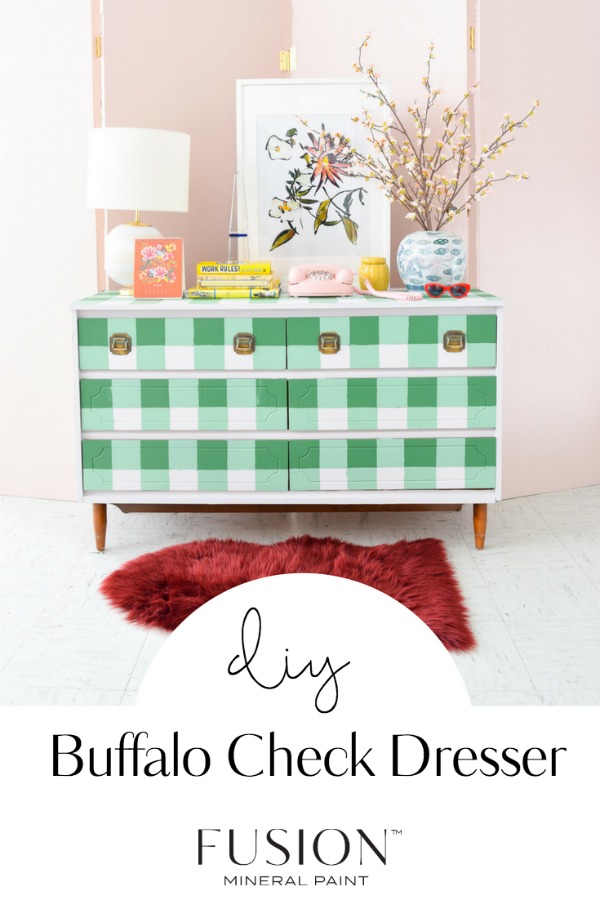
We hope this inspires you to make your own Buffalo Check dresser. Happy Painting!
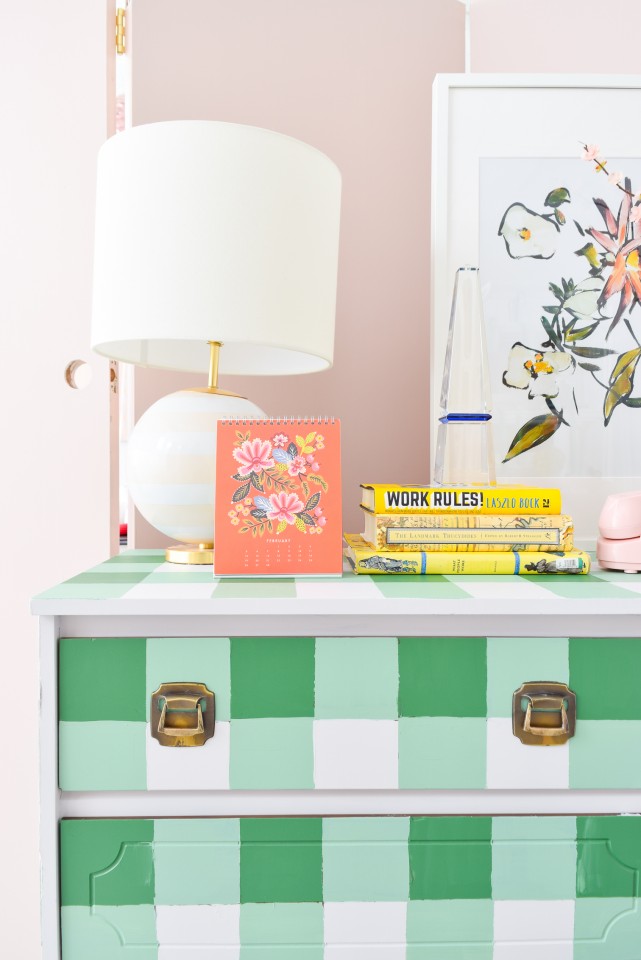
Project and photos styled courtesy of Ariel G.
If you’ve ever completed a project using Fusion Mineral paint, share it with us in our Facebook Group – Paint it Beautiful.
Pin For Later!


2 Responses