When you enter the furniture painting world, something that comes up frequently is how to use furniture wax over your painted furniture properly. We get a lot of questions about the basics – when, what, how… removal. The whole gamut! Even from seasoned furniture painters. We are going to teach you how to use furniture wax so that you can become a furniture wax expert yourself!
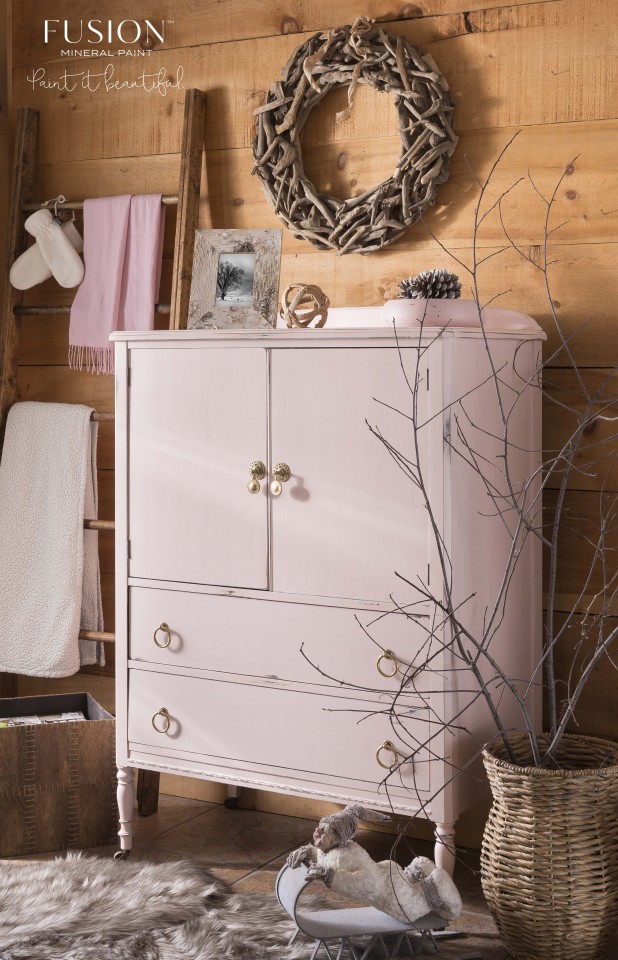
In case you haven’t heard, English Rose is the newest addition to Fusion’s Michael Penney colour collection. It is a gorgeous shade of pink, and it’s even better when you add furniture wax on top.
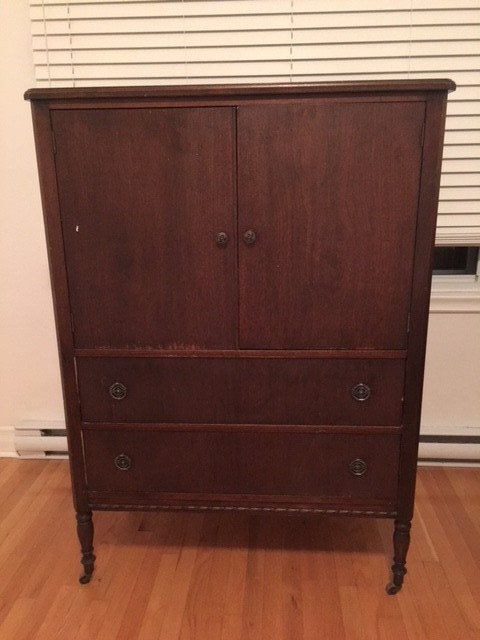
So here is the before, just so you can see how far this wardrobe has come!
First, you’ll need some supplies:
- Your favourite Fusion Furniture Wax (here we use the white wax)
- Your trusty wax brush (it’s a good idea to have a separate wax brush because sometimes you won’t be able to clean all the wax off – this leads to some big problems when you go back to painting! Natural bristle brushes are a really good option.)
- A lint-free cloth
- Your painted surface/furniture/piece – remember that WAX IS ALWAYS THE VERY LAST STEP!
Step 1: Wax On – time to get your wax on your painted piece.
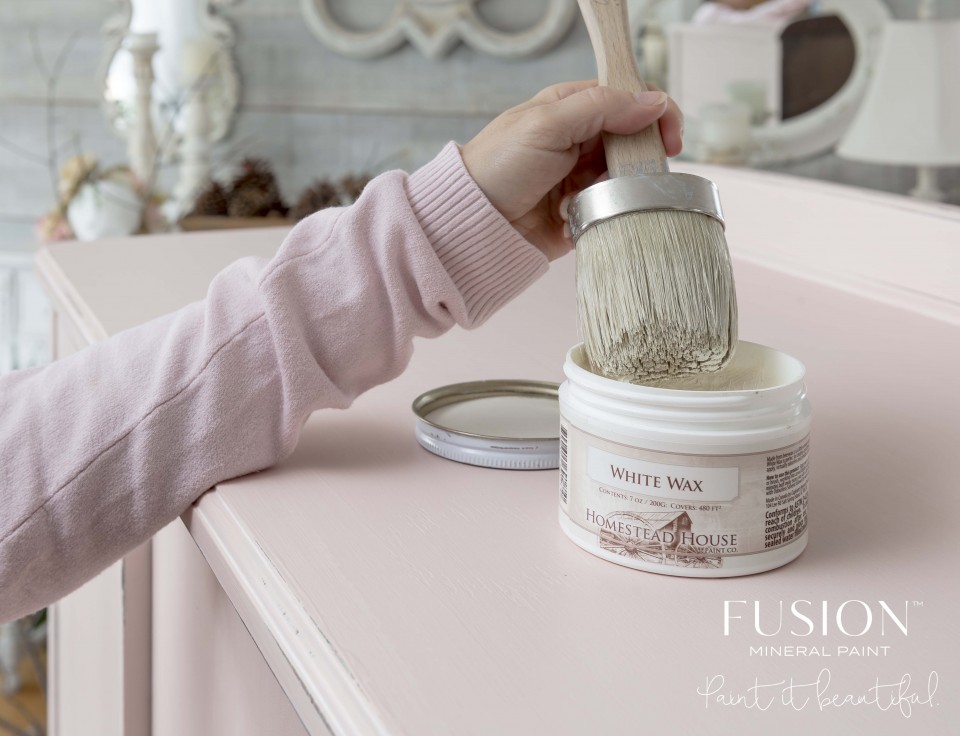
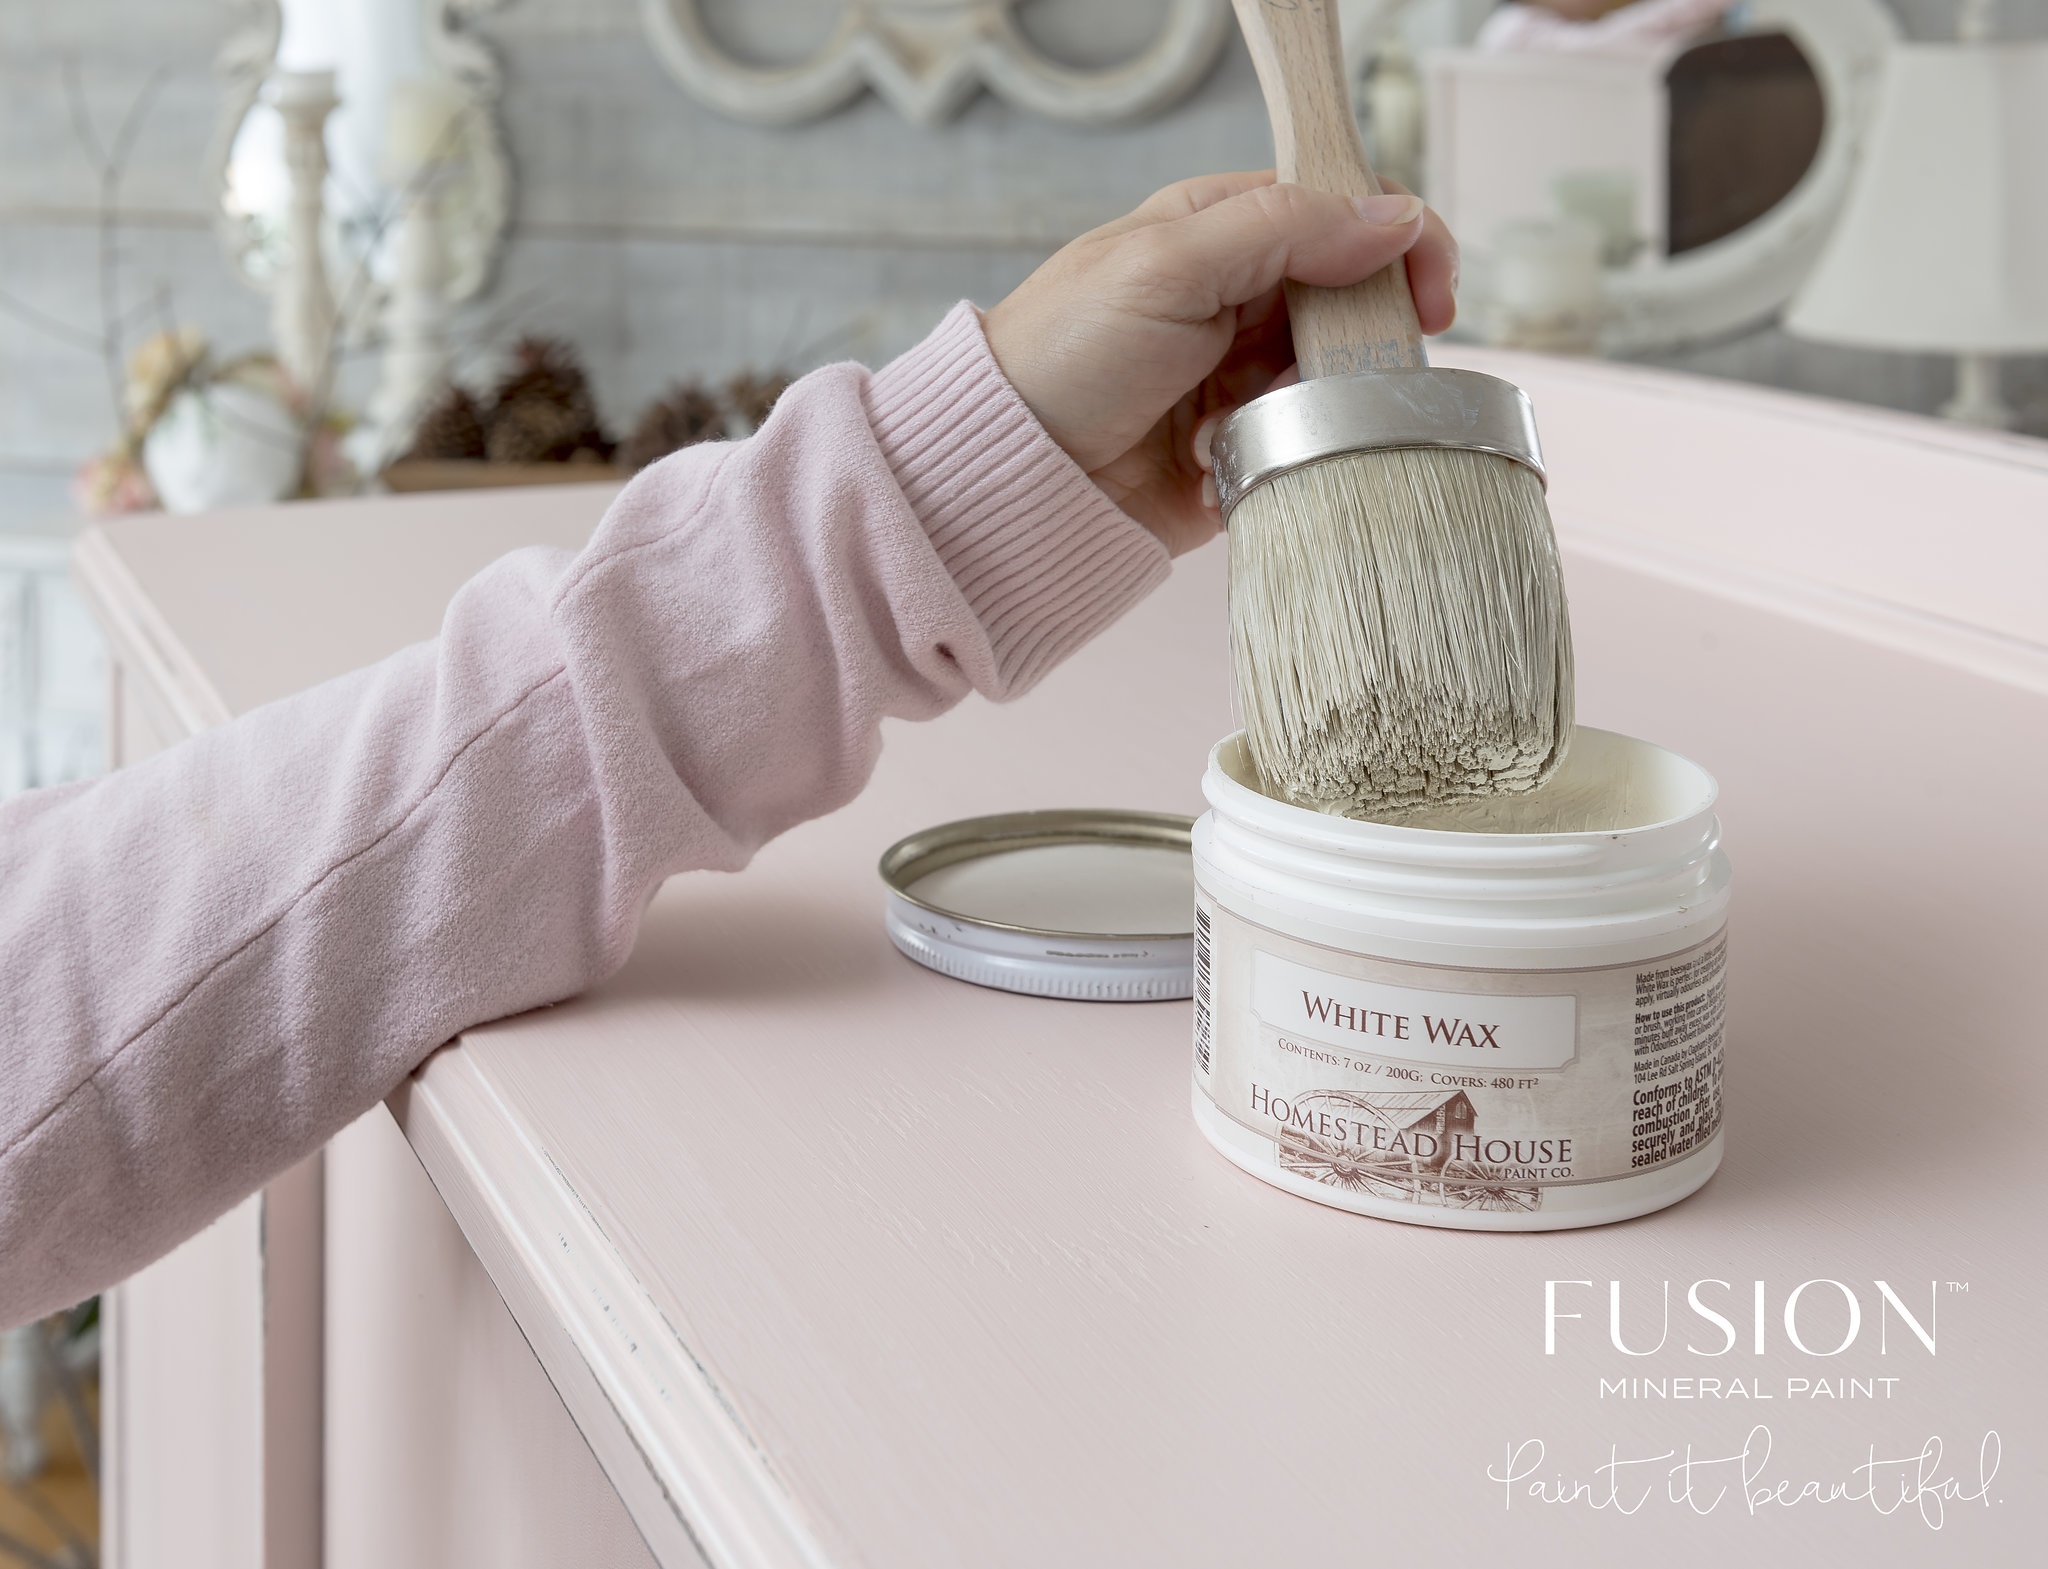
Here is the perfect technique for putting wax on your brush. Dip your brush into the pot of wax. You want to put a moderate amount on the brush – just like paint in that you don’t want too much or it will never come out of the bristles!
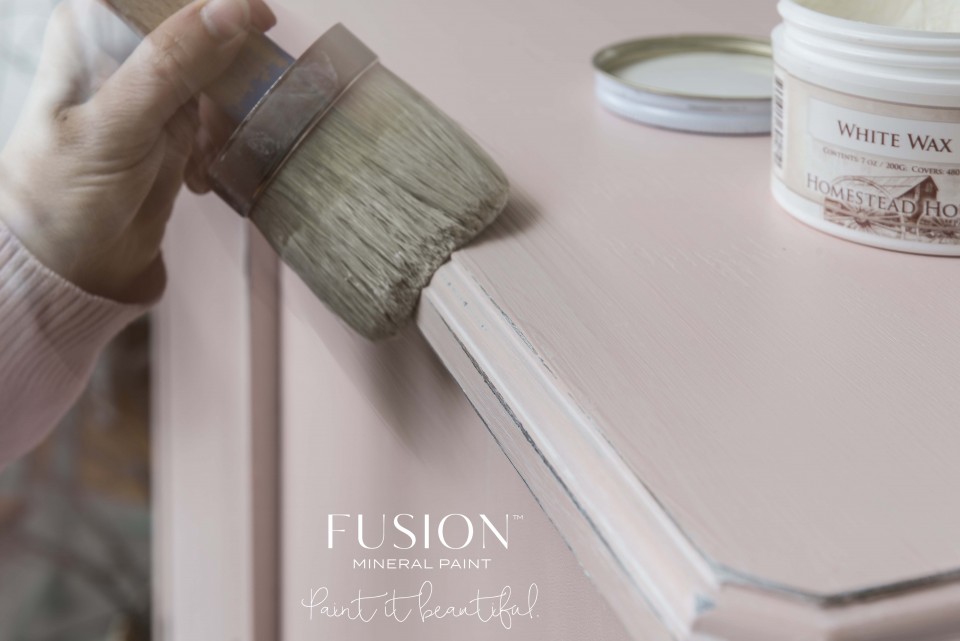
Liberally apply the wax onto your surface – just like furniture painting. Your brush strokes here depend on the colour of wax that you are using. Dark waxes like black and espresso tend to really show brush strokes, so be aware of that.
Before you wax off, let the wax sit for a little bit of time. For coloured waxes, let the product sit for maybe a minute or so. The longer the wax sits on the surface, the more the pigment will soak in and “stain” your piece. For clear wax, let sit for about 5 minutes so that you get better adhesion.
Step 2: Wax Off! Time to remove some of your wax from your painted piece.
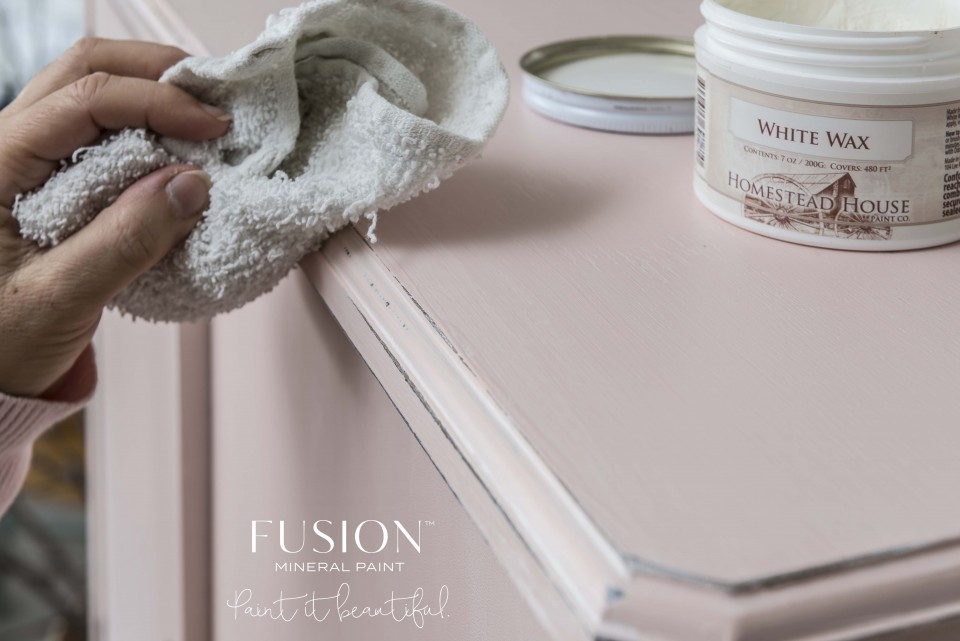
To buff the wax, use your lint-free cloth. Bunch it up in your hand like a nice soft pillow, making sure to leave a smooth side where you will be buffing the wax. Rub the cloth onto your piece in small circles – start with light pressure. Remember that you are buffing and not removing – it is more like encouraging the wax to smooth out and harden, rather than wiping it off. The wax will go from buttery to tacky, to smooth and that’s when you know you’ve properly buffed. This step does take some patience – but it is so worth it when your piece looks like this:
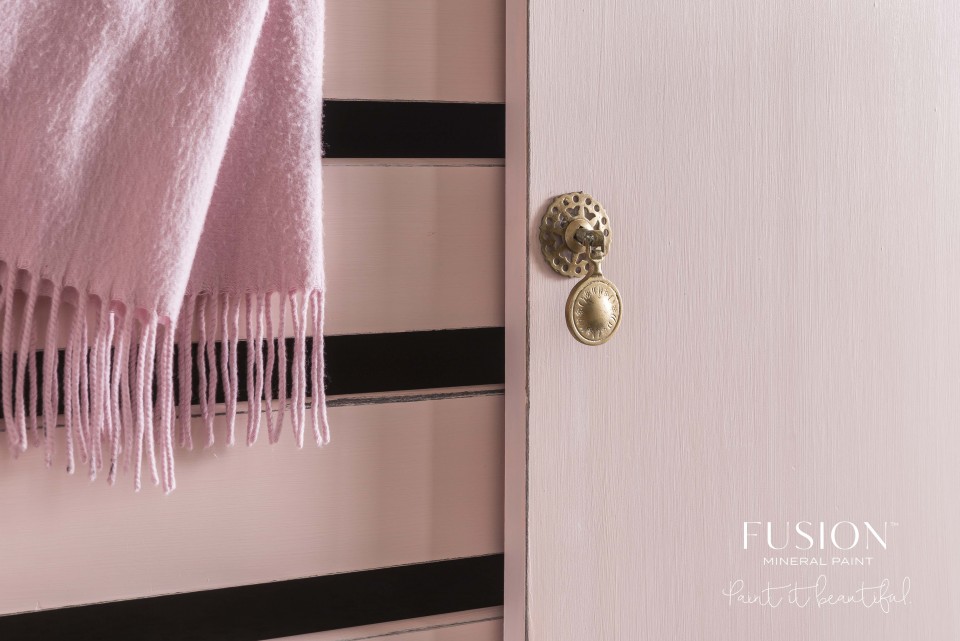
The thing I love most about the white wax is how it softens the tone of the paint underneath. It makes a piece feel dreamy and whimsical. Check out the before and after!
Want to learn more about how to create different faux finish effects with Fusion Waxes? Check out this video!
This combination of English Rose and white wax (plus that faux fur rug!) makes me want to cuddle up in front of the fire with a mug of hot chocolate! Who knew pink could be such a winter colour?
Pin It For Later!


One Response