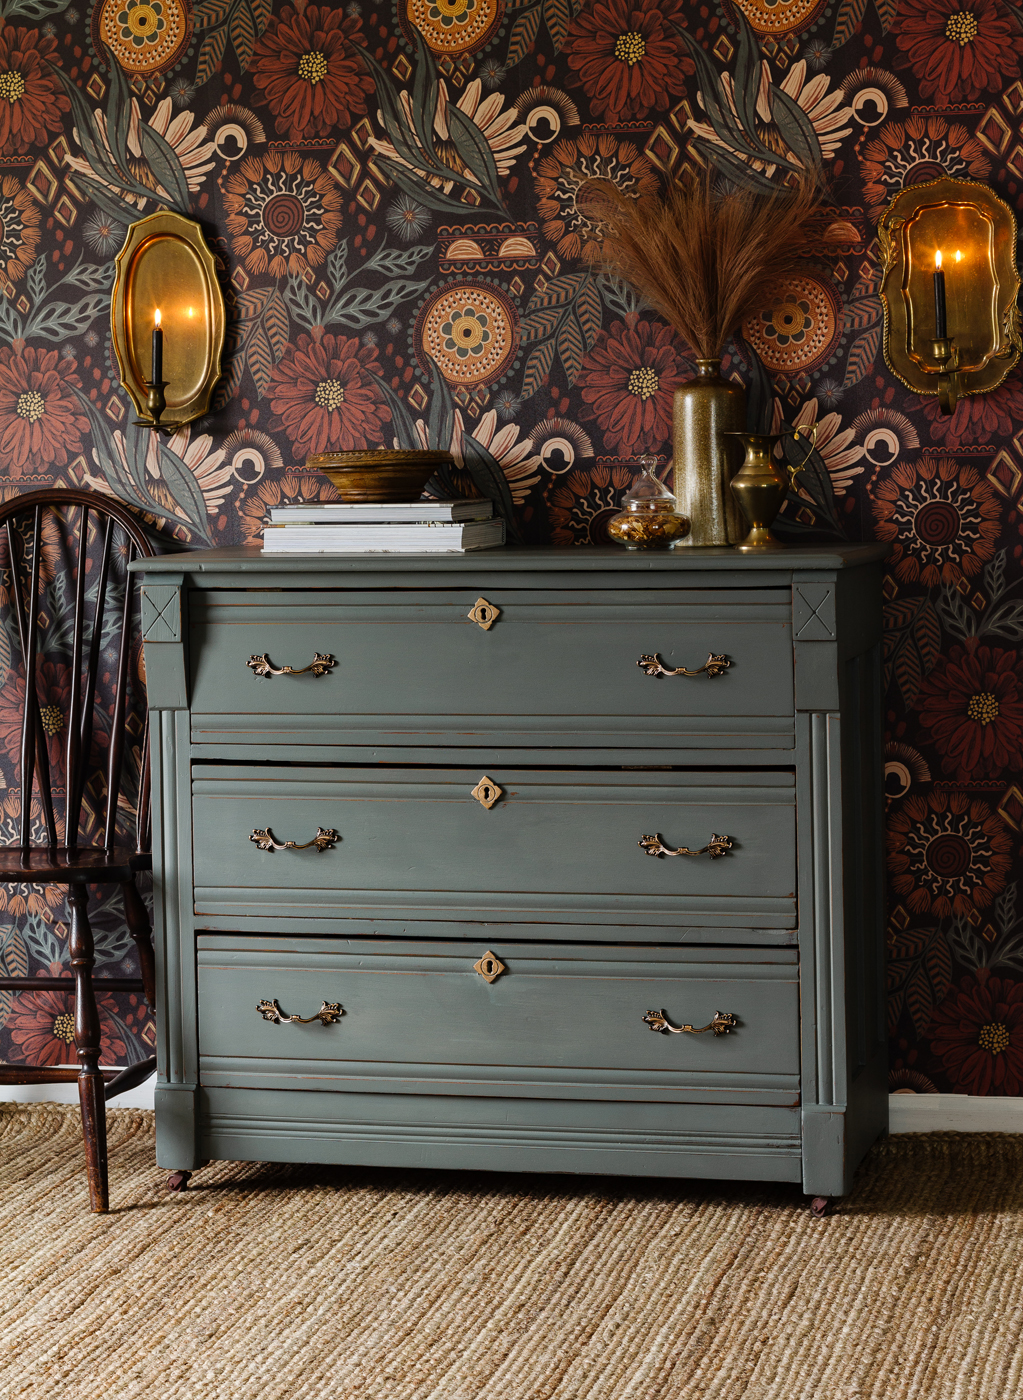
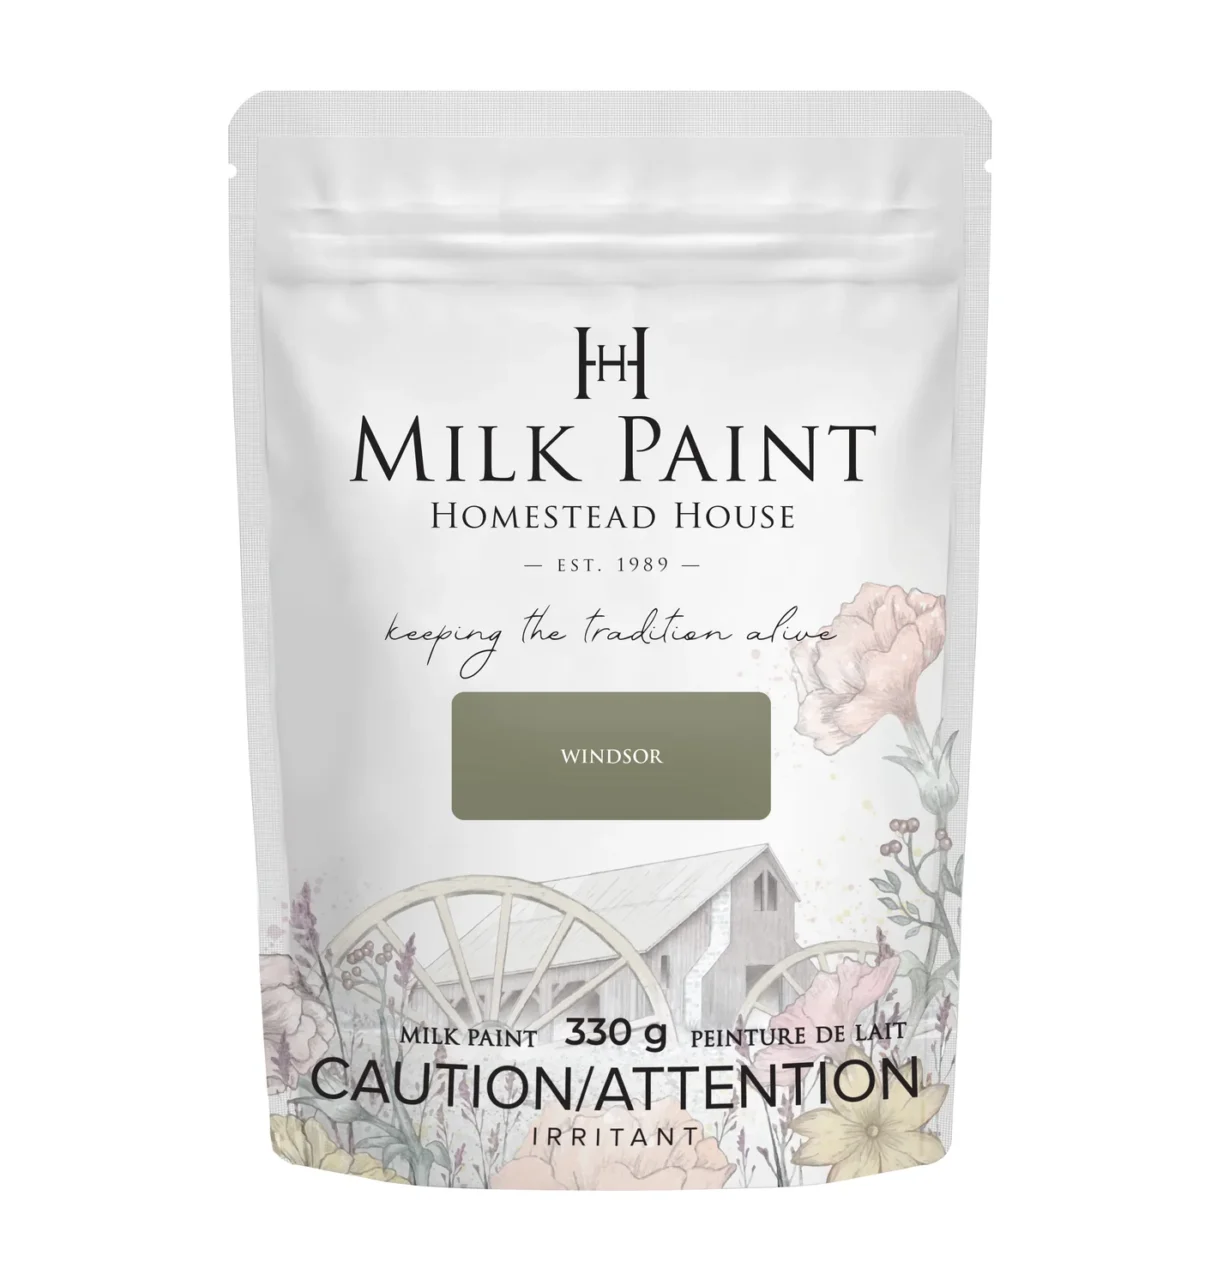
In the painting world, we are always looking for colours that speak to us. When that happens, the colour drives the whole vision and every piece of our project falls into place. Sometimes the colours we crave are saturated and moody, and they change with the light of day which is exactly what we love about this new Homestead House Milk Paint Colour called “Windsor.”
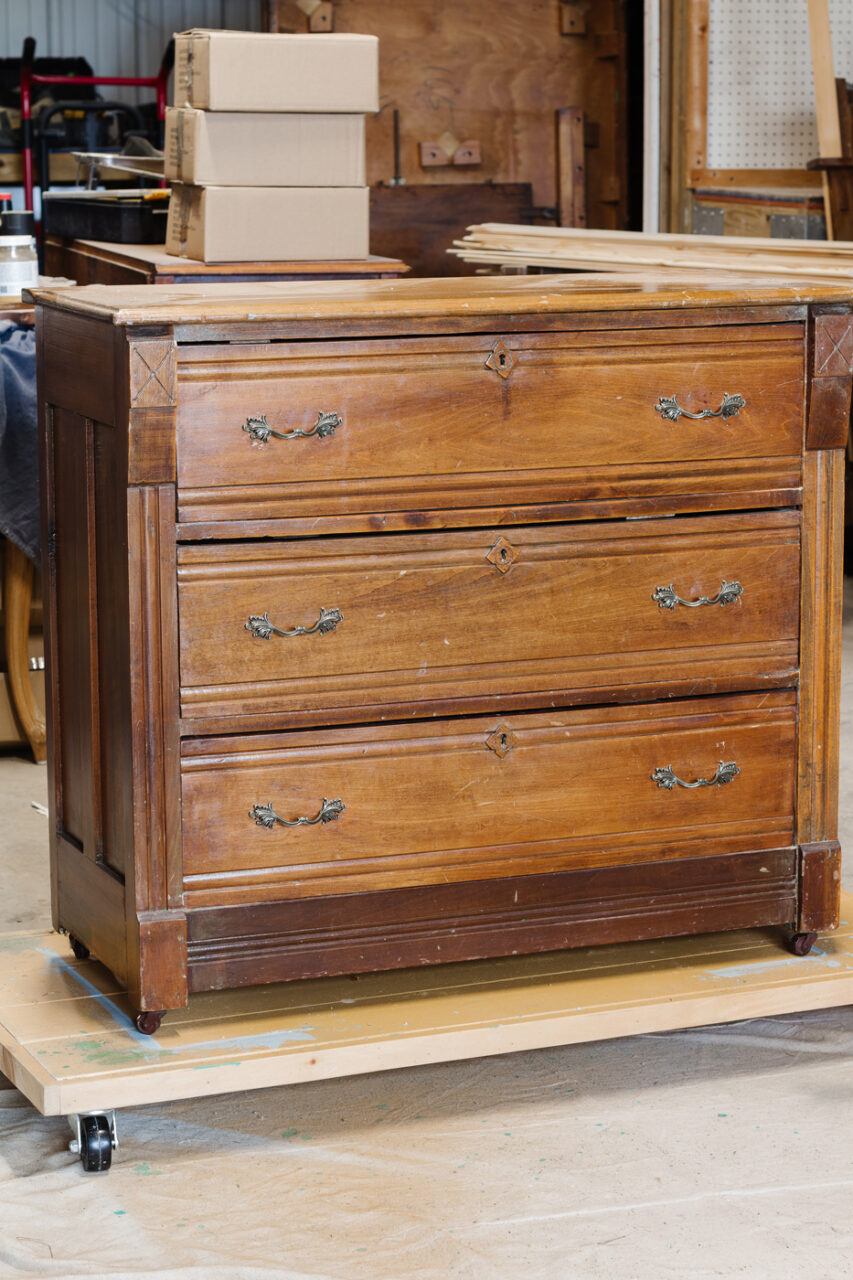
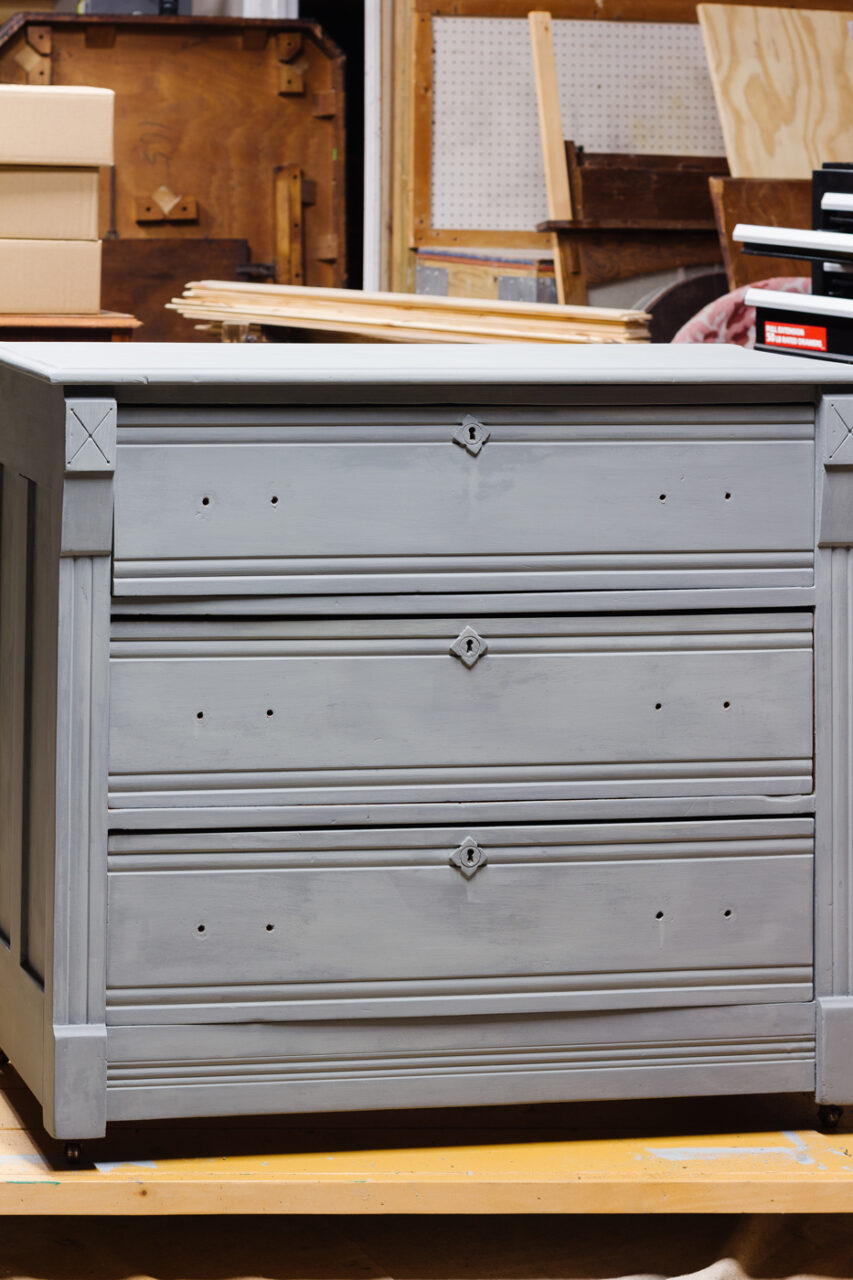
Here is a before look at the piece we chose for our project:
Below is a list of supplies you’ll need to complete a similar project.
- Fusion TSP Alternative + Wiping Cloths
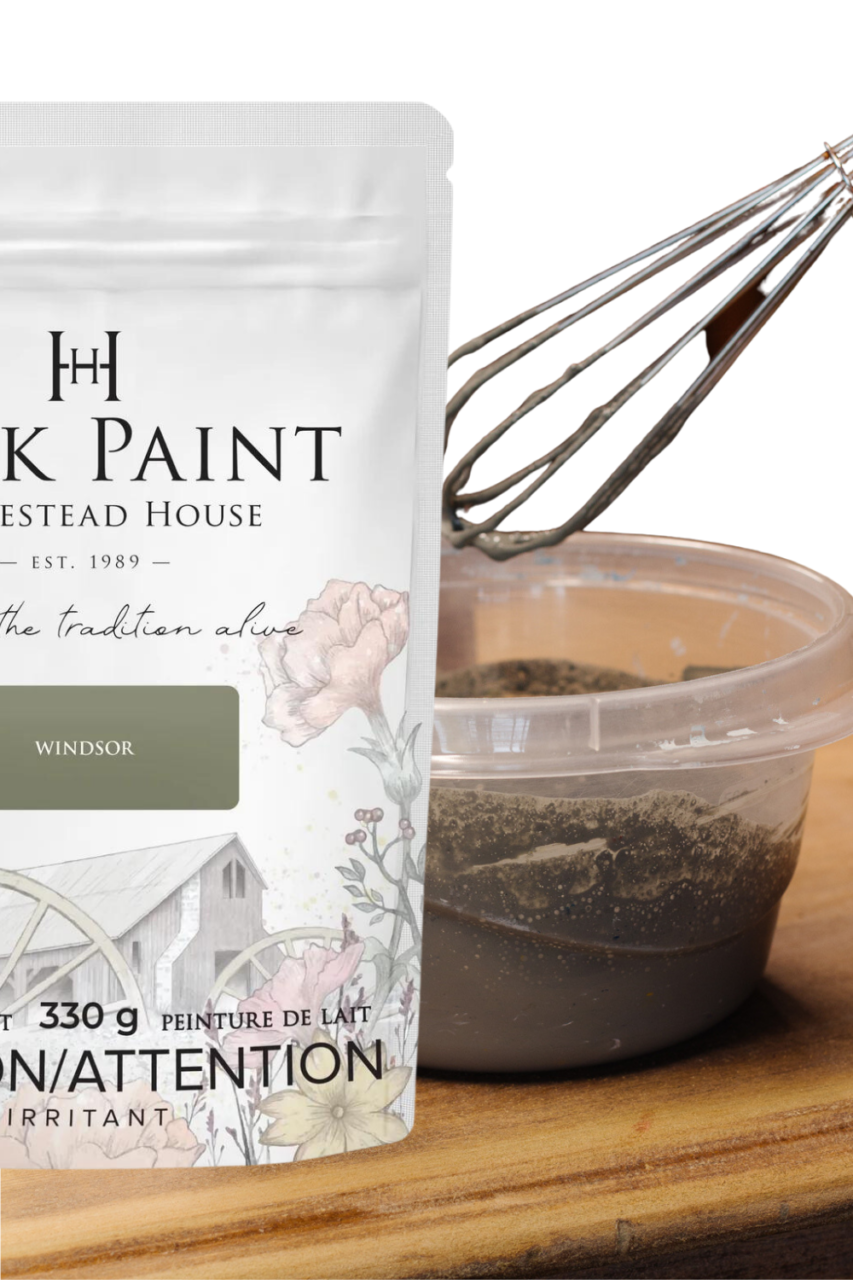
- Homestead House Milk Paint “Windsor“
- Furniture Wax
- Electric Sander and Sanding Pads/Paper
- Stir stick + Container
- Staalmeester Flat 2-inch Synthetic Brush
- Staalmeester Round Natural Bristle Brush
Step 1: Prep
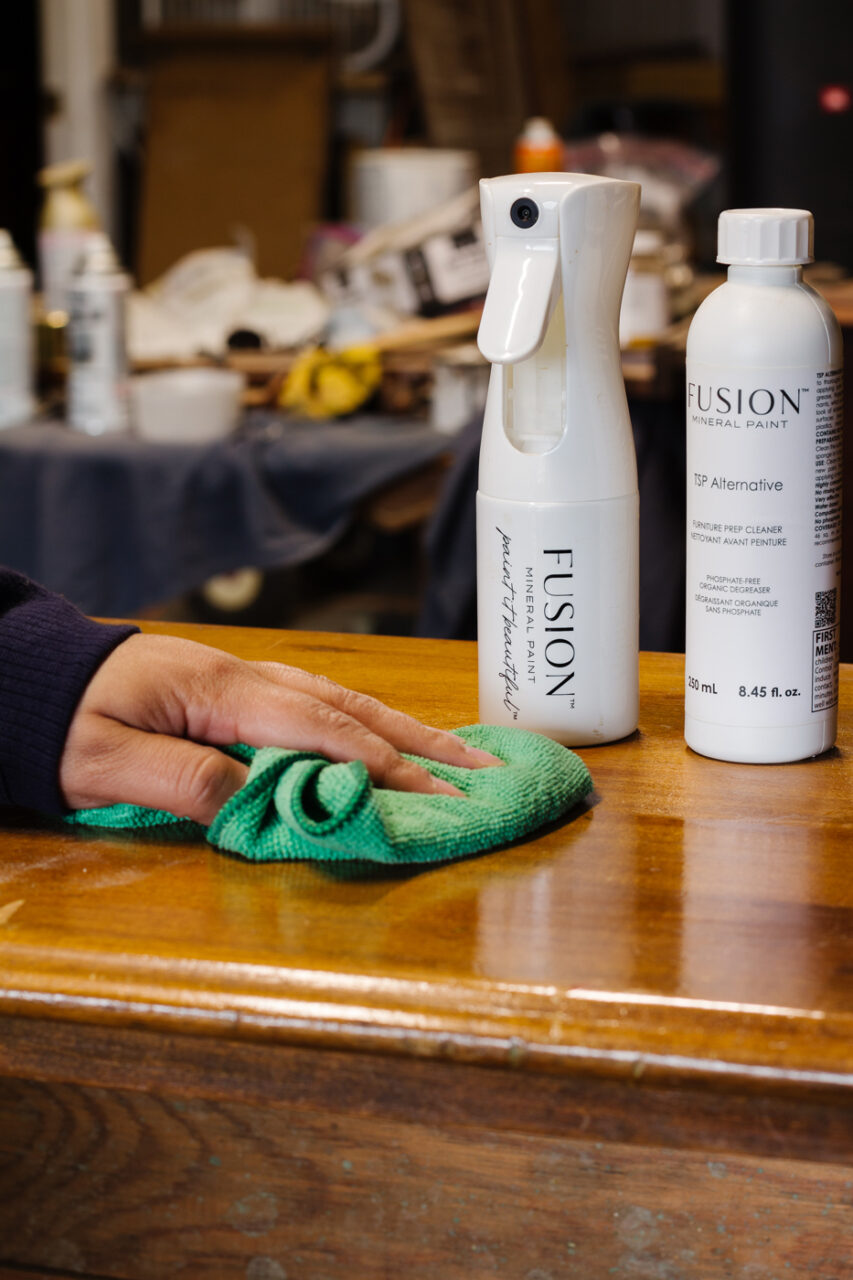
The first thing to do when starting any project is to make sure you are working with a clean surface. Dust, oil, and greasy films on your piece are a recipe for resistance when it comes to painting your furniture. It’s important to make sure that when you are cleaning you are also using compatible products with your finished. Fusion TSP Alternative is a great non-toxic solution that is tough on grease and oils and gives you a deep clean without the harshness of chemicals. We like to mix it in a 1:4 solution with warm water in a spray bottle for easier application. Simply spray, let saturate, and get to work scrubbing with a wiping cloth.
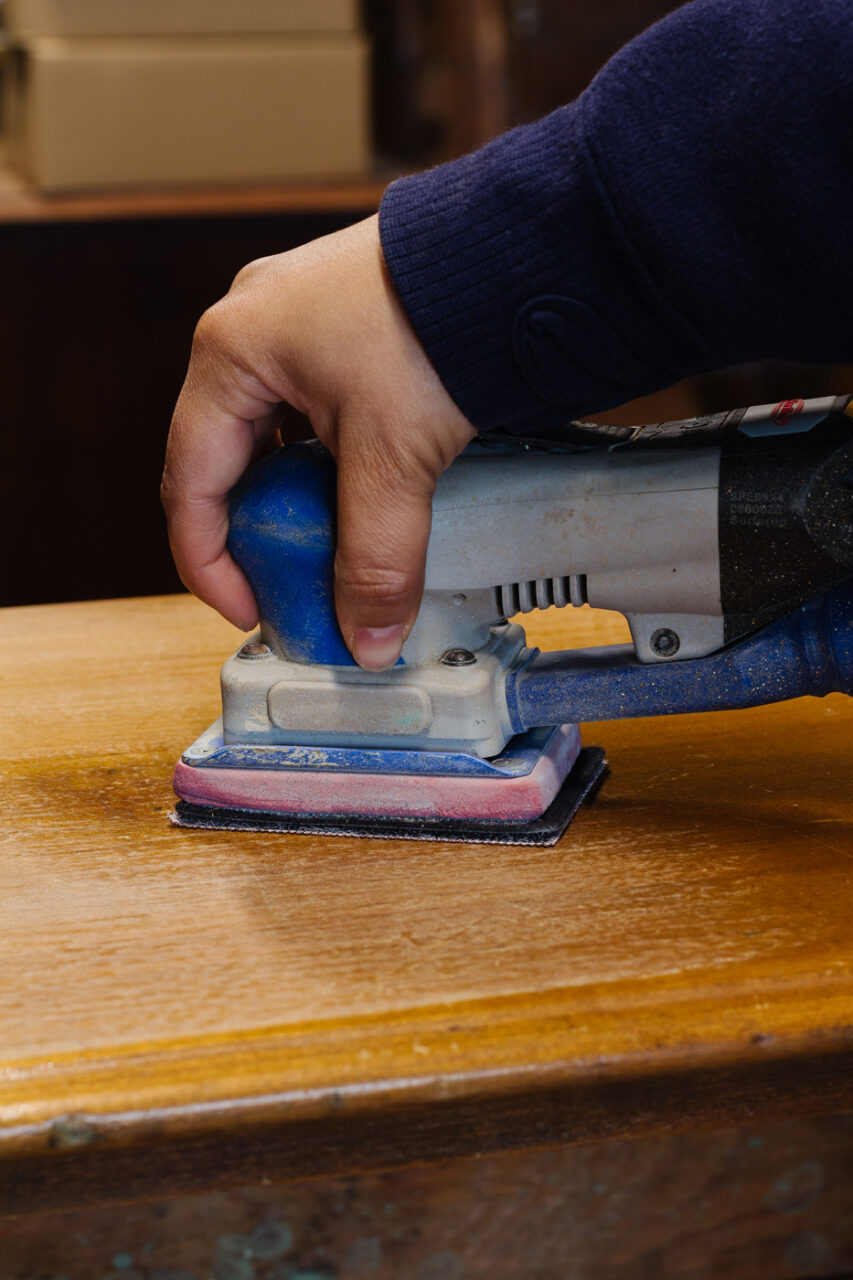
Next, we prepped the surface for our paint by using an electric sander and a scuff pad to scuff sand our surface. Scuff sanding means to slightly abrade the surface without completely stripping the finish. This will create a slight bit of dust, so just use a damp cloth to wipe it away.
Step 2: Milk Paint & Wax
Now that the prep work is done, it’s time to get to the fun part. The painting! One awesome thing about using milk paint is that you can mix up your paint as thin or as thick as you like. It all depends on the look you are wanting. For this project, we wanted good coverage on the first coat so we mixed it up a little thicker. We did a 1:1 ratio of milk paint to water and added another 2 spoonfuls until the consistency was just right.
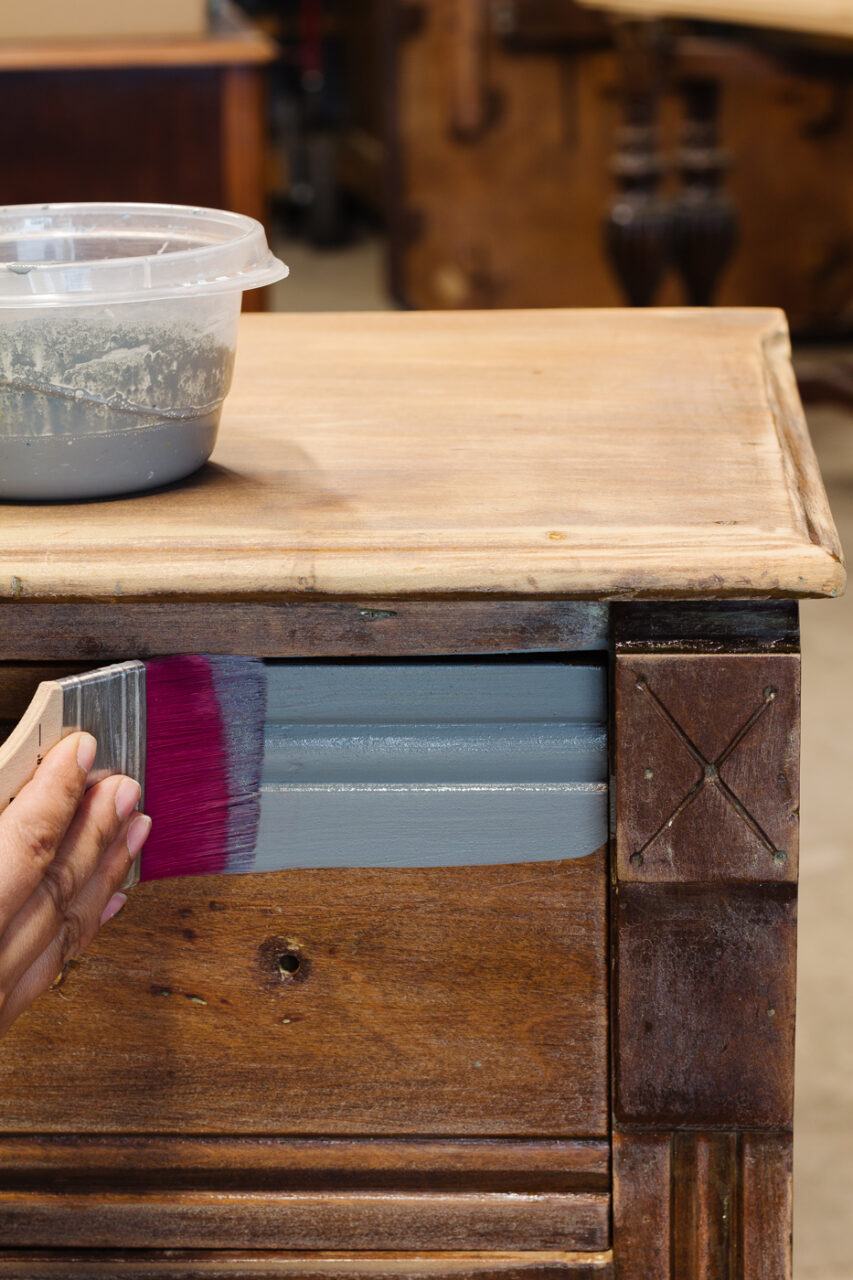
Although the first coat covered pretty well, we added a subsequent coat for full coverage. If you wanted to go for a washed look, you could definitely get away with one coat!
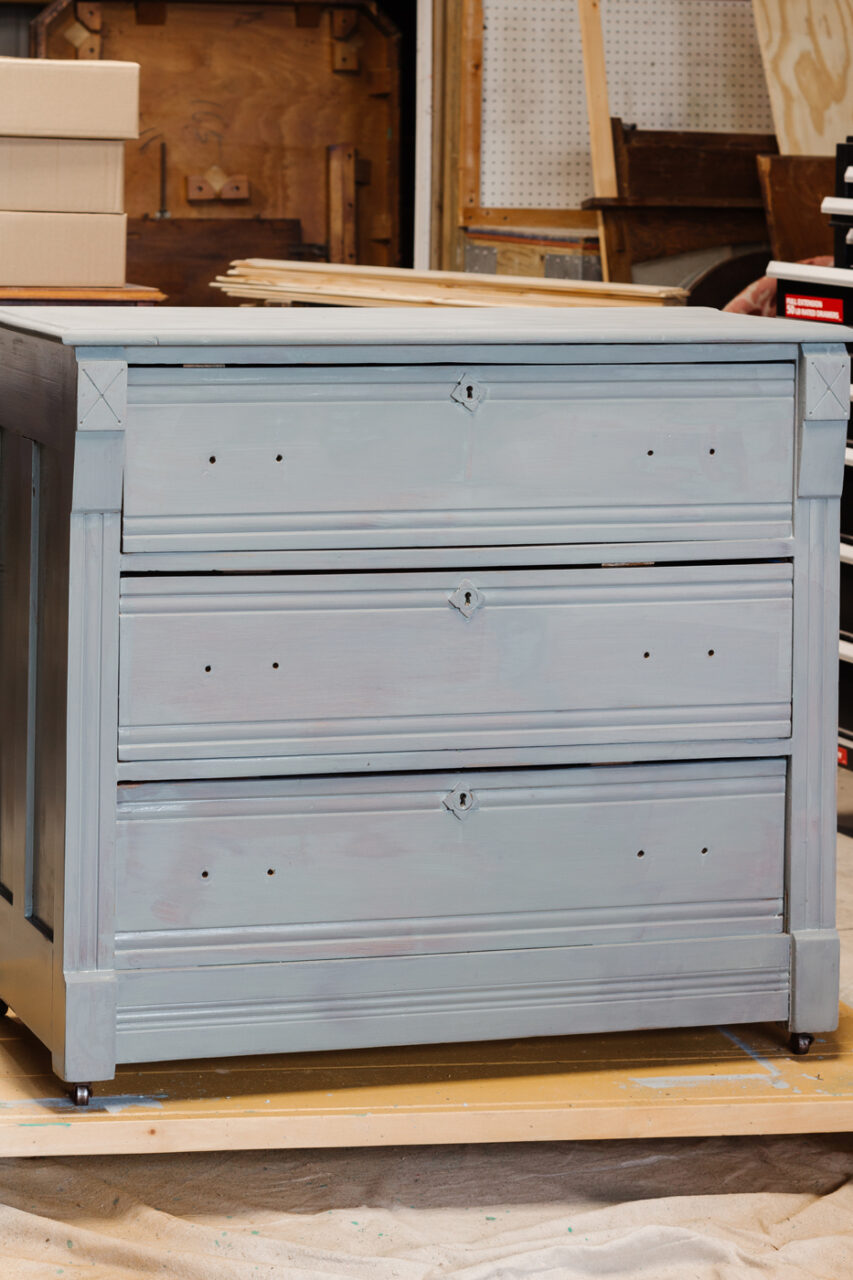
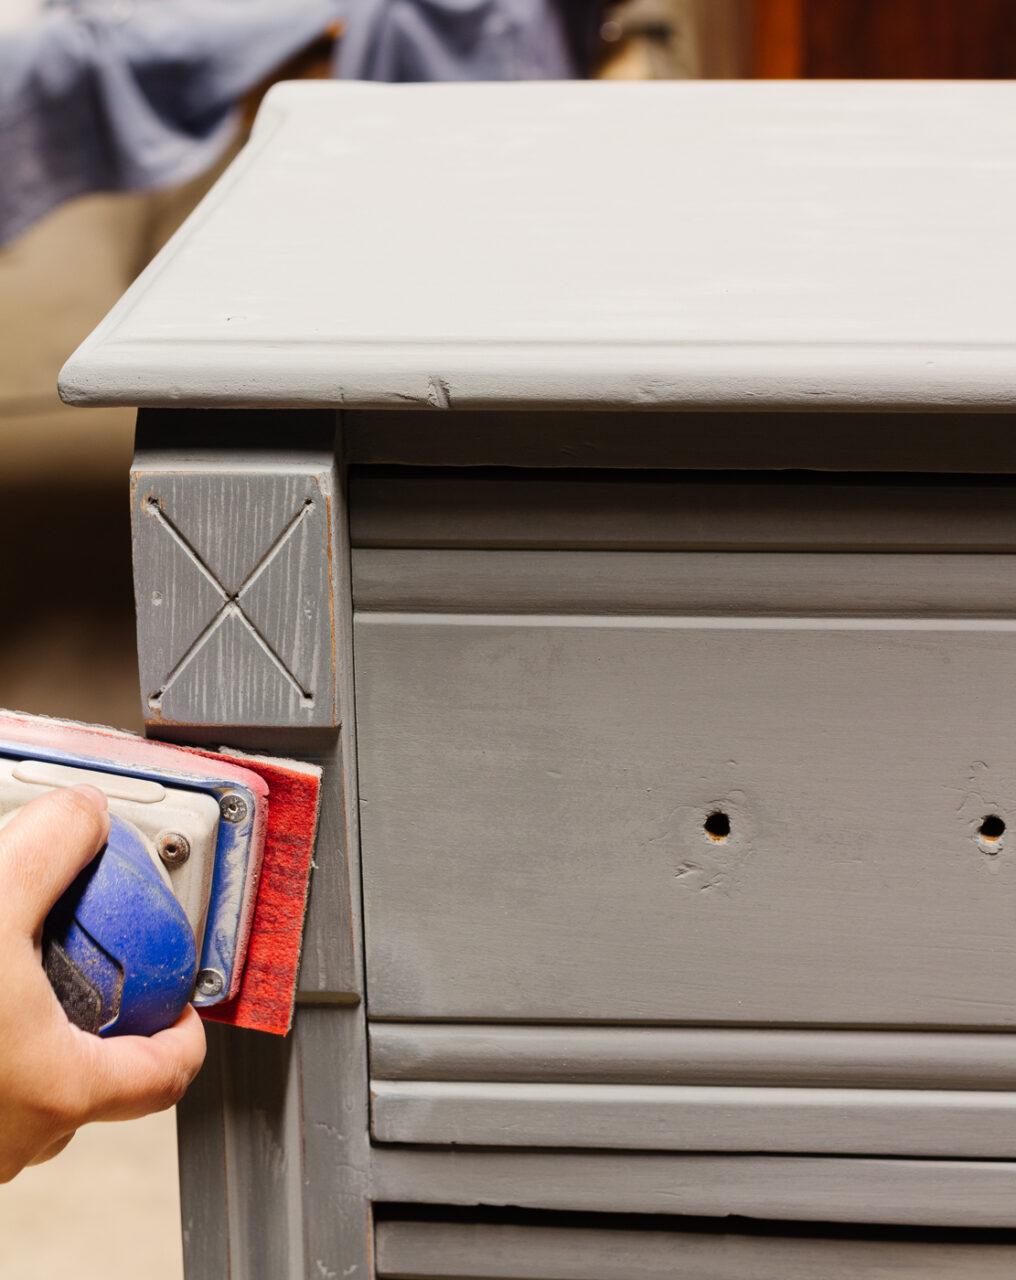
After our last coat of paint has dried, we took our sander and sanding pads to the surface for some distressing. We really wanted to smooth out the finish and add a subtle amount of distressing.
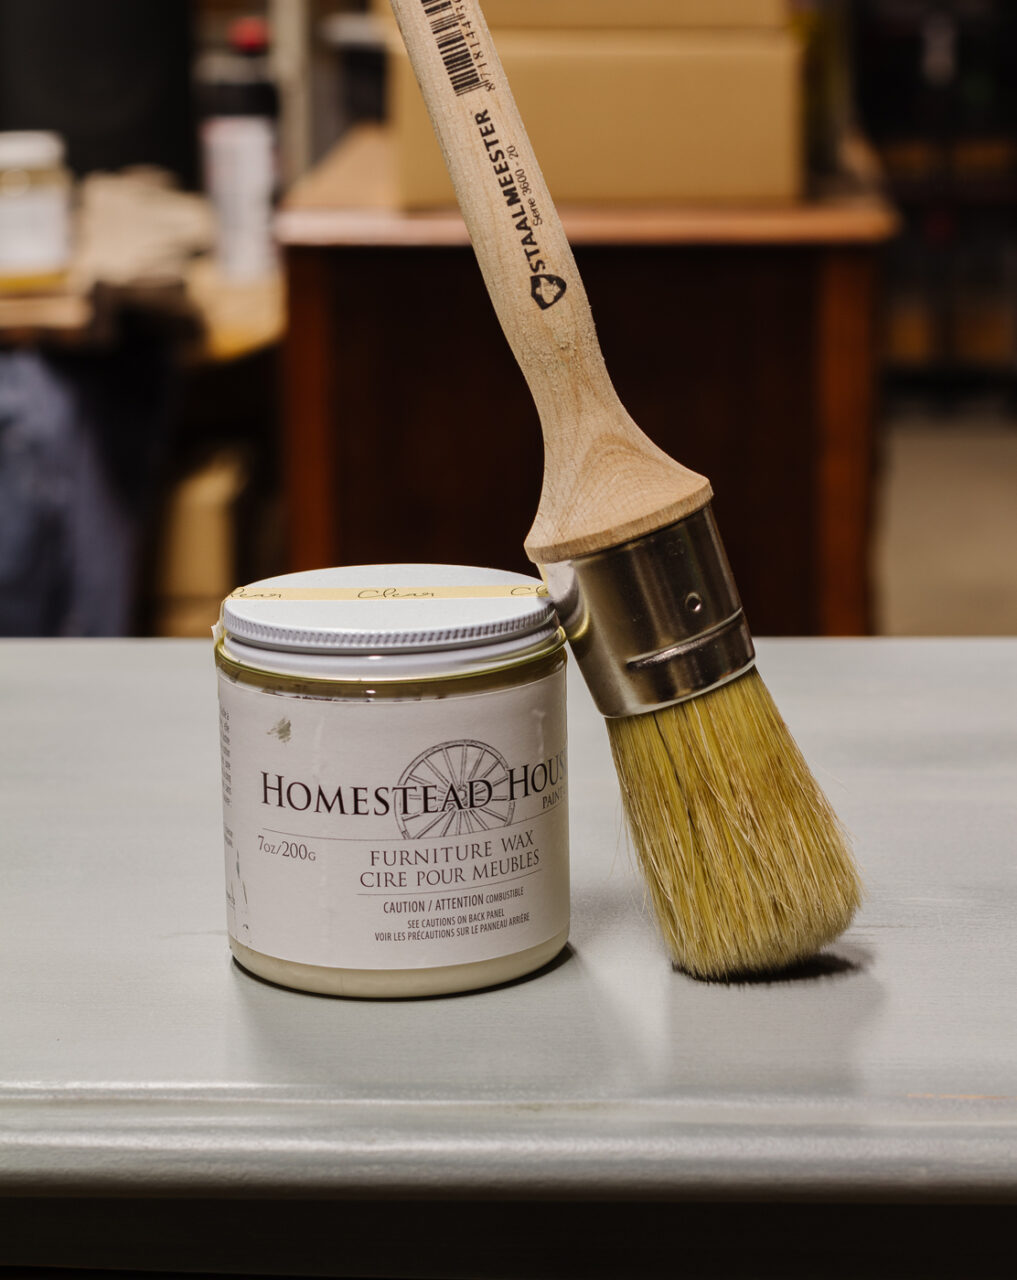
After wiping away the sanding residue, it’s time to seal the milk paint. We love the variety of finishes you can use over milk paint. From Hemp Oil to wax and Tough Coat, Homestead House certainly has you covered. We chose to use the clear Furniture Wax because it offers a beautiful buttery finish that brings out the true richness of this colour.
Moody and Earthy
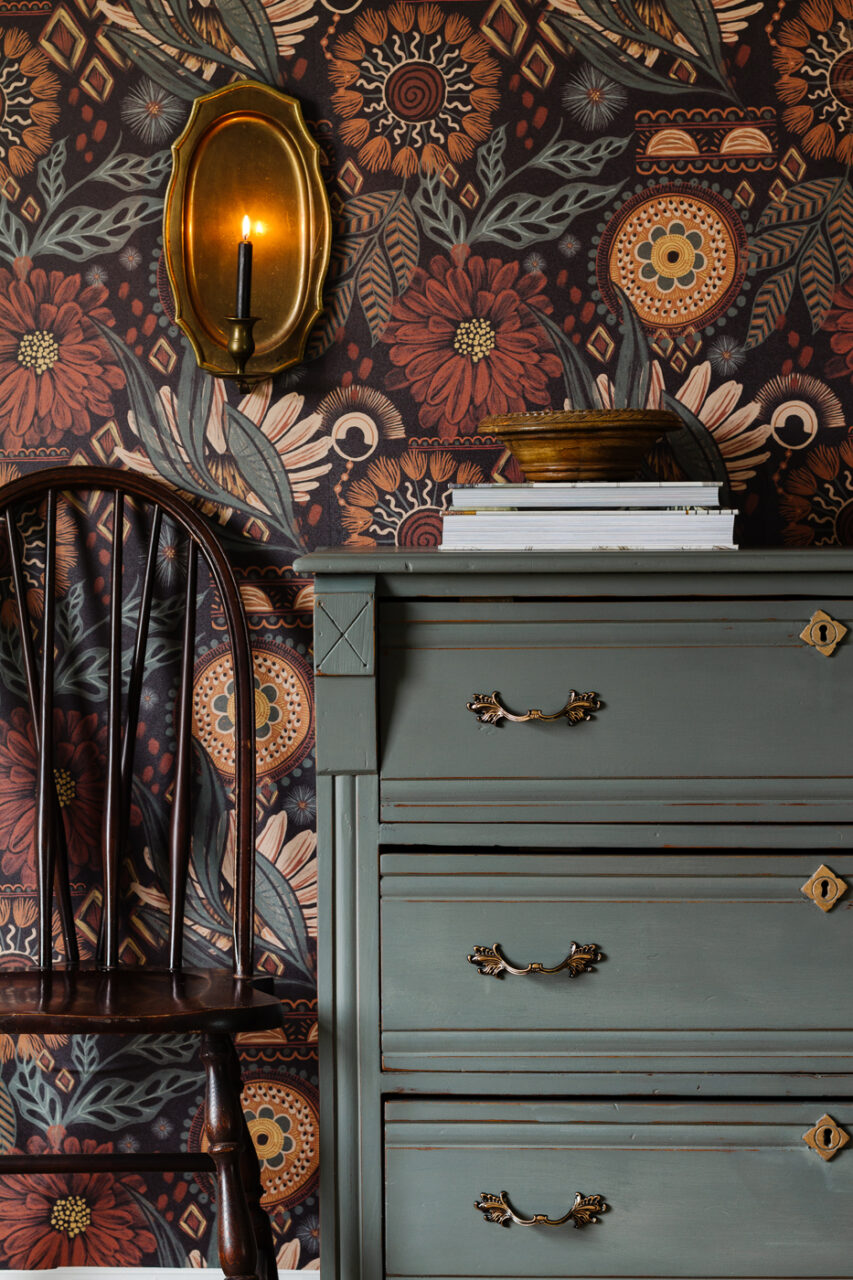
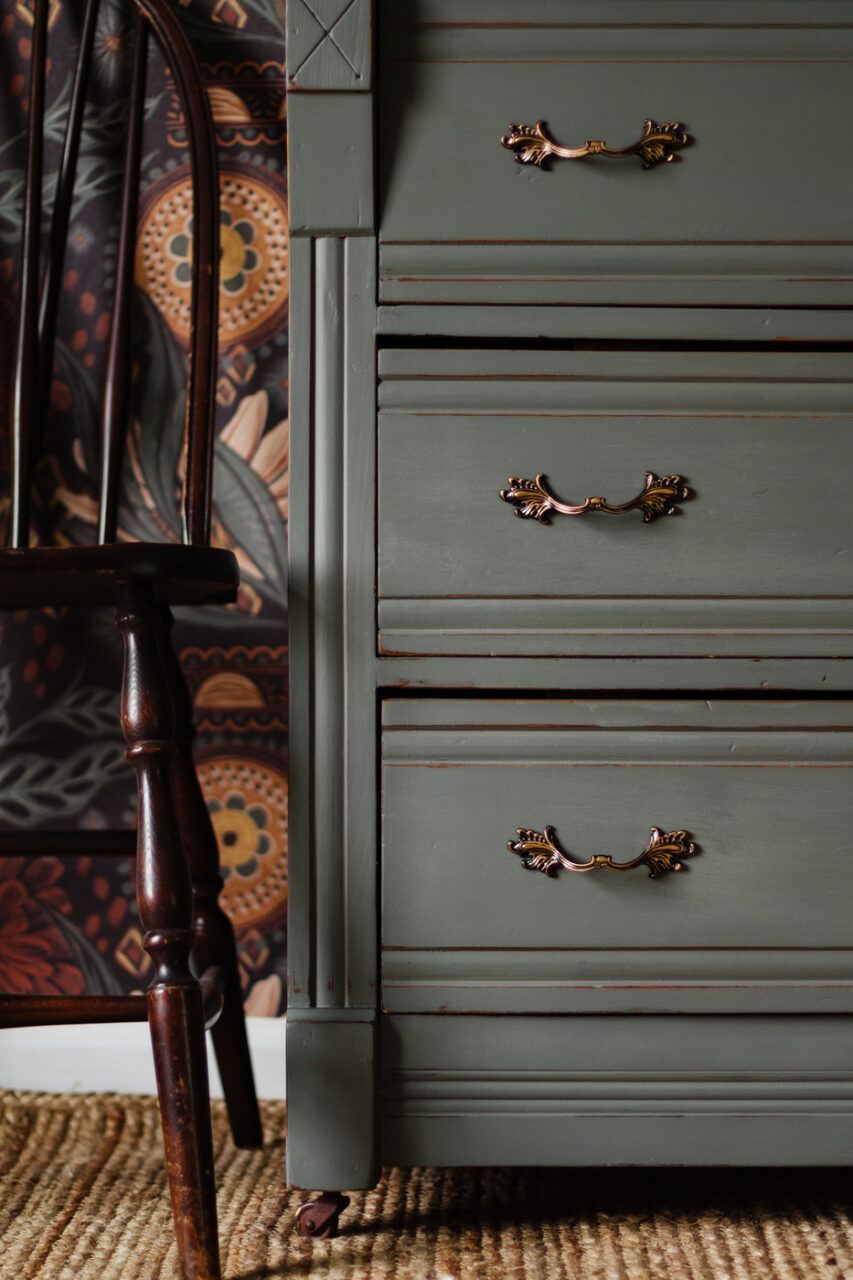
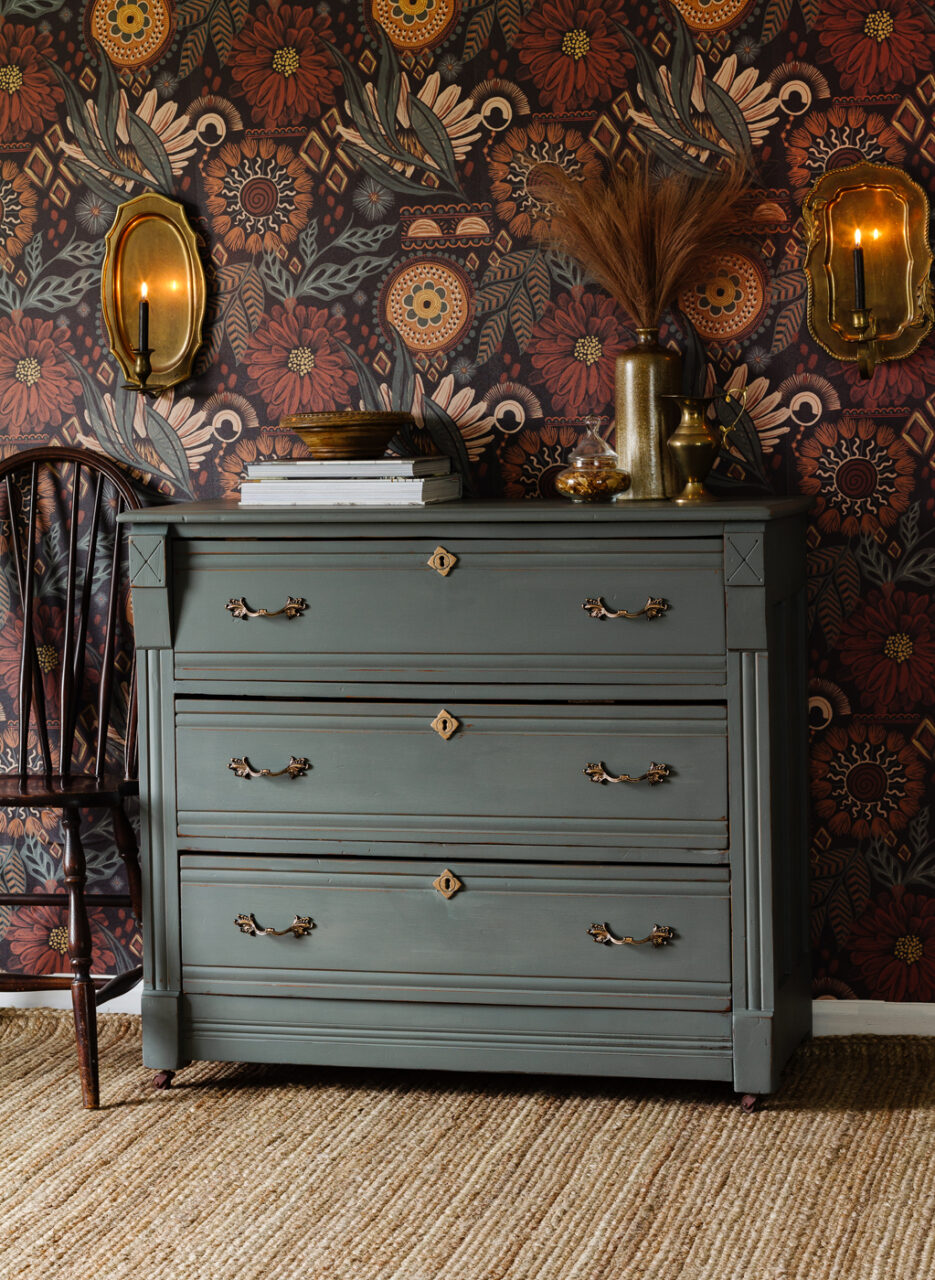
Windsor certainly invoked a deep and stormy vibe. It’s a gorgeous earthy green hue with lots of grey undertones that certainly speak to a moody interior. This colour will simply stop you in your tracks.
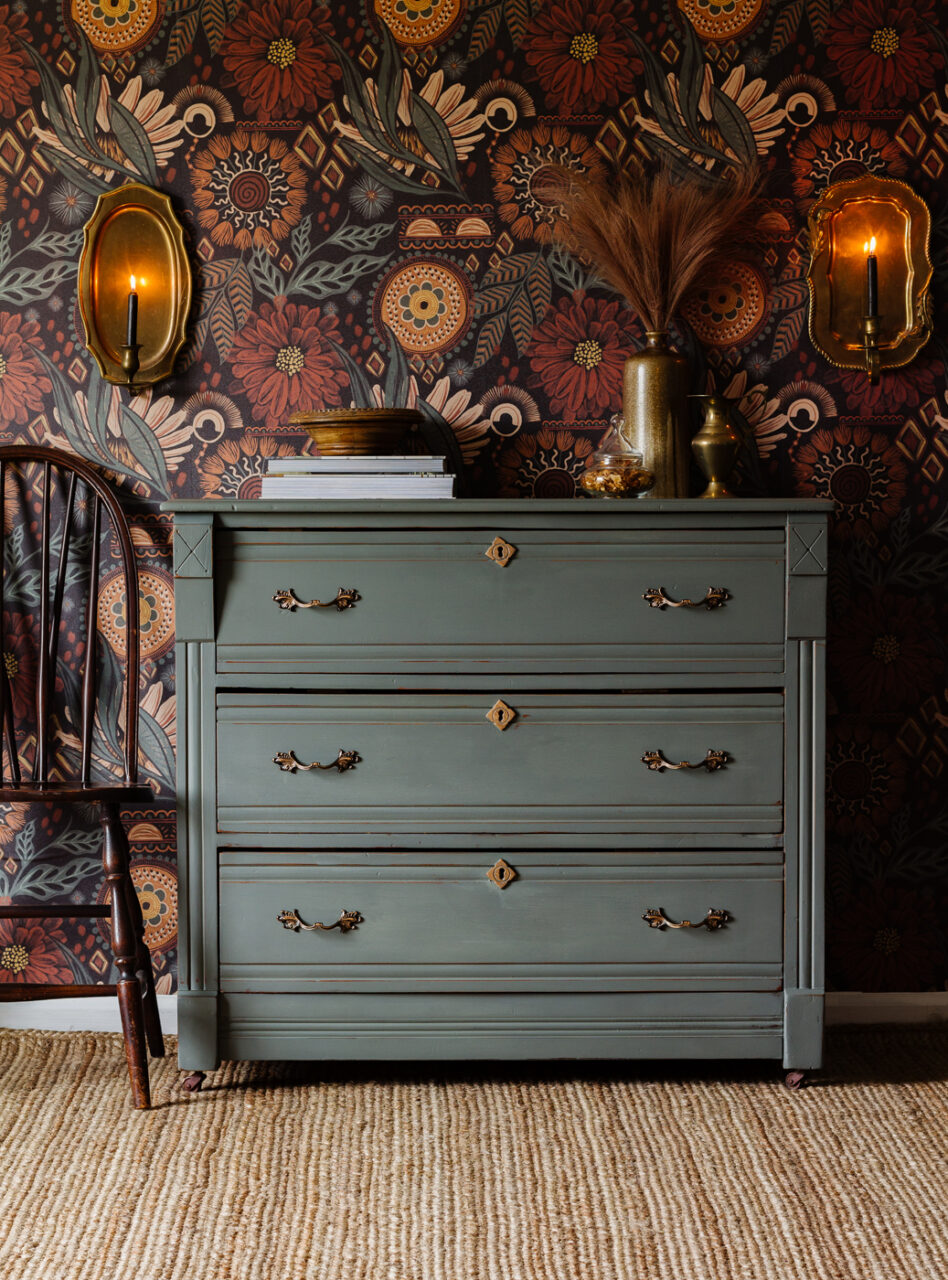

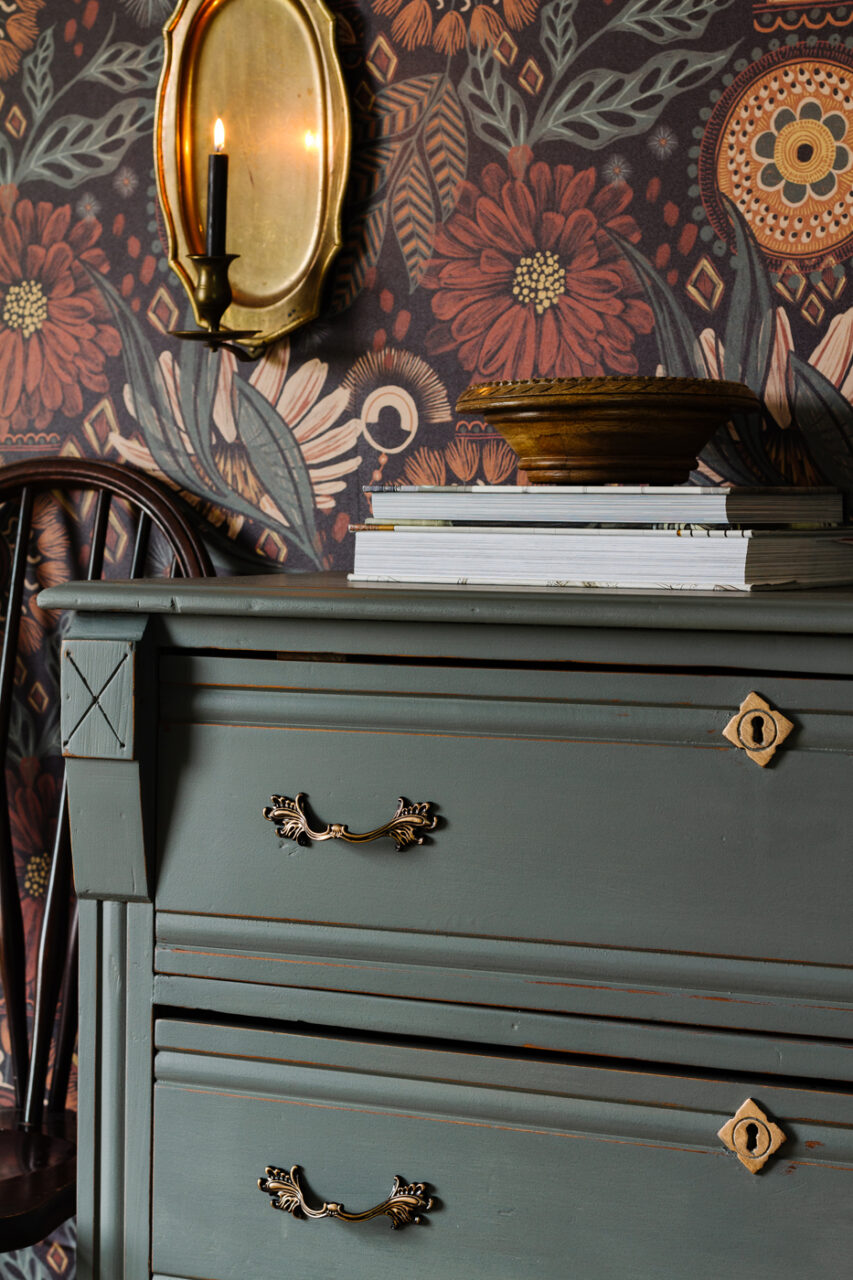
Although there isn’t any chipping or major distressing, this piece has plenty of character on its own. From its traditional Eastlake foundation to the French style pulls we know aren’t original, (but somehow work), this piece came together nicely.
We hope you enjoyed this makeover enough to try Windsor on your projects! Comment below what you plan to paint with this colour.


