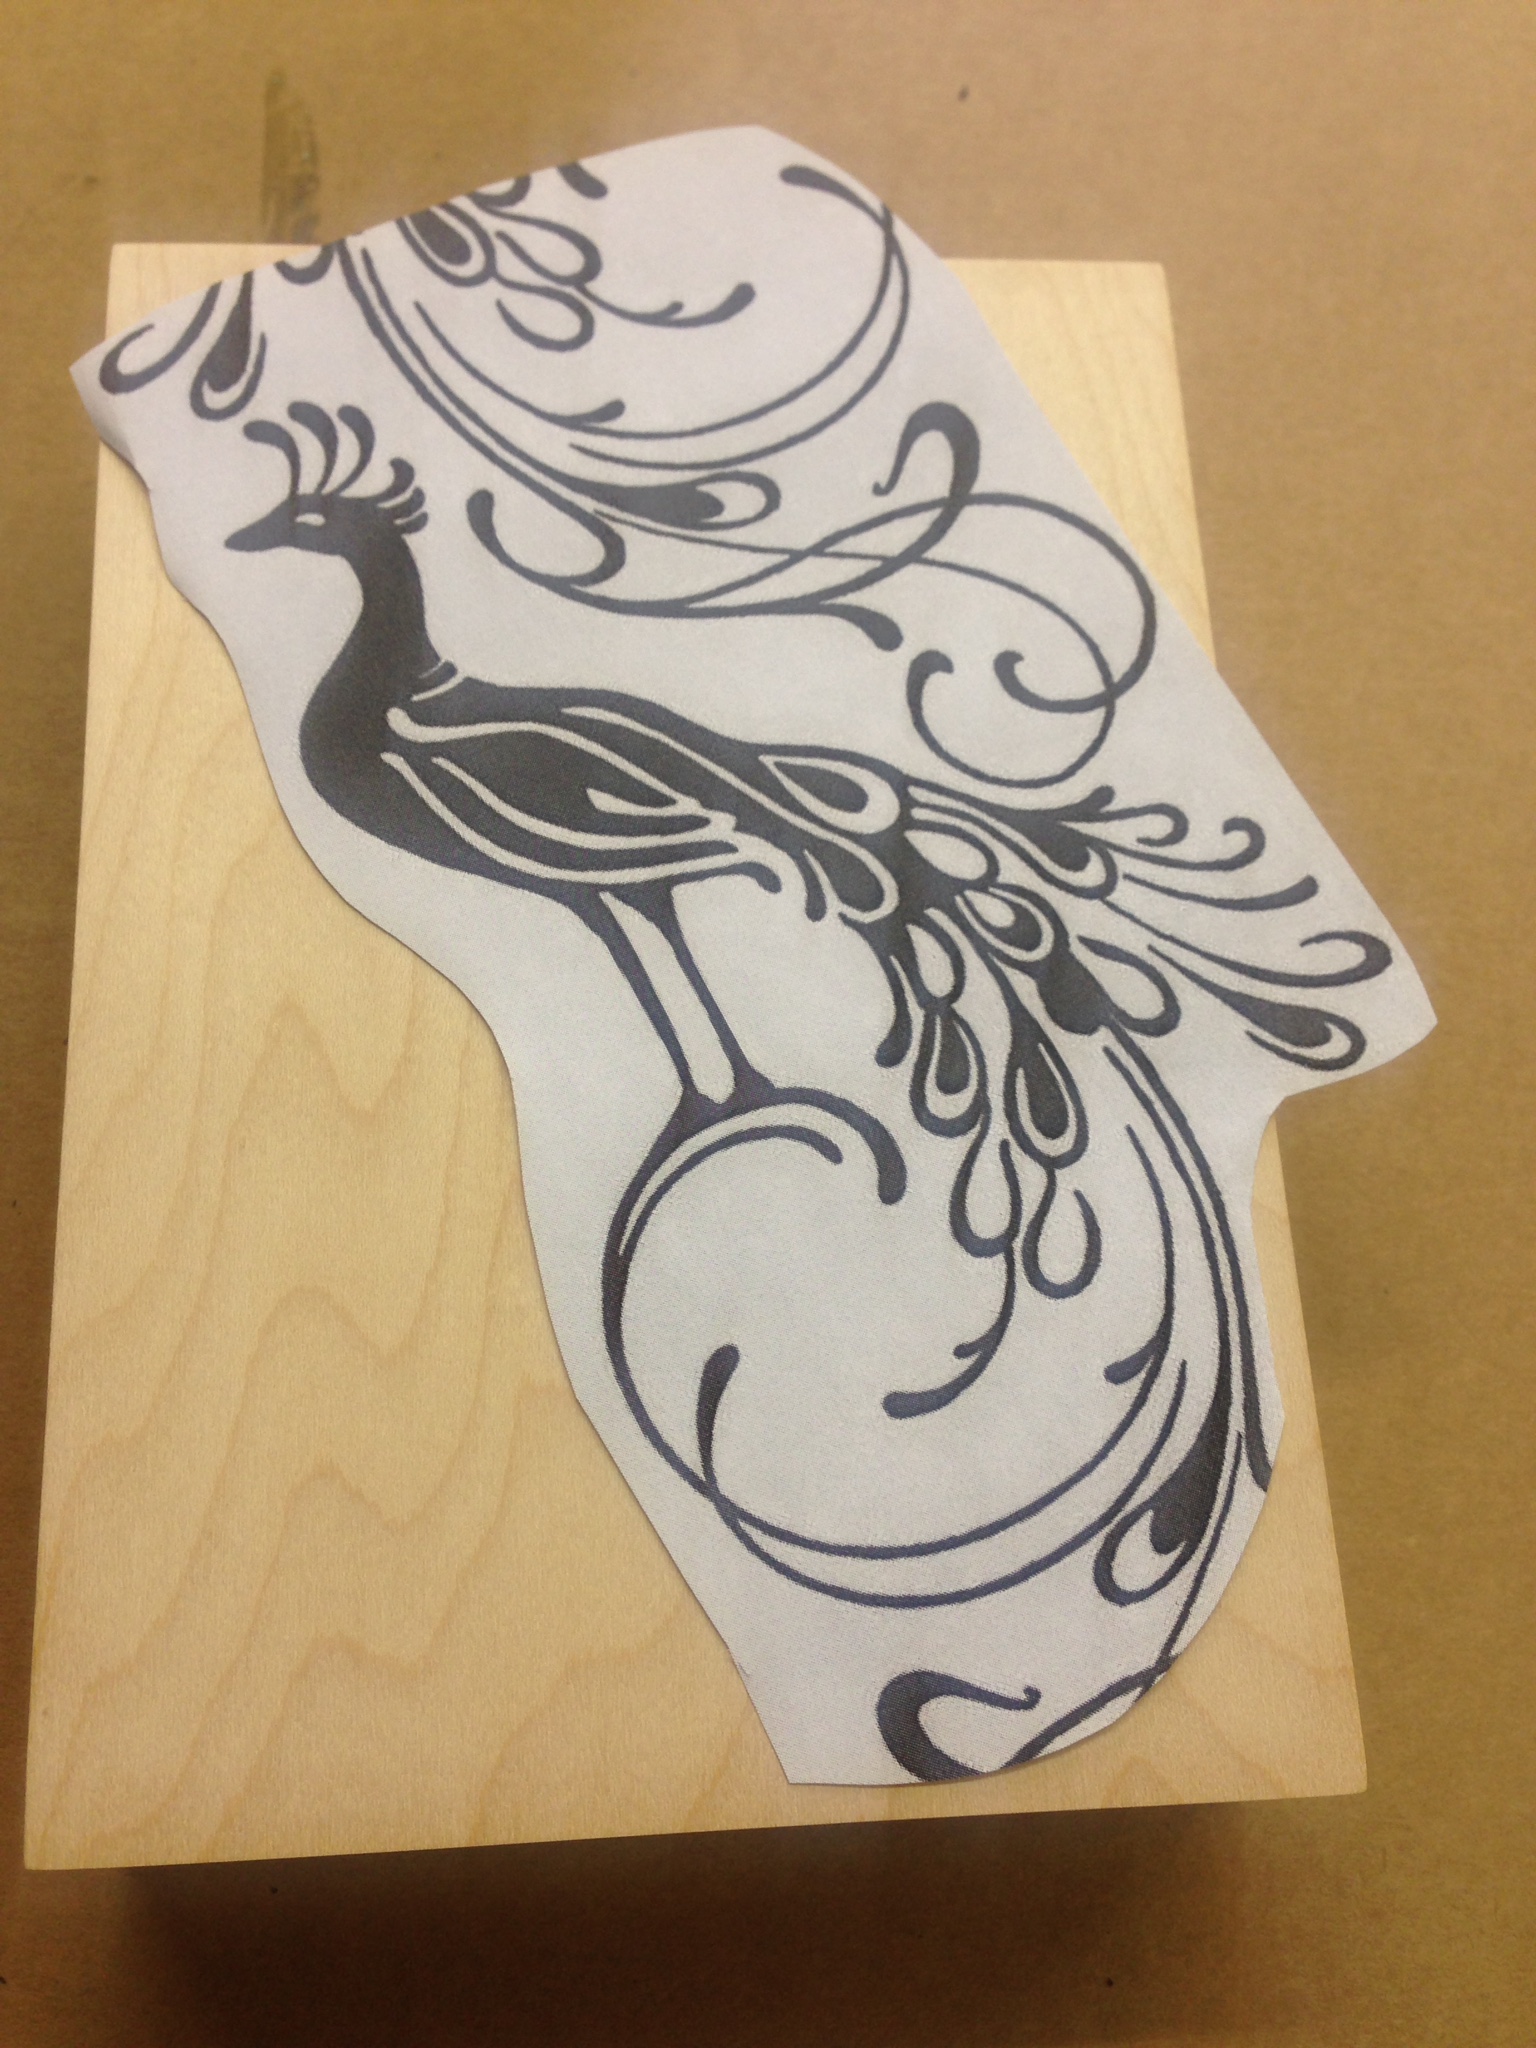
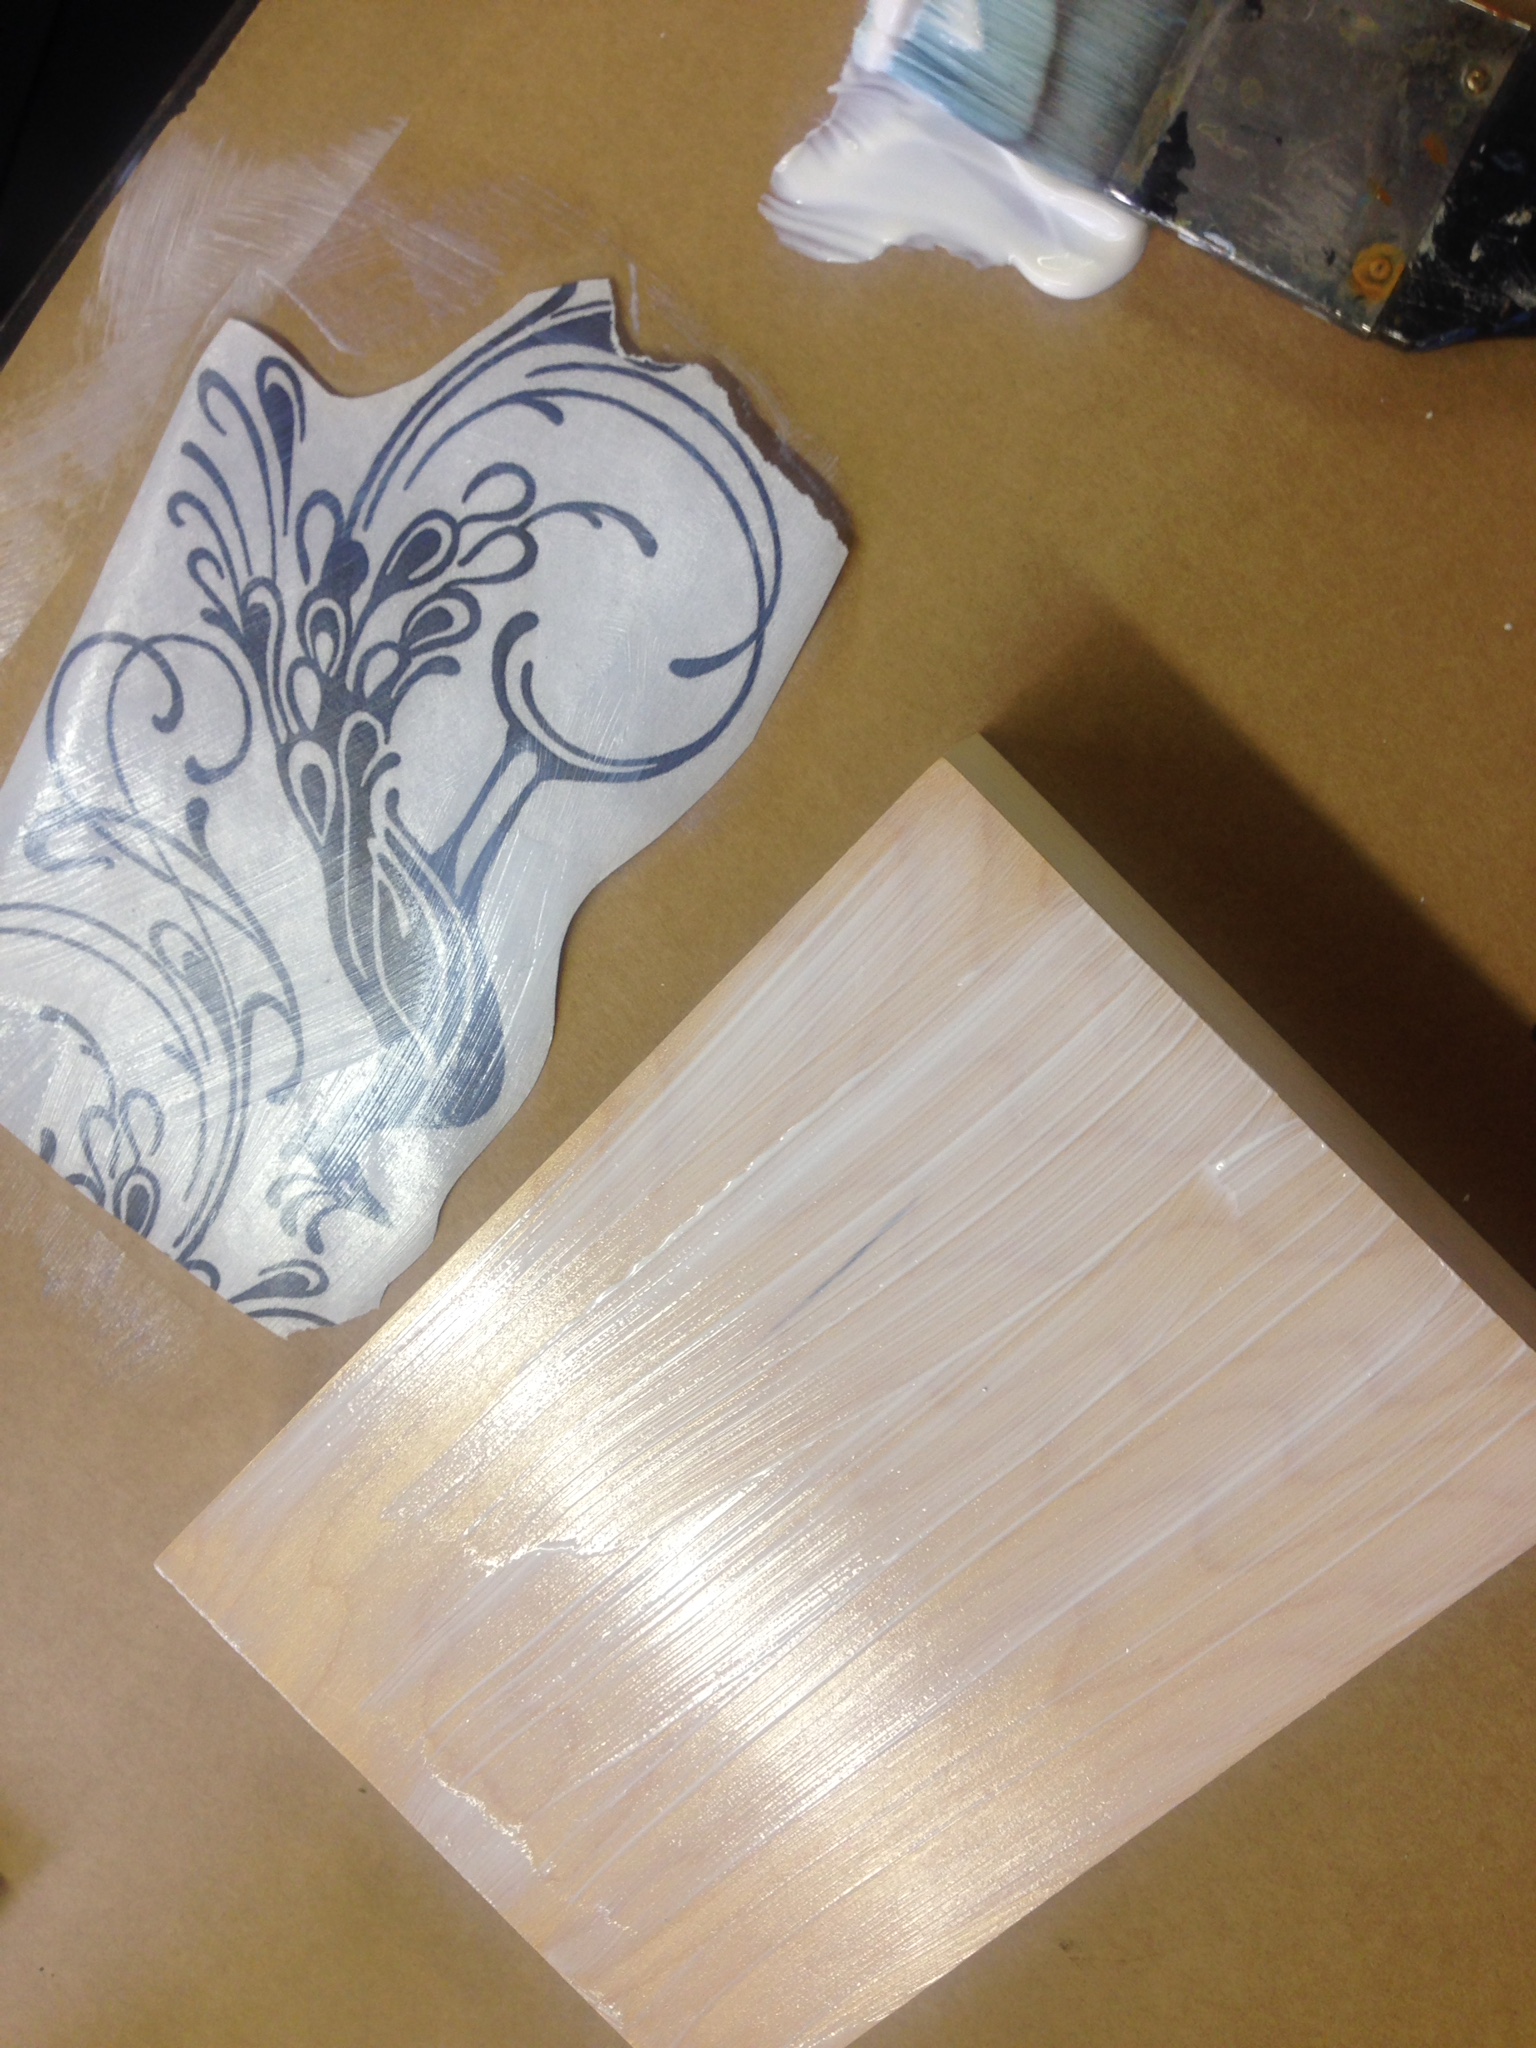
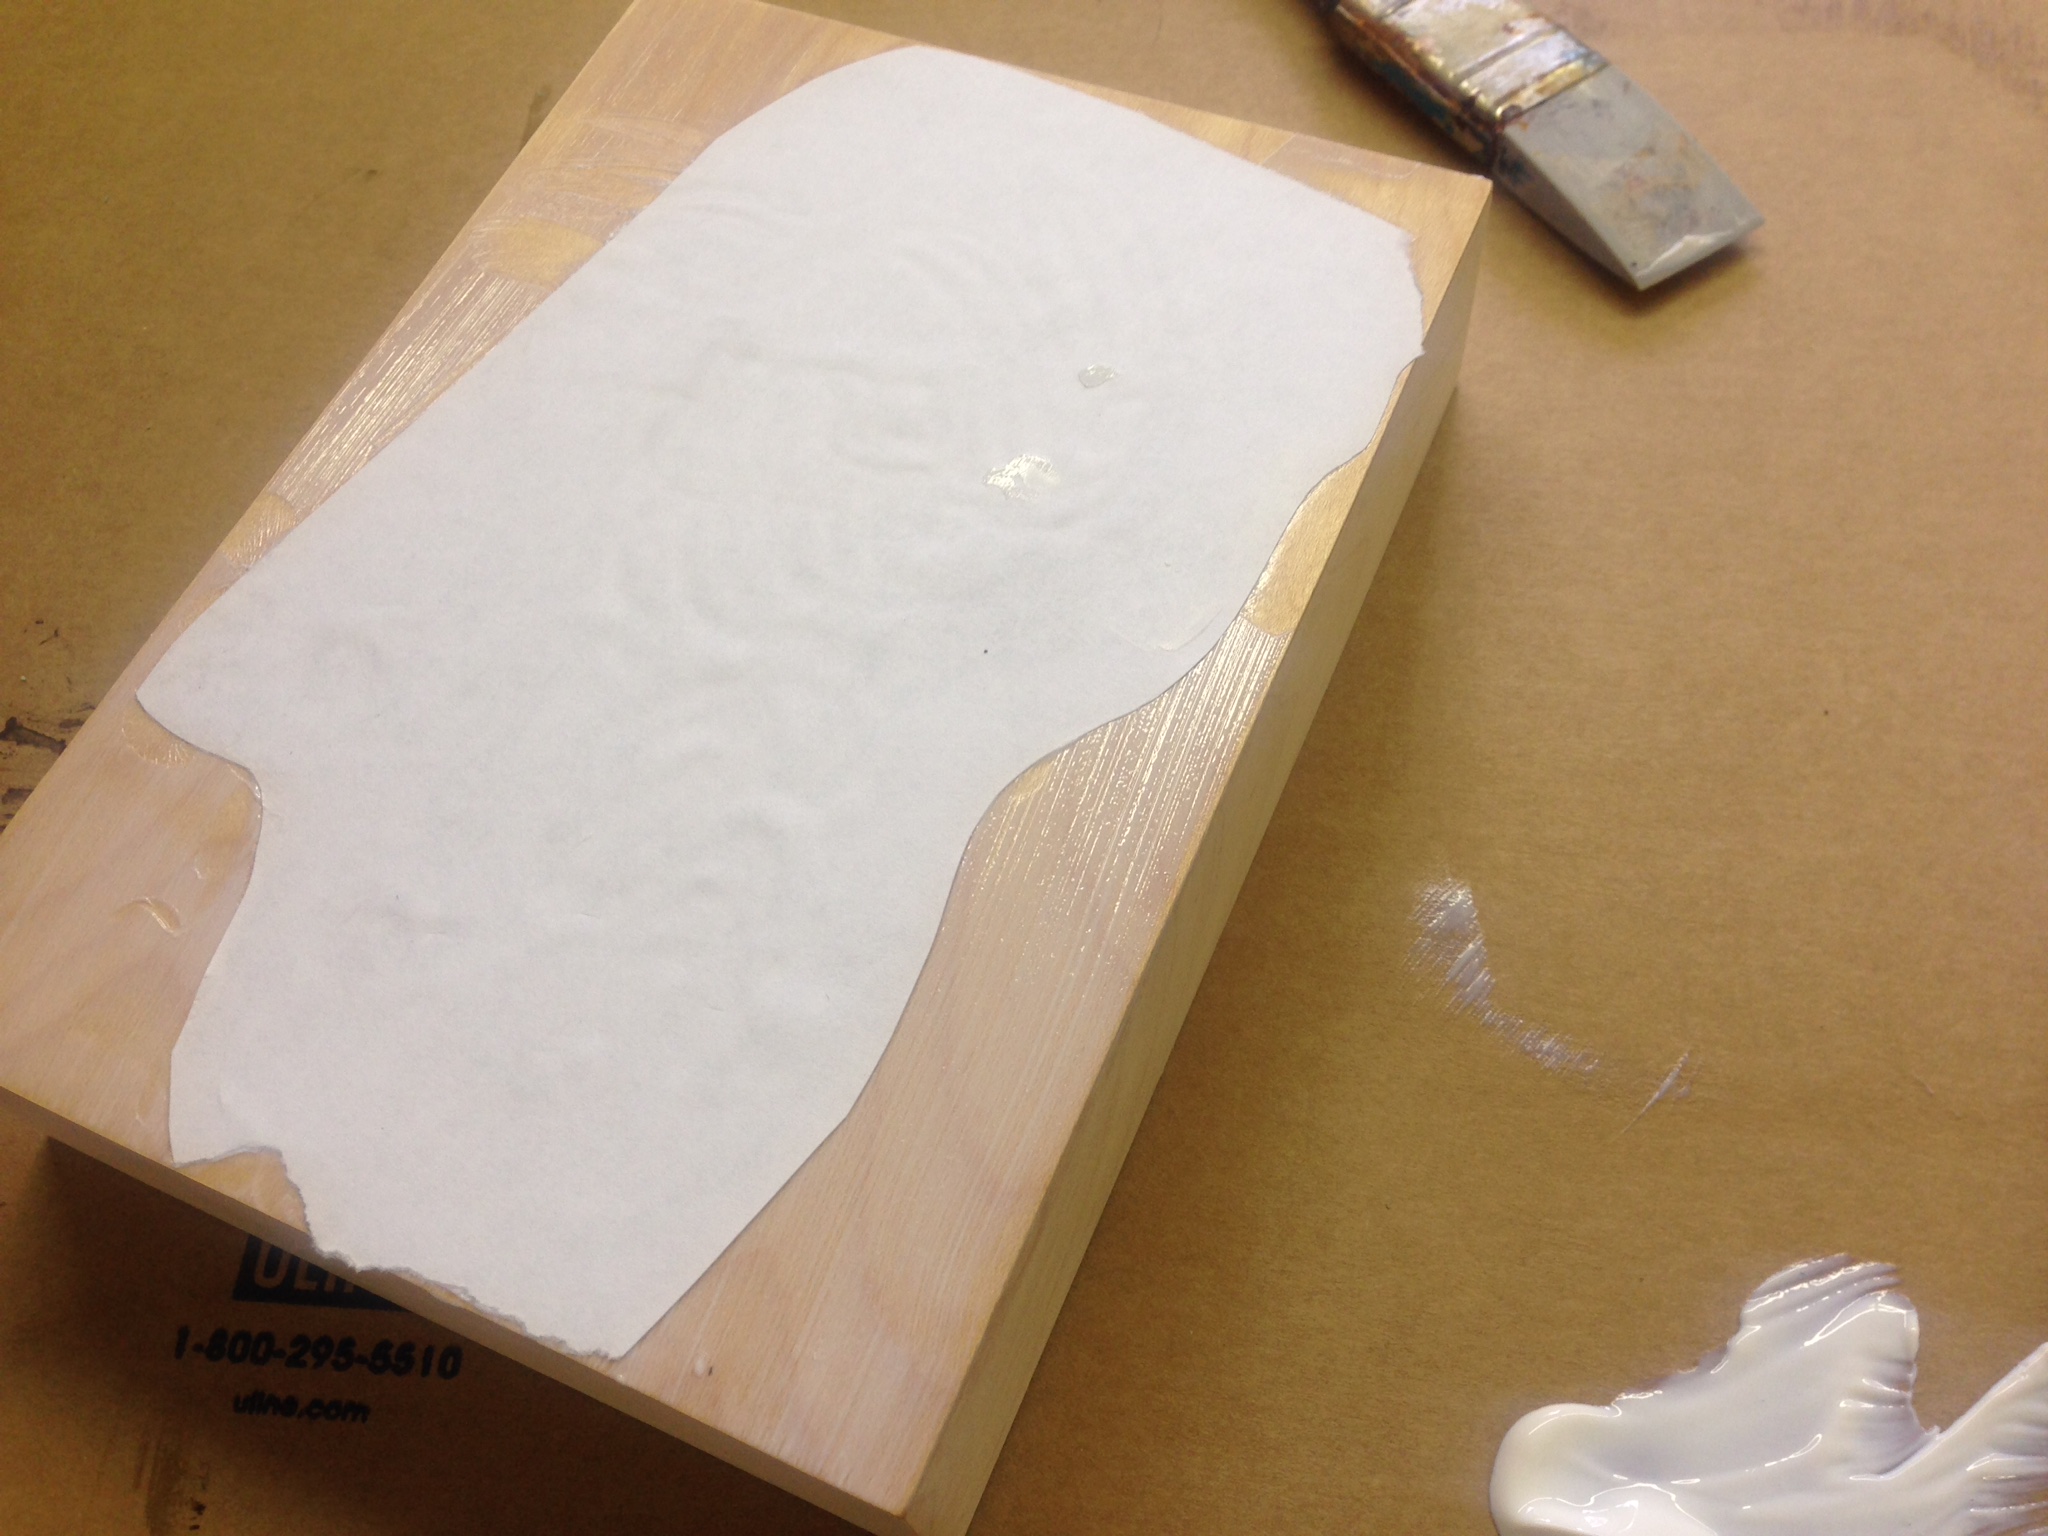
Taking this picture that was printed on regular paper and using a wood frame I cut the picture so it would fit within the frame nicely. Apply a thin layer of Transfer Gel on the paper, as well as the surface that you are applying it to. Press the paper down onto the surface. Be sure to press along the paper to remove any air bubbles creating a smooth surface. Let the image dry, ideally for 12 hours prior to removing the paper.
Removing the Paper & Transfer Gel
Once the paper is dry, wet the surface with ample water so that the paper starts to dissolve. Then it can be easily removed. Use a rag to gently remove the paper fibres.
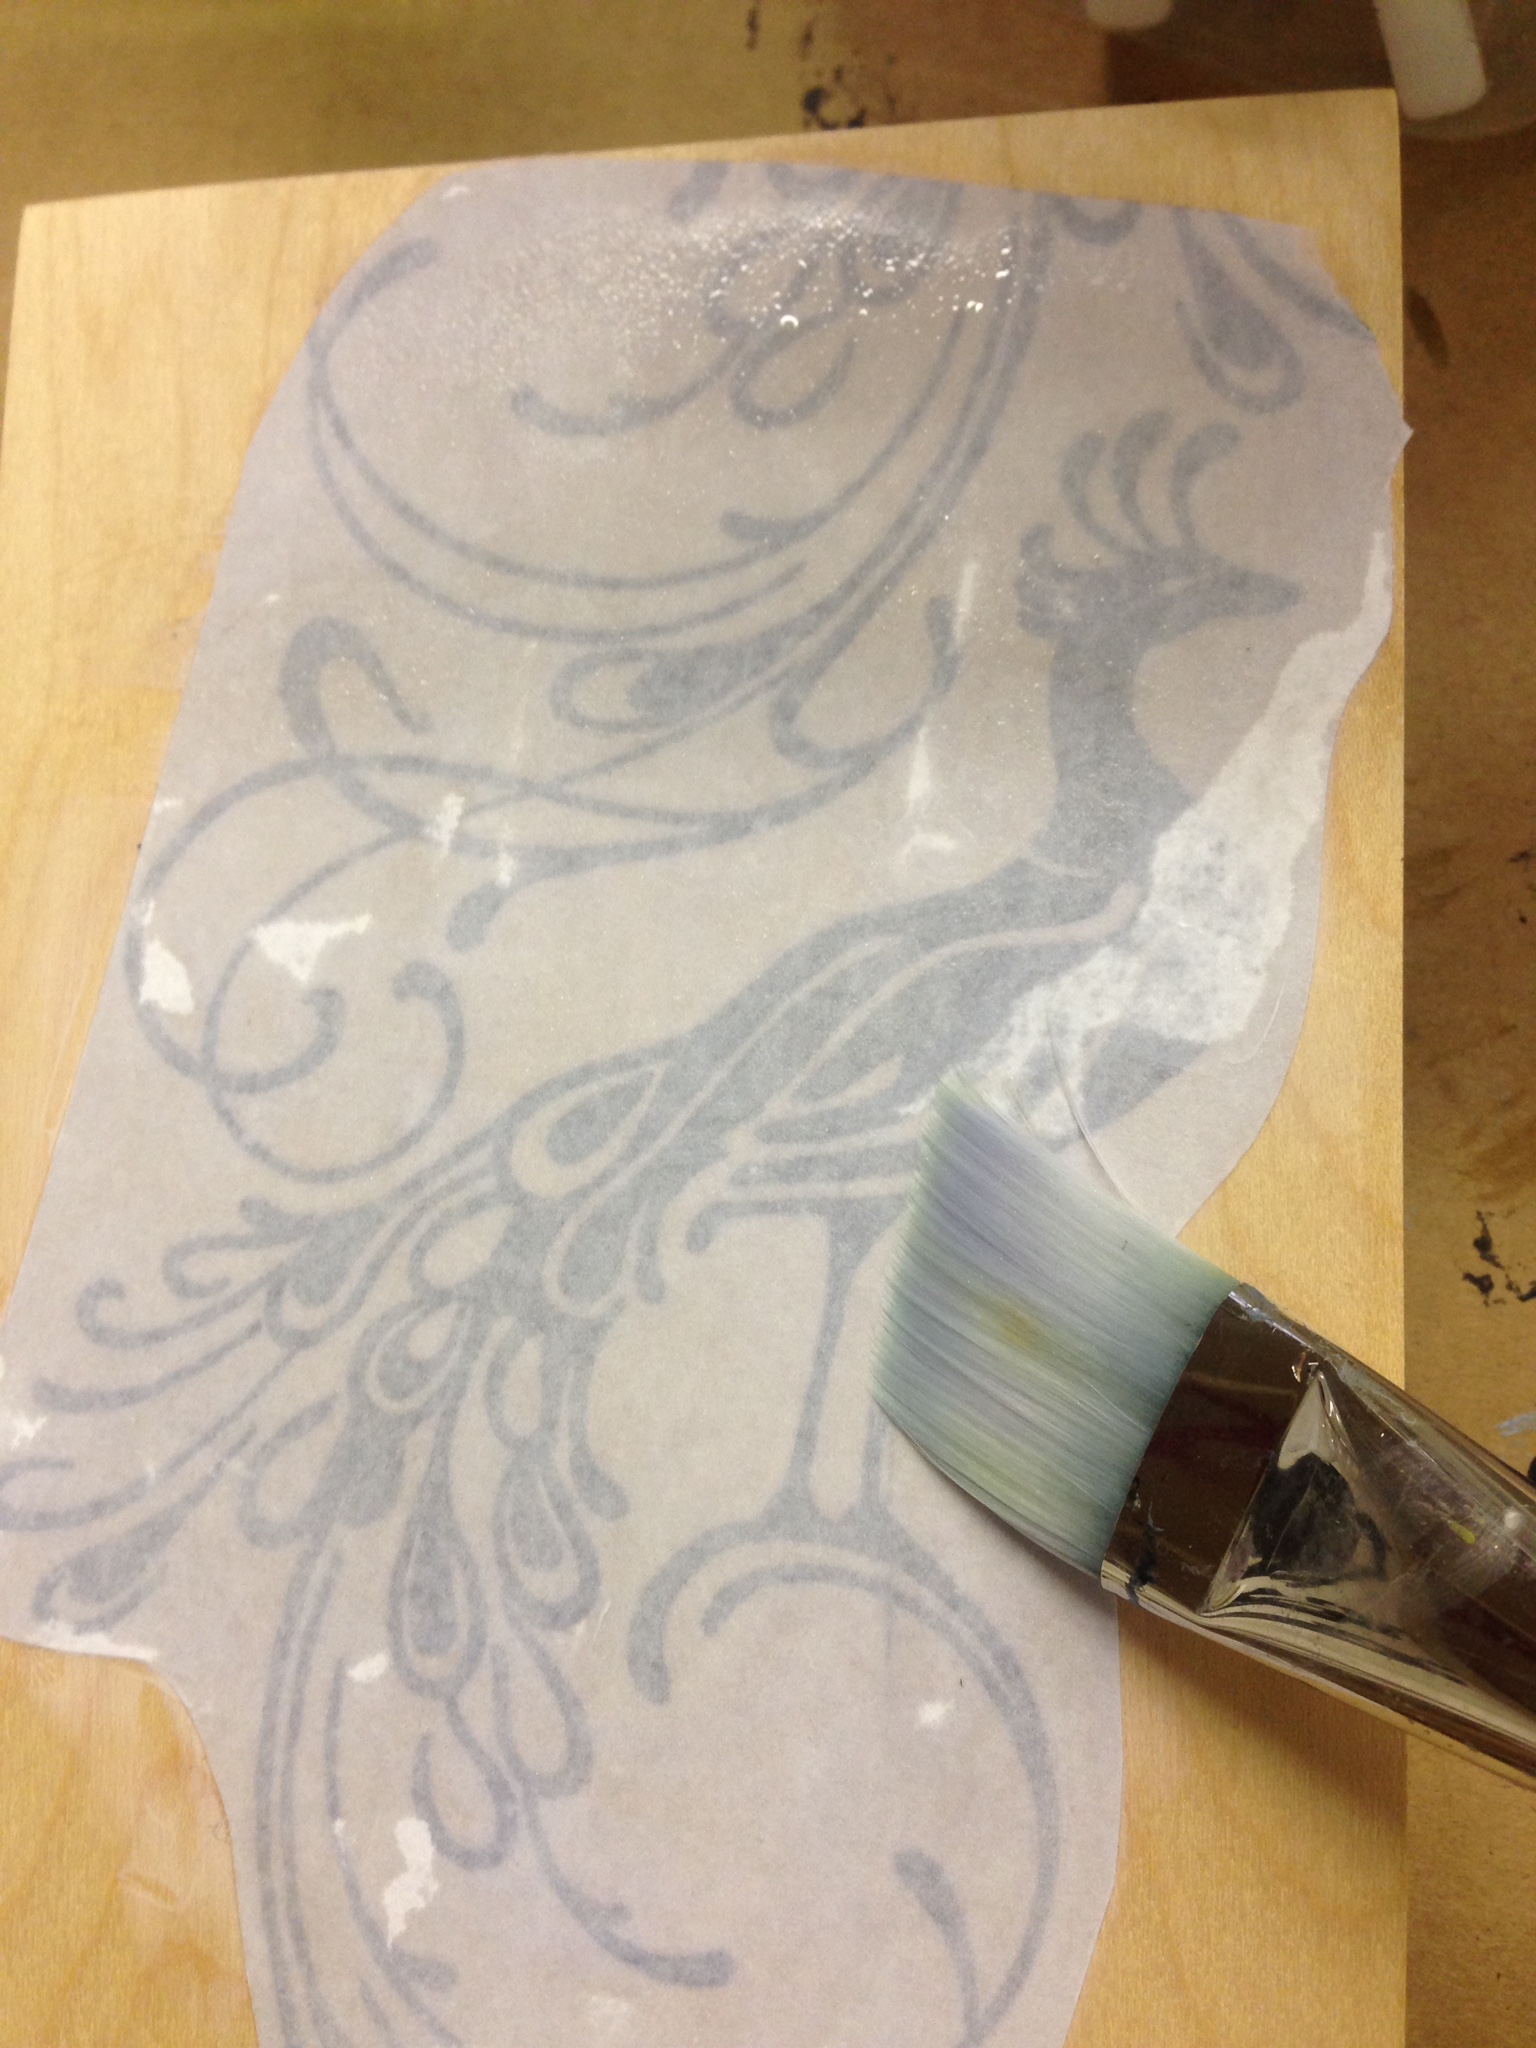
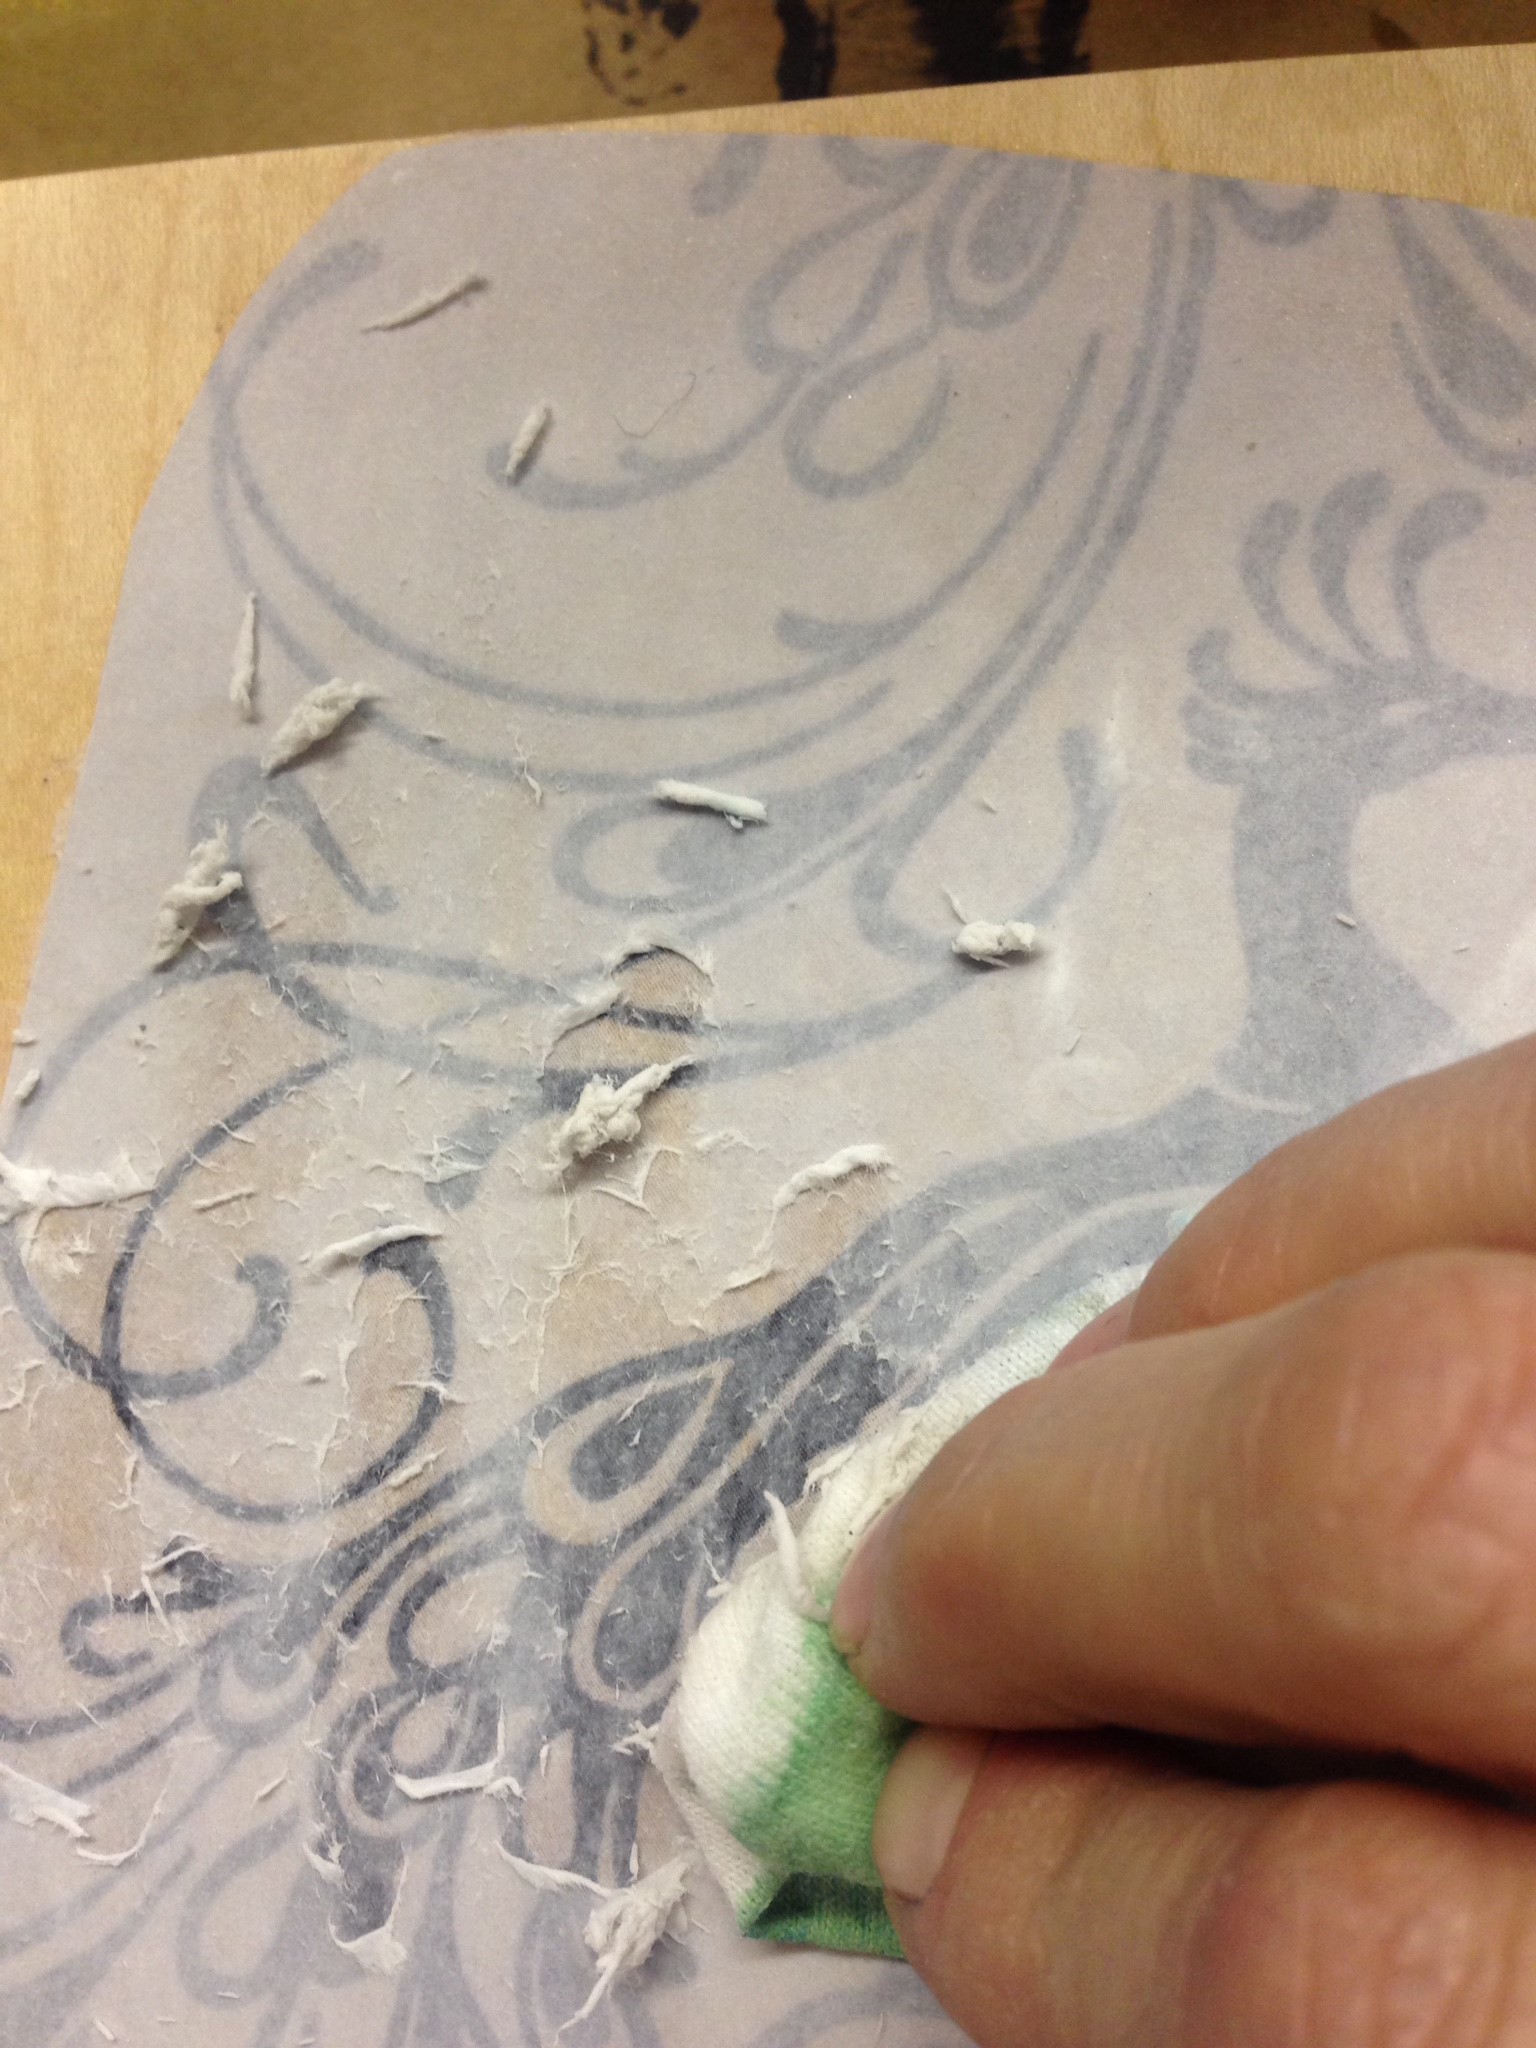
You may need to add more water to continue to weaken the fibres as this isn’t drying quite quickly. Also, notice how the pressure can affect how quickly the paper is removed. As well as, too much pressure will end up removing your image along with the paper.
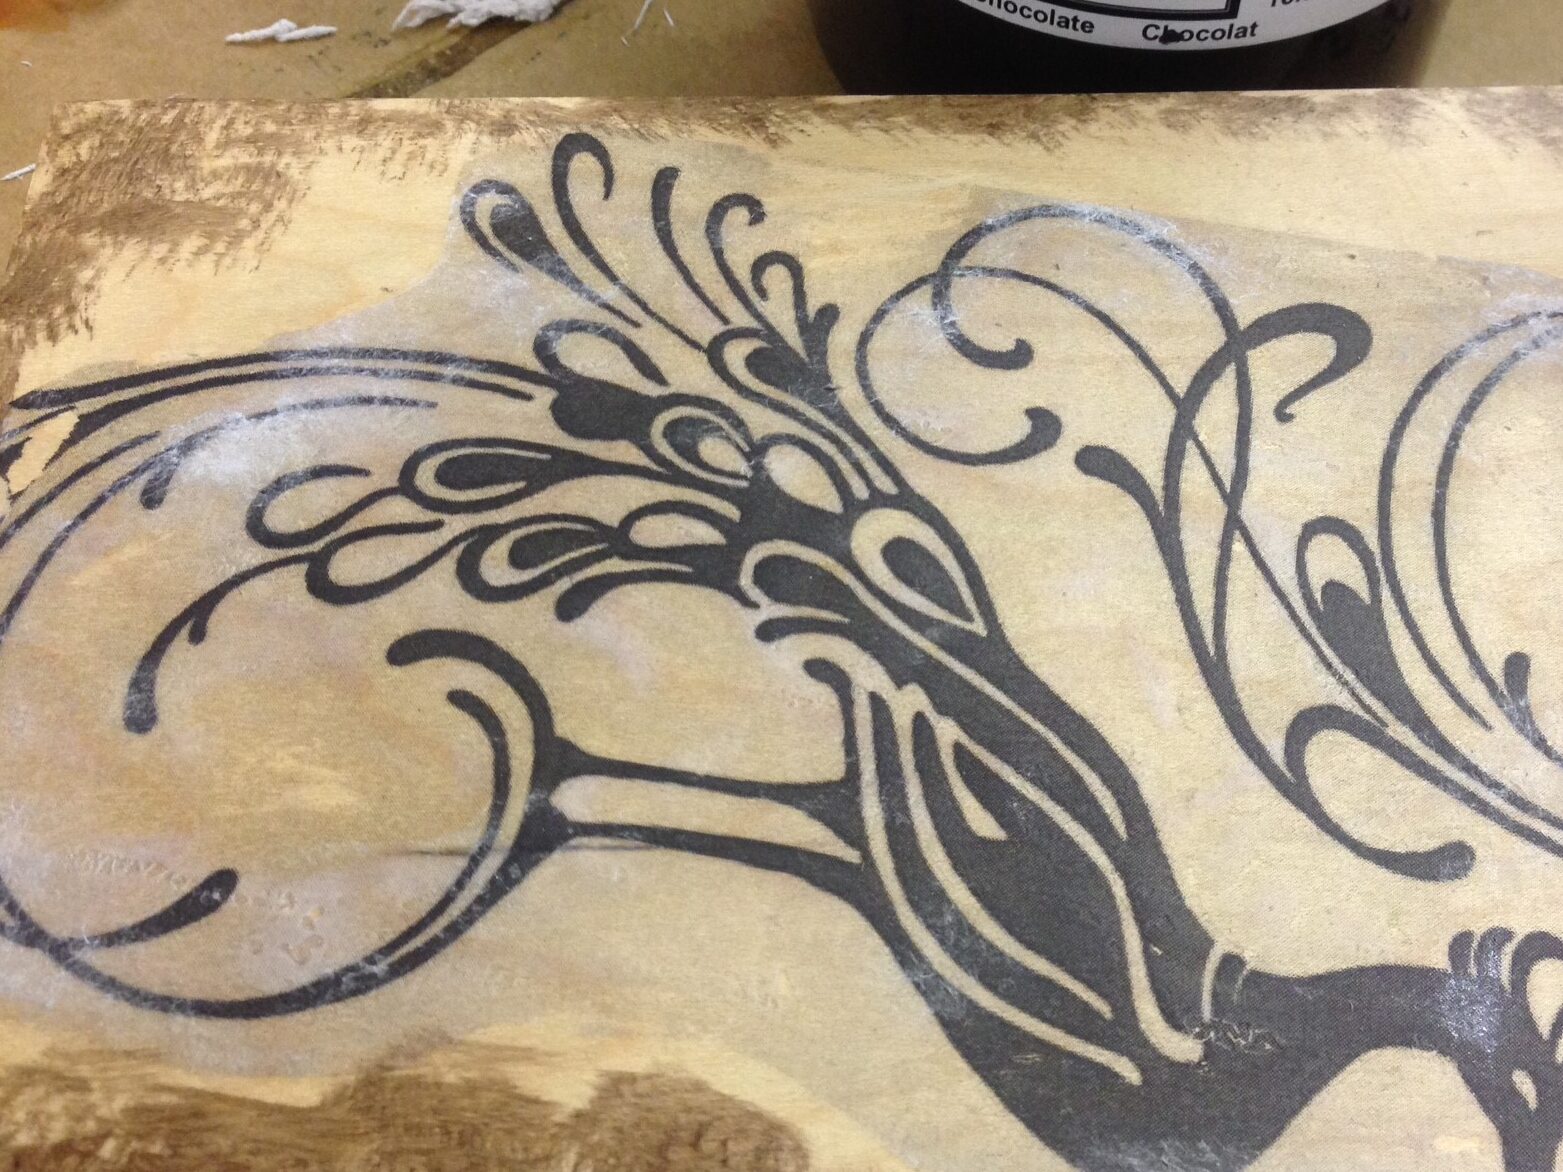
Now let’s add a pop of colour!
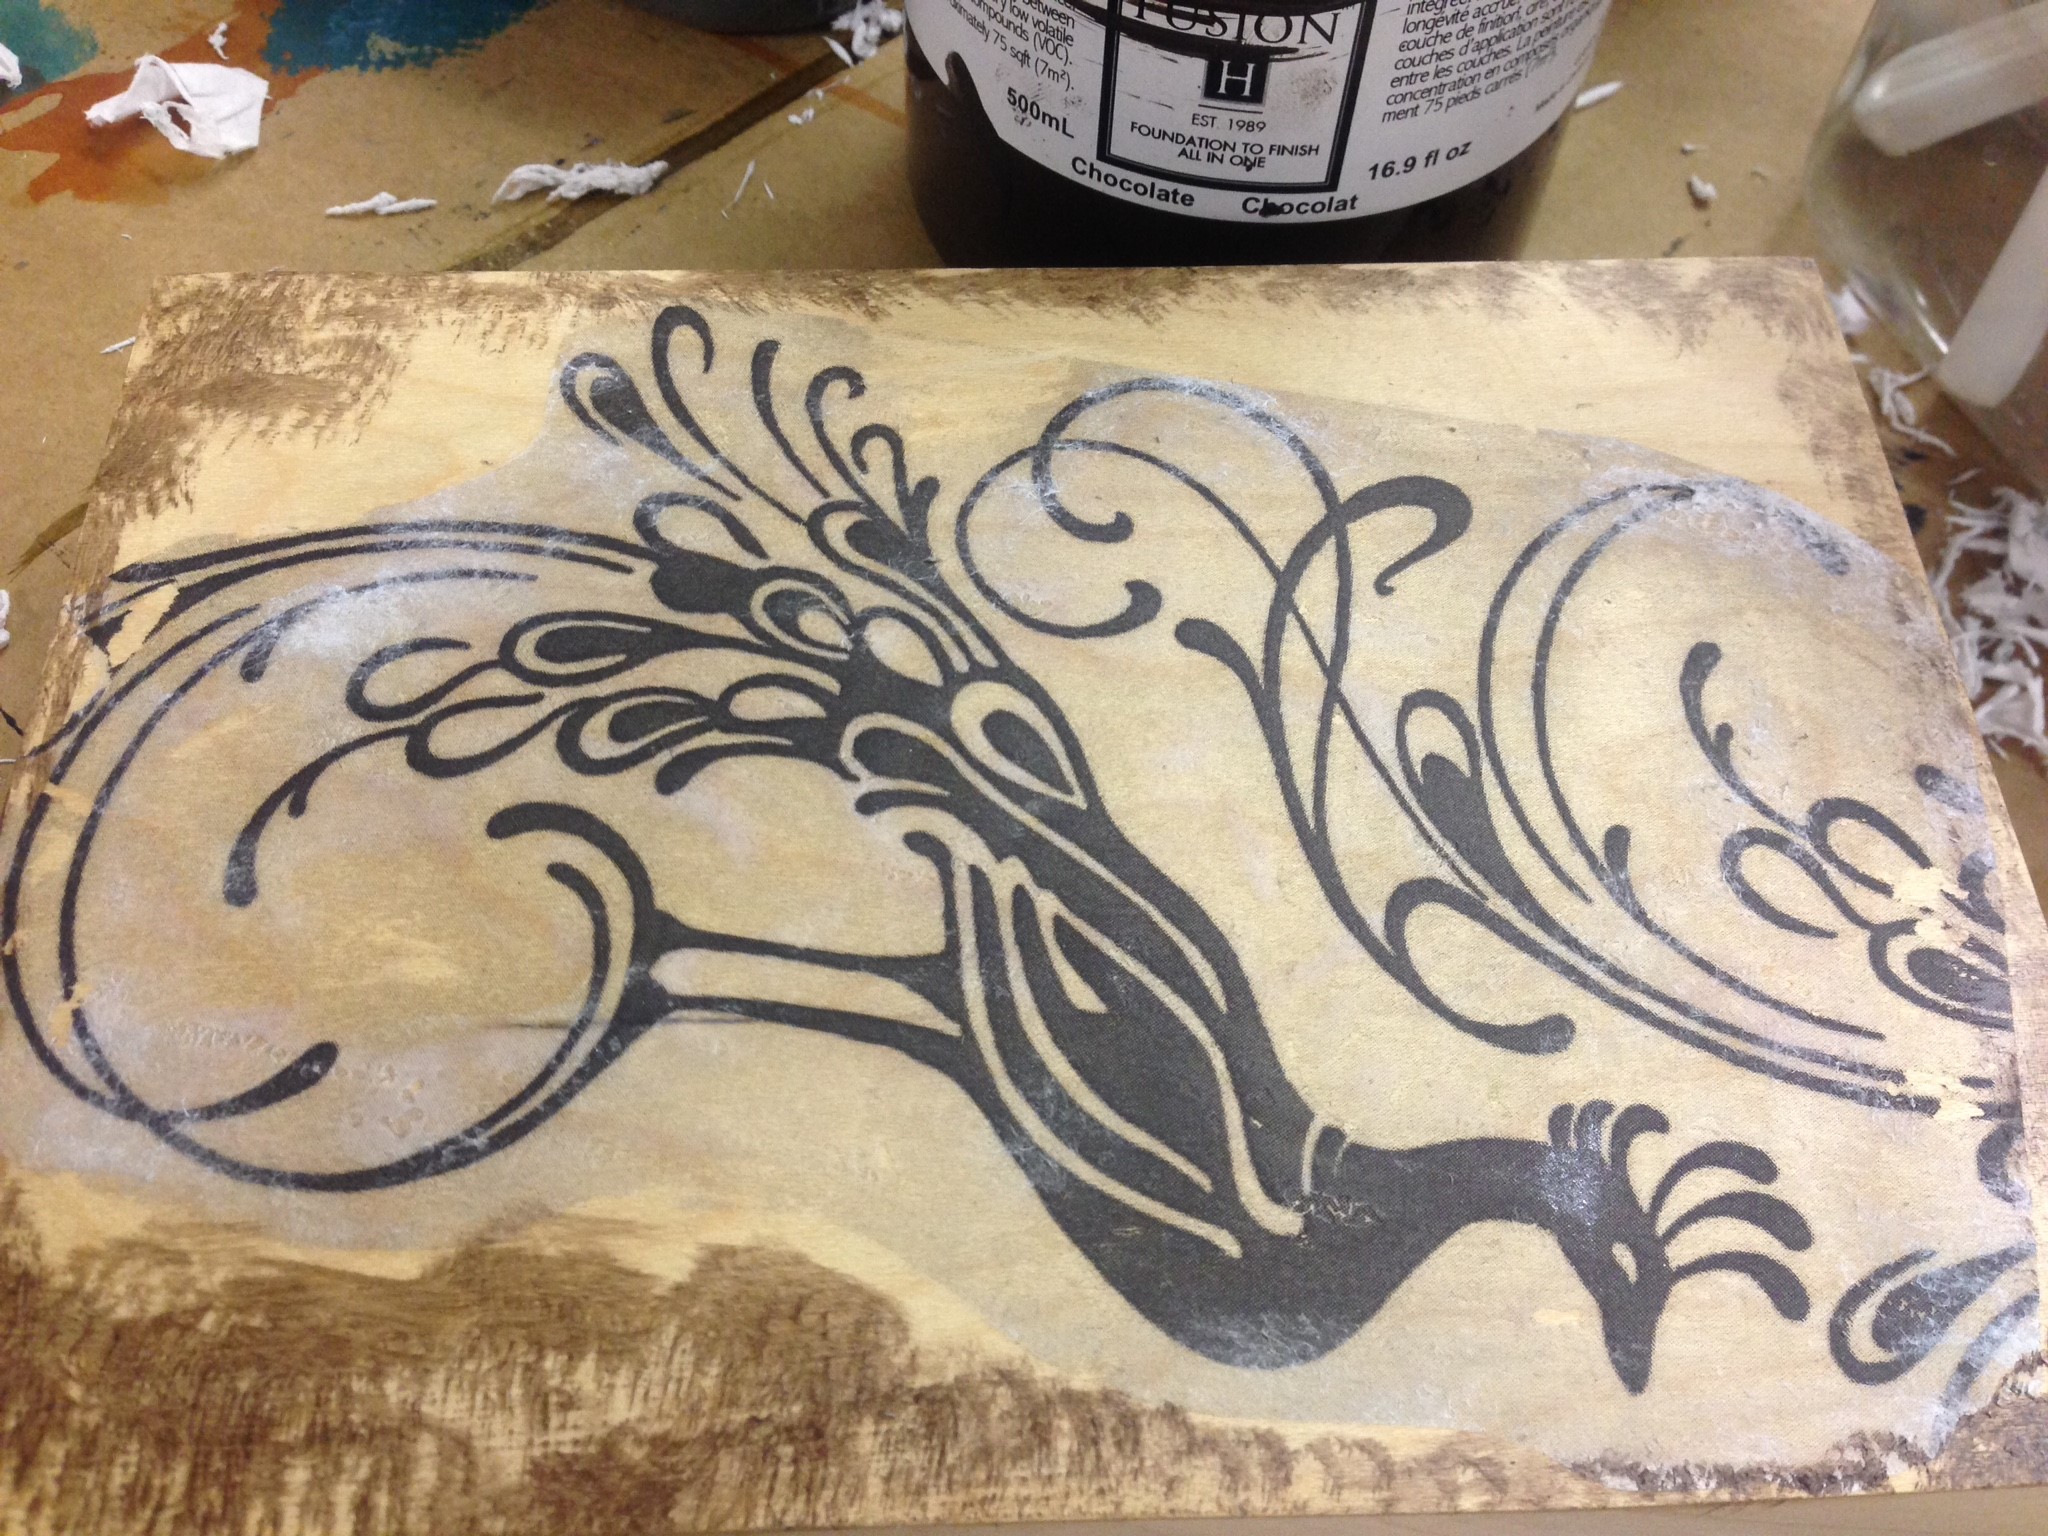
Using Fusion™ Chocolate I darkened the edges of the frame. Then, adding a few drops of water on to my paintbrush I did a very thin “wash” of the paint. This was to make the whole image appear antiqued and aged. I wasn’t trying to be too pretty so I also did some random back brushing/almost dry brushing of this paint/water mix. You notice how the paint adsorbed onto the wood differently than it absorbed onto the area that had the paper. So when I was applying the paint I went about it very inconsistently on purpose.
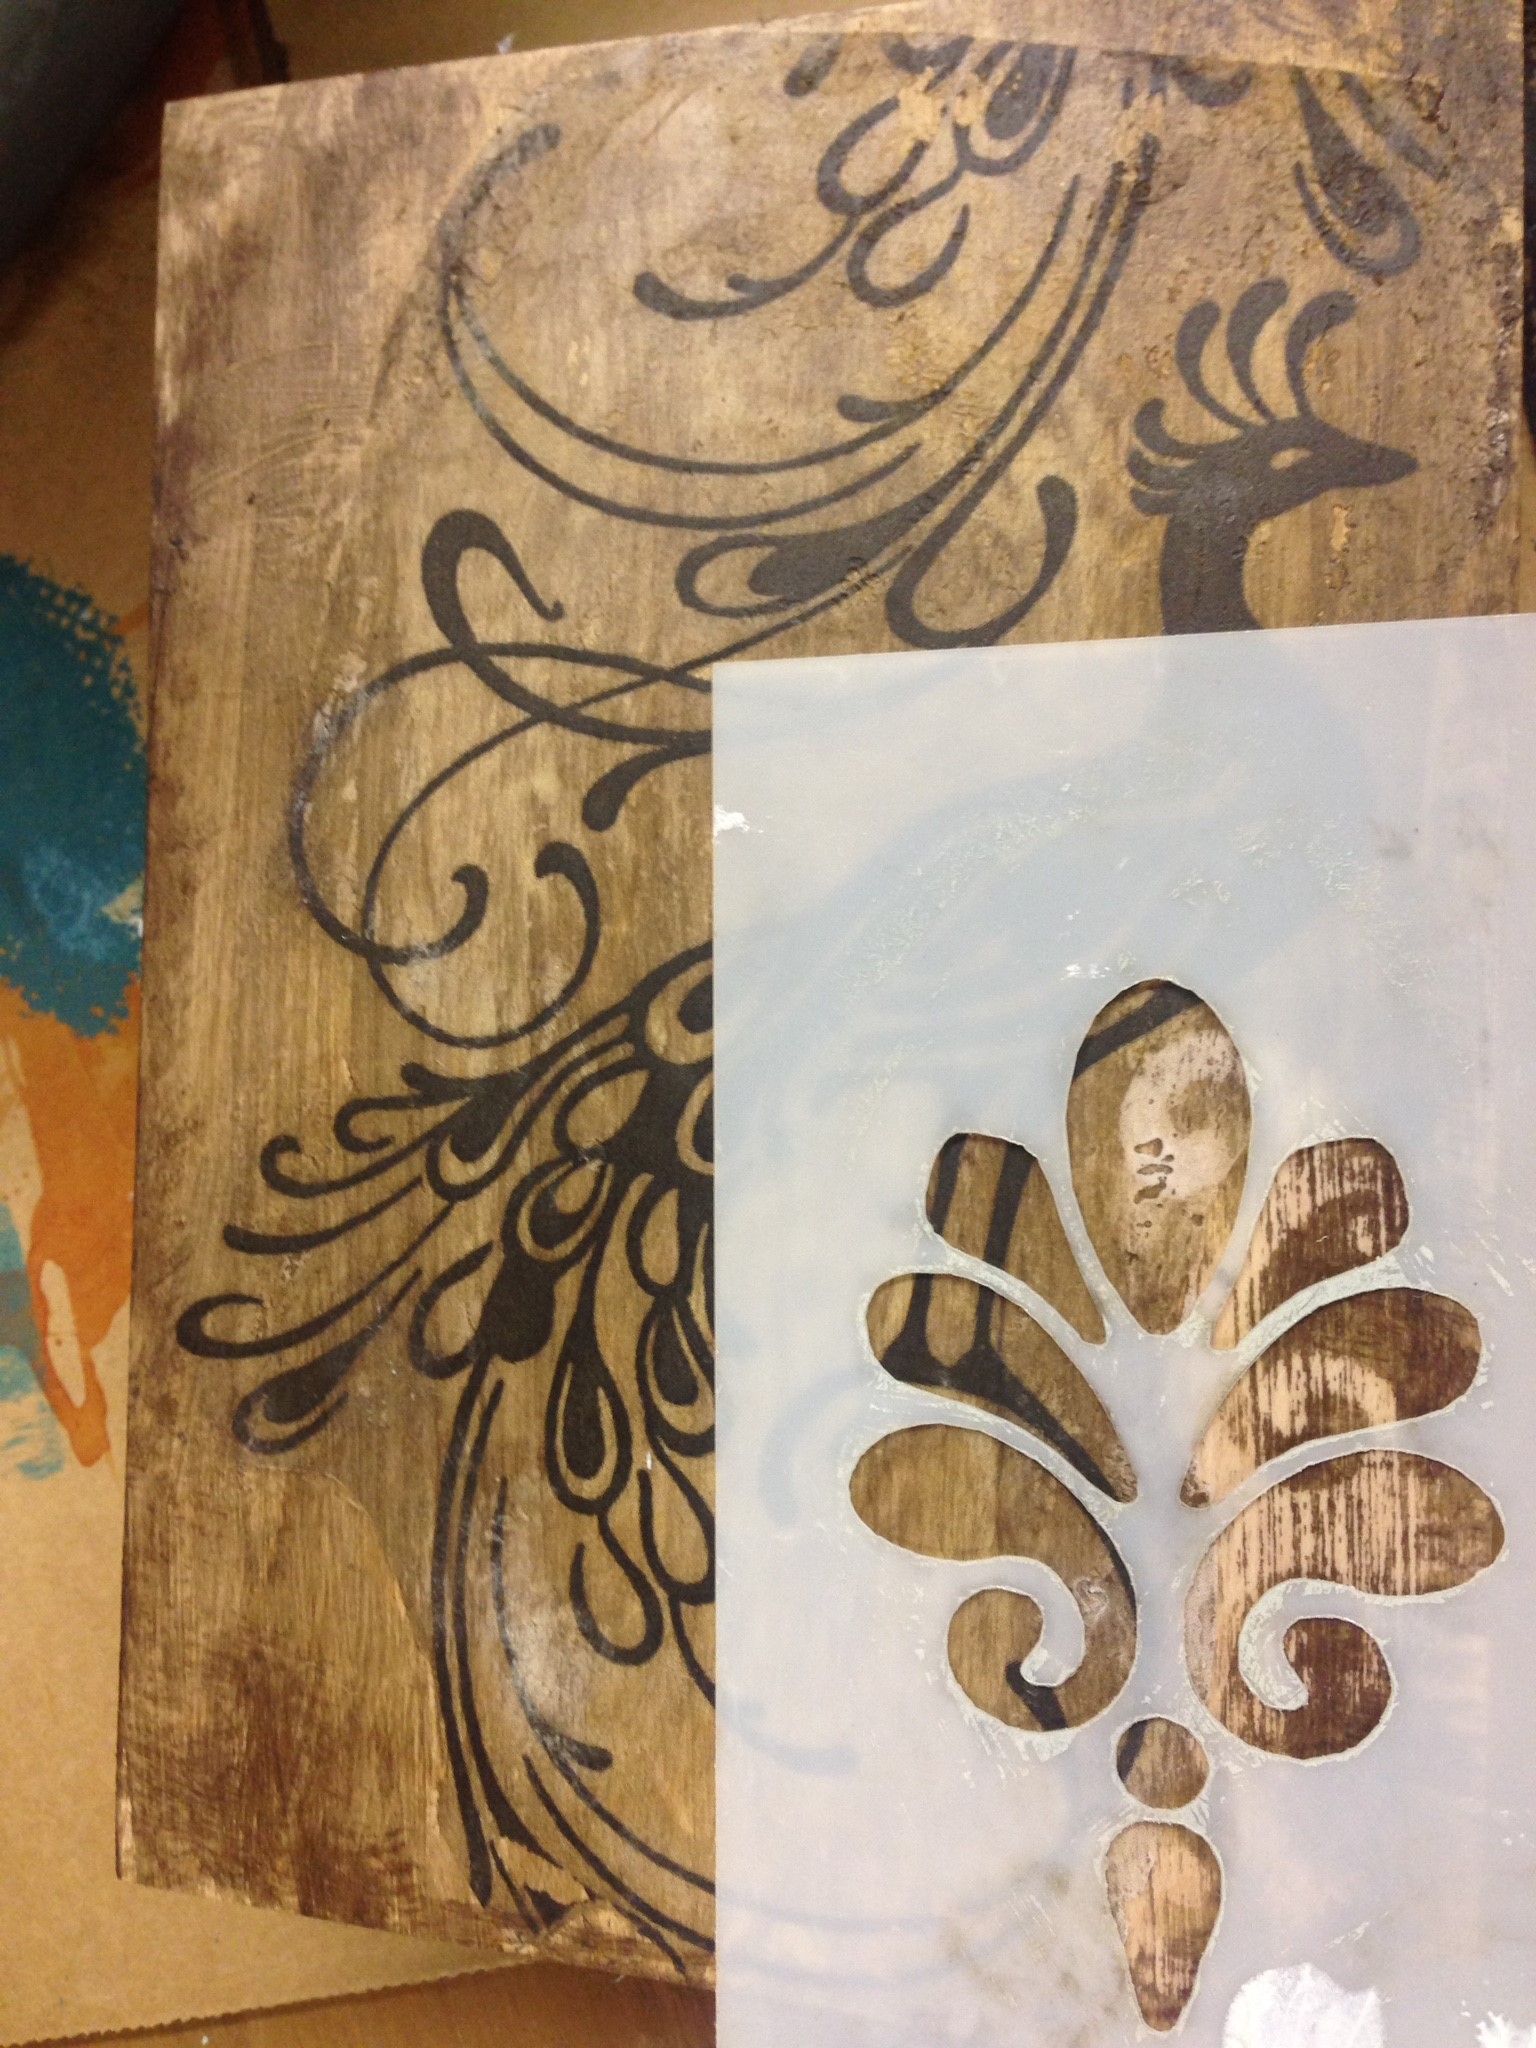
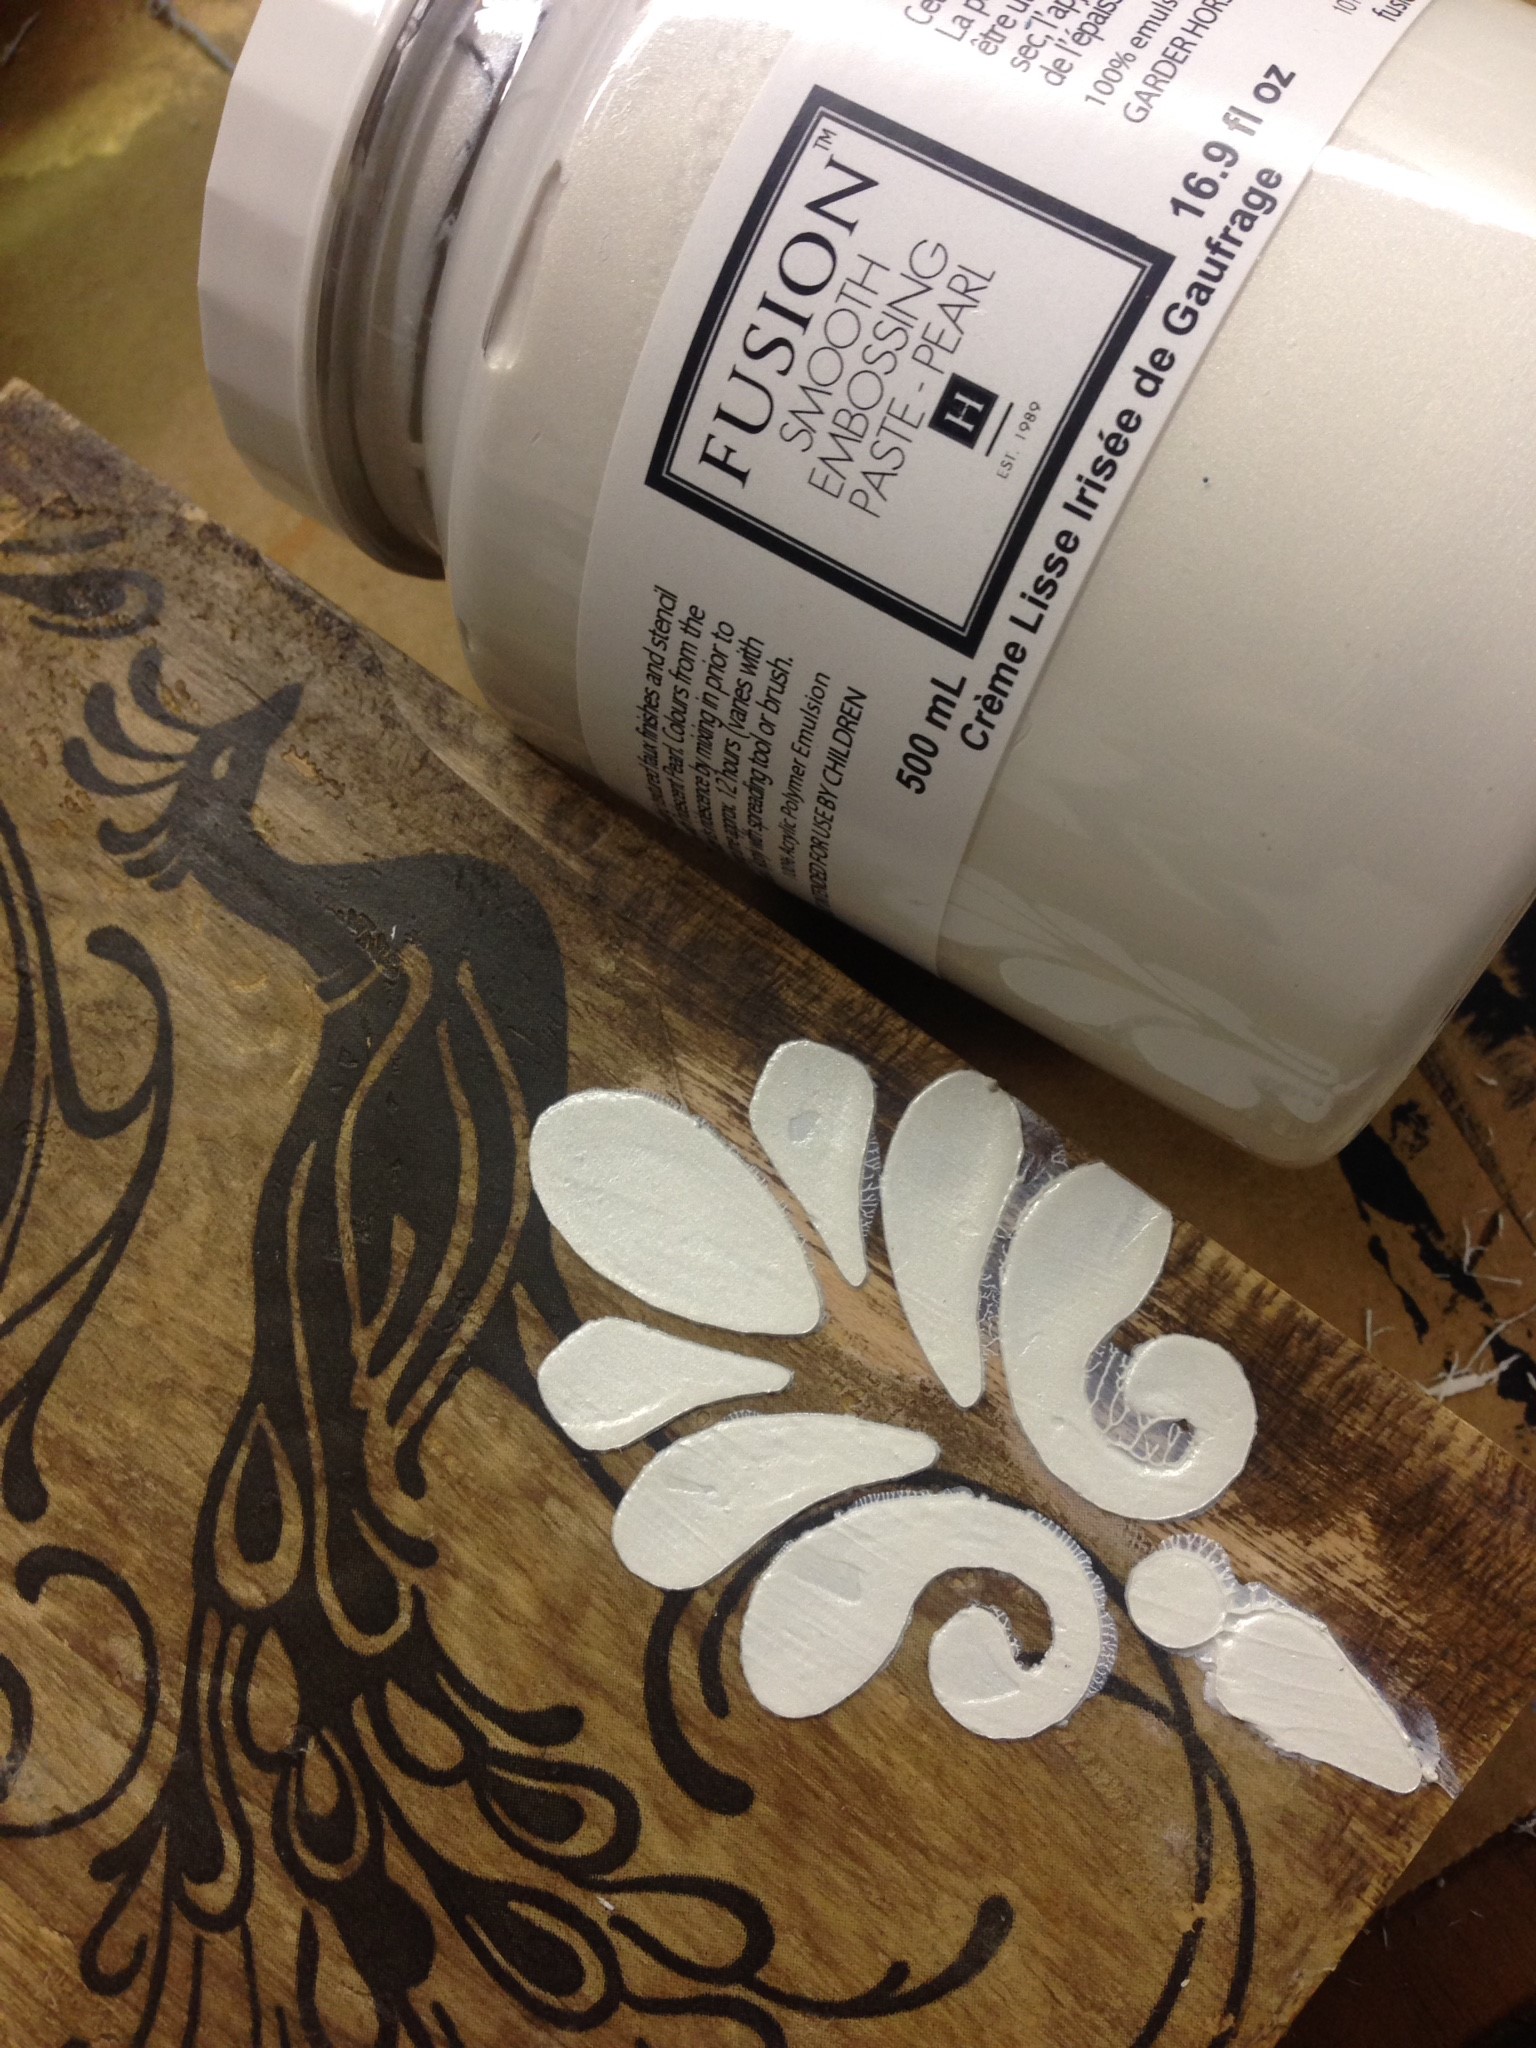
Taking only a few minutes for this very thin paint application to dry. I apply some of the Fusion™ Smooth Embossing Paste I let this dry for just over an hour.
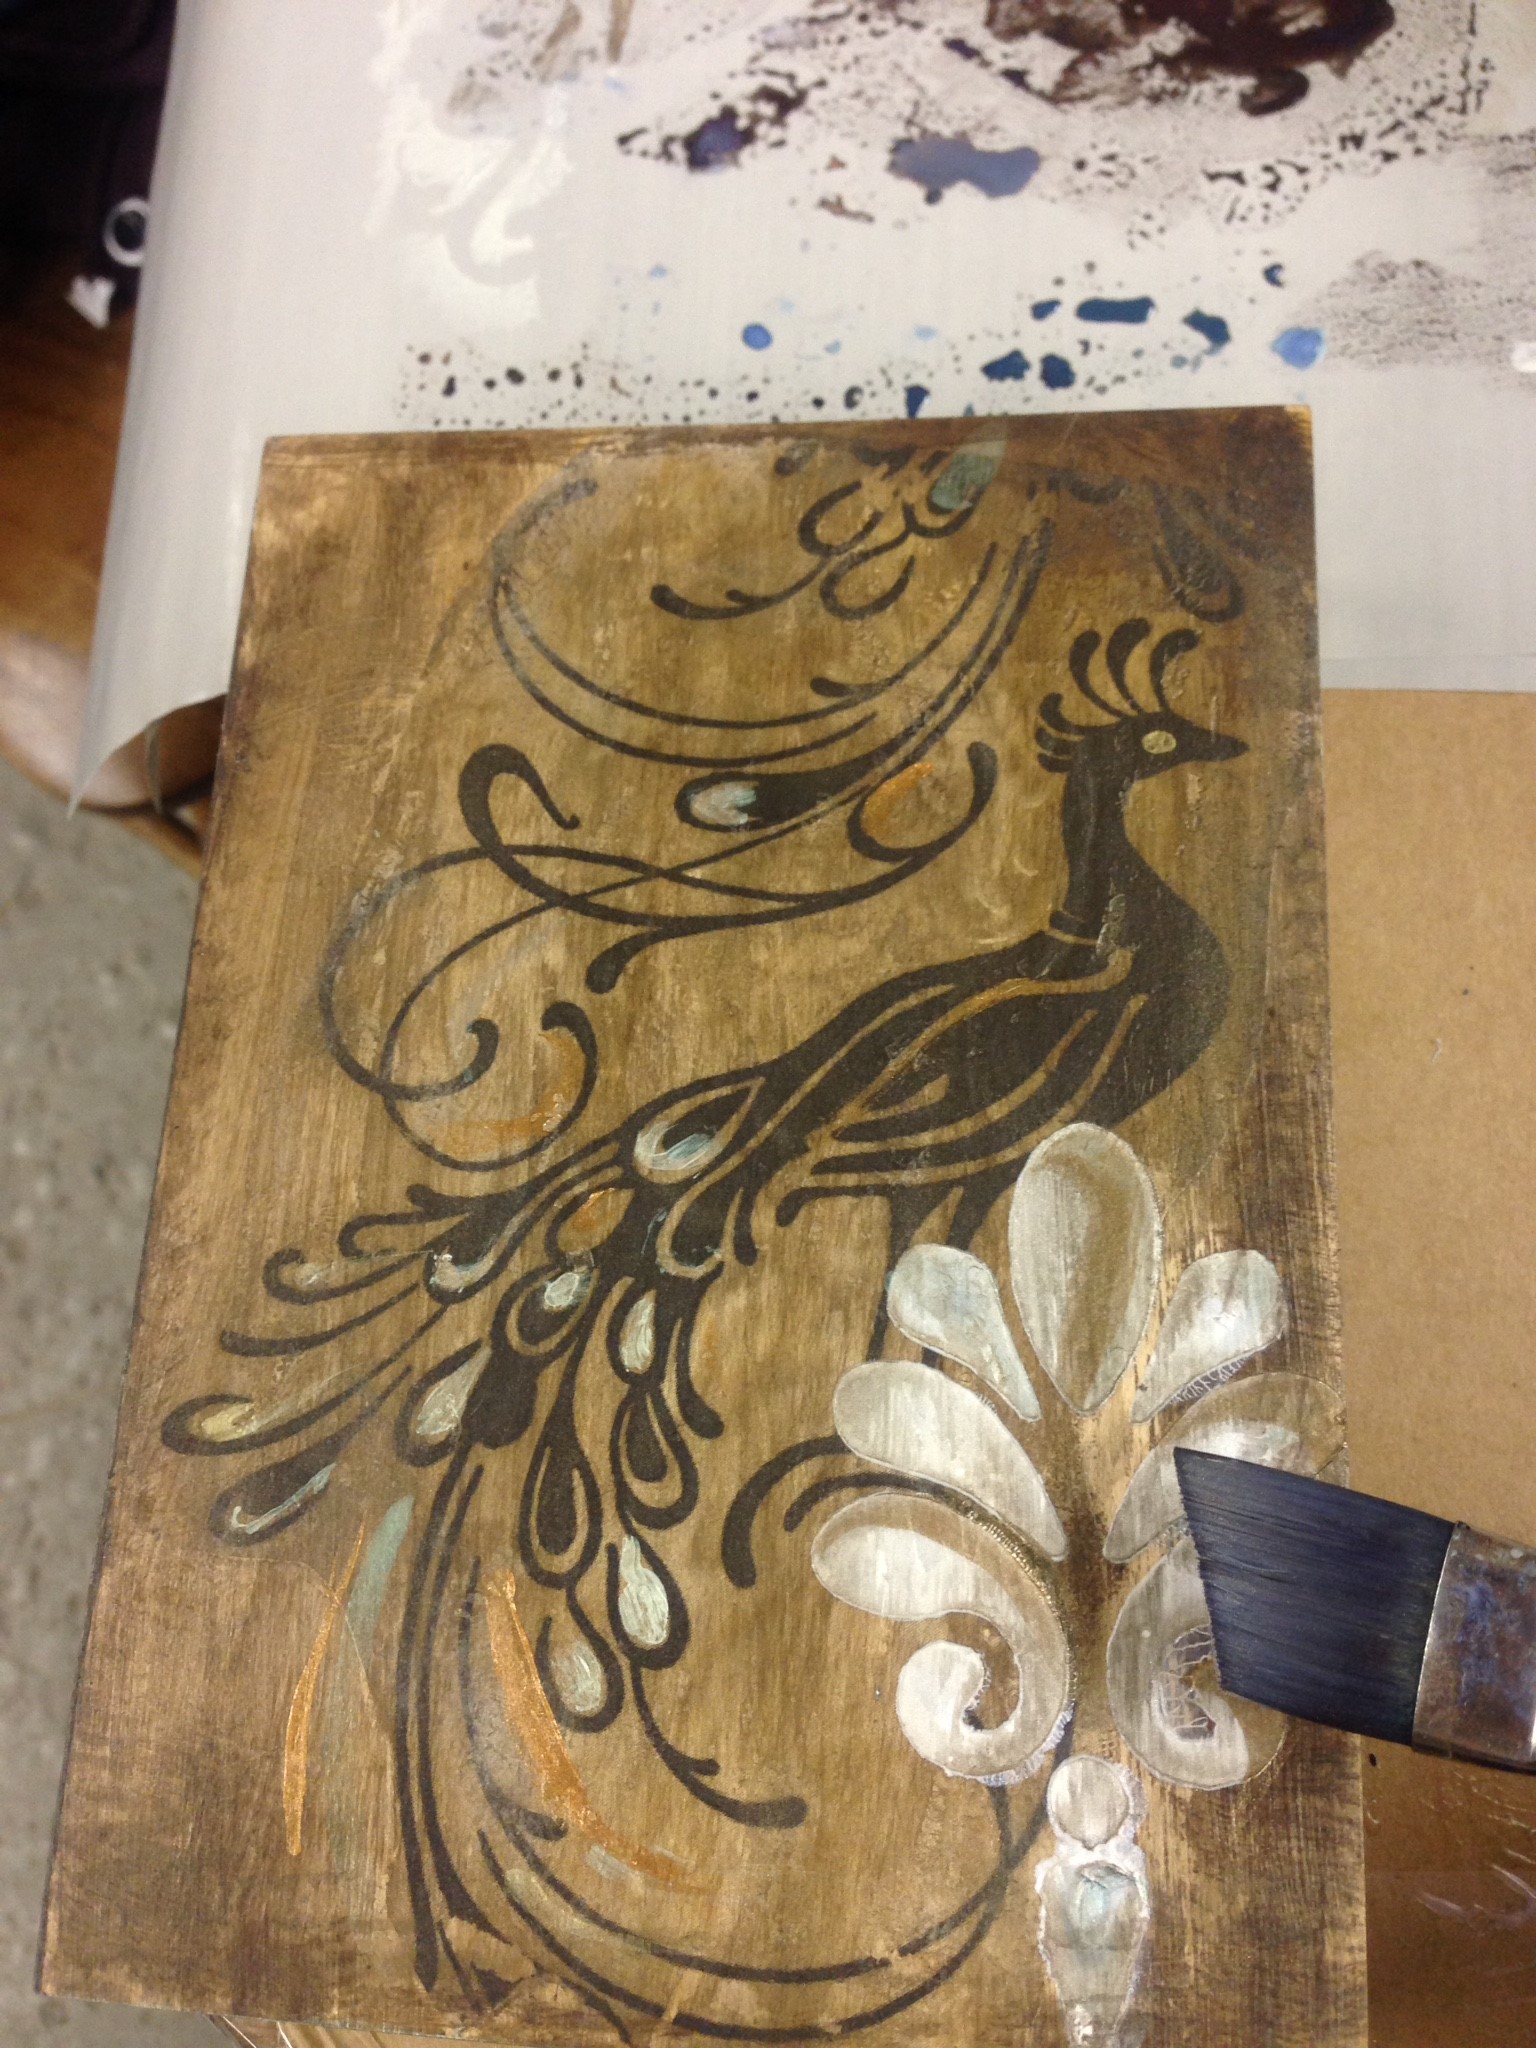
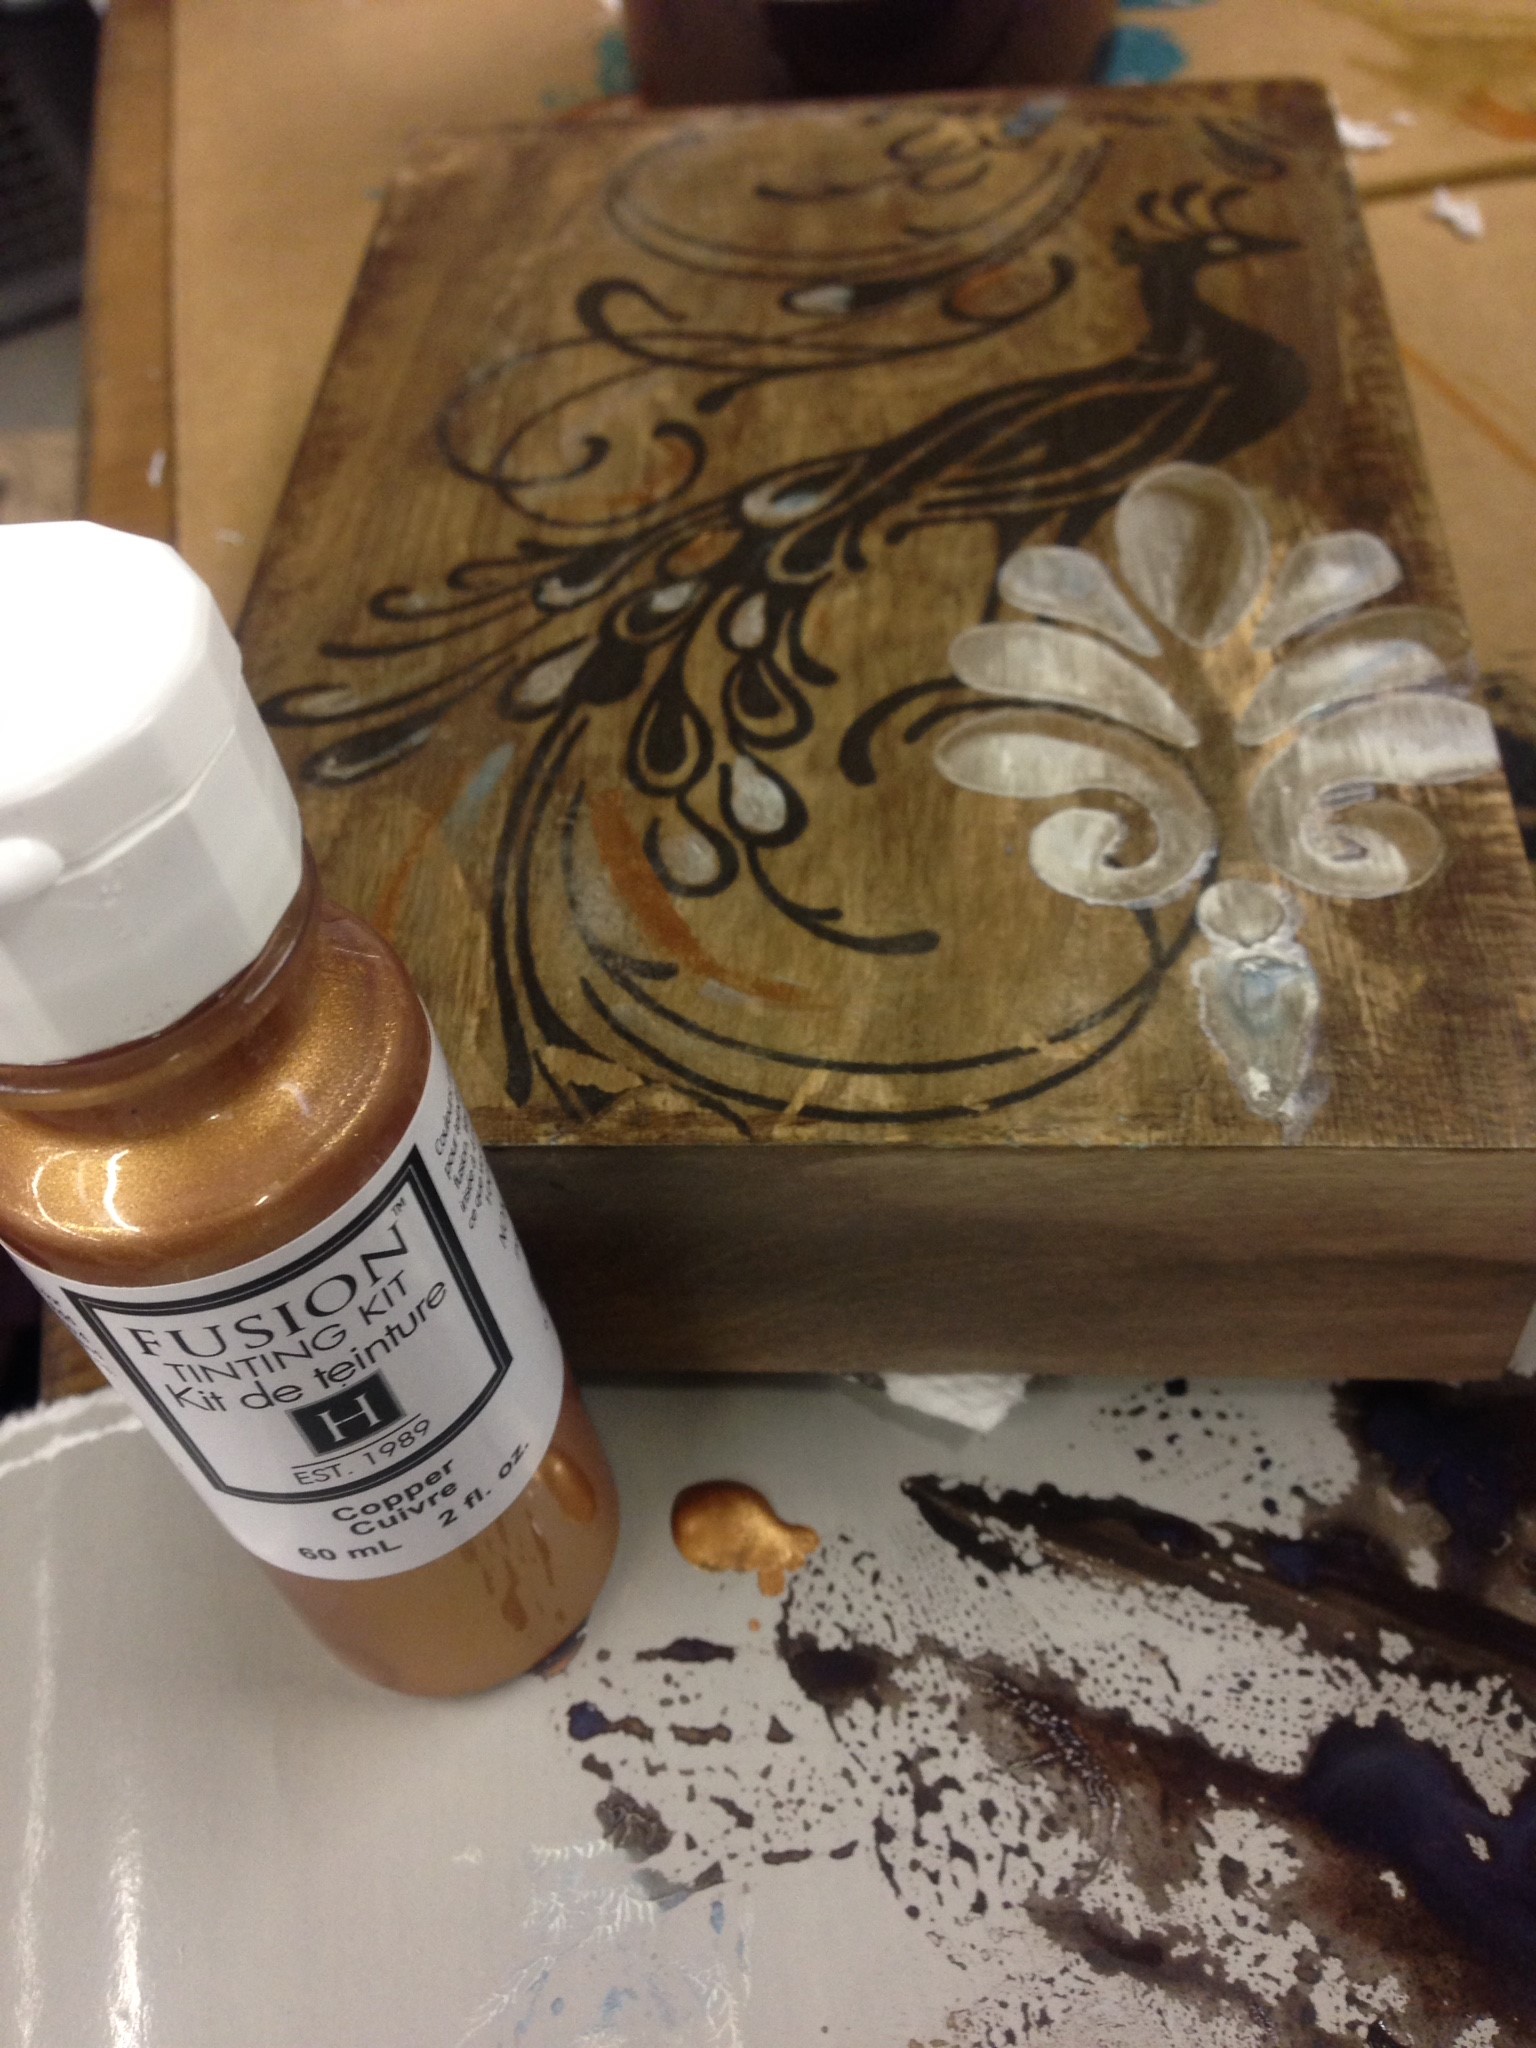
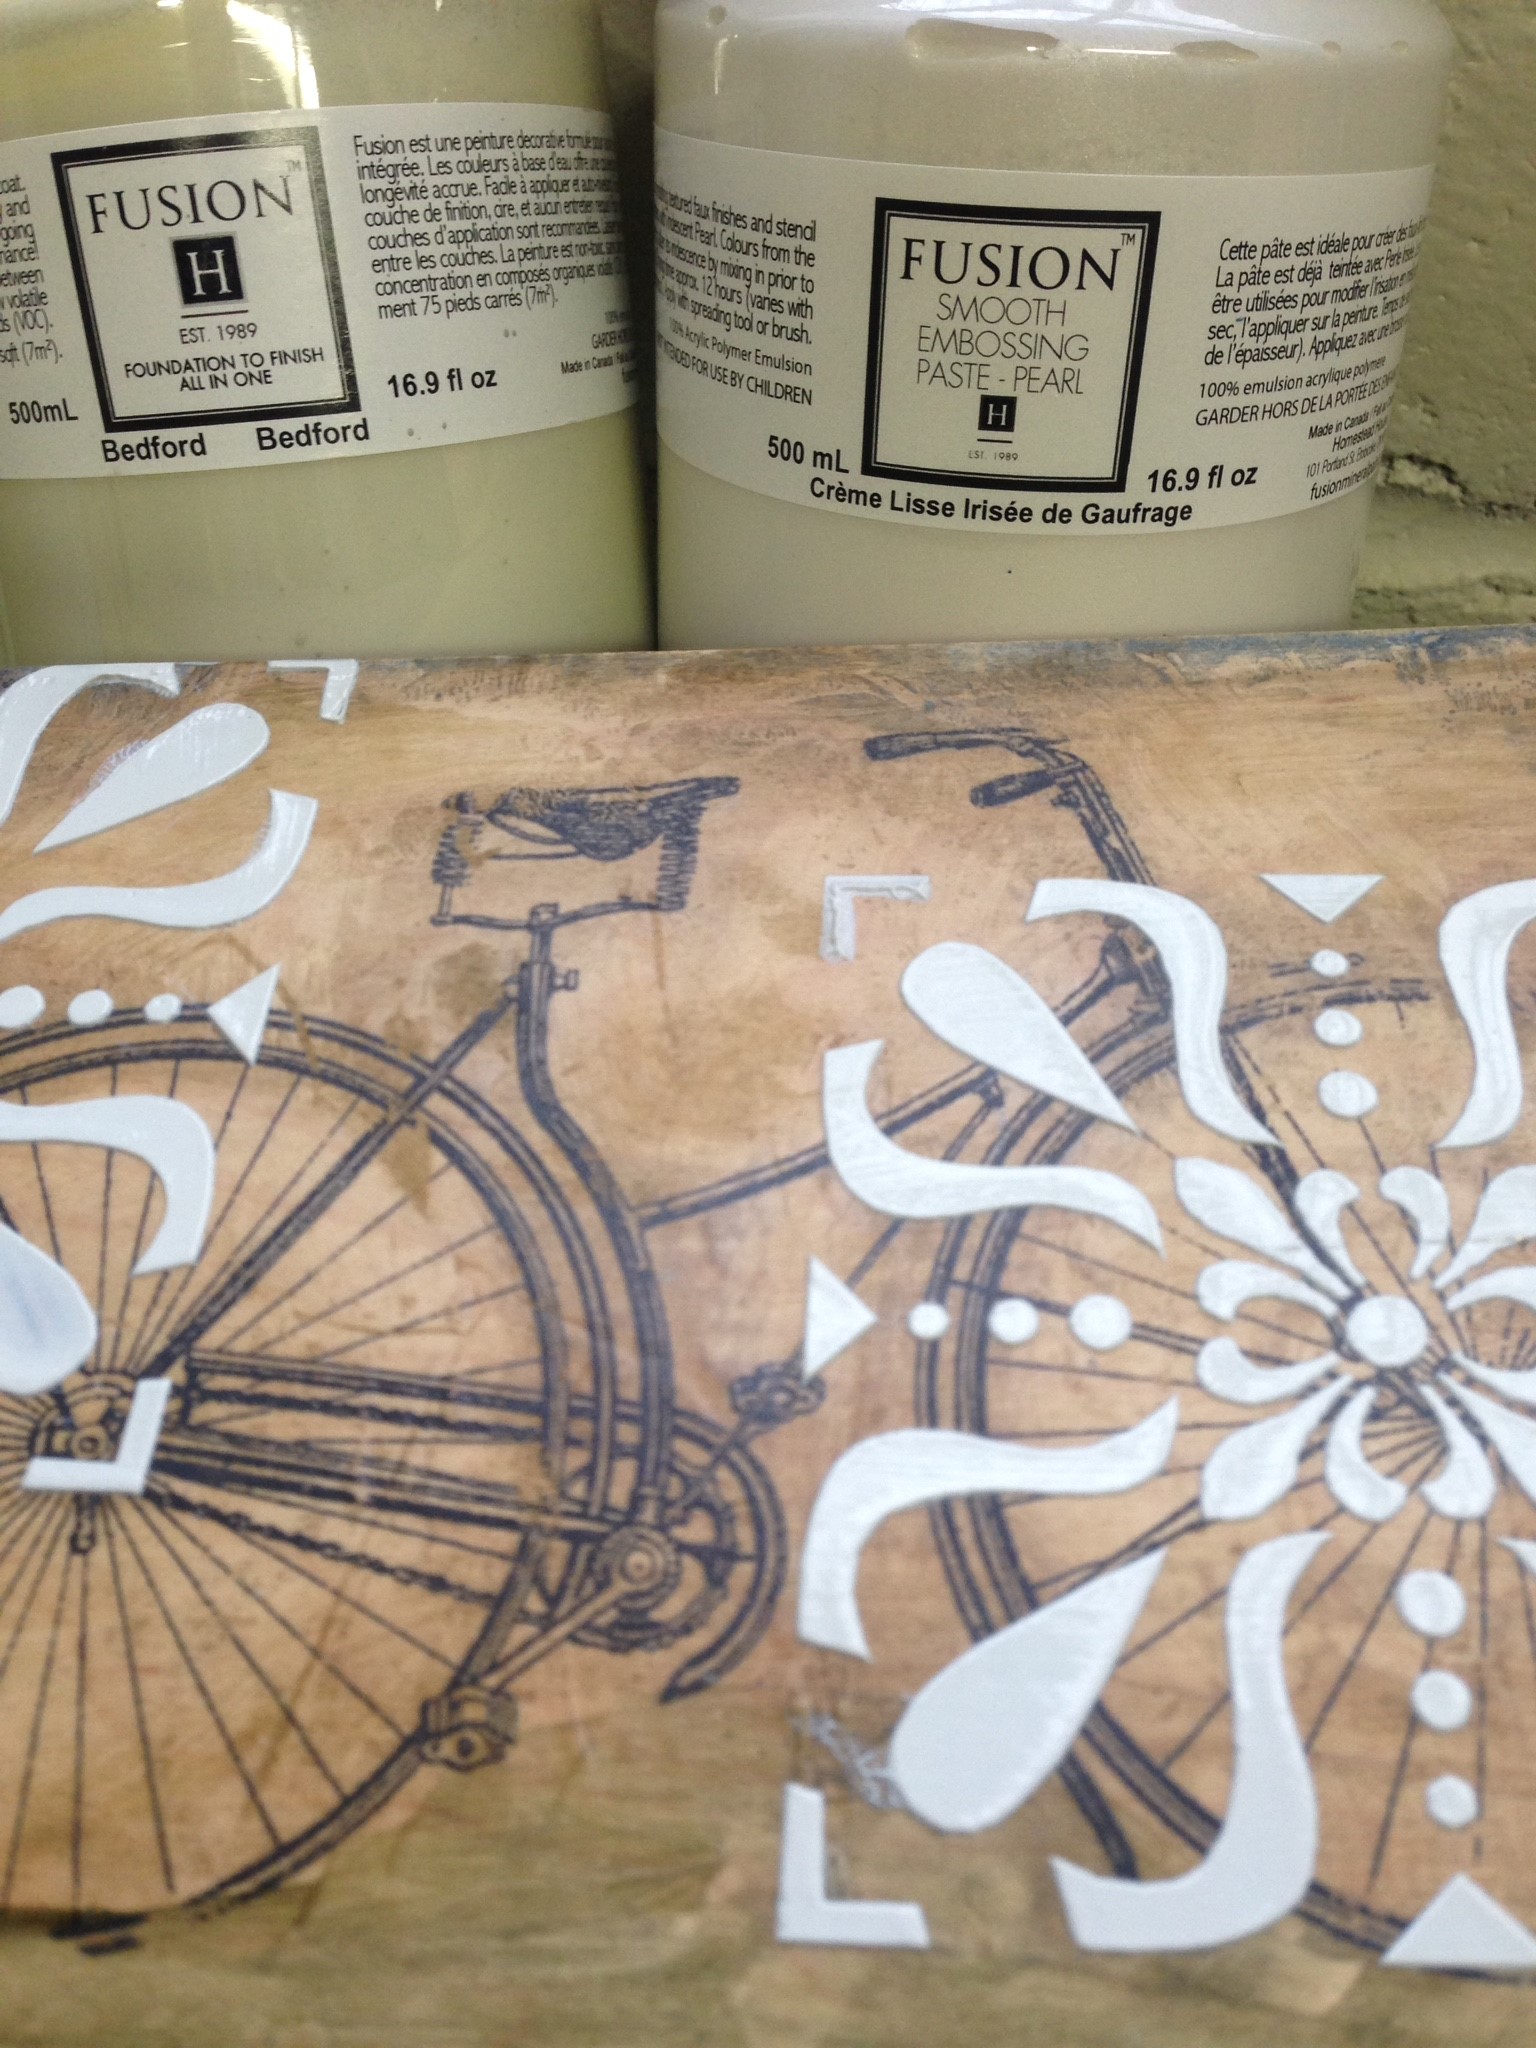
Using the Fusion™ Furniture Wax in pearl and copper, I added little dabs of “shiny” here and there. Also you can mix a drop of pearl with a drop of Ceramic green paint for something a bit different! I also thinned the copper tint with water using a 50/50 ratio and applied to certain areas. All of these are water bases so it literally dries in minutes. I wanted to remove some of the paint from my embossed edges so that they would appear to have highlights. I achieved this by using a 400 grit sandpaper. That is it for the Peacock! I did not put any tough coat on, since it’s going to be hanging on the wall it doesn’t need any protection. Here’s another fun completed project. Chocolate and Bedford were used.


