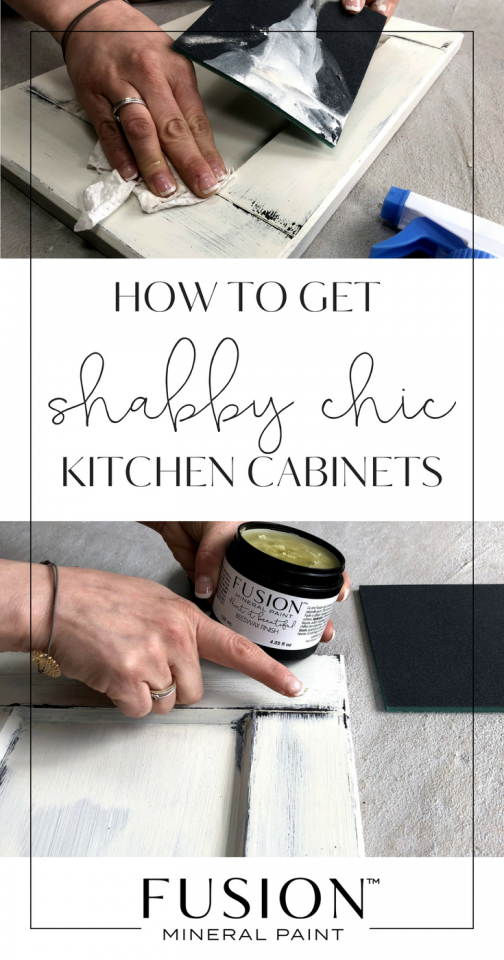
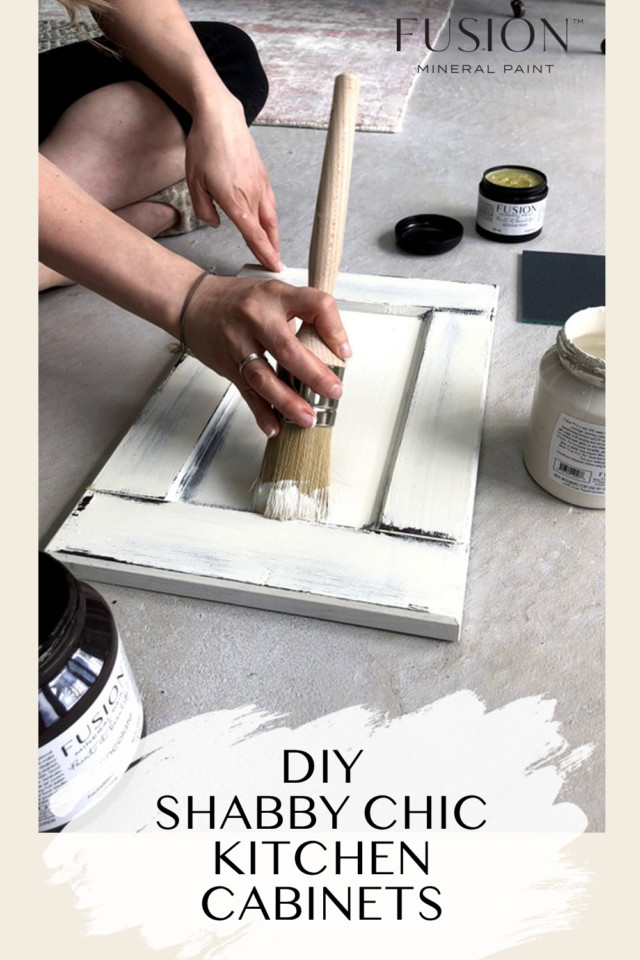
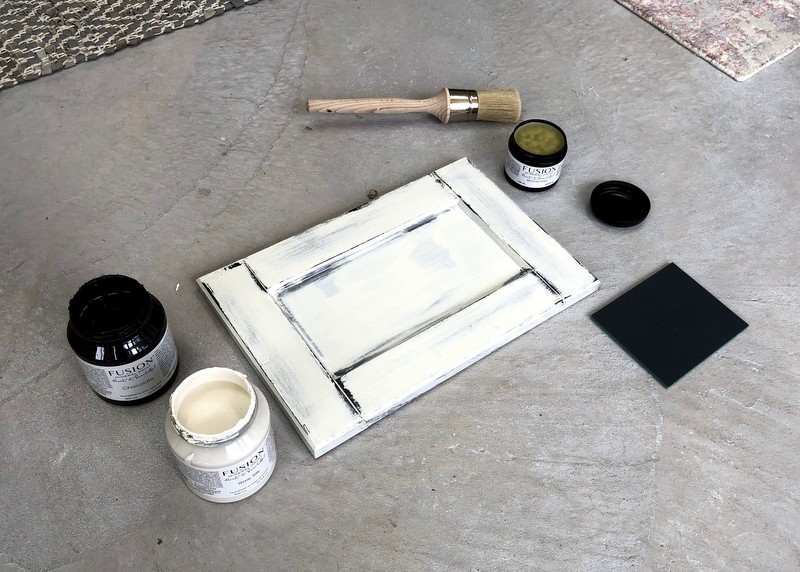
If there’s one look that we know our Fusion community loves, it’s the distressed, farmhouse-inspired look. Whether you call it farmhouse or shabby chic, there’s something that both are reminiscent of a cozy, comfy home. That feeling of looking like an item has been with your family for years. The caveat with that is that sometimes real antiques cost a lot more than the average person can afford. Today we’re going to show you how we (and YOU!) can get Shabby Chic kitchen cabinets.
Farmhouse Inspired Kitchen Cabinets
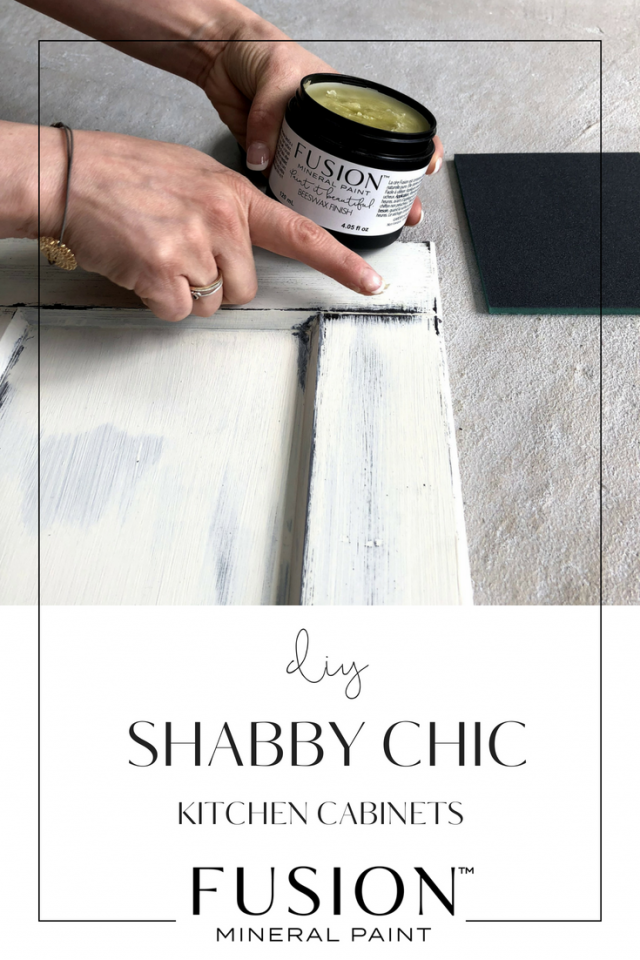
Step 1 – PREP YOUR KITCHEN CABINETS FOR PAINTING
To find out how to properly prep cabinets for painting, read our handy post on the basics of painting kitchen cabinets to get you started.
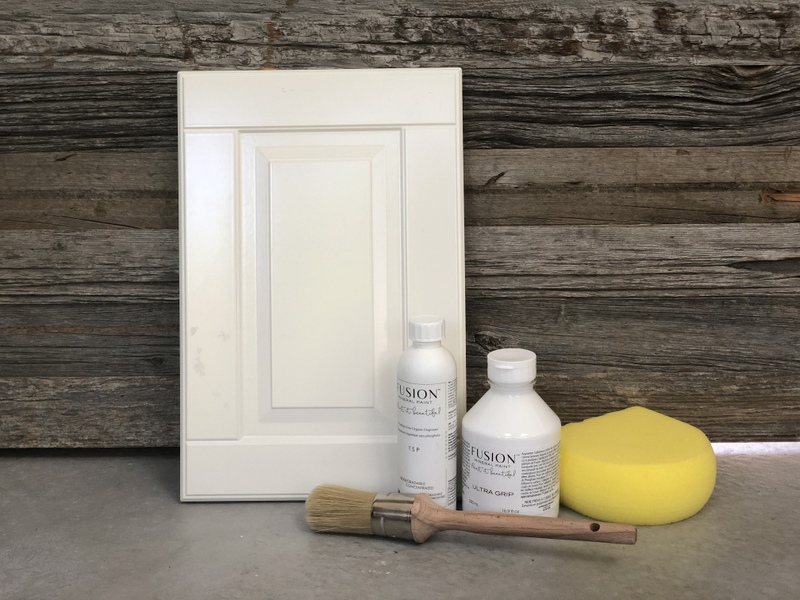
Step 2 – HAVE A DARK BASECOAT ON YOUR CABINETS (like Chocolate).
Now, if your cabinets are dark brown or dark wood, then you’re good to go. But if yours aren’t, the first thing you need to do is paint a base coat of brown paint in Chocolate.
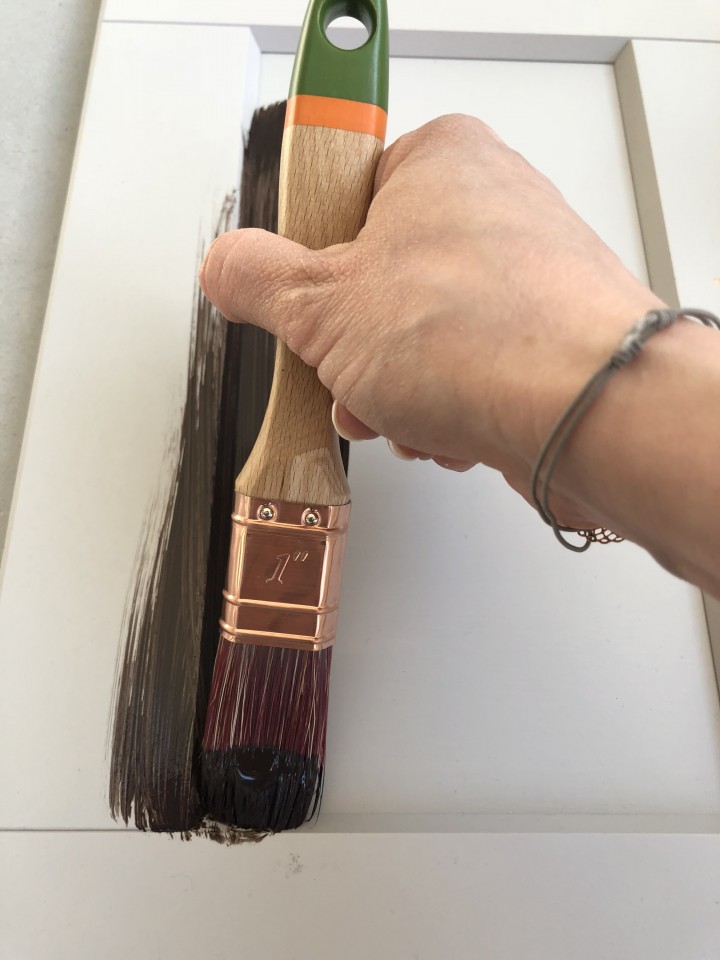
This is so that when you sand down the top colour, if it wasn’t brown underneath, now it will be! So paint your cabinet front brown and allow that to dry.
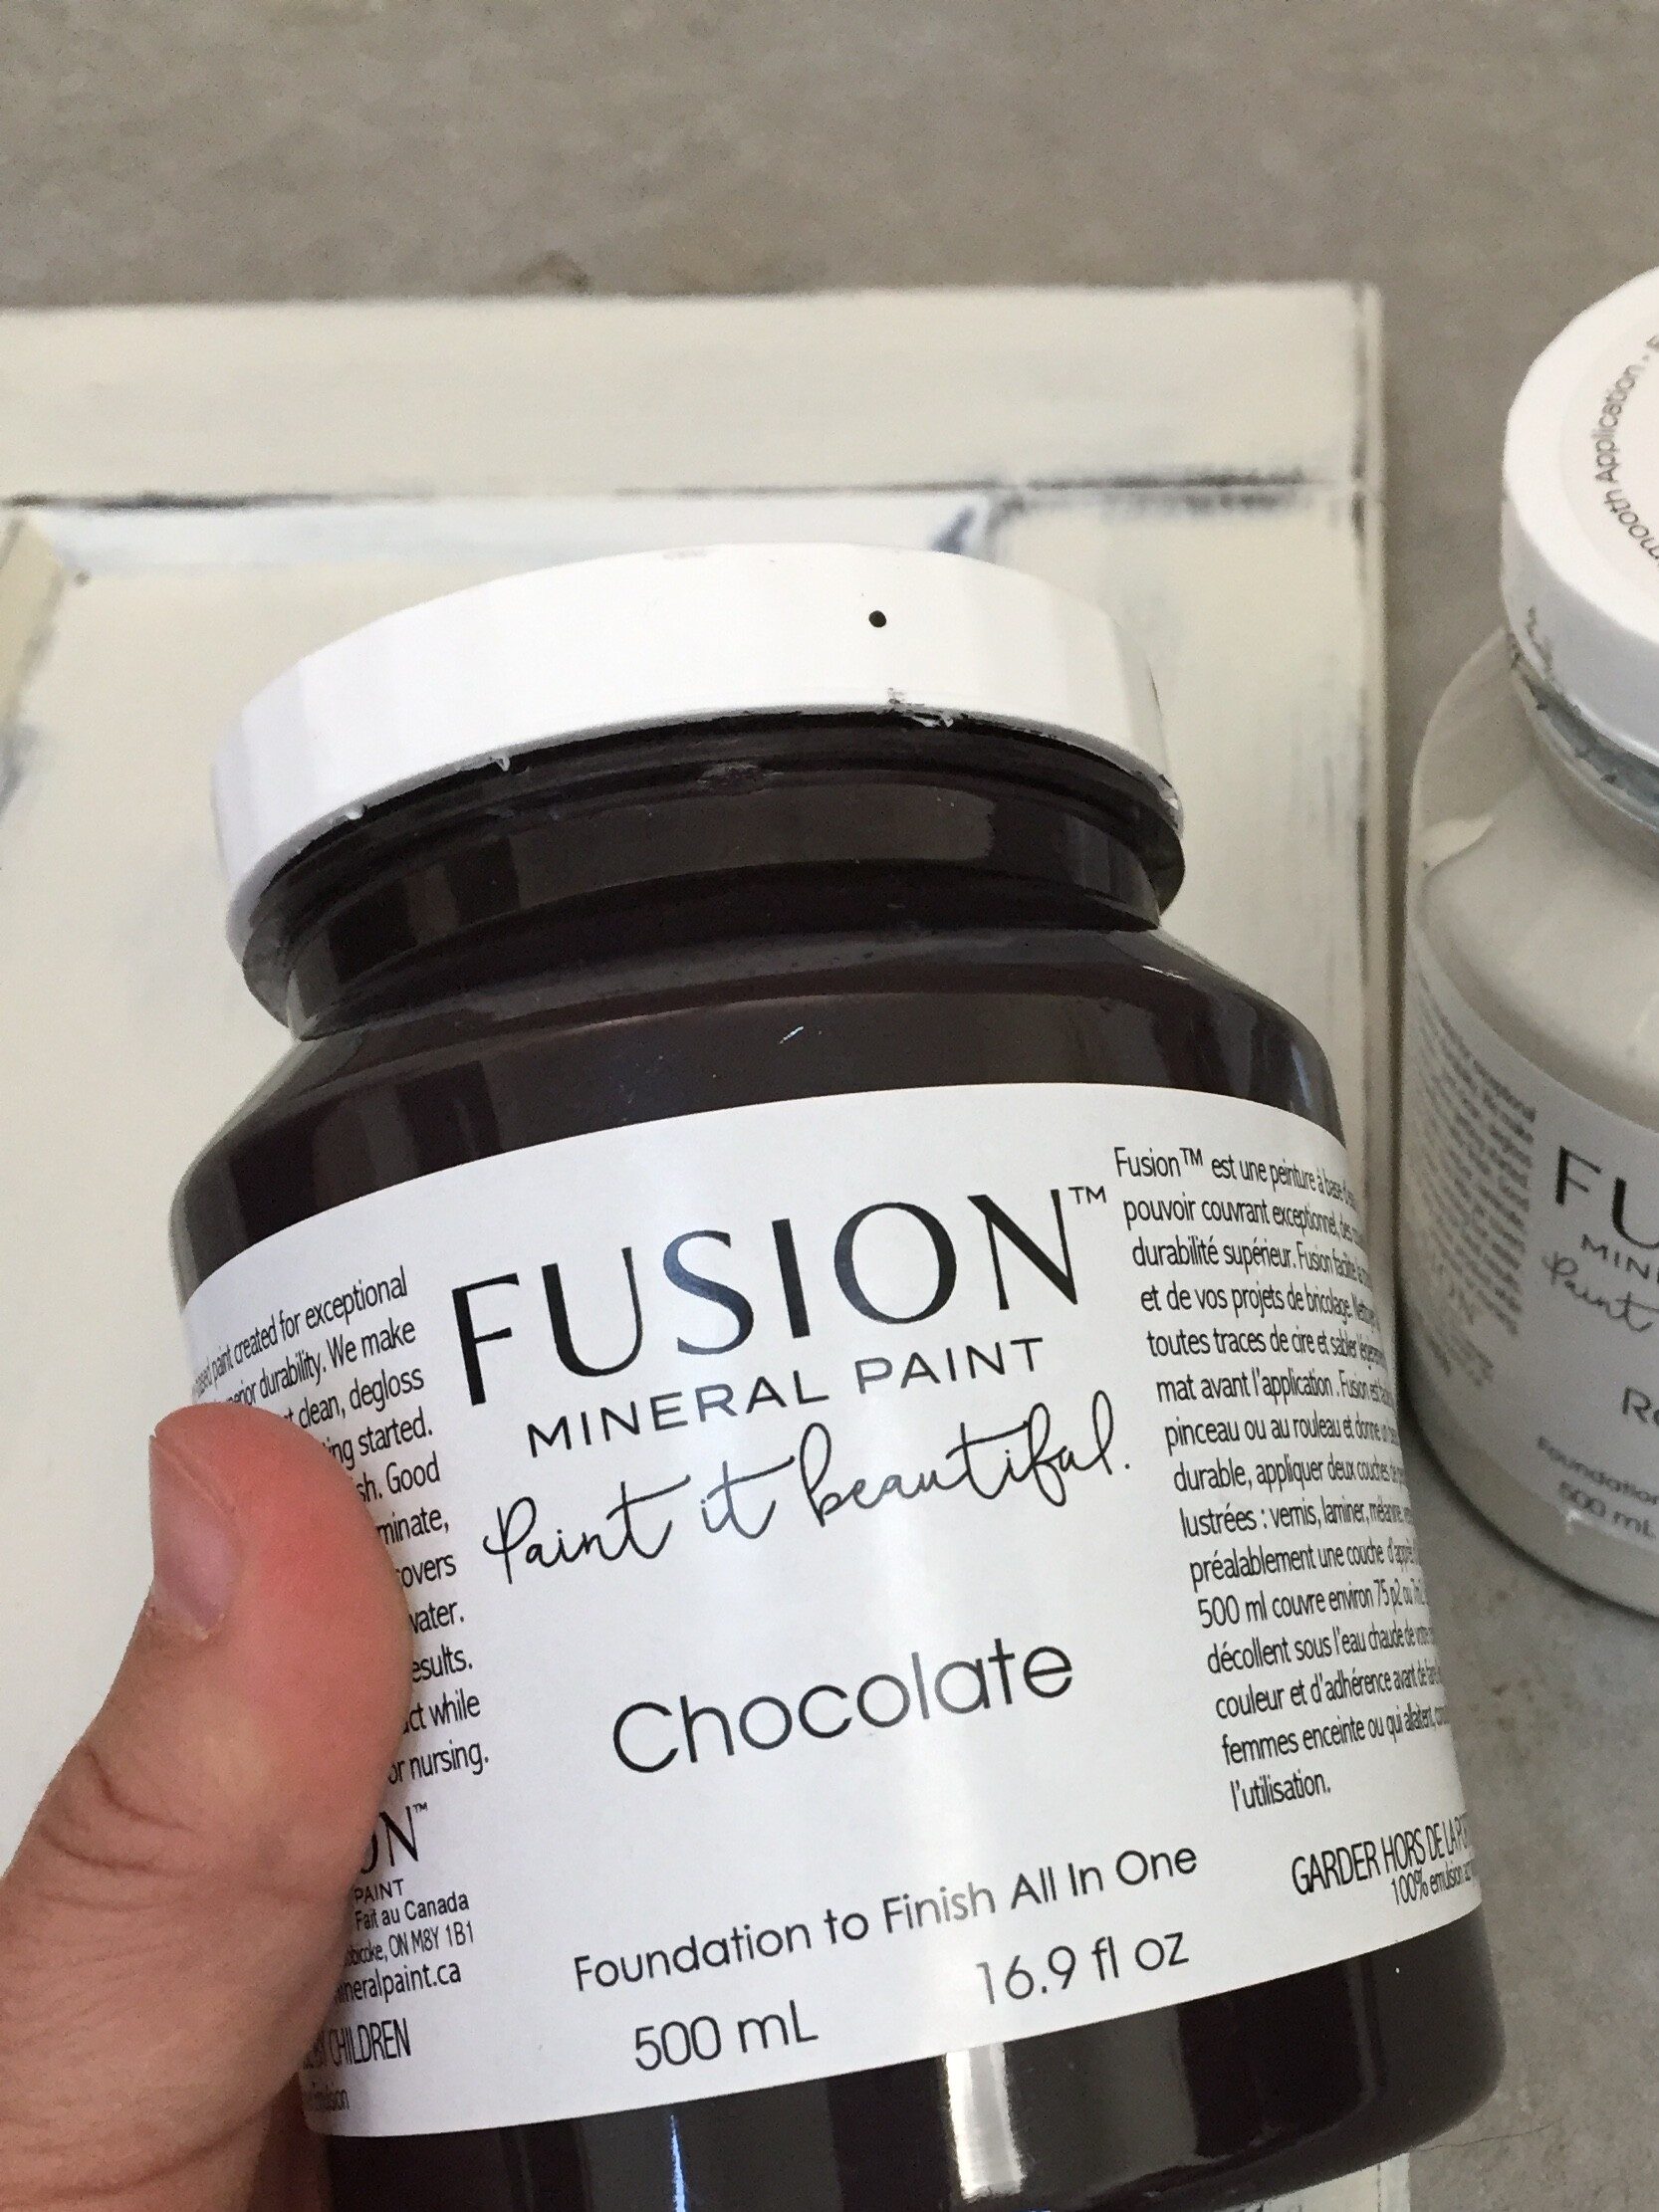
Step 3 – GET READY TO DISTRESS YOUR CABINETS
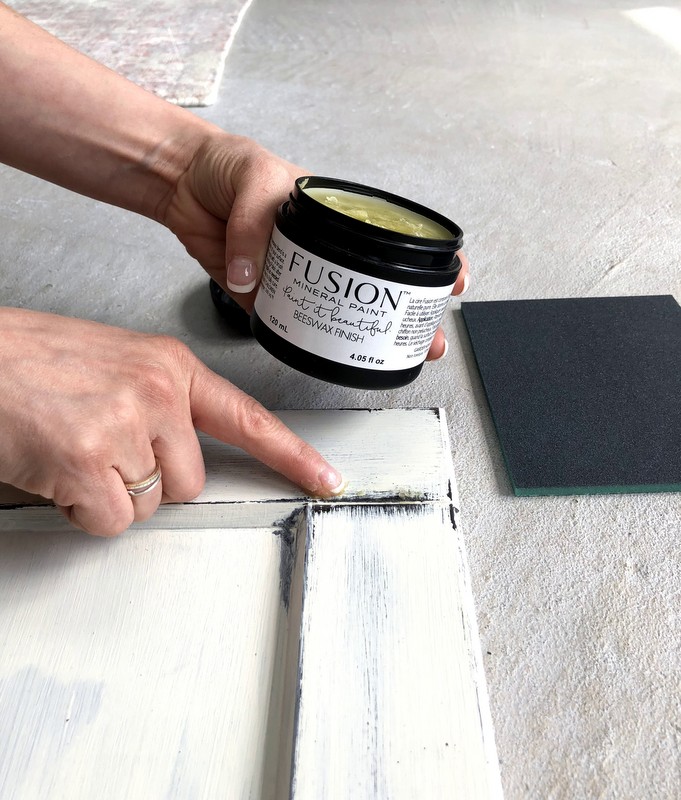
The first step to getting shabby chic kitchen cabinets is to apply wax to your first colour (in our case, to the chocolate base). Using our Hemp Oil Beeswax Finish, we rubbed the beeswax along the areas on the chocolate cabinets that we wanted to distress using a small cloth and the tips of our fingers. A good rule of thumb for this is to apply it to areas that naturally wear down with regular use – think edges, certain spots near handles and crevices. This will help it look naturally aged. Depending on how distressed you’d like your cabinets to look, you can even apply it across the fronts in spots.
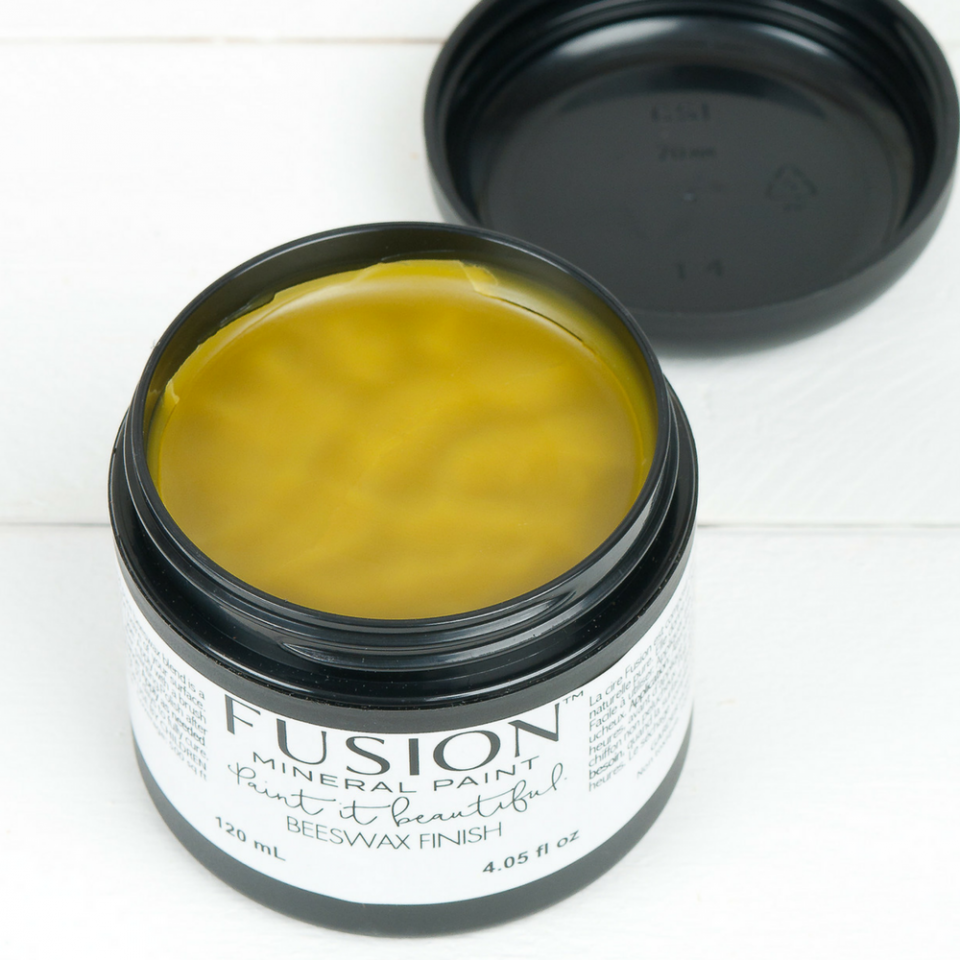
Just in case you’re wondering how this helps to create a distressed look, you cannot paint over wax. Therefore the wax acts like a barrier to the paint, allowing it to be removed easily.
Step 4 – LAYER IN YOUR CHOSEN CABINET COLOR
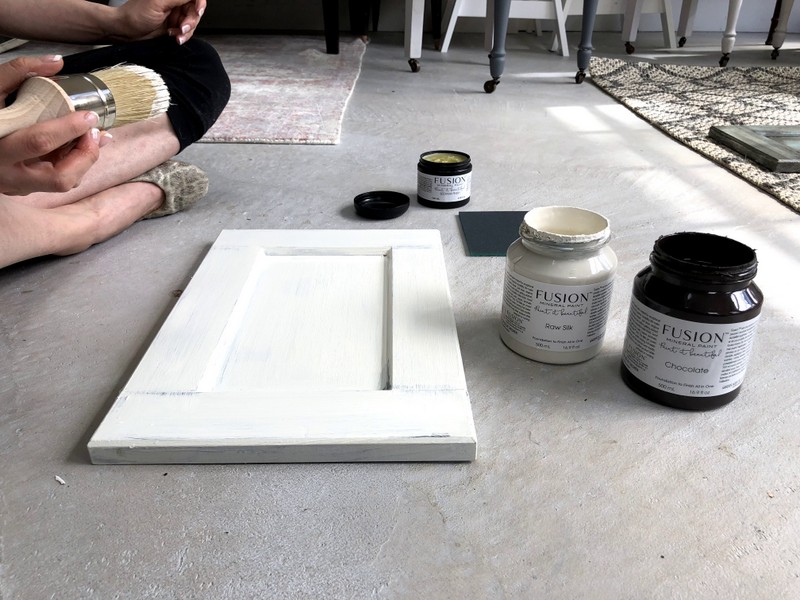
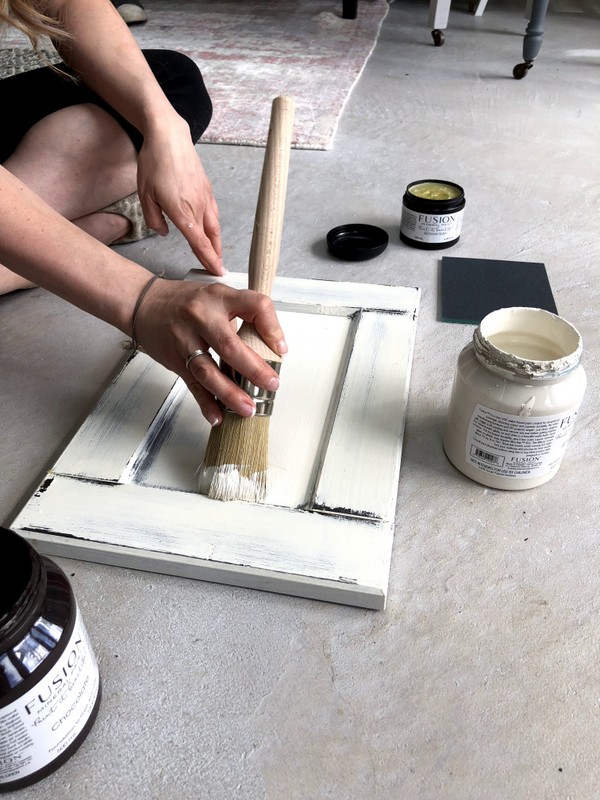
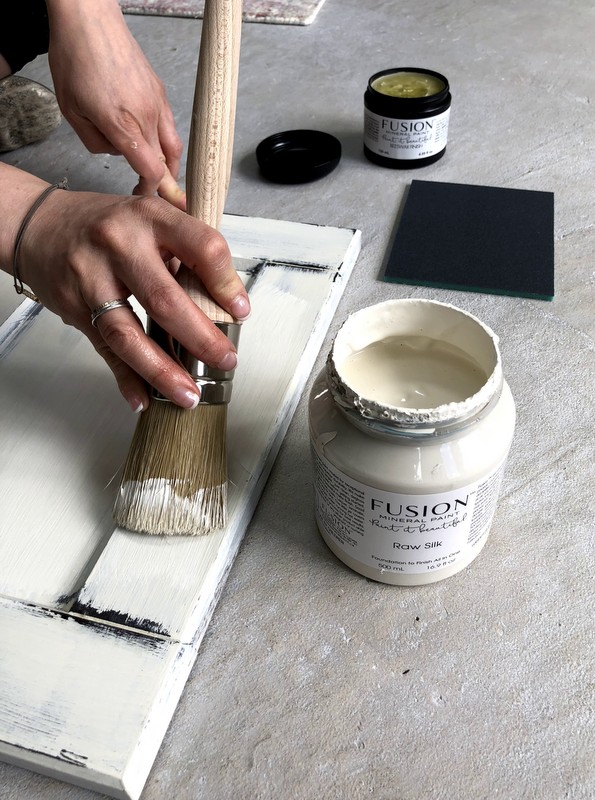
After we put the wax where we wanted it to go on our base colour, we are ready to add our next colour Raw Silk.
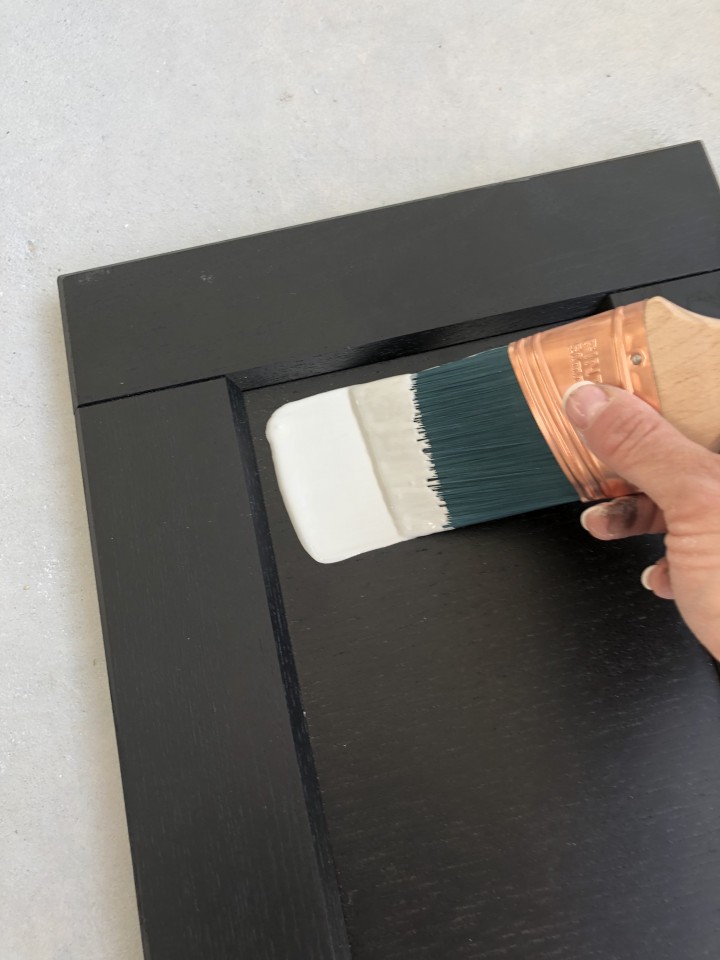
You can see after just one coat, that the Raw Silk looks a little patchy and needs a second coat. It is best to use an angled brush to get into the edges.
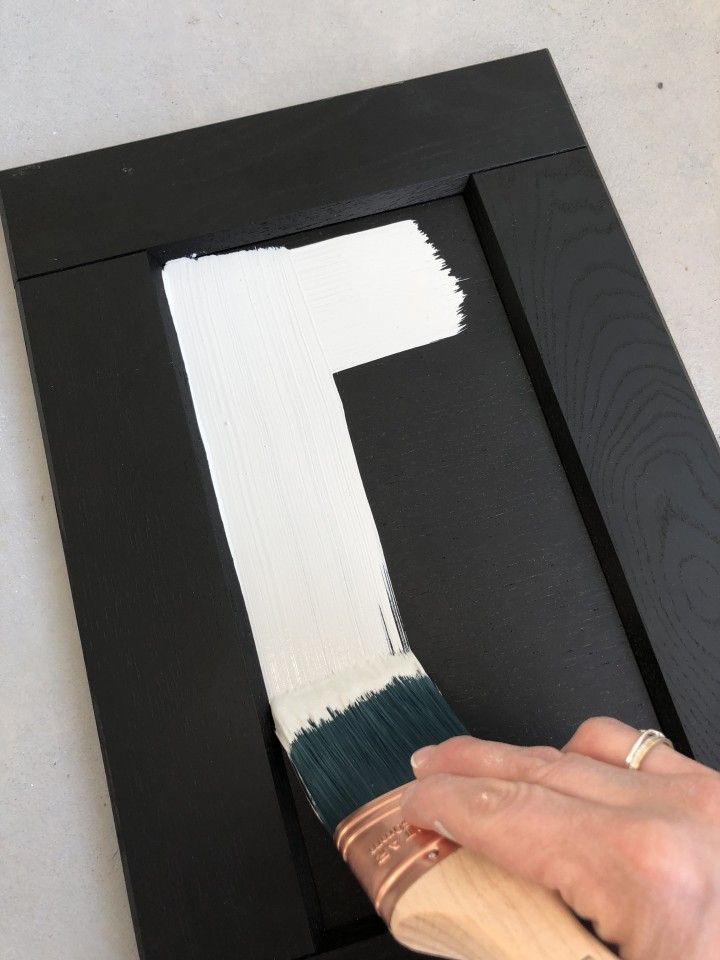
After one coat of Raw Silk:
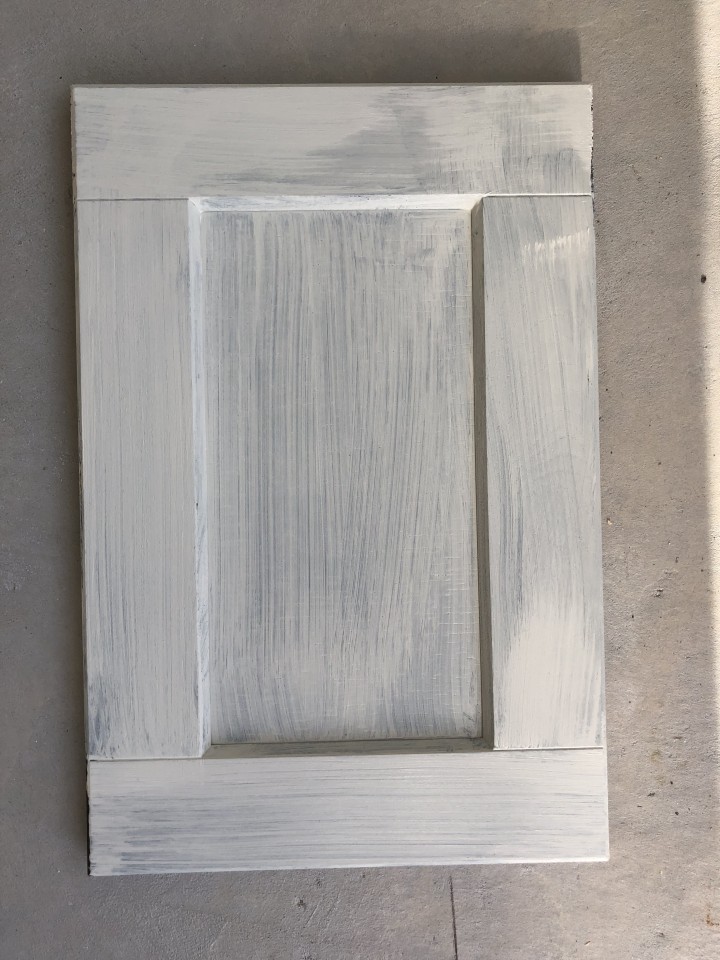
We painted two coats of Raw Silk over the entire cabinet and then let that dry. Make sure the paint has been drying for at least 30 minutes before you begin to distress.
Step 5 – DISTRESS YOUR KITCHEN CABINETS
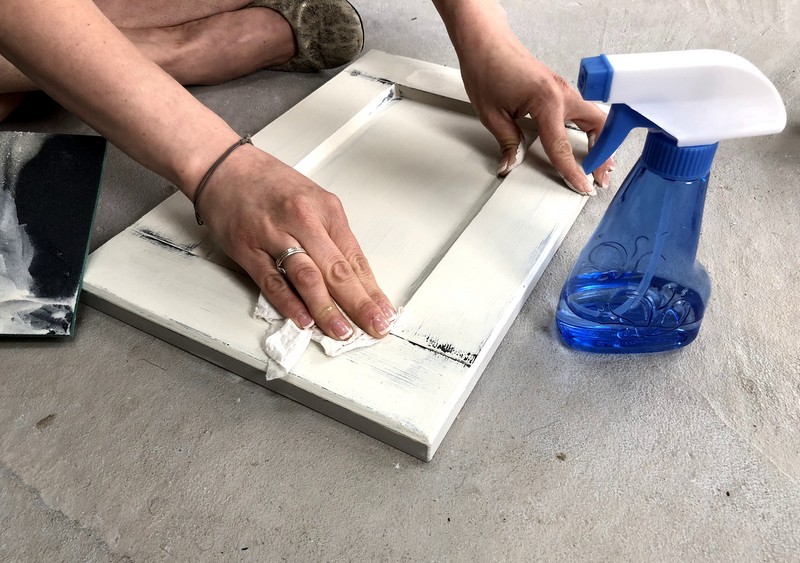
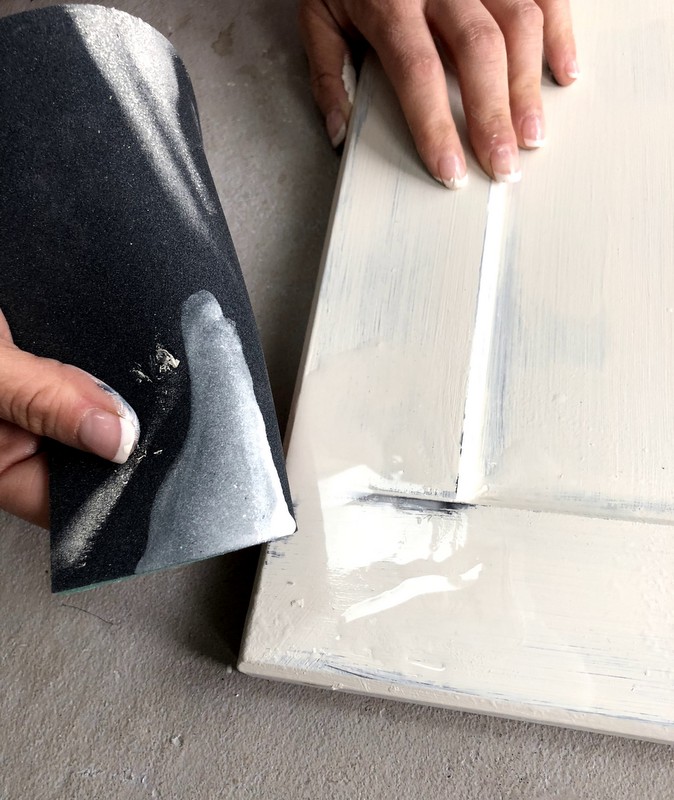
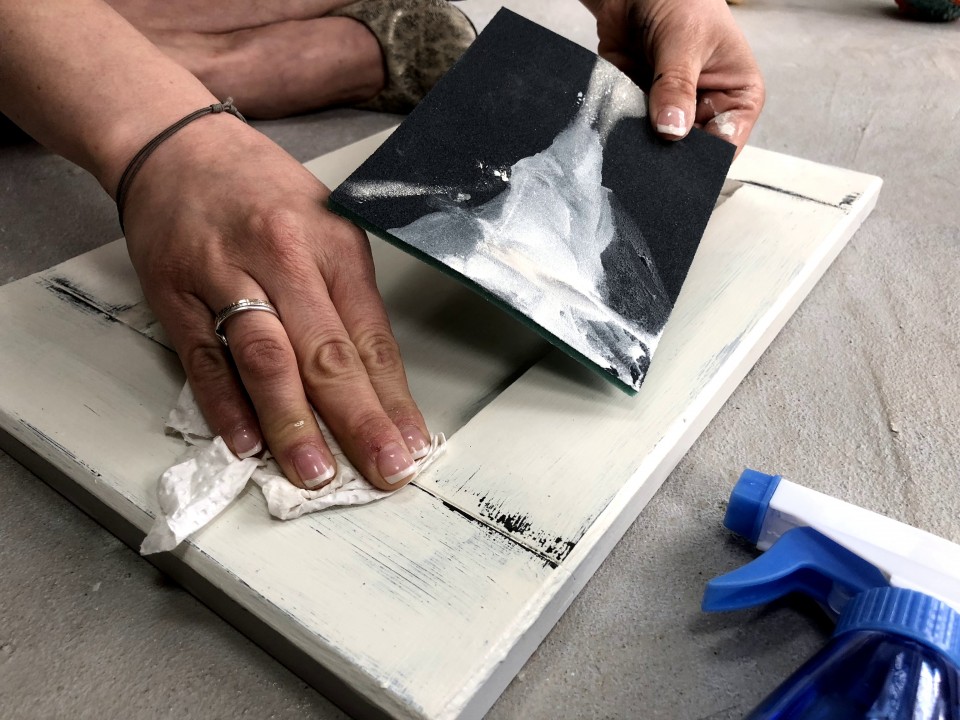
Distressing time! Using an ultra fine sanding sponge, we went over the area on the cabinet where we applied the beeswax finish and sprayed the areas with water. This is called wet distressing and it’s far less messy than regular distressing (plus we have a great post all about how to wet distress that you should read).
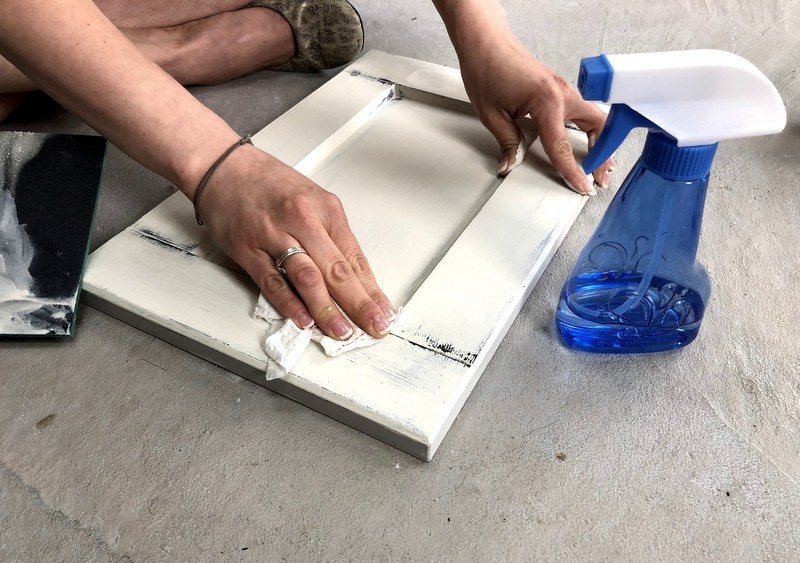
We wiped off any excess water and began to sand until we achieve the shabby chic distressed look we desired. Basically, it’s spray water, lightly wipe, sand and then wipe again. This helps keep everything contained without the mess of sanding dust going everywhere.
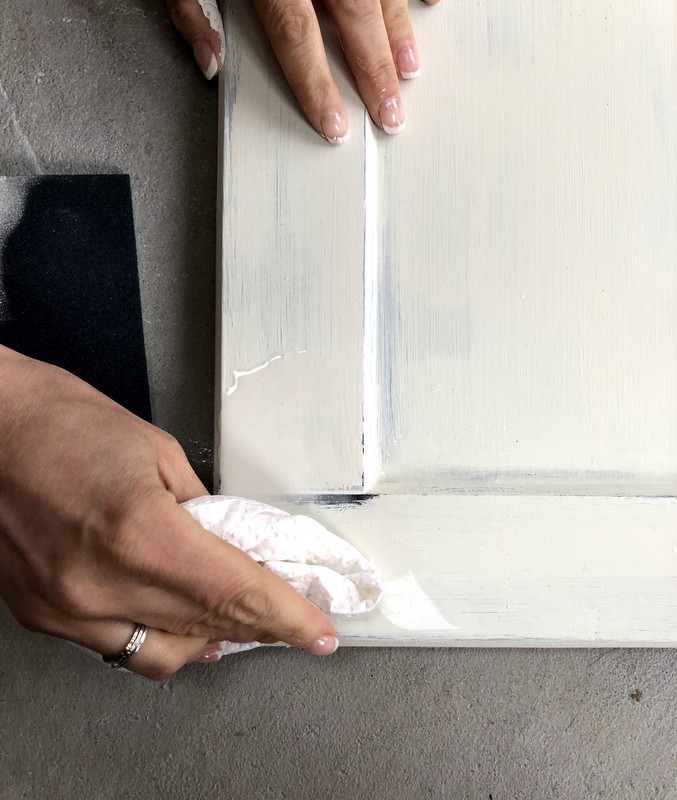
Step 6 – ASSESS AND UPDATE FOR DESIRED LOOK (MORE OR LESS DISTRESSING)
This is where you step back and take a look at your overall surface and decide if there are any other areas you’d like to darken or lighten. Are there spots that you want to distress more or add more paint. Use your own discretion as everyone’s cabinets will be different, so go with what works for you. We decided to touch up some spots.
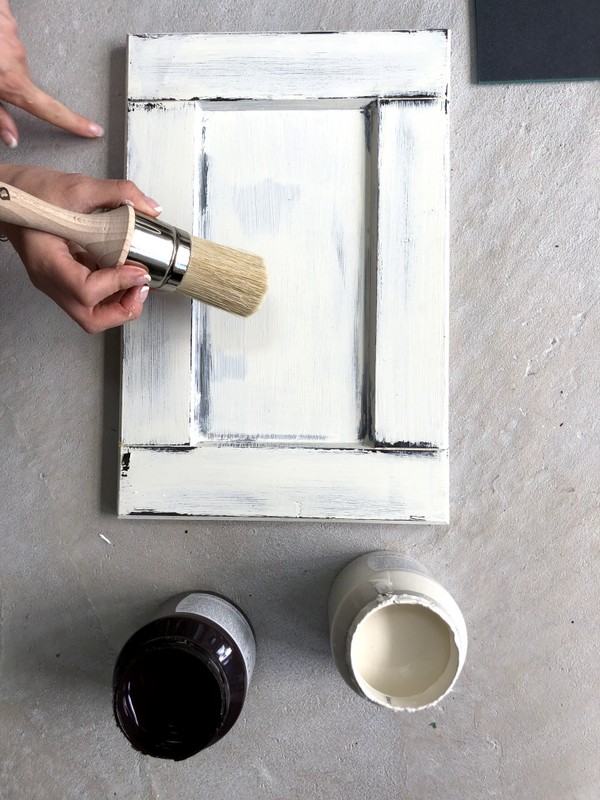
Step 7 – OPTIONAL STEP – ADD A LAYER OF EXTRA PROTECTION WITH TOUGH COAT
Using our Tough Coat is not necessary but we find that many of our customers love adding this additional layer of protection to their cabinets if they are going to get a lot of wear and tear. Fusion Mineral Paint has a built-in top coat so using Tough Coat is not usually necessary. Read our post about when to use a top coat over Fusion Mineral Paint to help you decide.
Please note: we do not recommend using our Stain and Finishing Oil (SFO as it is affectionately known in our Paint it Beautiful Facebook group) over this and other light colors, as it may cause the color to yellow.
And after that, you are done! If you’ve ever distressed your kitchen cabinets, we’d love to see them so feel free to share them in our Paint it Beautiful group on Facebook.
PIN IT FOR LATER
