Fusion Merchant Denell Shaw from Painted Greenbay made over her nightstands in this Quick Nightstand Refresh With Homestead House Solstice Blue from the new Homestead House Swedish Collection.
Have you ever had a pair of nightstands that you just loved but needed some TLC? If so, you are not alone. Finding the right nightstands for your room can be challenging especially if you want storage, the right height for your bed, quality etc. so if you have a set that works well but needs a re-fresh, then you should consider keeping and painting them. A few simple coats of paint can make a world of difference. Follow along for this Quick Nightstand Refresh With Homestead House Solstice Blue.

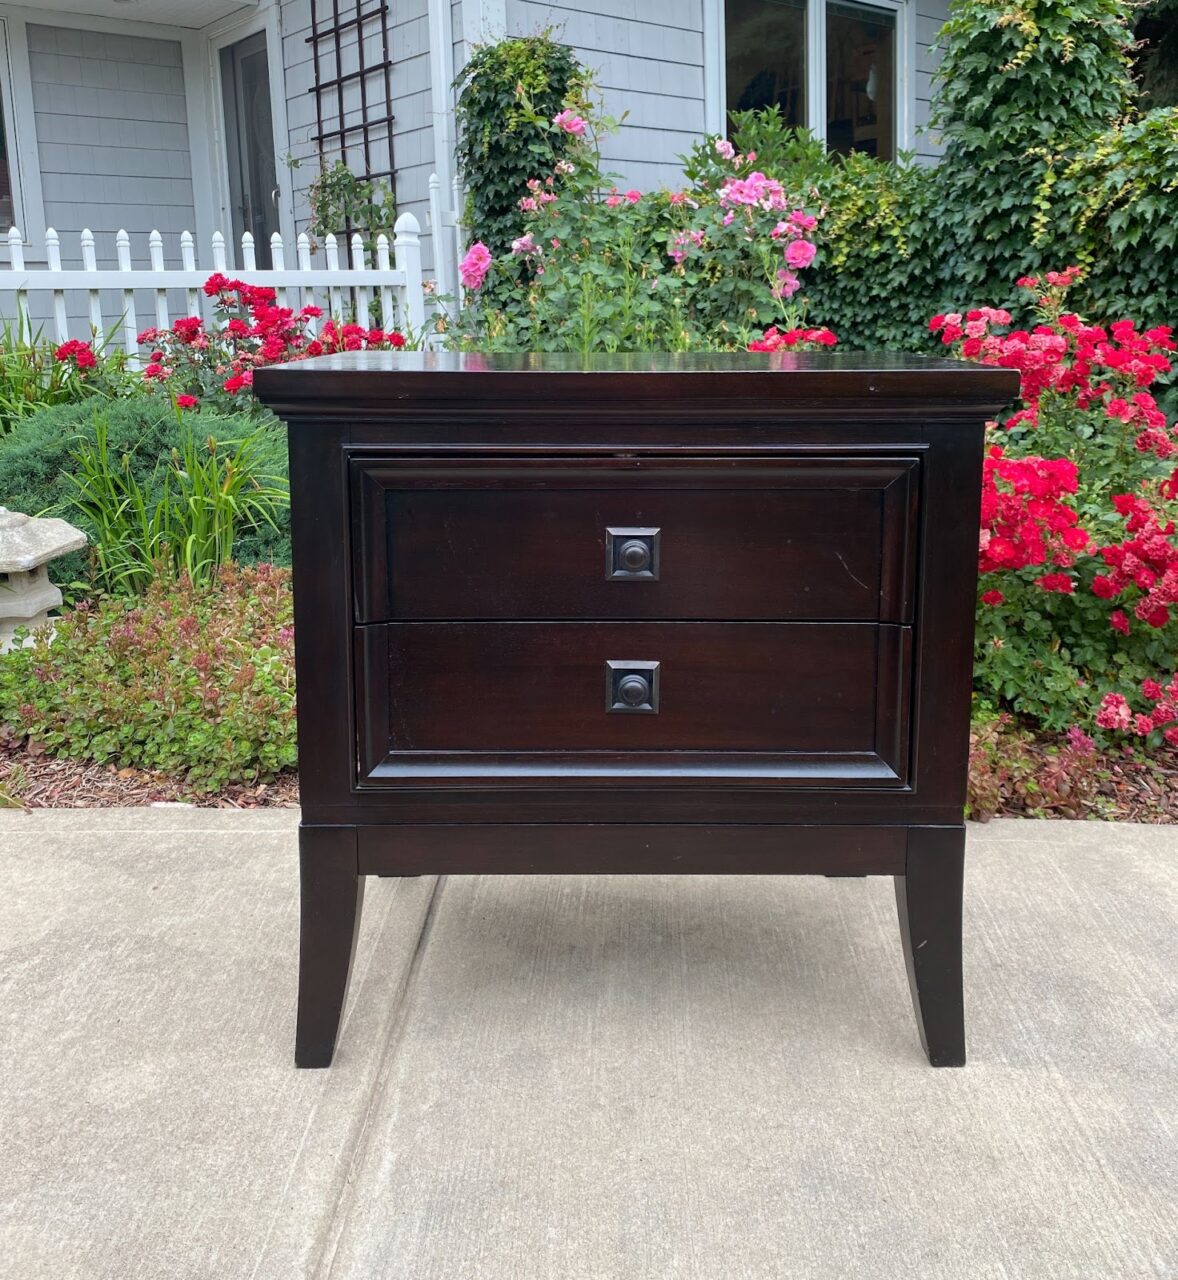
Get To Know Your Piece
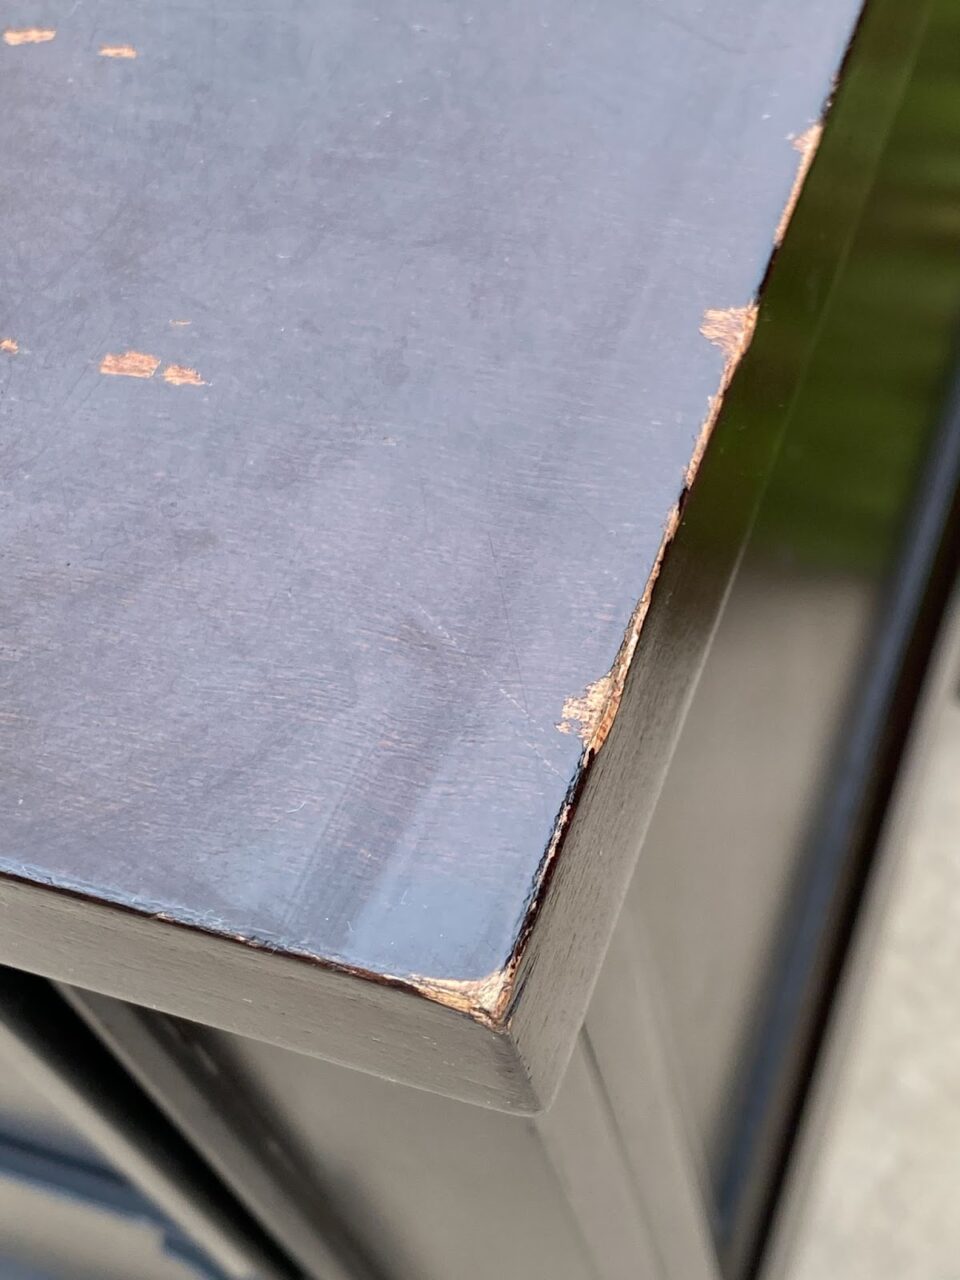
This set was great, but as you can see, there is some chipping and damage to the top. Our bedroom also does not have good, natural light so this dark wood tone was helping the space either.
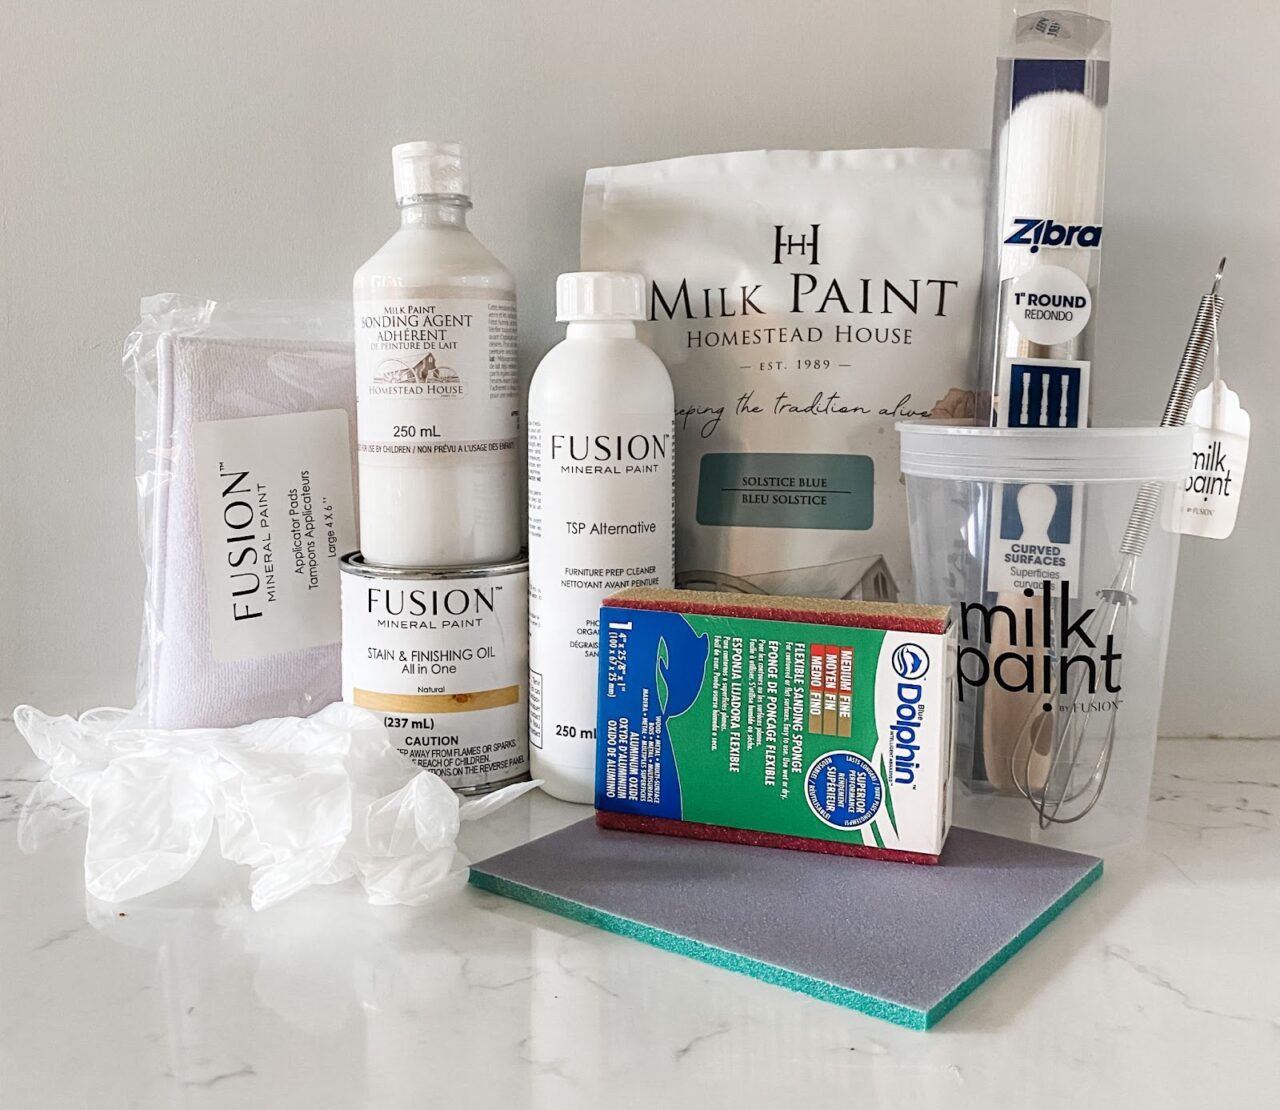
Tools Used for this Quick Nightstand Refresh With Homestead House Solstice Blue:
- Homestead House Solstice Blue
- Homestead House Bonding Agent
- Homestead House Clear Wax
- Fusion Mineral Paint TSP Alternative
- Blue Dolphin Medium Fine Sanding Sponge
- Fusion Milk Paint cup/whisk
- Staalmeester Wax Brush
- Zebra 1” Round Brush
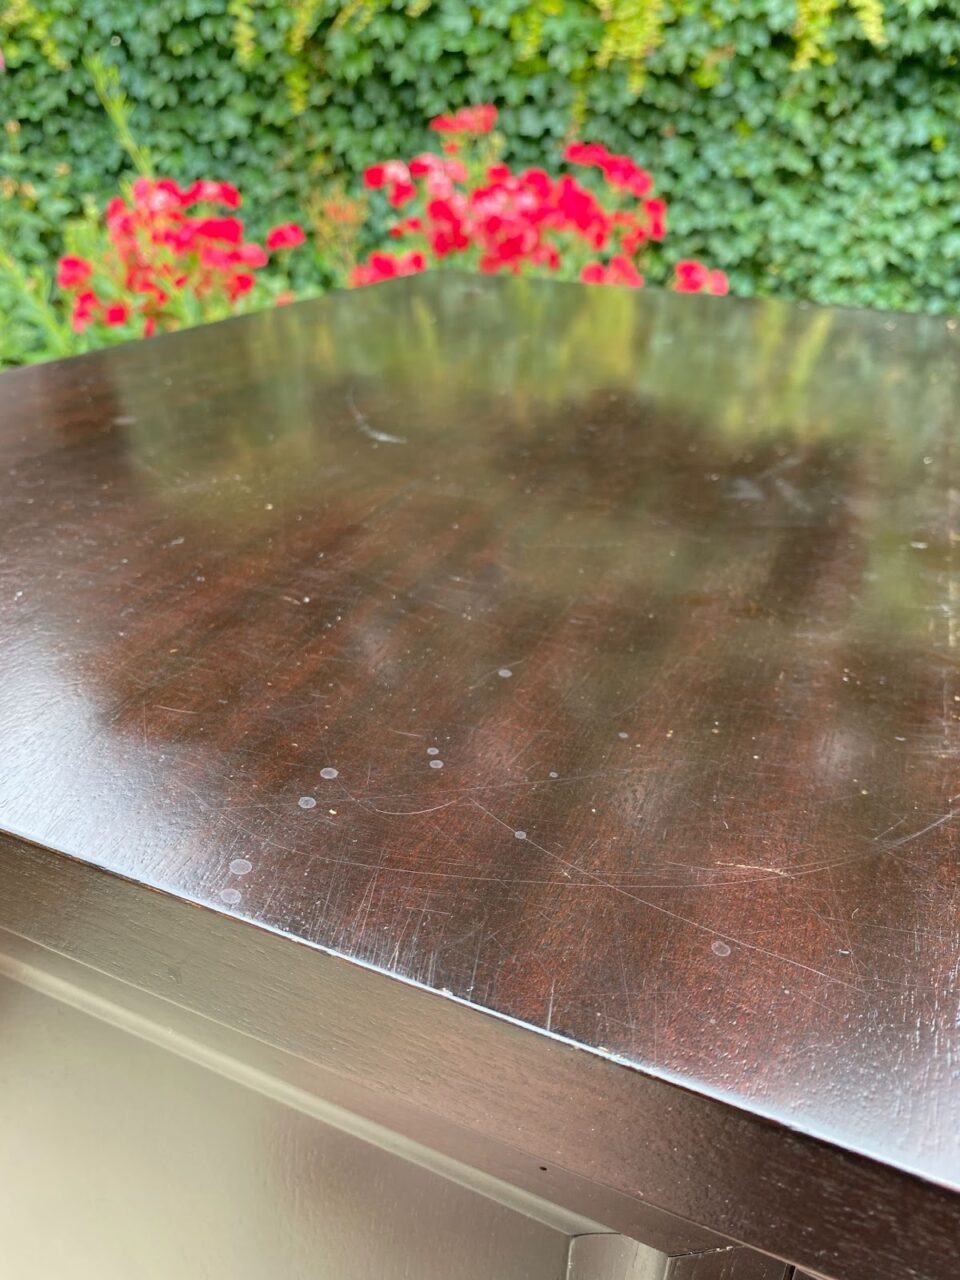
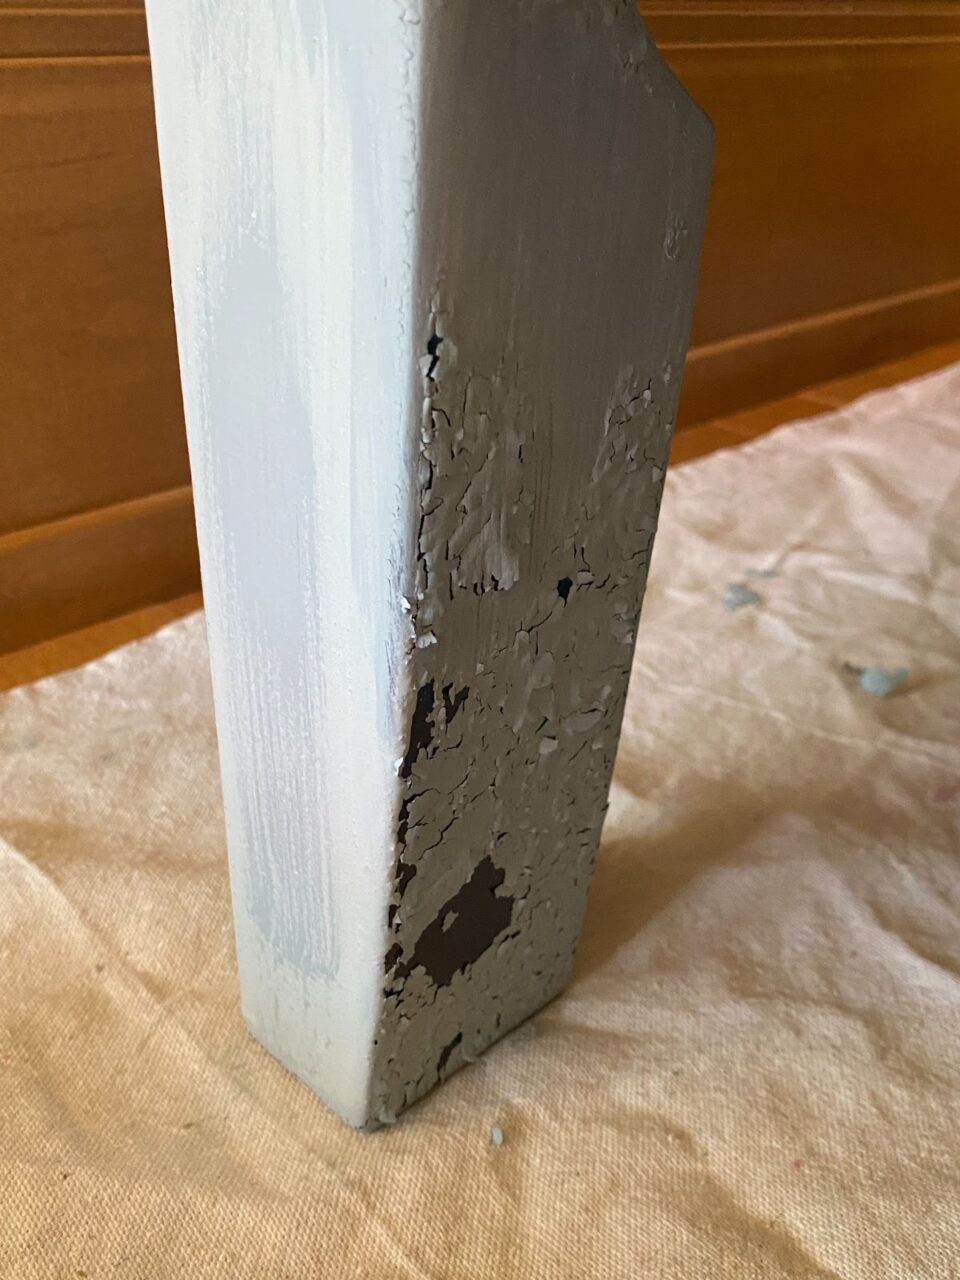
The nightstand is not an old piece. It has that newer factory high-sheen, laminate finish.
It’s that surface that nothing really likes to stick to. Now surfaces like this can be great if you are going for that “ultra chippy look”. Milk paint will often resist adhesion on slippery surfaces such as laminates and high gloss finishes and your paint can flake off and get really chippy. It is highly recommended that if you are working on a surface like this and you do want “chippy” you still do a test spot. I say this as you may run the risk of your paint not adhering at all. If you don’t add any bonding agent this is what can happen.
Mixing Milk Paint for Quick Nightstand Refresh With Homestead House Solstice Blue
Before you start prepping your piece of furniture, now is a good time to mix up your milk paint. Letting your milk paint rest for about 15 minutes before use helps the minerals absorb into the water so this is a great time to make your paint and then you can begin your prep while your paint is resting.
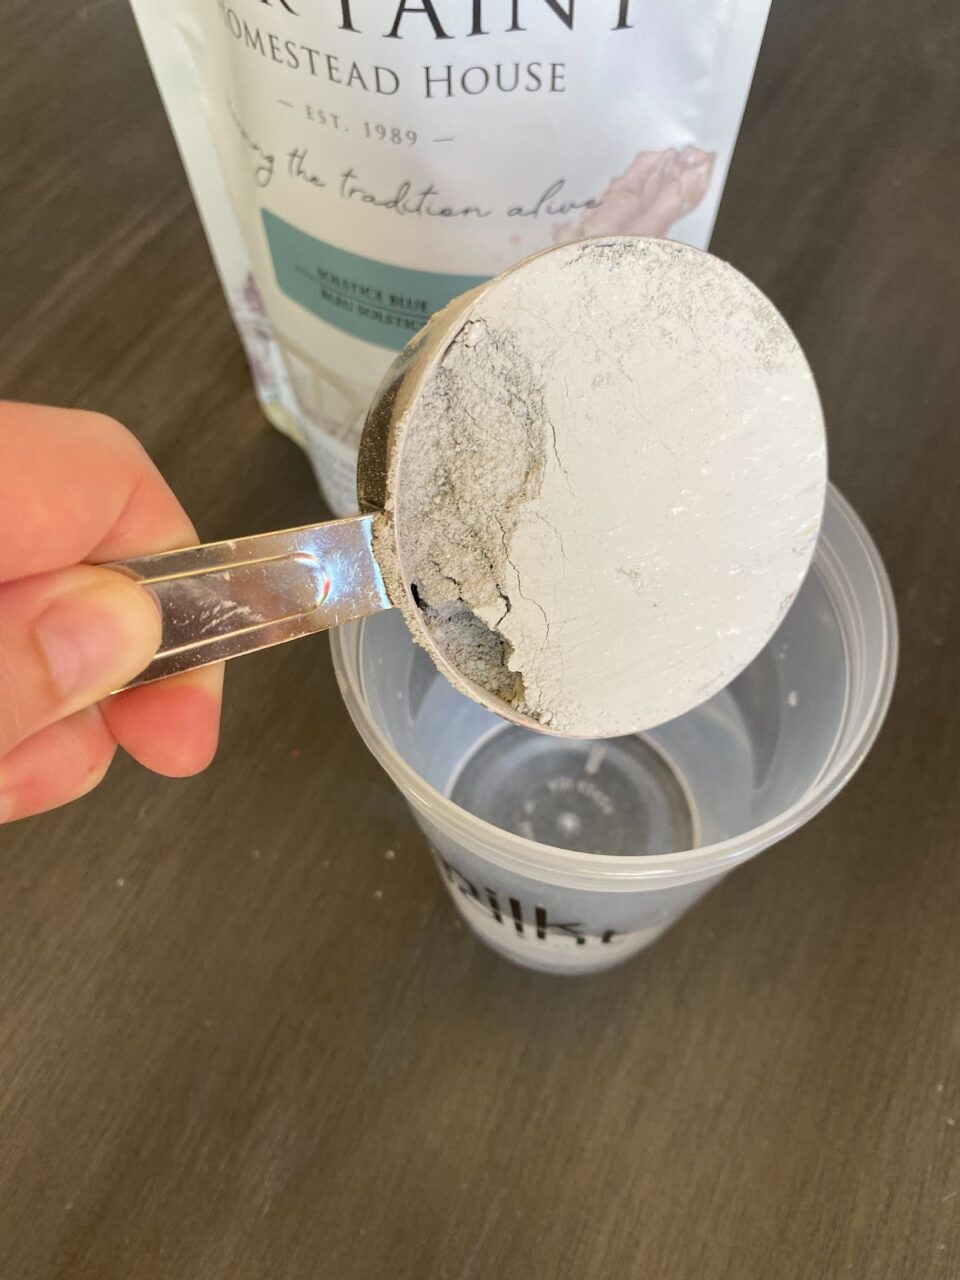
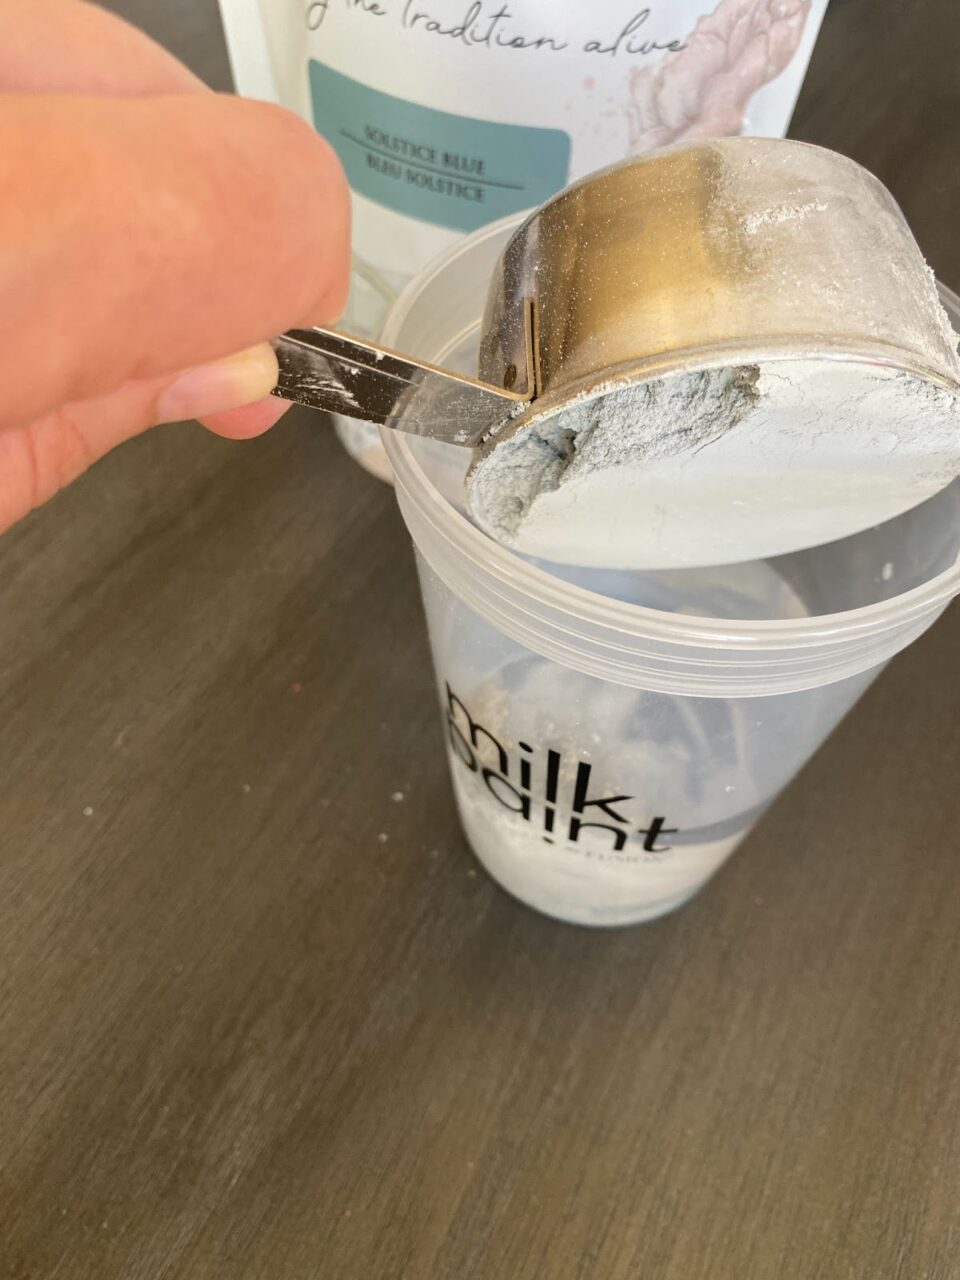
The 1-1 ratio for mixing your milk paint is great for starters. Mix one part room temperature water with one part paint. Add your water to your cup first to avoid clumping.
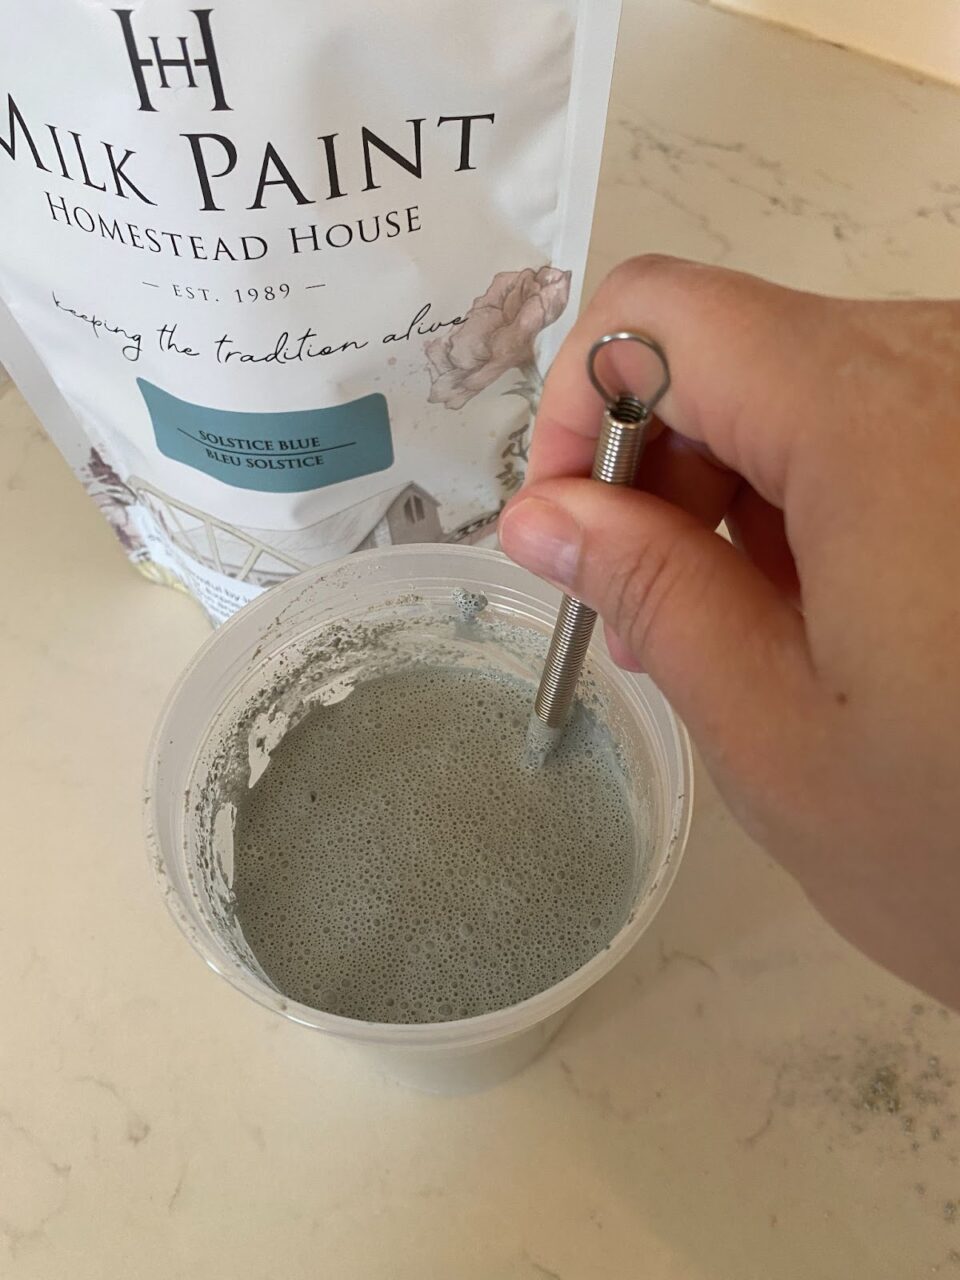
Mix your milk paint. If you find that it’s too thick, just add a little bit more water. If you find that it’s too thin, you can add more powder. If you live in a dry climate, you may need to add more water to your blend.
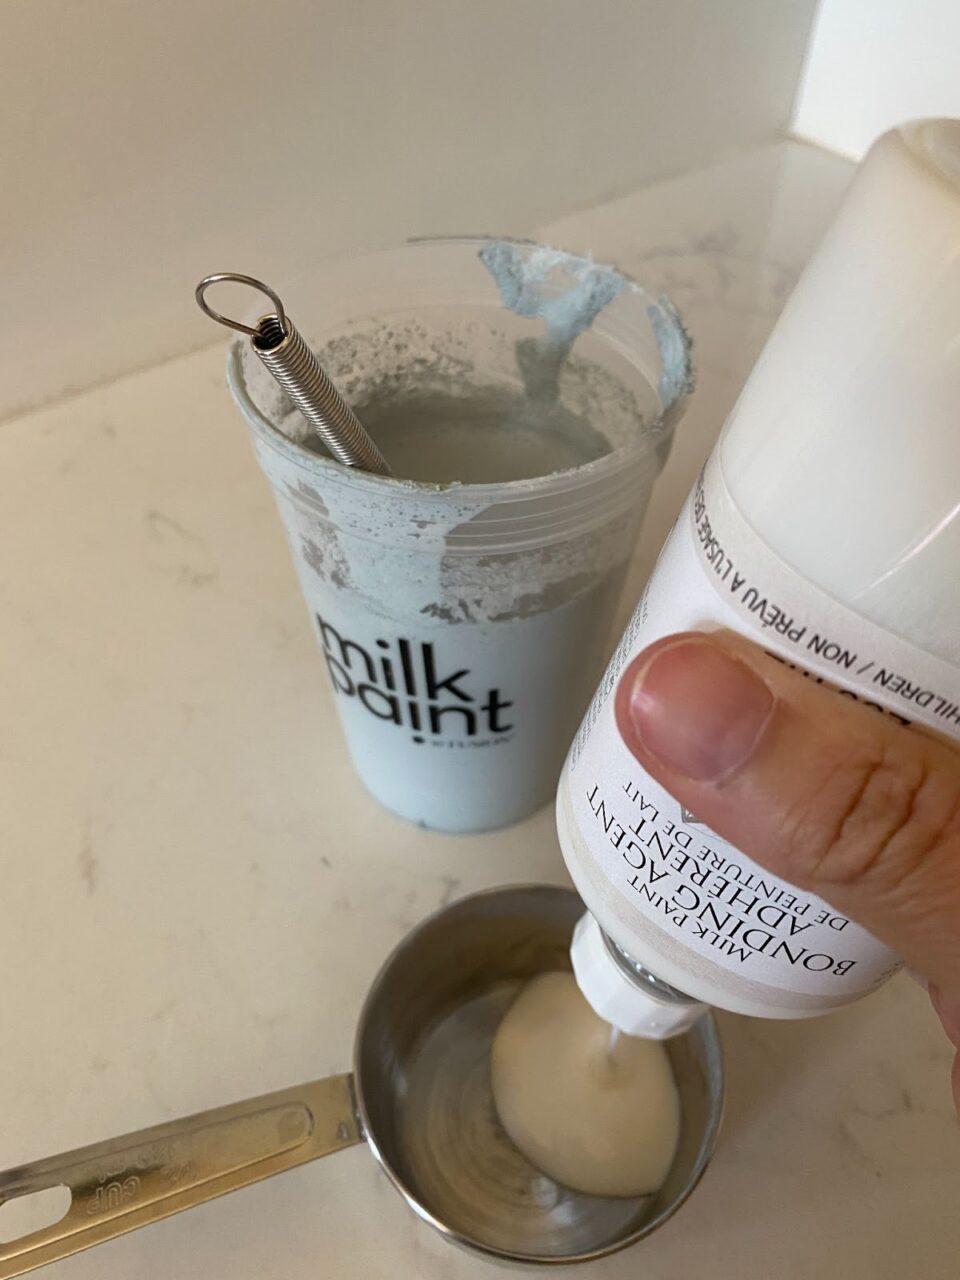
After your milk paint is mixed, add in your Bonding Agent. The bonding agent is to prevent the milk paint from flaking off in large sheets or in this case it will allow it to adhere to this high-sheen surface. The bonding agent will also make your milk paint get a little thicker so don’t be alarmed if you feel you need to add a little bit more water.
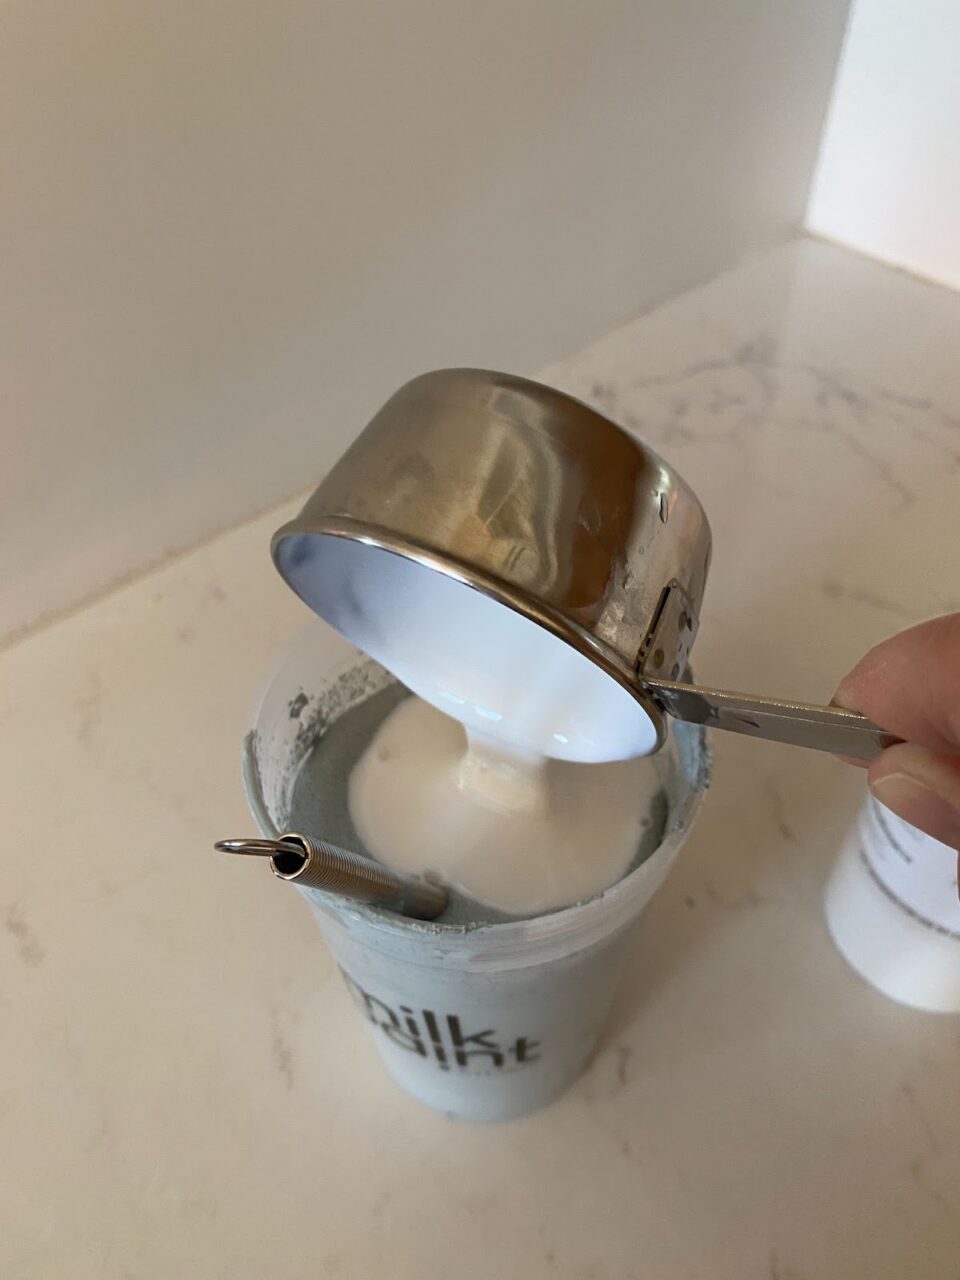
After you have mixed in your Bonding Agent, I chose to do equal parts to my paint, you will allow your paint to rest while you prep your piece.
Prep For Success
First I removed the hardware. You will always get a better finish if you take your hardware off instead of trying to paint around it.
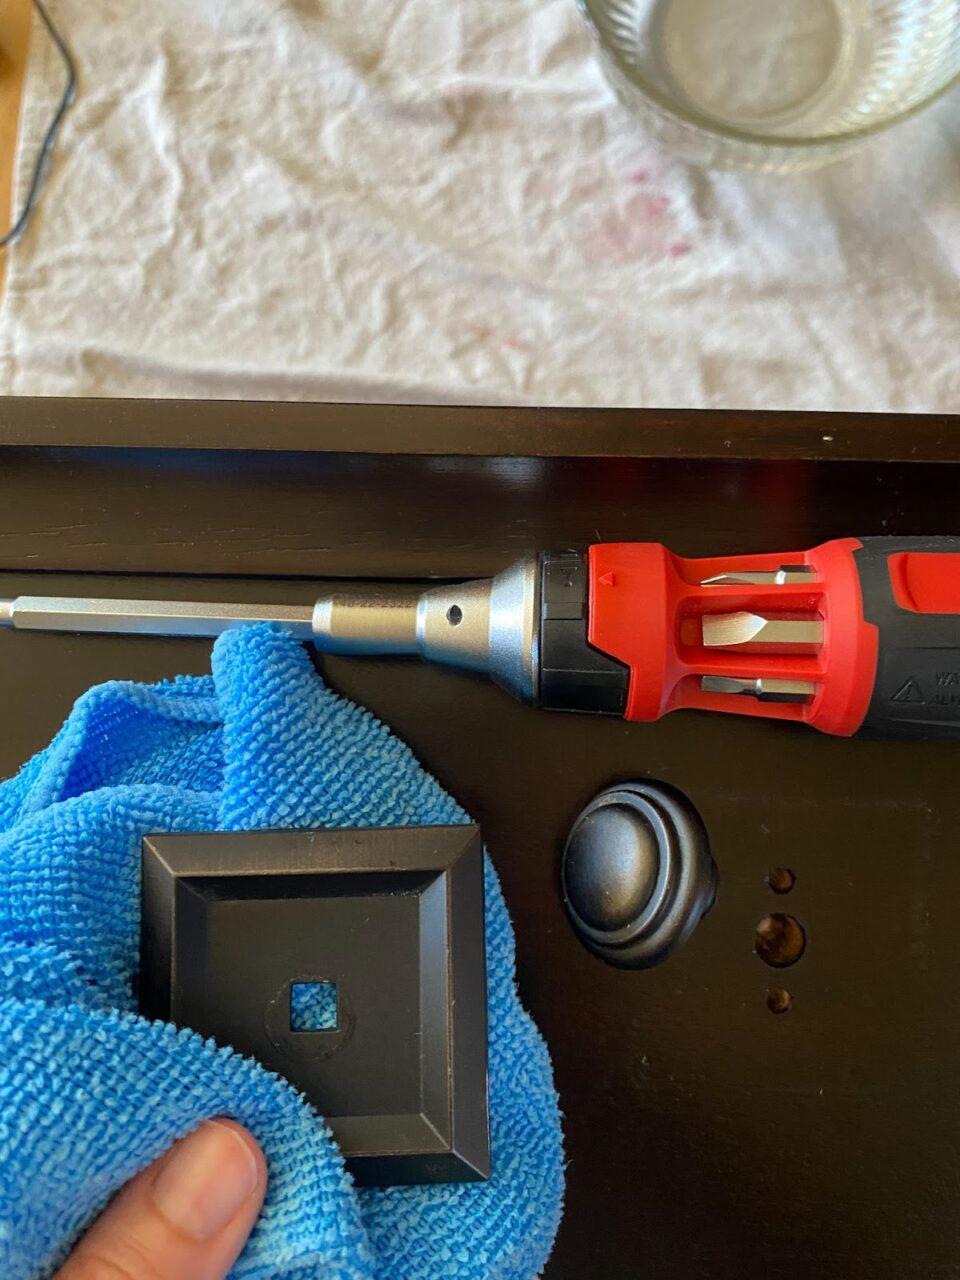
Your prep is the most important part of any furniture painting project. If you don’t have a sound surface or you are painting over oils, dirt, etc. your paint is not going to adhere.
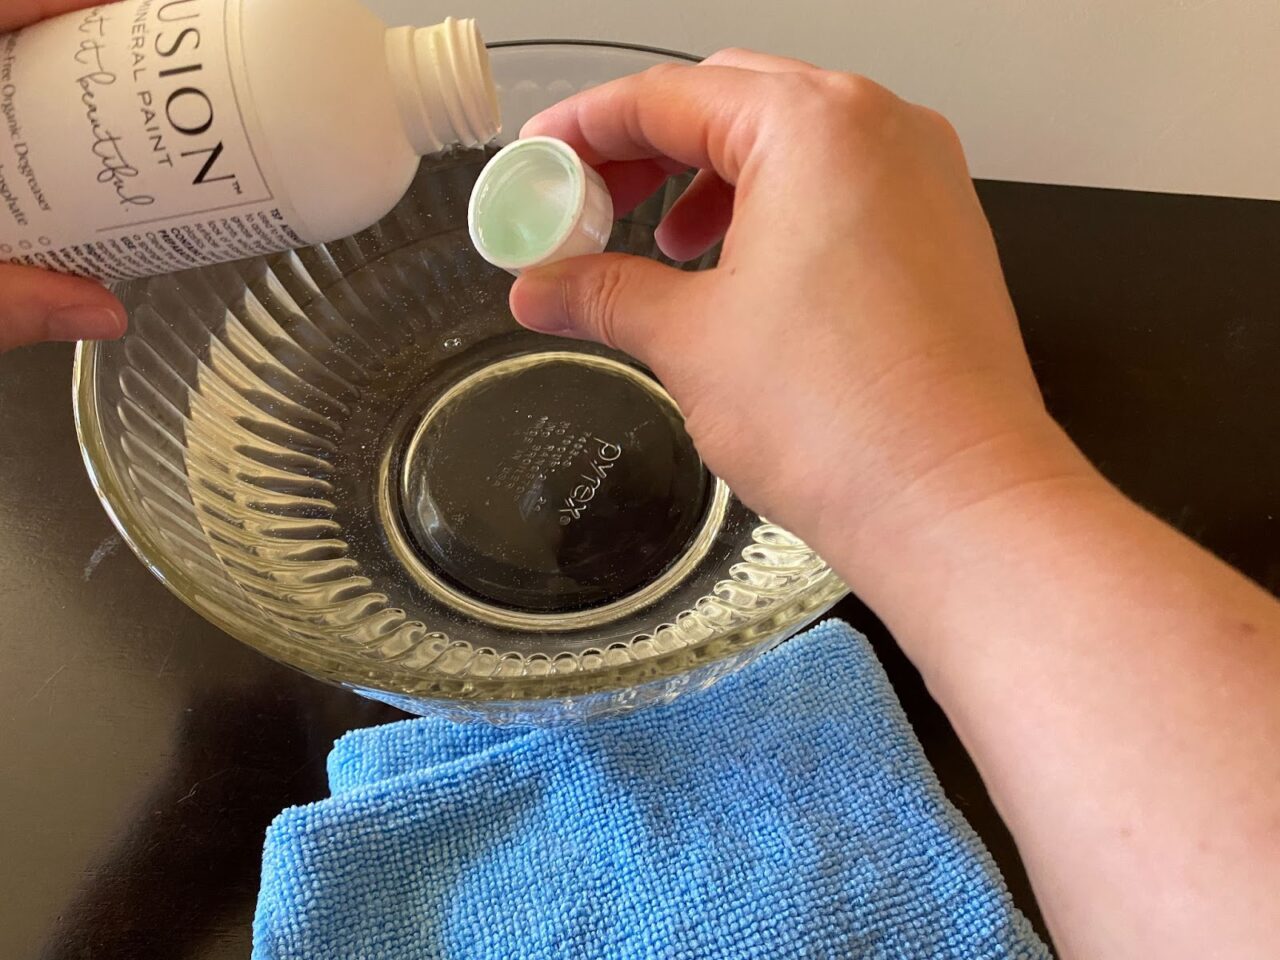
So the first step is to clean. After mixing two capfuls of Fusion’s TSP Alternative into about a litre of warm water, I wiped down the surface.
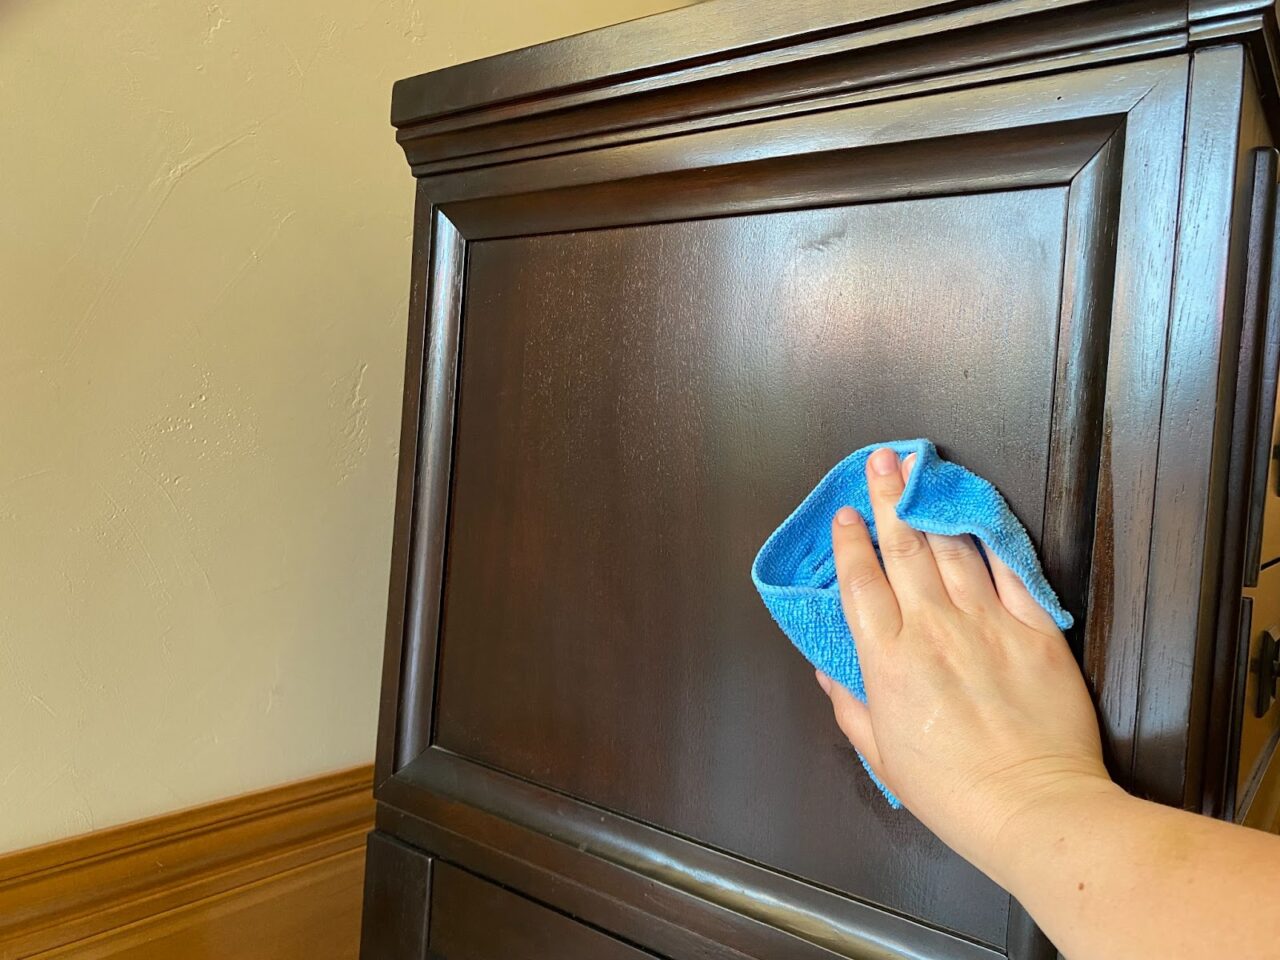
I just used a microfiber cloth. The TSP is odourless and not harsh on my skin.
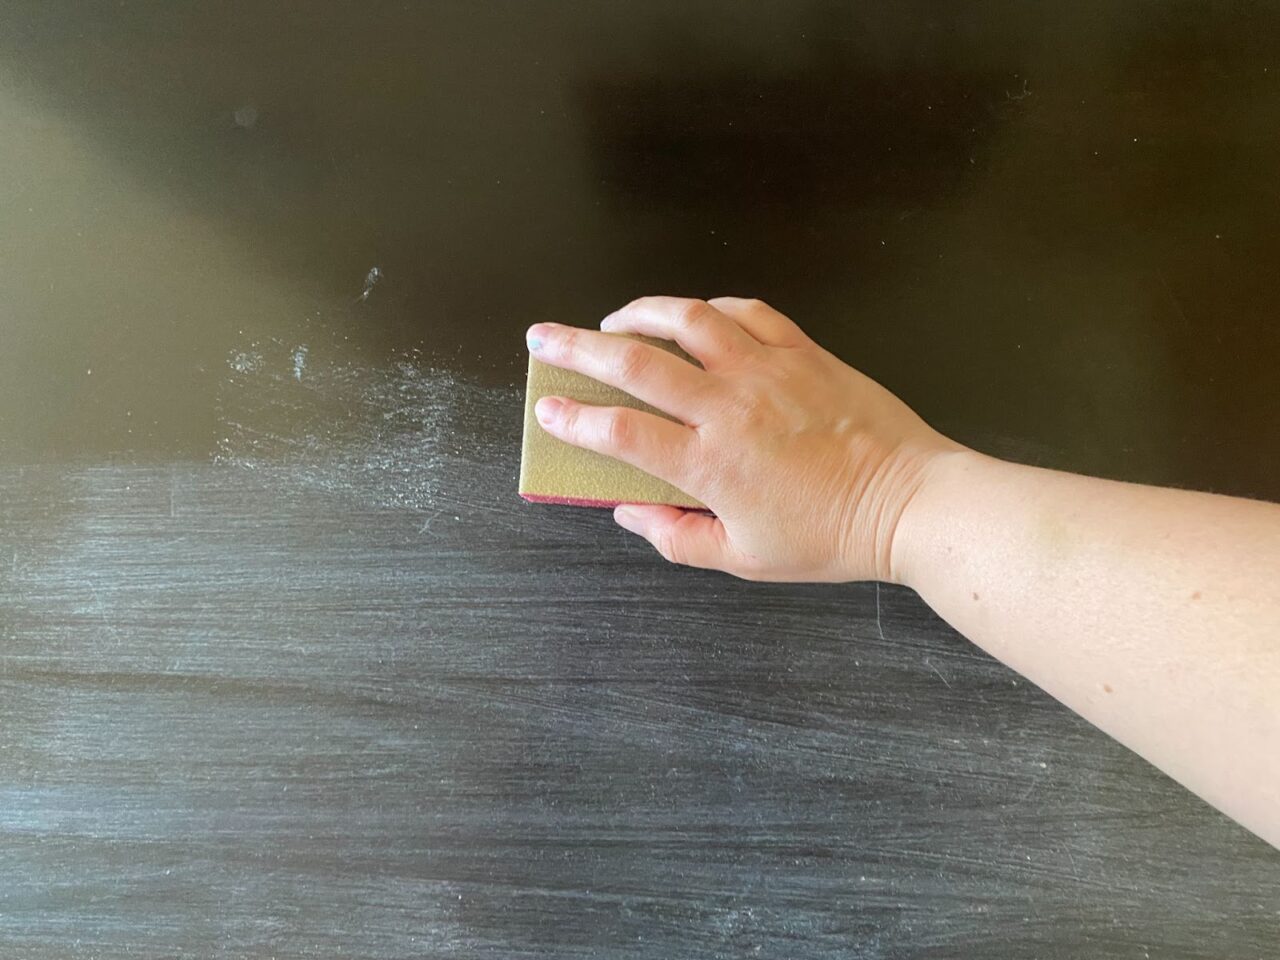
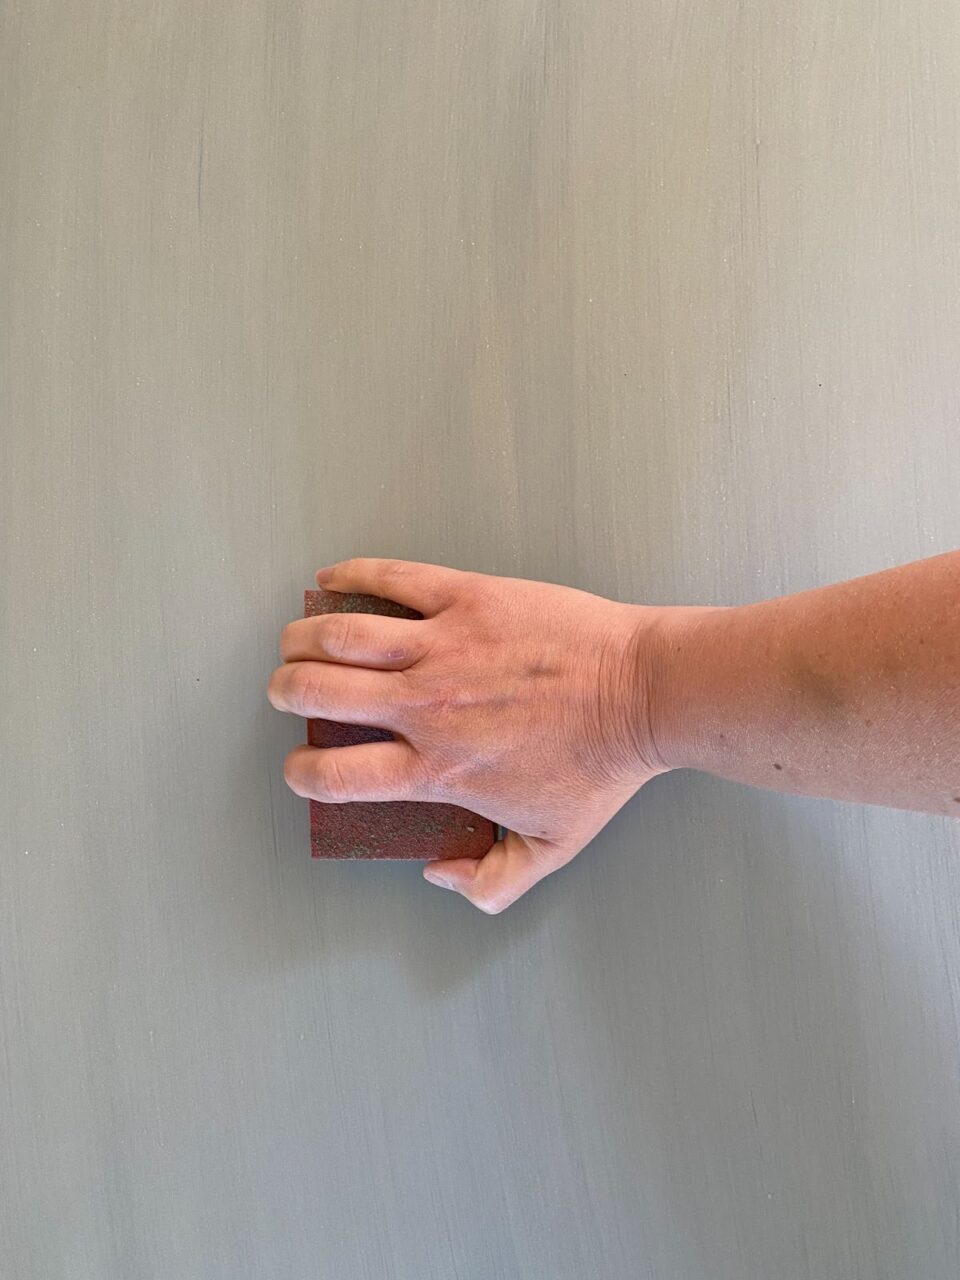
Using the Medium Grit side of my sanding sponge, I gave the entire piece a good scuff sand. Adding a layer of “tooth” to the surface just gives the paint a better surface to stick to. I’m not removing the previous finish, just dulling down the shine.
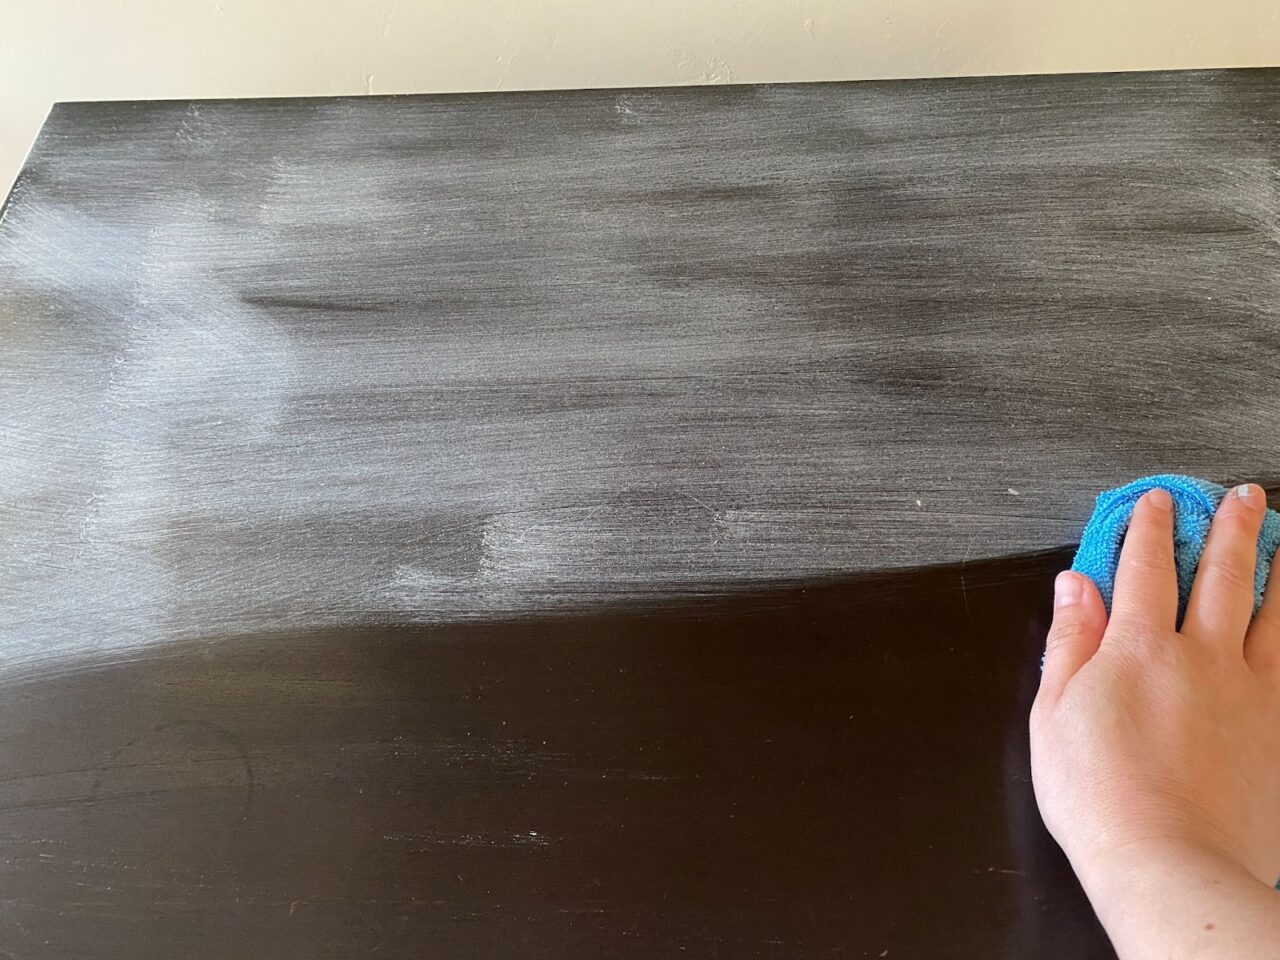
After your piece is all scuffed up, just use your same TSP water and wipe away the sanding dust that you made. Now your prep is done and on to the good part!
It’s time to paint!
That first coat can be scary. Trust me when I tell you that you should not be fooled by your first coat. Also, don’t be tricked by the colour either. You won’t even see the true colour until you put on your topcoat anyways.
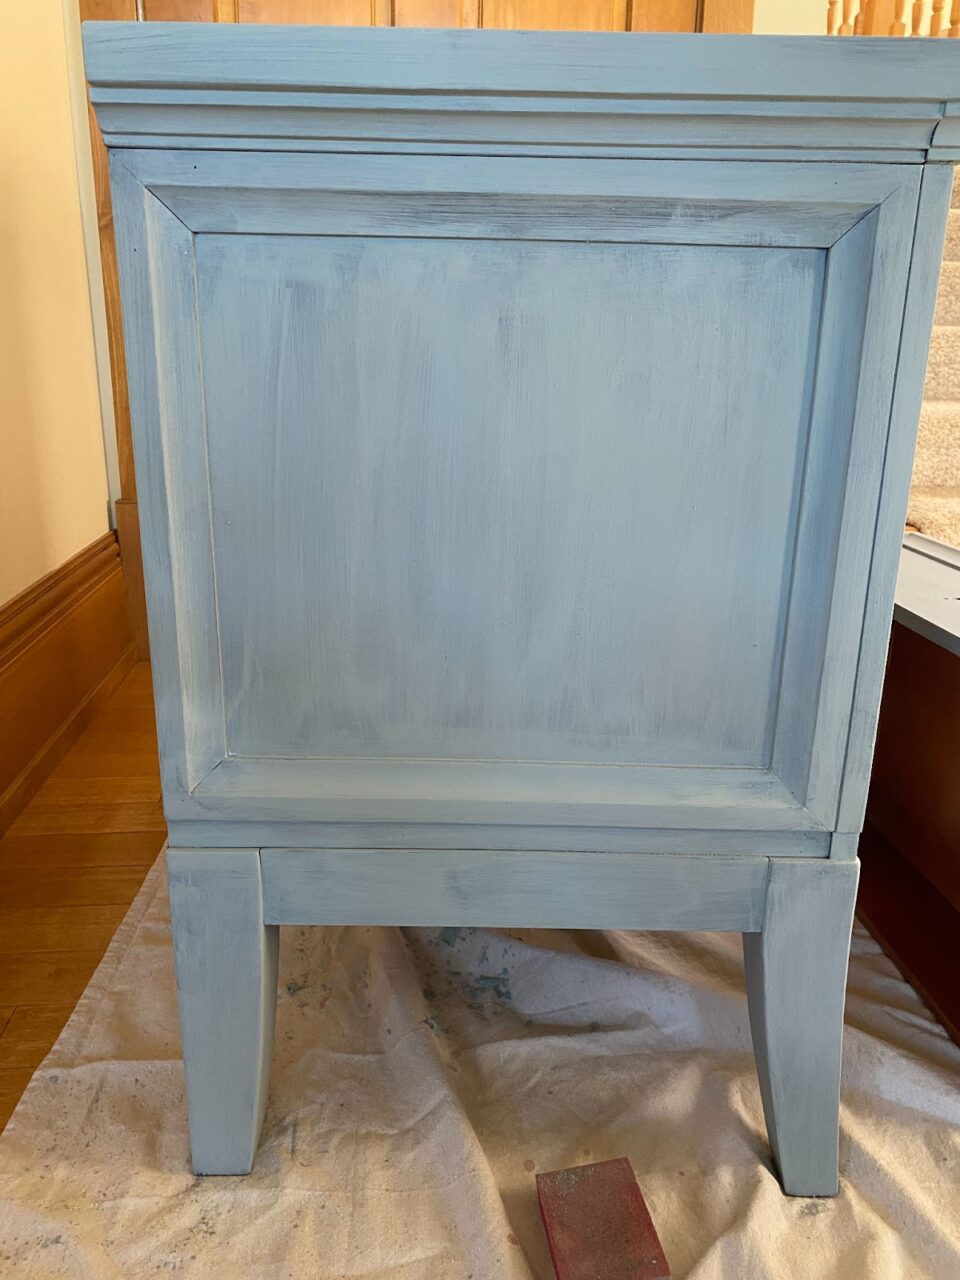
If you happen to pick up any texture in your paint, you can sand it off once dry. It’s also important to keep stirring while painting so that you have even coverage and that will help with a less gritty texture too.
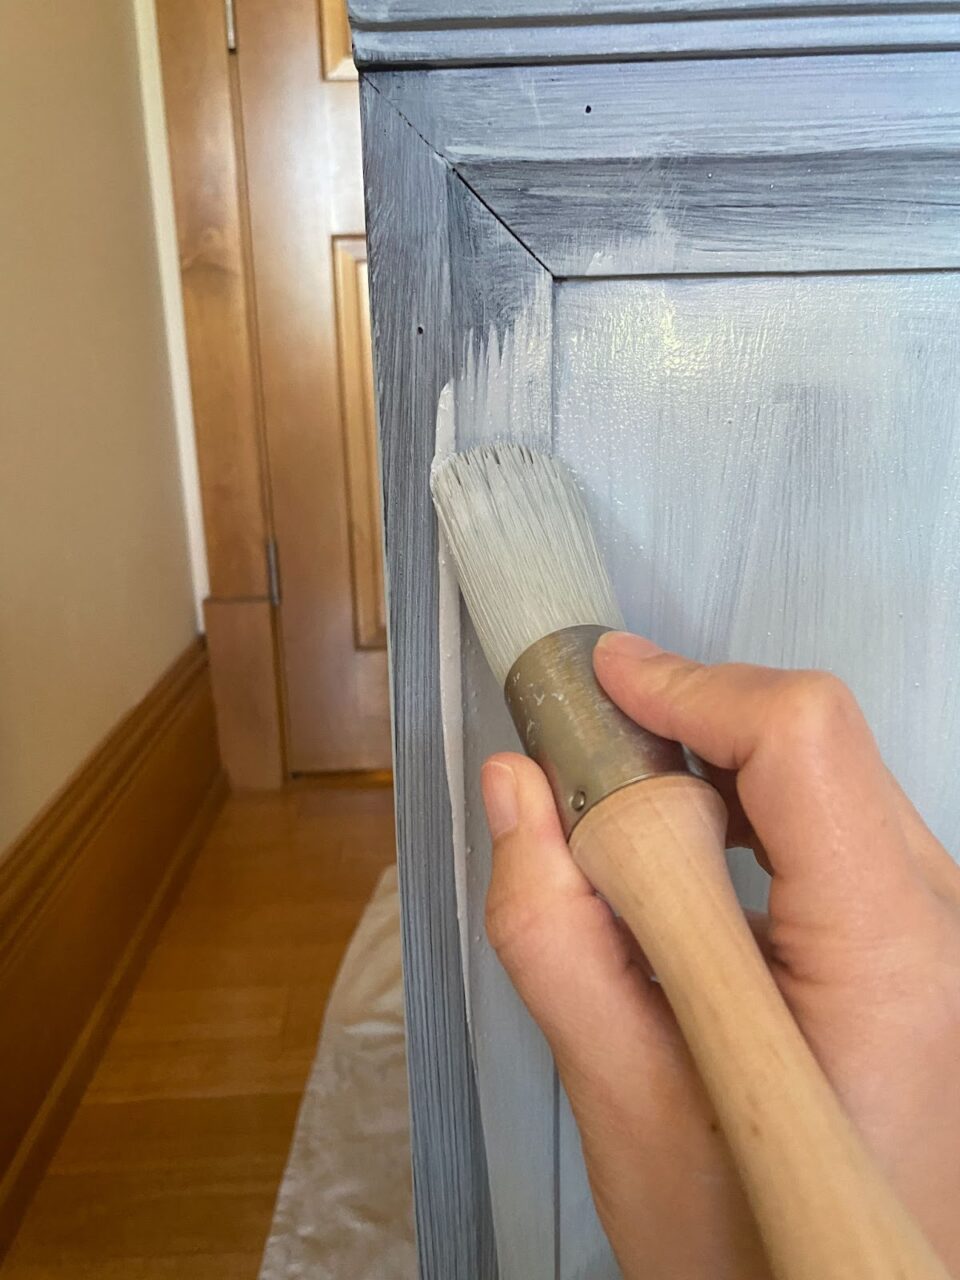
You will keep adding more layers until you get the desired coverage that you want. This is what it looked like with 2 thin coats of paint.
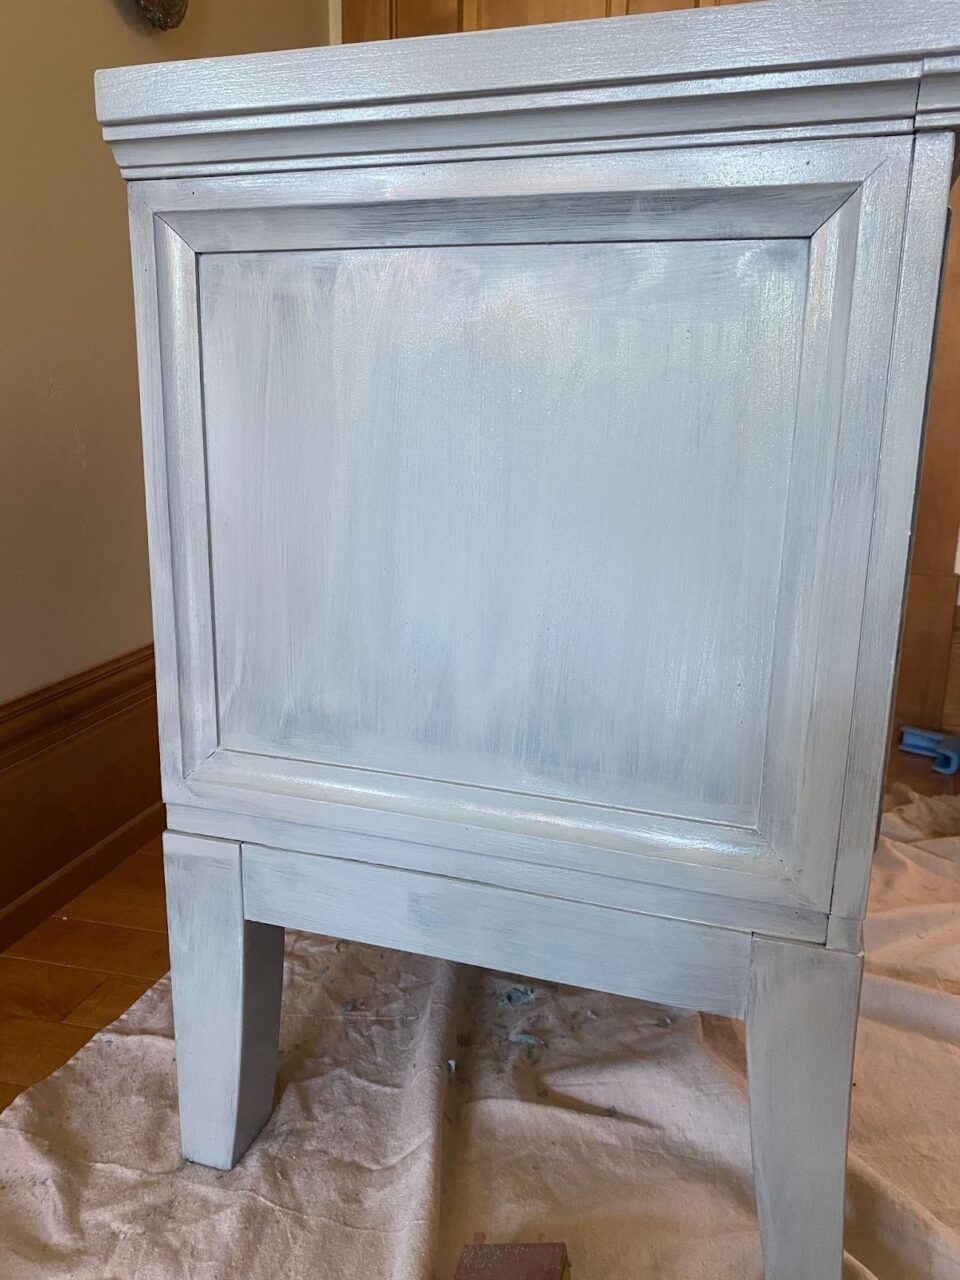
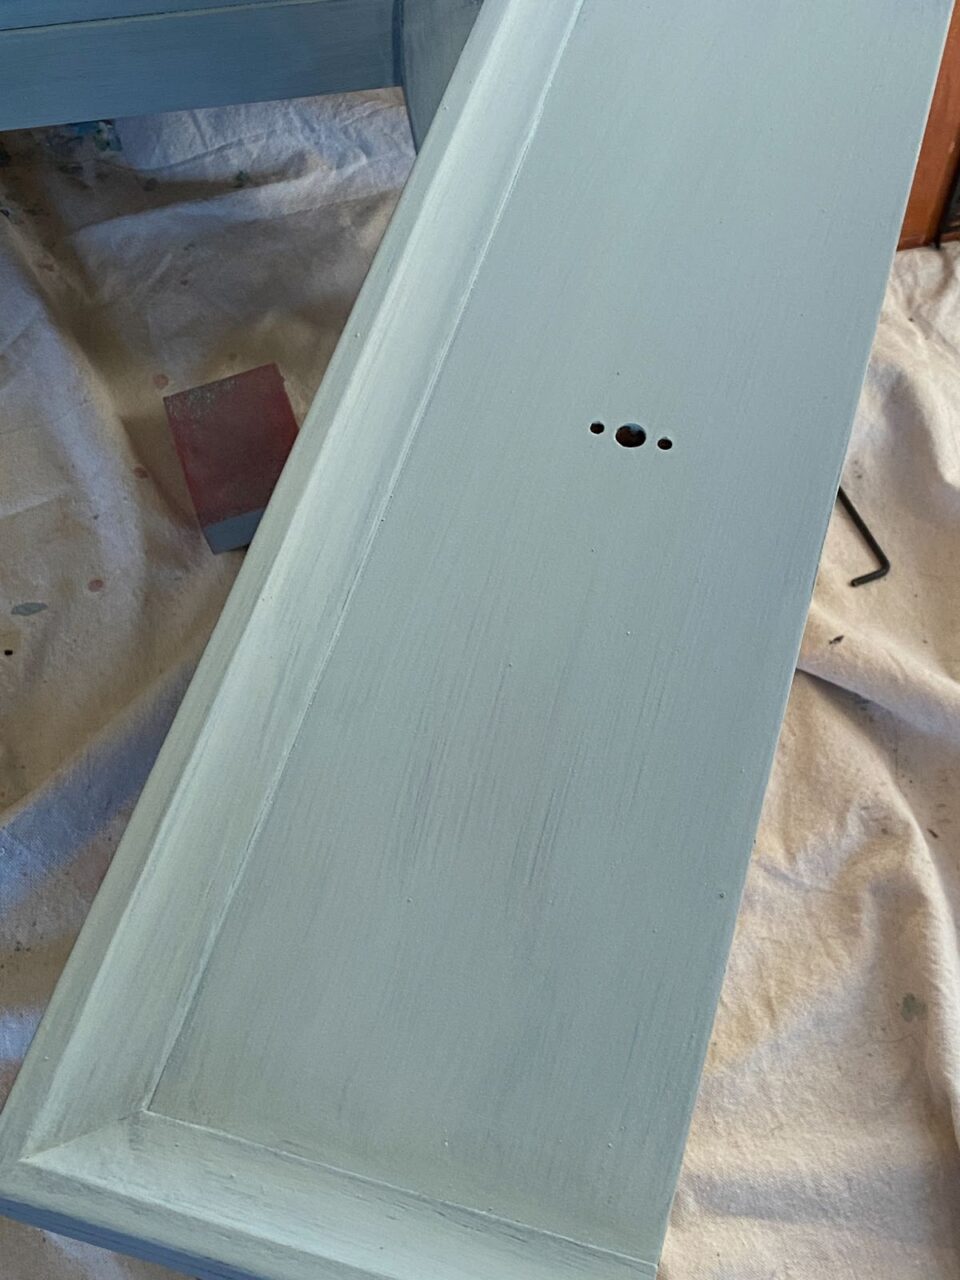
All milk paint colours have different coverage. Solstice Blue took about 3-4 coats for full coverage going over these dark nightstands. Now I tend to put on my paint very thin and you can mix your paint thicker for better coverage. I also always recommend taking out drawers whenever you are working on a piece that has them. You will just be able to see where you are going better and avoid drips.
Distressing Time
If you want your piece to look older, simply remove some of the paint to give it that distressed look. I chose to use my sanding block and fine sanding sponge and lightly sanded around the edges to show the previous wood tone peeking through. I wanted these nightstands to not look so modern.
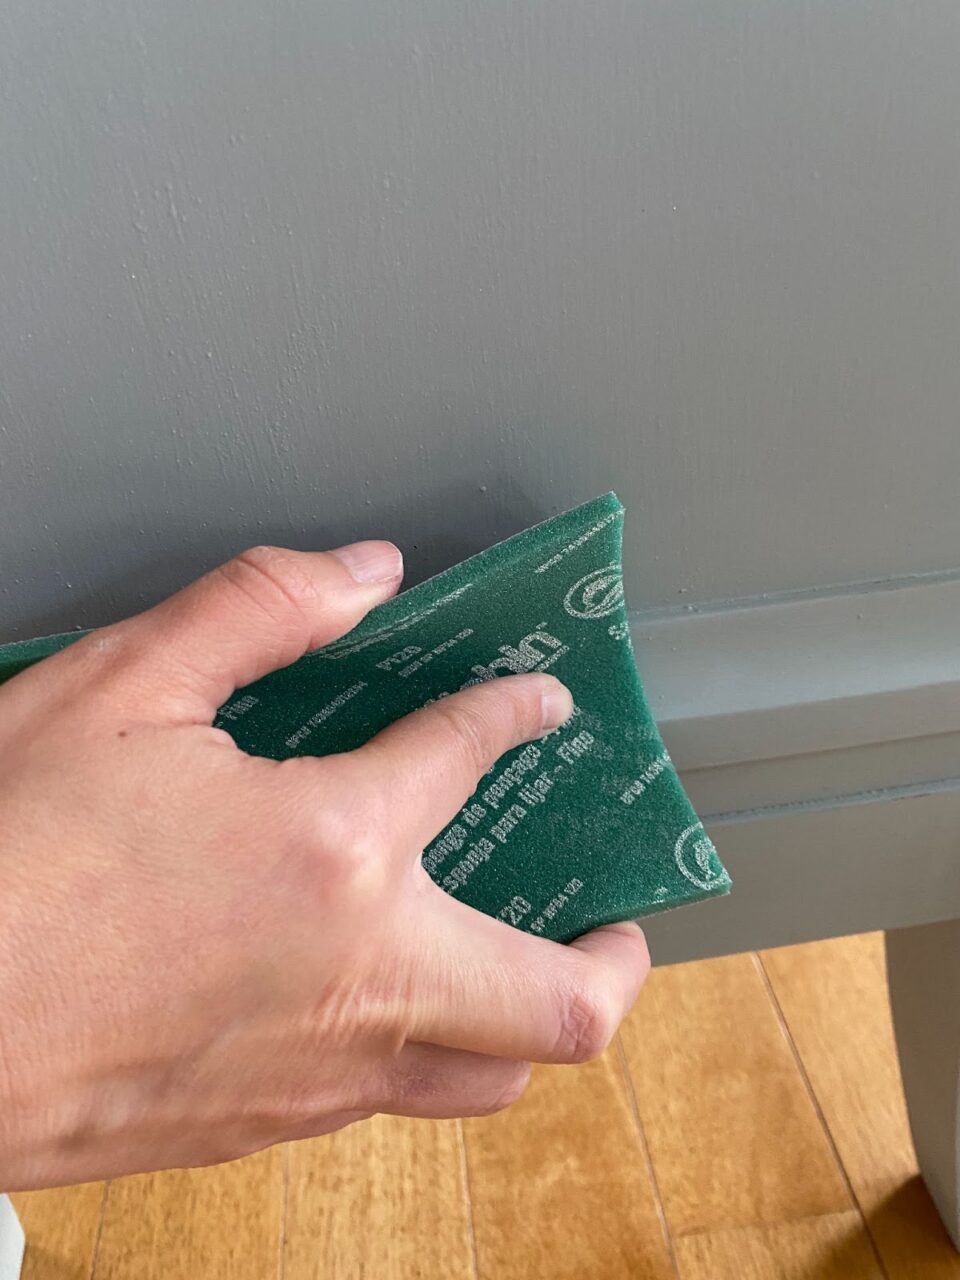
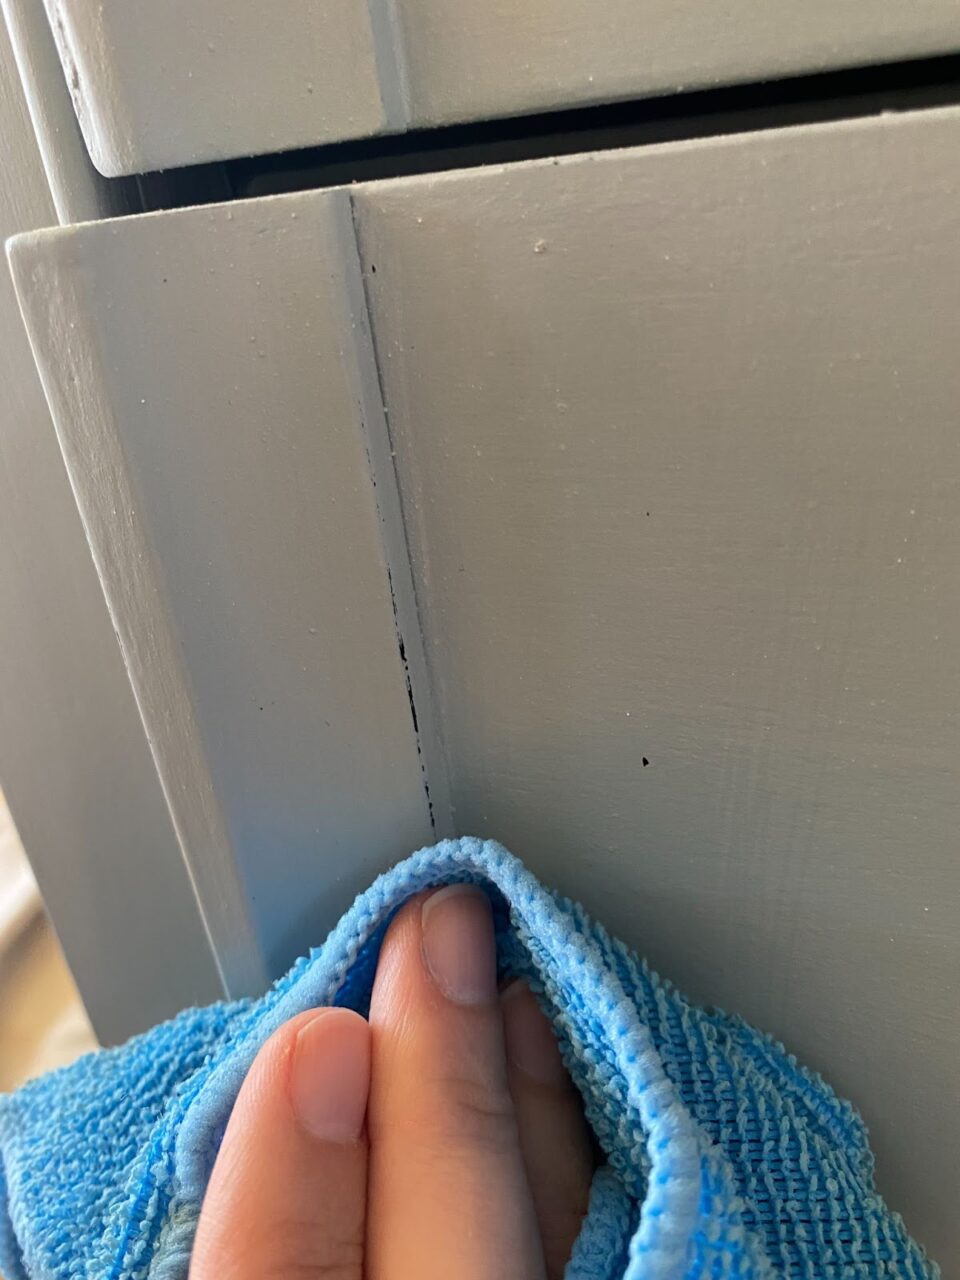
Checking with a damp rag on how much sanding you have done is a good idea. You can always add more paint if you take too much off.
Time to seal your Milk Paint
Milk Paint is porous and will absorb stains and continue to distress if you don’t seal it. I chose to use Fusion’s stain and finishing oil in natural because it is an industrial-grade topcoat and nightstands do get a lot of use. The natural SFO is a great choice over milk paint for this reason. (do not use it over whites as it will amber your paint)
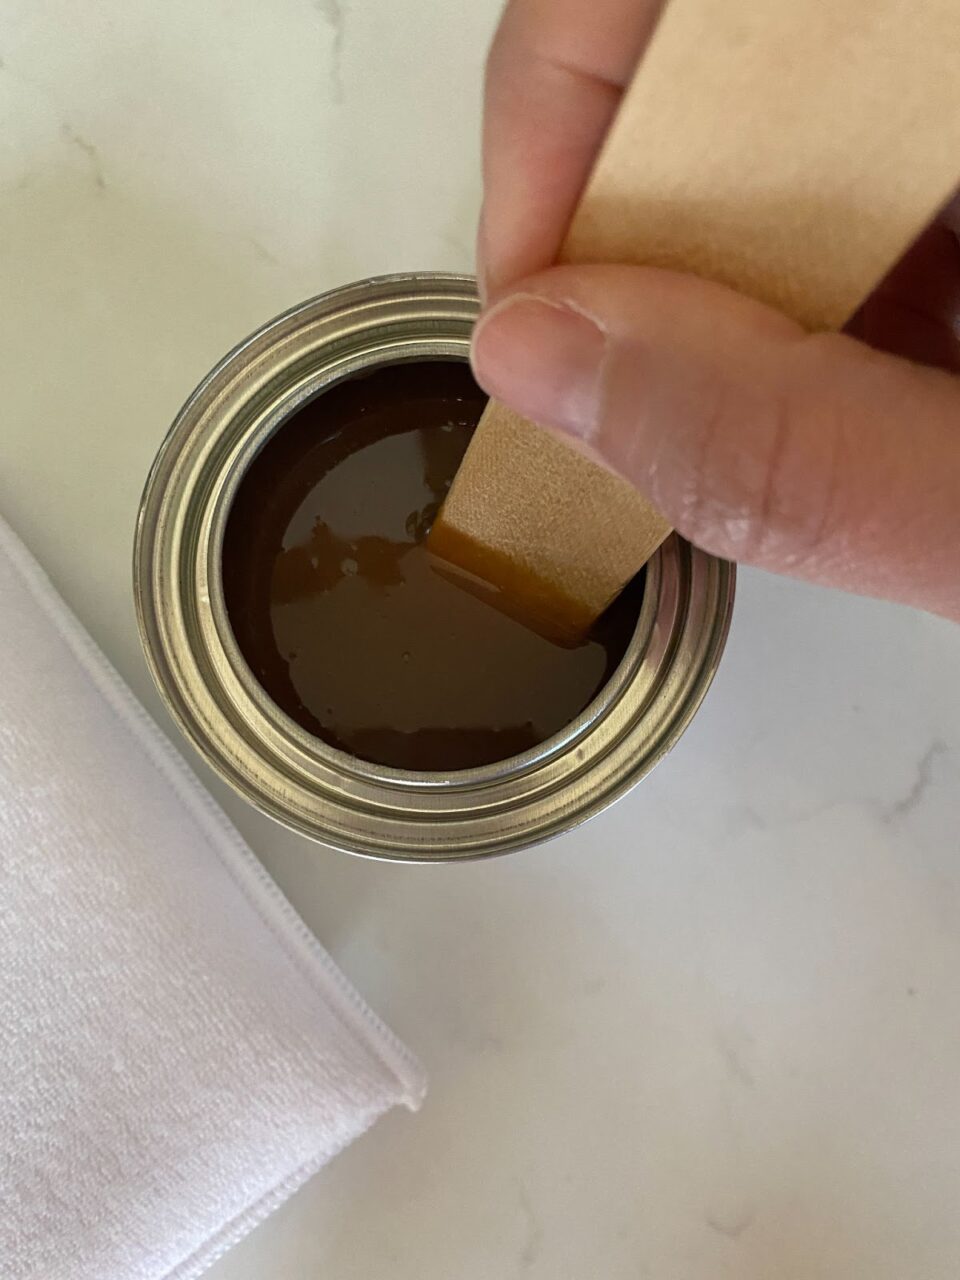
Make sure you stir up your SFO well so the solvents are not sitting on the top. You want to have an even sheen and the best results so a good stir is necessary.
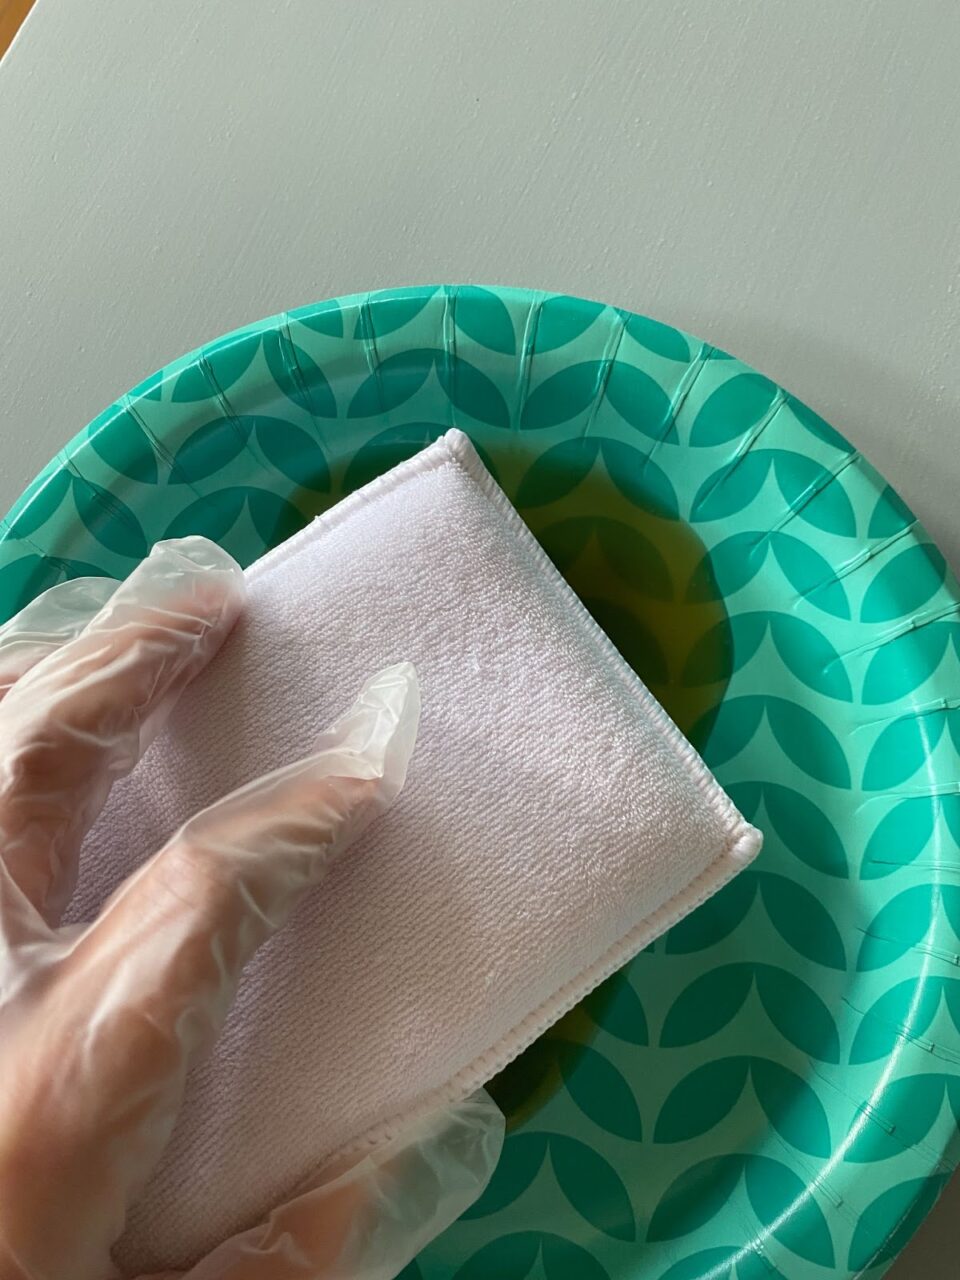
Next pour a little bit of the SFO onto a paper plate. Then use a Fusion Applicator pad and slightly dip it into the SFO. You only need a tiny bit on your pad. A little bit of this stuff goes a long way!
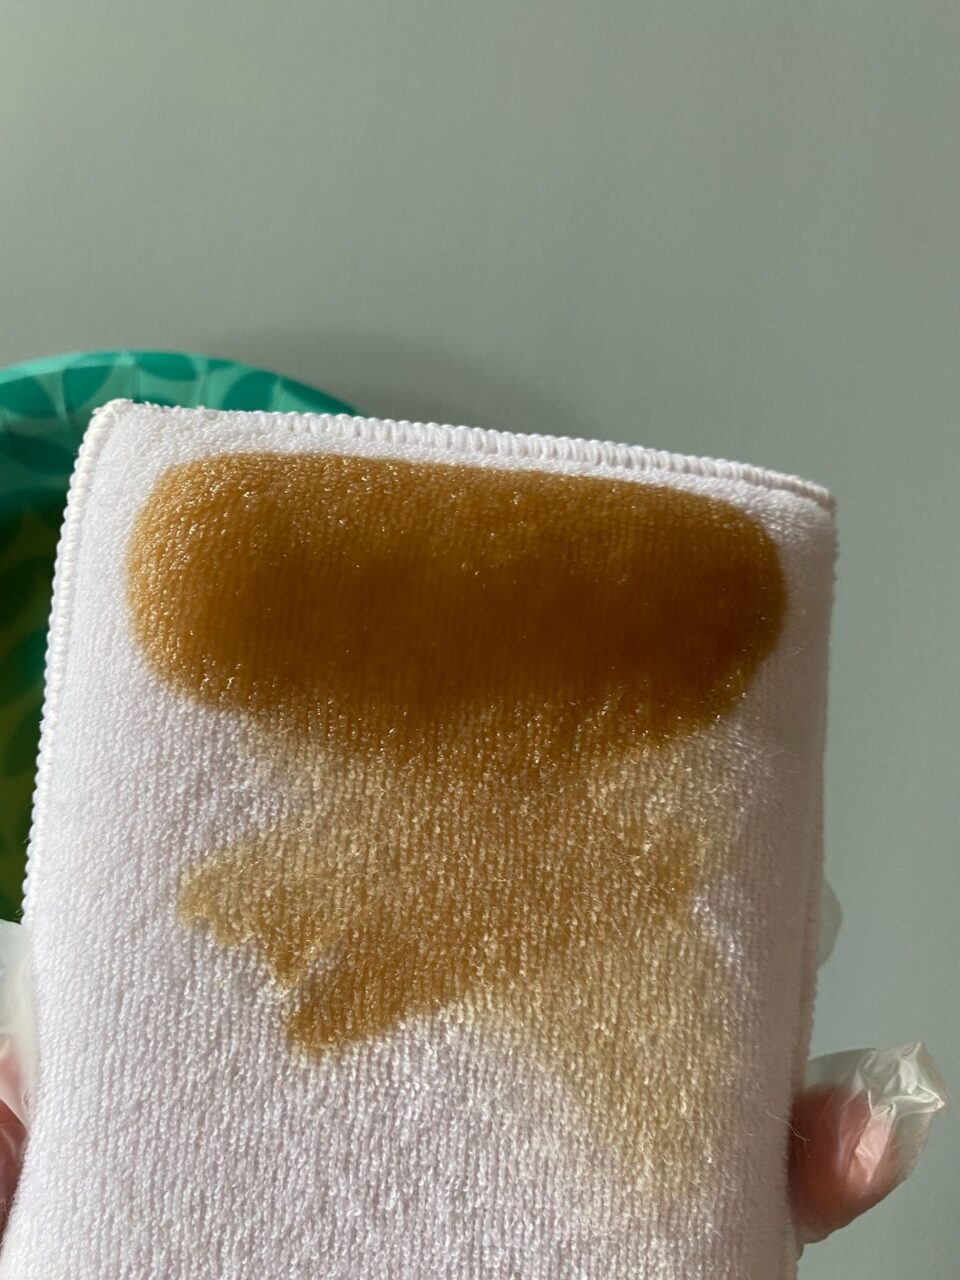
Working in a circular motion, apply your SFO to your painted piece. You will watch the milk paint deepen and the true, beautiful color will come out.
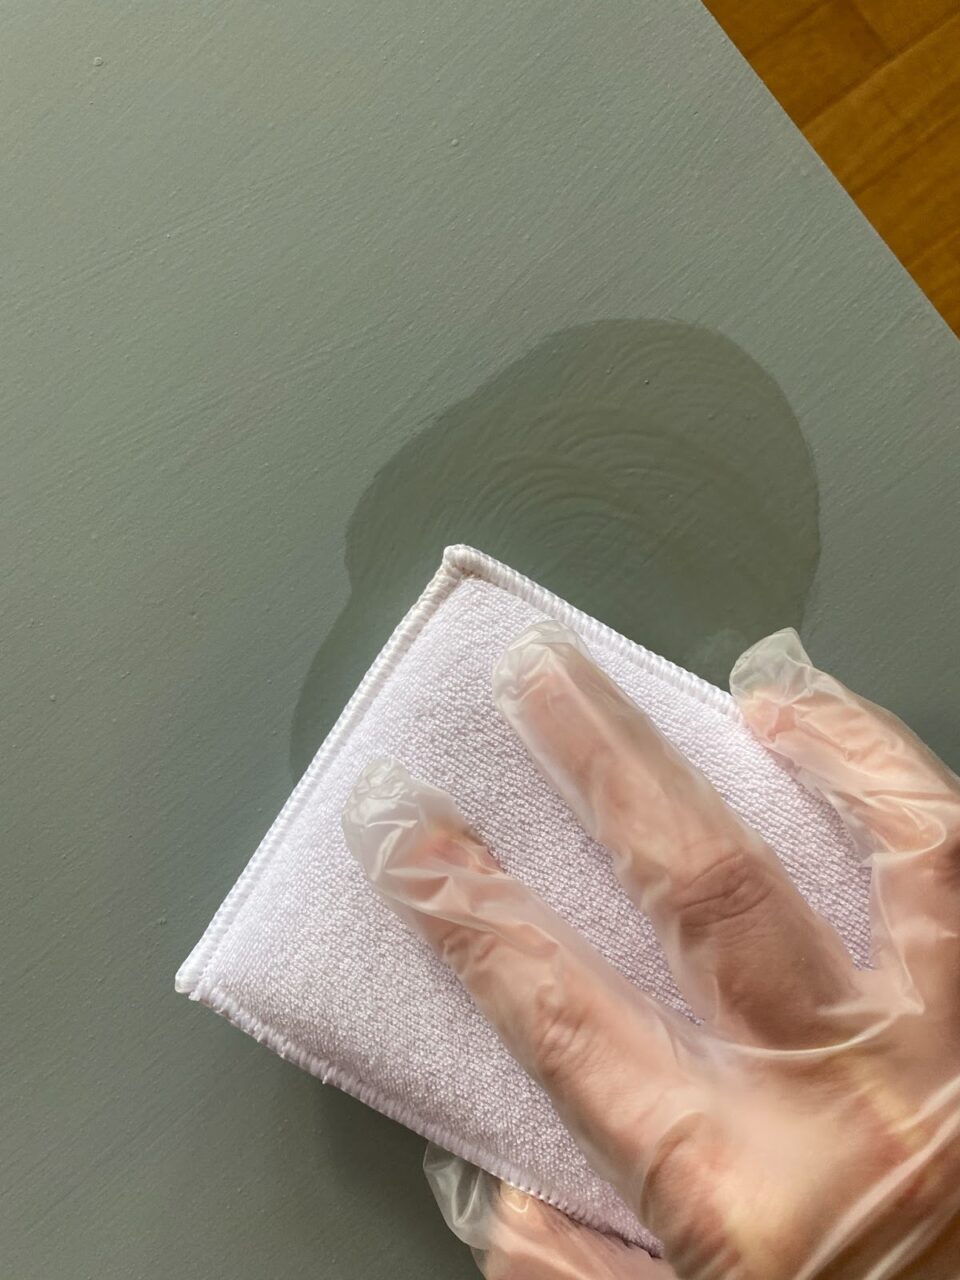
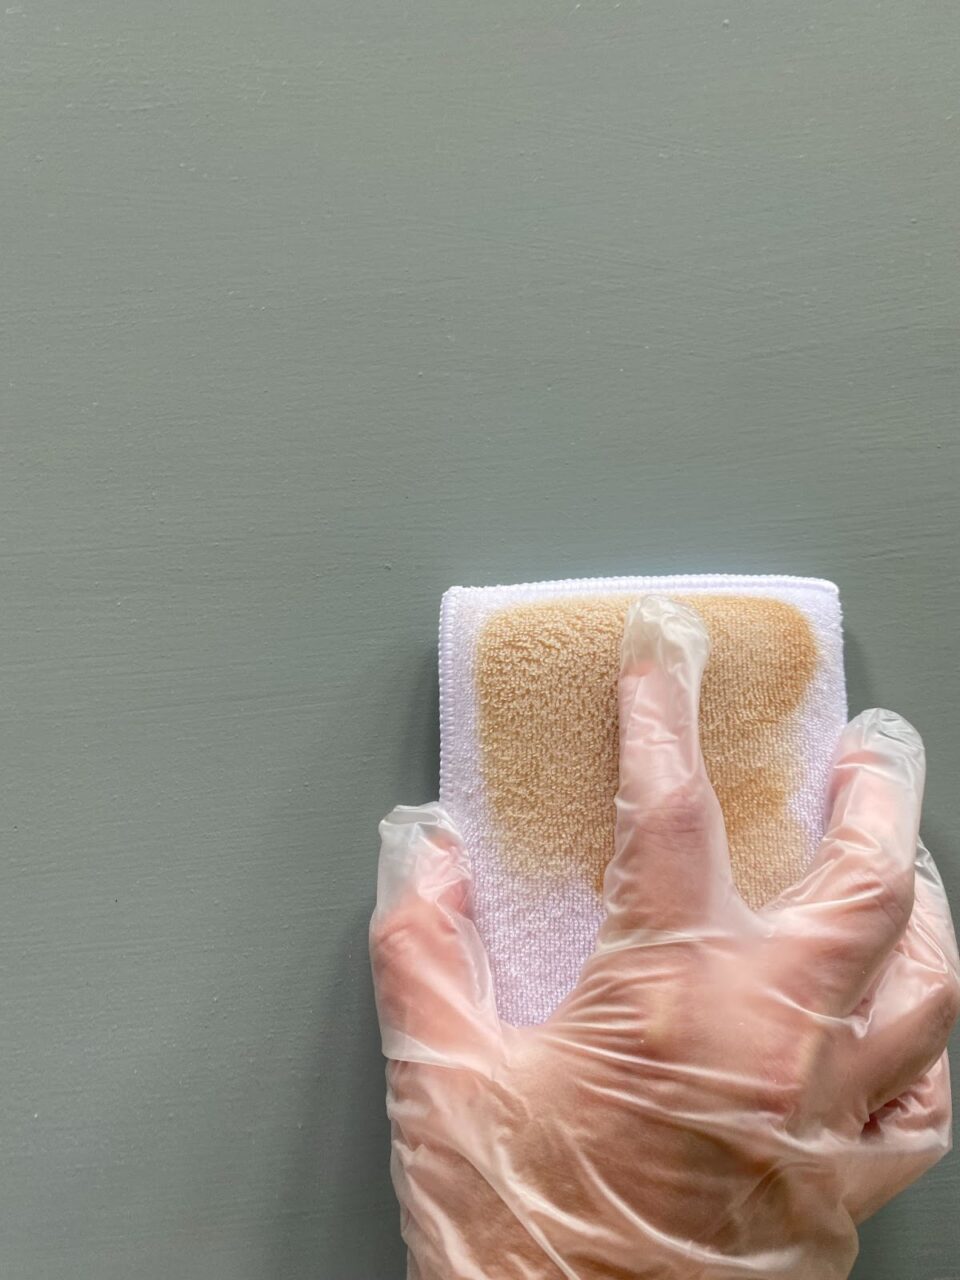
Next, flip over your applicator pad and using the dry side, wipe off any excess. I like to do that same circular movement. Think of the Karate Kid Movie. “Wax on-wax off”. This will give you a streak-free finish.
The Last Step…The Hardware
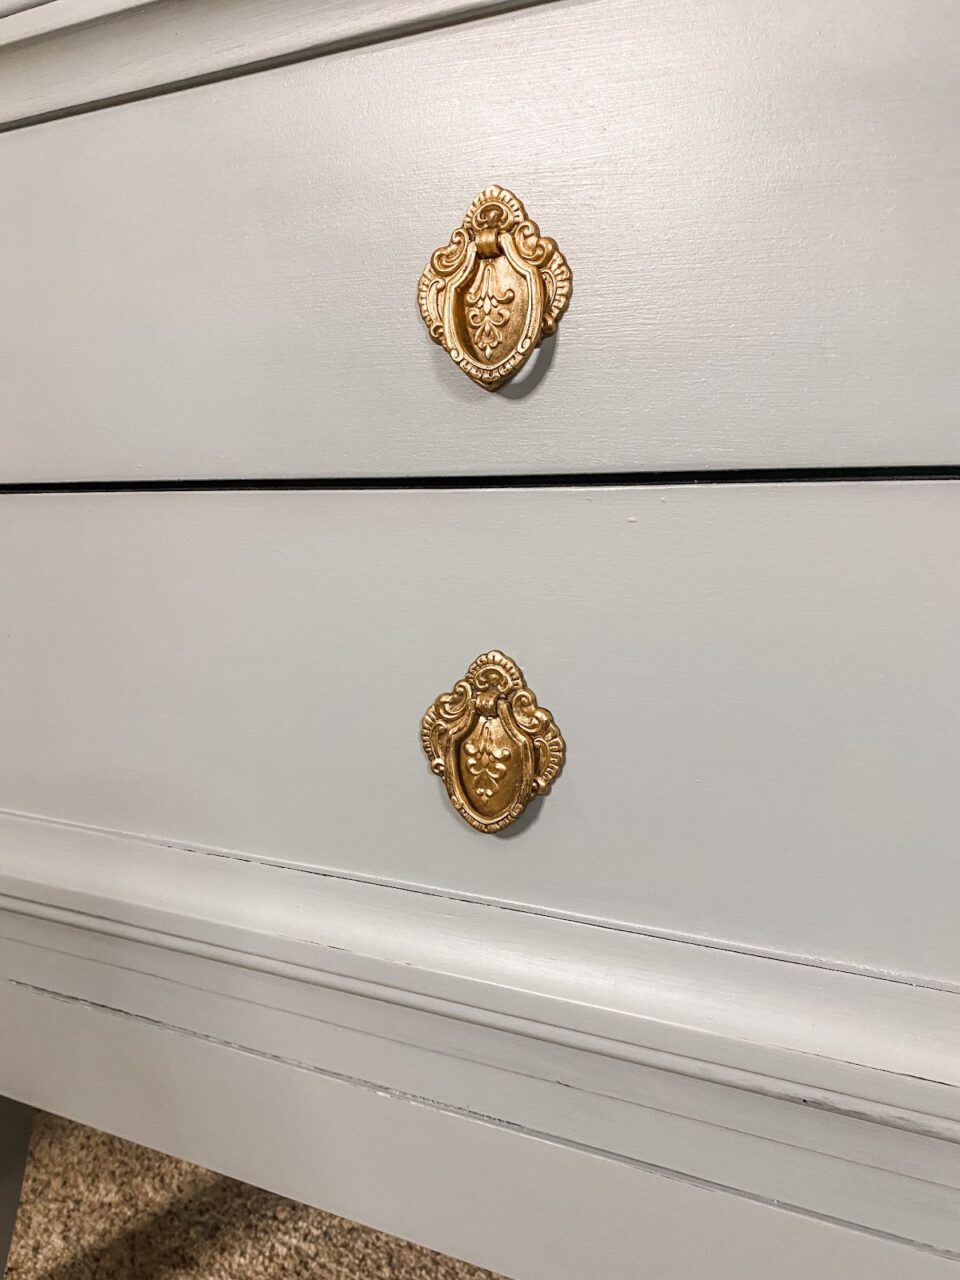
Once your piece is sealed, now it’s time to either put back on your old hardware or replace it. I had some vintage hardware in a bag that I knew would be perfect for this set and also complement the design of my bedroom so I decided to replace the hardware. If you want to keep your hardware, you can always paint that too!
Time to Enjoy Your Creation: Quick Nightstand Refresh With Homestead House Solstice Blue
Adding character to your home can happen fast when you restyle newer items and make them feel old. That is exactly what I tried doing with these nightstands. I gave a modern pair some old-world charm. Solstice Blue paired with some antique gold hardware was the perfect combo.

If you have a space that does not have good natural light such as ours, consider using a lighter paint colour on your furniture. This pop of colour really brightens up the space compared to the former dark version.


Finally before I sign off, I want to emphasize that lighting matters. If you are unsure about a colour, grab a tester size of milk paint. Your paint will look different depending on your lighting. My nightstands look different in the natural lighting and with our overhead lights turned on.
I hope this post has inspired you to give milk paint a try & complete your own Quick Nightstand Refresh With Homestead House Solstice Blue!
–Denell Shaw, Owner of Painted
