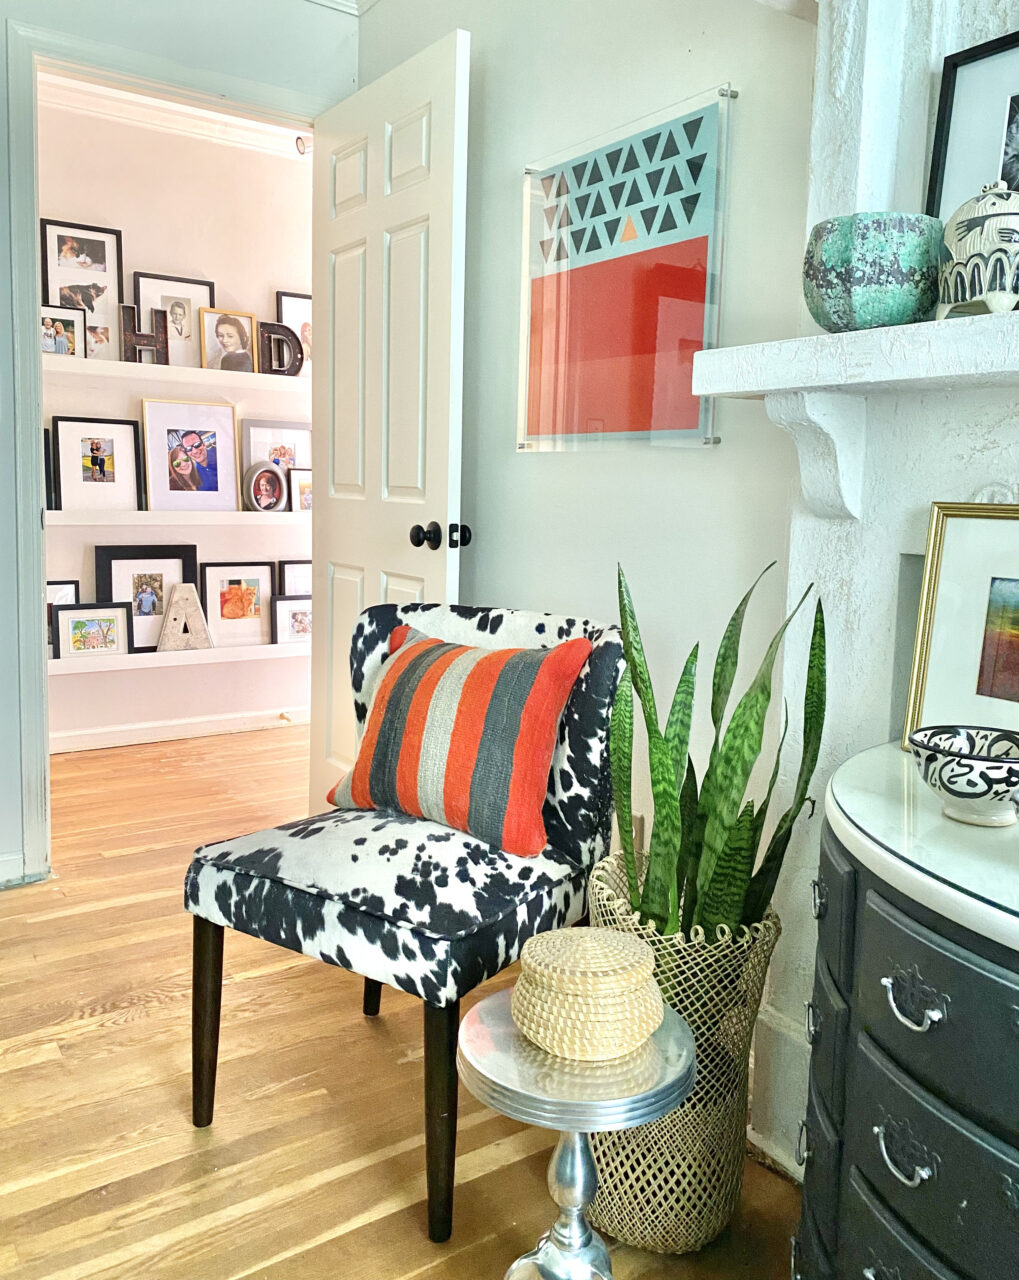
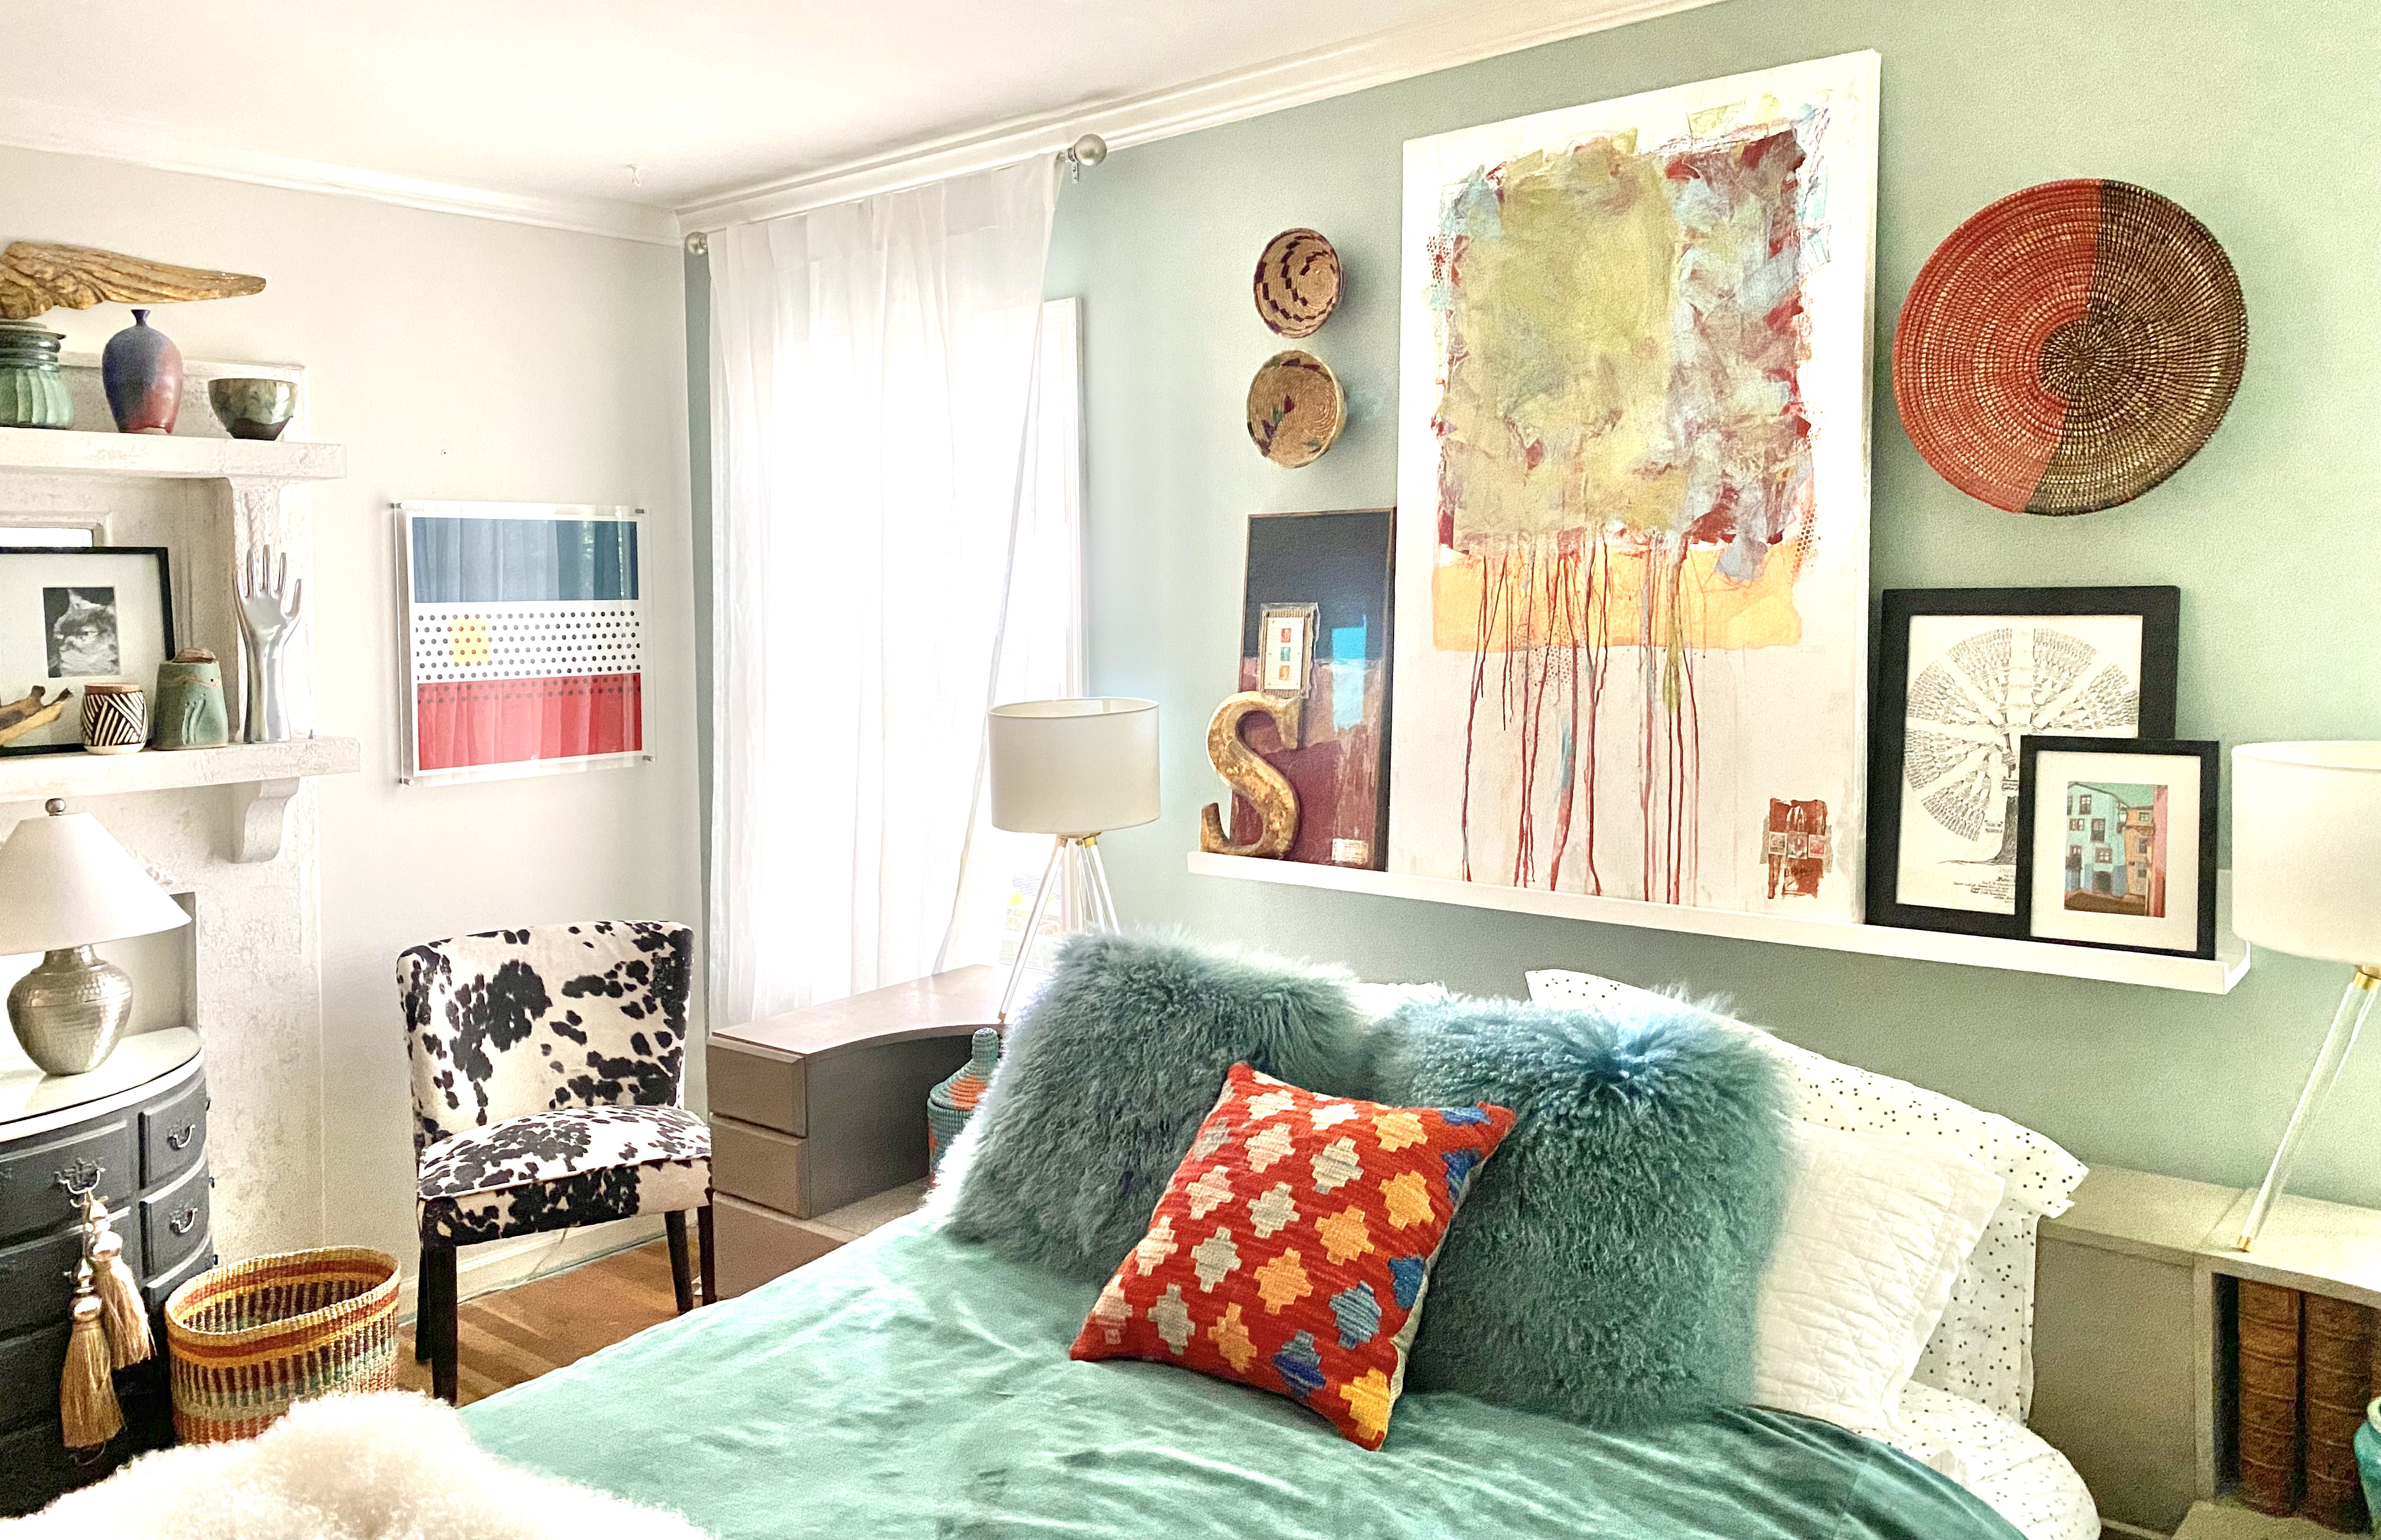
By Debbie Dion Hayes Sponsored by Fusion Mineral Paint & Muddaritaville Stencils. Paint And Stencil Graphic Wall Art On Acrylic. I just love our master bedroom colours and coziness. And lately, I’ve been looking for ideas to create new artwork on either side of the faux fireplace mantel over the funky cowhide print chairs. Of course, I am still amazed at all of the possibilities to paint and stencil on the reverse side of the glass, and the idea to paint and stencilling graphic acrylic wall art struck me. I found wonderful options to purchase acrylic sheets and standoff wall mounts inexpensively online so let’s do this!
BEFORE YOU BEGIN!
If you have never painted in reverse on glass, click here to hop over to my Getting Started page. Then return here.
MATERIALS
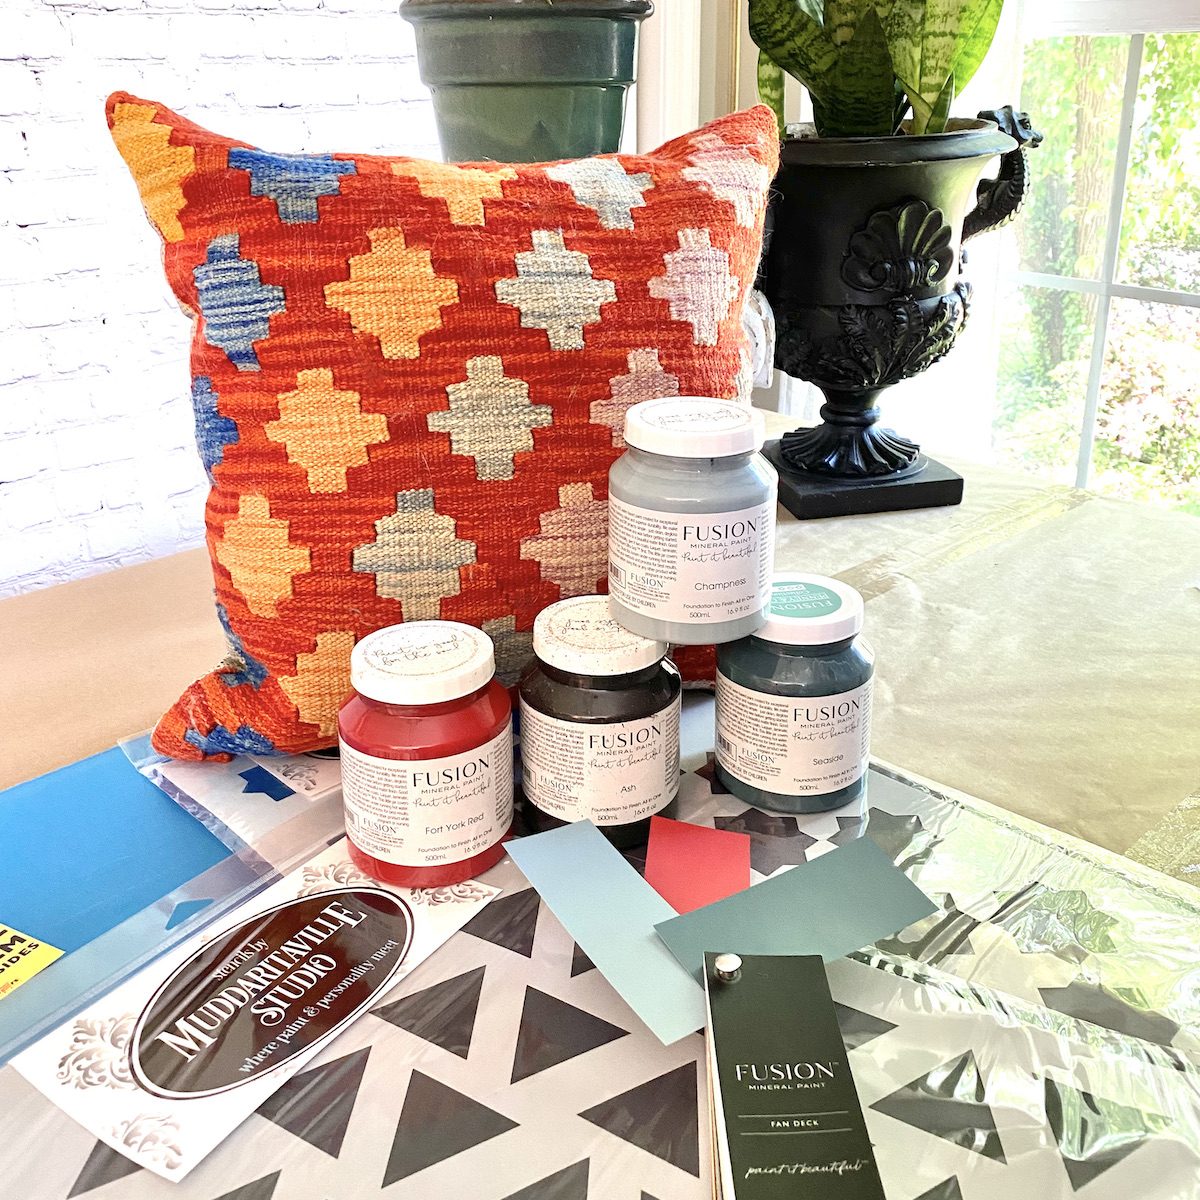
FUSION MINERAL PAINT
- Fusion Mineral Paint, Fork York Red, Ash, Heirloom, Tuscan Orange
- Staalmeester roller
- Fusion Mineral Paint Fan Deck
- MUDDARITAVILLE STUDIO STENCIL, M0234 Triangle Pattern Stencil
- Acrylic sheets, 24″ by 24″, 1/4″ thick. I found mine on Amazon
- 4 wall standoffs. I got these on Amazon
- Stencil brushes, paper plates, painters tape in 1″ and 2″, pencil, ruler, drill and bits
STEP 1
Plan your design. I used a pillow from our bed for colour and pattern inspiration.
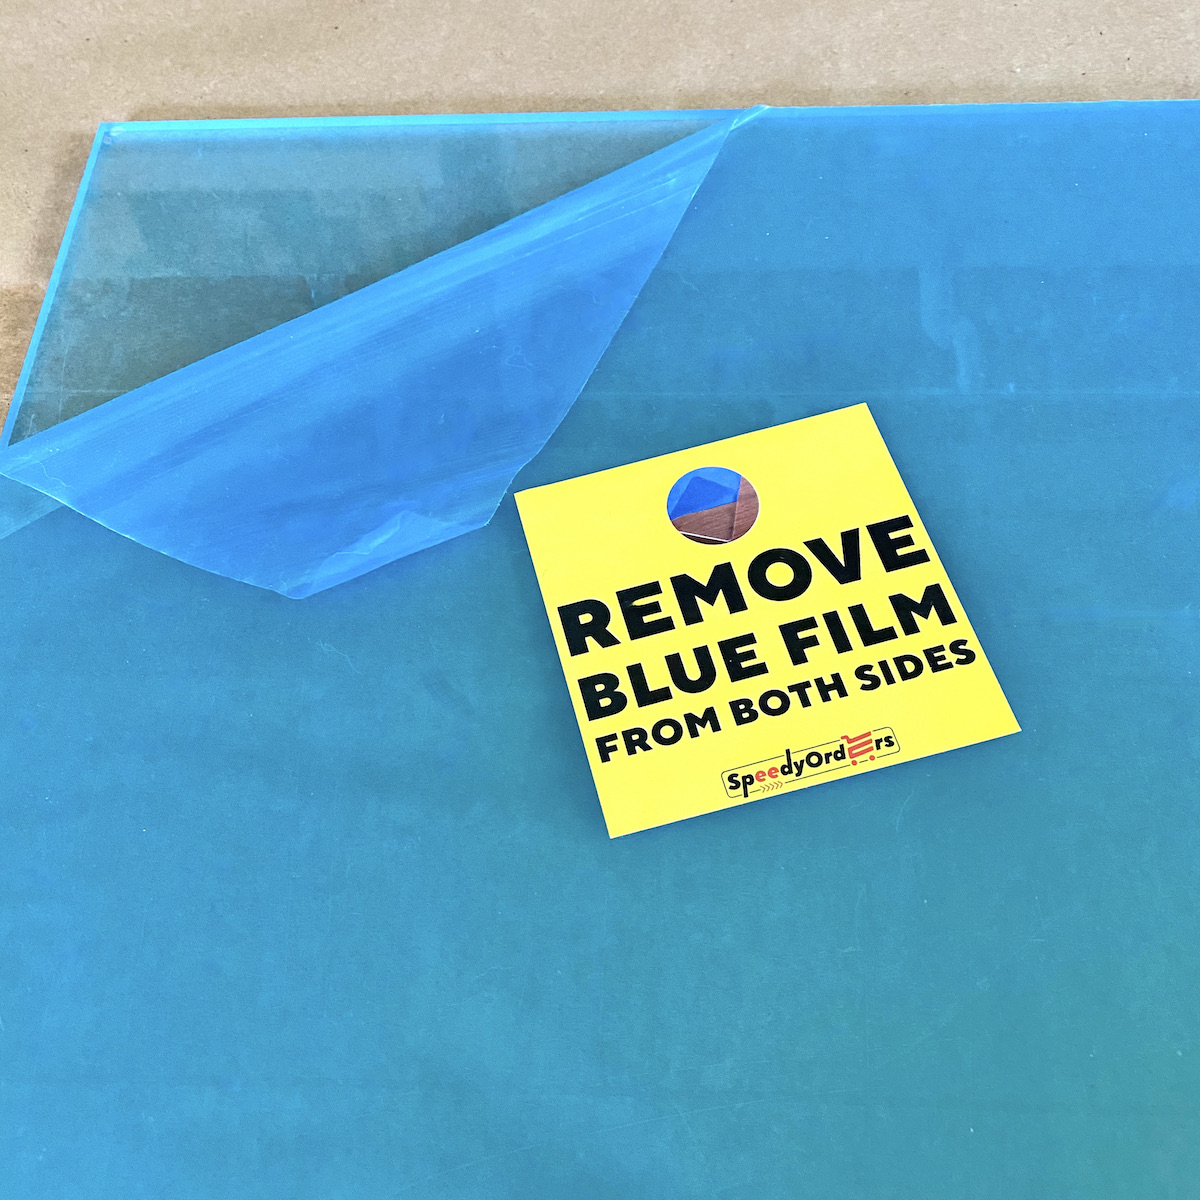
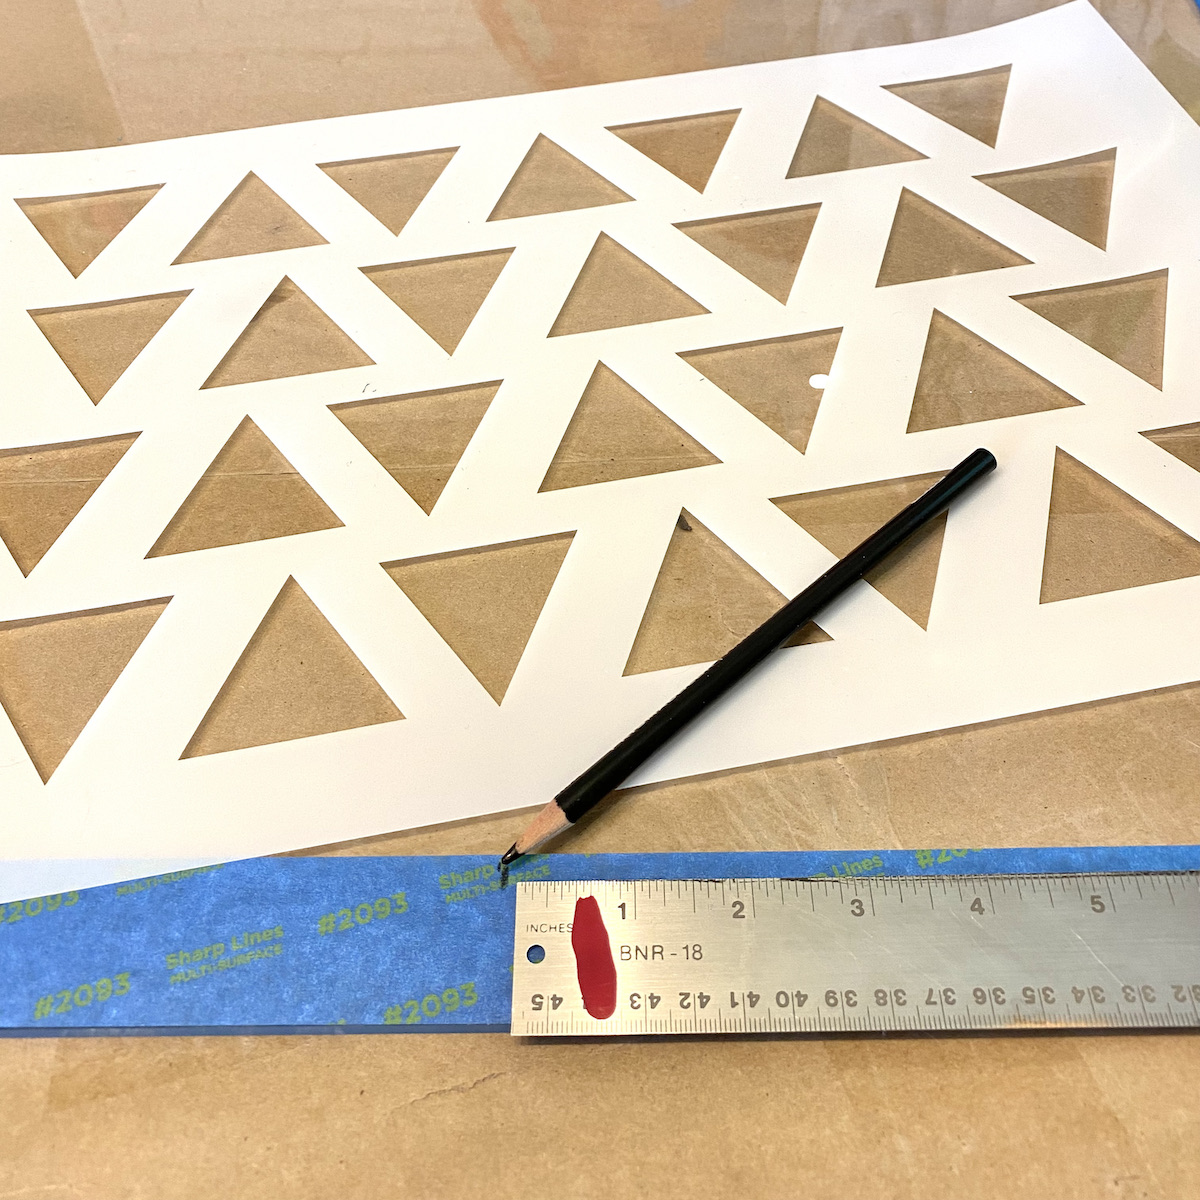
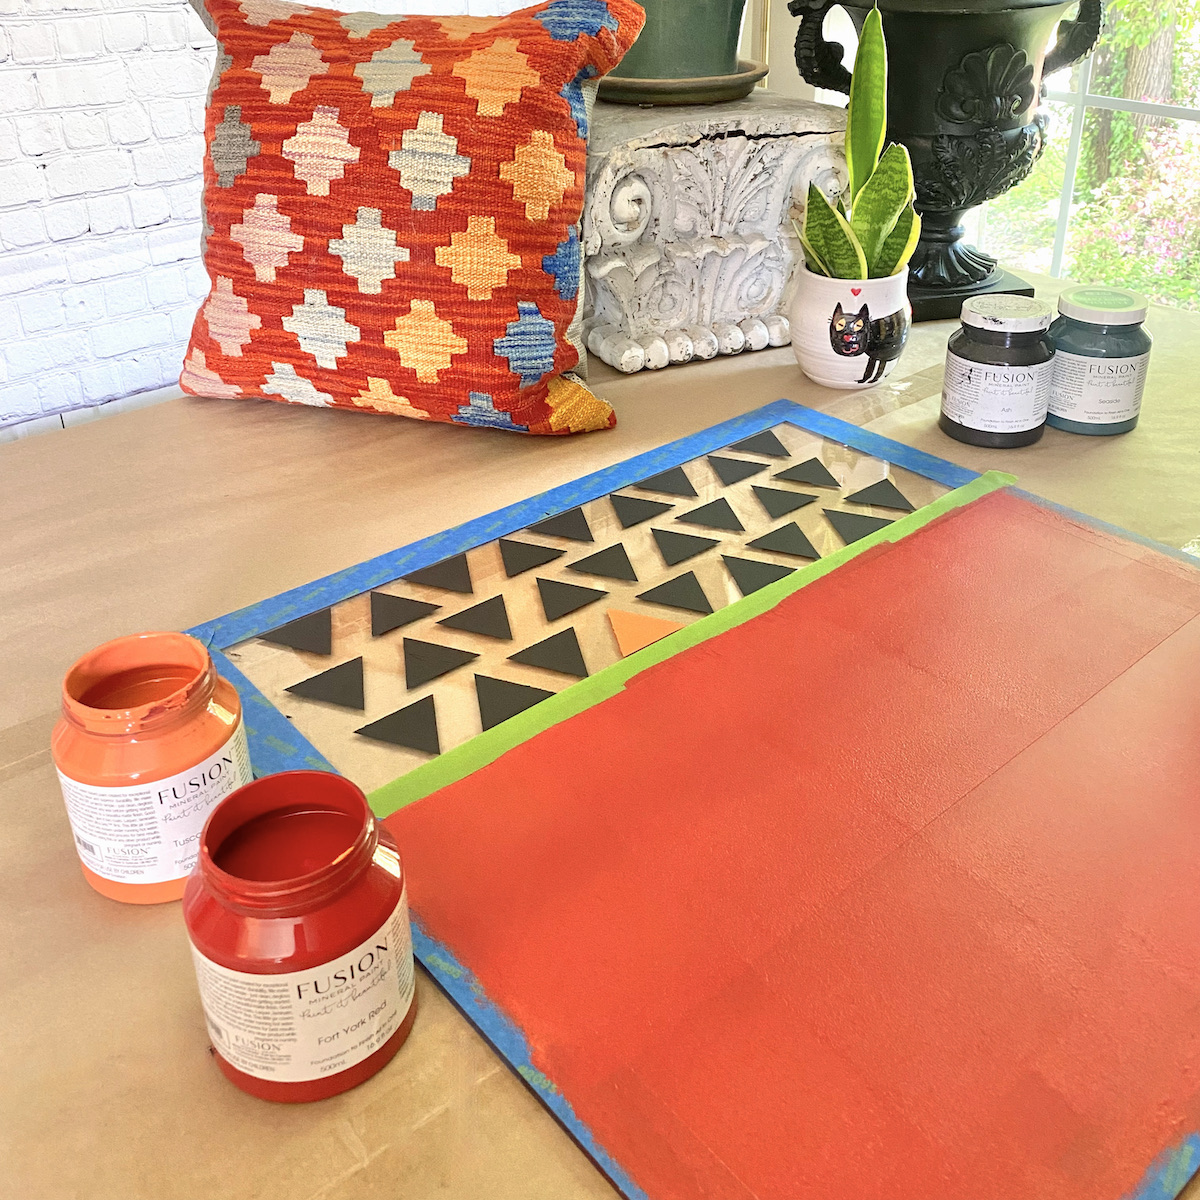
Remove the film from the acrylic. Add the 2″ painter’s tape all around the acrylic and burnish down the edges. Find the centre of the remaining clear space and the stencil. Tape down the stencil in the center.
STEP 2
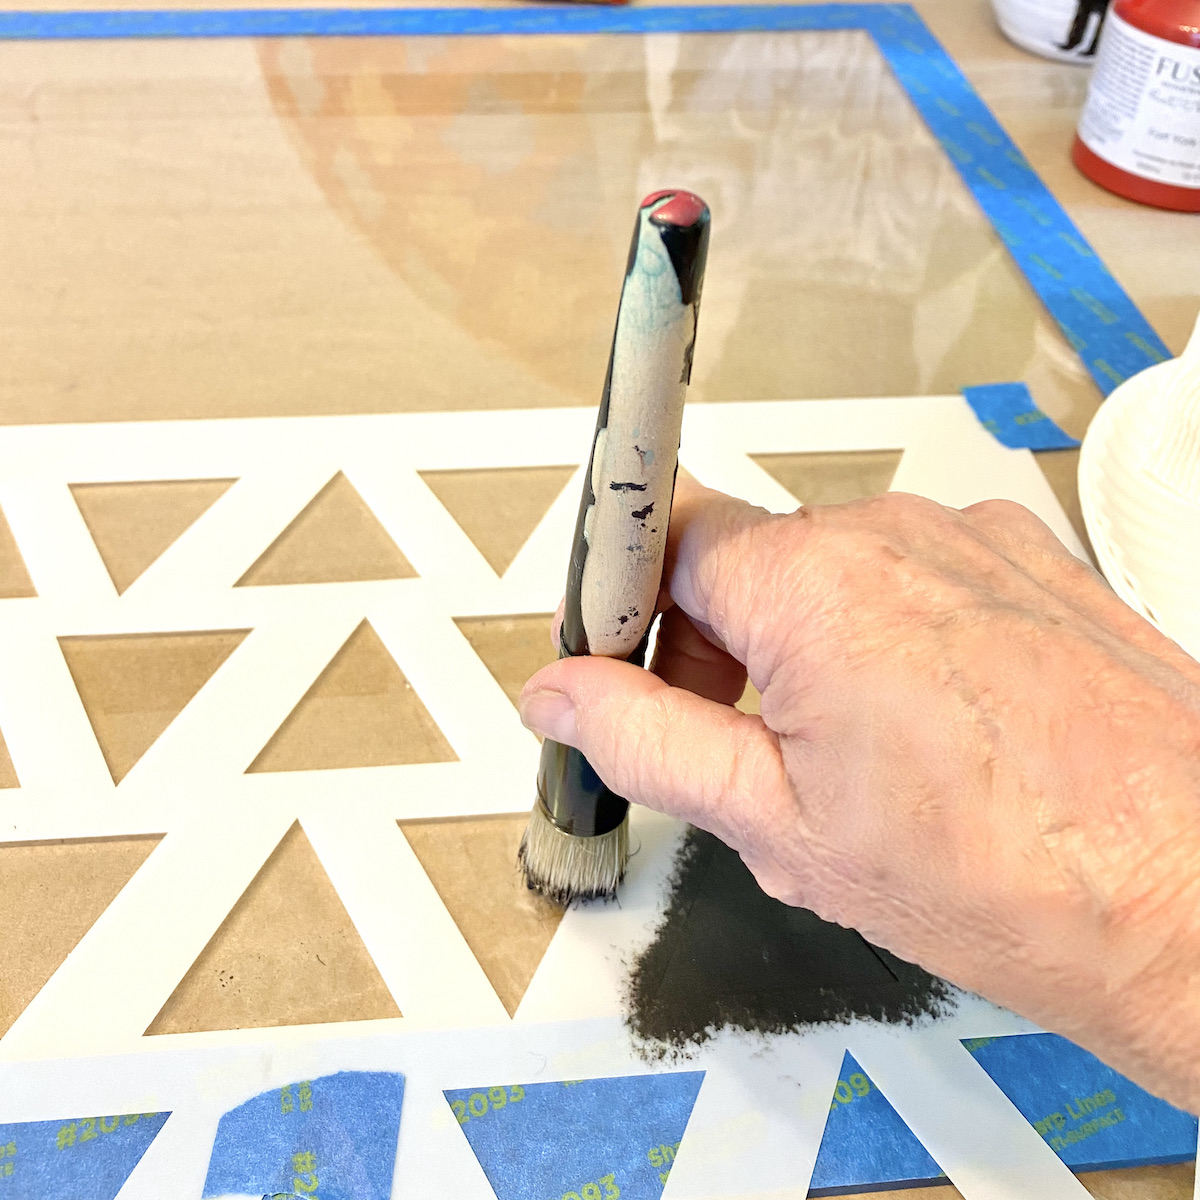
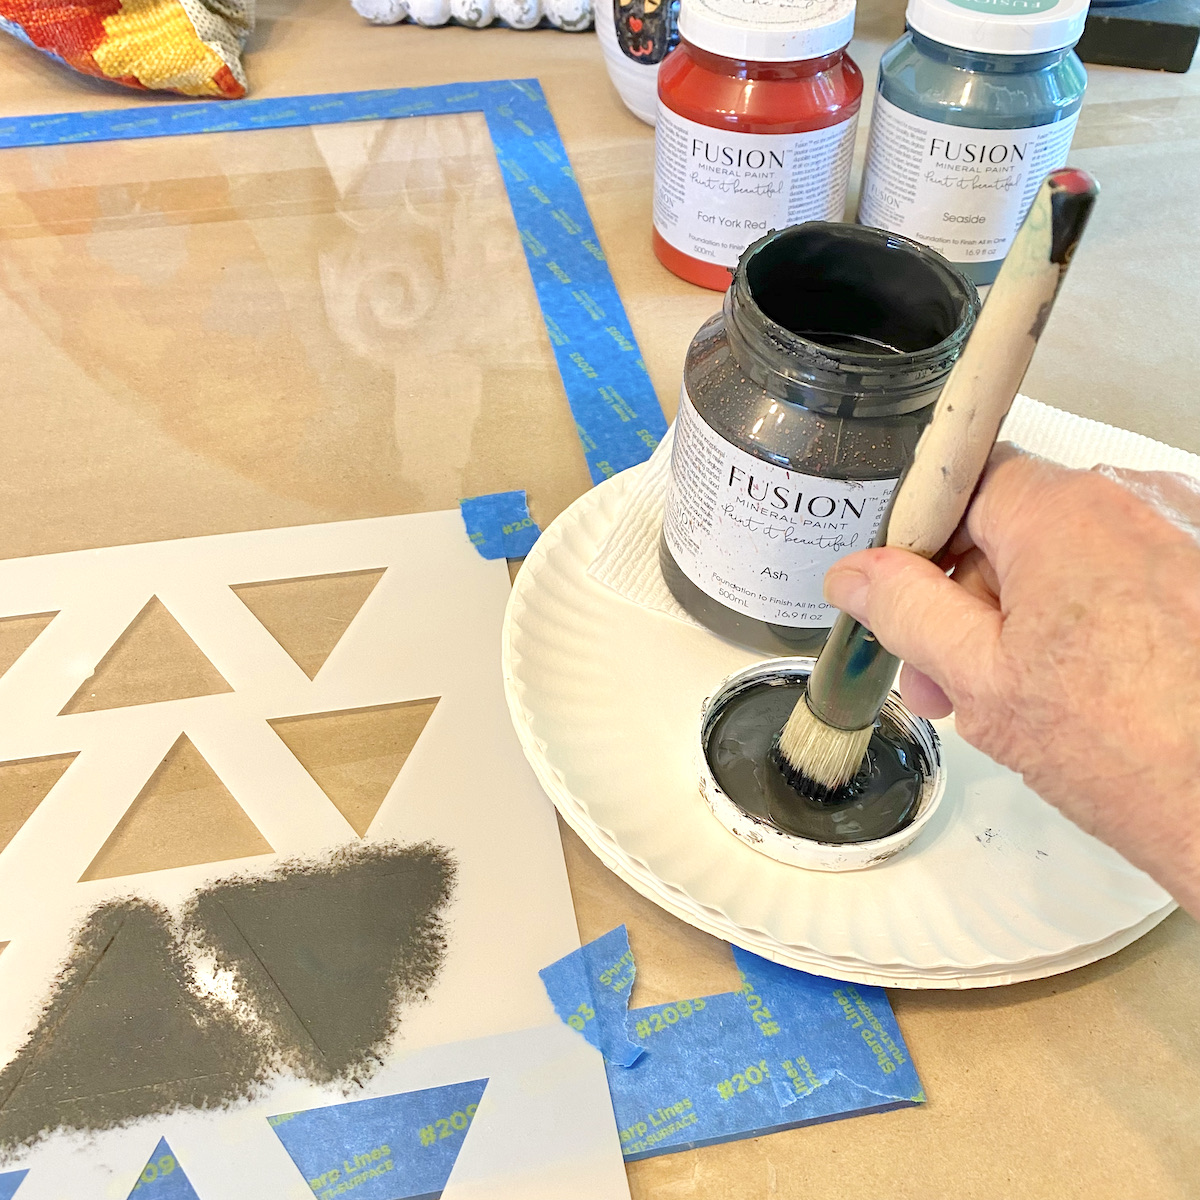
Dip the tips of the stencil brush into the Ash paint and swirl off the excess onto the paper plate. Gently tap the brush over the stencil. Leave one triangle open on the stencil. Use another stencil brush and tap on Tuscan Orange. Let dry. Add one or more coats of each colour. (You can lift up the piece to confirm that no light is coming through the paint.) Let dry. Move the stencil left and right to fill in the pattern.

STEP 3
Tape off an area with 1″ tape and burnish down well. Pour some Fort York Red onto a paper plate. Roll on a coat. Let dry. Roll on another coat or two as needed. Let dry.
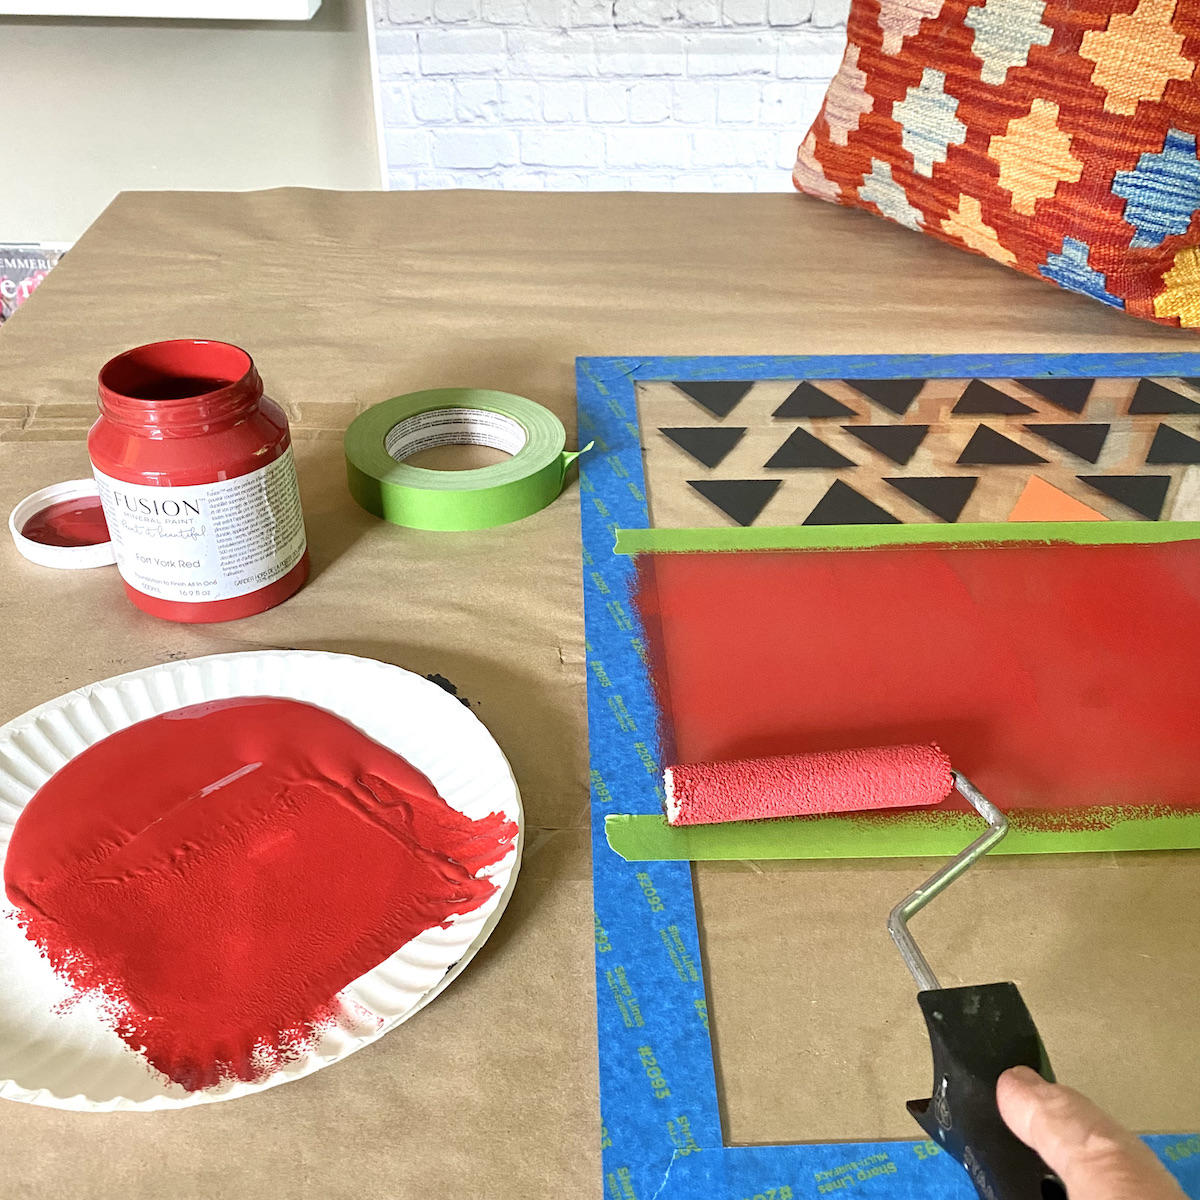
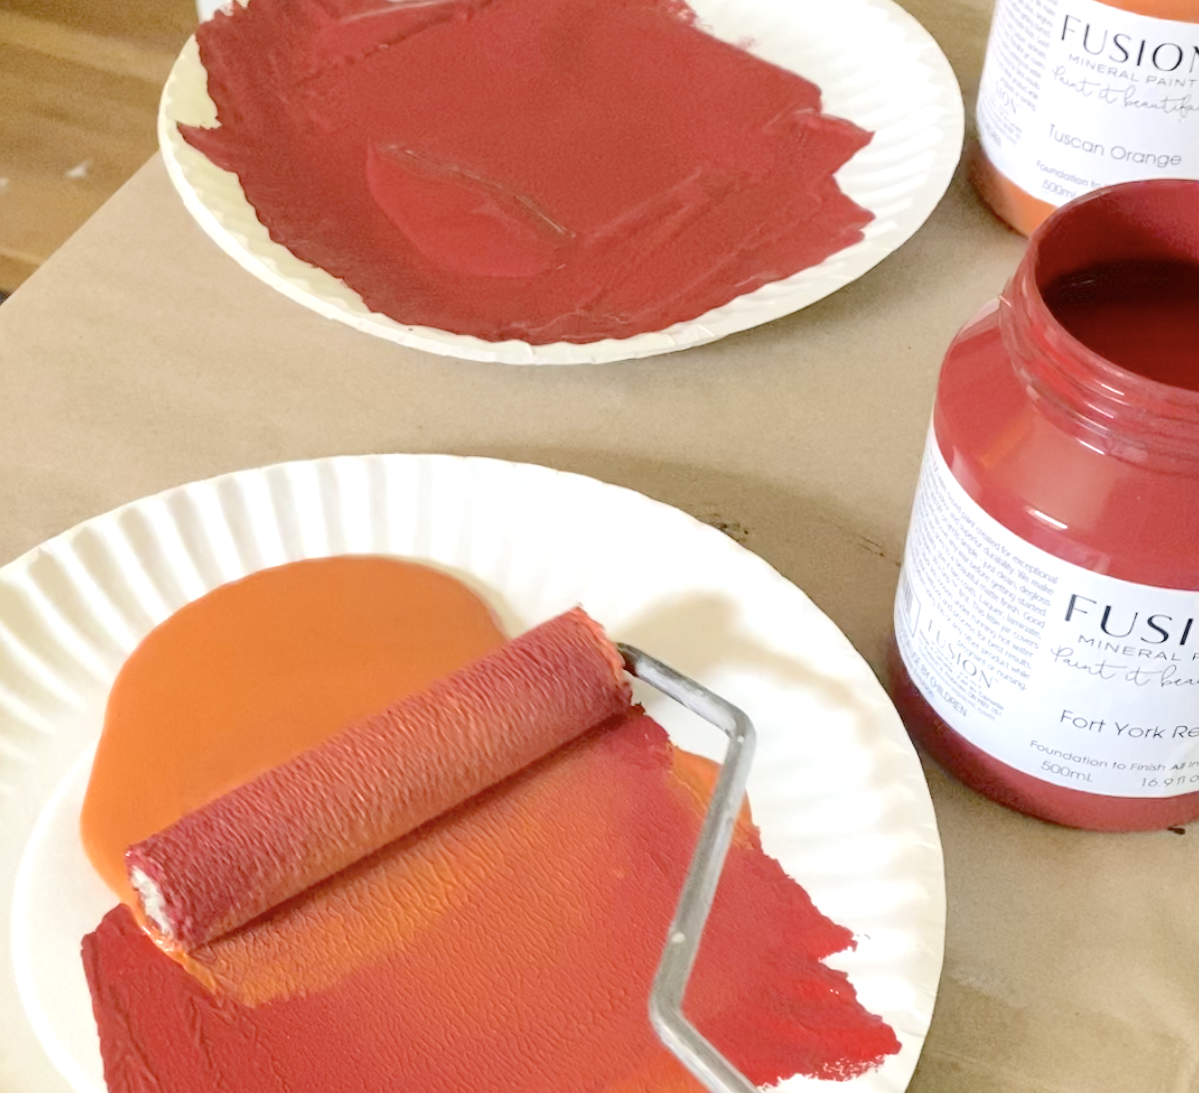
Pour some Tuscan Orange into the same paper plate and mix with the same roller to make a soft red-orange. Roll on to the remaining open area, also covering the red.
STEP 4
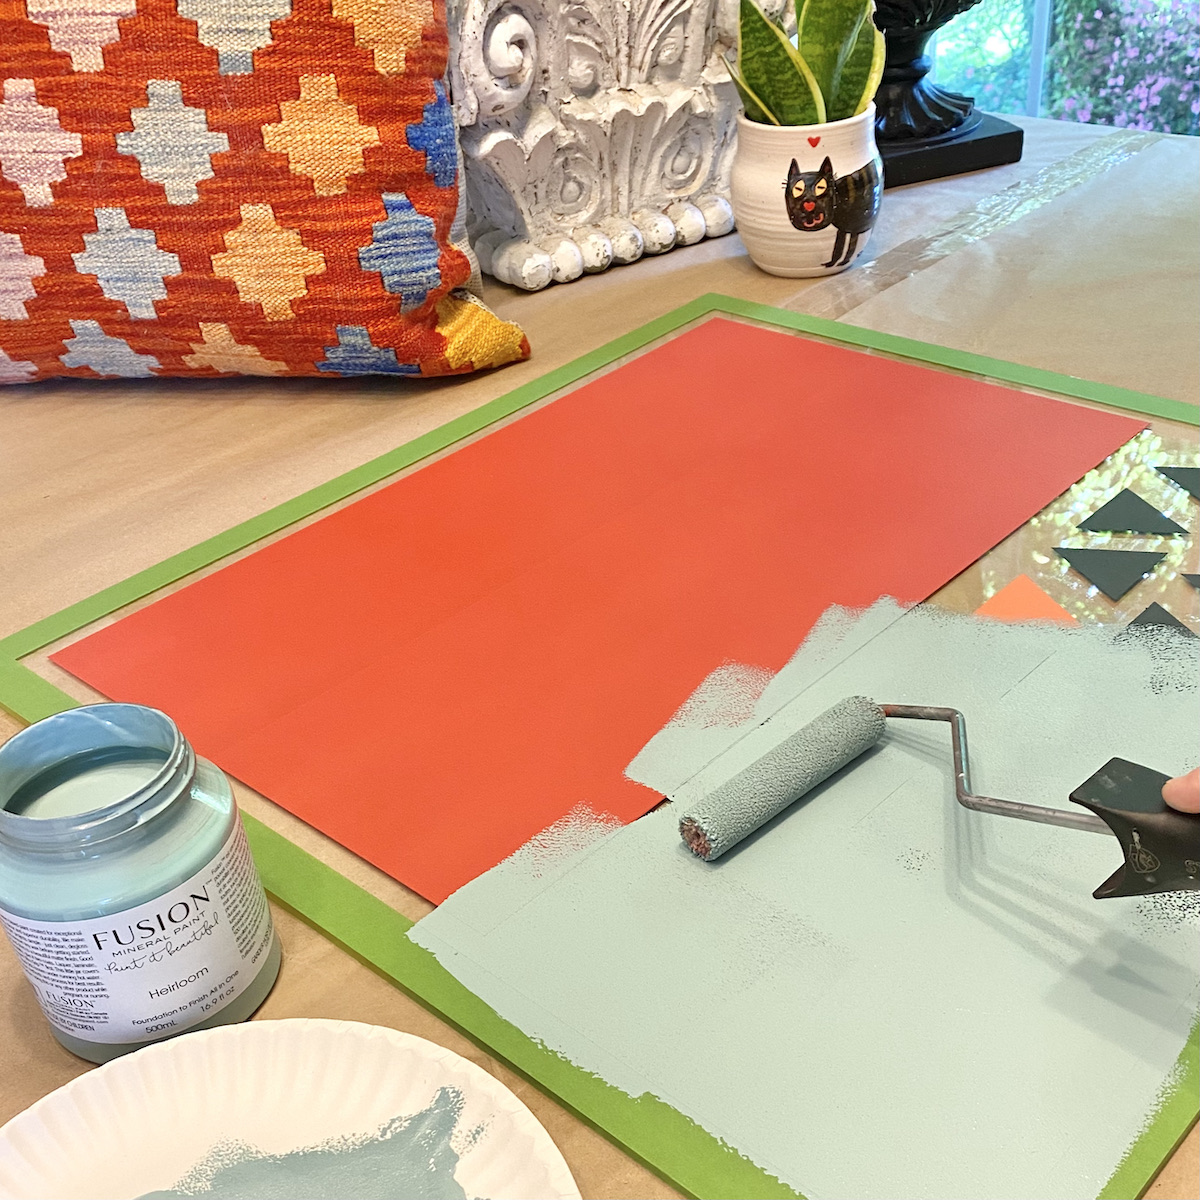
Remove the 2″ tape. Add the 1″ tape all around the edges of the acrylic and burnish well. Pour Heirloom onto a paper plate. Roll over the entire surface. Let dry. Add another coat if needed.
STEP 5
Get out your drill, drill bit and the standoff screw instructions with 4 pieces. One for each corner of your new artwork. Put a small piece of tape on top of the four corners and mark where you will drill the holes. I decided to mark mine at 3/4″. (BUT I learned that it would be a good idea to drill at at least 1″, maybe more. We broke the corner the first time, so be sure to try a practice piece first.)

Carefully drill the holes according to the directions. Mark on the wall where your piece will hang. I held mine up on the wall with a level and made a pencil mark through each hole for the position. Then drilled holes for the plastic anchors. And voila!
After finishing the piece on the left, I decided to make another to go on the right!
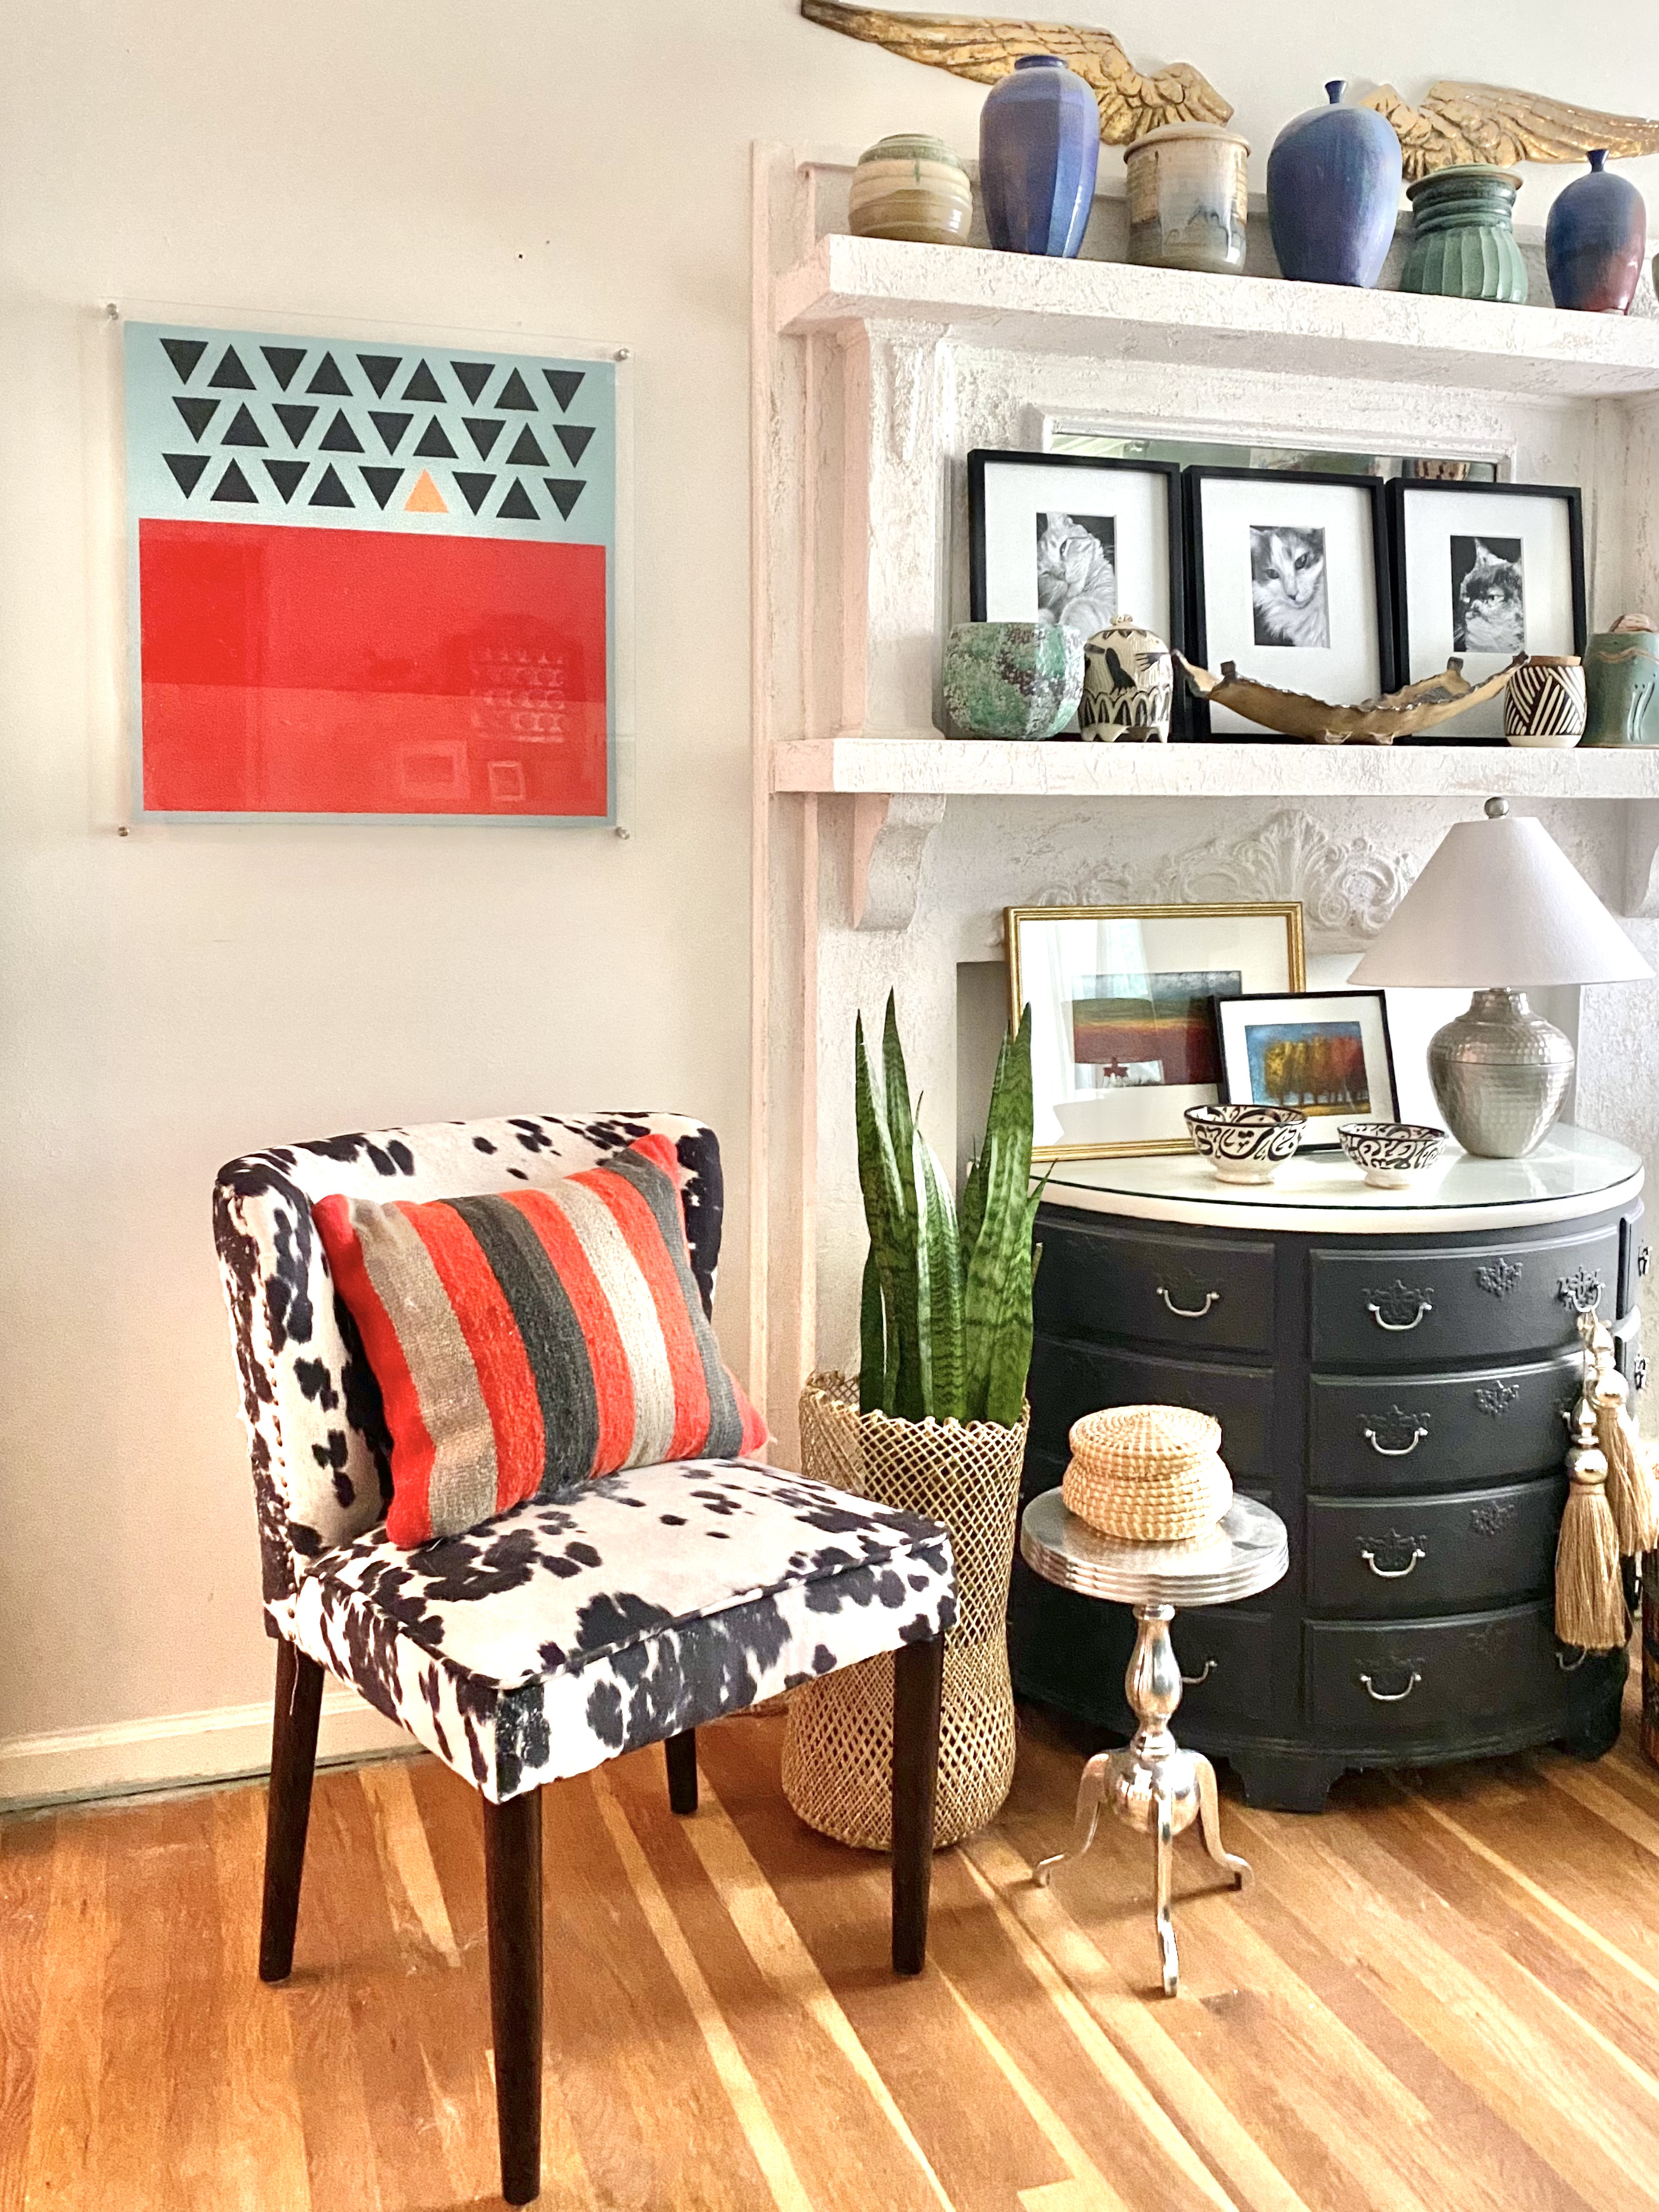
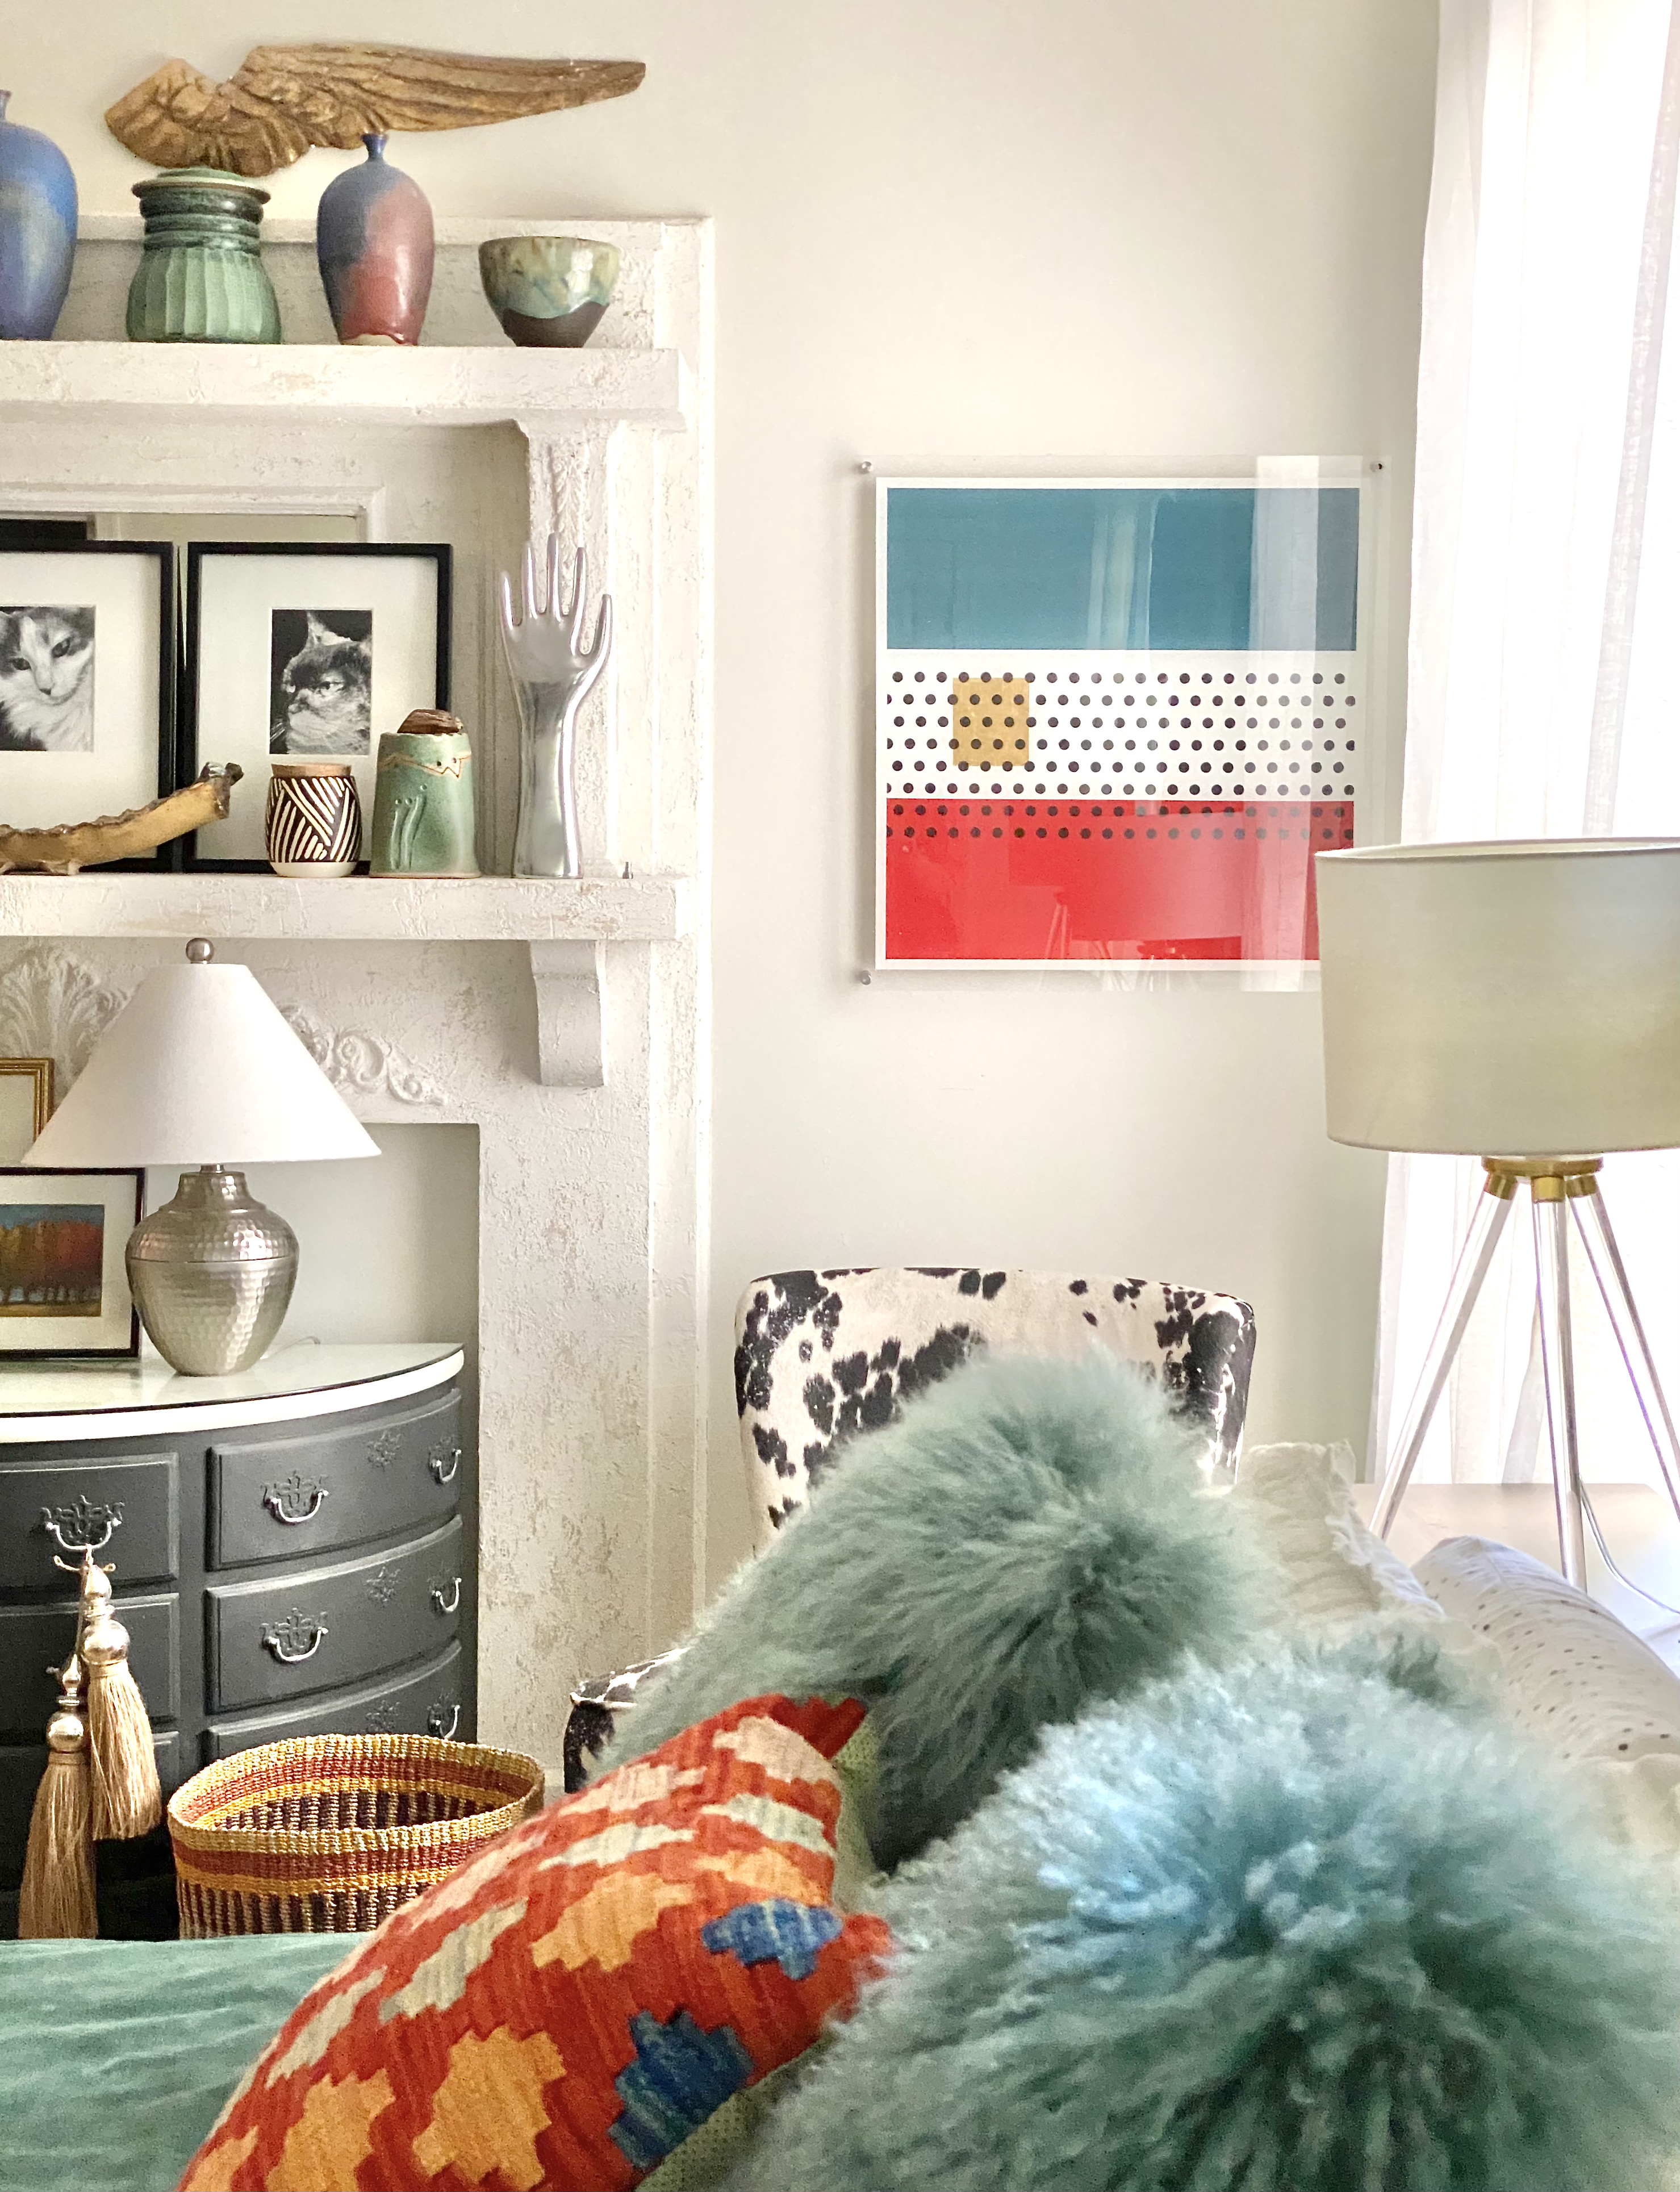
I’m really happy with this combination of graphic, acrylic art with my large canvas, baskets, and lots of velvet, Mongolian lamb, cow print, plants and pottery.
And, the view into our hallway full of family photos extends the whole artsy effect!
