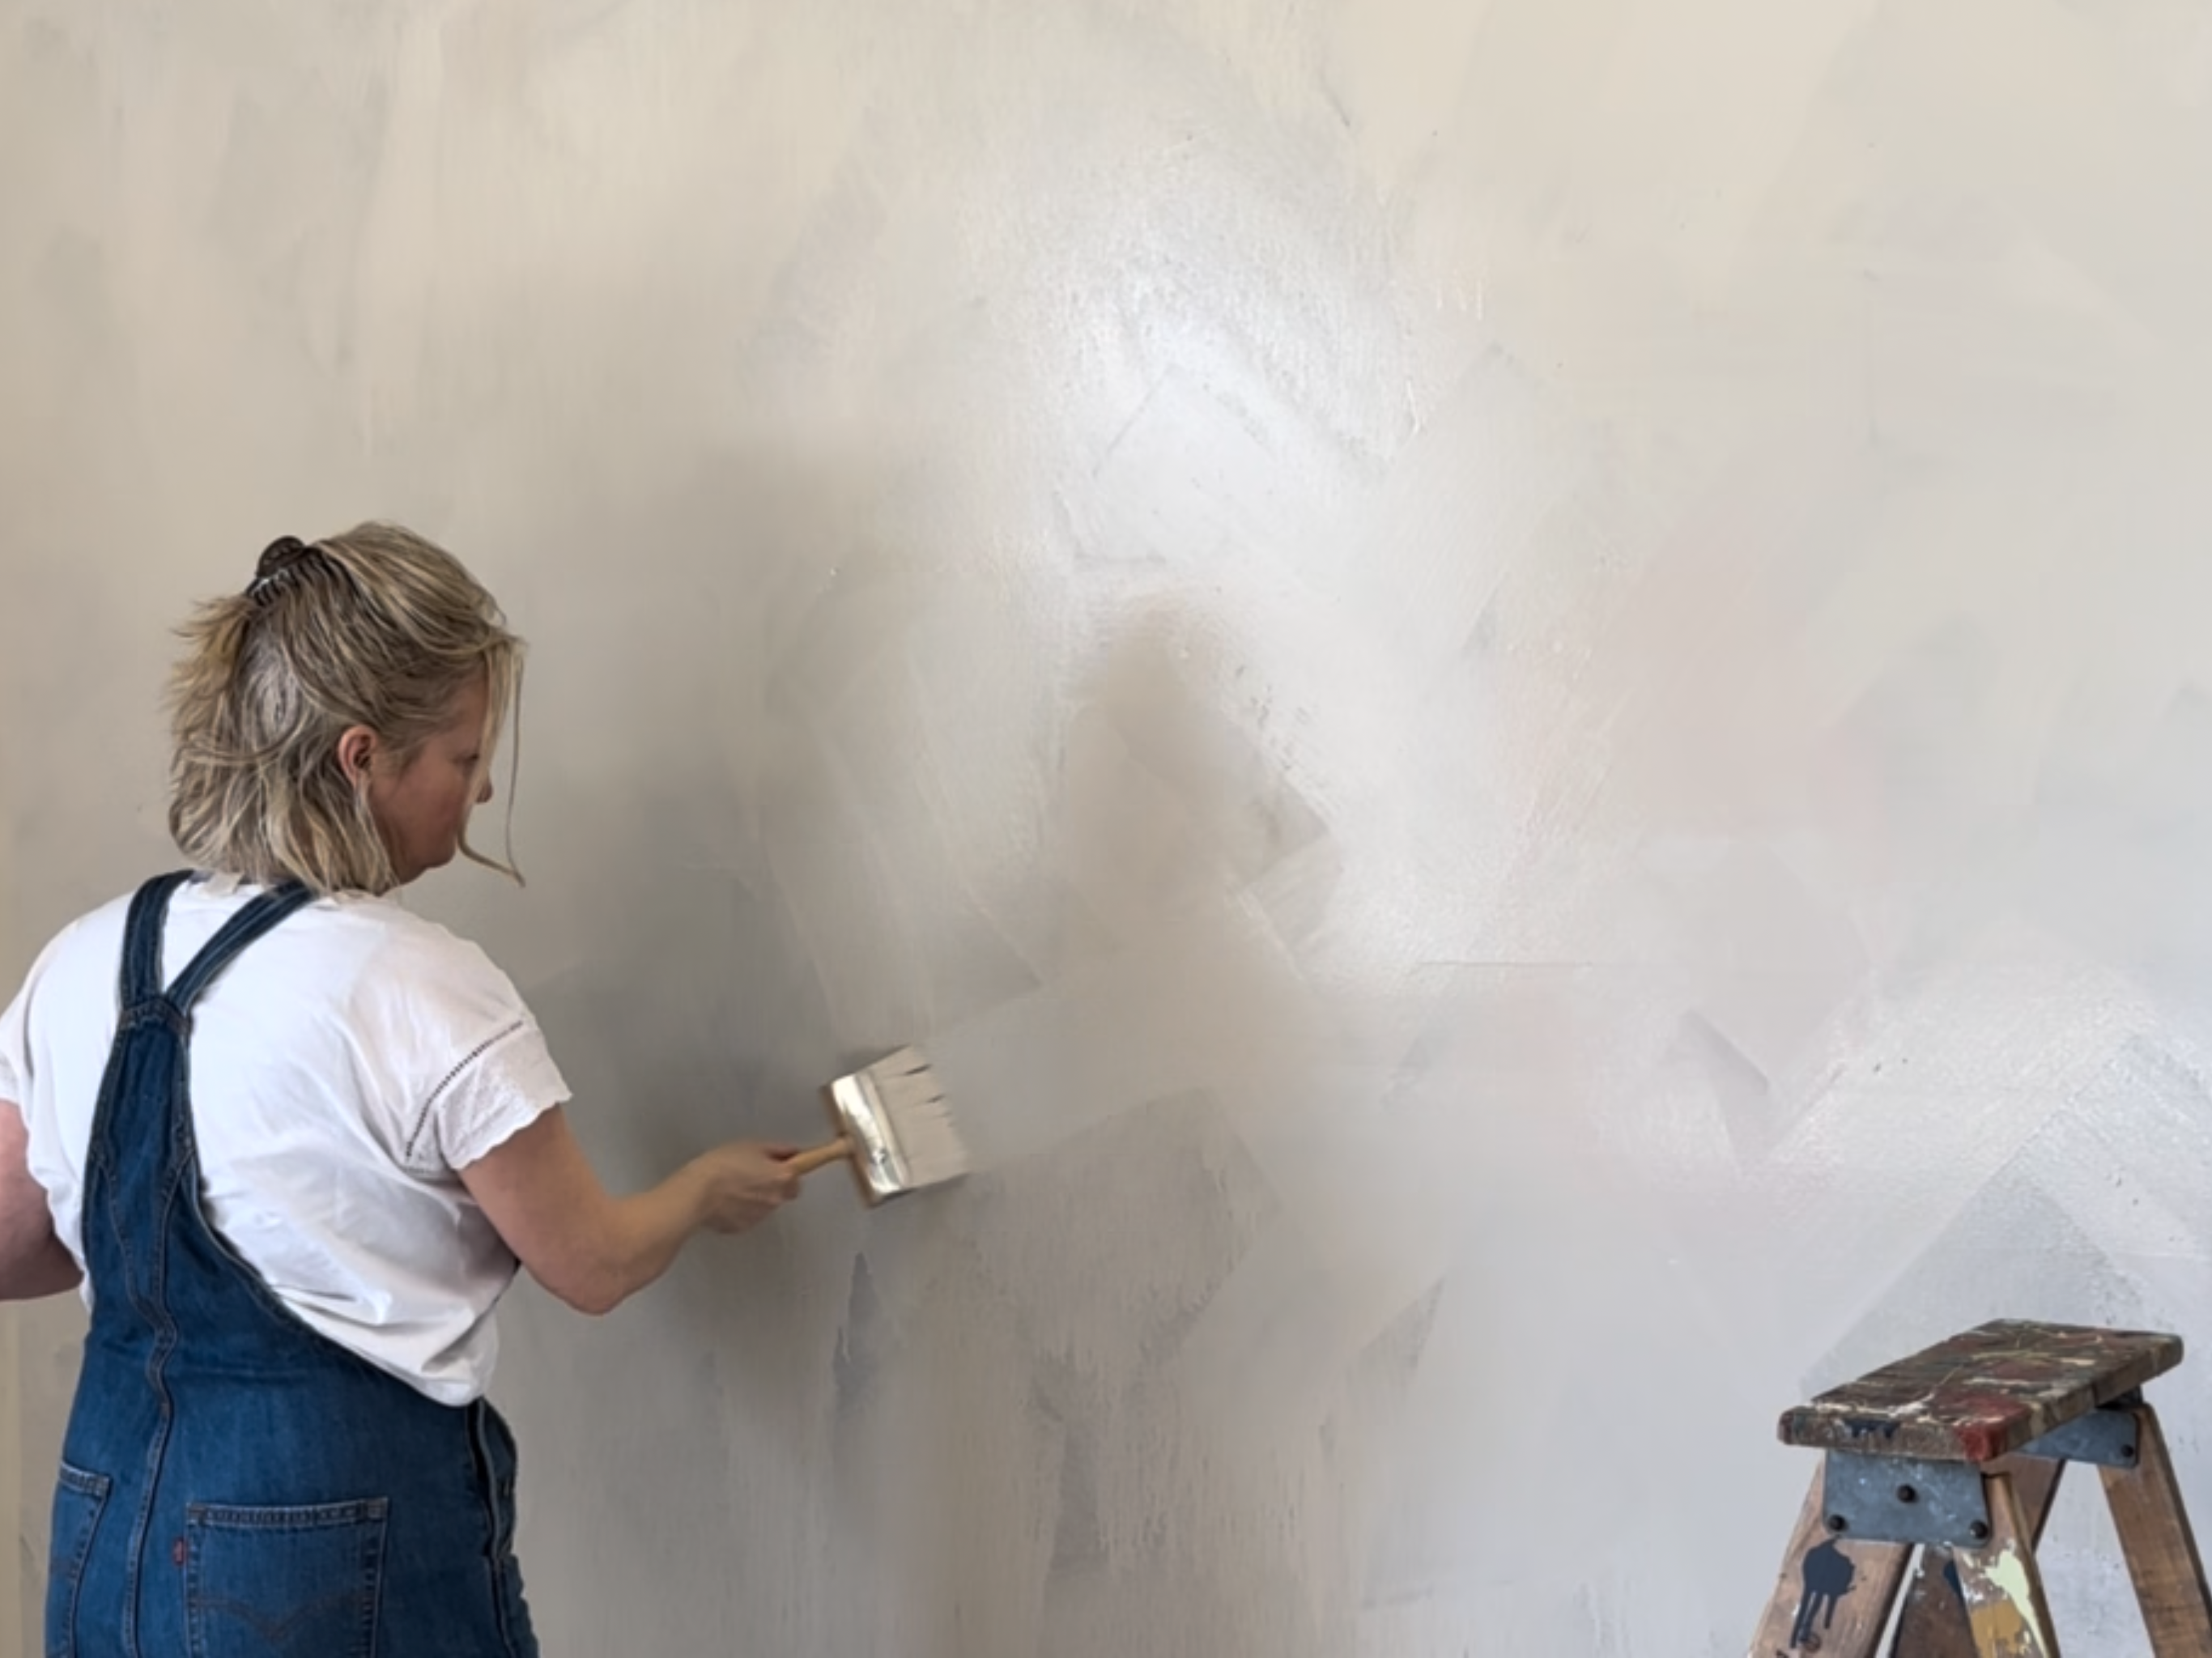
Limewash walls have gained immense popularity for their unique, organic feel, which is hard to replicate with modern paint. However, we at Homestead House have a solution. Using Milk Paint on Walls gives you the ability to create a limewash look with any colour!
Check out how we used just ONE 330g bag of Milk Paint for this stunning, limewash wall.
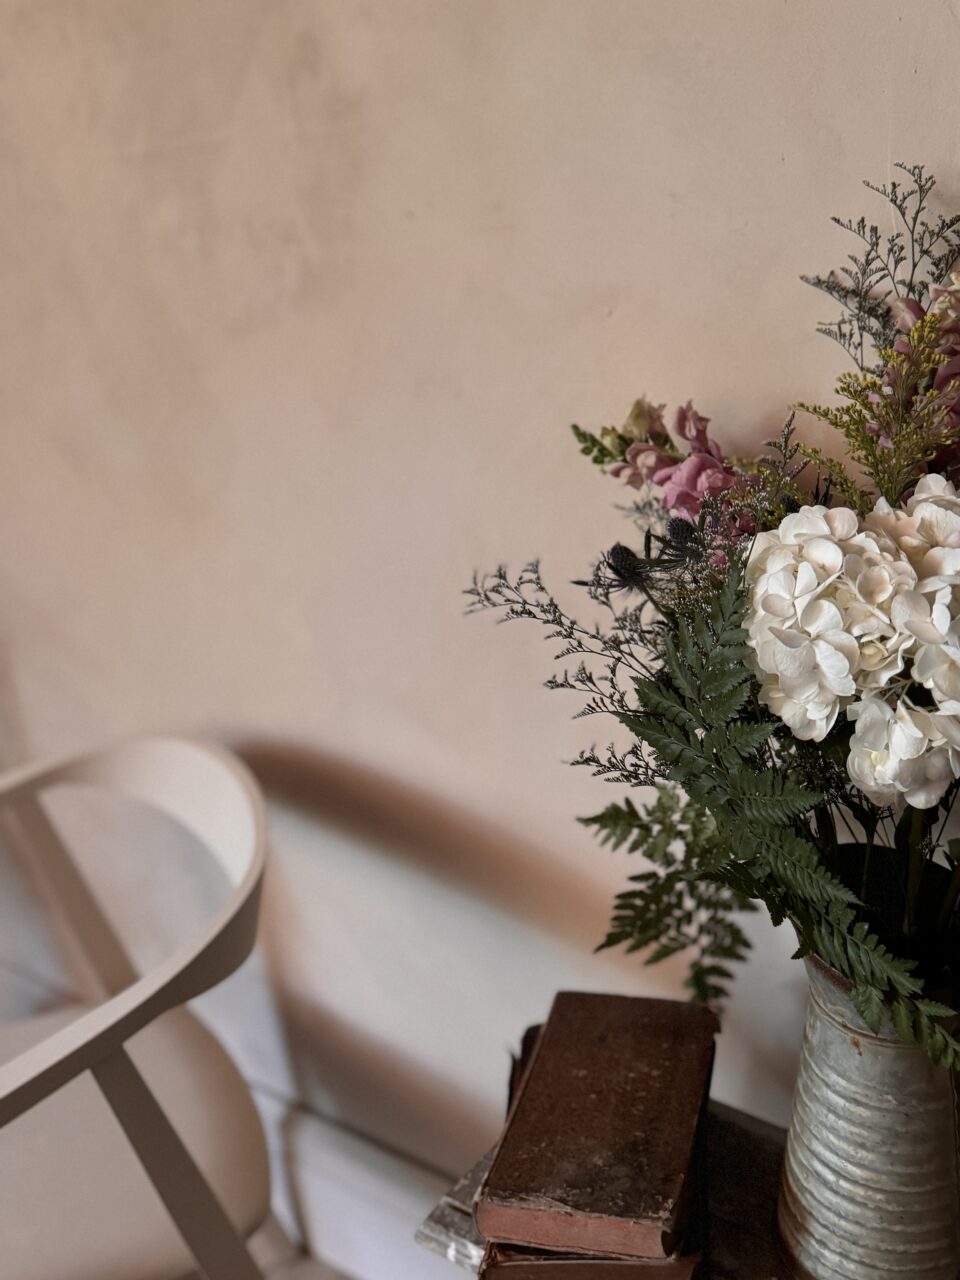
Our Milk Paint is a traditional limewash paint with a rich history. Made using the same natural ingredients—limestone, slaked lime, clay, casein, and pigments—it offers a wide range of colours. Create a cozy atmosphere with this durable paint, which delivers a chalky, flat finish. Simply mix the powder with water and apply with a wall brush for a consistent, smooth appearance. For more texture, use less water and apply with a wall brush to create subtle variations in depth. Adding extra water produces the popular washed-out look.
What Is Milk Paint
Milk Paint has an almost identical composition to limewash. It is a natural, mineral-based paint made from earthen ingredients. Its simple composition gives it distinct qualities, creating walls that breathe and develop a beautiful, lived-in patina over time.
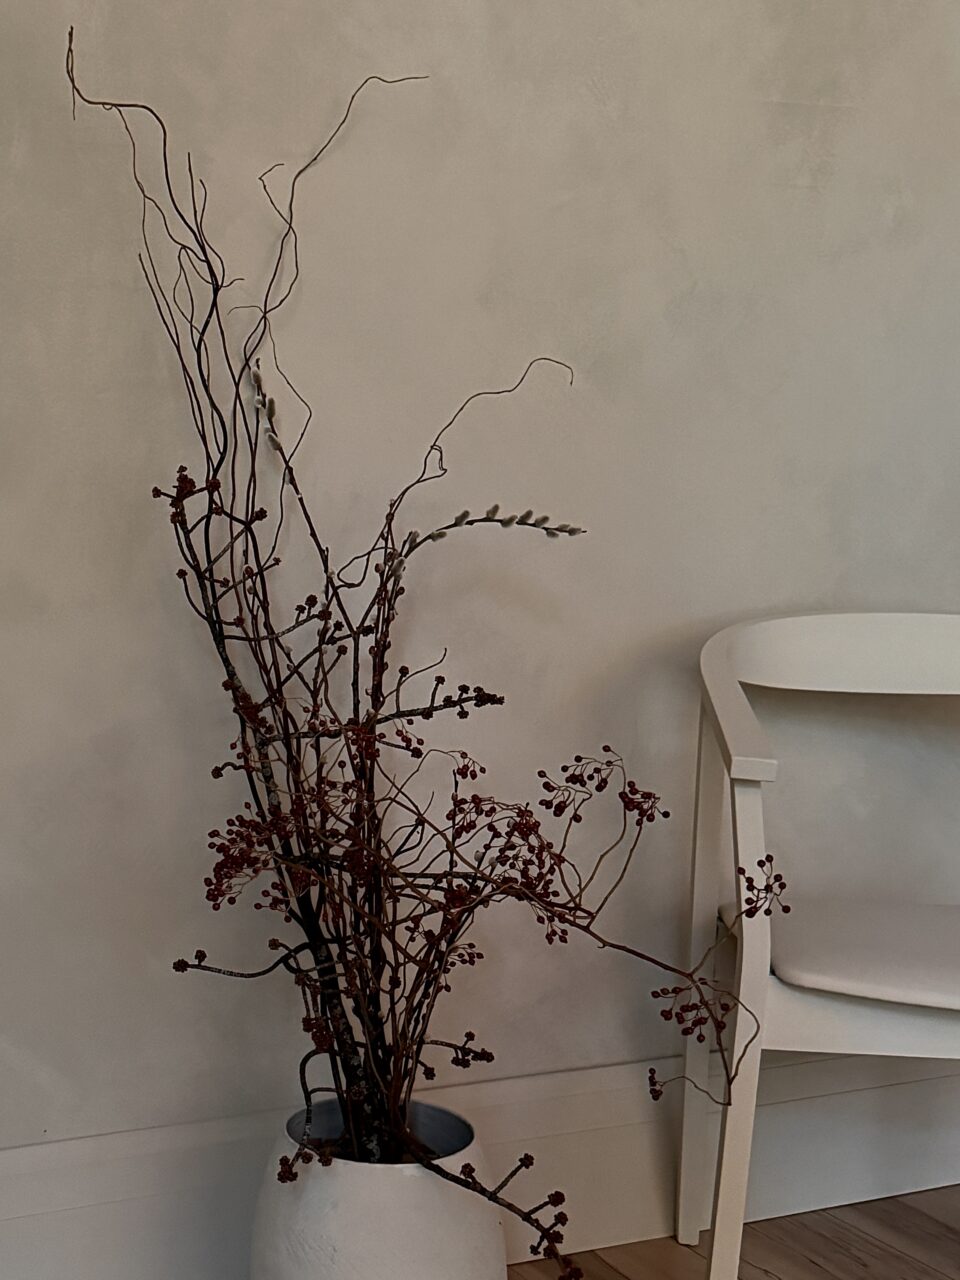
Why Milk Paint Is the Perfect Limewash
Our Milk Paint is a true limewash paint, composed of over 50% limestone. Free from modern resins, it’s a pure, eco-friendly, mineral-based paint that’s highly durable. The additional ingredients—clay, pigments, and a small amount of casein for binding—make it a versatile choice for achieving the limewash effect.
Key Benefits:
- Ultra-Flat Finish: Milk Paint creates a dead-flat, ultra-matte finish that hides imperfections and embodies the limewash aesthetic.
- No Topcoat Needed: Once dry, Milk Paint sets beautifully and lasts for years. While sealing isn’t necessary for most walls, it’s recommended for areas near water or exterior surfaces.
- Suitable Surfaces: Milk Paint adheres well to wood, drywall, plaster, and even modern primers or paints. For high-gloss finishes, metal, or plastic surfaces, apply a coat of Ultra Grip or Fusion Mineral Paint first.
Why Choose Limewash Walls?
Limewash offers a textured, matte finish full of character. Unlike the uniform look of modern paints, limewash has a natural, variegated appearance that changes with the light, adding an old-world charm.
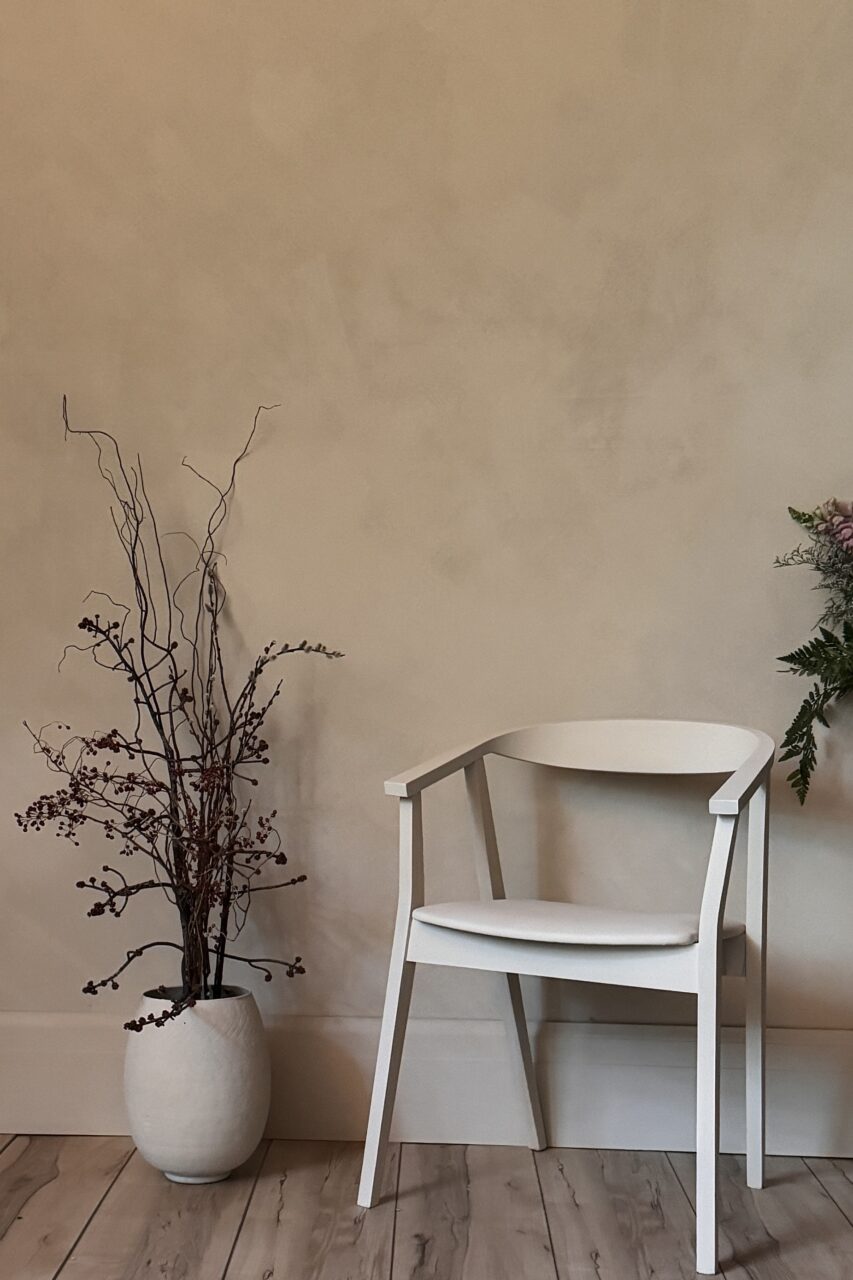
Highlights of Limewash Walls:
- Textured, Matte Finish: Achieve a velvety, chalky look with subtle texture and depth.
- Earthy, Organic Aesthetic: Warm, muted shades like soft whites, beiges, and grays complement any space. Bold and bright colours are also available for dramatic decor.
- Natural Variation: Each brushstroke creates unique tonal shifts for a handcrafted, artisanal feel.
How Much Milk Paint Will You Need?
A little goes a long way! Each bag covers approximately 100 square feet, making it an economical choice. Bulk pricing is available for larger projects.
How to Mix and Apply Milk Paint (Limewash)
Achieving a classic limewash look is easy and customizable.
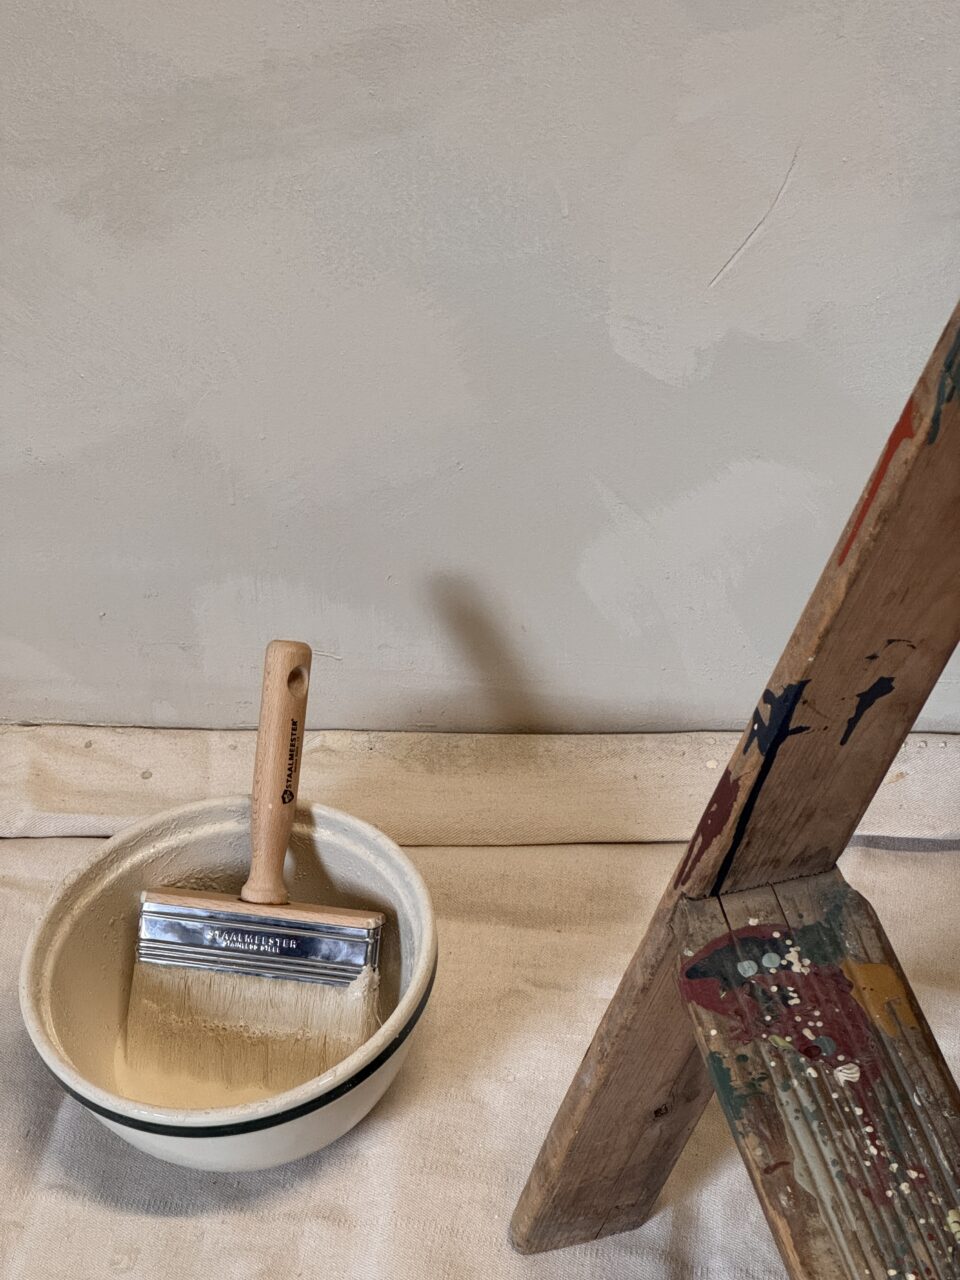
- Prepare the Paint Mixture: Mix equal parts Milk Paint powder and water for a smooth, table-cream consistency. For more texture, use less water. For a translucent effect, add slightly more water.
- Apply with a Wide Brush: Use a wide wall brush and apply in a crosshatch method, overlapping strokes. This creates the natural, layered texture characteristic of limewash walls.
- Let It Dry: Milk Paint dries within an hour. As it cures, it hardens into a limestone-like finish. Clean brushes and tools immediately after use, using vinegar for easier cleanup if needed.
Unique Benefits of Milk Paint as Limewash
- Eco-Friendly: Milk Paint absorbs carbon dioxide as it cures, forming a hard limestone coating. Shipping powder instead of liquid paint reduces its environmental footprint.
- Natural Durability: Milk Paint is incredibly durable and resistant to scratches.
- Breathability: Limewash allows walls to release vapor, making it ideal for older homes with plaster walls. It’s naturally resistant to mold, mildew, and bacteria, and its clay content helps neutralize odors.
A Timeless Choice
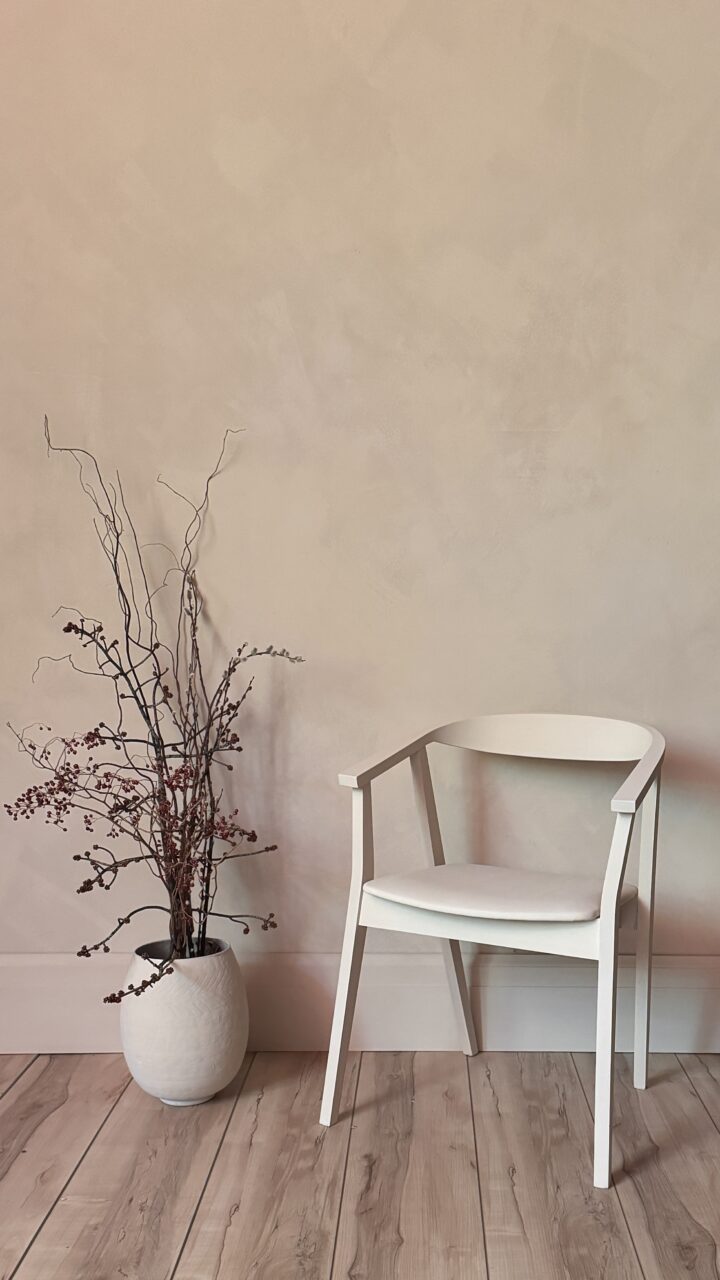
Milk Paint makes achieving the dreamy limewash look simple and inspiring. Its natural matte finish, subtle texture, and earthy patina transform any space. Whether you’re a DIY enthusiast or a first-time painter, Milk Paint offers an affordable way to add warmth and personality to your walls. Mix, apply, and enjoy the timeless beauty of limewash walls.


