

This project is a little bit of that something extra for those of you who enjoy building your own projects aside from just painting them. Backyard BBQ season is starting and with Father’s Day just around the corner, this is a great DIY project for a summer soiree for your host or as a personal Father’s Day gift – which is what we made ours for! We’re going to show you how to build a bottle opener out of wood, which you can then stain or paint with the Fusion product of your choice! So let’s get to it.
How to build a bottle opener out of wood –
Makes a great Father’s Day gift!
PART 1: CARPENTRY
Supplies needed to build a bottler opener
- Lumber: 1 x 6 at least 32 inches long
- Measuring tape & Pencil (remember: measure twice cut once!)
- Saw
- Planer (optional)
- Sand paper or mechanical sander
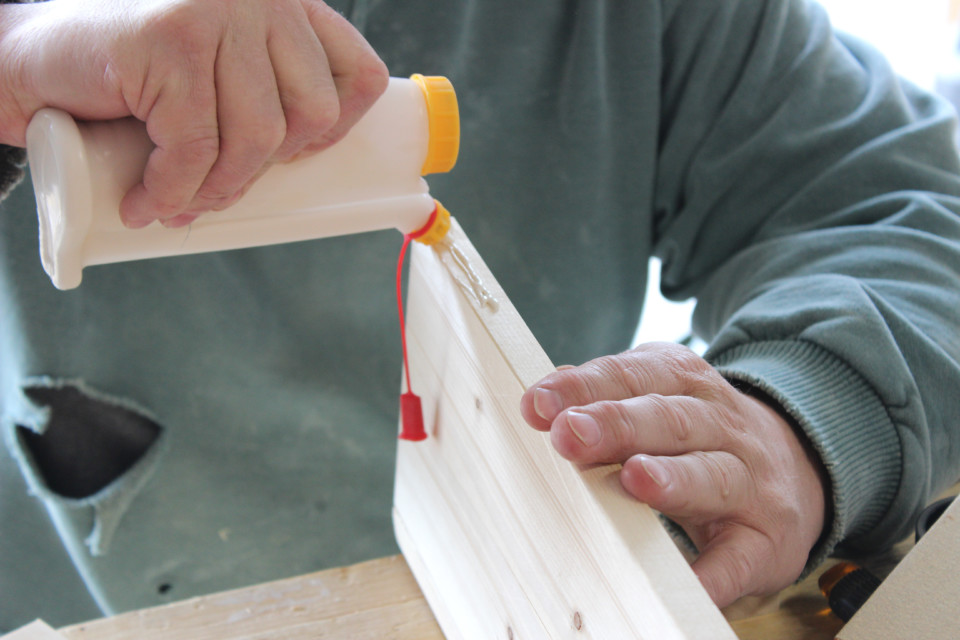
- Wood glue
- Nail gun
- Appropriate safety gear (may include goggles, gloves, hearing protection)
Disclaimer: Please ensure you are using the proper safety methods recommended by the manufacturer of any power tools you are using. We also recommend you get some help if you’ve never used them before. This is not a project for amateur wood workers. If you are not comfortable building your own bottle opener, you can purchase a raw wood one at many local craft stores and skip to PART II of our tutorial – the painting part!
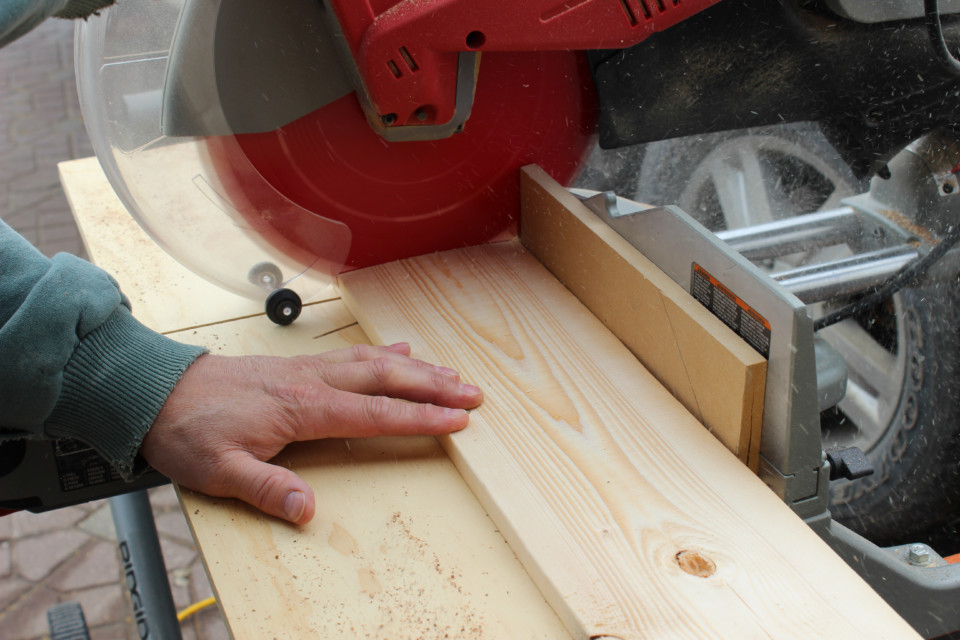
STEP ONE
TRIM THE LUMBER
If you’re not familiar with lumber, it does come in standard sizes. You may have heard of “2 x 4″ – that’s the most common size used in building walls and most projects. However, you may not know that the wood isn’t actually the size that it is named. That size is when it’s fully hydrated, but when you pick it up at the store, it has dried out and shrunk. So when you pick up your 1 x 6, don’t be surprised if it measures at more of 5.5″ wide!
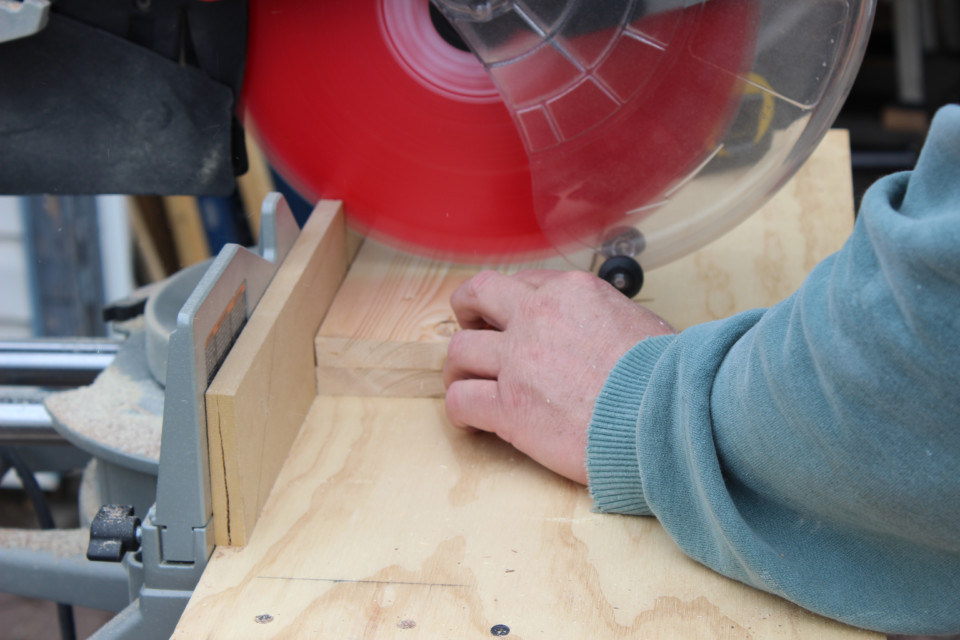
Because of this difference in measurements, you’ll want to trim your lumber so that it measures 4” wide exactly.
STEP TWO
CUT THE LUMBER (Measure first!)
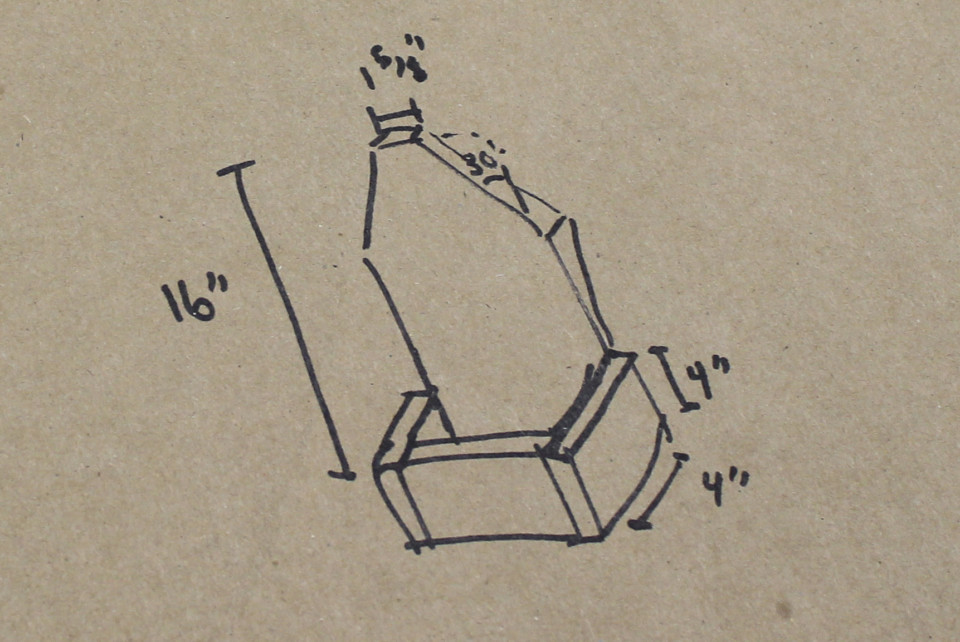
Now you’ll want to measure the board into 5 pieces: one 16″ long and 4 that are 4″ long.
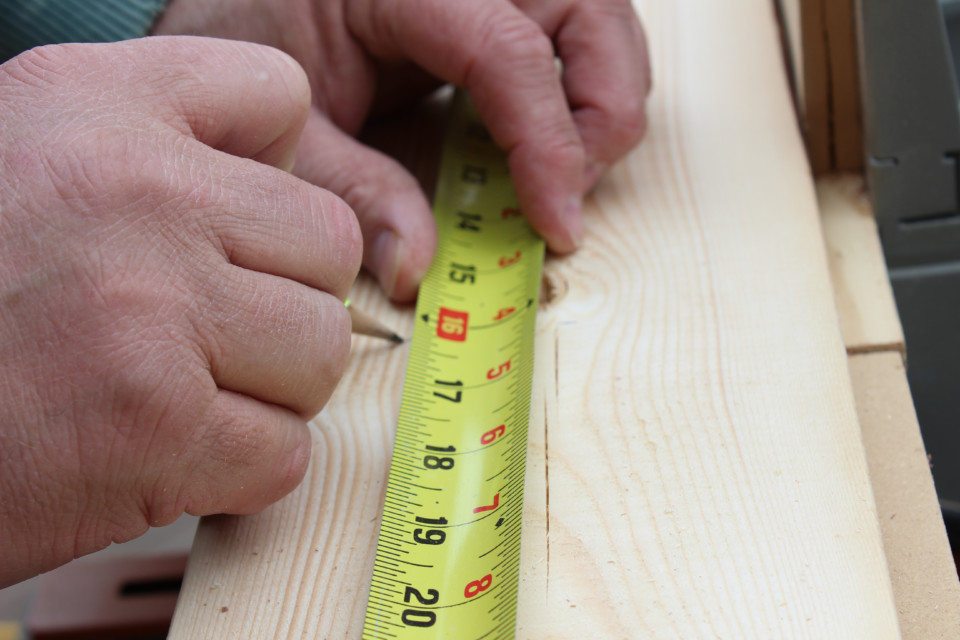

Cut using your saw.
STEP THREE
PLANE YOUR BACK PIECE (Optional)
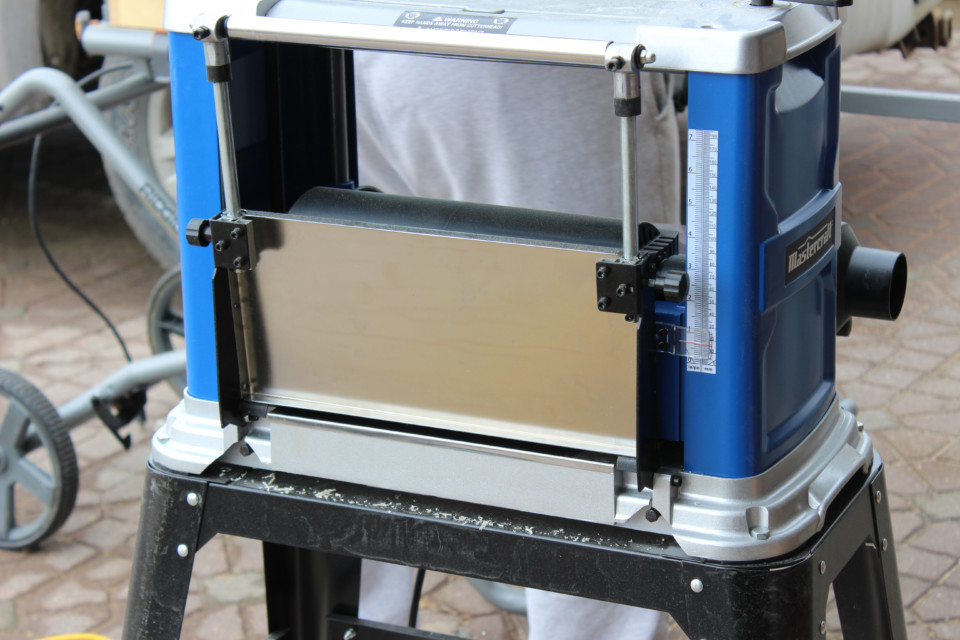
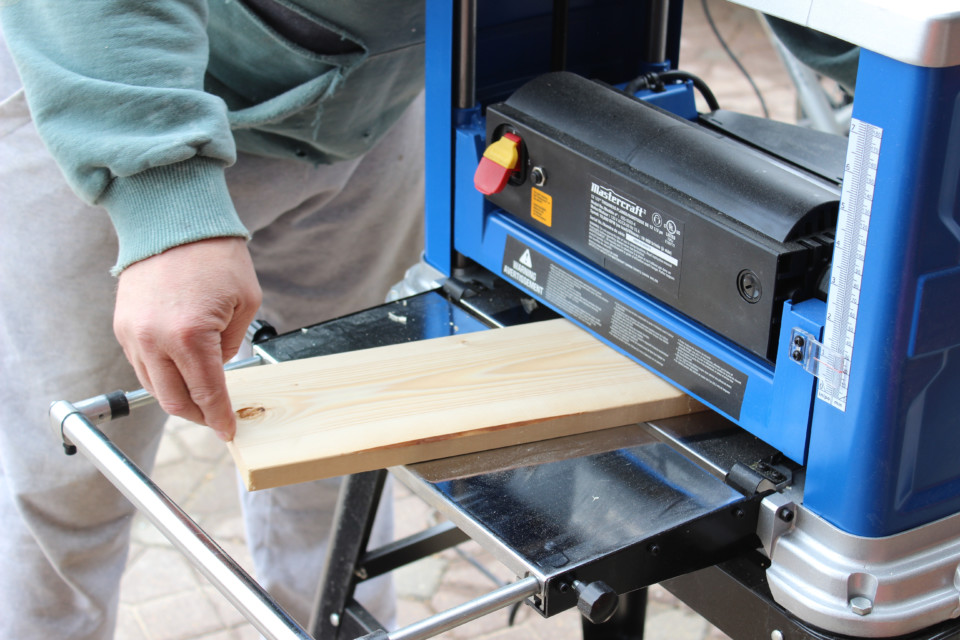
If you’re one of those perfectionist DIY’ers and you’ve invested in your own planer, then you can totally smooth out your longest piece of wood and get rid of any warping.
For those that don’t know, a planer is a tool that slices off thin layers along the length of the board. This helps make it super straight and the exact thickness you want.
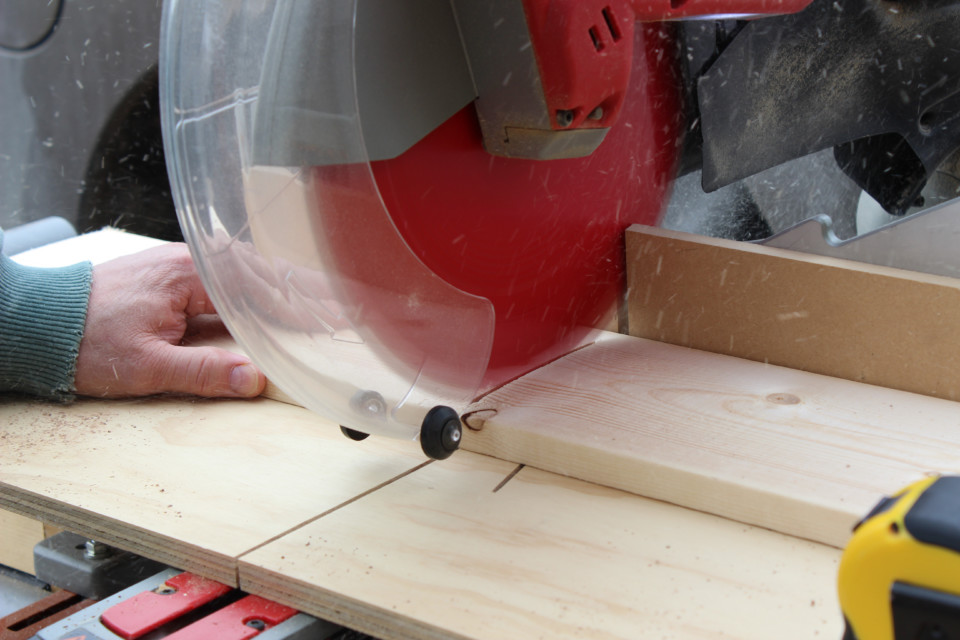
STEP FOUR
DETAIL THE BACK PIECE
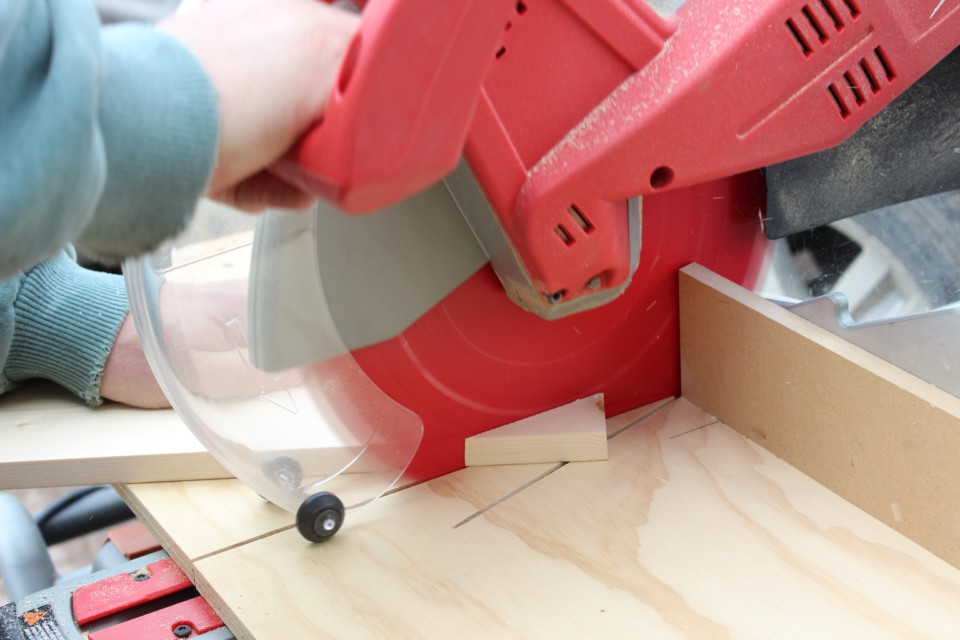
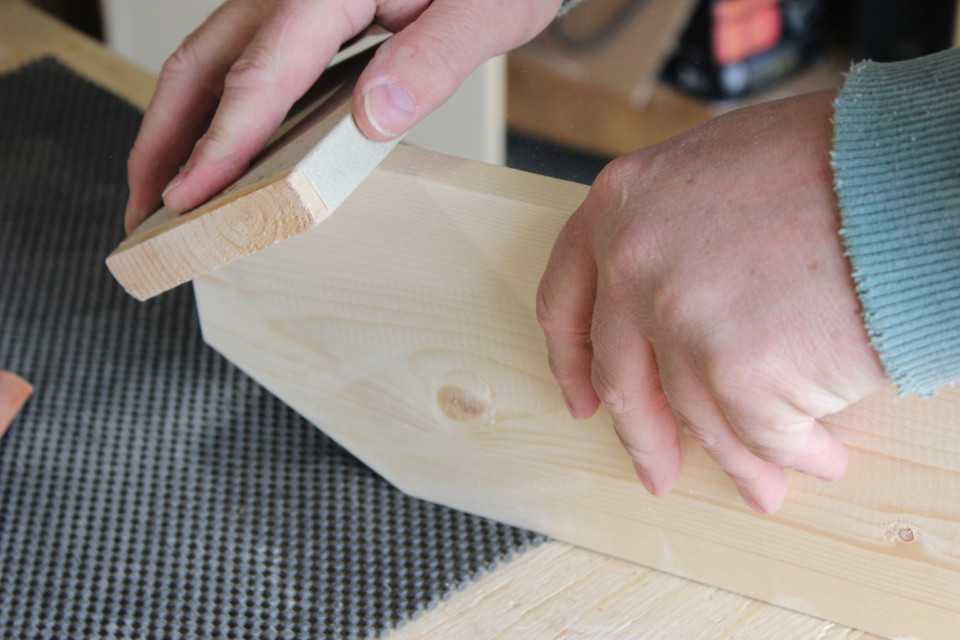
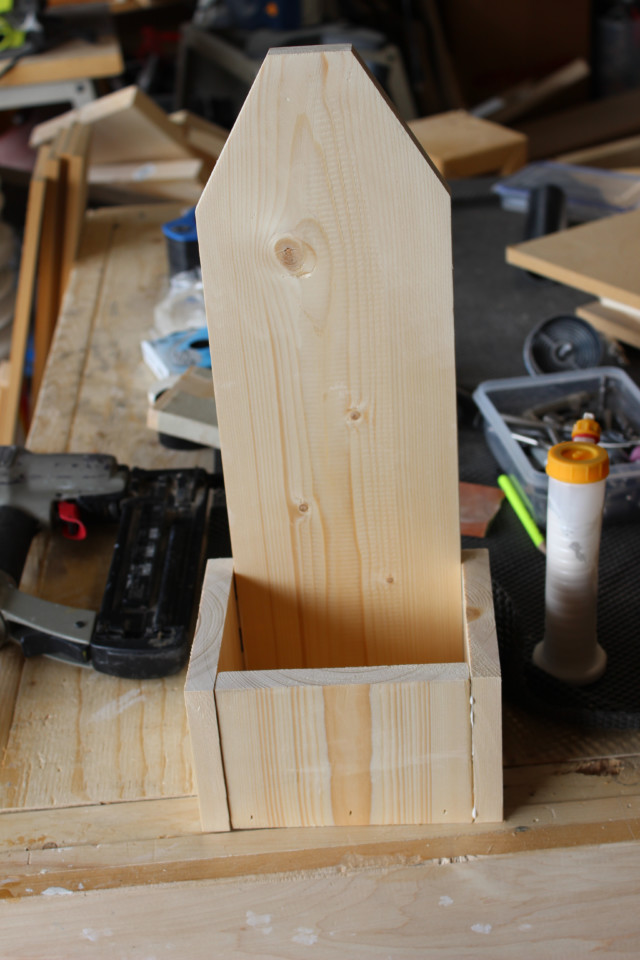
For a little bit of a special look, you can trim the pack piece into a new shape. For ours, we cut off the top corners at a 30 degree angle, leaving 1 5/8″ straight across the top.


STEP 5
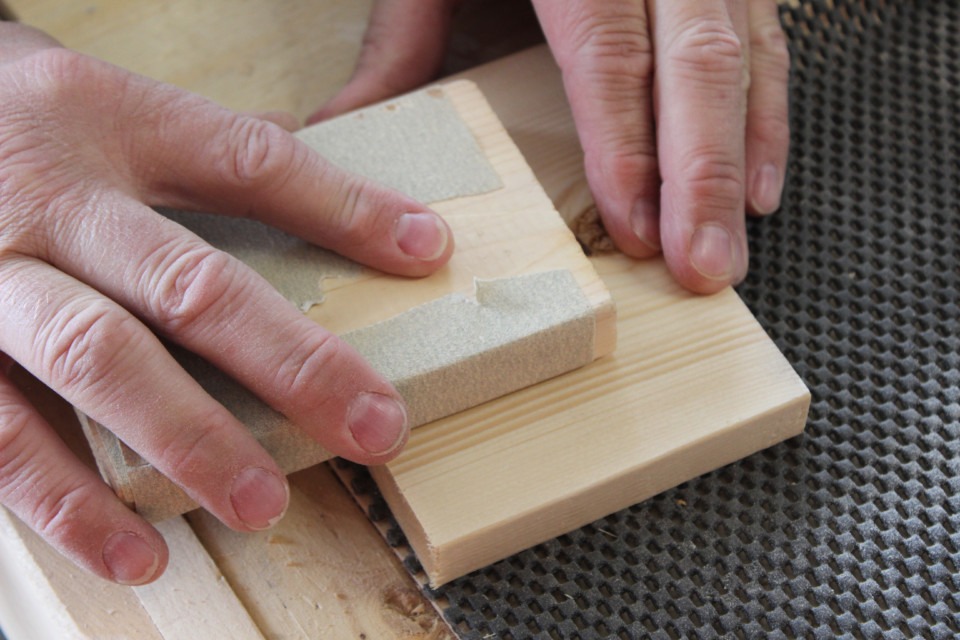
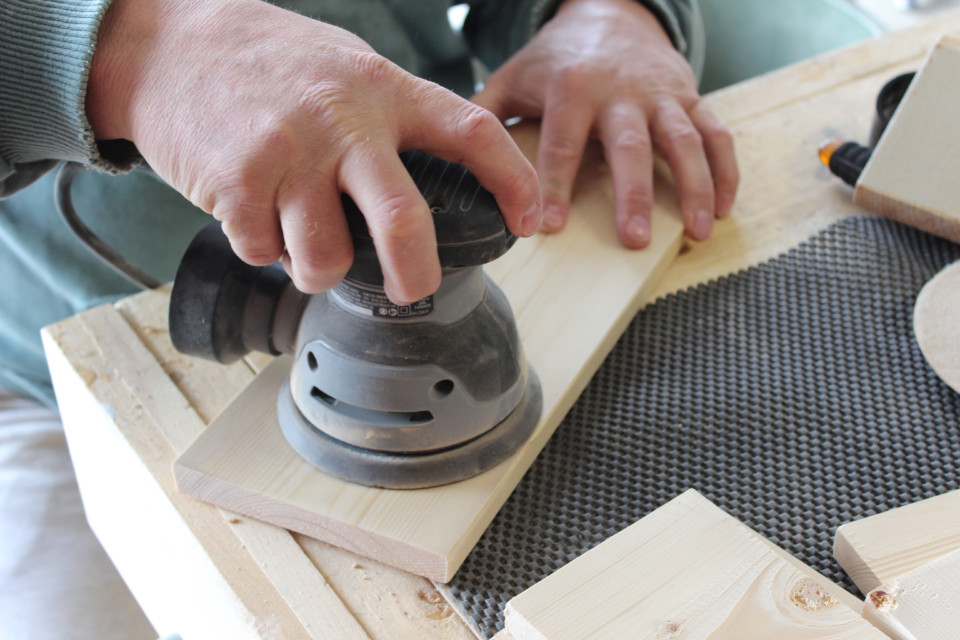
SANDING
Because this project is small, it’s easy to sand out the rough edges and splinters using sand paper, but you can also use a mechanical sander if you want. Before you sand, beware of splinters.
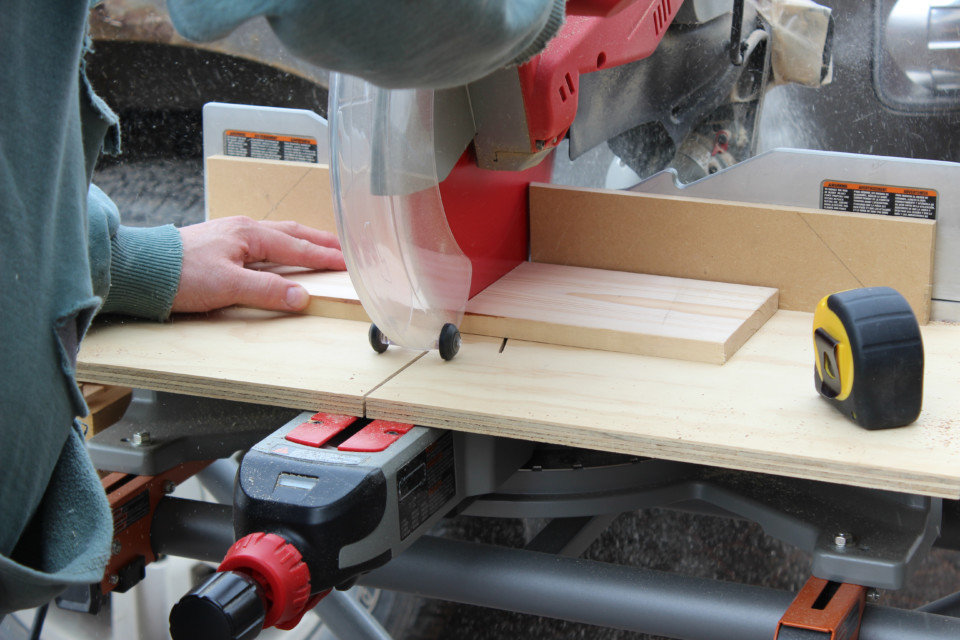
 All the pieces you will need!
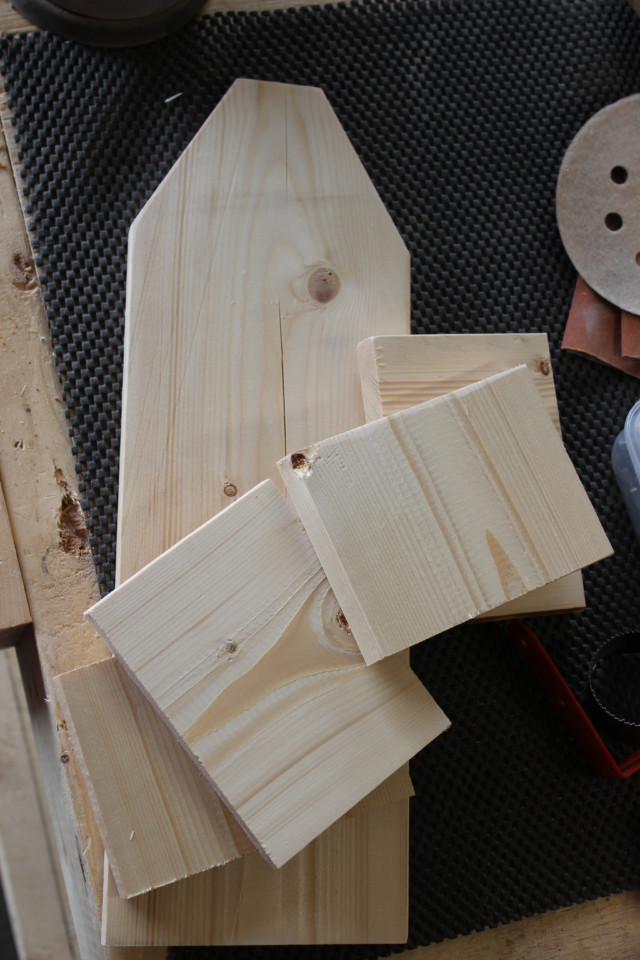
STEP 6
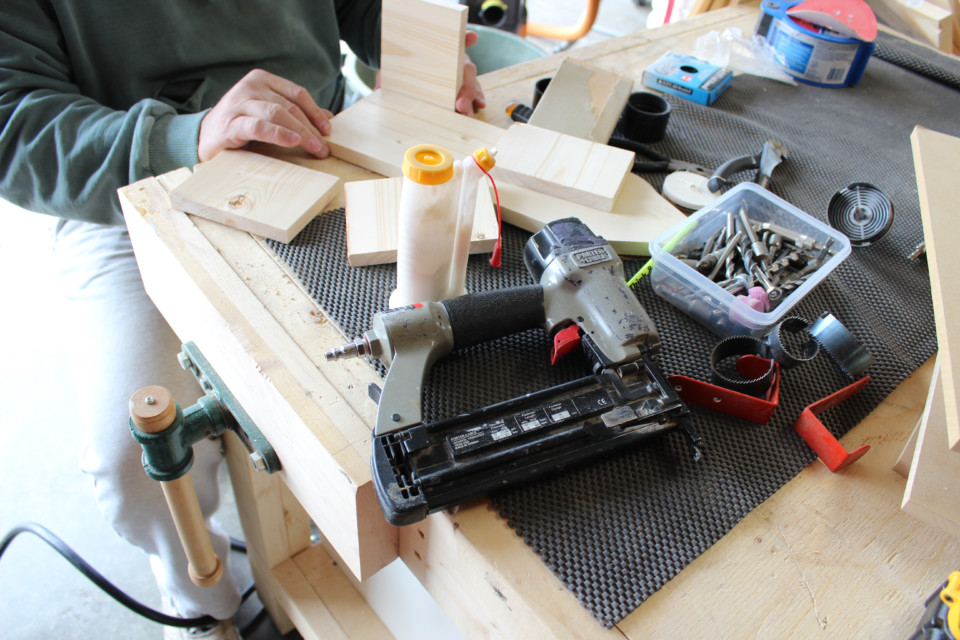
TIME TO ASSEMBLE
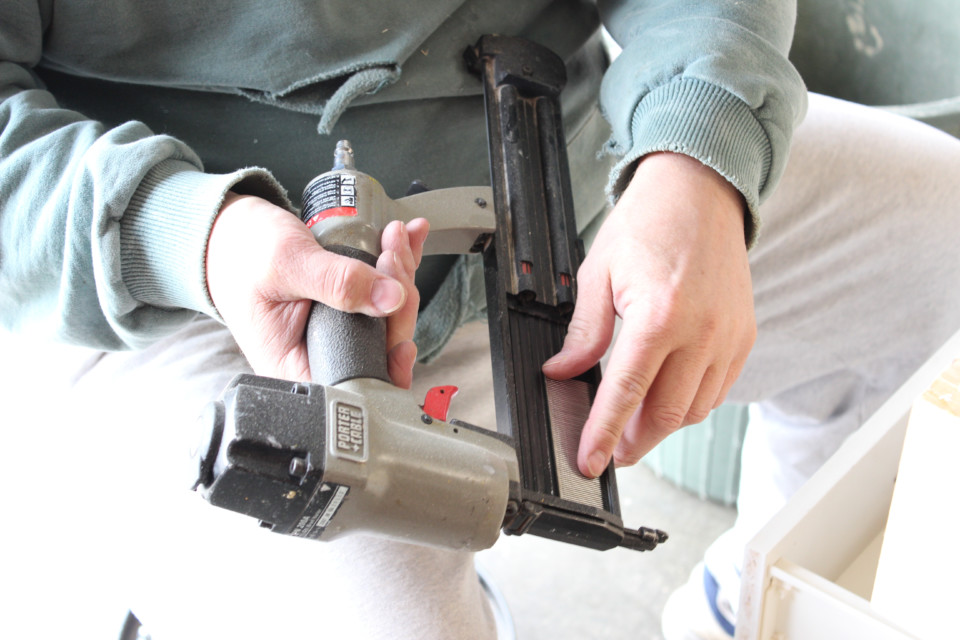
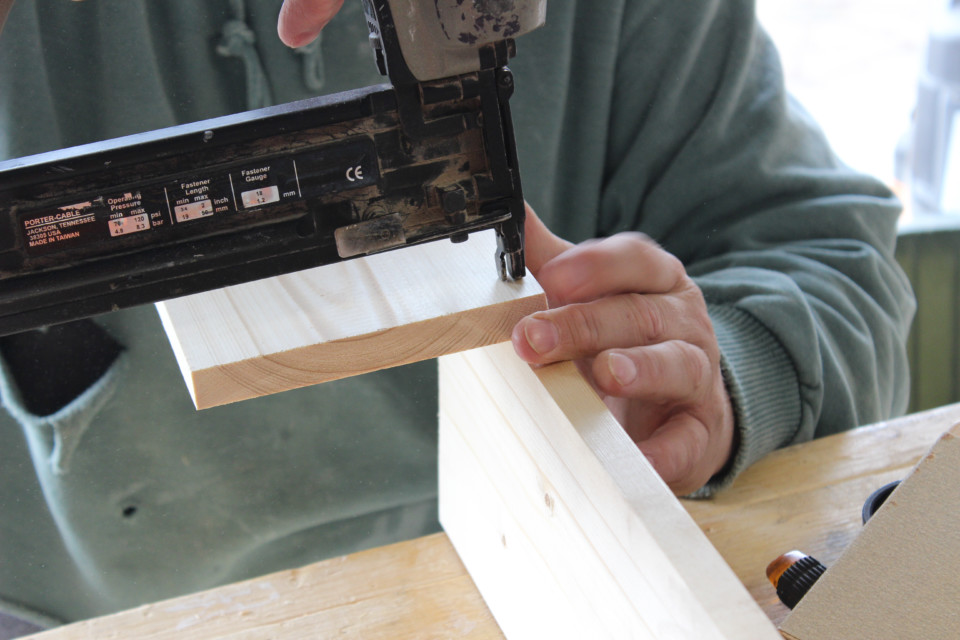
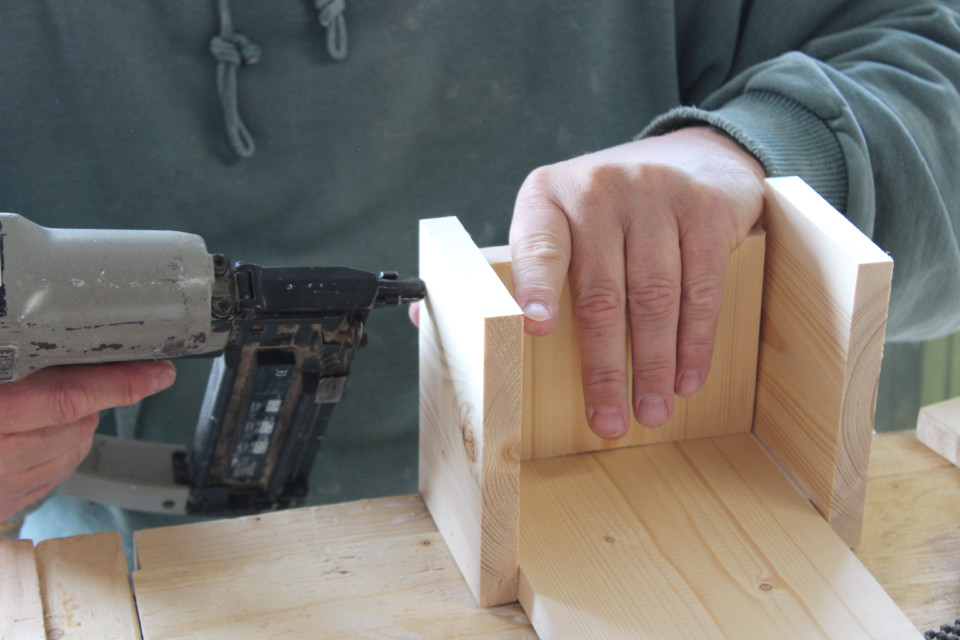
Choose brad nails to fit your nail gun by measuring them against the project. You want them to go all the way through the thickness of one piece and into the width of the other. 1.5″ or so should do it.
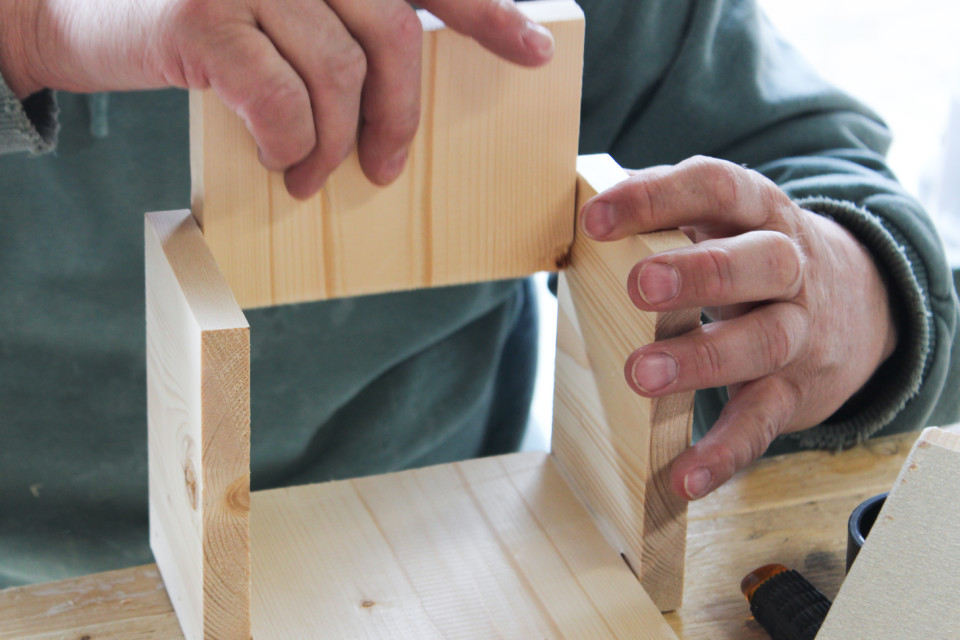
Using your wood glue and nail gun, attach the smaller pieces to the back. We started with the two sides.
We lined them up on the sides of the tall piece, making sure they were flush with the bottom and the back.
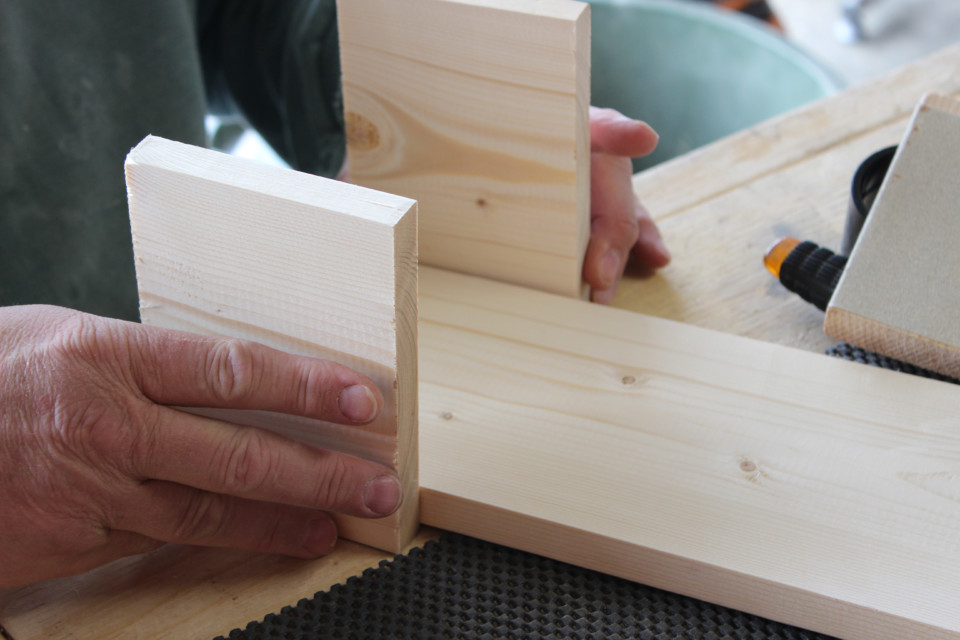
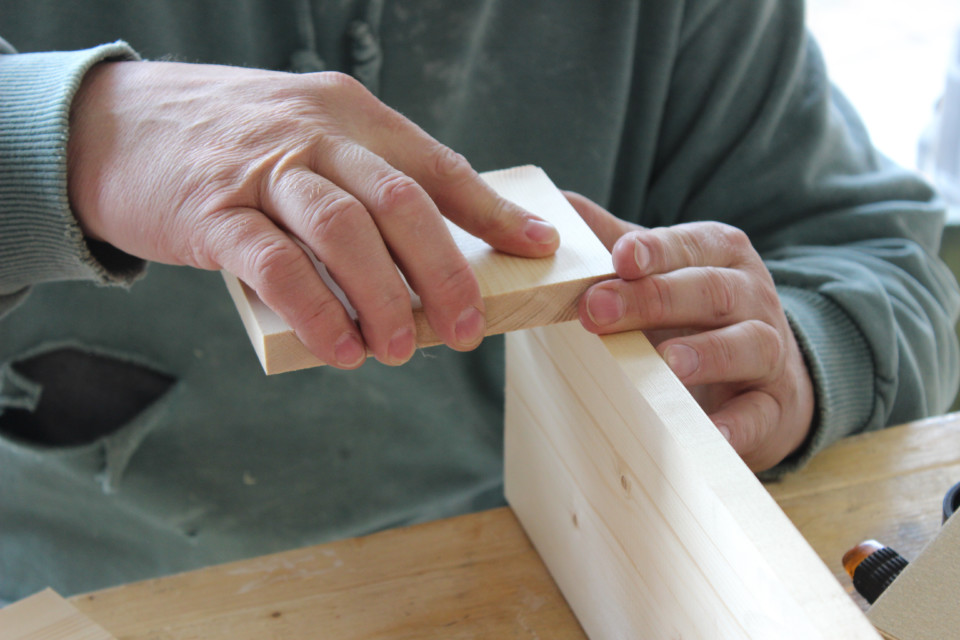
Repeat on the other side.
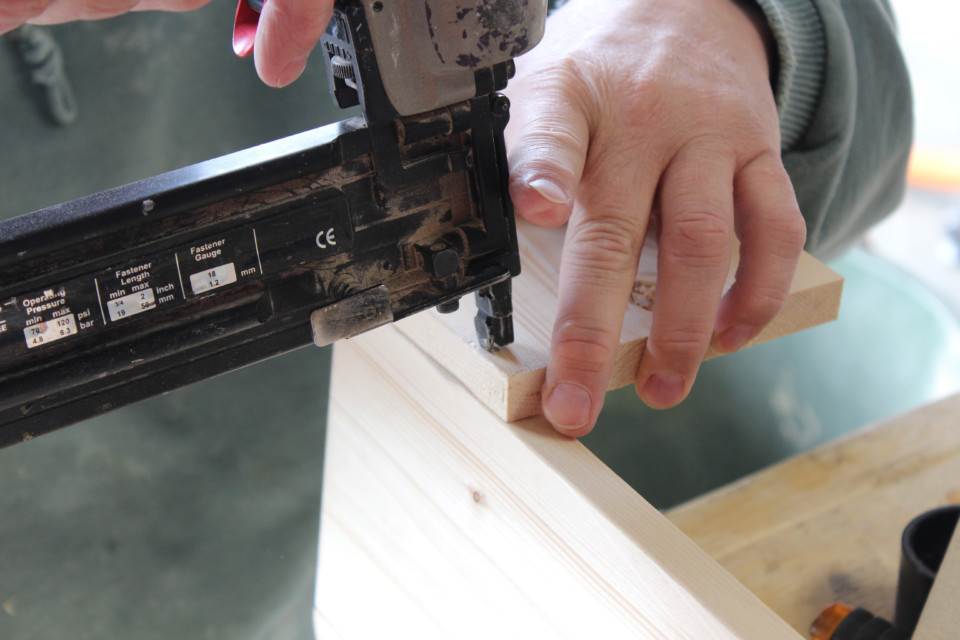
Next we put in the bottom piece – slid in between the side pieces and level with the bottoms. Glue and nail!
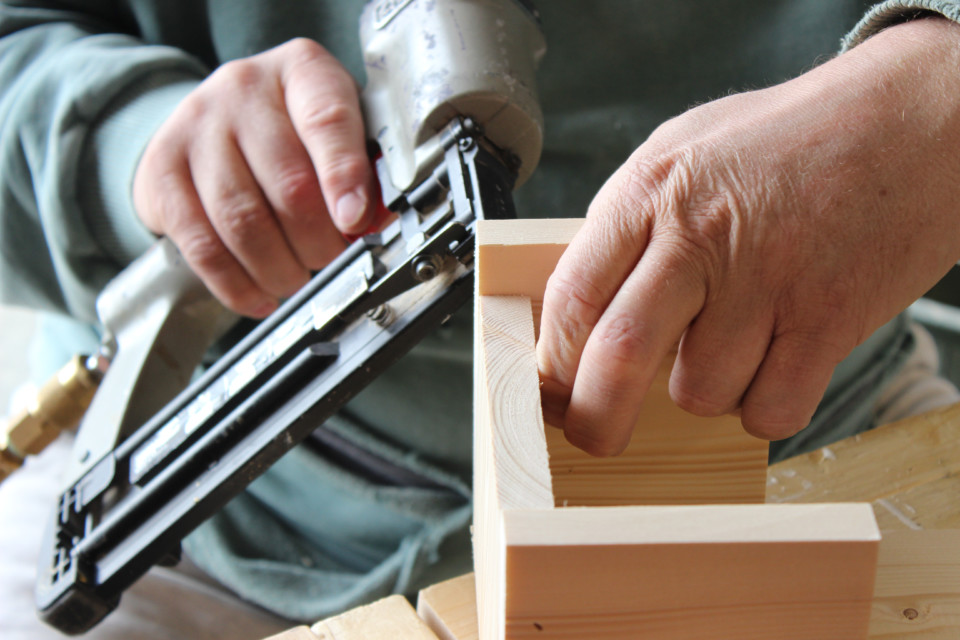
Then all you have to do is put the front face on and voila!
PART II – PAINTING
SUPPLIES NEEDED:
- The wood bottle opener you made in Part I
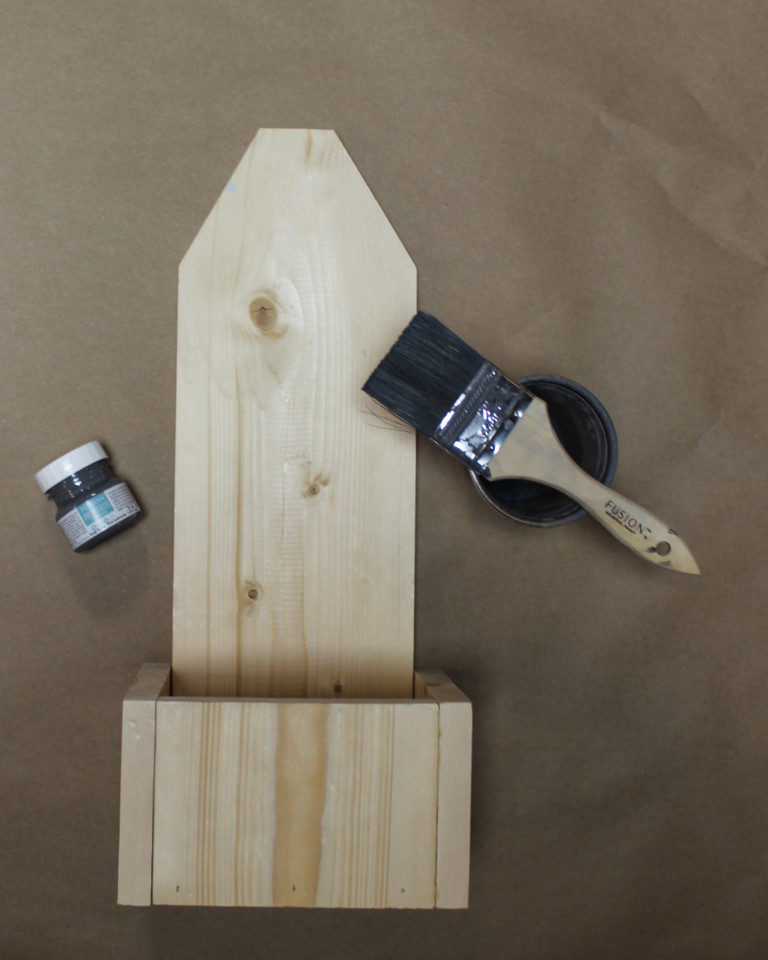
- Fusion Mineral Paint Tester (we used Soap Stone)
- Cup
- Paint brush
- Stir stick
- Water
- Wall mounted bottle opener
- Screws
- Impact drill
STEP 1
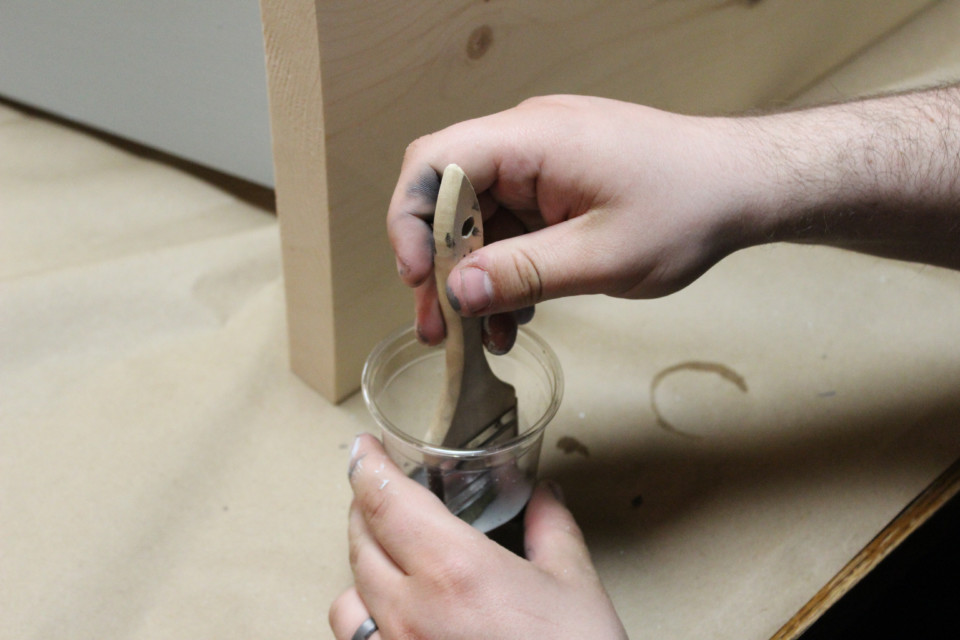
MIX A STAIN
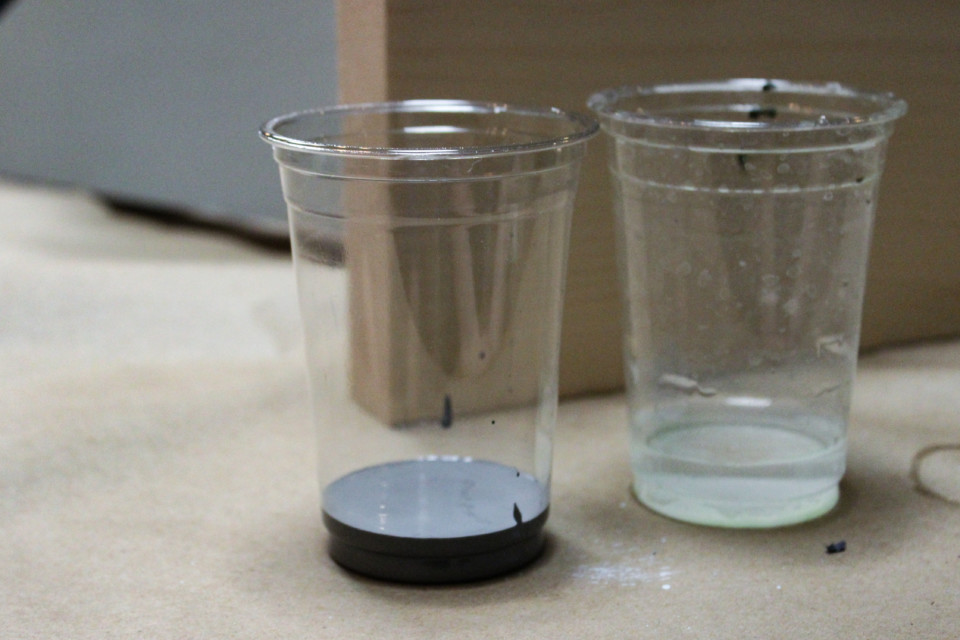
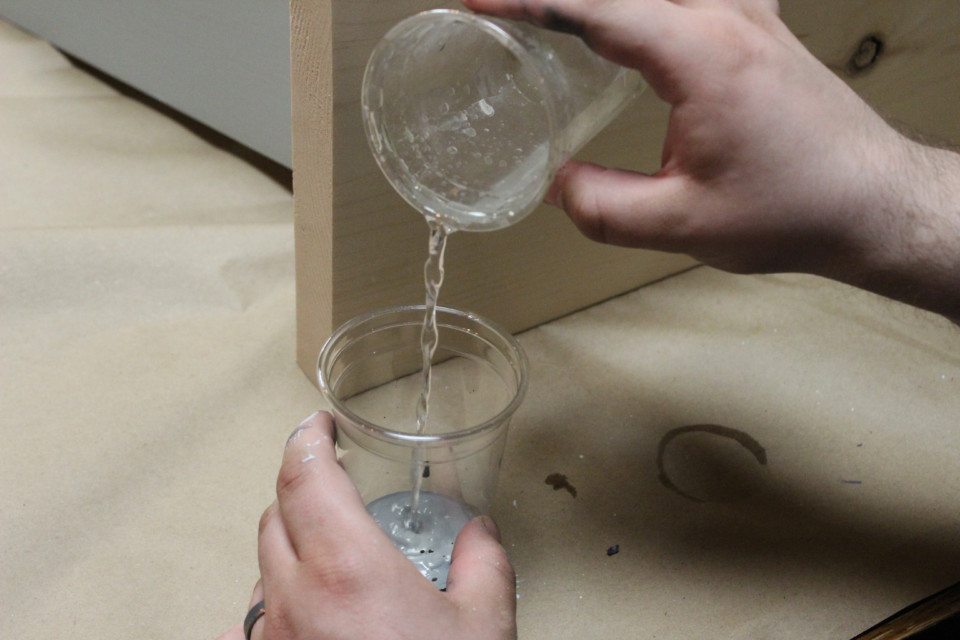
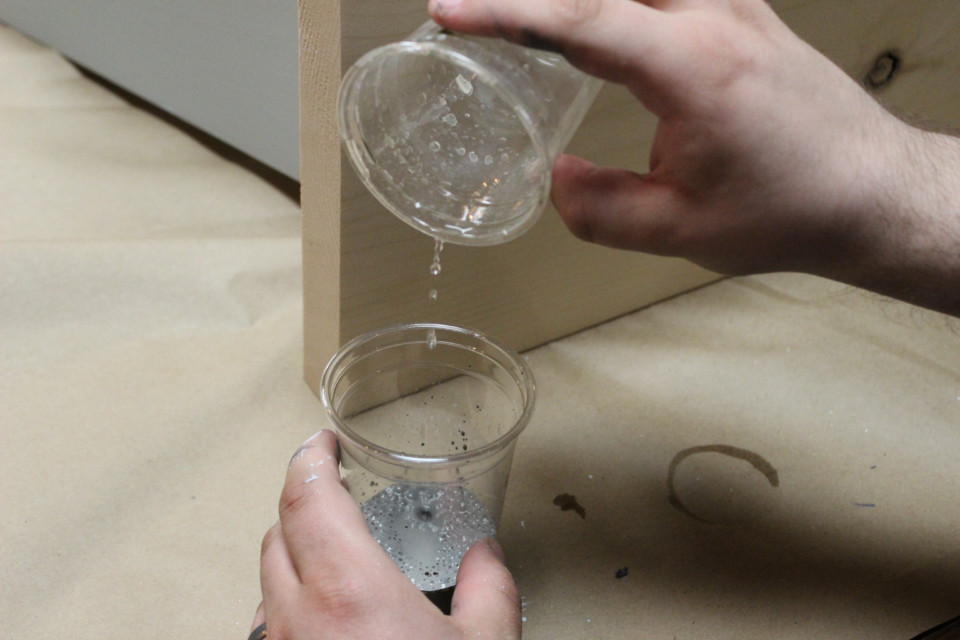
We had some leftover Soap Stone from another project, so for the mixing all you do is mix your tester of Fusion Mineral Paint and water. It’s that easy!
We used equal parts of each and the simplest way to measure this may be to pour the tester into your cup, then fill the tester with water and pour that in. We just eyeballed it.
And alas, we did not have a stir stick handy so we used a brush. Please note, we do not recommend this because it’s really difficult to get the paint out of the bristles when the brush is completely covered – it may ruin your brush!
STEP 2
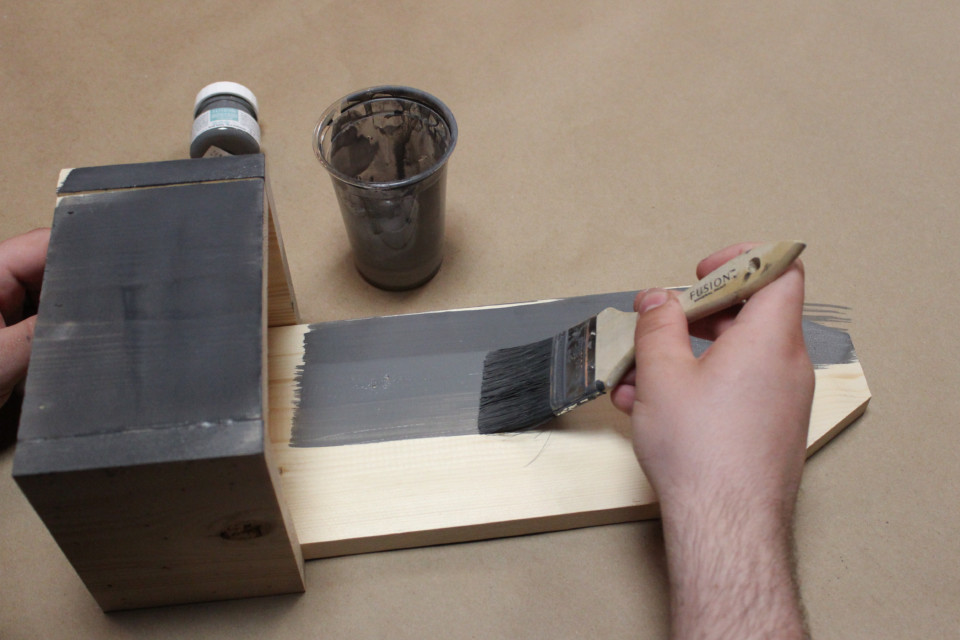
PAINT!
Applying Fusion Mineral Paint “Stain” is so easy. You won’t have any brush strokes! Just use a brush and apply.
The one thing to be aware of is that the color looks SO different when it’s wet! For example, Chocolate looks PURPLE! So if you’re really concerned about color, you may want to try some sample paint and water mixes on scrap wood to test the color “stain” before painting your project.
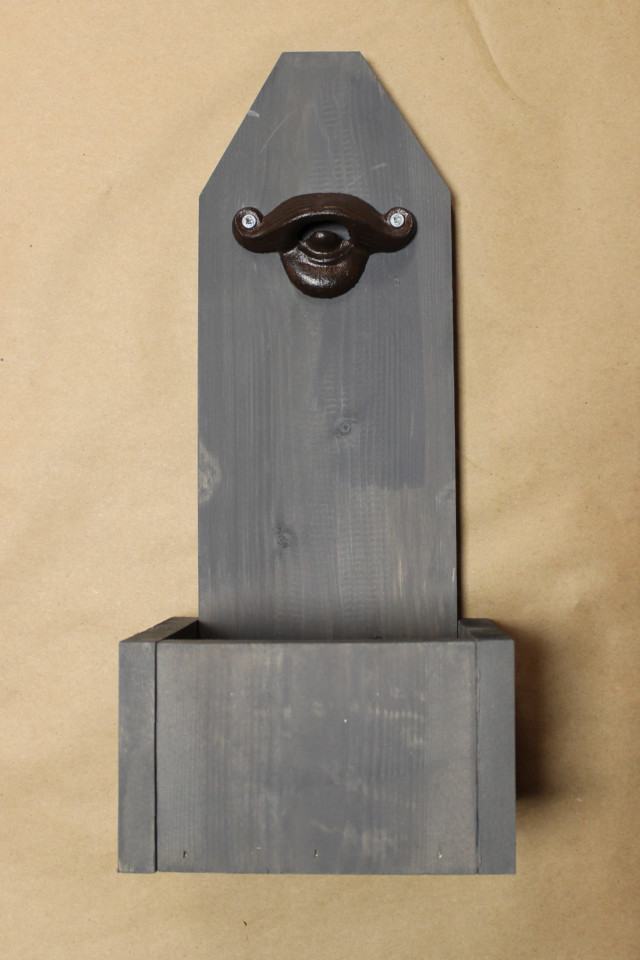
We painted every single surface of this bottle opener. The base is going to be catching sticky bottle caps so we’ll want to be able to wipe it out, and Fusion will help protect it a bit against the stickiness.
STEP 3
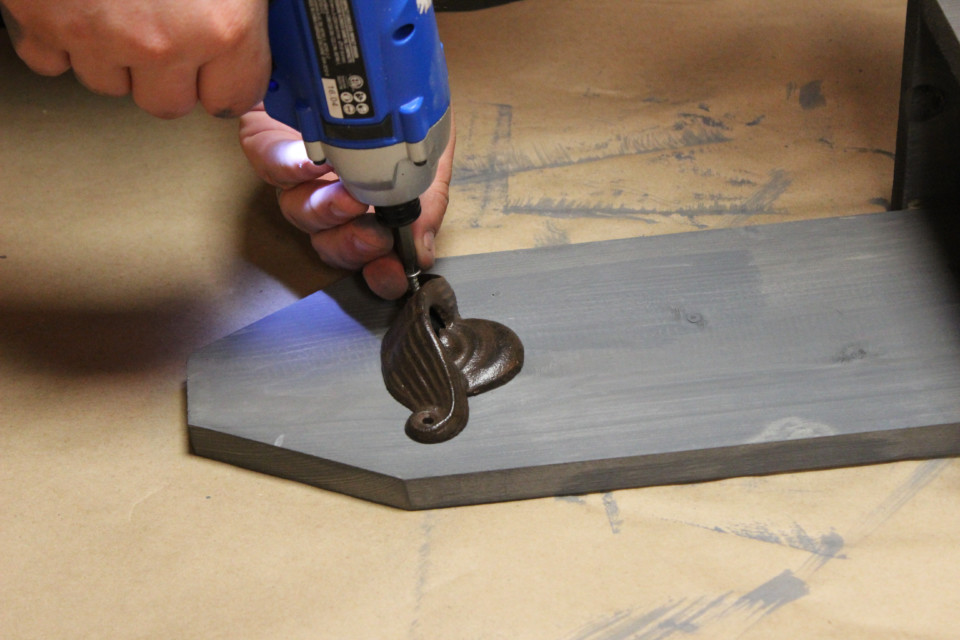
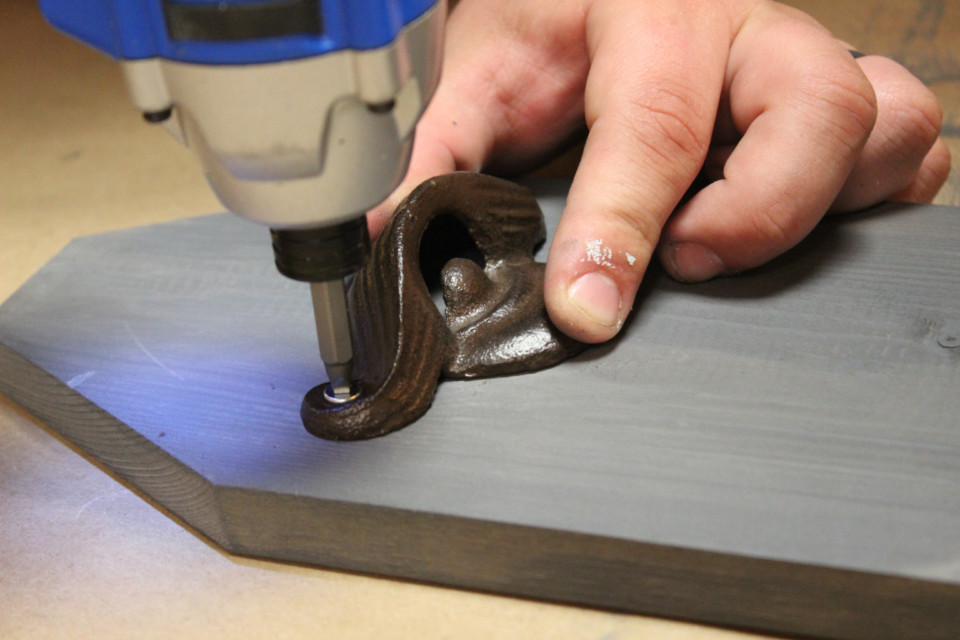
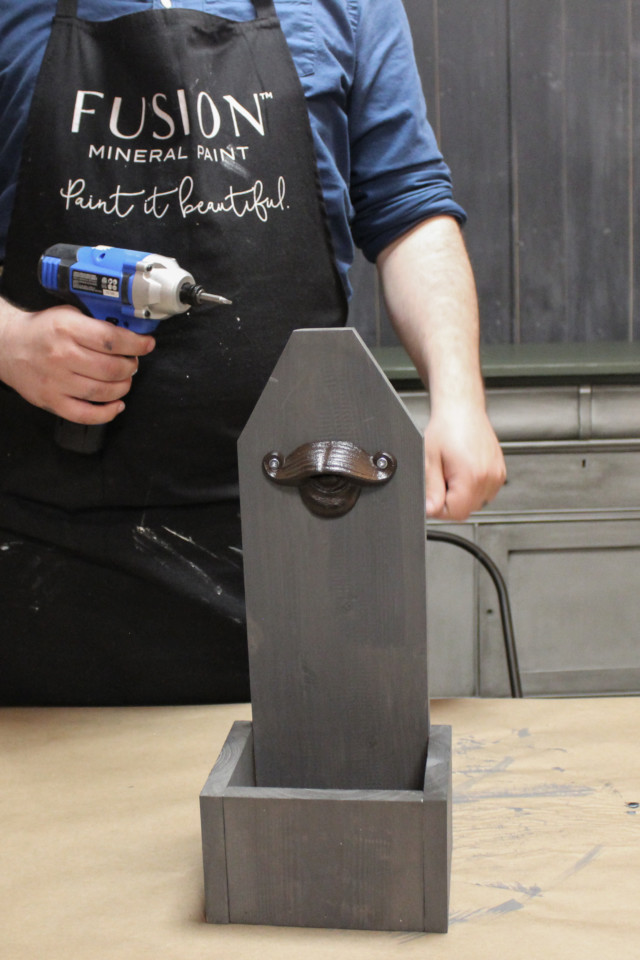
ATTACH BOTTLE OPENER
Ours is pretty cute. It’s shaped like a mustache! You can get all kinds of wall mounted bottle openers: vintage, modern, country, eccentric. Be sure to check with your local Fusion Merchant as they may have some at their store!
We placed our opener so that the screws would be just below where the angle is cut, but you can place it anywhere you see fit. Remember that your Dad (or anyone else who uses this) will want to be able to fit a bottle underneath. So don’t place it too low.
Then we screwed in our opener with an impact drill and it’s all done!
We hope you enjoyed this tutorial from Fusion Mineral Paint. We loved building our own project so let us know if you want to see more tutorials like this!
If you do make this project, don’t forget to share it with us in Paint it Beautiful and tag it on social using #FusionMineralPaint and #PaintItBeautiful.
Happy Father’s Day!