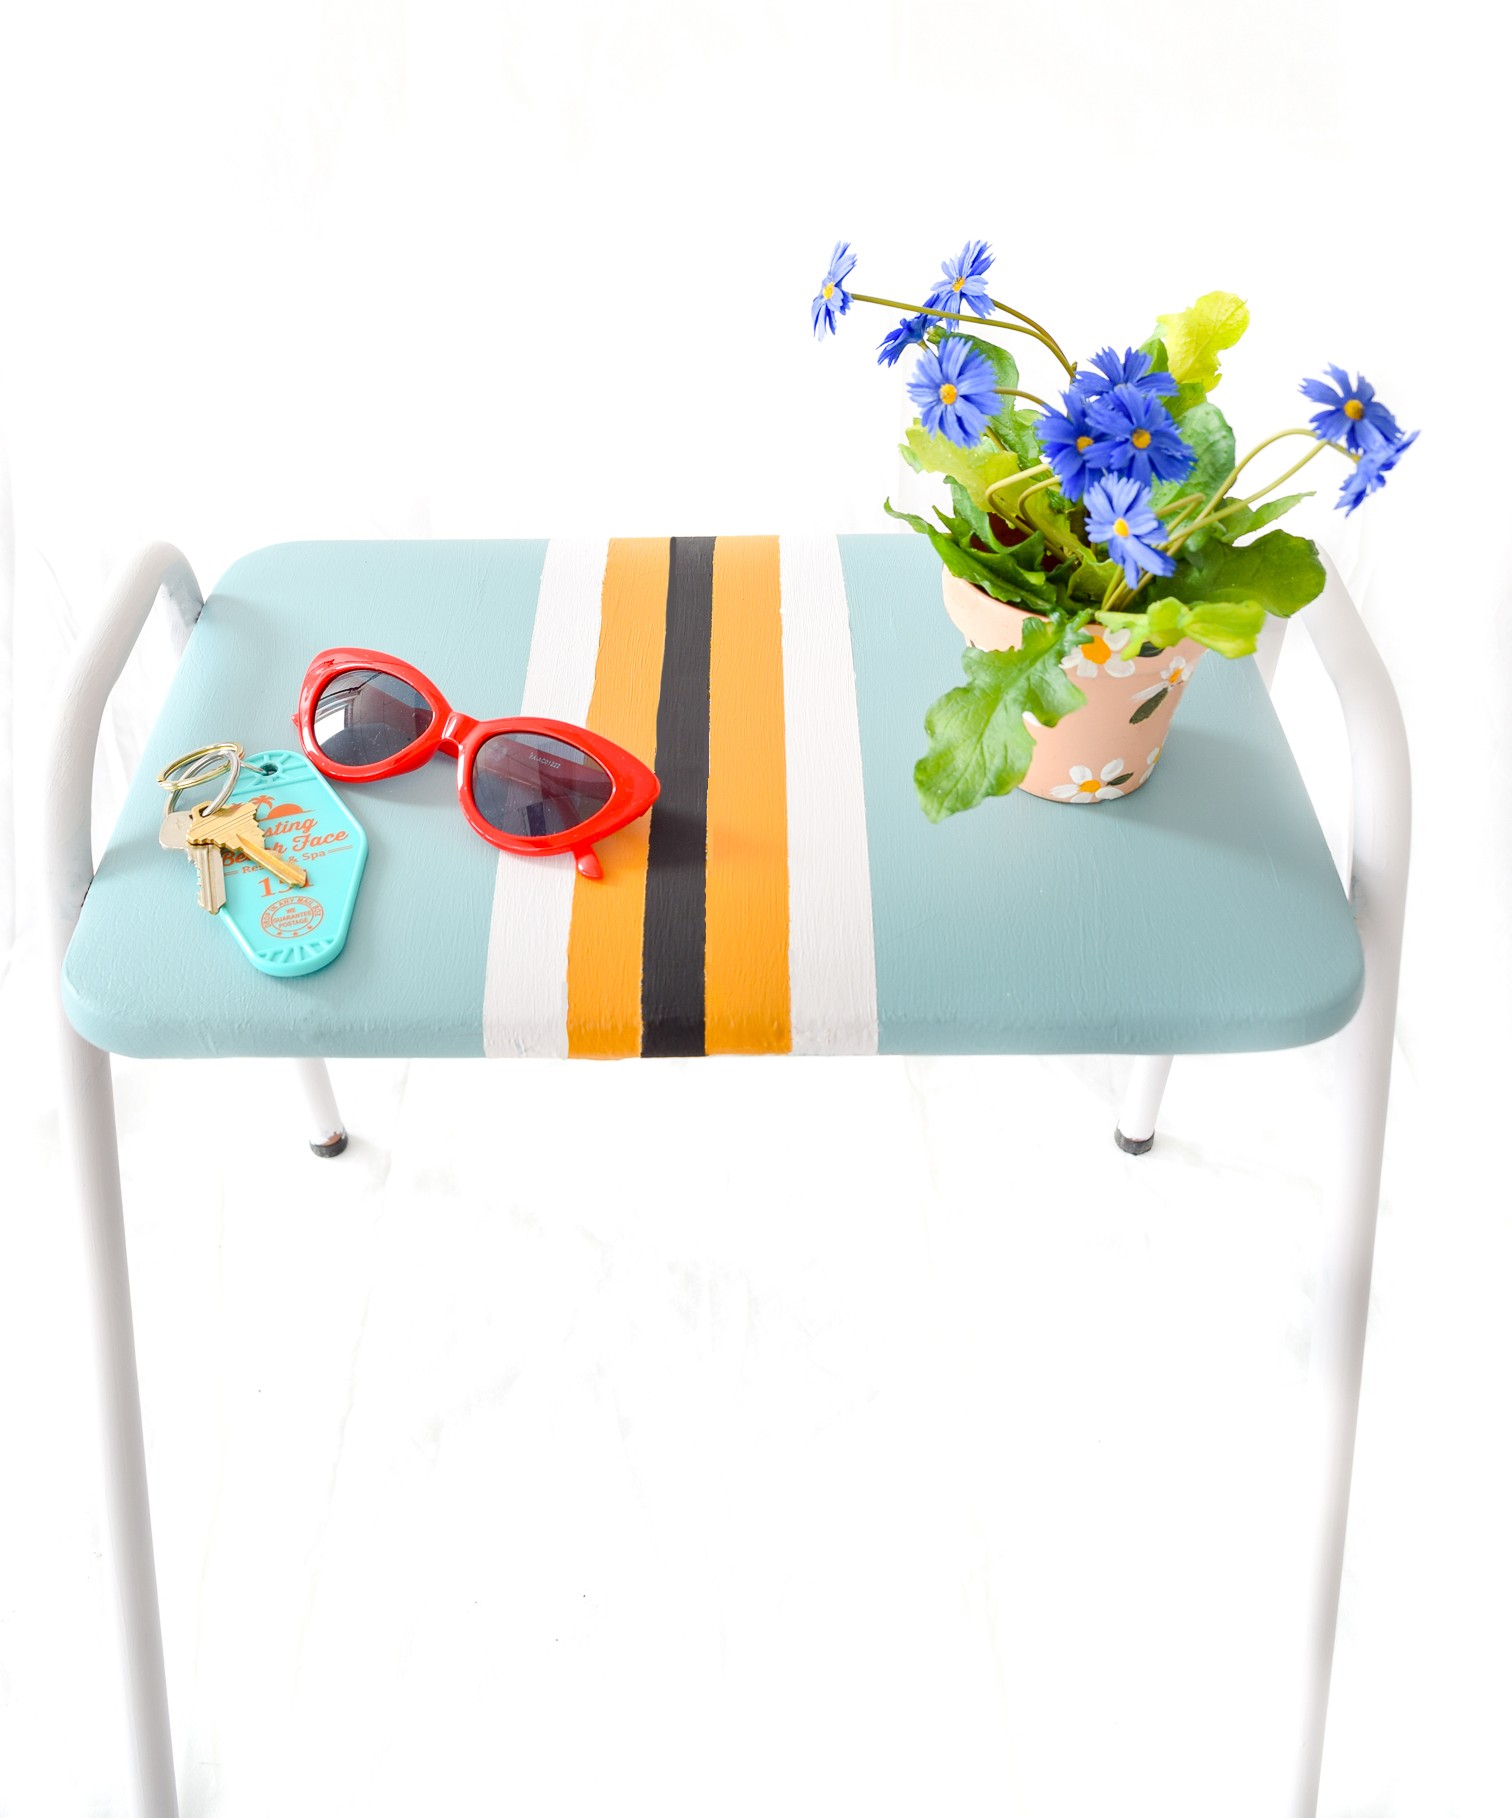
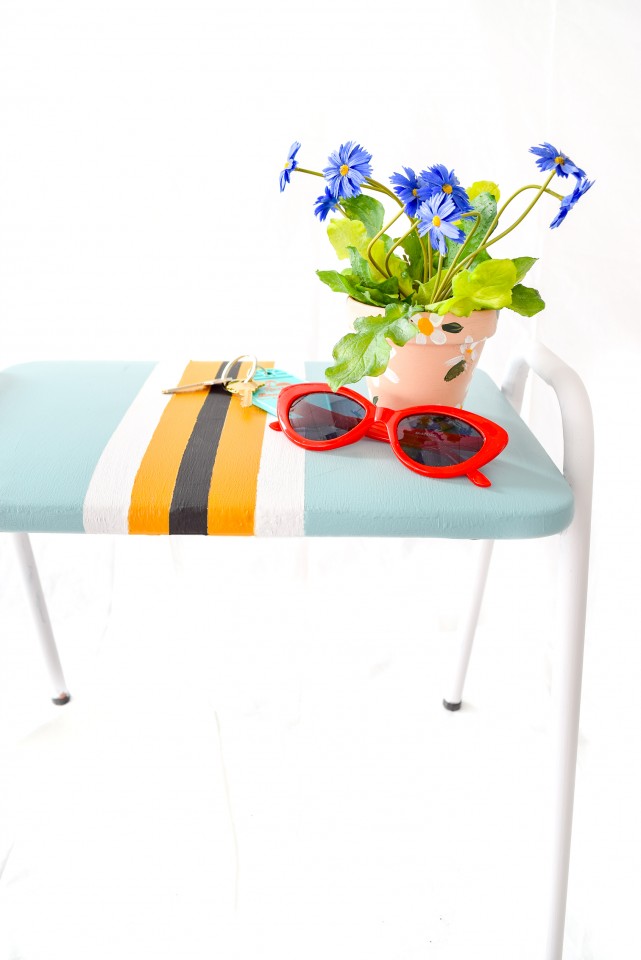
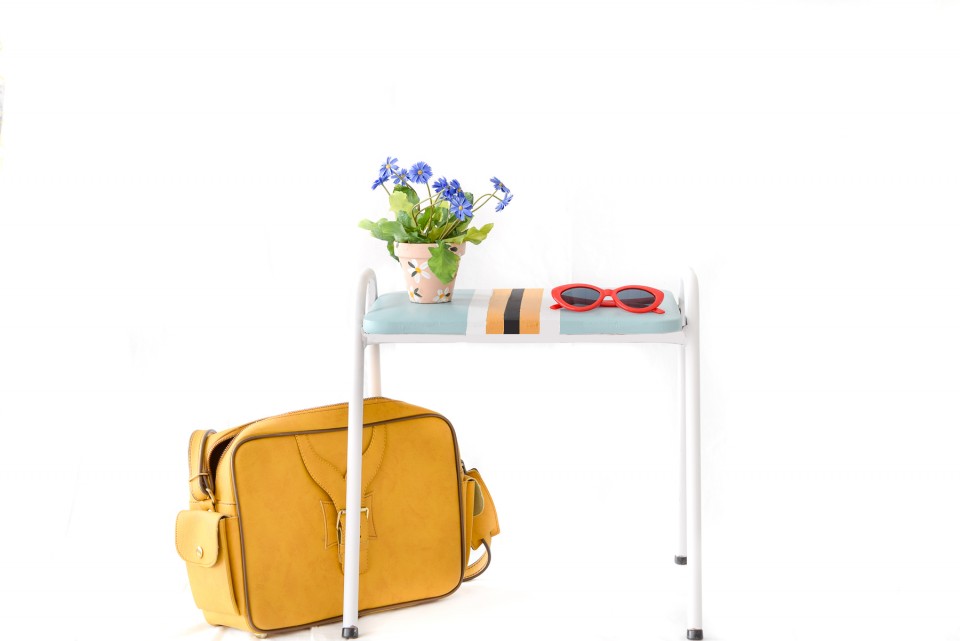
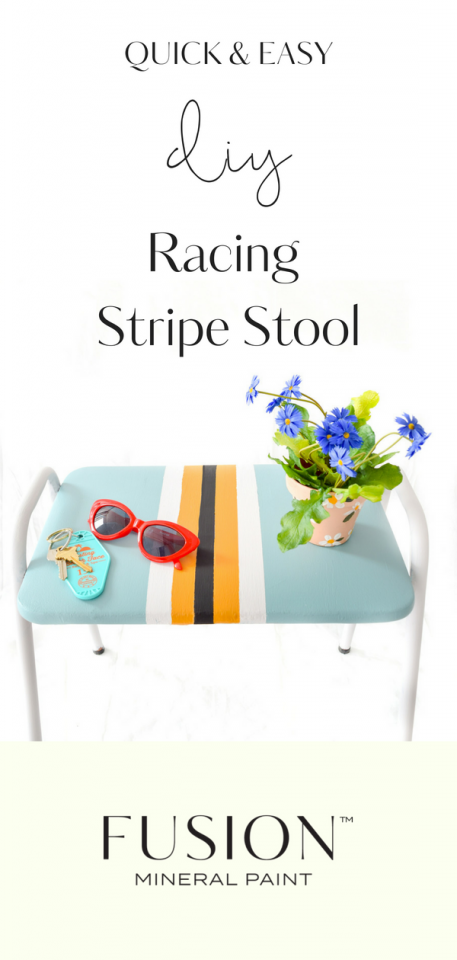
We have a really fun DIY for you today! You’ve seen these stools at the thrift store, by the dumpster, and on the curb. Don’t ignore another one! You can easily transform it from an inexpensive, outdated vinyl seat, to a chic entryway stool using some Fusion Mineral Paint. Today we are sharing a DIY Stripe Stool!
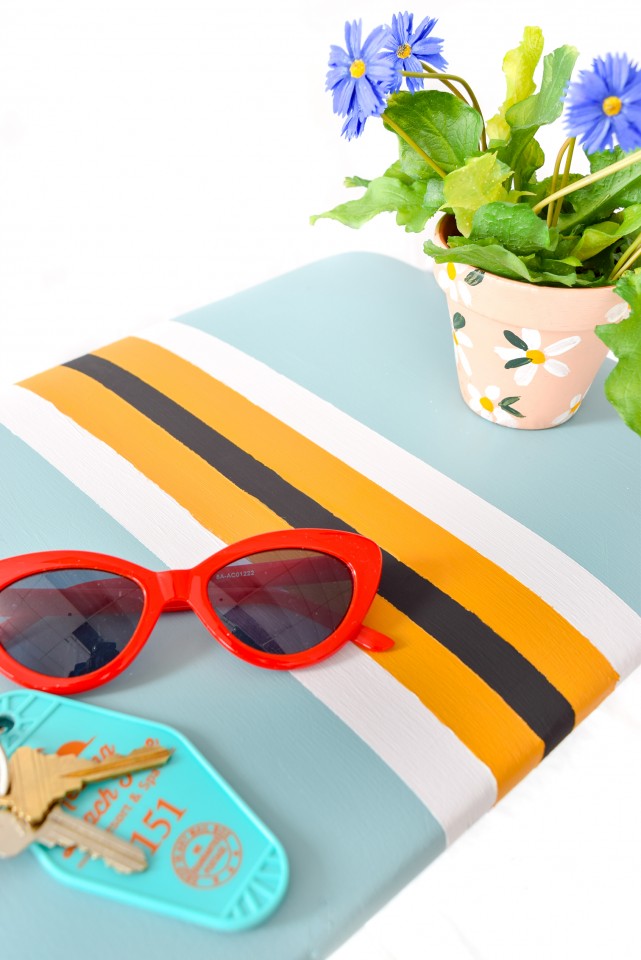
You ready? Let’s do this! This is such a simple DIY, you can do this in under an hour on a Saturday morning!
What you’ll need to make your DIY stripe stool:
- Fusion Mineral Paint in the colours of your choice we used Heirloom, Little Stork (discontinued), Mustard and Coal Black
- Painters tape
- Paint brushes
Step 1
As with all projects, start by cleaning and drying the piece before you start painting. We recommend a quick clean with almost all pieces to remove dust and minimal dirt. You can learn about more heavy duty prep here.
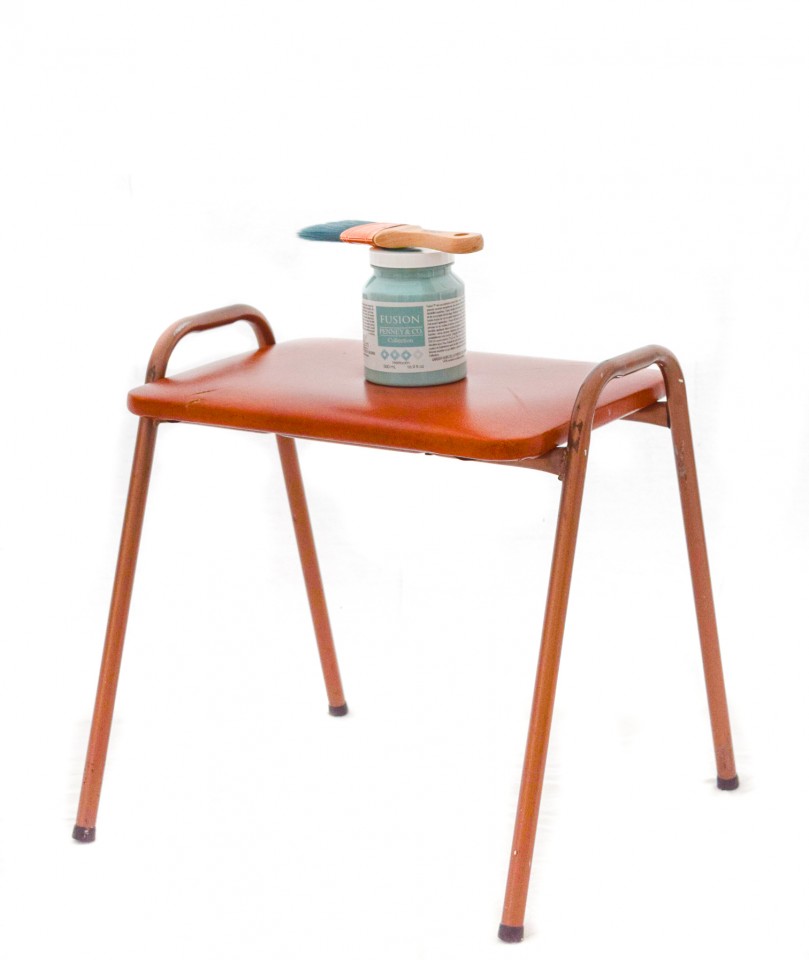
Step 2
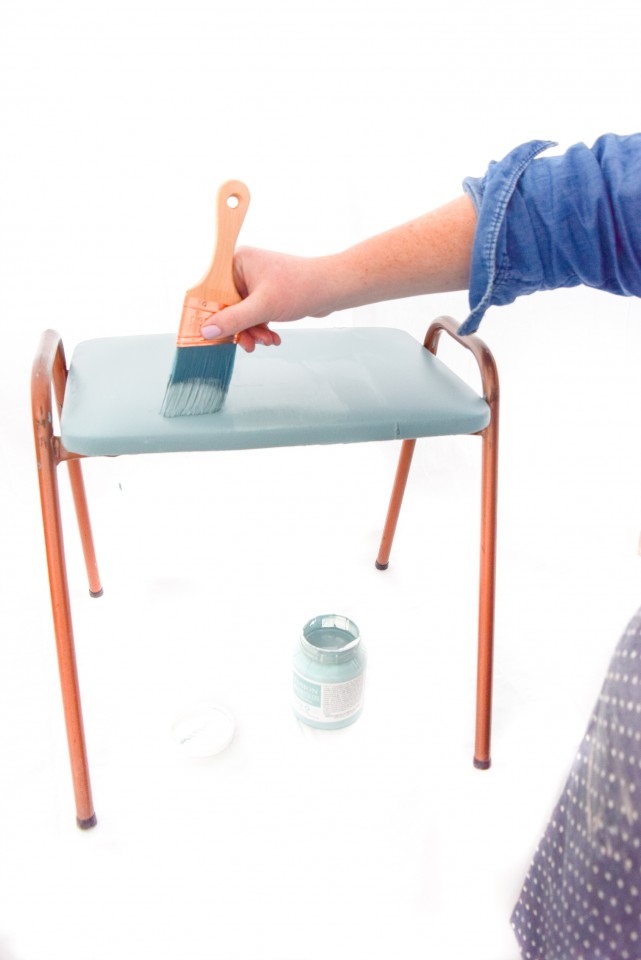
Using a thick brush and Fusion’s Heirloom blue, cover the entire seat in paint. It may take 2 coats, but the coverage is so good that you wouldn’t even know it needed a second coat.
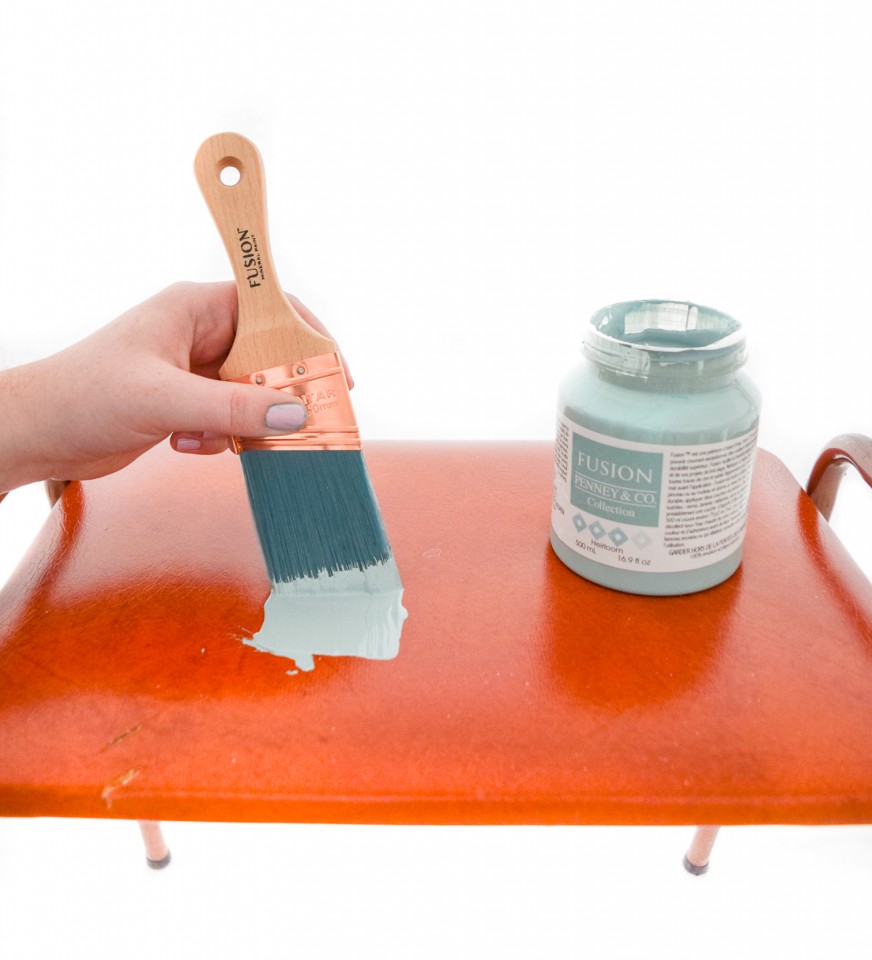
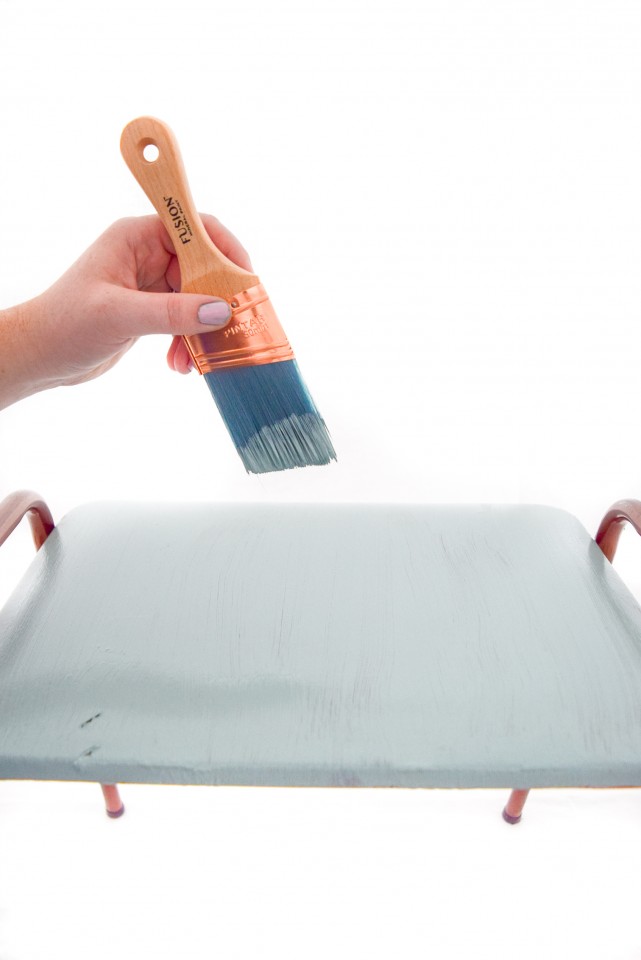
OPTIONAL: While the seat is drying, paint the frame. We used Stork from the Tones for Tots collection because it was a complimentary colour to the rest of the look we were going for.
Step 3
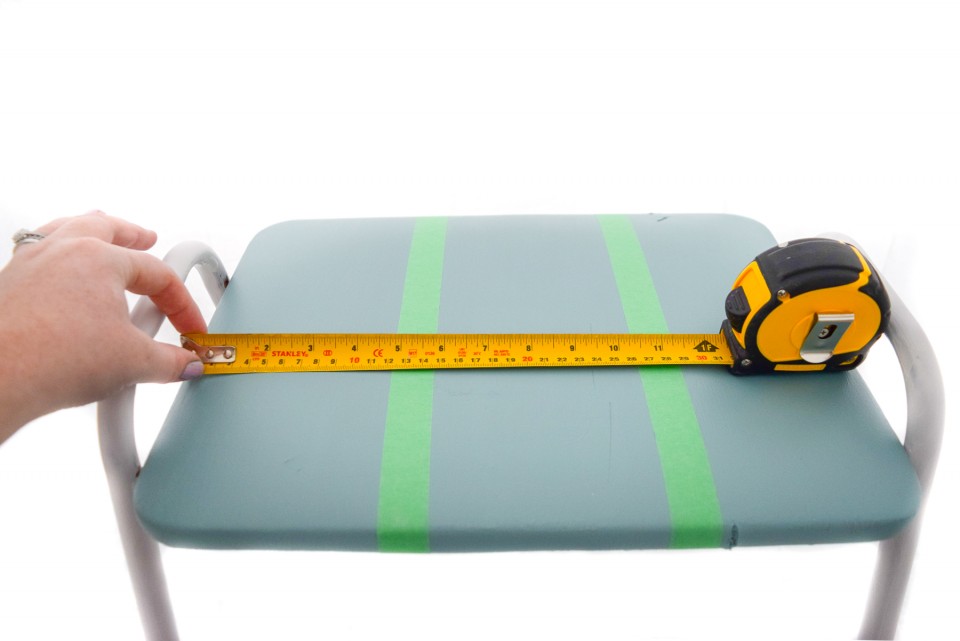
Once the seat is dry, using a tape measure, divide the seat into three equal parts.
Step 4
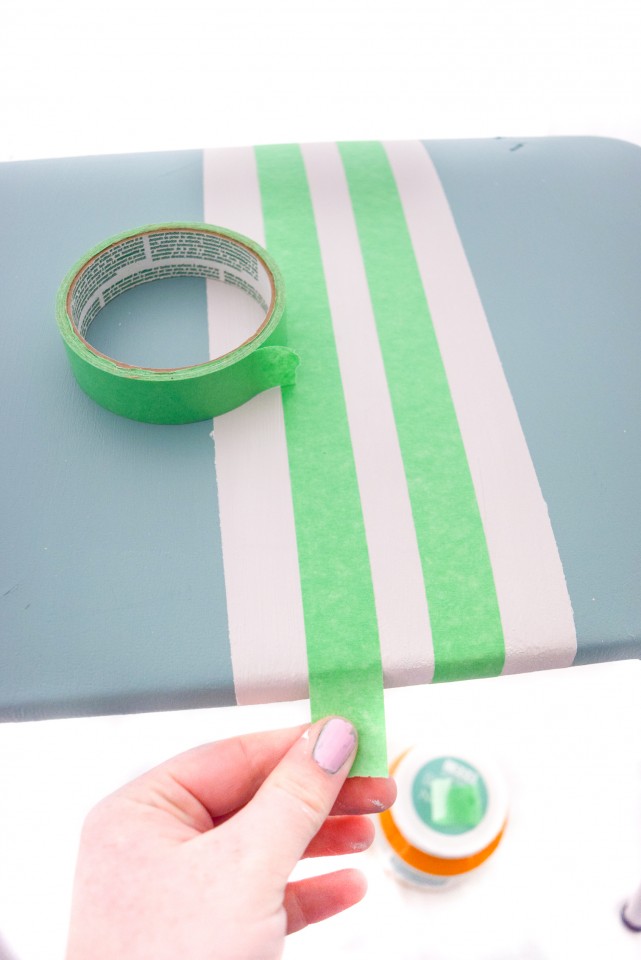
Tape off the three parts with two strips of painters tape down the middle. Then paint that middle portion using Little Stork.
Step 5
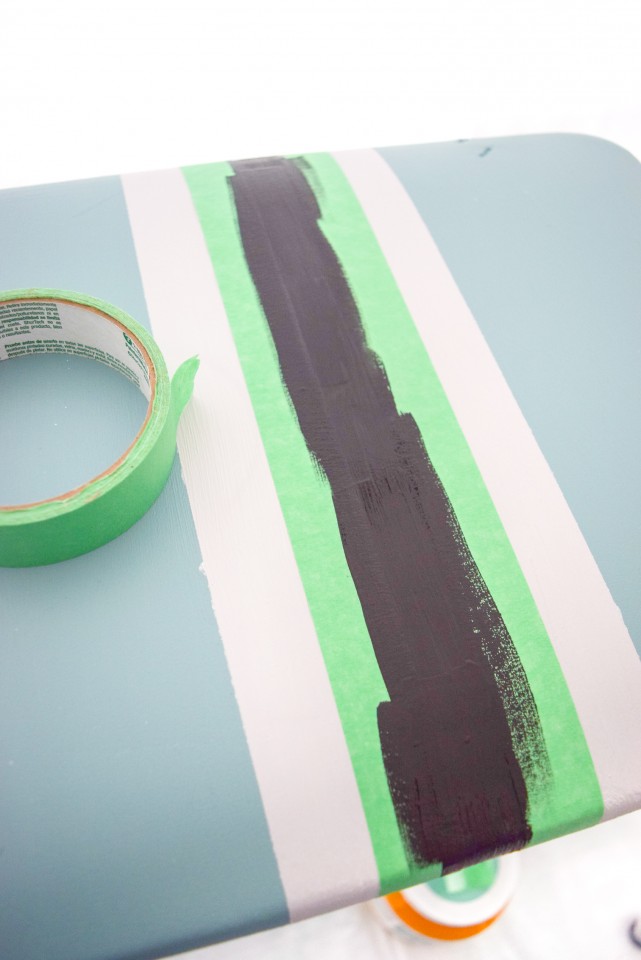
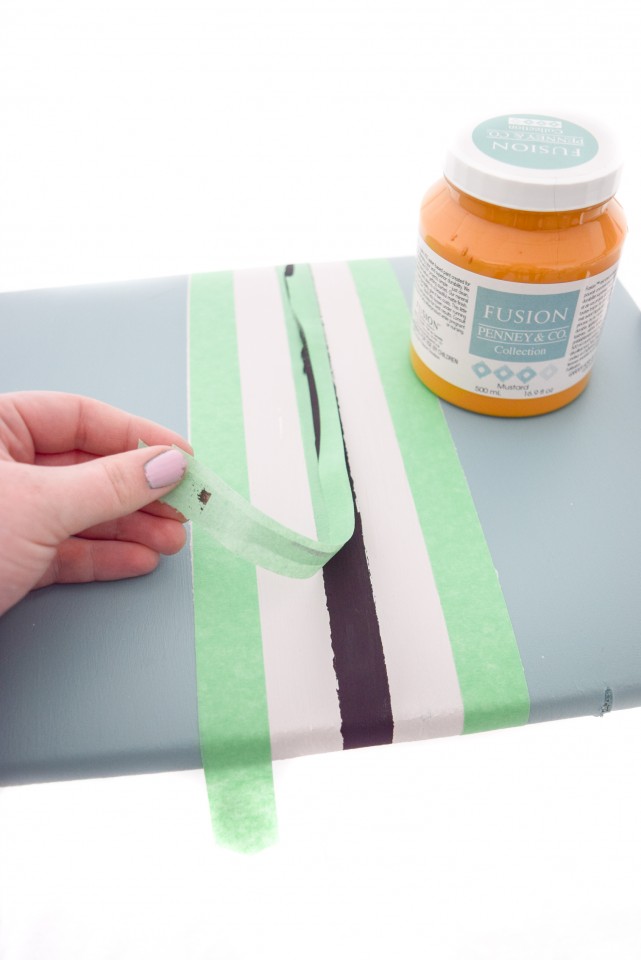
Once the Little Stork is dry, tape off a middle stripe down the center and paint it black using Coal Black.
Step 6
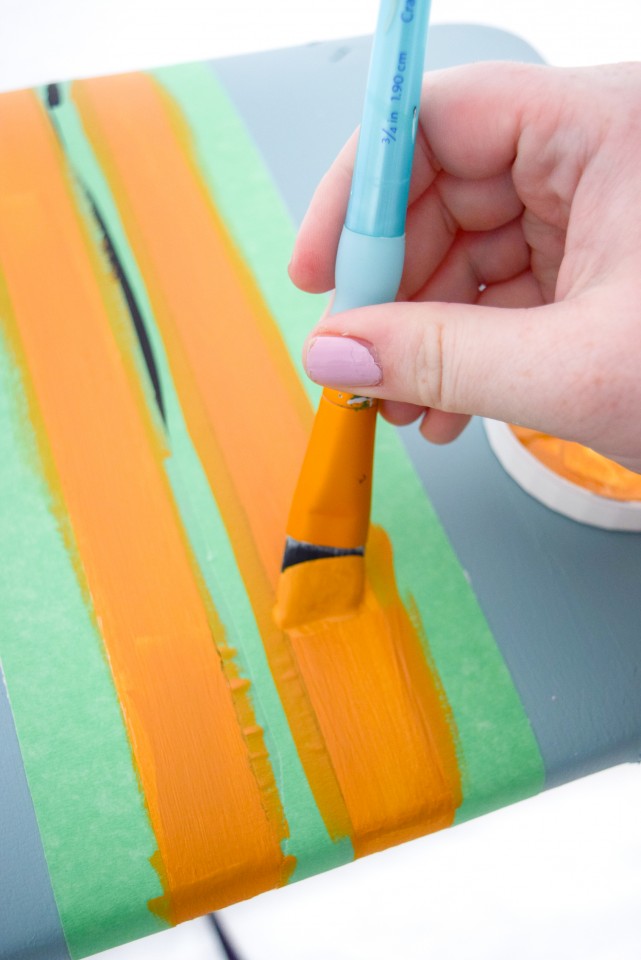
After that portion is dry, tape off two stripes on either side of the Coal Black stripe and use Mustard to add a final contrasting band.
Step 7
Let everything dry and then remove the last pieces of tape. Do any necessary touch-ups. Not all painters’ tapes are created equal so make sure to use a quality brand to achieve crisp lines. Then enjoy your new fun home decor piece! You can seal it with Fusion’s Tough Coat, but that’s entirely up to you. Read our blog post about “When to use a Top Coat” to help you decide.
Happy Painting Everyone!
Project and photos styled courtesy of Ariel G.
If you’ve ever completed a project using Fusion Mineral paint, share it with us in our Facebook Group – Paint it Beautiful.


