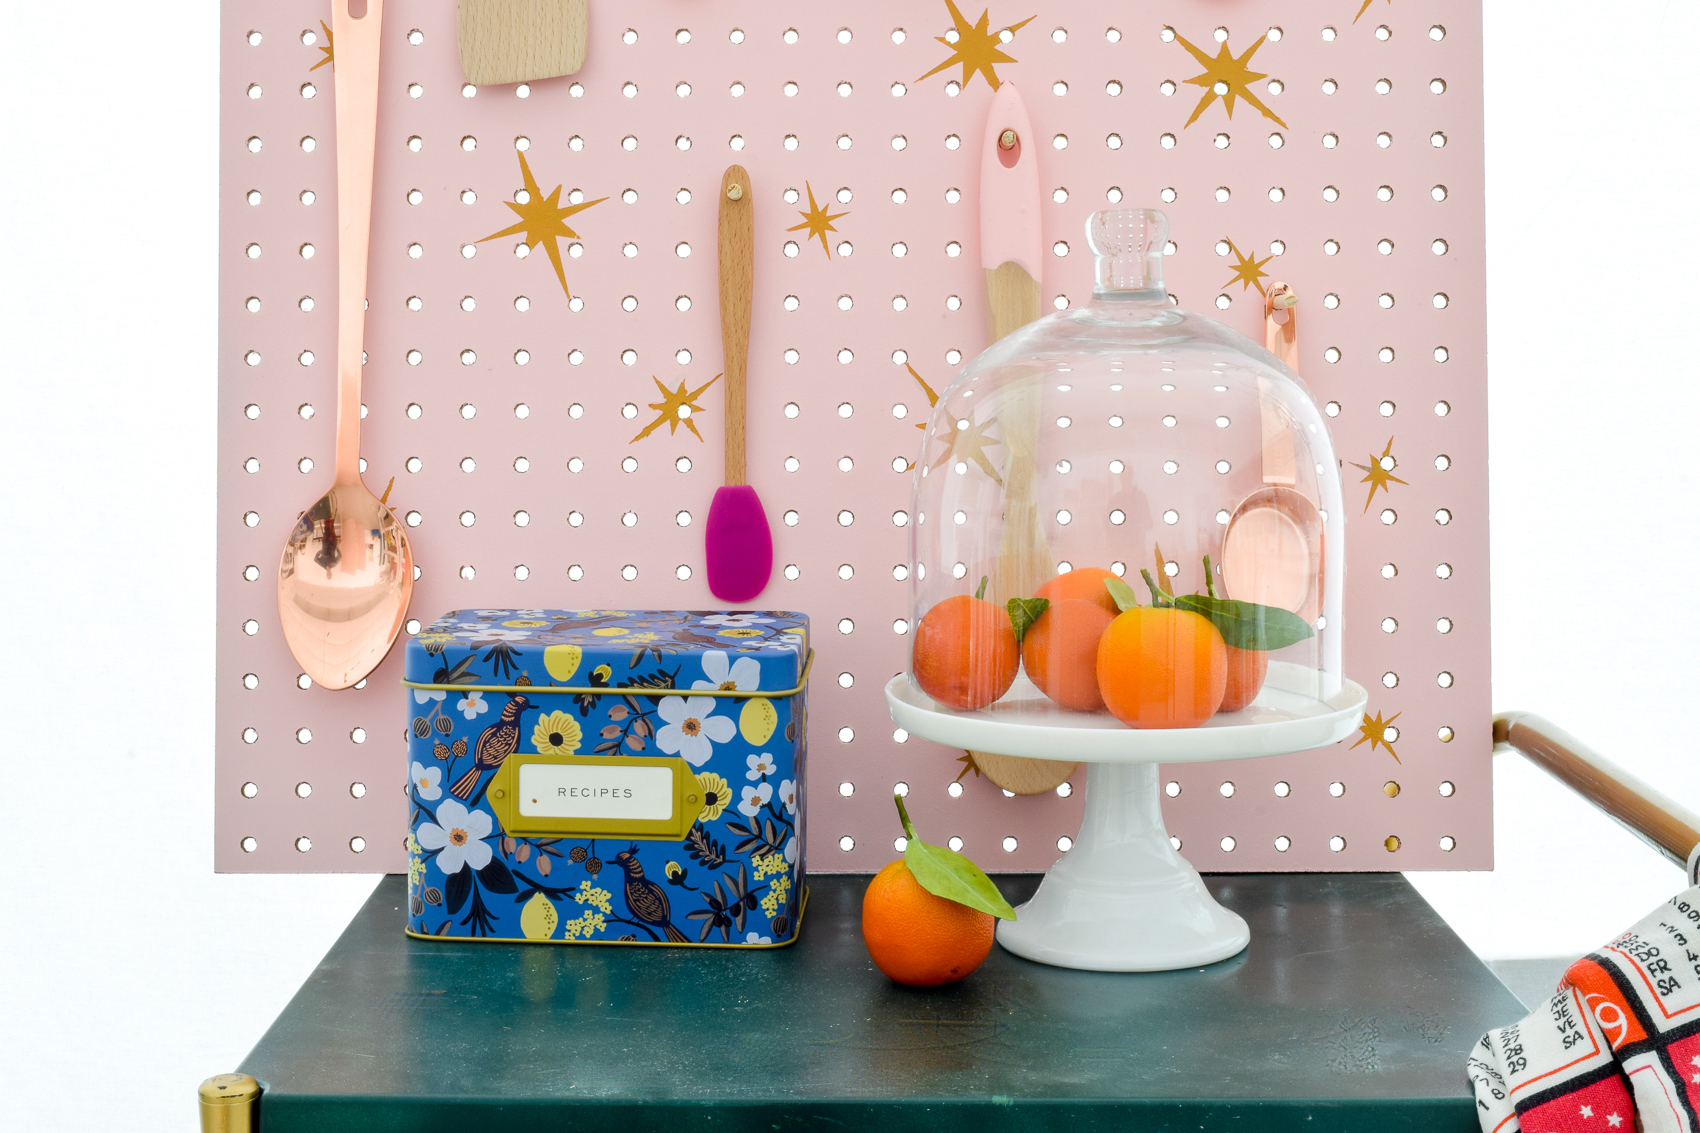
When you think of pegboards, you probably think of them as being in a garage, a place to hang your tools. Well, we wanted to think outside the box when it came to organizing and have a fun, colourful DIY for you today courtesy of Ariel G from PMQ for Two. She’s going to teach you how can create your own pegboard that you can personalize and use anywhere in your house. This colourful starburst pegboard was made for Ariel’s kitchen.
Supplies you will need for your Starburst Pegboard:
- Pegboard
- Fusion Mineral Paint in the colors of your choice (English Rose discontinued and Mustard were used for this project)
- Sponge paint brushes
- Roller brushes
- Wood dowels (and a small saw to cut them down to size OR purchase them in the length you need)
- Wood glue
- Starburst stencil or stencil of your choice
- Cans or other items to elevate your pegboard on while you paint it
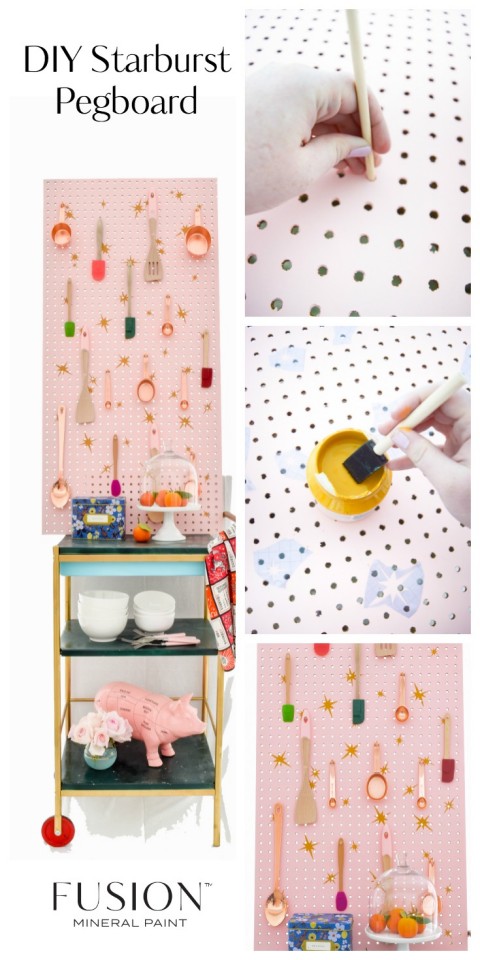
Step 1: Wipe down the side of the pegboard that you’re going to paint. You don’t want any dirt or random sawdust from the hardware store on there. Then, elevate your pegboard using cans of food. You want the paint to be able to run through the peg holes and not pool or form paint scabs. This is very important. So make sure to elevate your pegboard before you start.
Step 2: Using a paint roller, start applying your paint to the pegboard. Rolling it on will save you lots of time and leave no brush strokes.
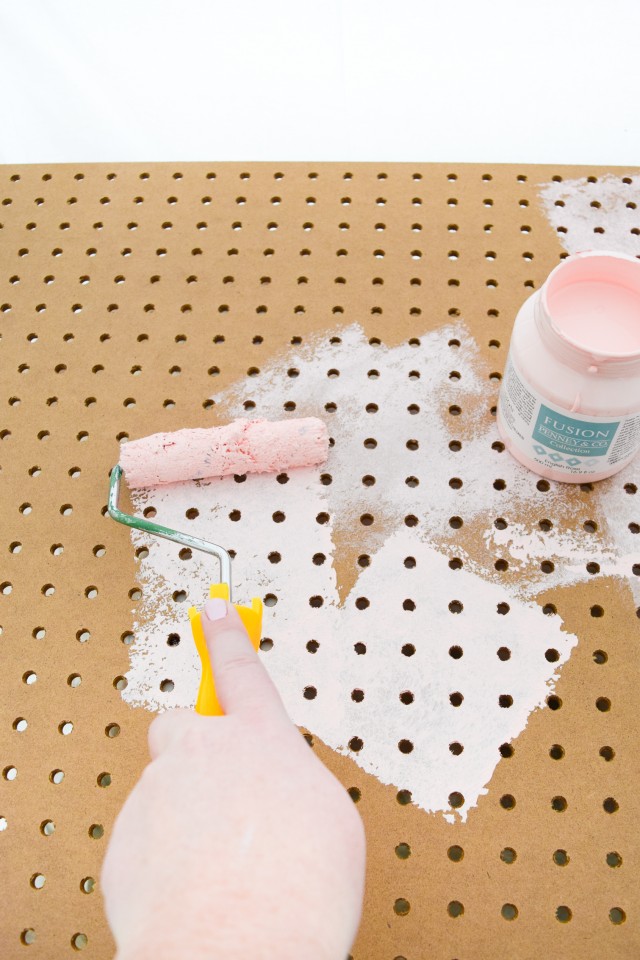
Step 3: It may take a few coats depending on which colour you use. I used Fusion English Rose (discontinued) and did 3 coats to ensure full and complete coverage. After applying my background colour, I let the pegboard dry overnight before moving on to the stencilling application.
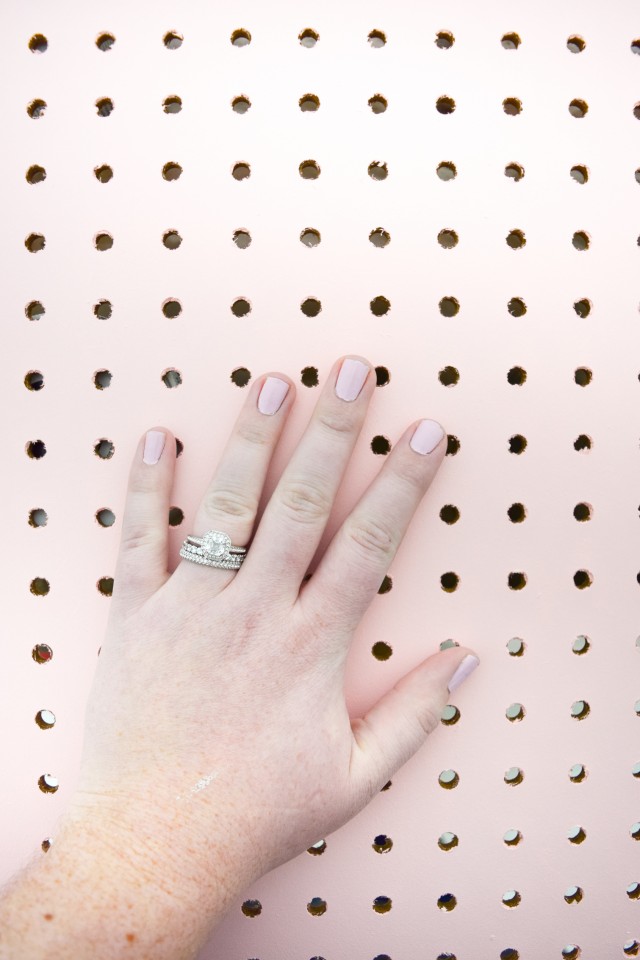
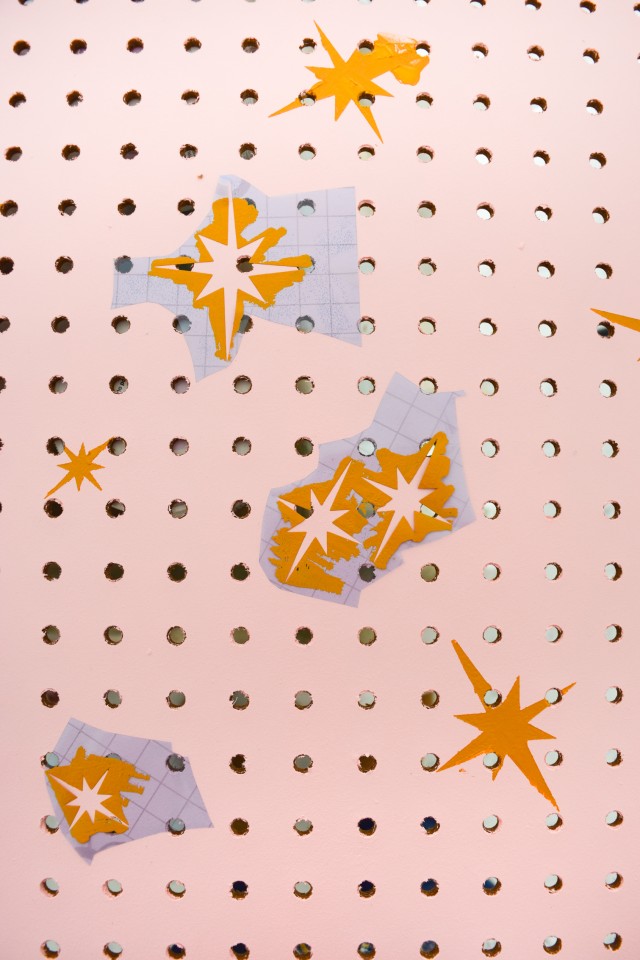
Step 4: You can use any stencil you’d like to match your decor, but I made one with atomic starbursts because the retro vibe is super on trend these days and would play well with my kitchen utensils. Muddaritaville has a wide range of beautiful stencils here.
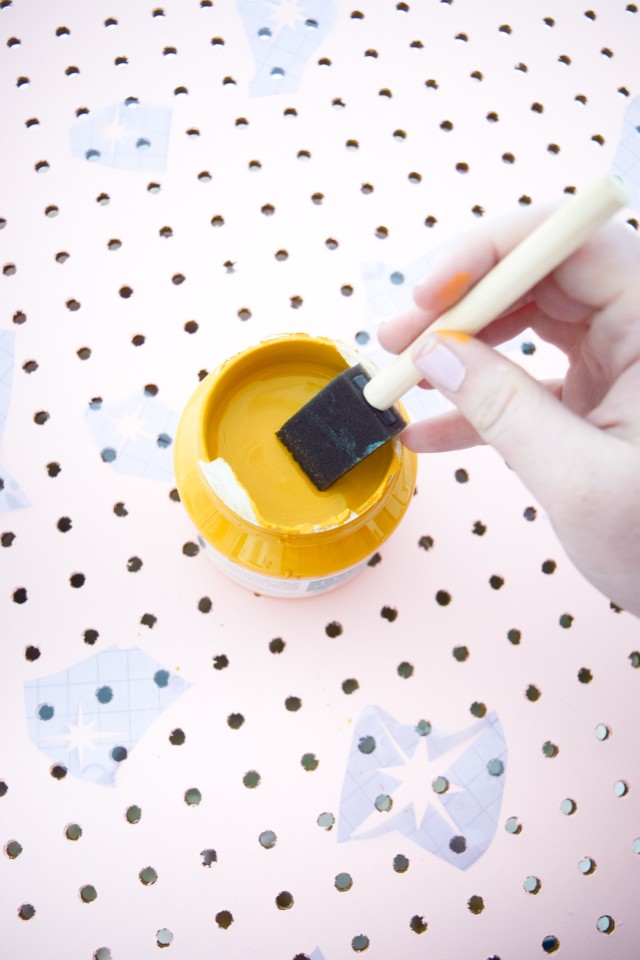
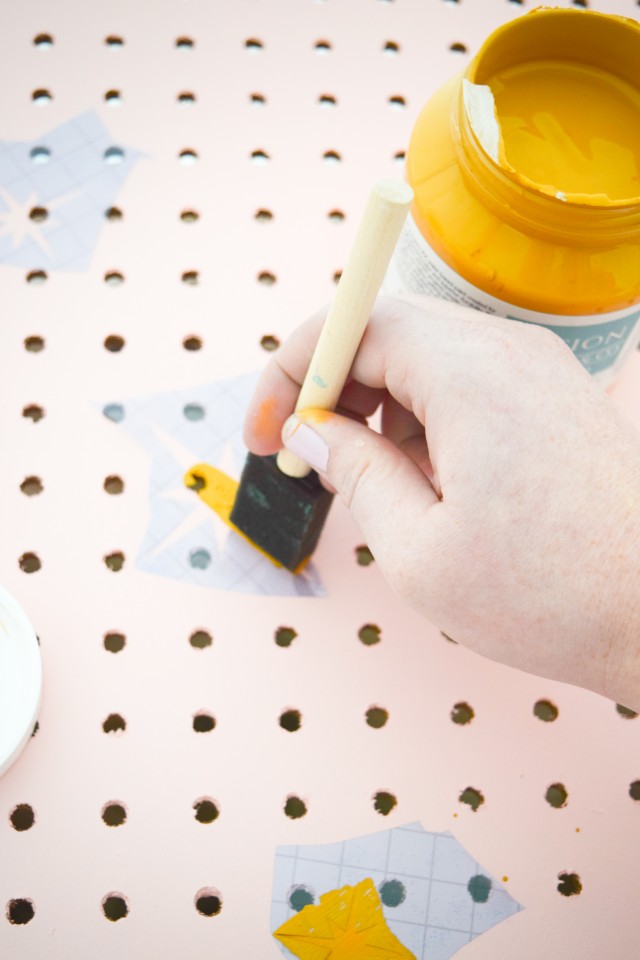
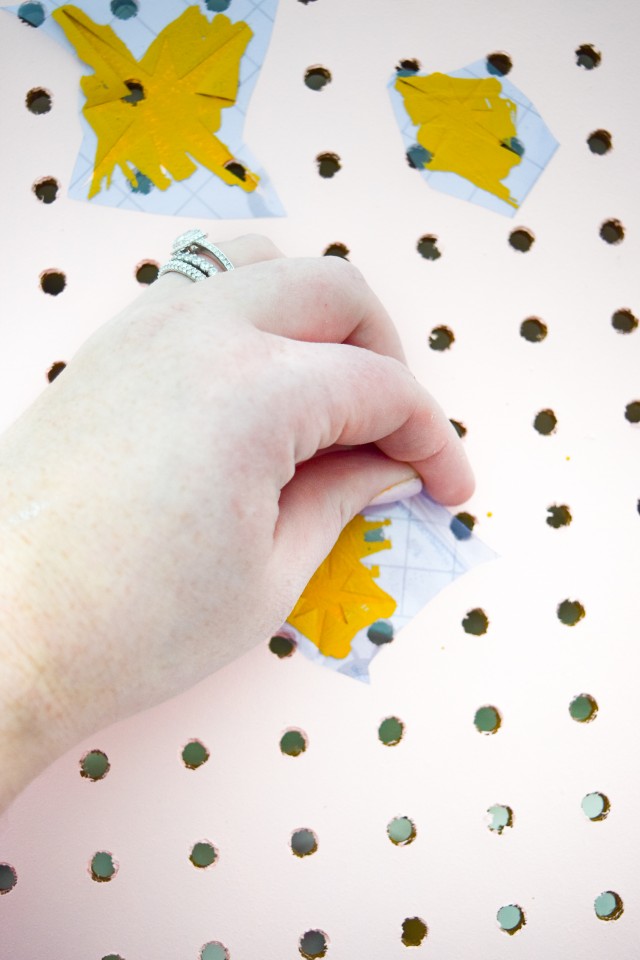
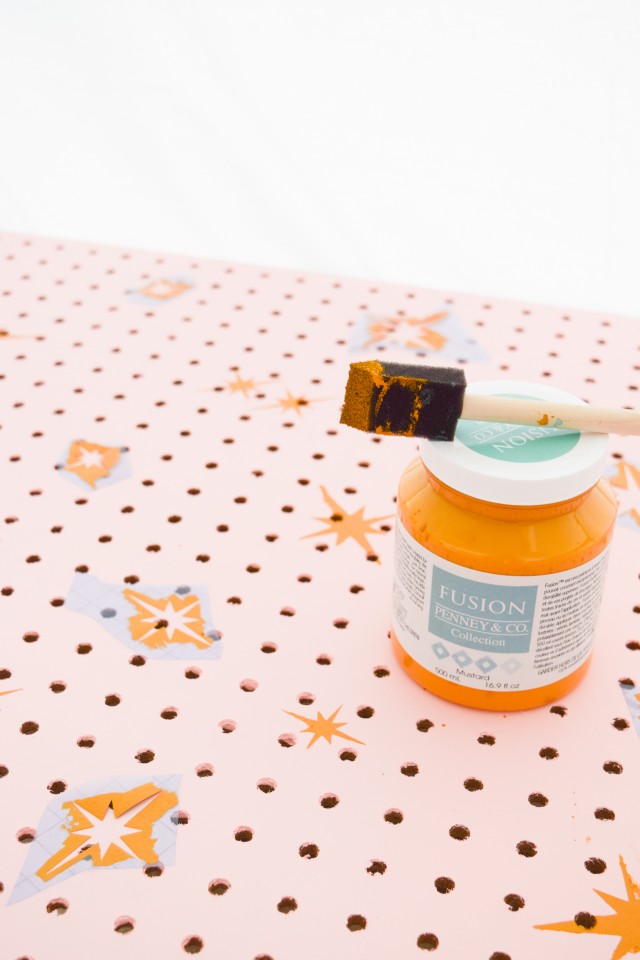
Step 5: Using a sponge brush (or stencil-specific brush) apply your contrasting stencil paint colour. I chose Mustard because it picked-up nicely on the copper and wood tones of my kitchen accessories.
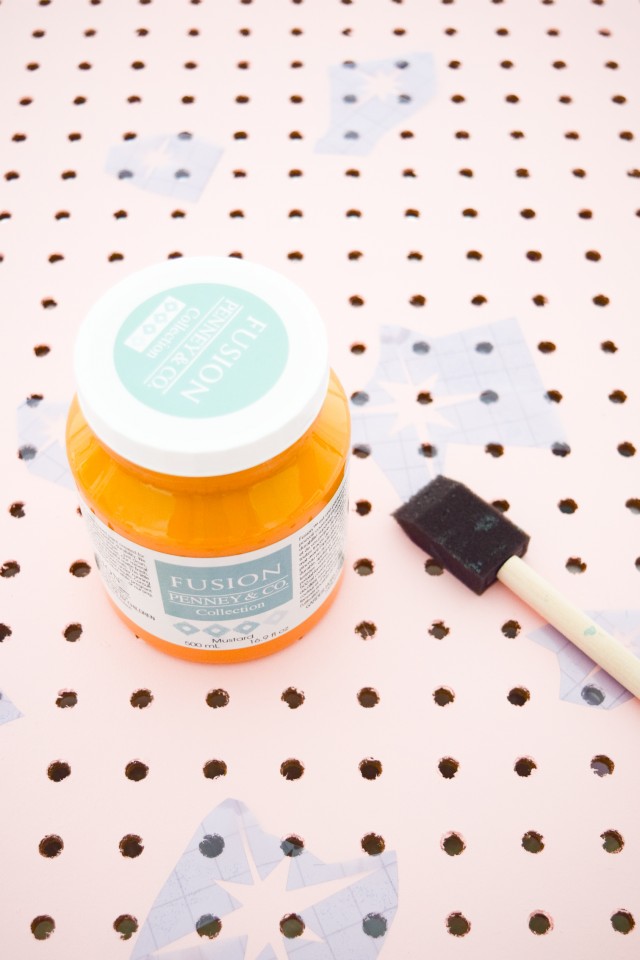
Step 6: It will take 2 coats to get thorough paint coverage. Once dry, remove the stencils. Thereafter continue applying them across your pegboard until you’re happy with the result.
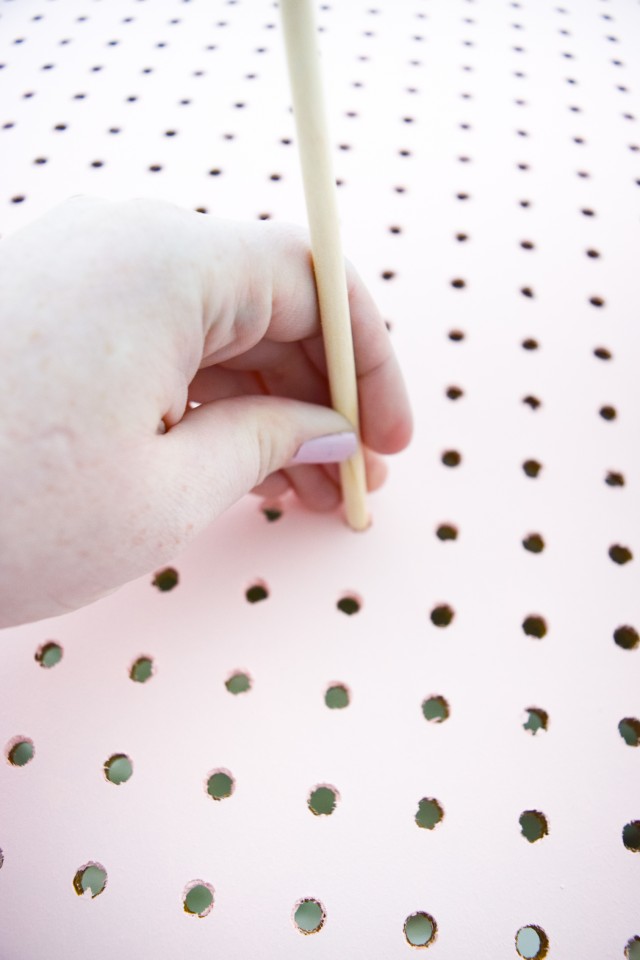
Step 7: While everything is drying, prep your pegs. With this board, I used a ¼” wooden dowel and a craft saw to cut small pegs (though you can purchase them in the desired length and even in metal if you prefer). I then sanded them clean on both ends.
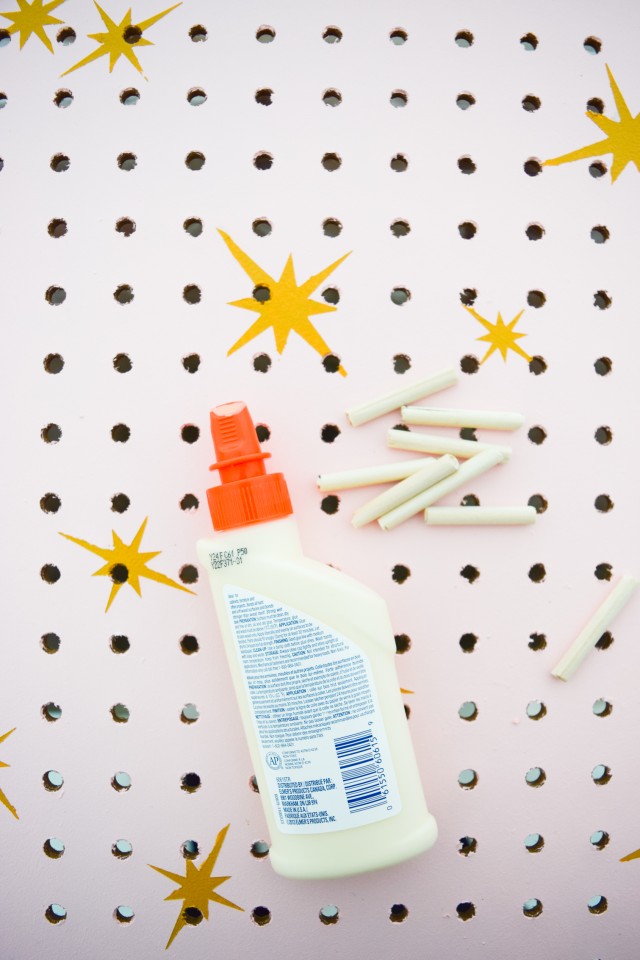
Step 8: After you’ve decided on the placement of your pegs, you can use wood glue to secure them to the pegboard by coating the dowel before inserting it into the hole.
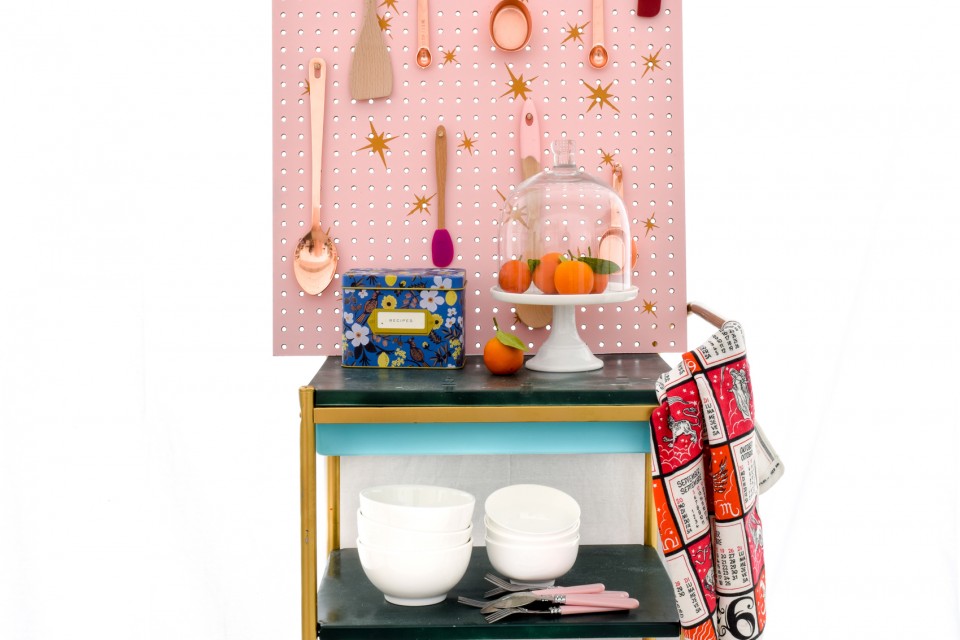
Step 9: Once the dowels and paint are dry, you can hang it on the wall or lean it from a kitchen cart. Then add all your kitchen utensils.
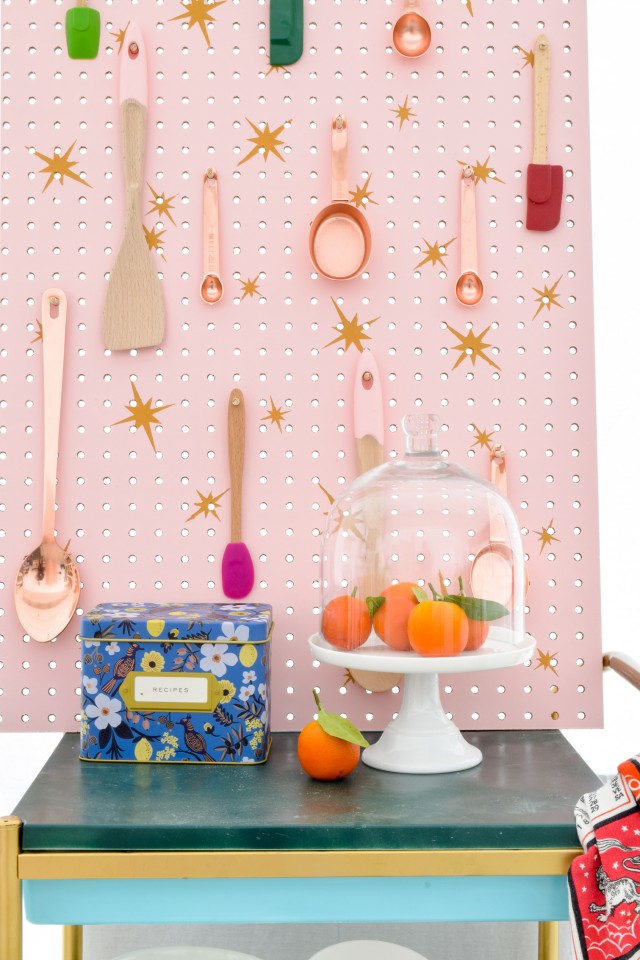
Step 10: Voila! Step back and enjoy your fun new way to organize utensils.
We absolutely love how this retro-inspired starburst pegboard turned out! It is such a fun use of Fusion Mineral Paint and just shows that you don’t have to paint a big piece of furniture to make a statement.

Project and photos styled courtesy of Ariel G.
If you’ve ever completed a project using Fusion Mineral paint, share it with us in our Facebook Group – Paint it Beautiful.


