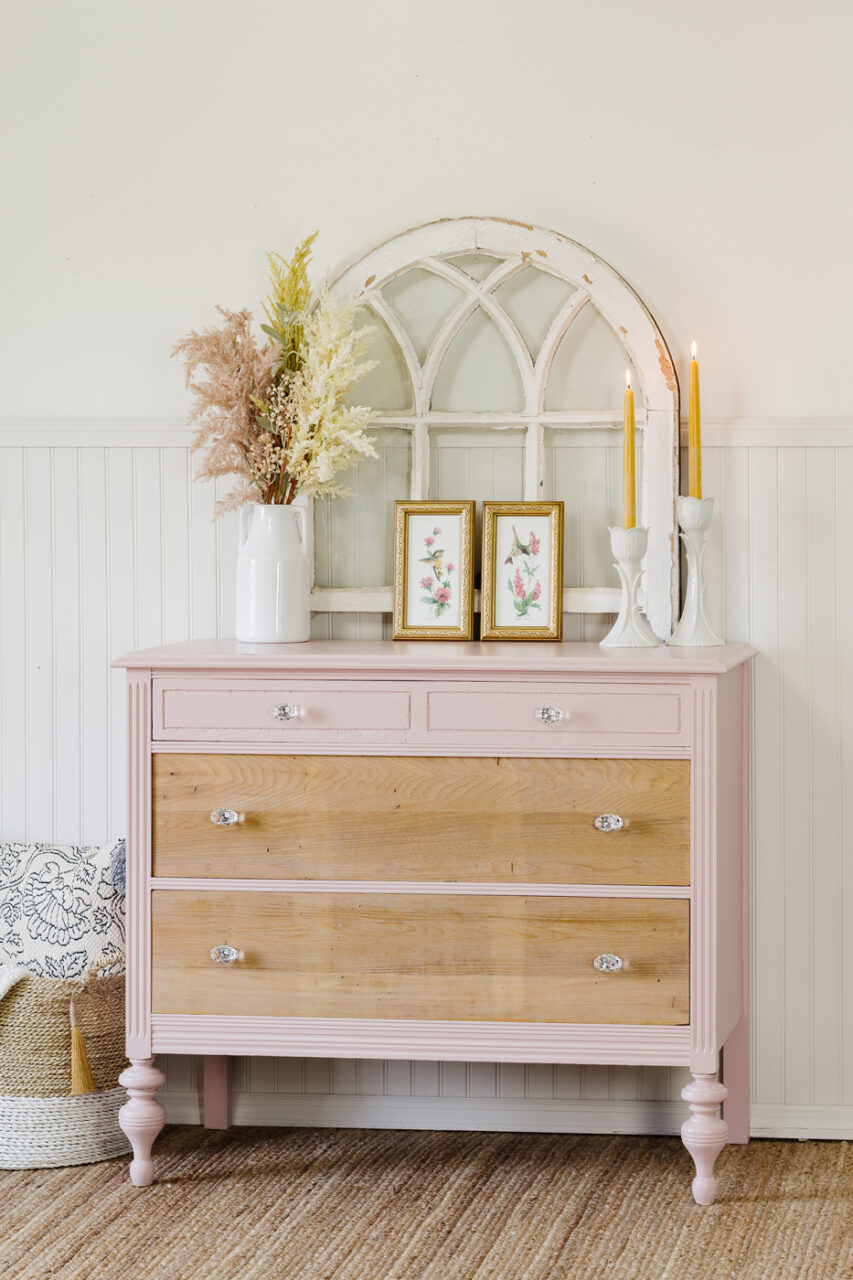
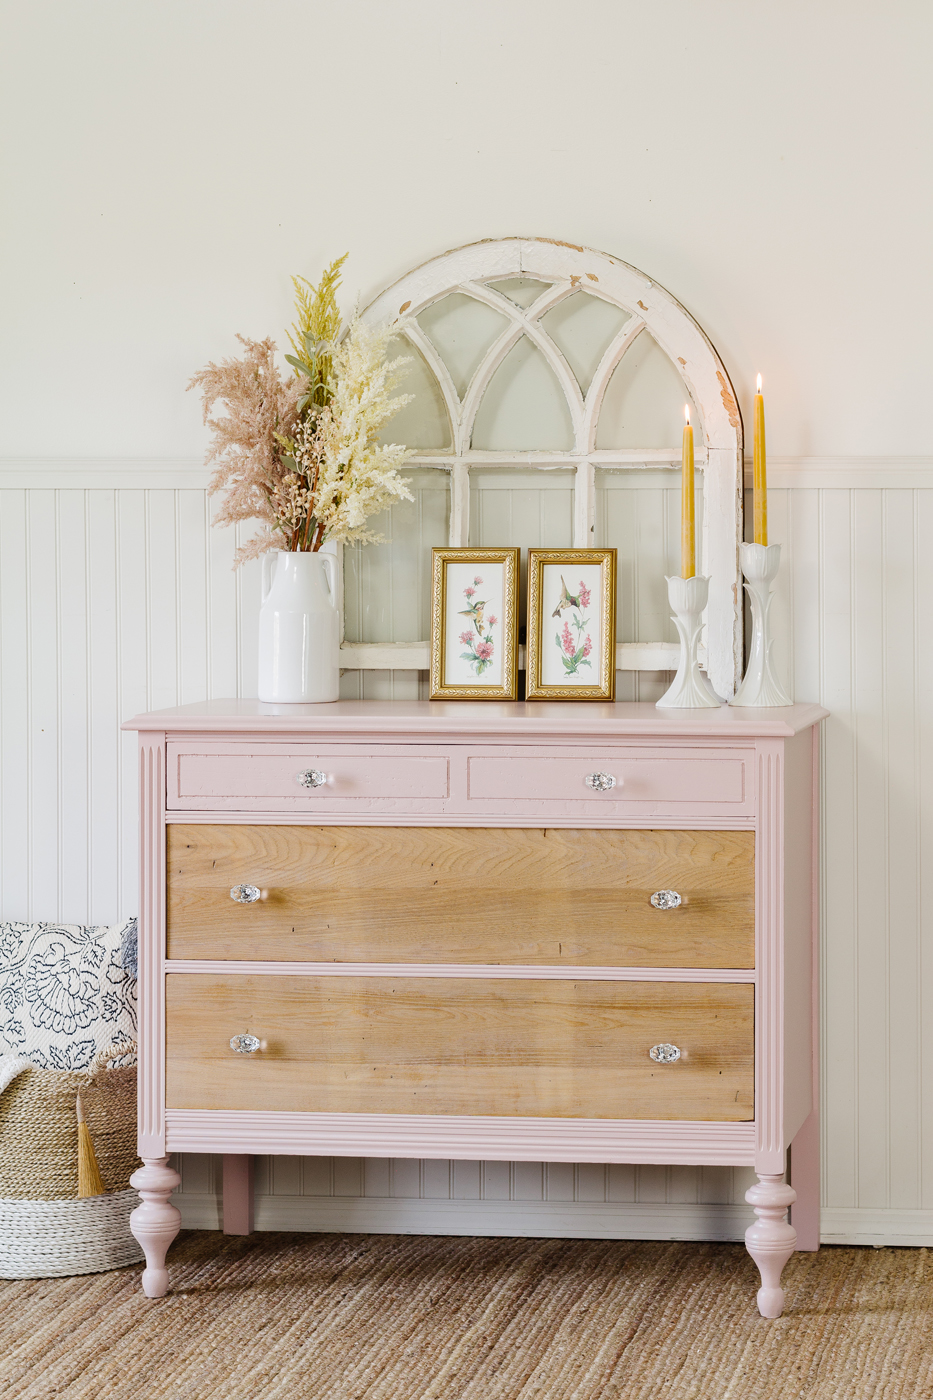
Have you ever looked at veneer furniture and just known it would be a troublesome piece? We must admit that veneer furniture can seem daunting especially if it needs a lot of repairs or removal altogether. The bonus of furniture that has layers of veneer is that sometimes underneath it, you can find some of the most beautiful wood that is just begging to be the star of the show. For this project, we decided to pair a pretty dresser in desperate need of some rehab and veneer work with one of our new Homestead House colours, Bouquet: Milk Painting Veneer Furniture.
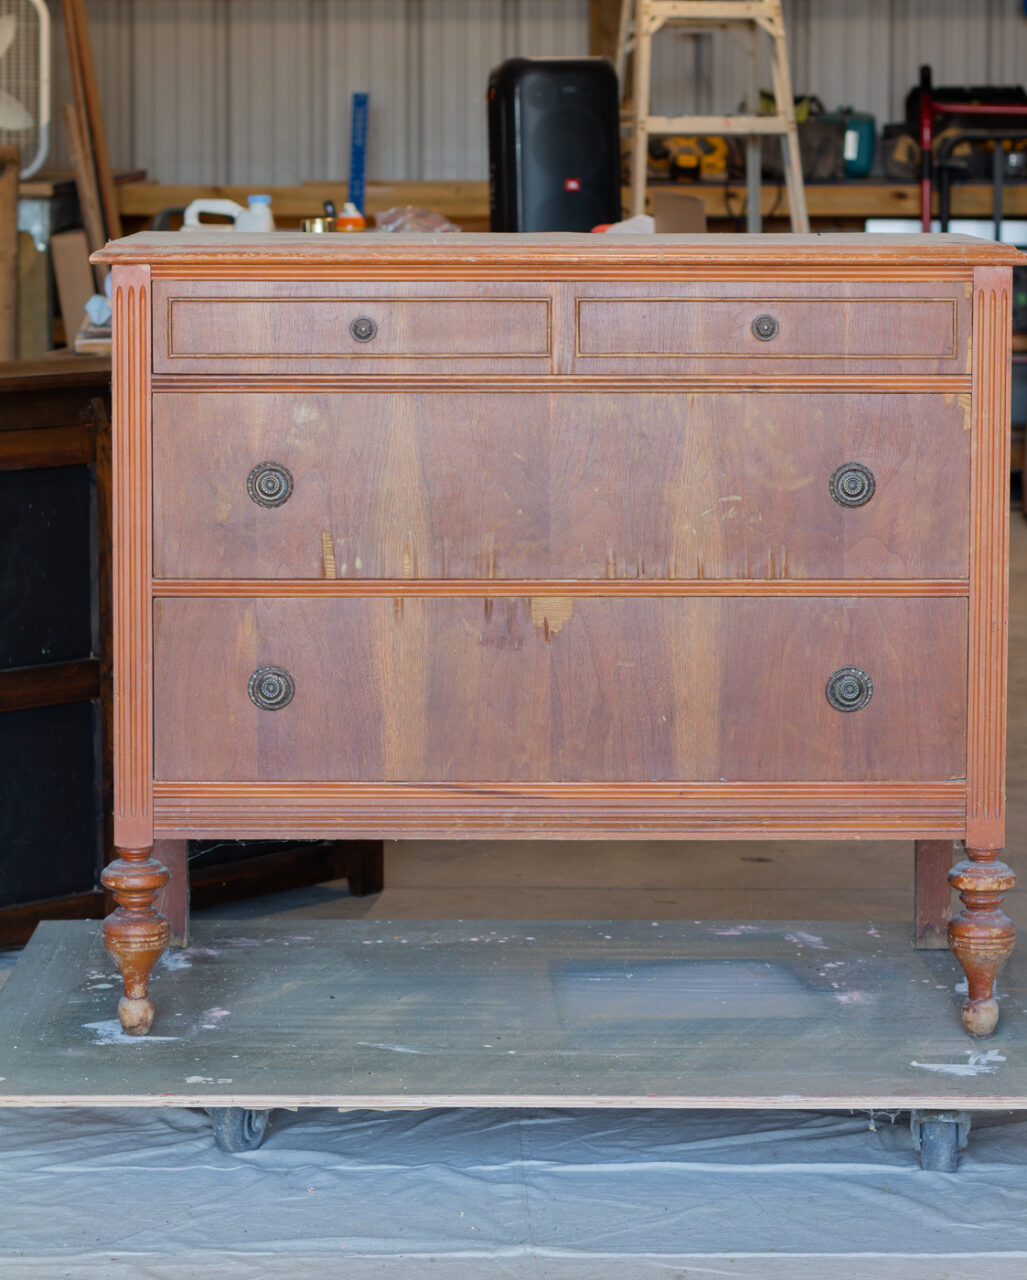
Here is a before look at the piece:
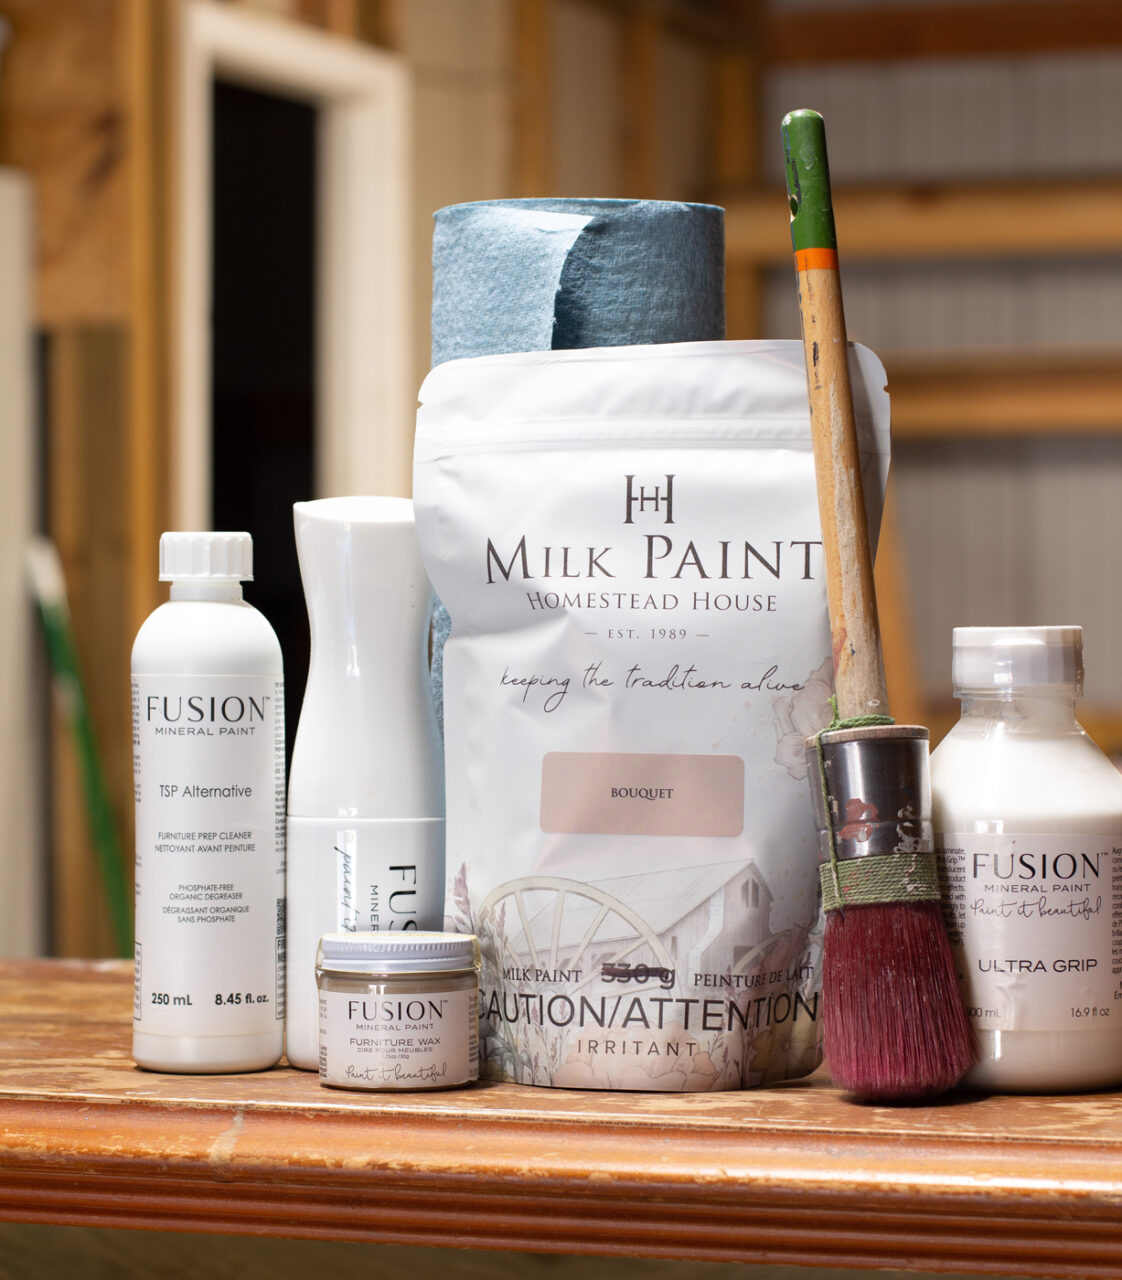
Below is a list of supplies you’ll need to complete a similar project of Milk Painting Veneer Furniture.
- Fusion TSP Alternative + Wiping Cloths
- Homestead House Milk Paint “Bouquet”
- Furniture Wax “Clear“
- Ultragrip or Bonding Agent
- Staalmeester Round One Syntheic Brush
- Scraper
- Electric Sander and Sanding Pads/Paper
- Stir stick + Container
Prep
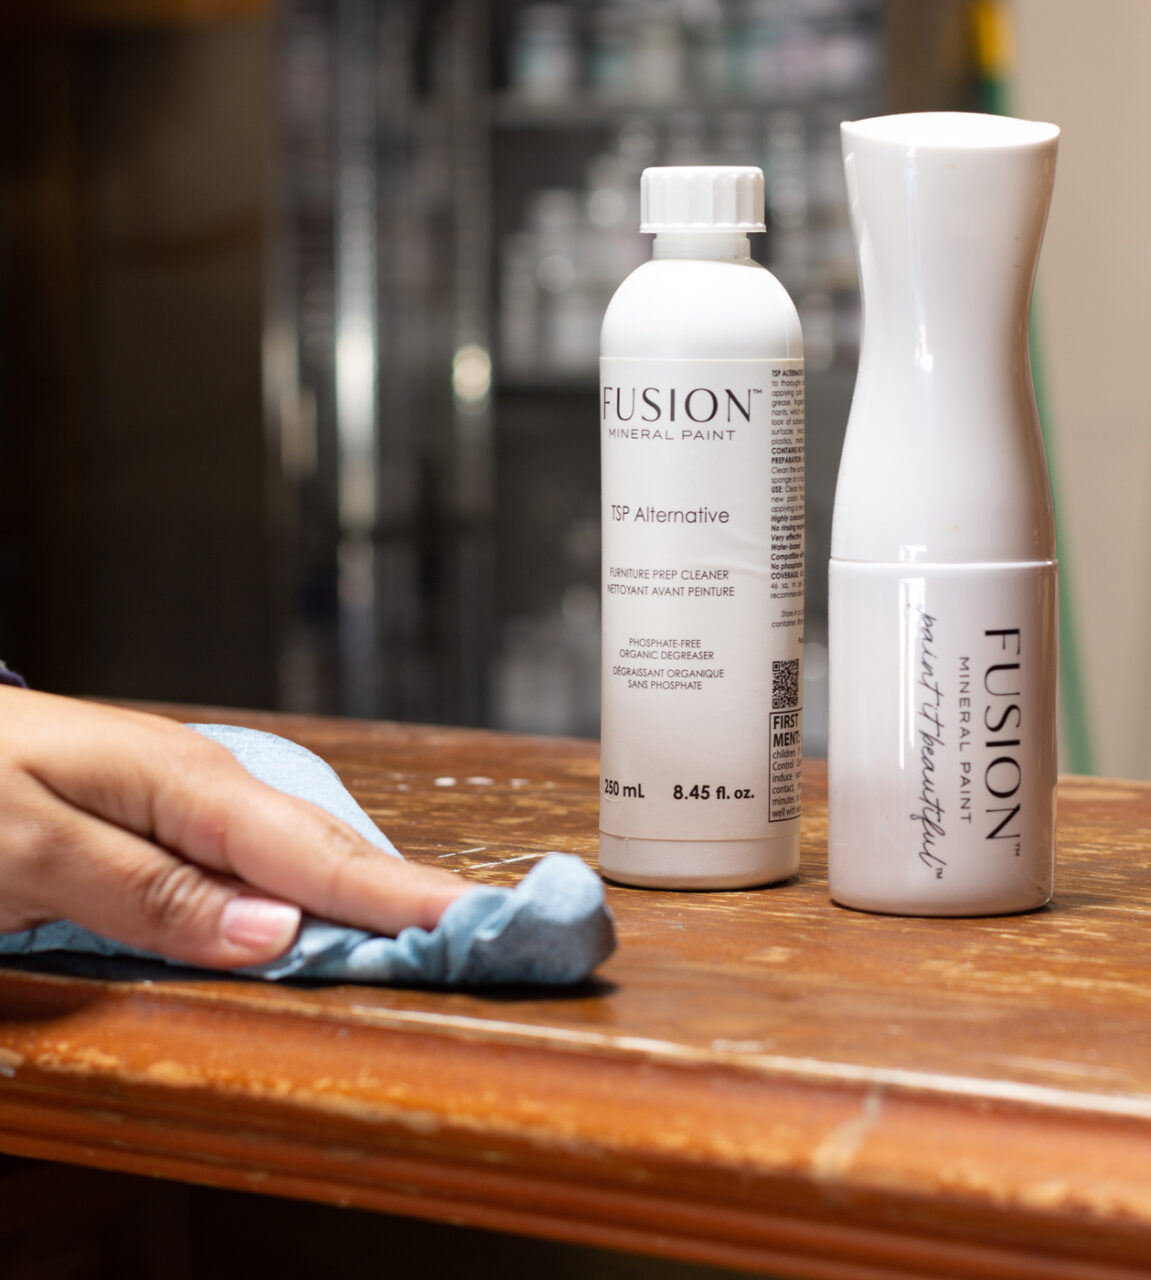
From afar this piece looks to be in decent condition. But up close you have a pretty dresser covered in dark brown dirt and grime. We did what we always do to prep our furniture, and the only way to start a project is to deep clean your piece. After a quick vacuum, we took a premade solution of Fusion TSP and water and gave our piece a good saturation. You can use a sponge or coarse pad to scrub away anything that is stubborn, but we find that simply letting Fusion TSP sit for a few minutes can make all the difference in breaking down oils and finishes. A gentle rubbing and wiping removed all of the caked-on dirt and gave us a fresh surface.
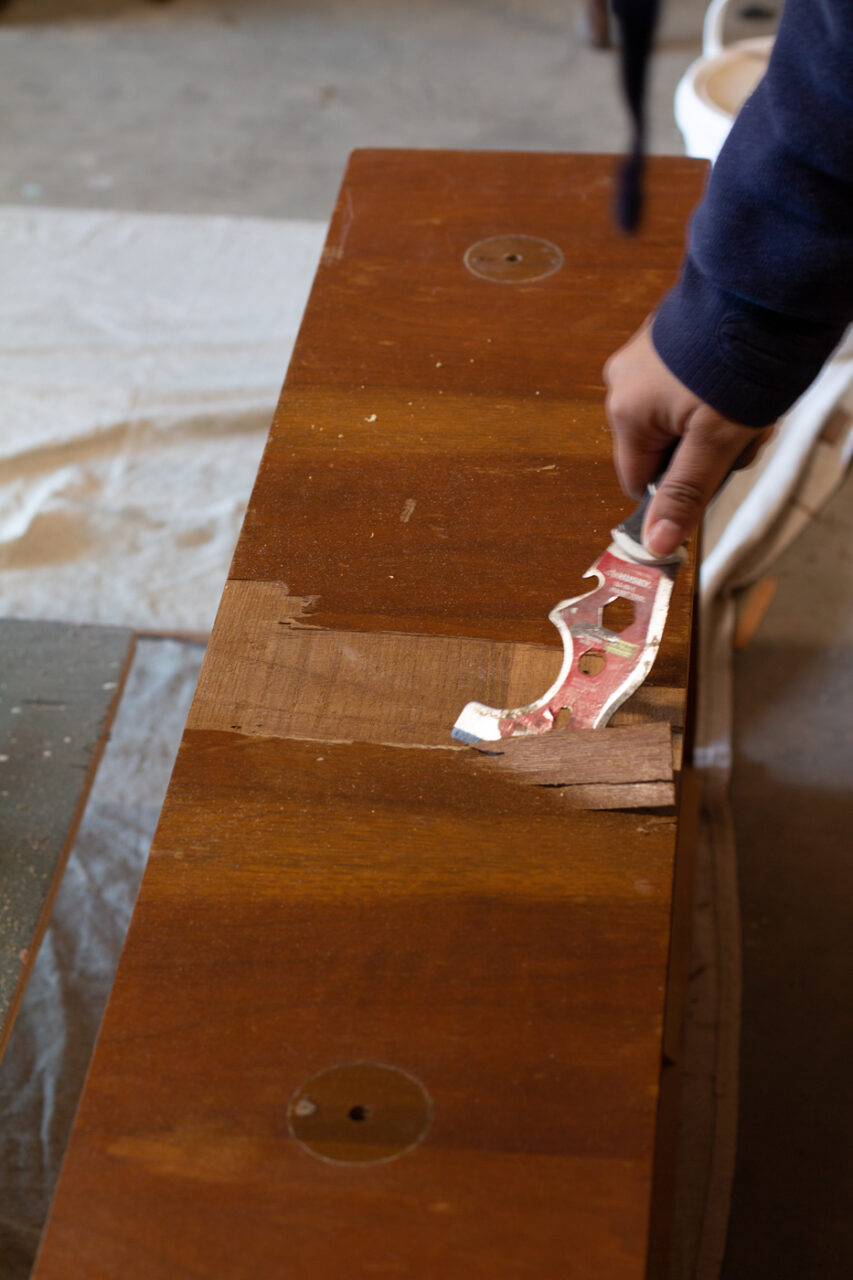
Next was the daunting part of the project. Removing the veneer! Some of the veneer was already loose and the adhesive had worn away due to exposure. Which made using a scraper to pry it up fairly easy. For more stubborn areas, we suggest taking a rag or towel soaked with hot water to sit on the piece for an hour or so. The longer the better, sometimes you can leave it overnight. When it’s time to continue, the adhesive will have been made pliable again and your scraper should be able to lift up the remaining pieces easily.
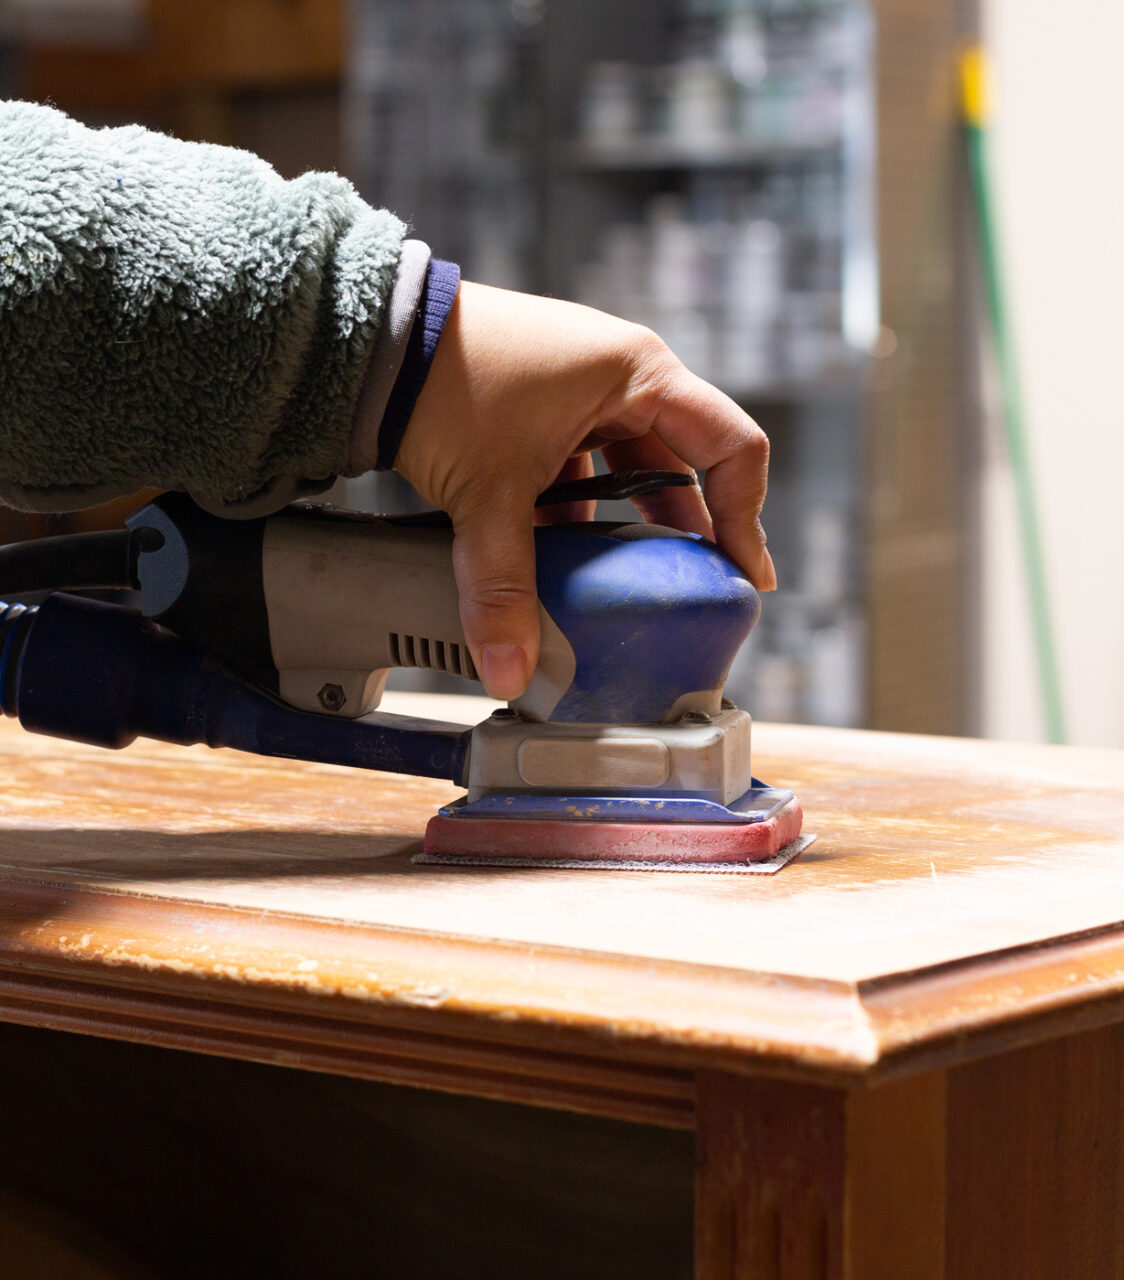
If you used the towel and water method to remove the veneer, you will want to wait at least 24 hours to continue to the next step, which is sanding. We used an electric sander and paper to smooth out and remove the remaining veneer splinters and glue from our piece. Then we used the sanding pads to knock down and smooth out the grain giving us a butter-smooth surface ready for whatever finish we choose.
Milk Paint & Wax
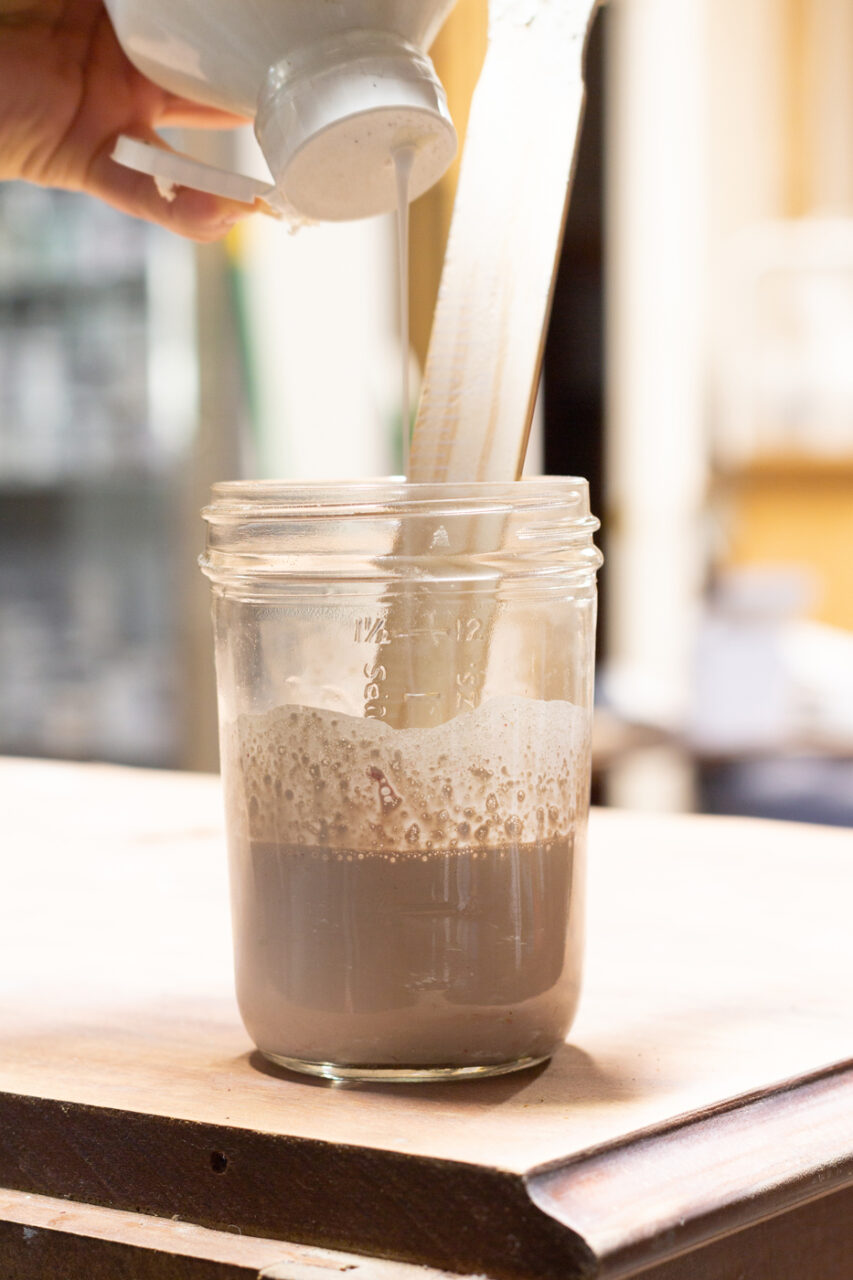
We like to mix up our milk paint a few minutes in advance while we finish up the last bits of our prep. We mixed a 1:1 ratio of milk paint to water in a container and stirred with a stir stick to ensure all the pigments were submerged. Then you want to add one part bonding agent or ultra grip to your milk paint. Bonding agent/Ultragrip gives your milk paint superior adhesion when painting glossy or shiny surfaces. We wanted no chipping or distressing so a bonding agent was crucial here.
Painting is always the most fun part of any project. Our first coat is typically pretty transparent especially if it is a lighter colour. Most often than not you will need several coats to get full coverage. The more coats you do the more opaque the finish will be. If we hadn’t used a bonding agent, we likely would have started seeing some chipping after the second coat as well. For now, our first two coats look like great progress.
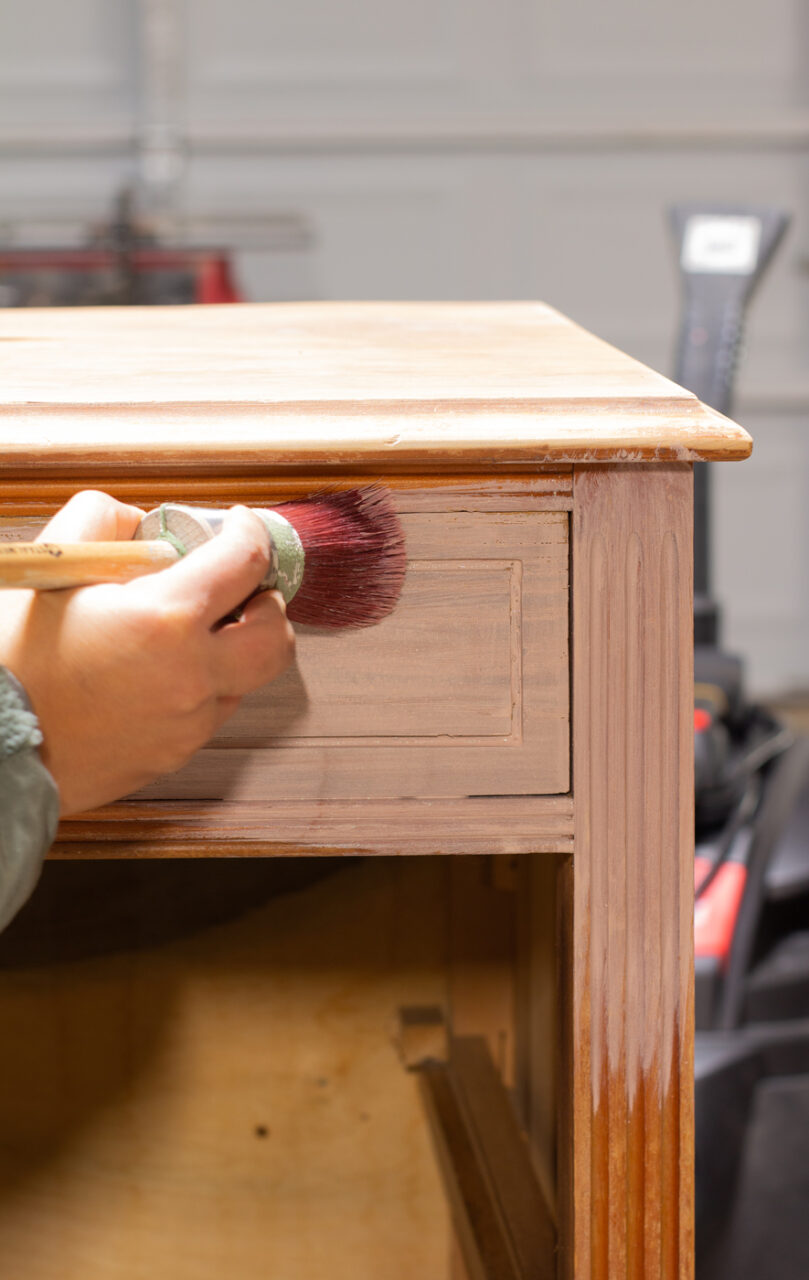
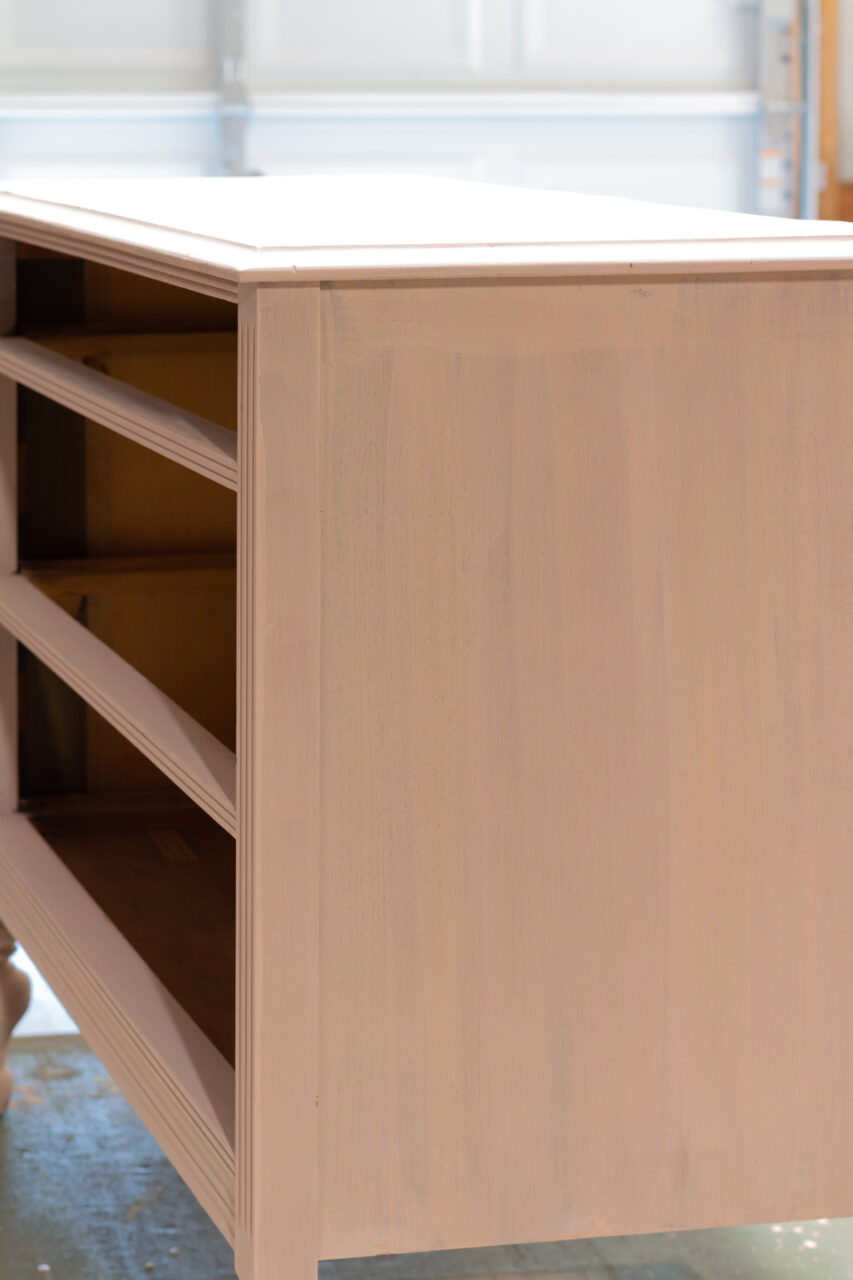
The last and final step is to seal your piece. We used Homestead House furniture clear wax to seal our milk paint and it did an amazing job of adding an added layer of durability on top of a matte lustre.
A Pretty Floral Pink, Bouquet: Milk Painting Veneer Furniture
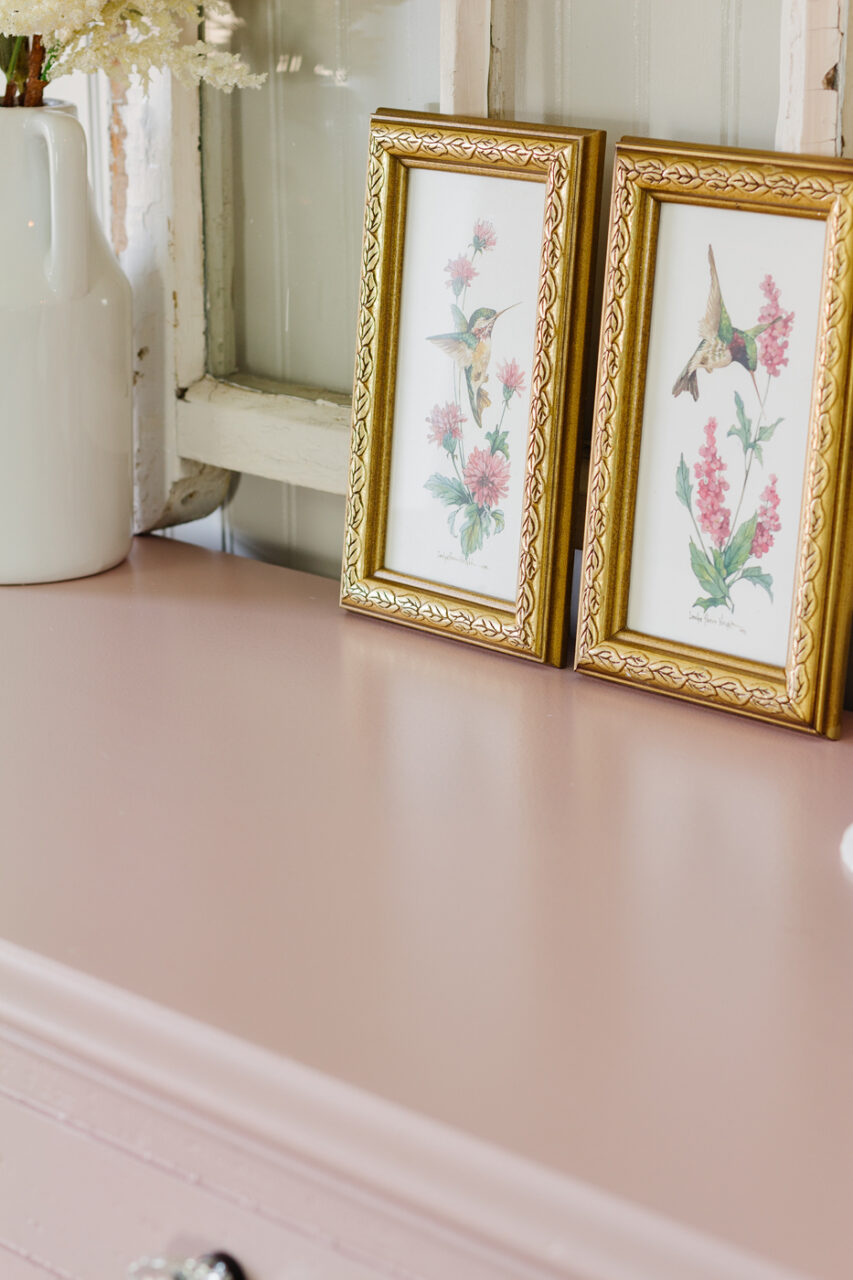
Just like its name, this colour “Bouquet” reminds us of the early blooms of hydrangeas in the spring and summertime. Pale and elegant with a hint of peach and grey.
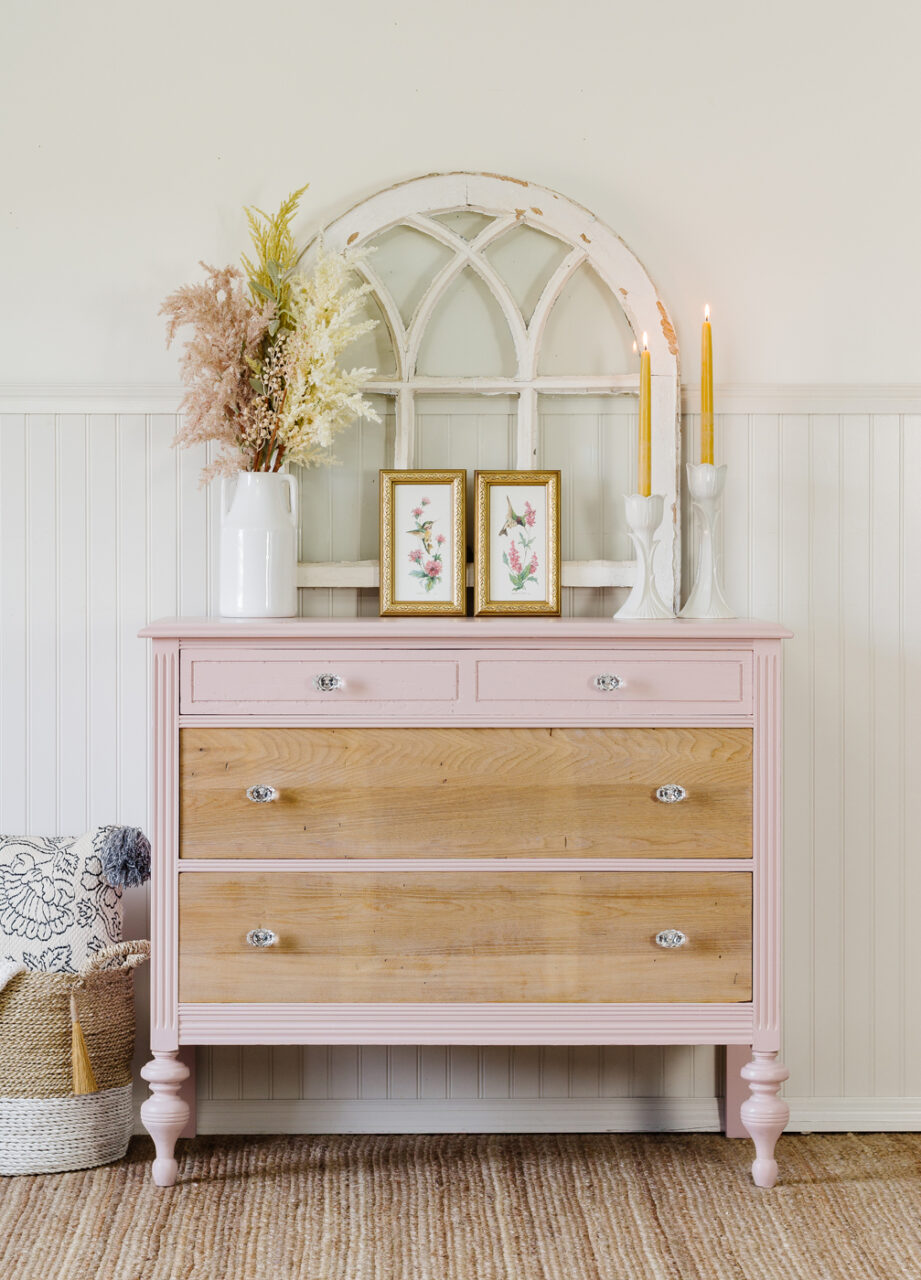
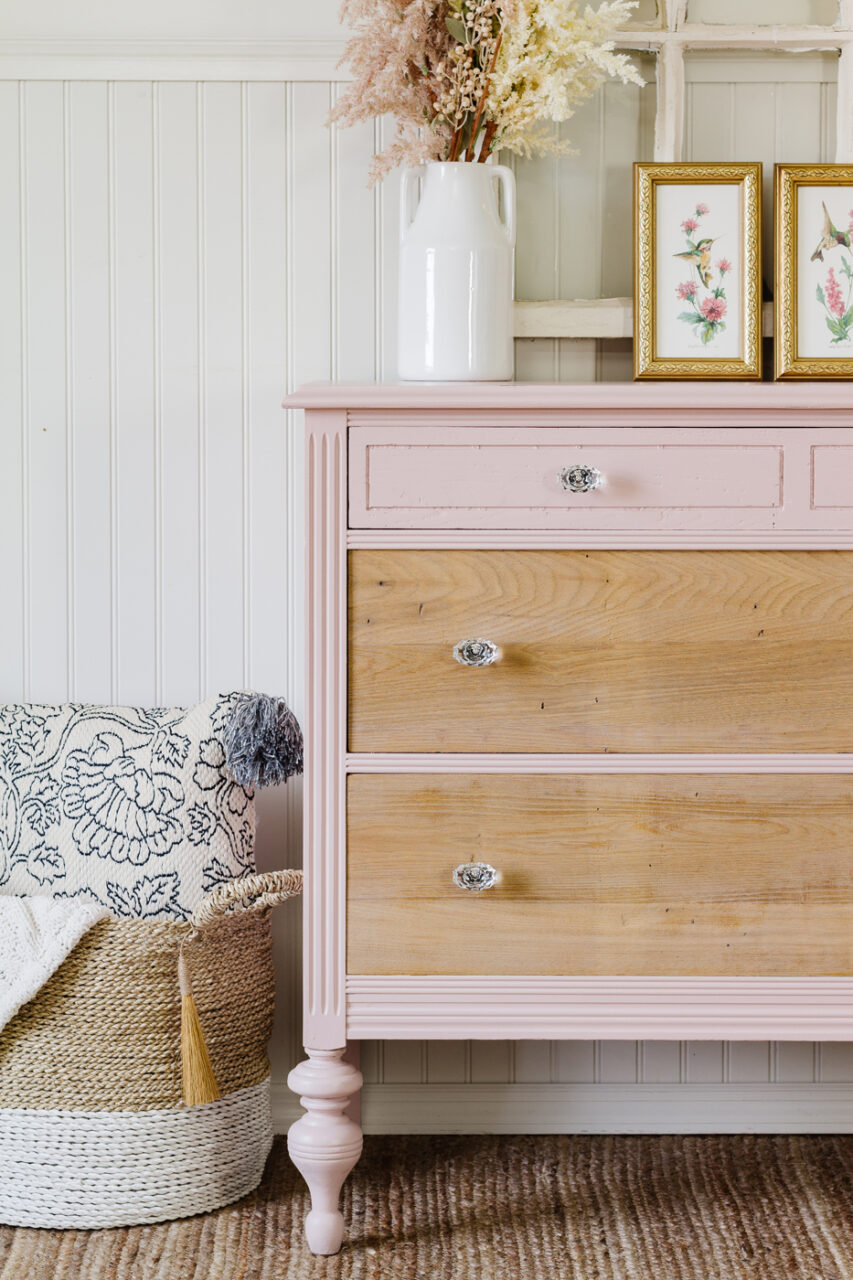
Removing the veneer was an excellent choice considering the beautiful wood hiding underneath it. All it needed was some fresh air and a wonderful treatment to bring out the warm, Oakey finish.
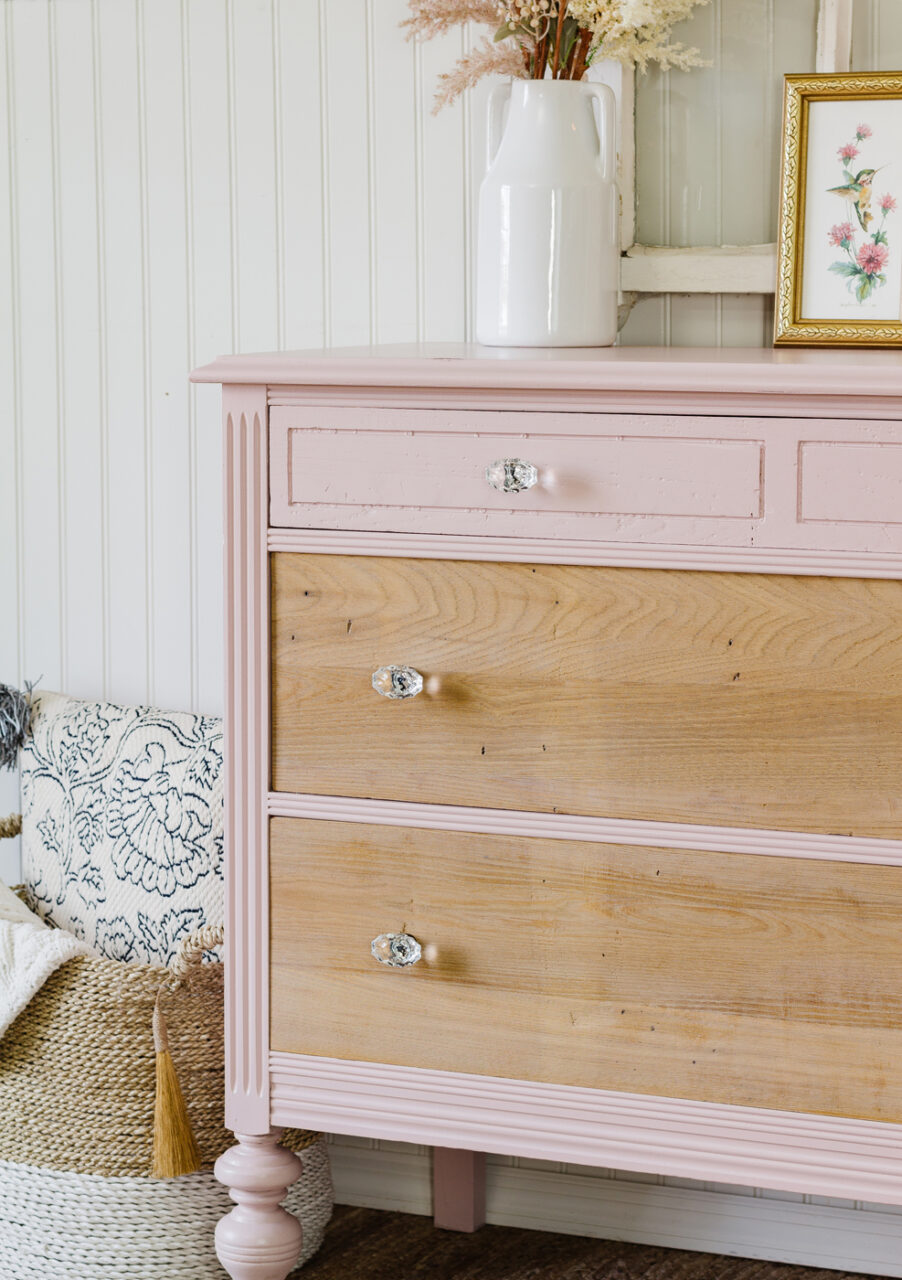
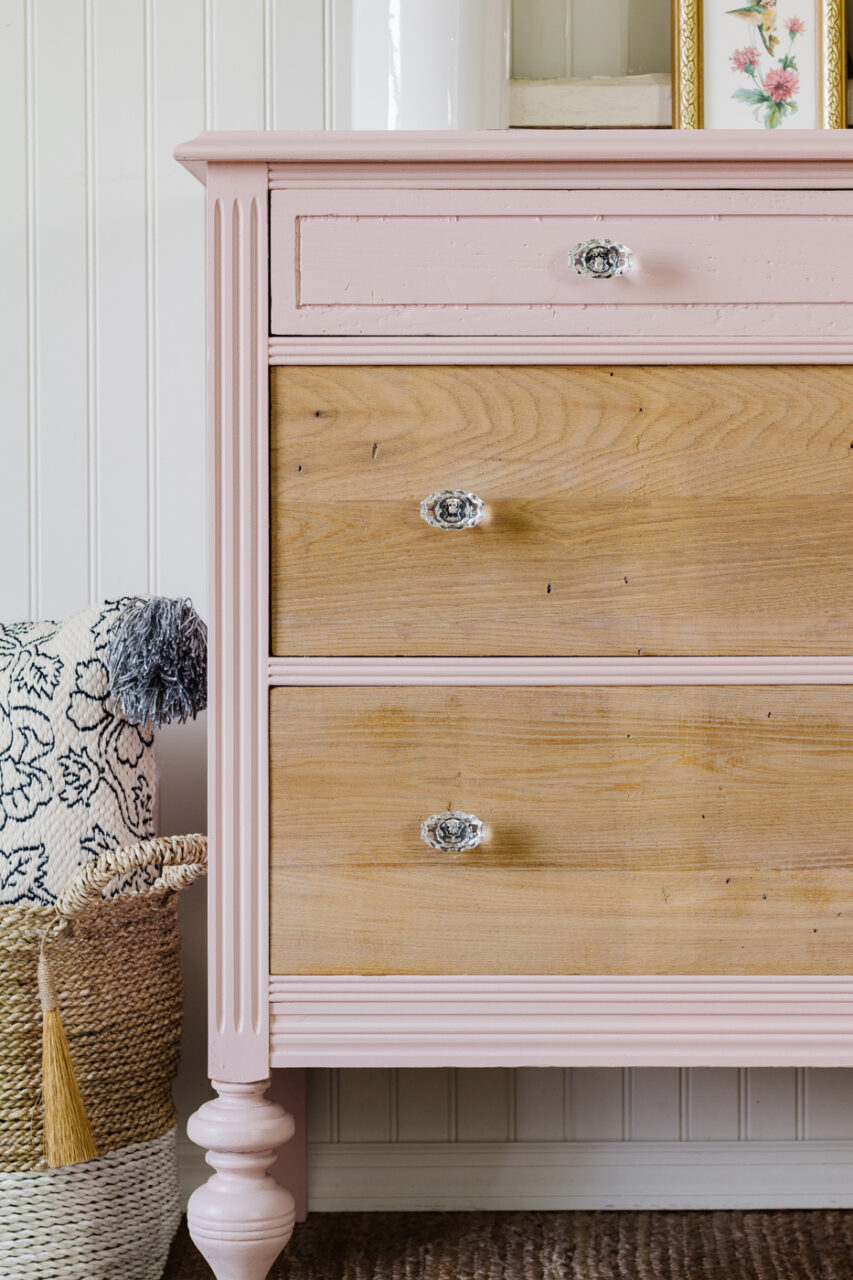
This piece didn’t have to be covered in ornate details to be stunning. It’s all the simplicity about it that makes it special. The straight lines, the solid finish, the character in the wood and the accents all add a special touch to this piece.
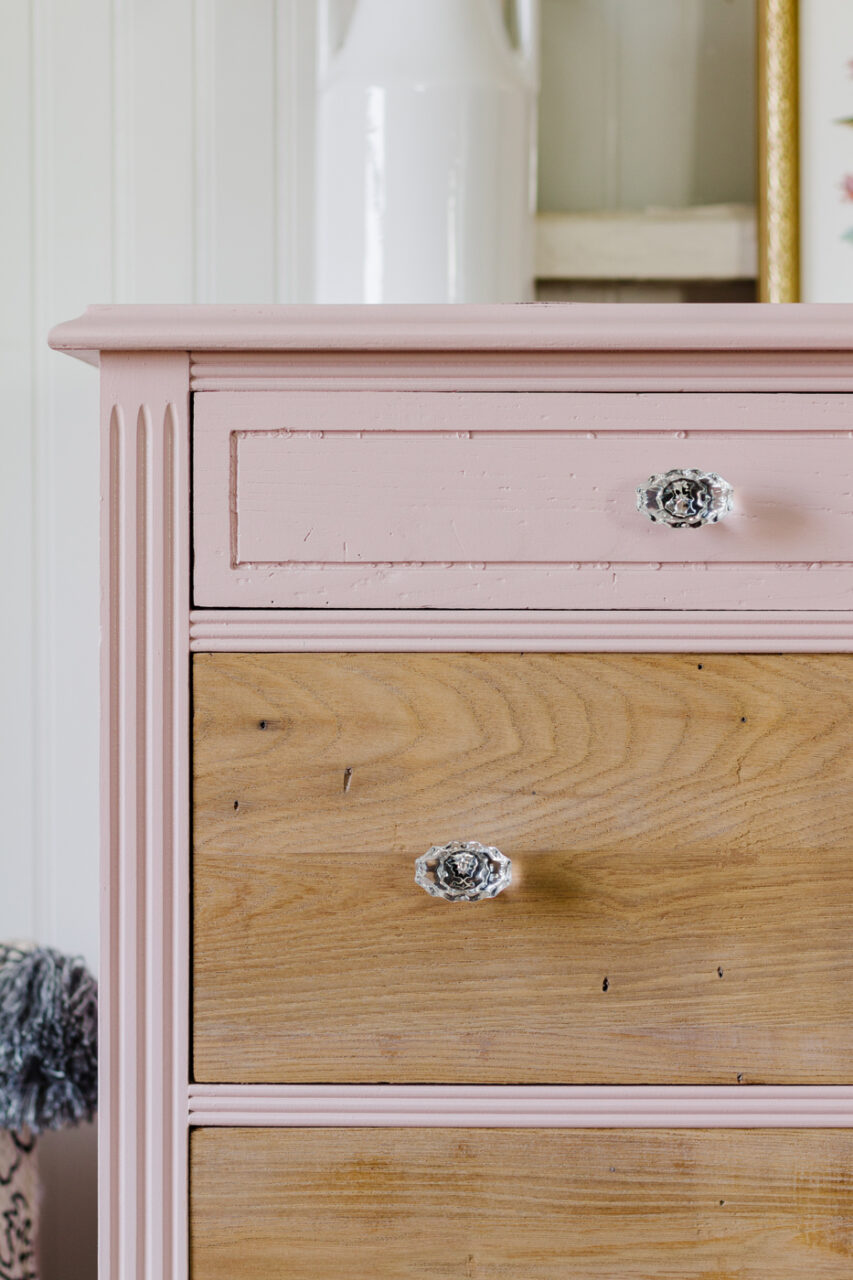
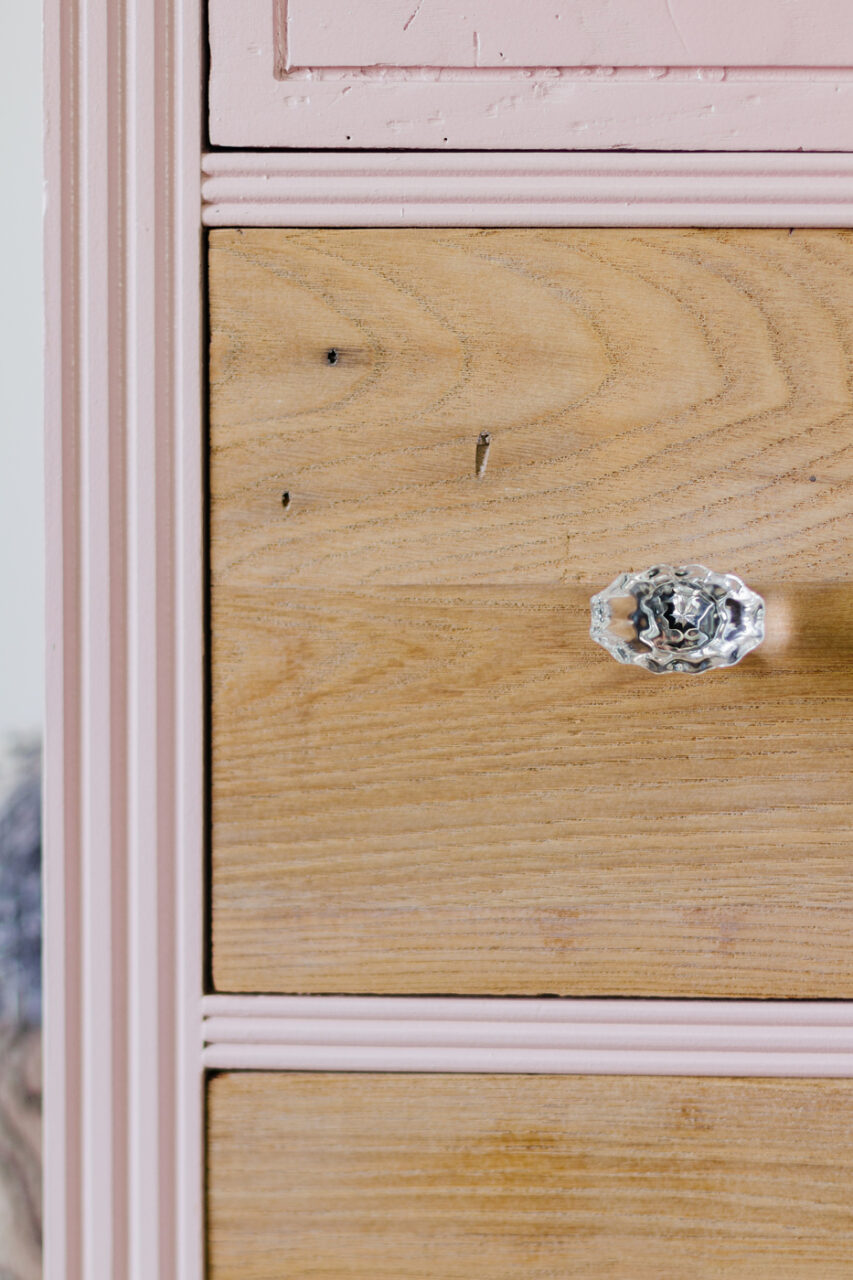
Thanks to the natural furniture wax finish, we now have a piece that is ready to stand the test of time and look beautiful while doing it. It should be a staple in any refinisher’s toolbox.
This makeover was truly one of our favourites this year so far. We can’t wait to see your beautiful projects in Bouquet!
