Milk Paint finishes can range from the chippy, crackled and crazed to smooth full coverage. But what if you want something in between the two? Something vintage but not quite new? You can get it simply by adding a layer of Fusion Mineral Paint beneath your milk paint! The result is a beautiful finish without any of the chipping!

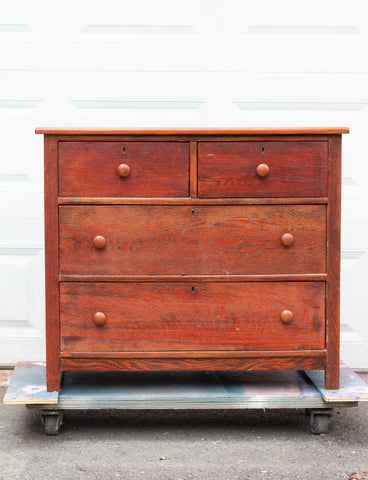
This piece is a perfect candidate for our finish. It’s got straight lines and flat surfaces that are perfect to showcase our finish. The only thing that really needs to go is that bright red stain finish.
Reasons to use Fusion Mineral Paint as a base layer:
- It could change the undertones of your finish. Milk Paint is a thin, water-based paint and so you could paint two different pieces with the same batch of milk paint and the colours could be off-shade. Using a base layer helps to ensure that your pieces have the same colour surface to start, especially if you are painting matching furniture pieces.
- Colour Blending, Distressing, and rub-through finishes are all perfect candidates for using a base layer. Having a contrasting colour underneath is perfect for tying in colour tones.
- For a crazed/crackle finish without all the milk paint the chipping!
Since this piece had a really bright red stain to it, we wanted to add a base layer of Fusion Mineral Paint, Chocolate. If we painted directly over this piece, our final finish could have a pink hue to it which is not what we want when painting with lighter colours.
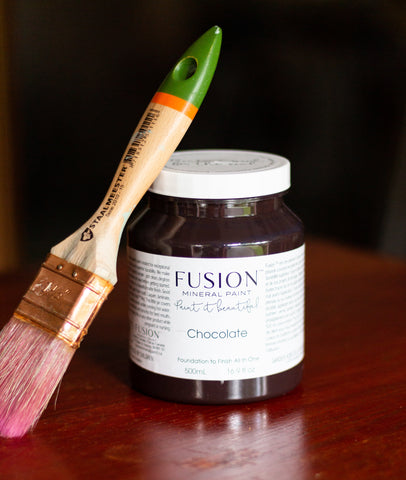
Simply give your piece a good cleaning and a light sanding to help provide a strong surface for Fusion. Then add a thin layer of Chocolate over the entire piece. I like to use the Staalmeester Flat Brush on pieces like this one. It’s the perfect shape for flat surfaces and getting into all the corners while still leaving you with a smooth finish.
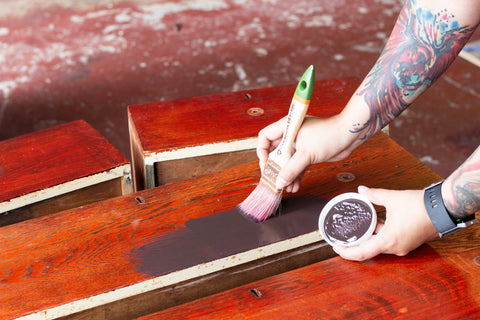
See how much of a difference it makes? Not only does it completely tone down the red stain, but it will also provide some contrast when it comes to distressing or highlighting some of the crackles with the lighter milk paint colours.
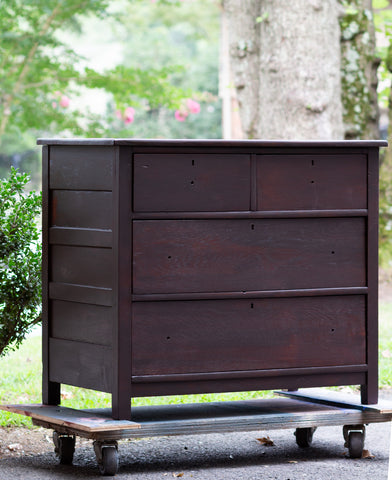
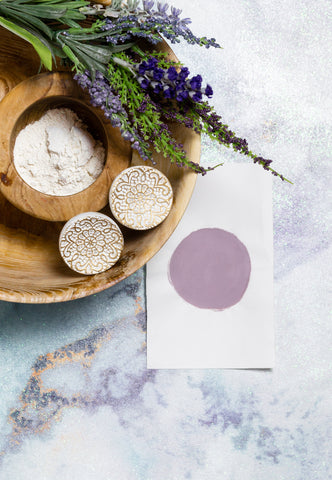
Next, paint over your piece with the milk paint colour of your choice. For this piece, we chose Wisteria Row, a lovely lavender shade with some rosy undertones. We like to mix up our milk paint a little thicker, but if you like working with thinner milk paint, just be sure to watch for any drips and runs.
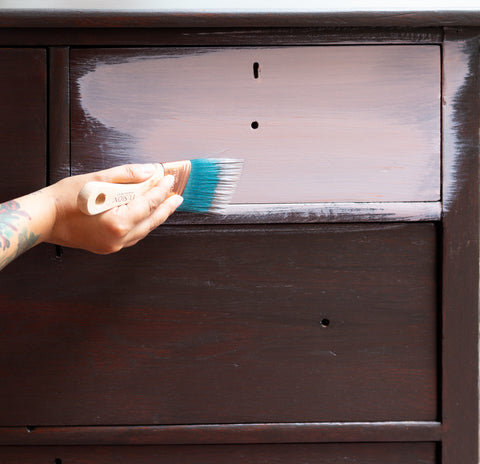
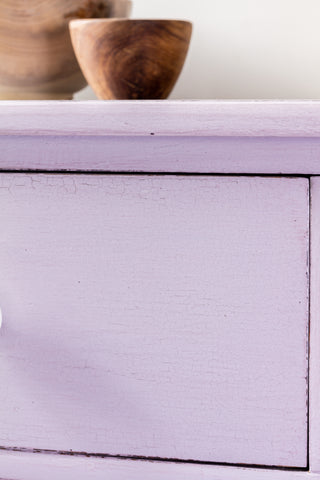
This is the first coat of milk paint over Fusion Mineral Paint Chocolate. You can see how the darker paint gave us a deep base layer. It even makes the milk paint seem lighter and brighter! The more coats you add of milk paint, the more crackle you will begin to notice. Using FMP as a base is the best of both worlds because it is a non-porous surface that creates the crackle look, but the matte surfaces still give you strong adhesion. That means NO CHIPPY!
Crackle and crazing are also something you can take a bit of control over. You can go with the subtle small cracks for an alligator-like finish that happens naturally, or you use a heat gun to make your cracks bigger.
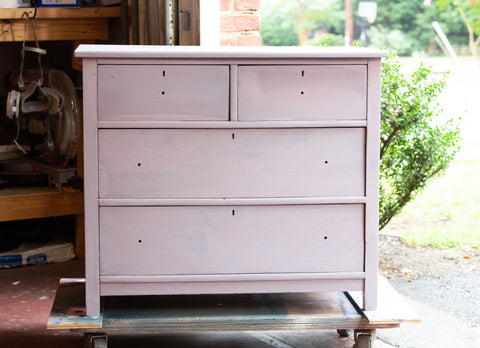
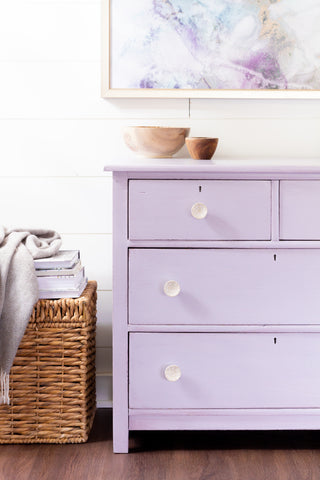
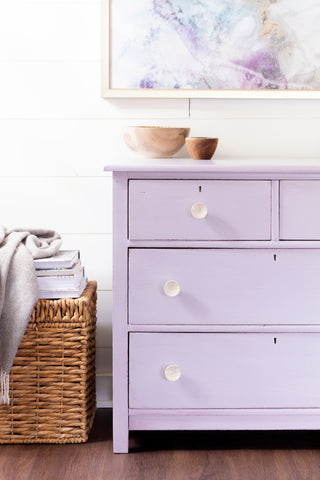
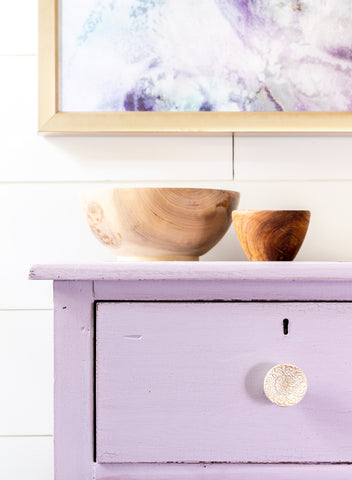
Doesn’t this chest look completely different? It went from a bright red mess to a lovely lavender beauty.
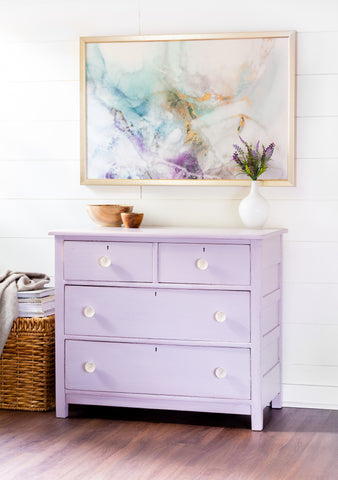
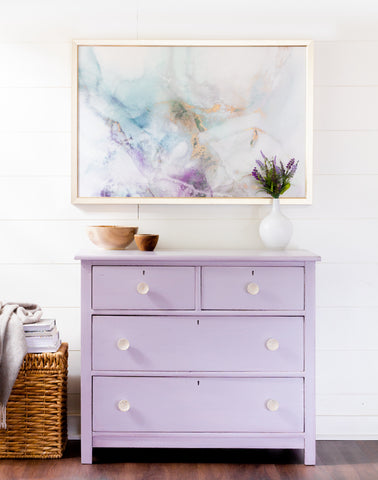
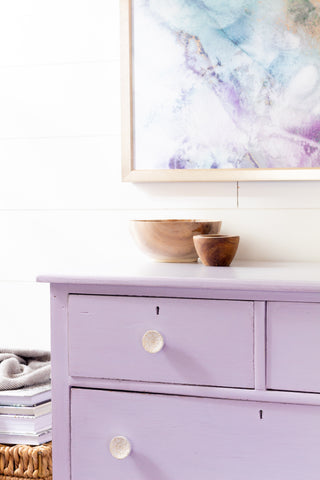
Upon first look, you see a piece that looks clean fresh and modern. But take a closer look and you’ll see the wonderfully crackled finish all over that just adds another layer of texture and dimension to a surface that is flat and linear.
A piece like this can have so many looks and finishes. The possibilities are endless. It’s all about pairing the right elements to get the look you want. In this case we got a Beautiful Finish Without Any of the Chipping.
