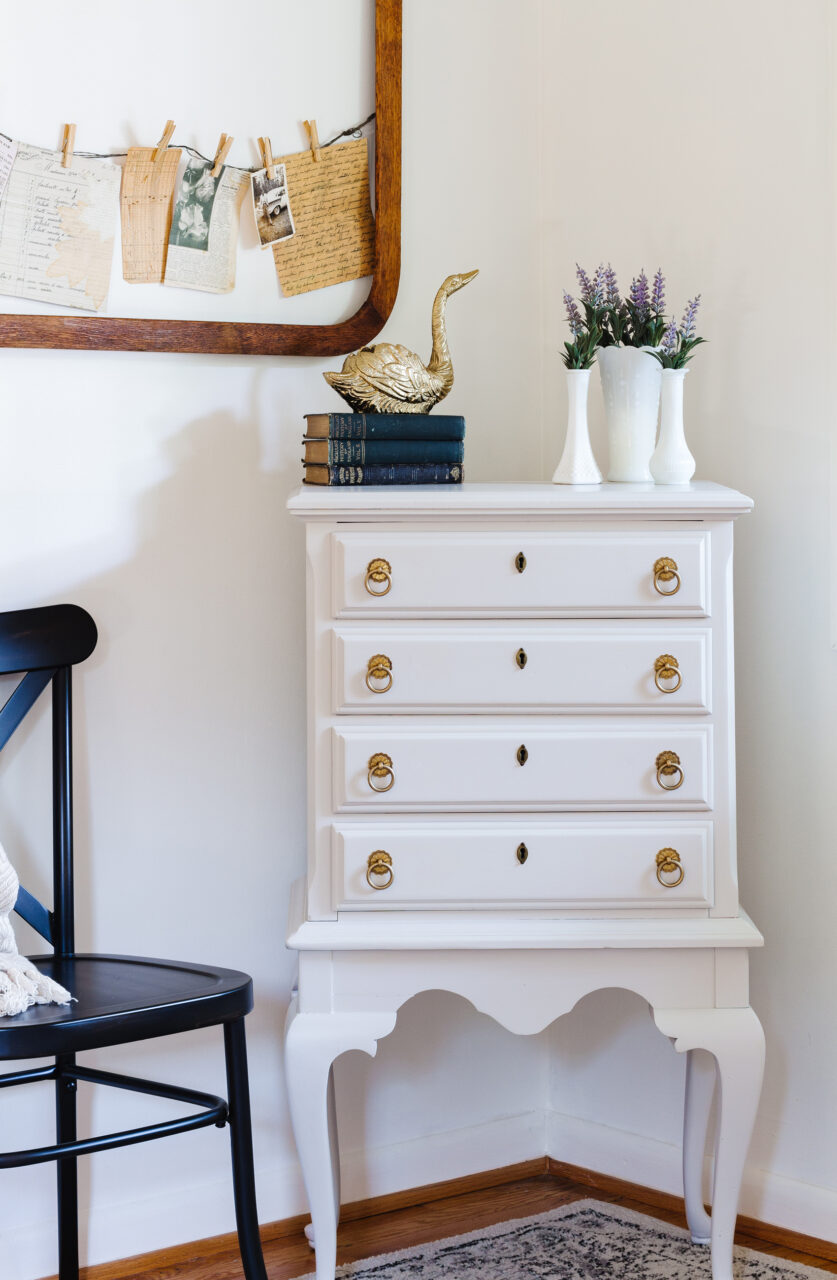
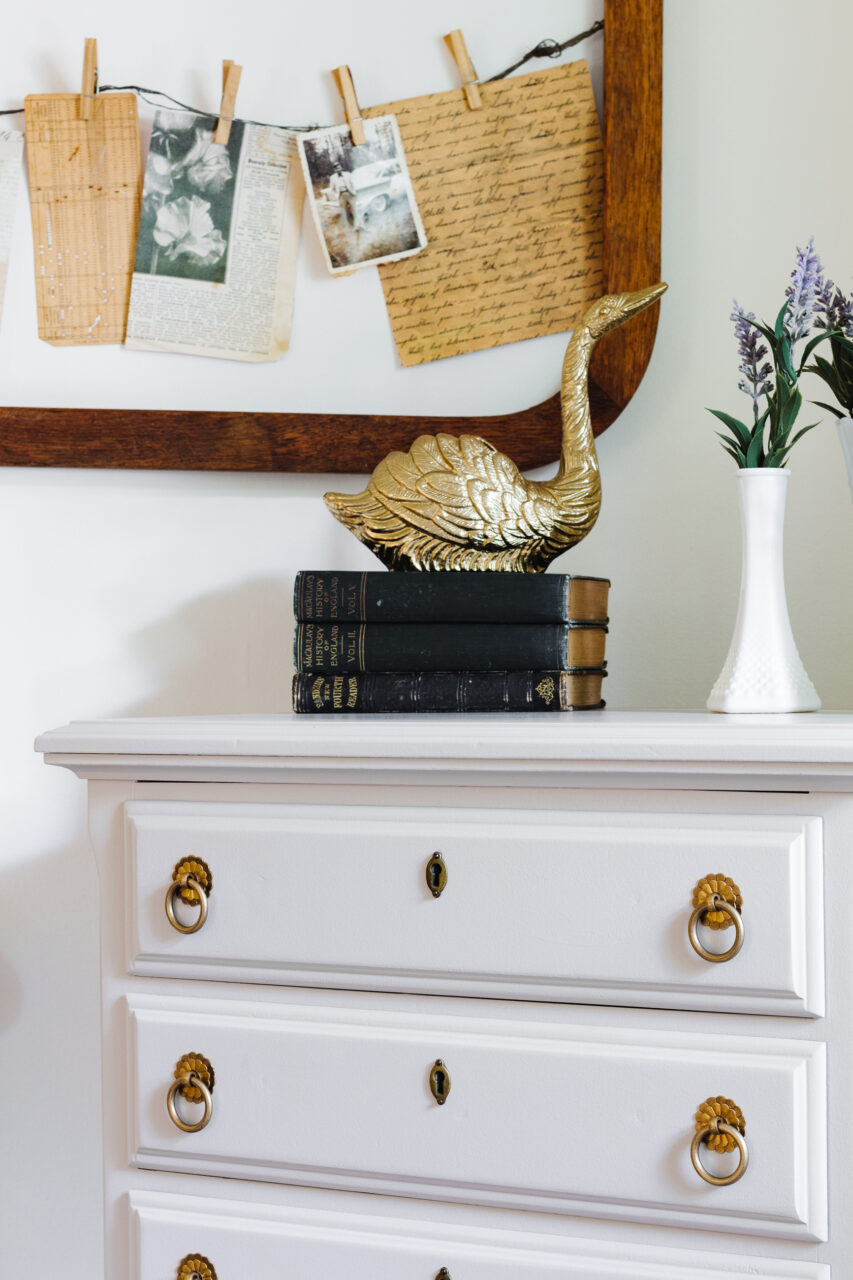
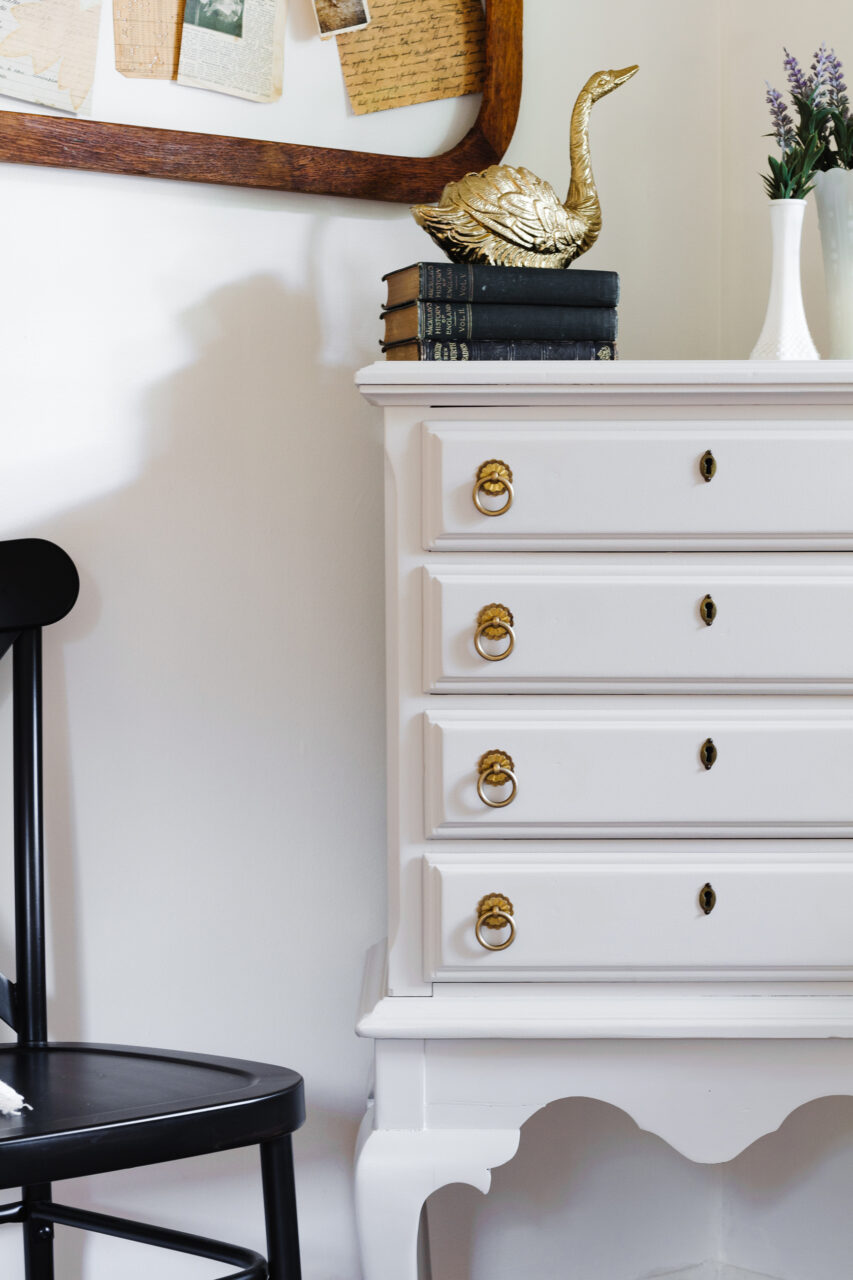
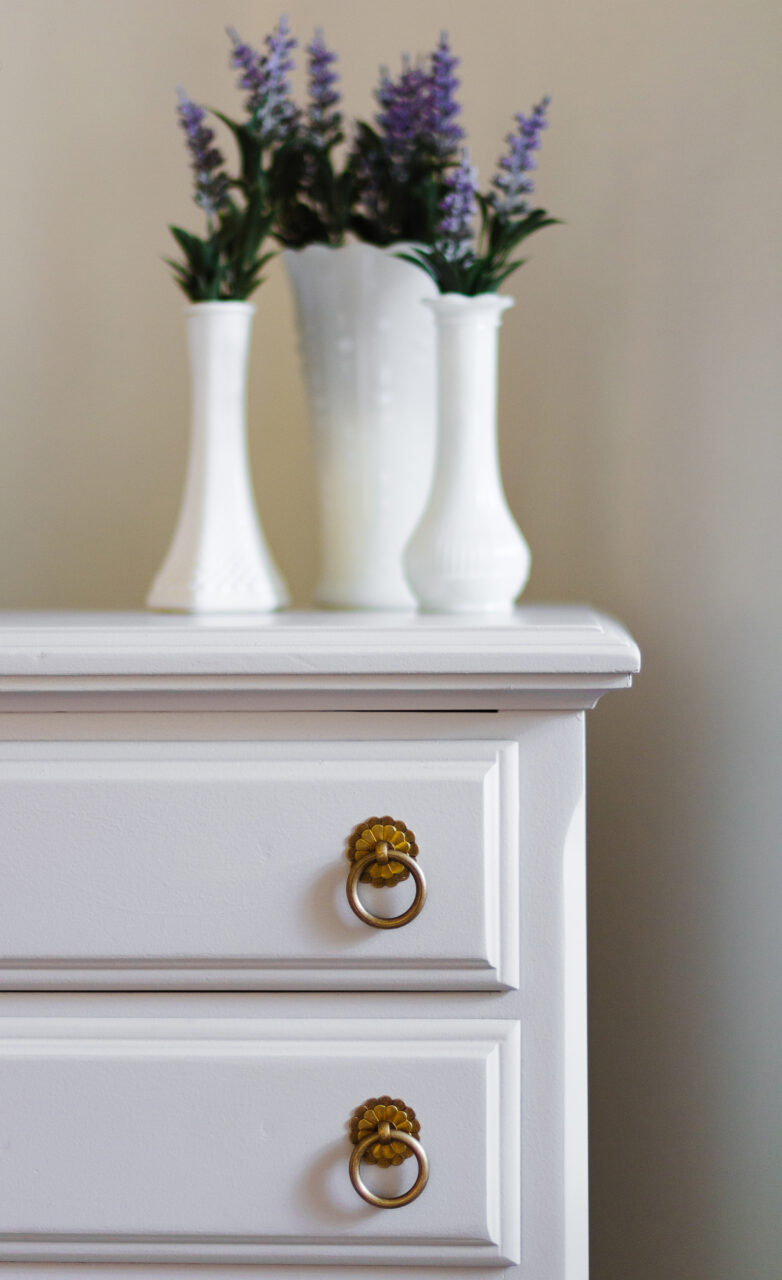
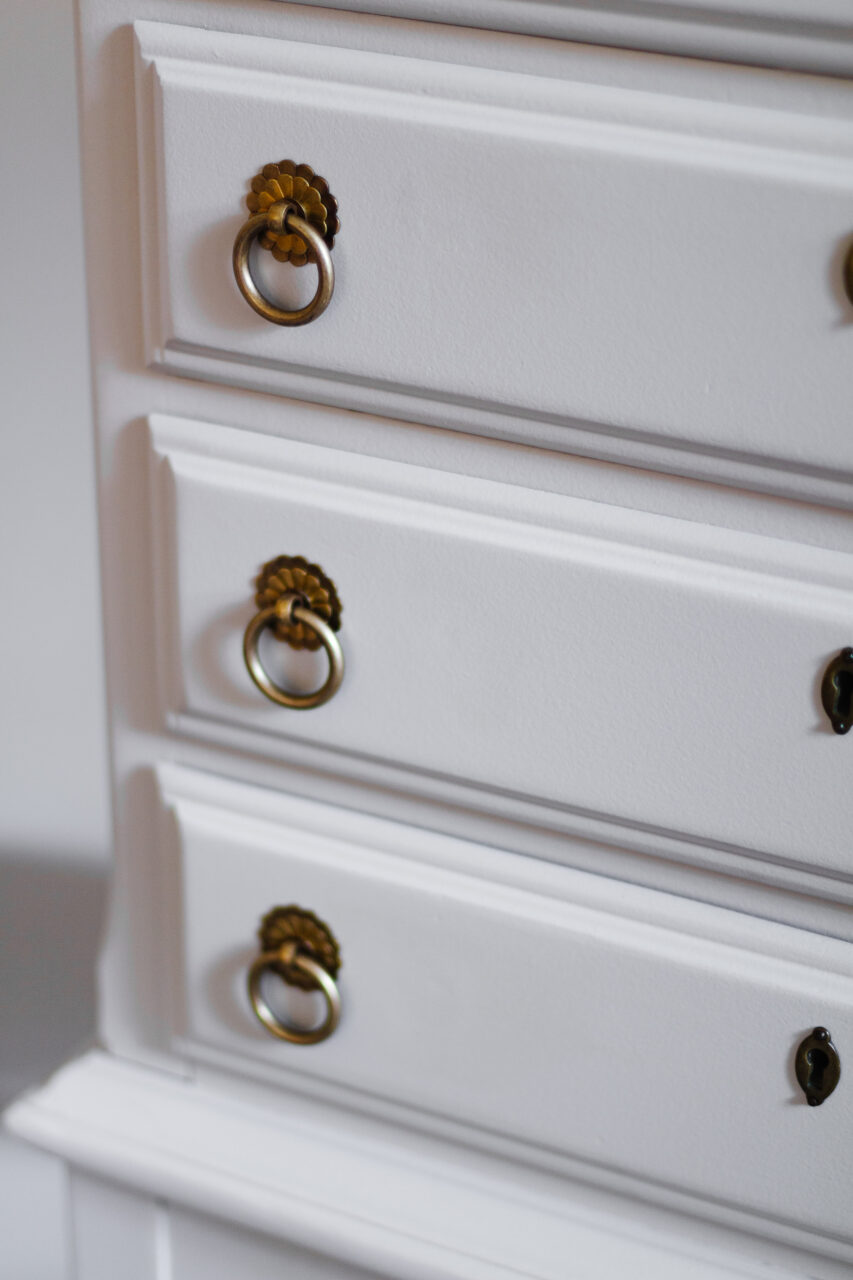
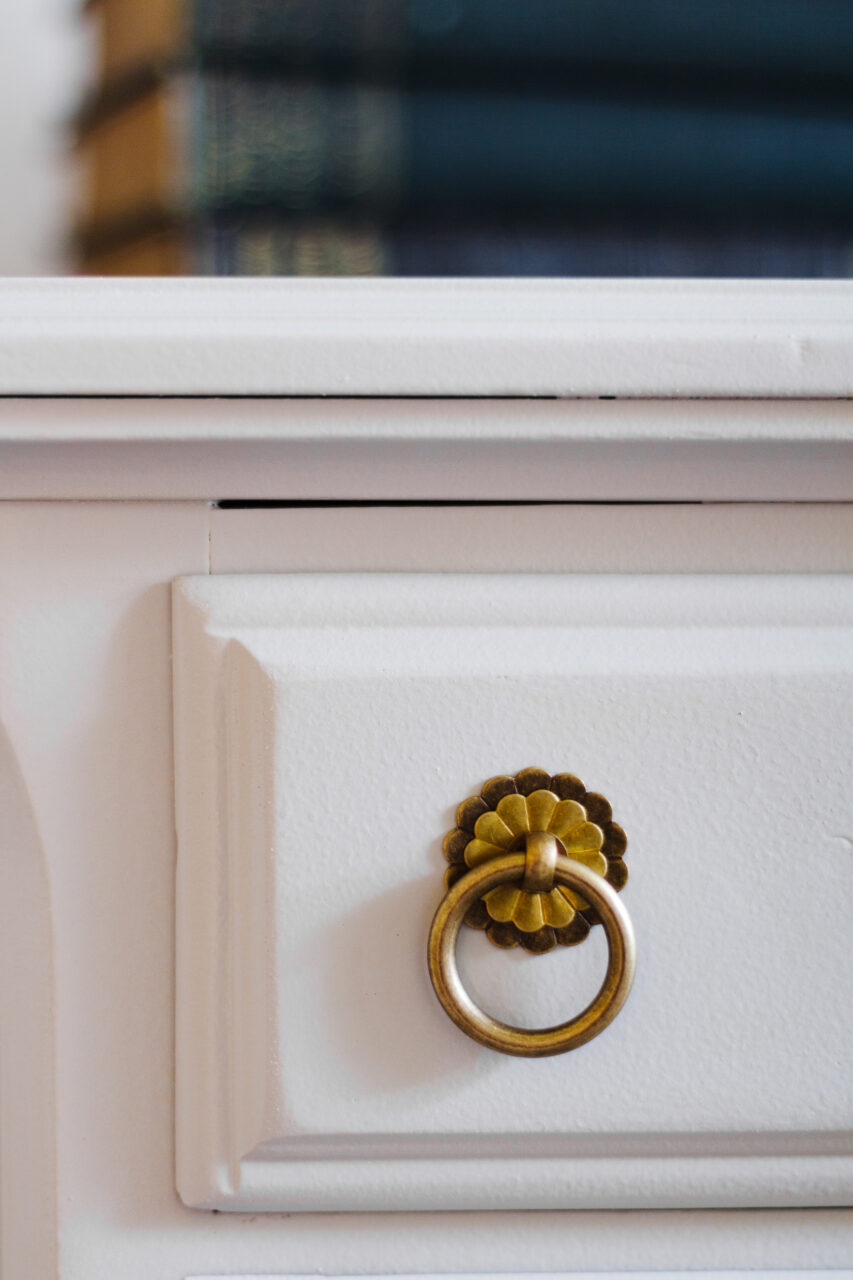
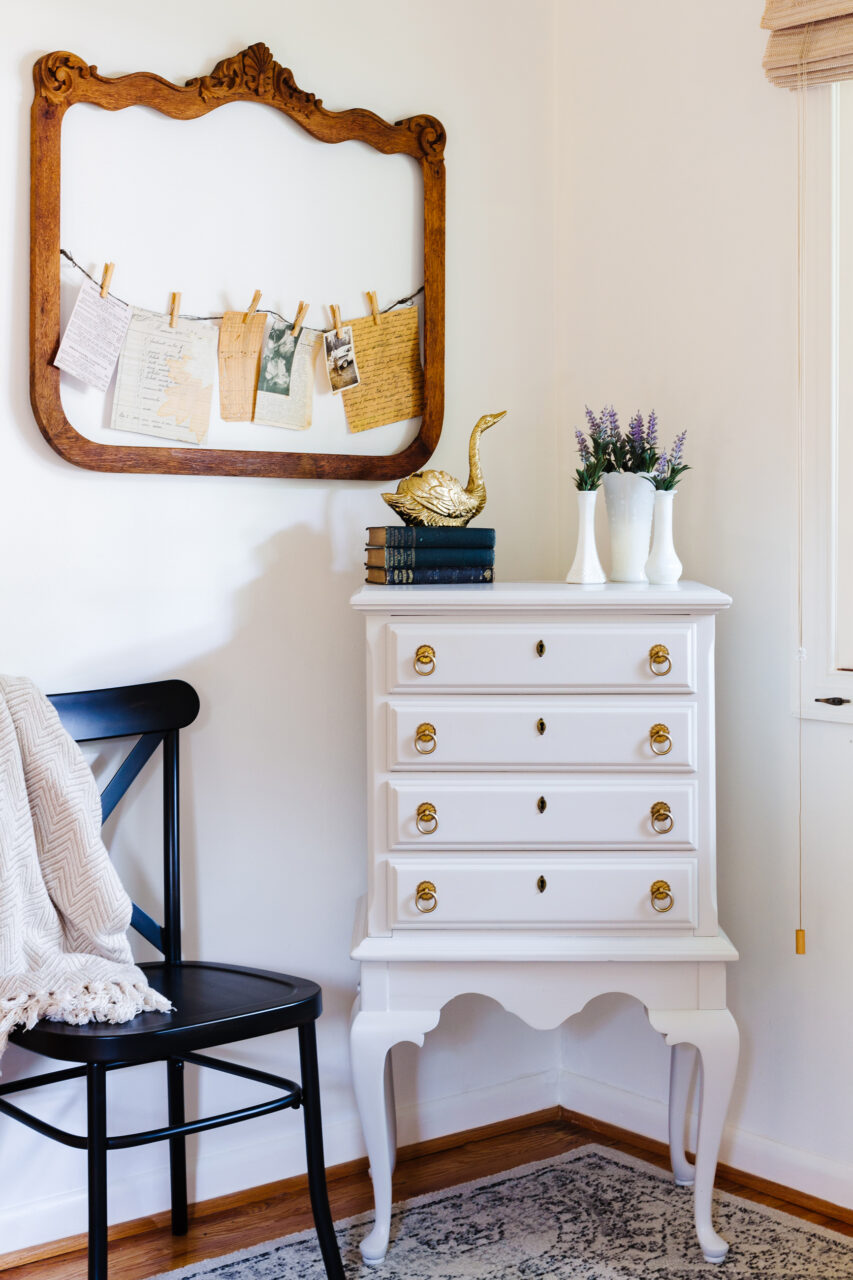
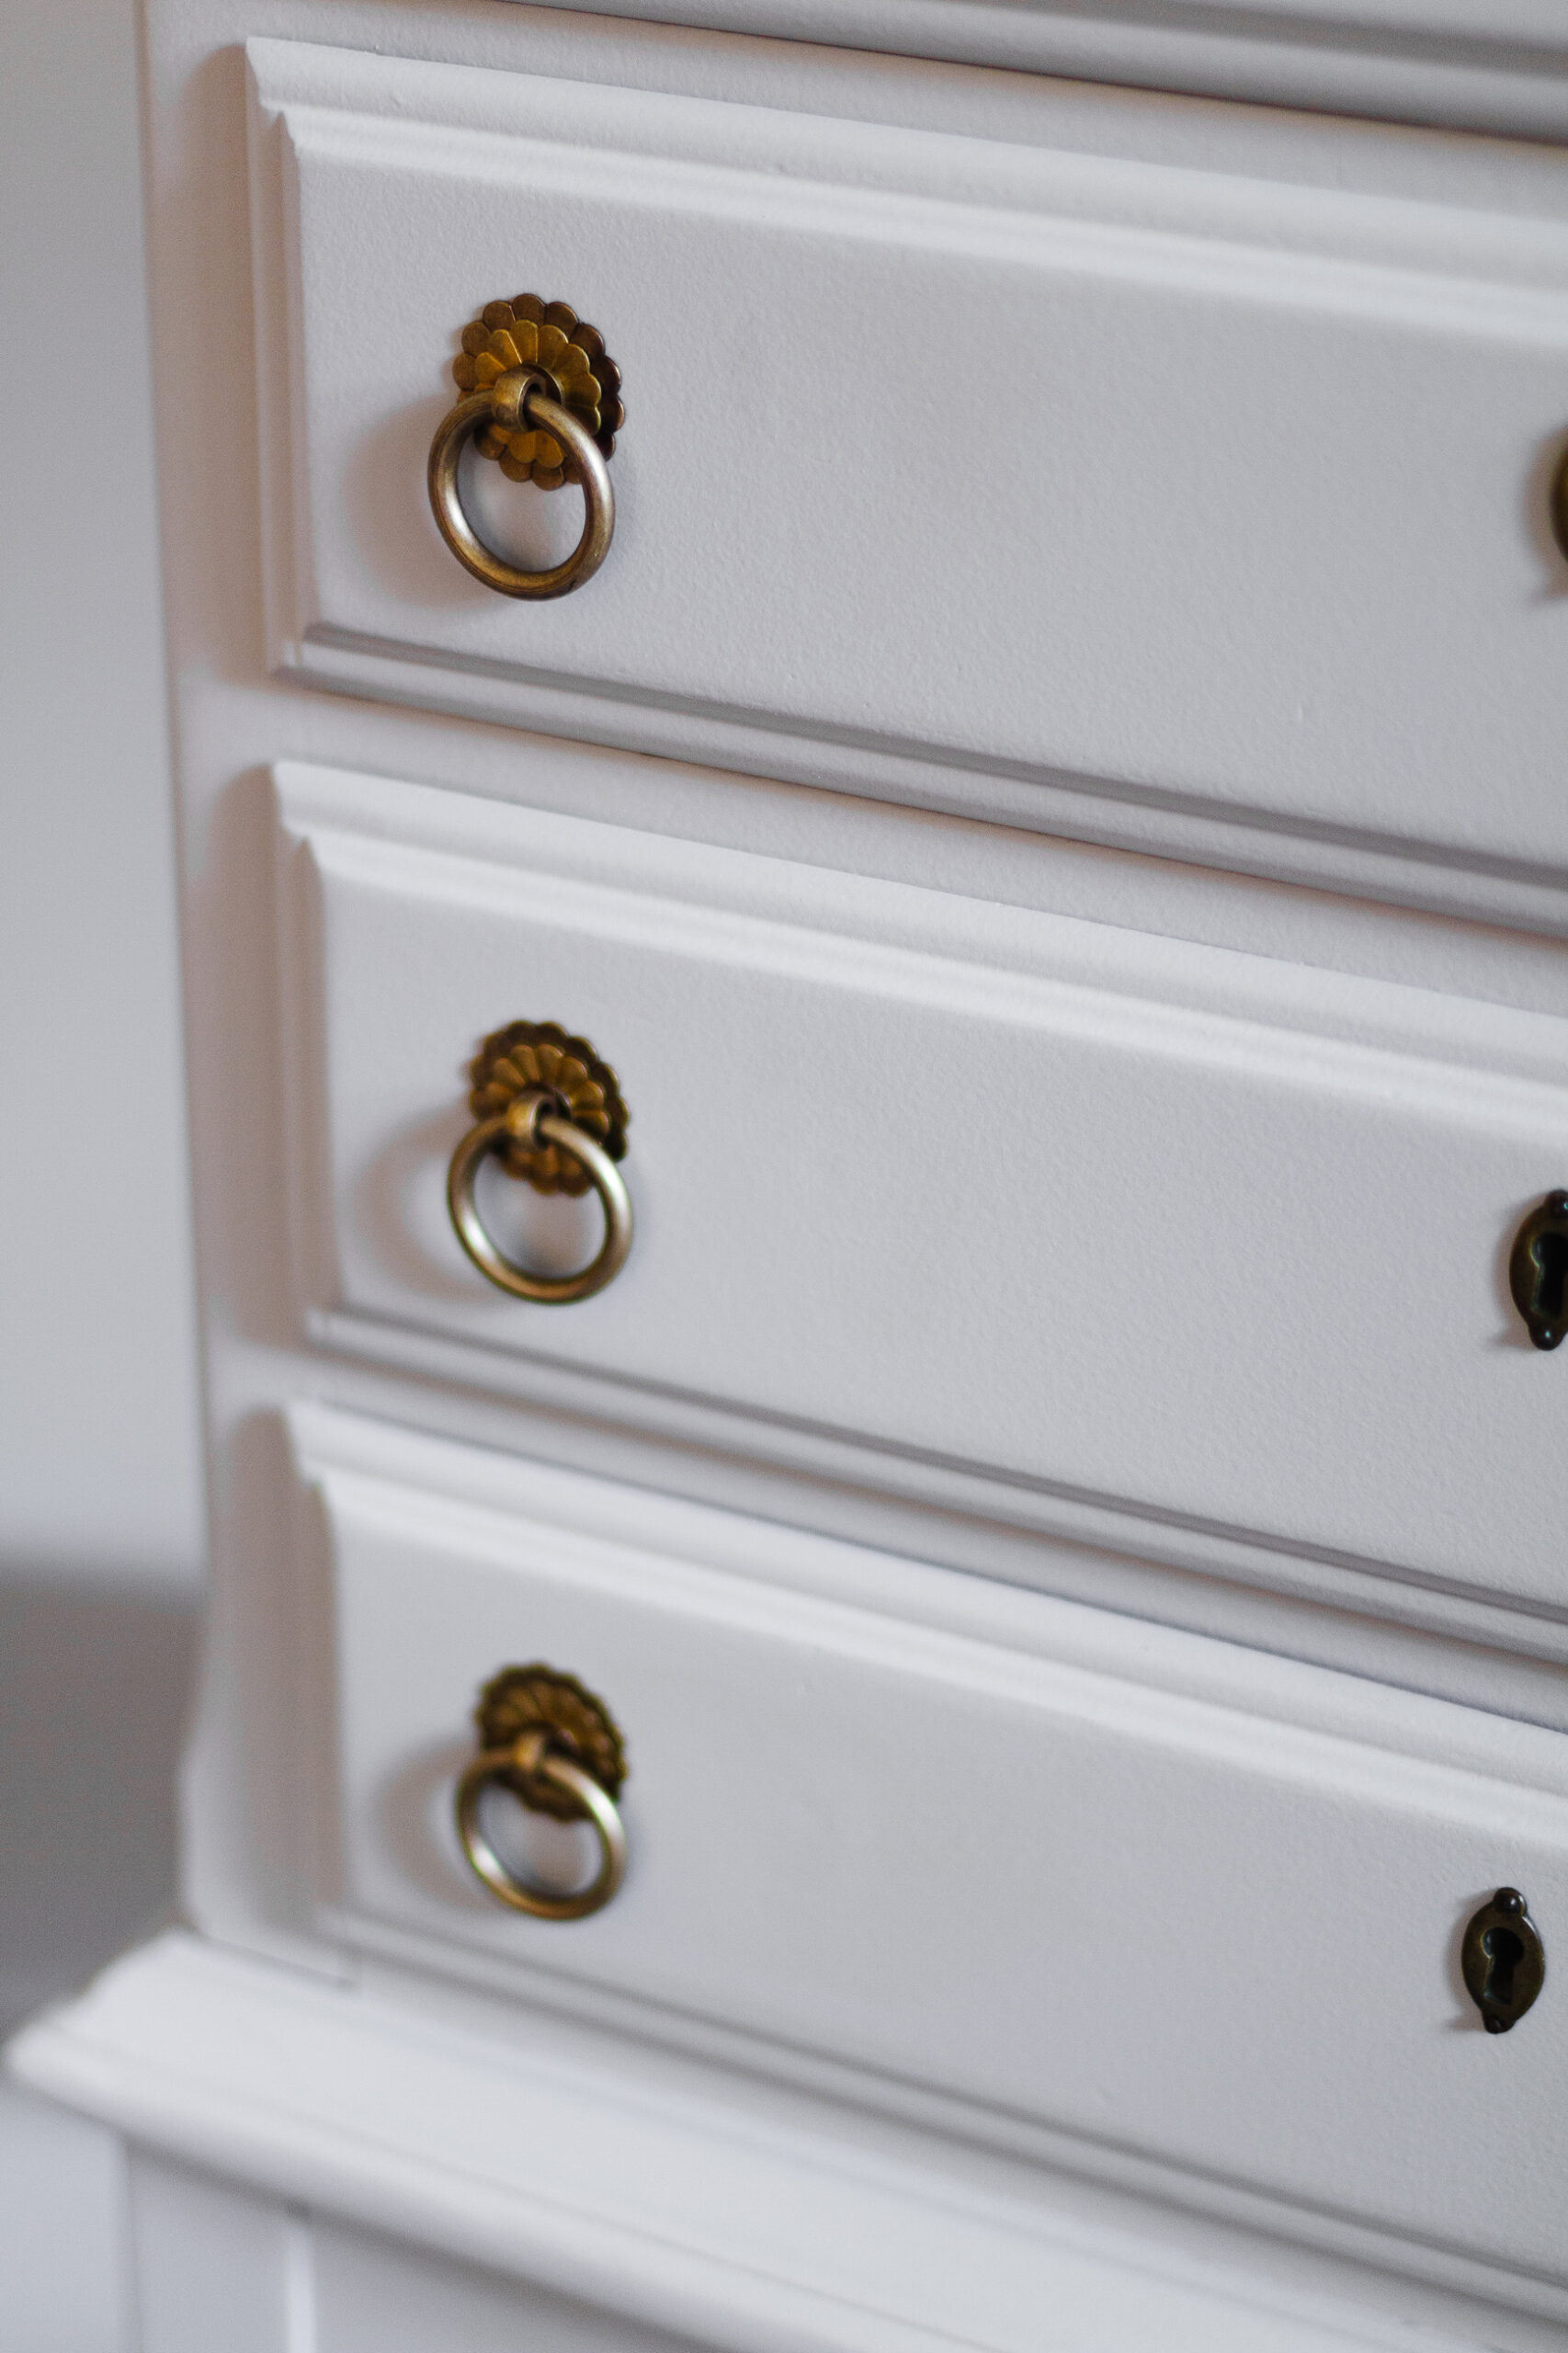
This vintage jewelry chest was a curbside find. Aside from a bit of damage to the bevelled edges of the trim, this piece did not require many repairs. We wanted to brighten up the wood and give this piece a neutral but versatile look that can be used for many purposes, like jewelry storage, formal dinnerware storage or even to act as a bar. Of all the paint colours, we went with Cobblestone as our choice!
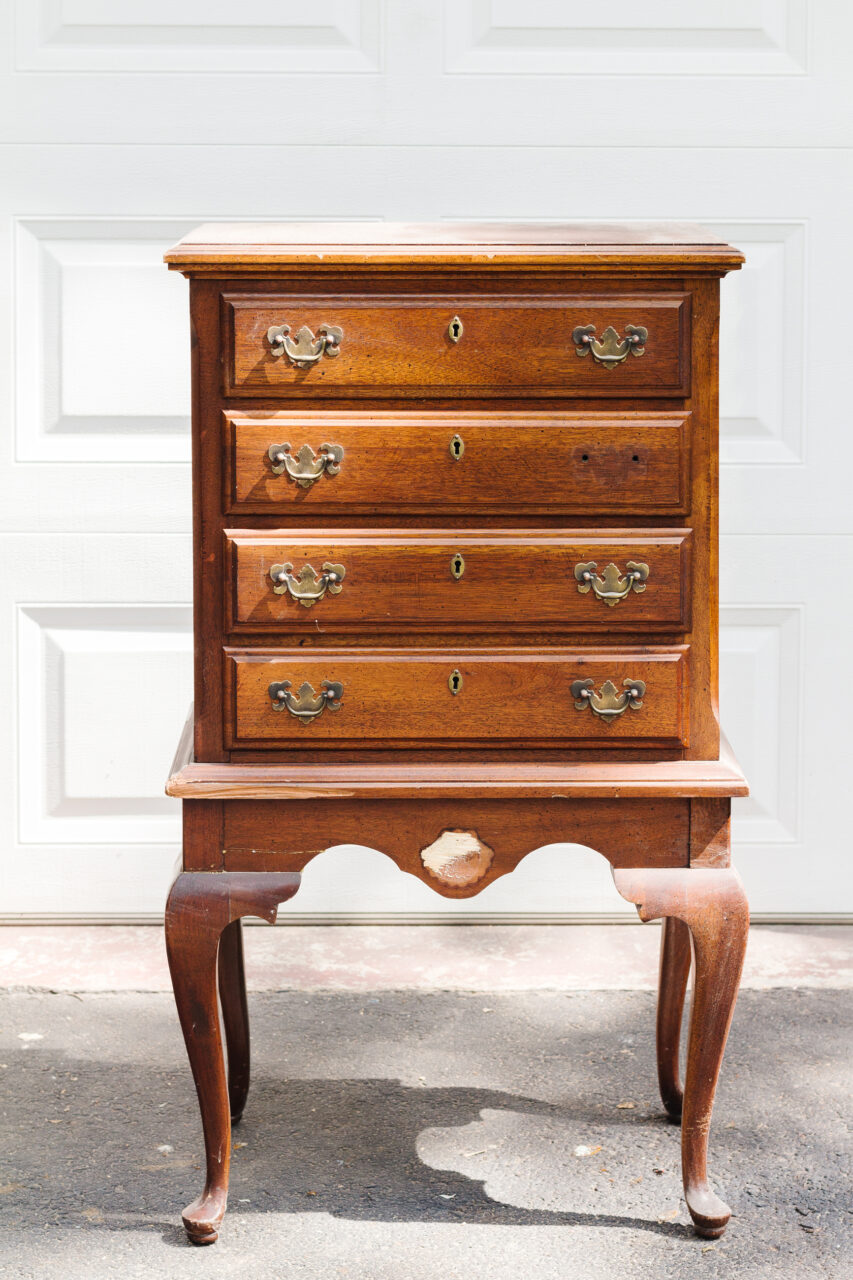
MATERIALS USED TO CREATE COBBLESTONE VINTAGE JEWELRY CHEST:
- TSP Alternative + Blue Shop Towels
- Wood Putty
- 220 grit Sandpaper
- Fusion Mineral Paint Cobblestone
- Staalmeester Round One Brush
- Fusion Clear Wax + Wax Brush
- Scallop Brass Pulls from Amazon
Cleaning And Prepping
Remove previous hardware. You want to determine if the new hardware will fit by placing the hardware in the same hole. Adjust by drilling larger holes if necessary but in this case, the hardware fit perfectly.
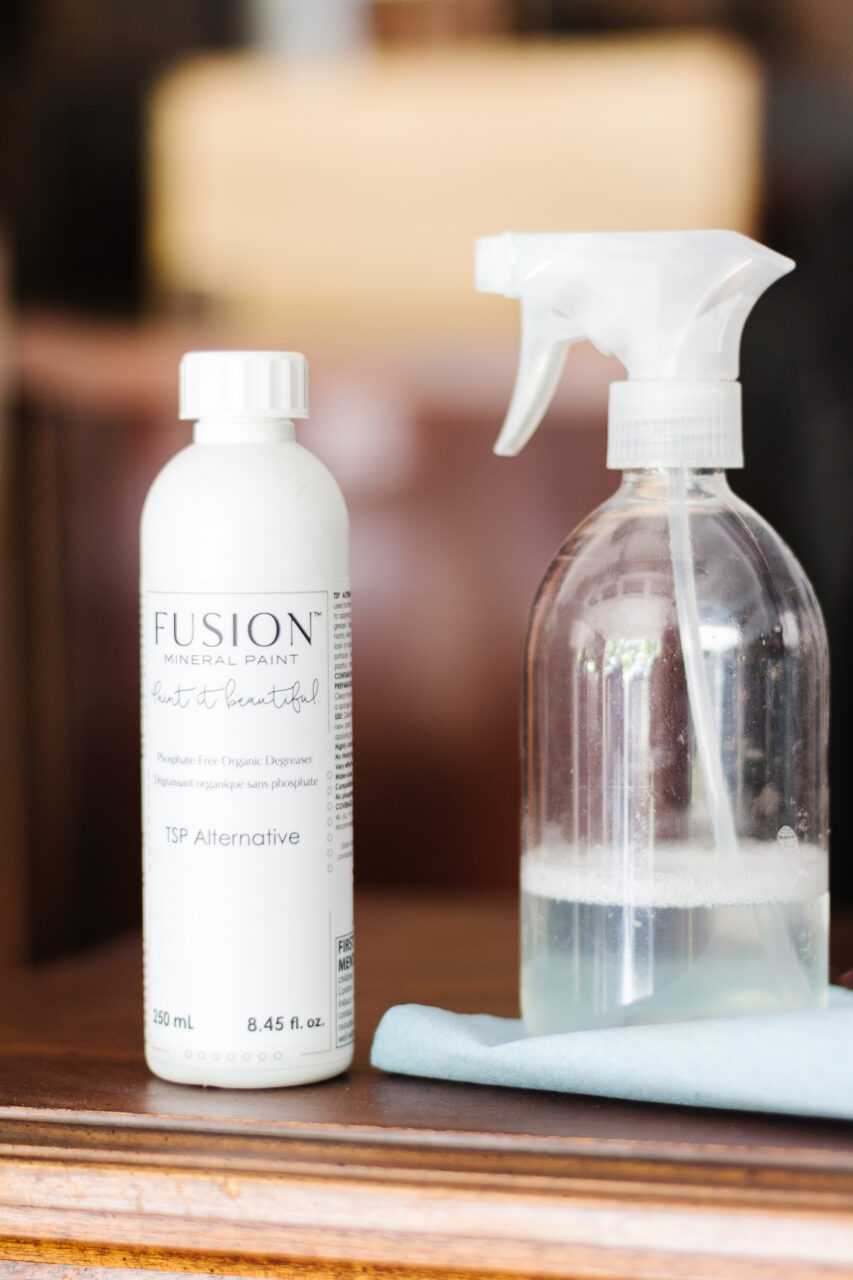
TSP Alternative An Eco-Friendly Cleaning Solution
Use Fusion TSP diluted in a 1:5 ratio of warm water. We like to use a spray bottle because it covers a large surface area without saturating the pieces in water. Use a rag or shop towels to clean up any dirt and grime.
Sanding Ready For Painting
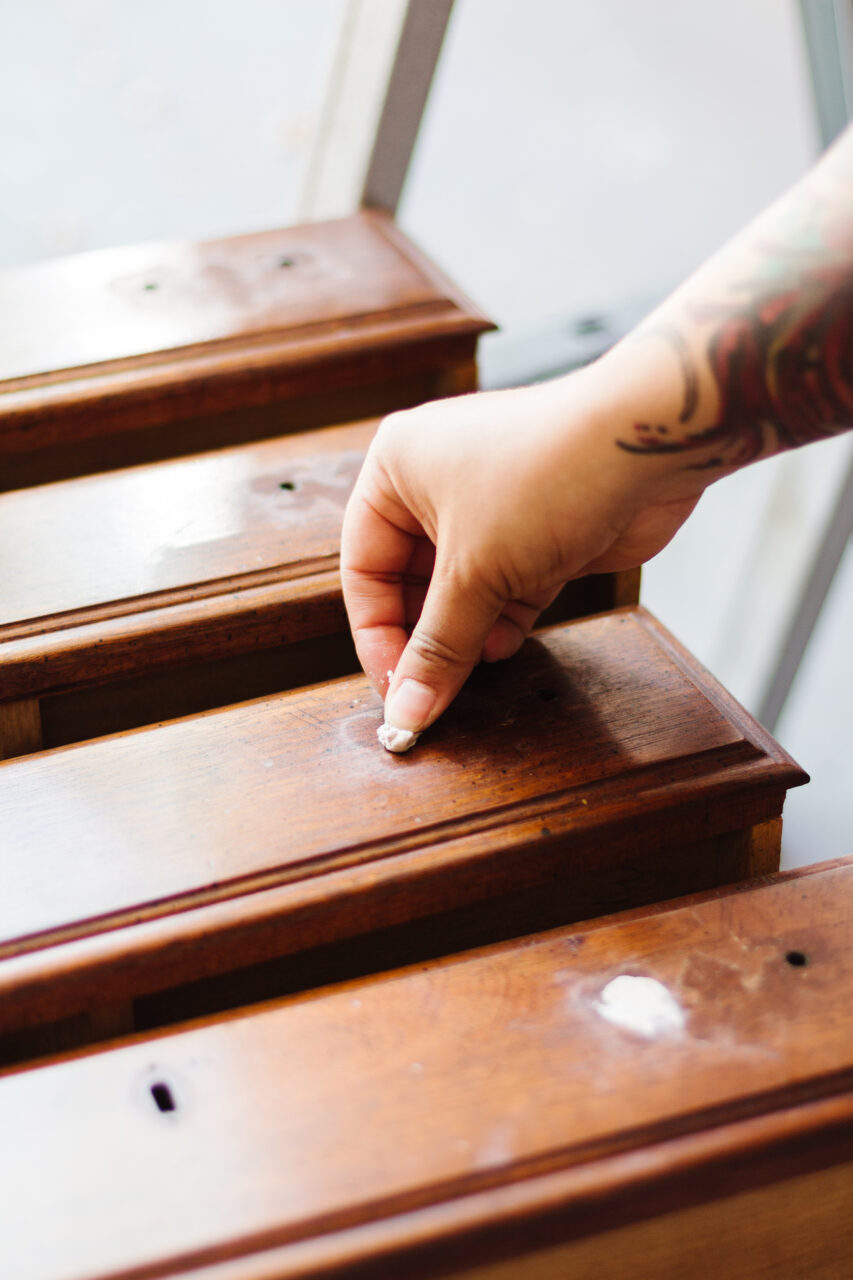
Since we were going from a double screw handle to a single screw, we filled in the other hardware holes using an epoxy wood putty which is sand-able and paintable. Let it dry for 1-2 hours before attempting to sand or paint over it.
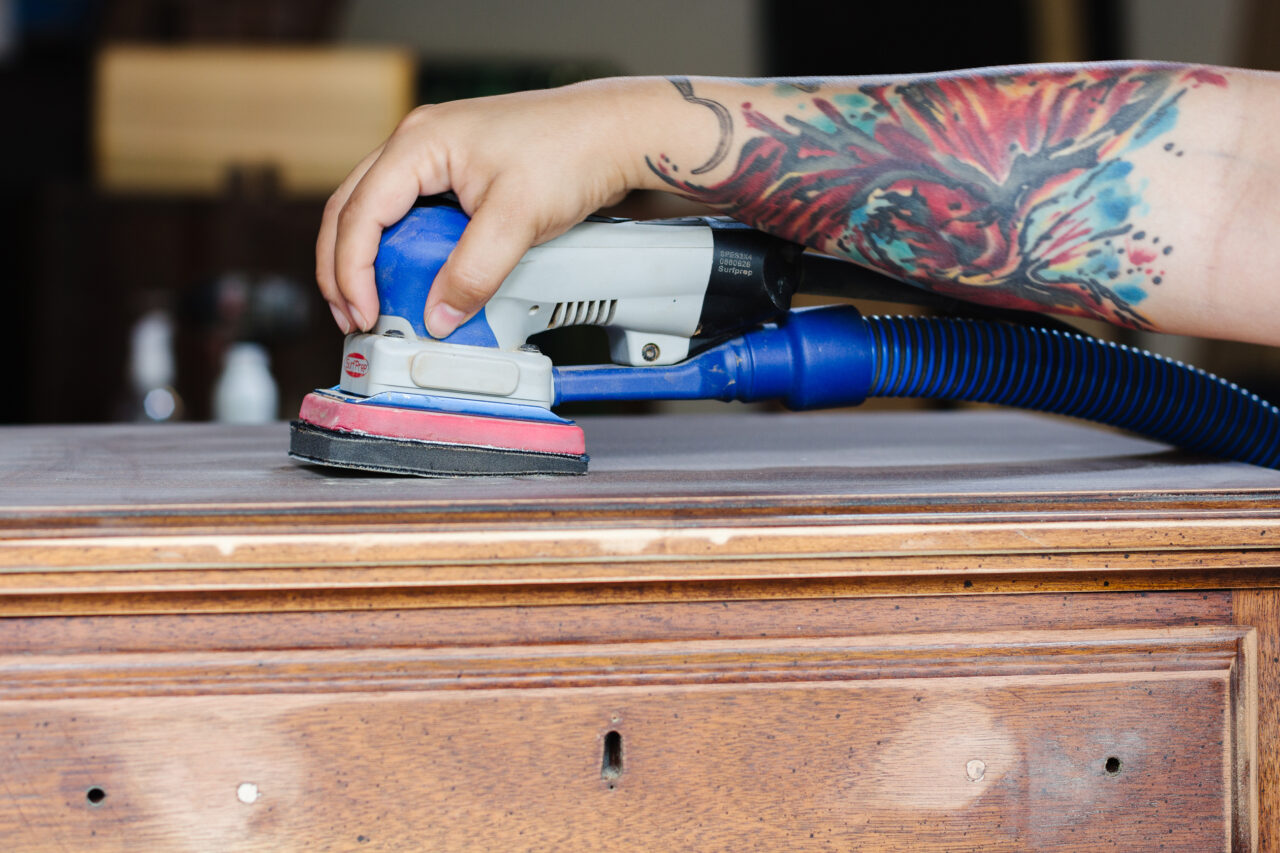
Use 220 grit to scuff up the surface. 220 grit is also coarse enough to sand smooth the wood putty and give you a flat, even surface. Clean up excess dust and dirt with the TSP solution.
The Right Staalmeester Brush For The Job
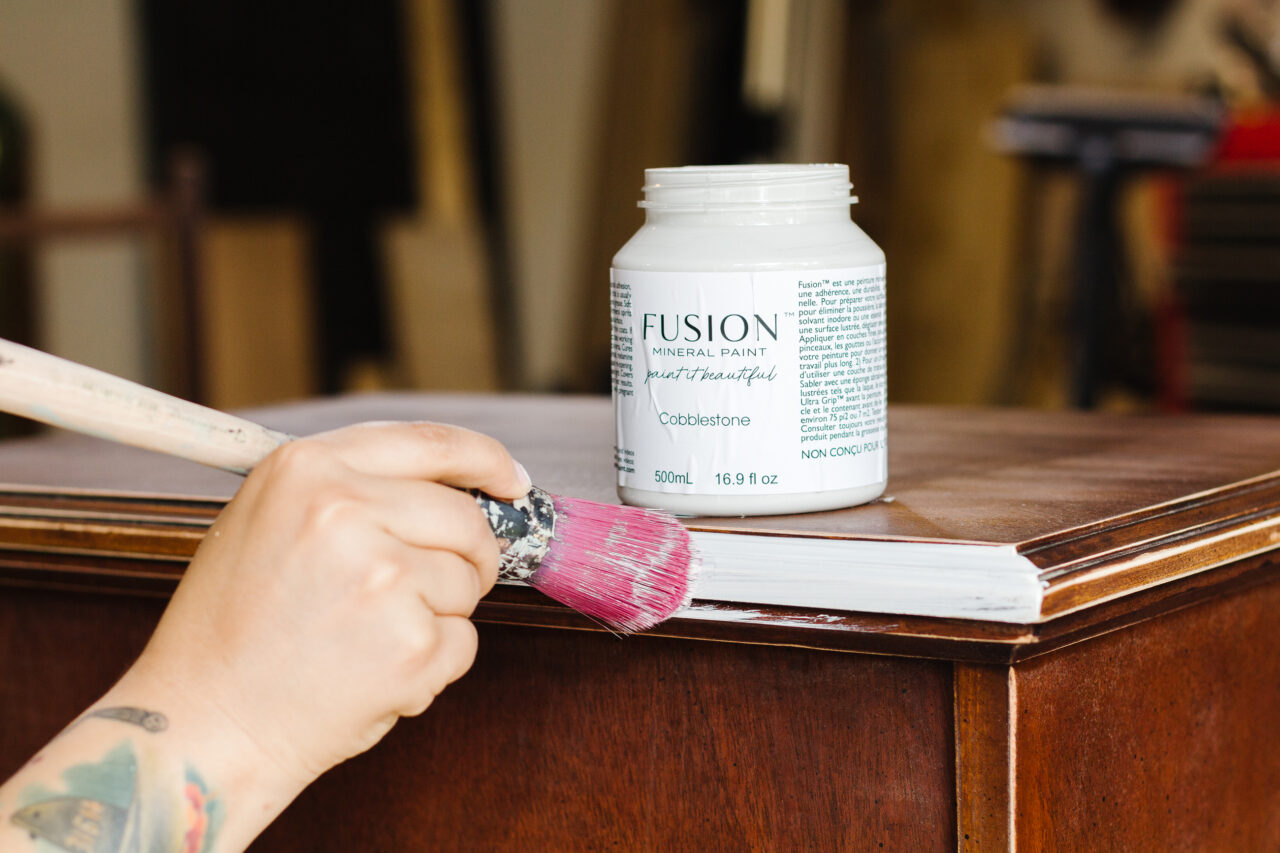
Use a Staalmeester Round One brush to apply thin coats of paint, we used Cobblestone. The secret to minimal/no brush strokes is thin coats without overbrushing. This piece required three coats of paint for full coverage.
The Finishing Touches
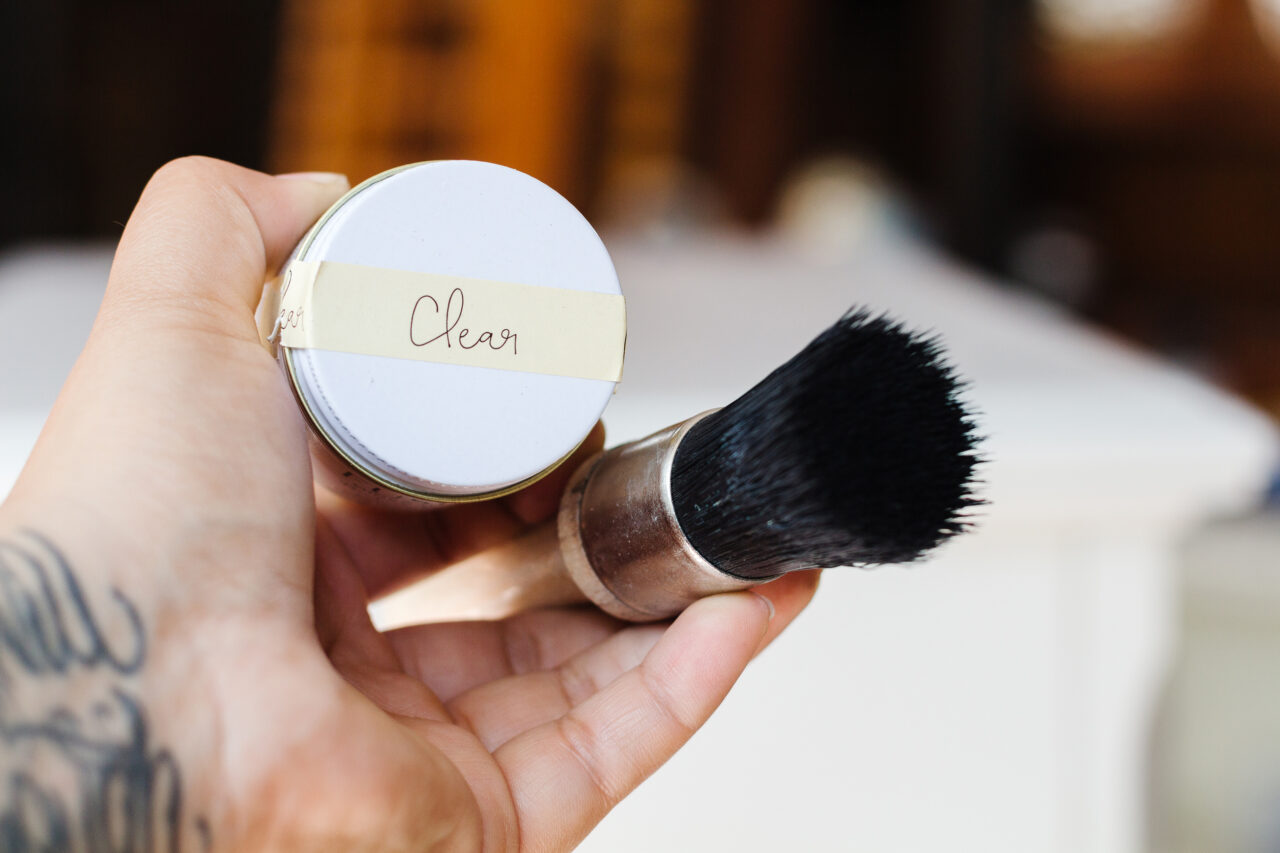
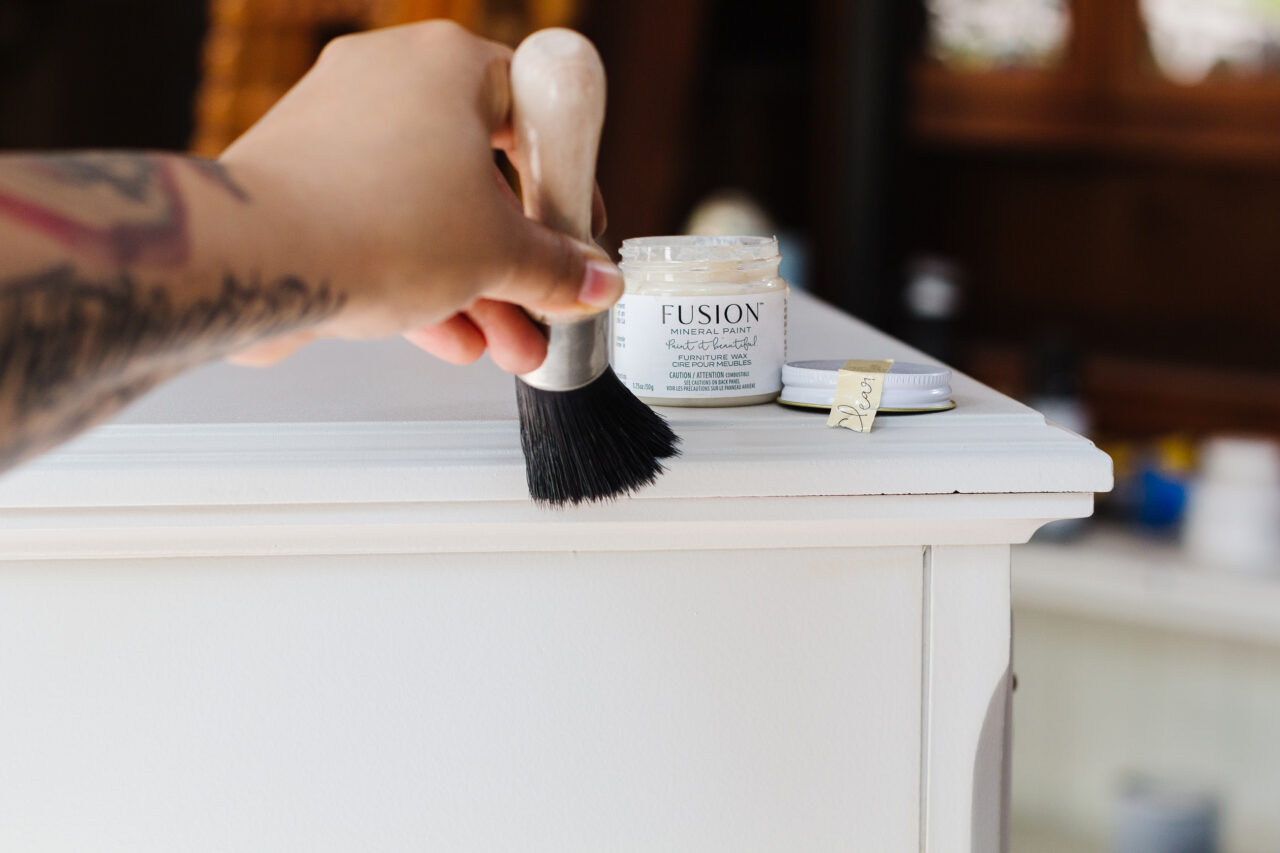
Apply Fusion Clear Wax with a wax brush and buff to a satin lustre using a lint-free cloth. Fusion clear wax gives you a bit of sheen and some protection in case the piece will be used around wet areas.
After installing new hardware. You’re now left with a beautiful piece of furniture with multiple uses!
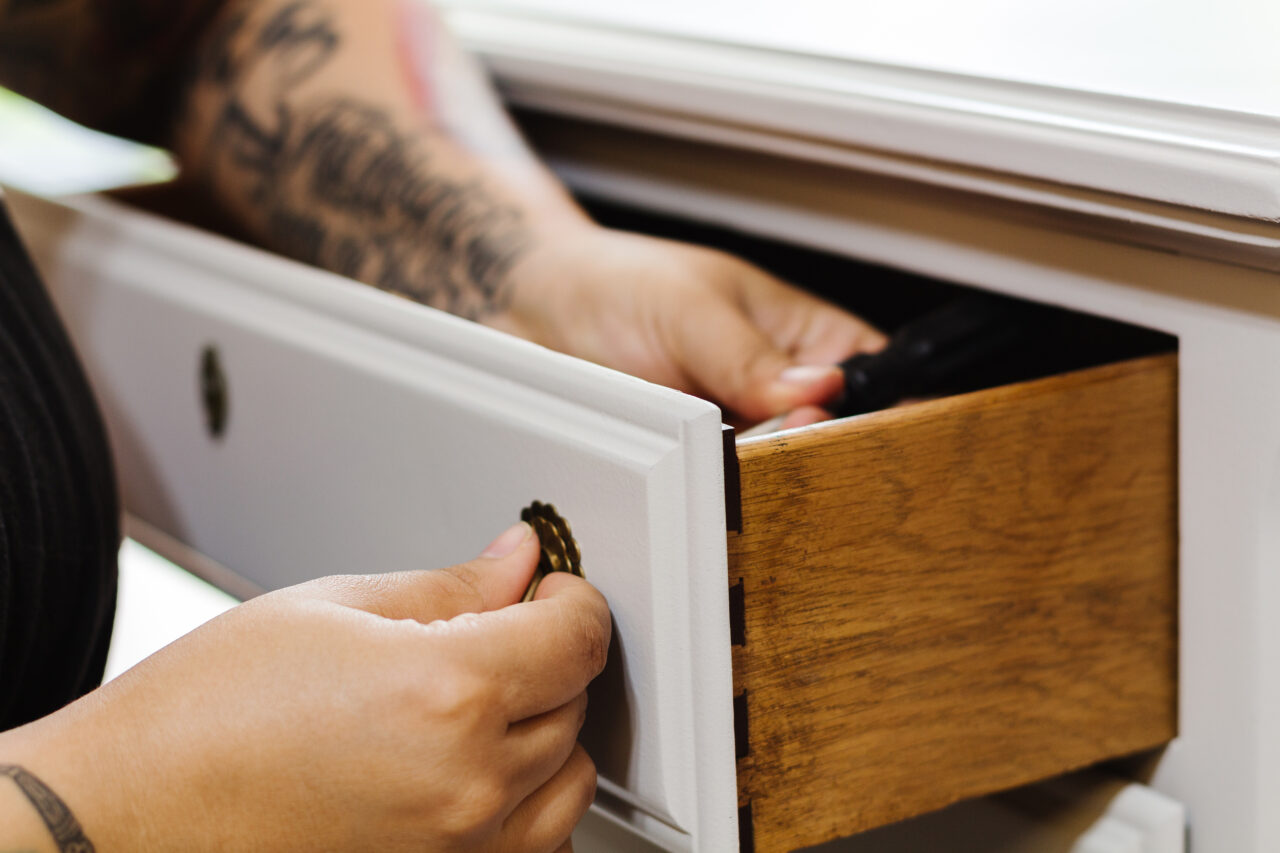
Cobblestone Vintage Jewelry Chest
