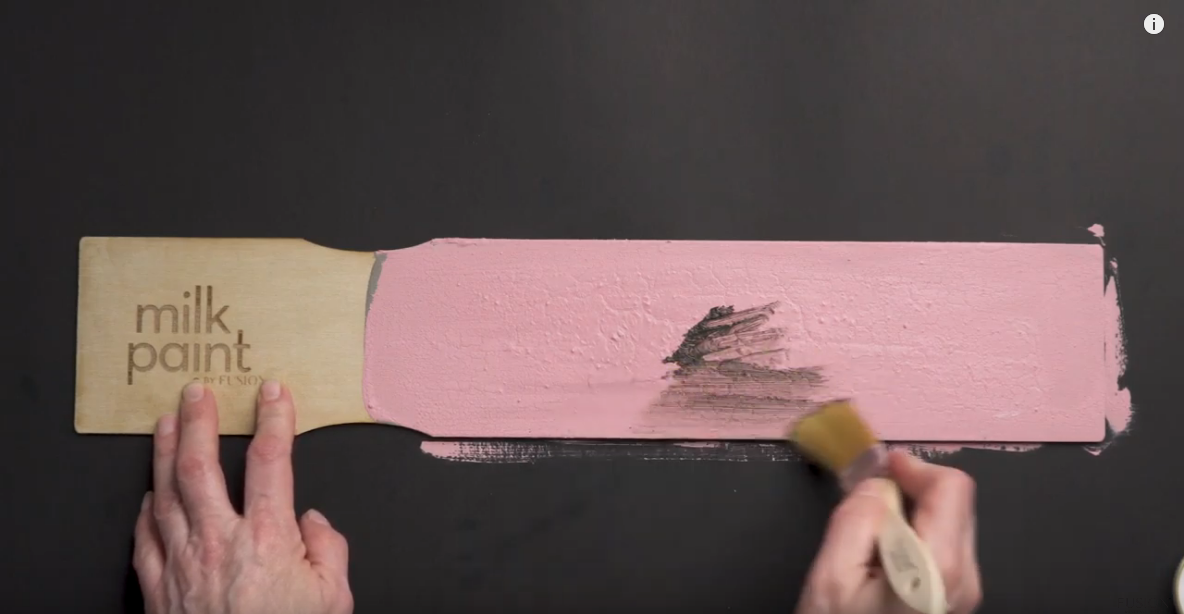
Are you looking to add some vintage charm to your project with a crackled finish? It’s easier than you might think, and all you need is some milk paint and a hairdryer. In this tutorial, we’ll show you how to create an authentic-looking crackled finish using contrasting colours.
Step 1: Mixing the Milk Paint
To create a crackled finish with milk paint, you’ll need to mix the paint a little thicker than usual. This will allow the paint to crack as it dries, creating a beautifully vintage effect. For this project, we’re using a base coat of Gotham Grey and a top coat of Palm Springs Pink.
Step 2: Applying the Milk Paint
Once your milk paint is mixed, apply it liberally to your surface. Remember that the thicker you apply the paint, the larger the cracks will be. In areas where you apply less paint, the cracks will be smaller.
Step 3: Drying the Milk Paint with a Hairdryer for the Crackled Finish
To speed up the drying process and create the crackled effect, use a hairdryer on a high heat setting to dry the paint. This will cause the paint to crack as it dries, resulting in a beautiful, vintage finish.
Step 4: Adding Ageing Wax for Extra Depth on your Crackled Finish
To really accentuate your cracks and add some depth to the finish, you may want to apply some ageing wax. We recommend starting with a clear wax, as this will prevent the pigments from over-soaking into the cracks and creating a darker finish than you intended. Simply apply a small amount of wax with a brush, and use a lint-free cloth to wipe away any excess. You’ll be amazed at how beautifully the wax soaks into the cracks, giving your project an authentic vintage look.
And that’s it! With just a few simple steps, you can effortlessly achieve a crackled finish on your project using milk paint and a hairdryer. Whether you’re looking to add some vintage charm to a piece of furniture or create a beautiful accent wall, this technique is sure to impress. Let us know in the comments what you’ll be trying this technique on


