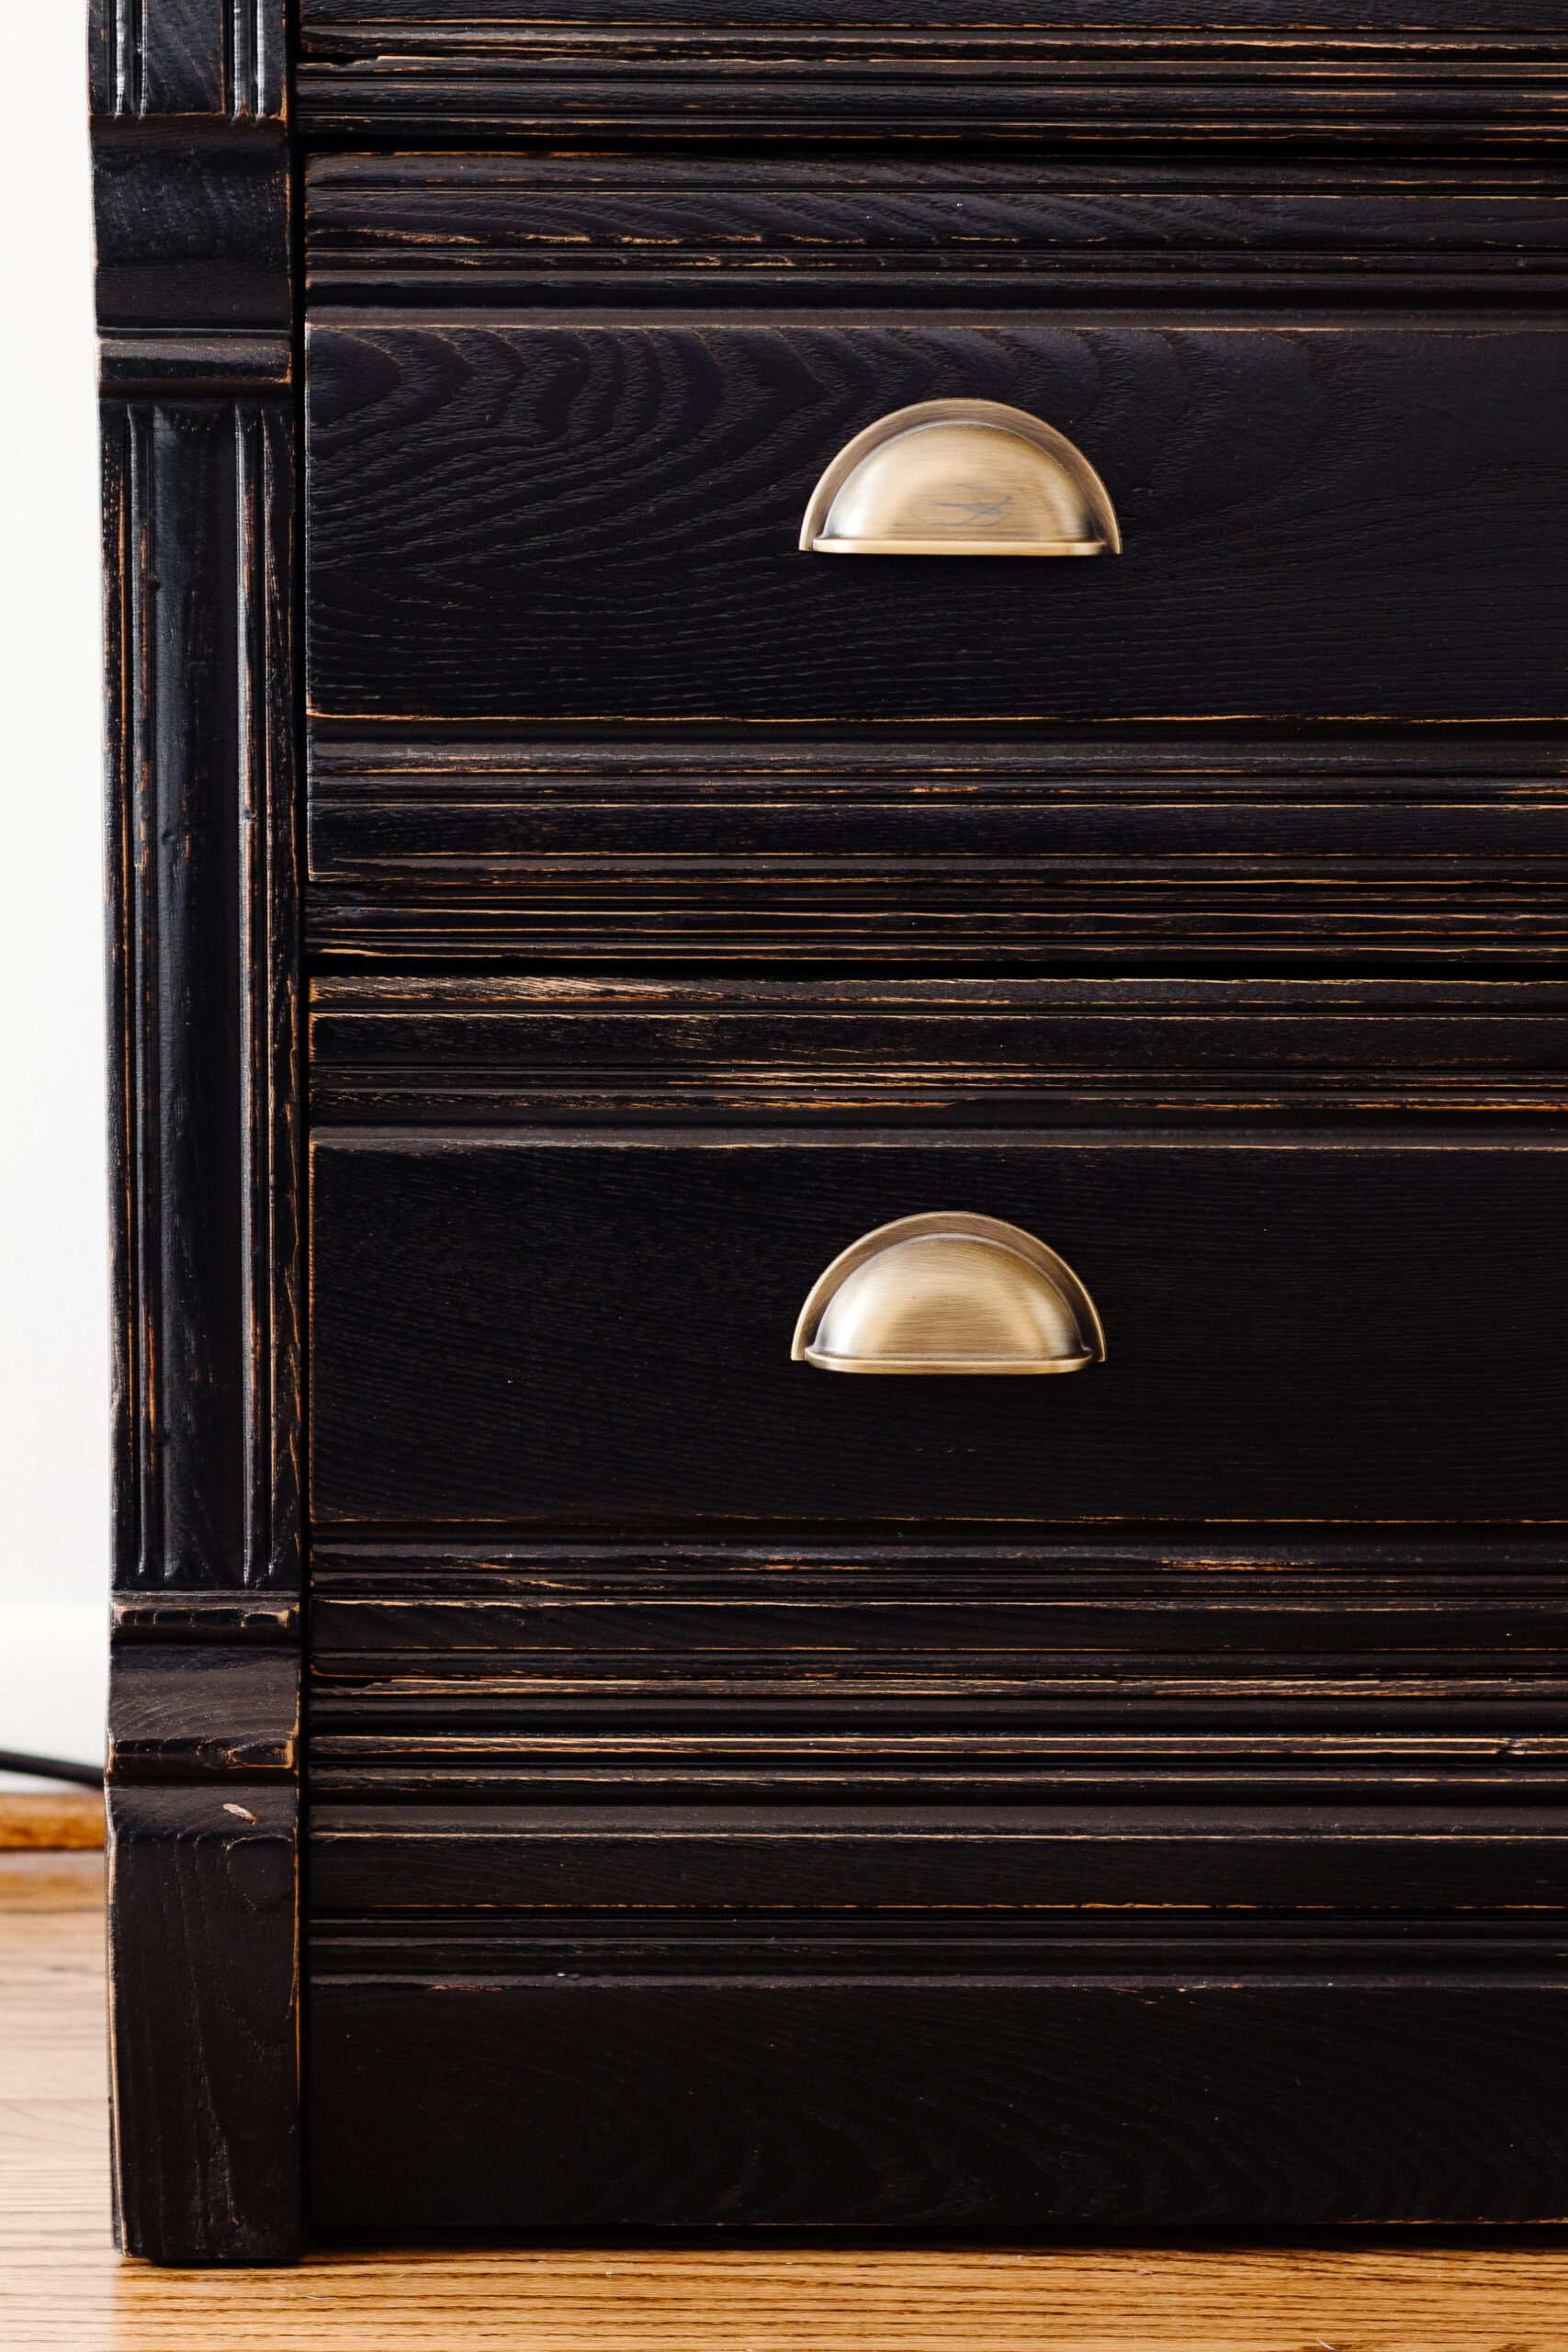
If you’re a furniture artist, chances are you’ve repainted your furniture several times. The endless possibilities that come with refinishing furniture just means that one heirloom in your house can fit any décor or trending style. Every now and then though, we come across that one piece that has a wax topcoat and you just dread removing the wax. It can be tedious and time-consuming and not something you really want to take on for a quick project.
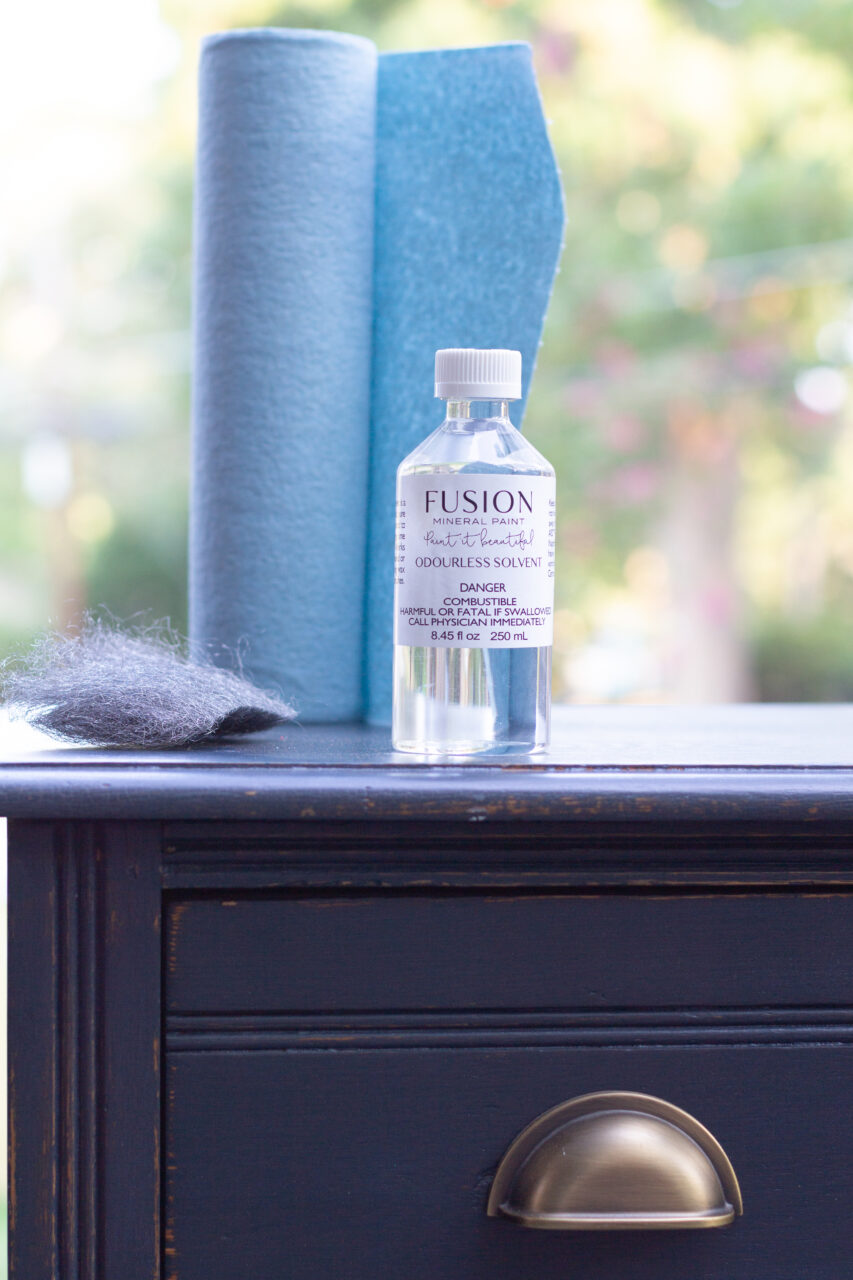
Well, we’re here to tell you that Fusion has a wonderful product that not only is way less toxic than hardware store chemicals but actually does an amazing job at breaking down and removing wax from your surface.
Meet Odourless Solvent!
In this blog post, we’ll explain how to break down the wax topcoat, how to remove the waxy residue and how to prep your piece after the wax is gone.
Our project is a milk-painted dresser that was waxed using Fusion Clear Wax.
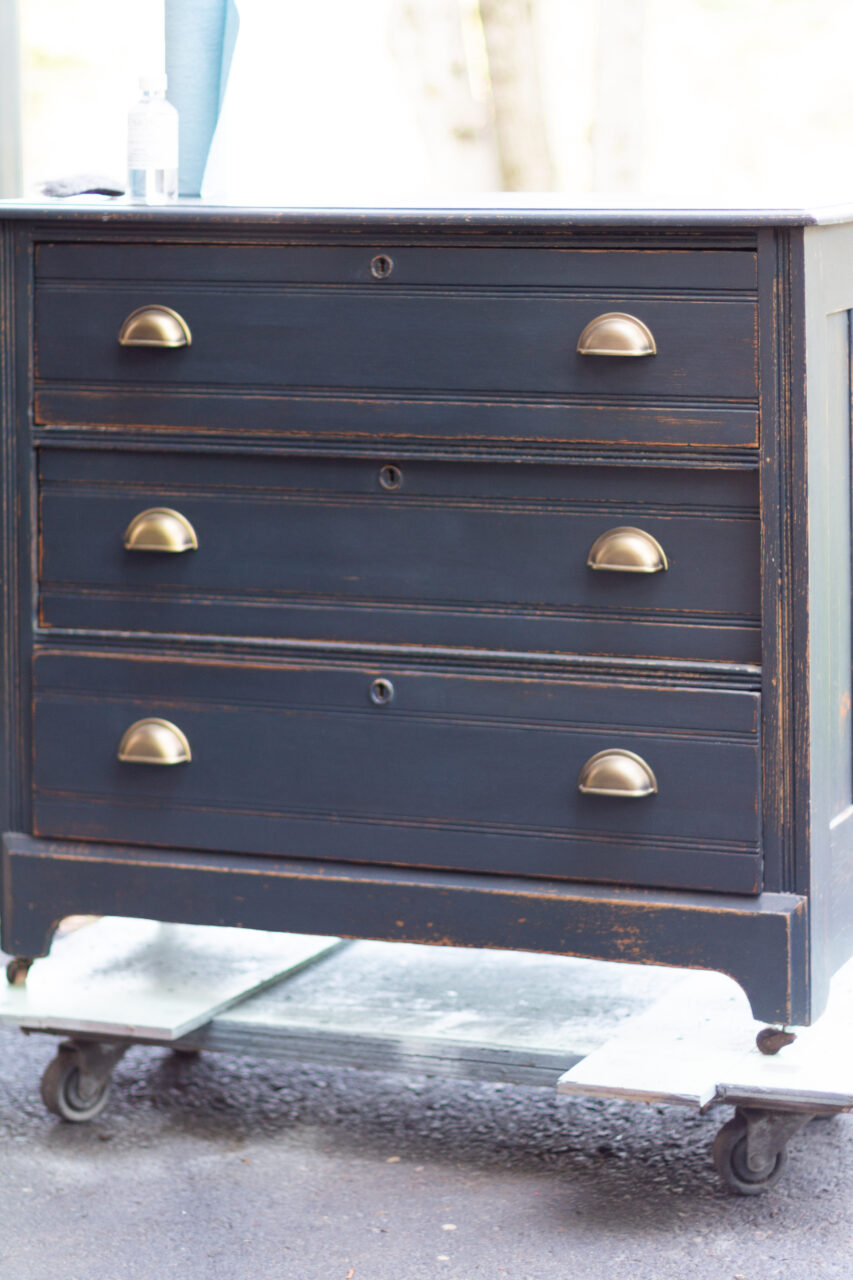
Below is a list of supplies you’ll need to complete a similar project.
- Fusion Odourless Solvent
- Wiping Cloths
- Coarse Grit Steel Wool
- Fusion Mineral Paint Coal Black
- Microfiber roller
- Electric Sander with 130-180 scuff pads/paper
- Staalmeester Round Brush
- Topcoat of your choice
1. Removing the Wax
Hardware Store strippers and solvents do a great job at removing wax. However, those solvents also come with terrible odours, potential chemical burns, and hazardous waste. Not using proper ventilation when working with these products can also be dangerous to your health.
Fusion’s Odourless Solvent is a virtually odour-free mineral spirit. It works great as a substitute for paint thinner or turpentine and is can be used to clean oil-based finishes and substances. These characteristics make this solvent perfect for breaking down wax.
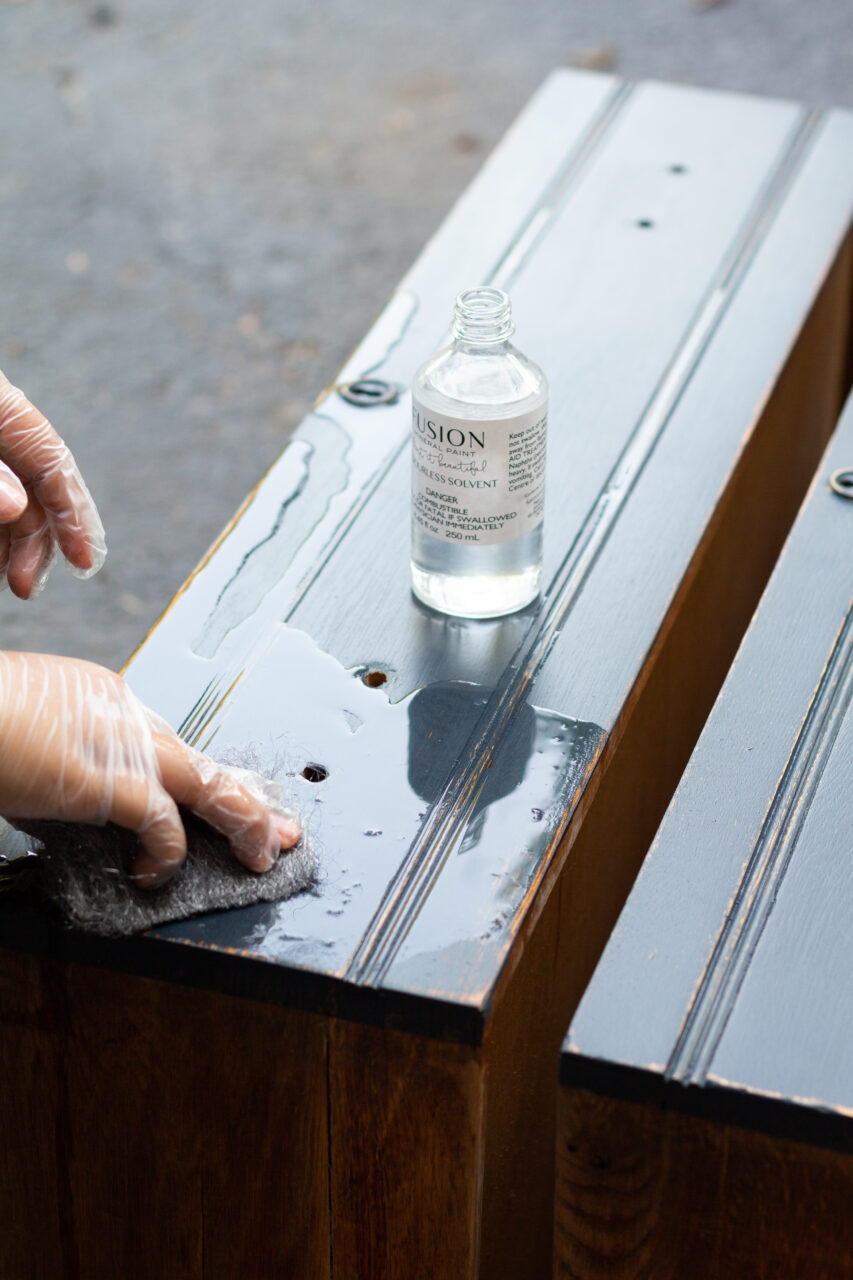
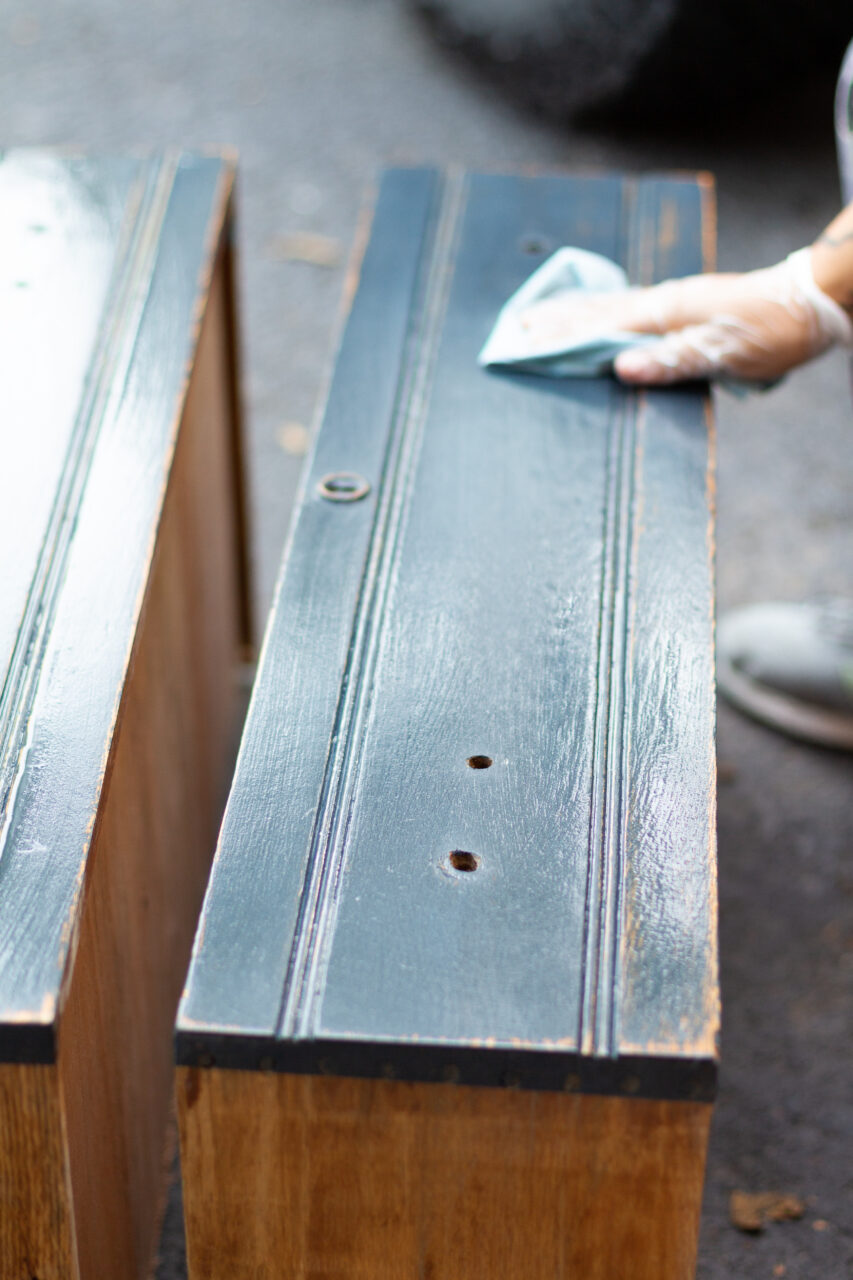
We started by saturating our surface with a generous amount of odourless solvent. A little goes a long way, but we made sure the waxed surface was covered. Let it sit for a few minutes before scrubbing it with steel wool. Then you can wipe away the residue with absorbent wiping cloths.
You may have to repeat this process another time if you have several layers of wax. For this project, one application was enough to completely remove the wax.
2. Prep Your Furniture
After we ensure the wax was gone from the surface (a scratch test will suffice), you can begin prepping your furniture. Since we wanted a slightly distressed look, we decided to remove the milk paint was the best option. We used a coarse grit 120 paper with an orbital sander to sand off the milk paint.
TIP: If there is any remaining wax on your surface, it will gum up on your sandpaper. That is a good indication you need to apply more odourless solvent to remove the remaining wax.
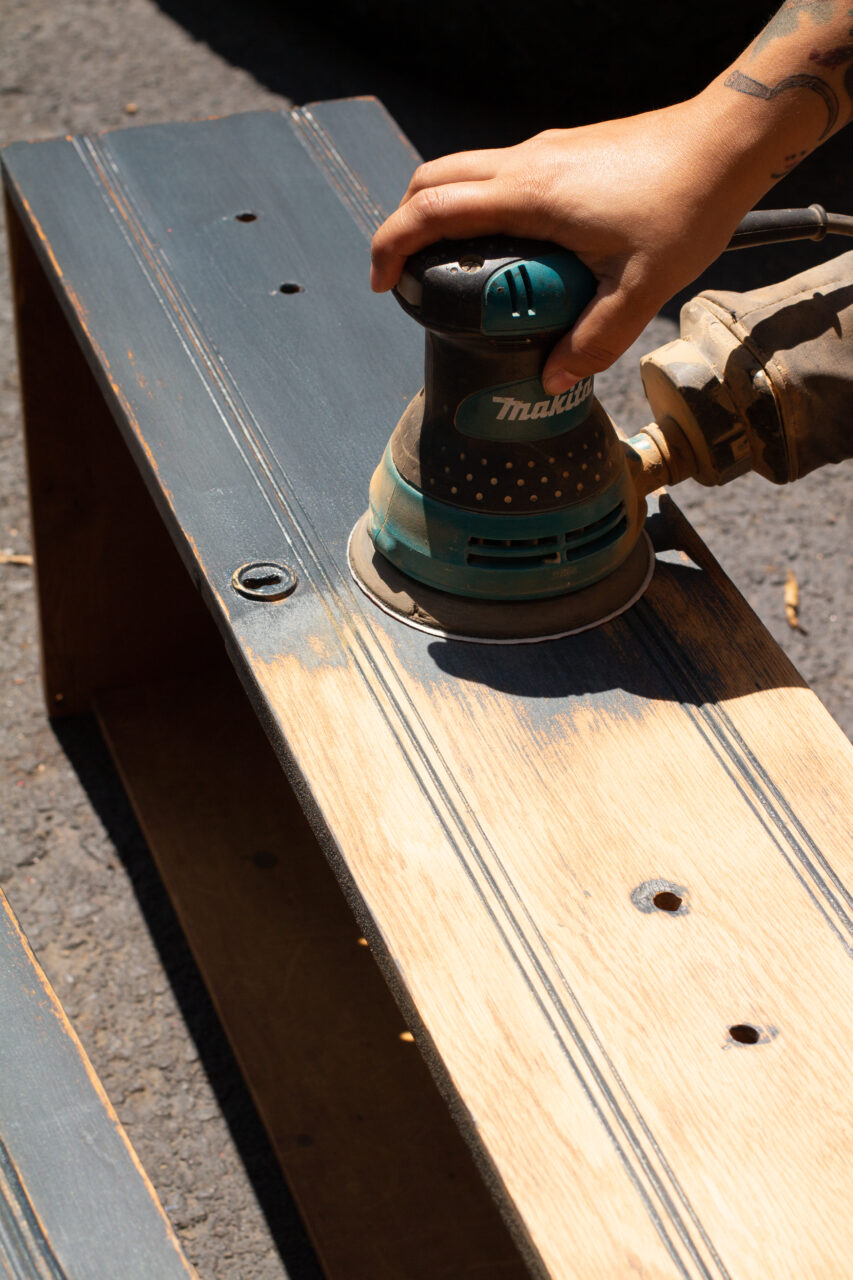
Removing the milk paint was easy. In most cases, you can get away with scuff sanding but since we wanted wood tones to come through, we completely removed the milk paint where we knew we wanted to distress. Then wipe away any dust with a damp cloth.
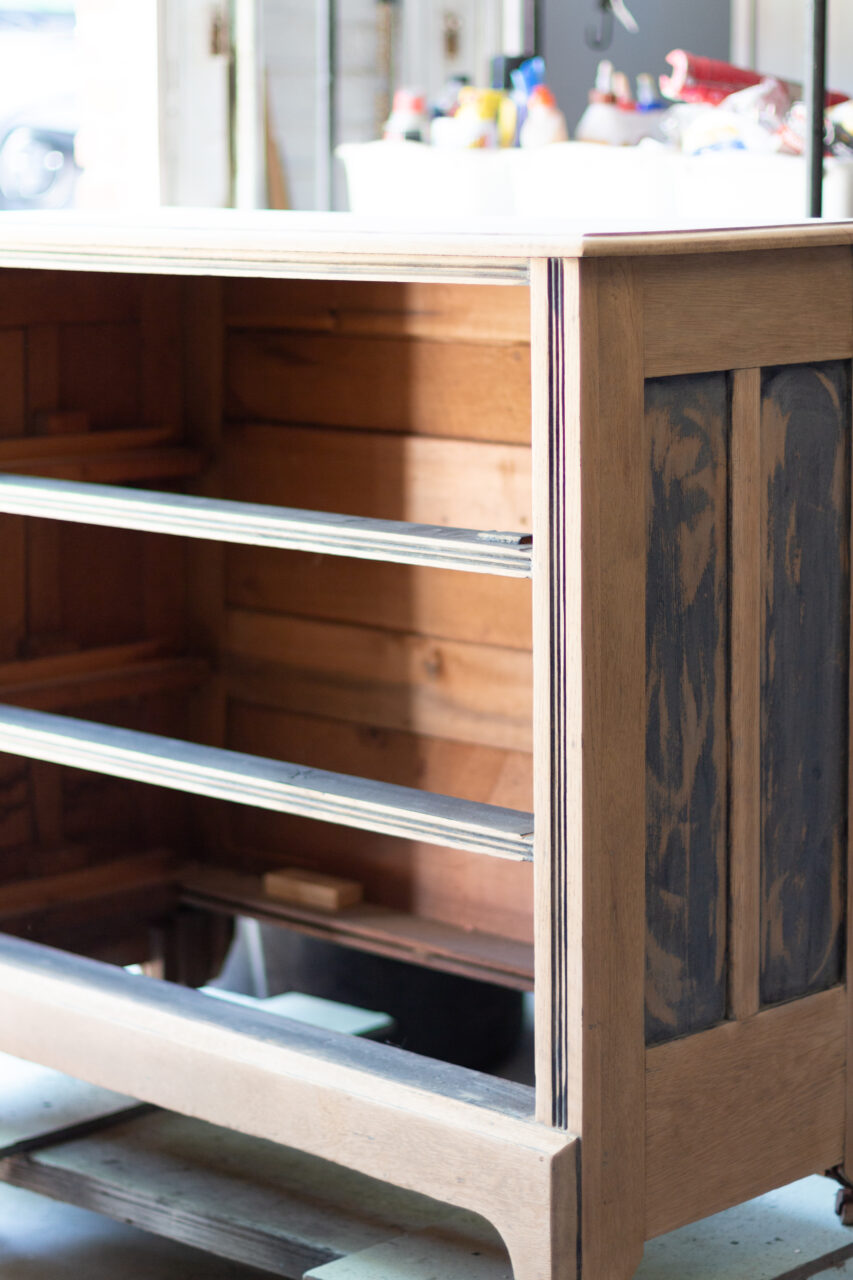
3. Fusion finishes
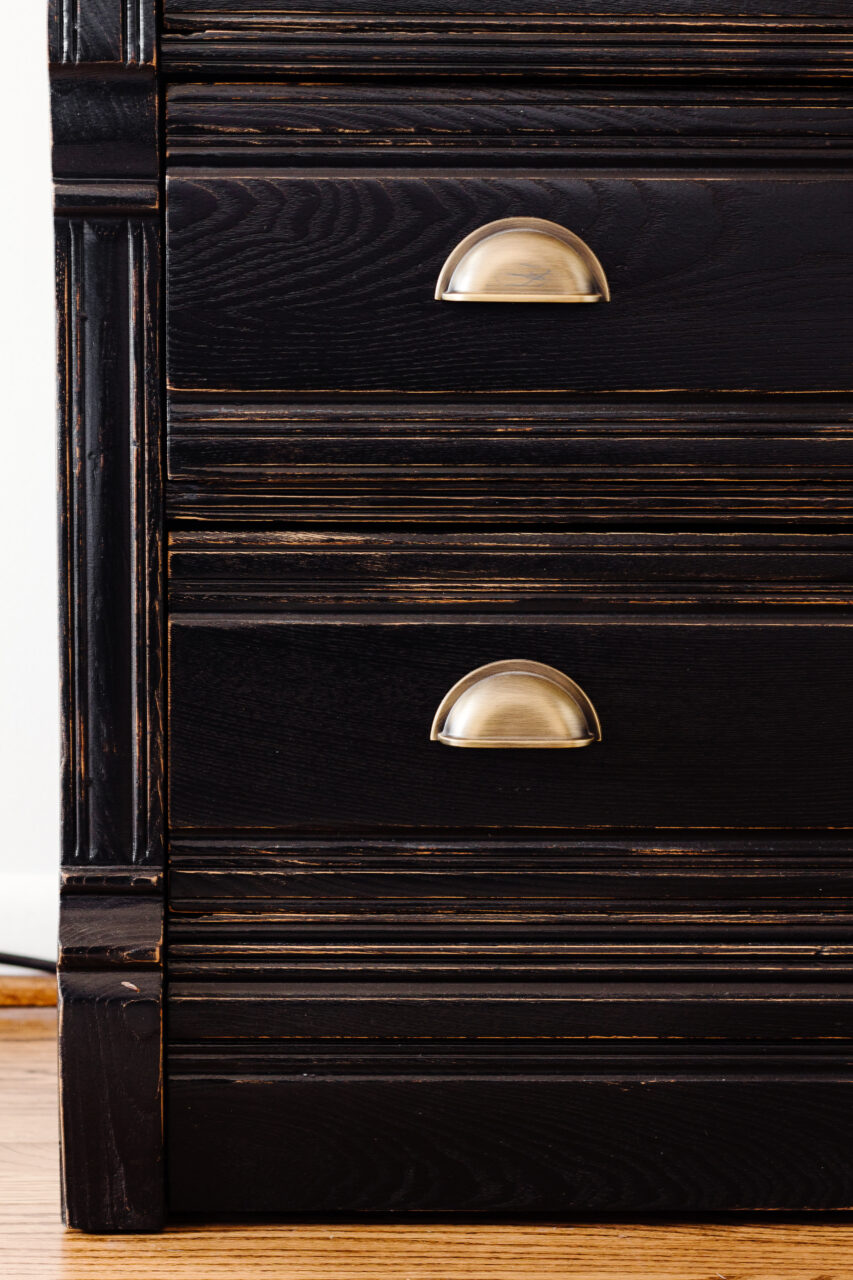
Now the fun part begins! We used a microfiber roller to apply two thin coats of Fusion Coal Black. This colour is highly pigmented and saturated. You can most likely get away with applying one coat of opaque coverage, but because our piece was a porous wood, two coats were necessary.
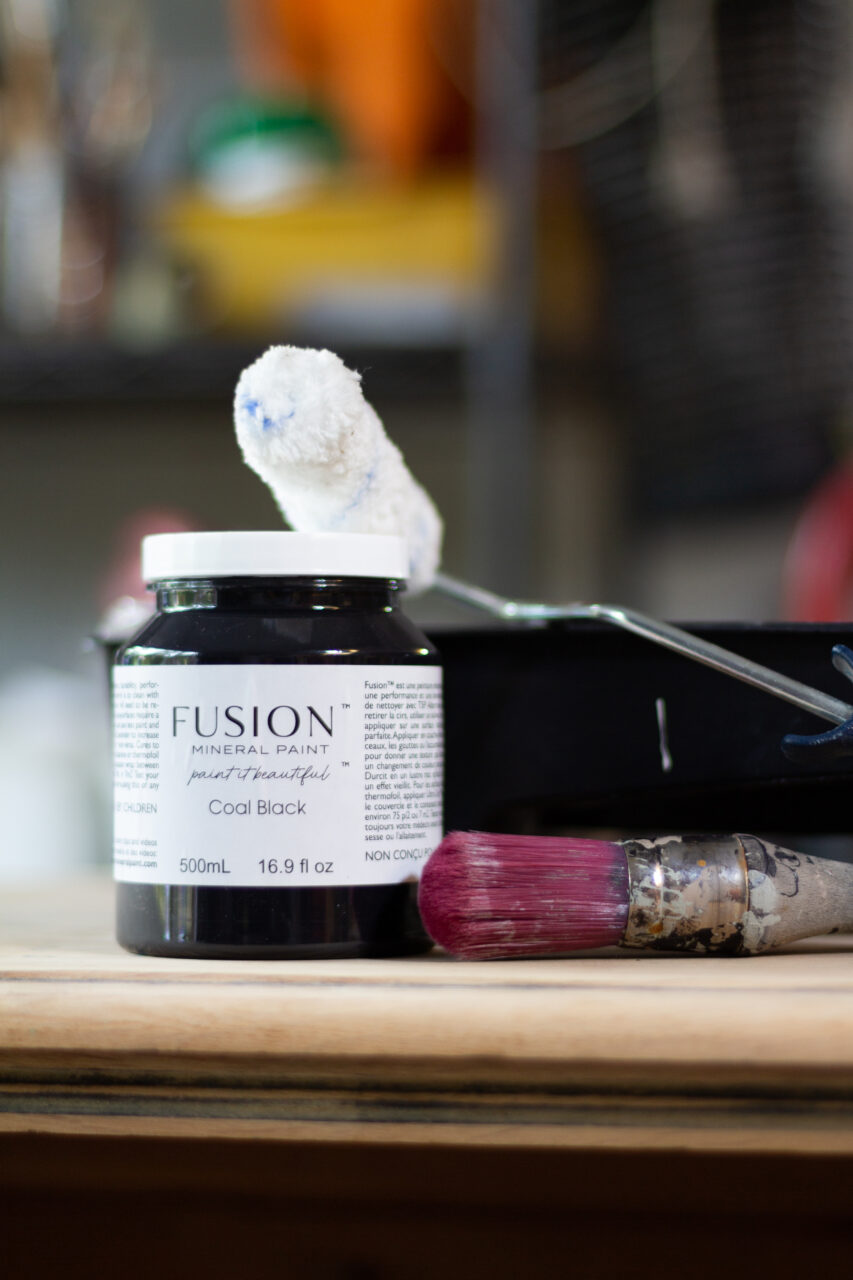
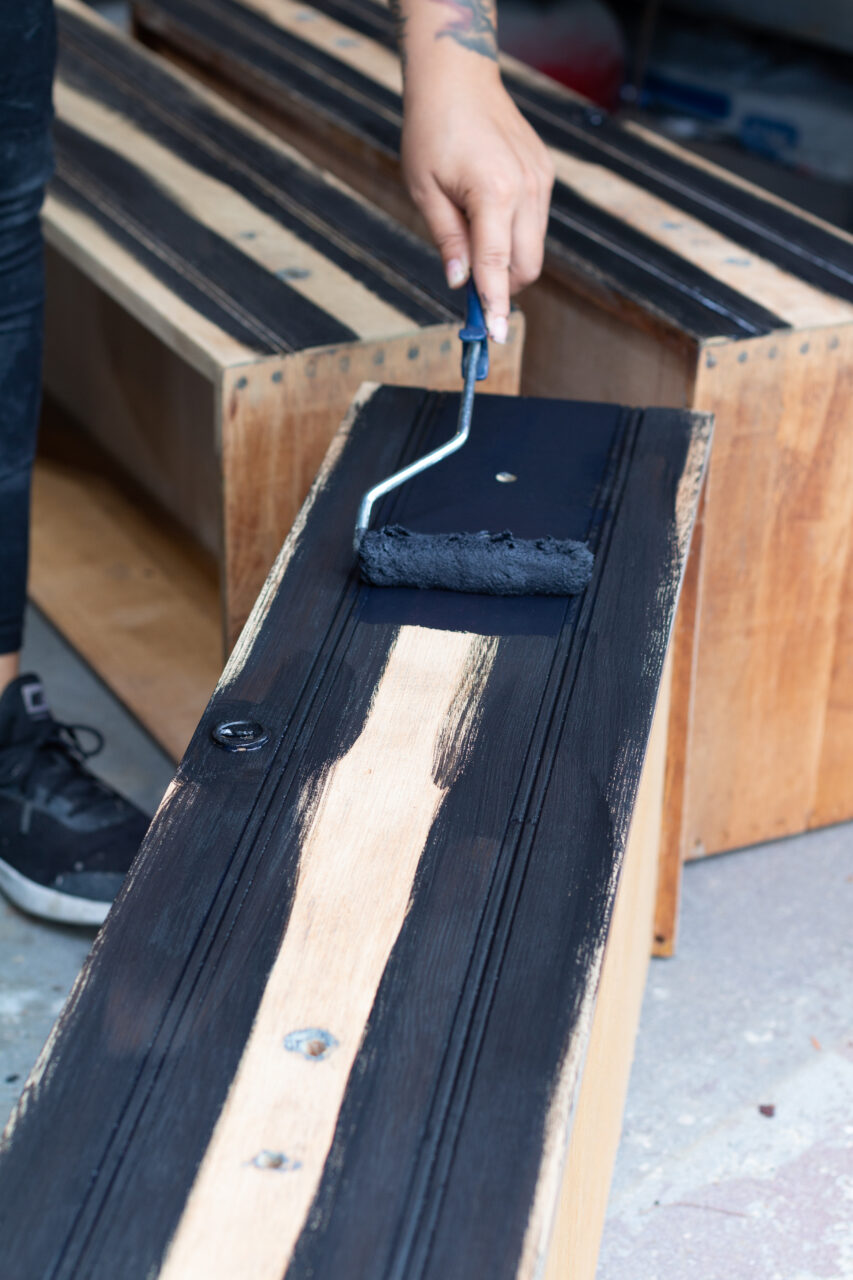
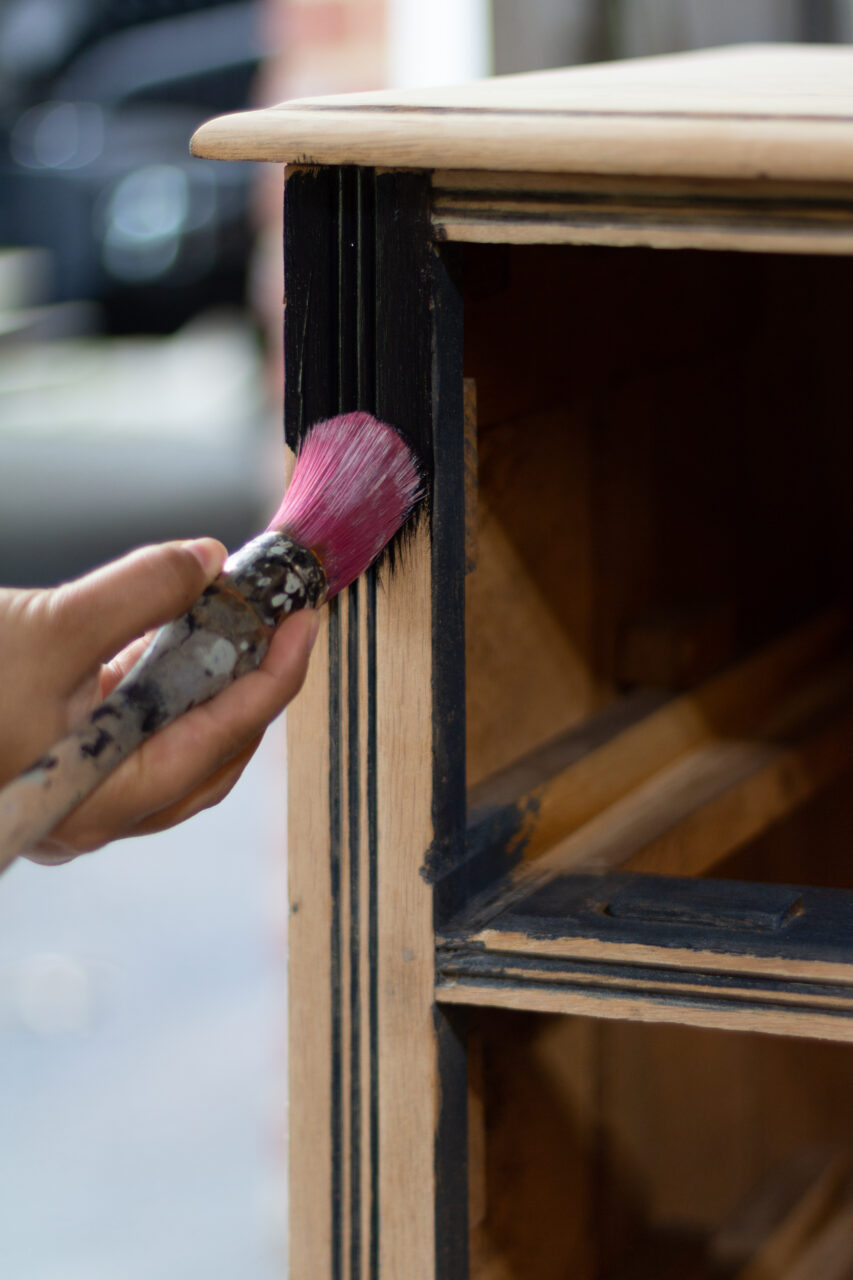
We used the Staalmeester Round Brush to paint the smaller more detailed surfaces.
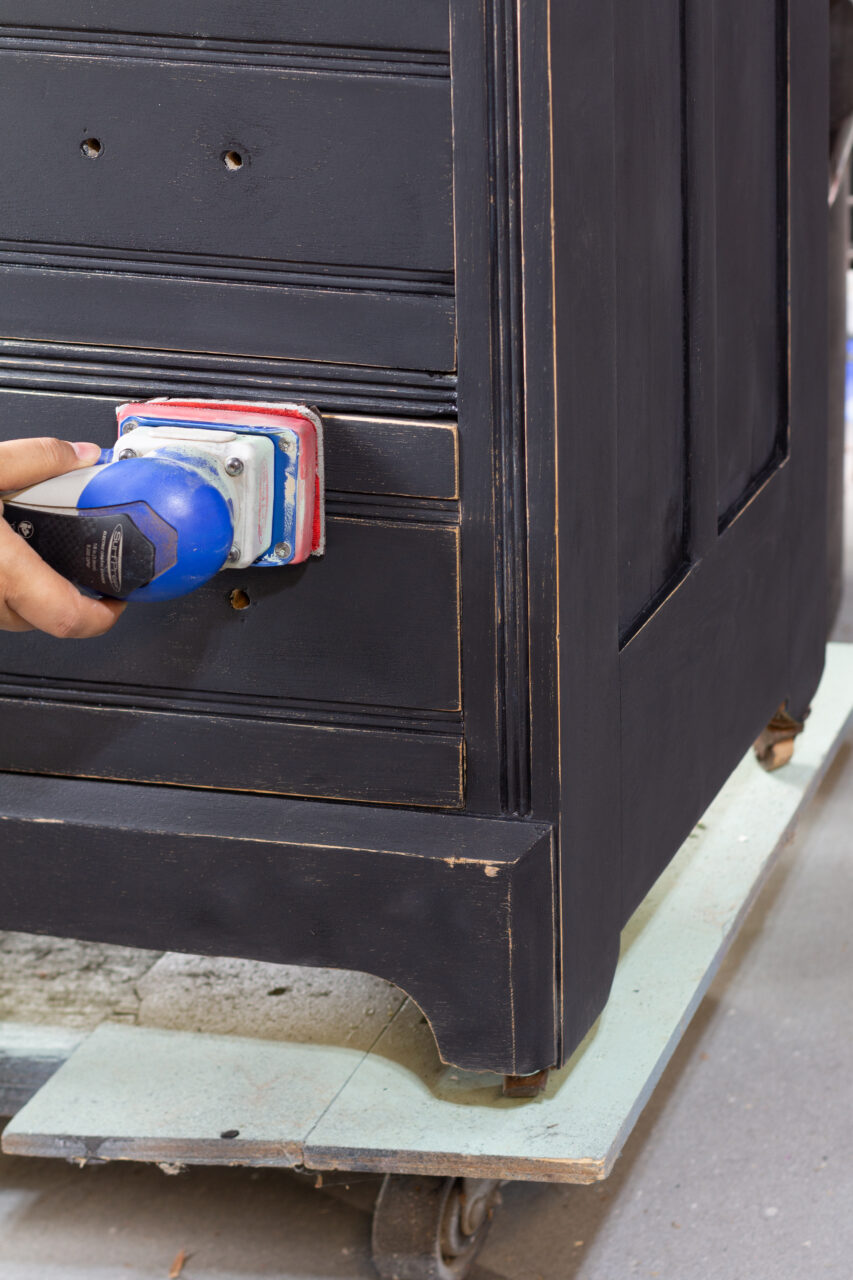
After your last coat has dried for 4-6 hours, you can use a scuff pad or a sander to distress your piece. We used a sander to bring out wood tones as we were going for a higher distressed look. The grip of the paint on the surface gave us a good indication our surface was free of wax and had a good bond with the substrate.
4. Enjoy your new look!
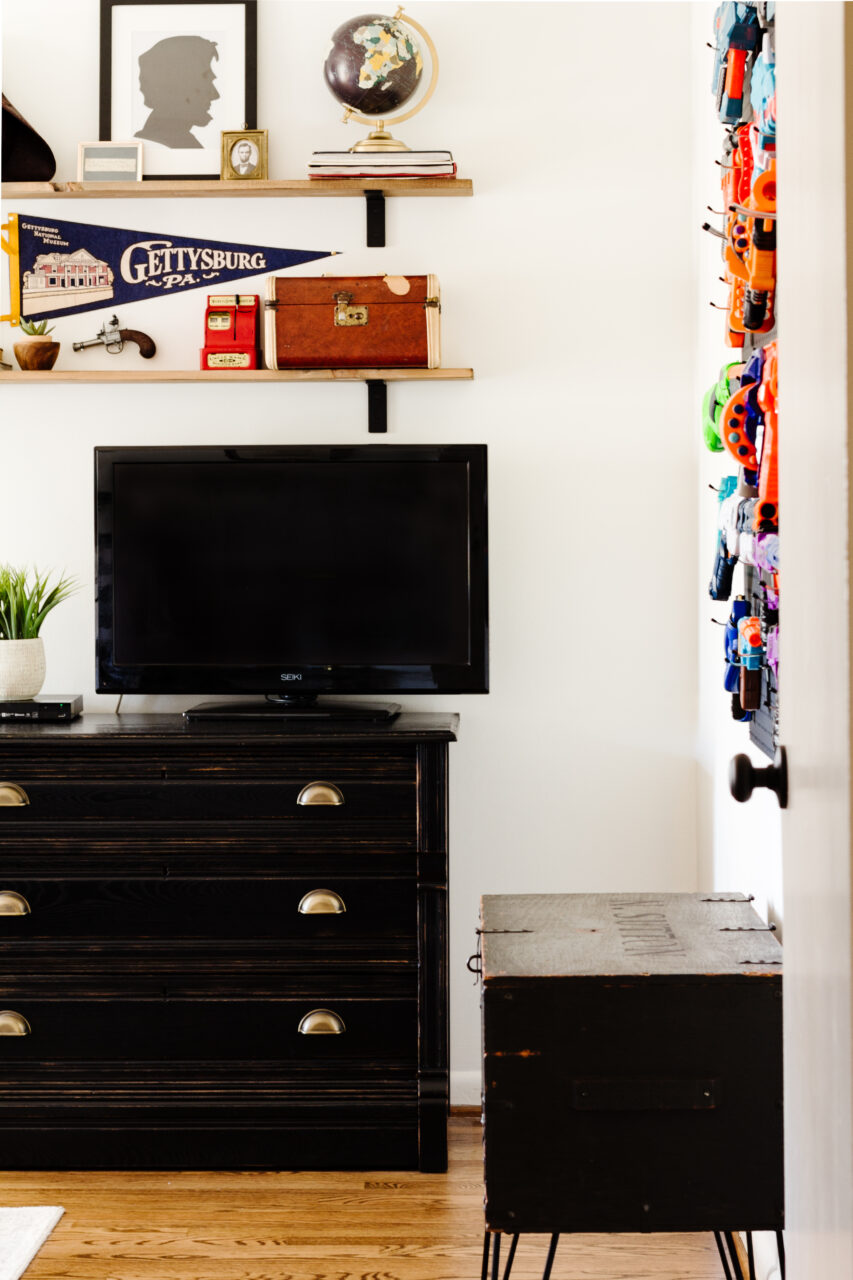
A refinished piece of furniture always feels like a new piece of furniture! This once rustic blue piece now has an industrial black sleek look.
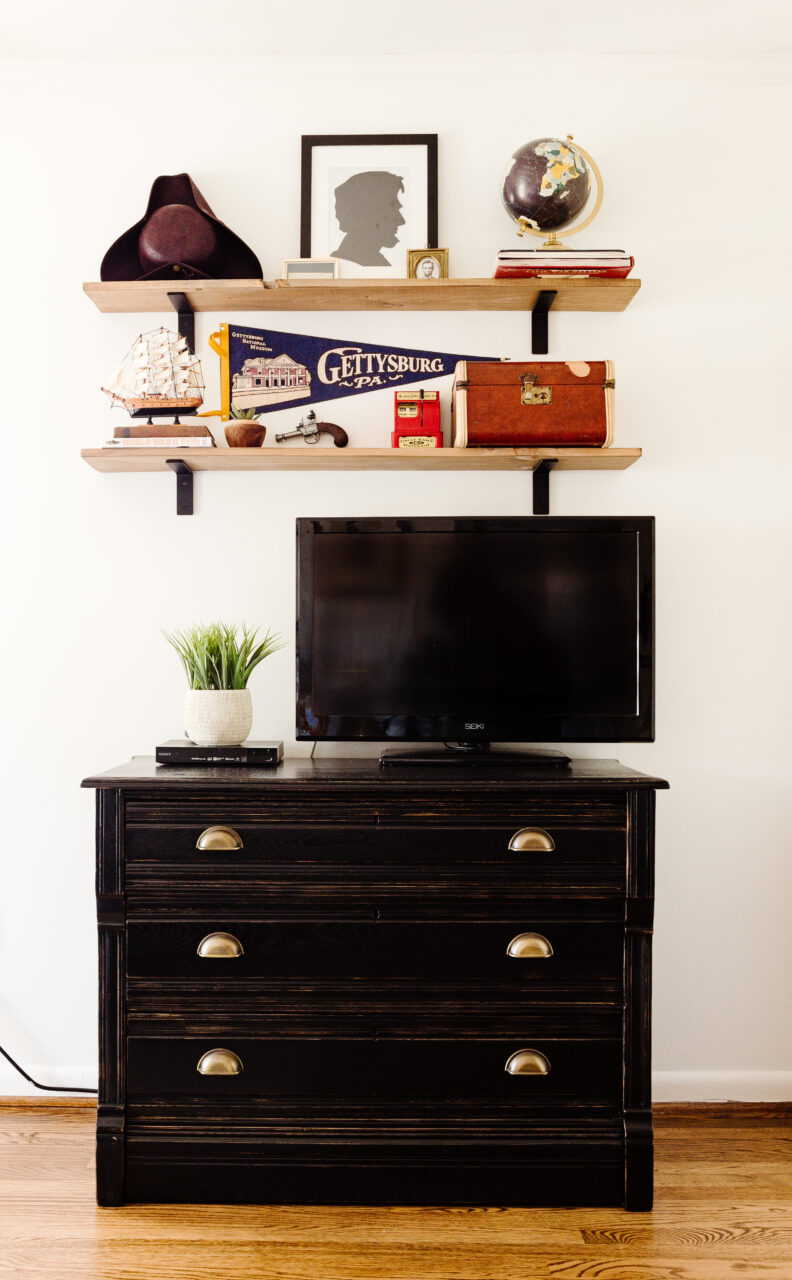
Since Fusion has a built-in topcoat, you have the option, not to topcoat. It’s durable enough to withstand moderate traffic, which means you can use your furniture without a worry in tough environments like kids’ rooms.
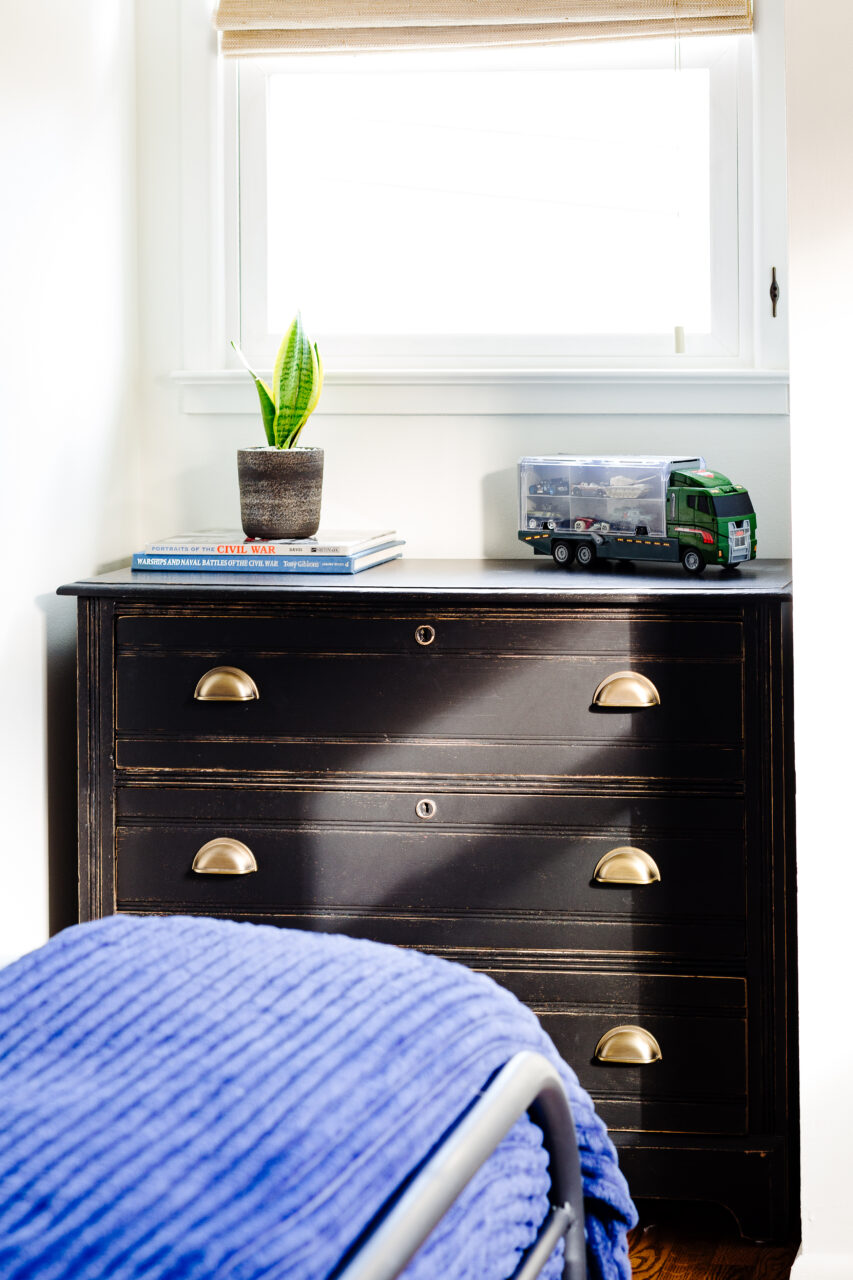
But for those who want a bit of added protection, for darker Fusion colours we recommend the SFO or any of the Fusion furniture waxes. With odourless solvent in your tool kit, you don’t have to worry about painting over waxed furniture anymore!
See more projects that included odourless solvent
- Get the Driftwood look the easy way
- Updating an old dresser
- Milk Paint on metal a how-to
- DIY barn door with Gel Stain and Topcoat
- A guide to Tung Oil
Odourless solvent makes it an easy task that’s worth tackling and the hardest part of your project will surely be choosing the right colour. Have you tried it on any of your projects?


