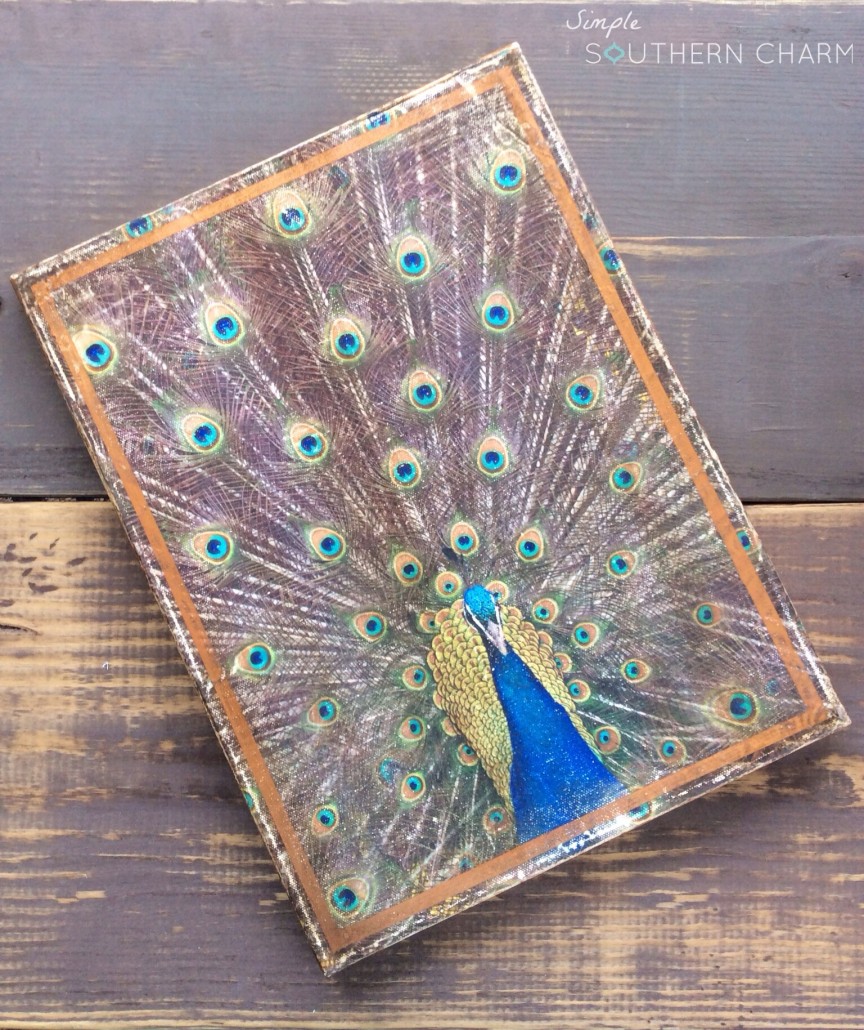
Alrighty, let’s talk Fusion’s Transfer Gel! Since this was really my first attempt at using a transfer product, I wasn’t sure what to expect. For those of you who have played with mod podge, transfer gel is different in that it provides a means of transferring the actual image, so your end result is just a picture with little to no paper remaining on the piece. SO, pick your image!
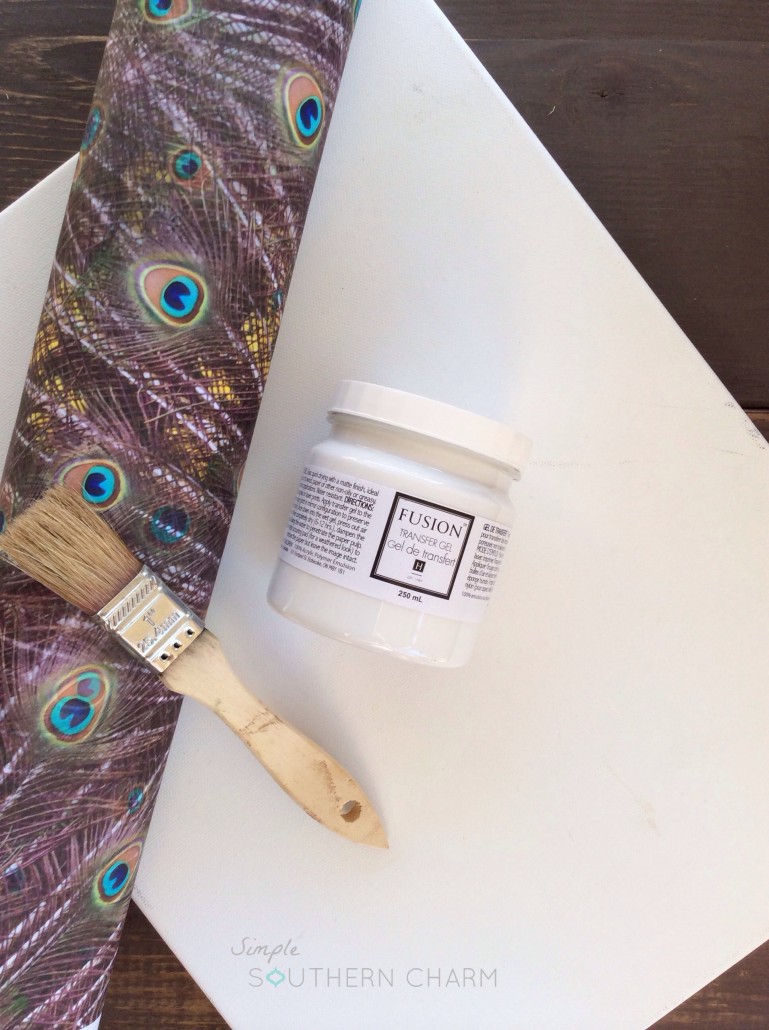
I decided to use canvas, but you can definitely use it on furniture too.
Step 1
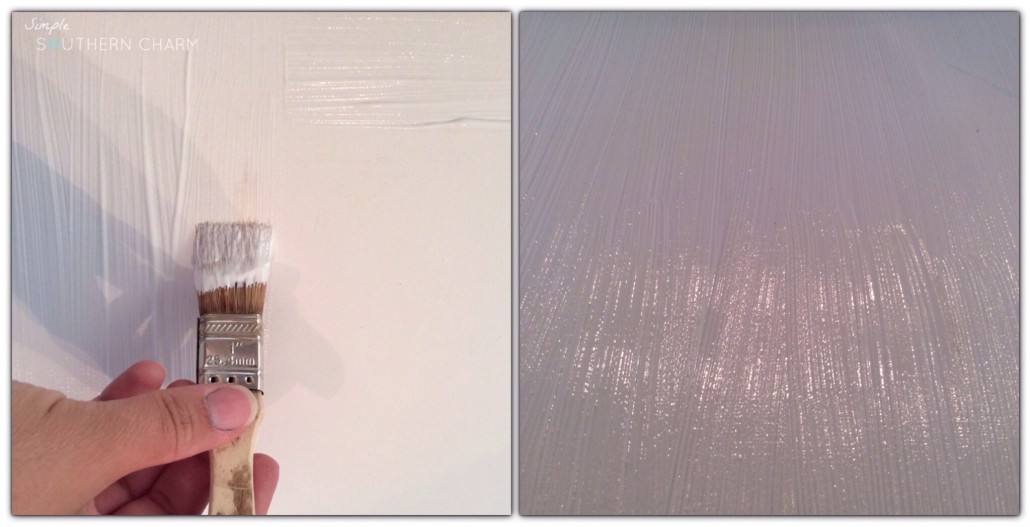
First, I dipped my brush into the transfer gel and started applying to cover the entire canvas. Next, I applied it about the thickness of a dime. Then, I placed the piece of paper with my image face up on the table and the wet side of the canvas directly on top of it.
I worked out the excess gel and any bubbles by pushing it to the sides. Keep a paper towel handy so you can wipe away any excess! I left one or two just to add a bit of character and also not to over work the paper. 🙂
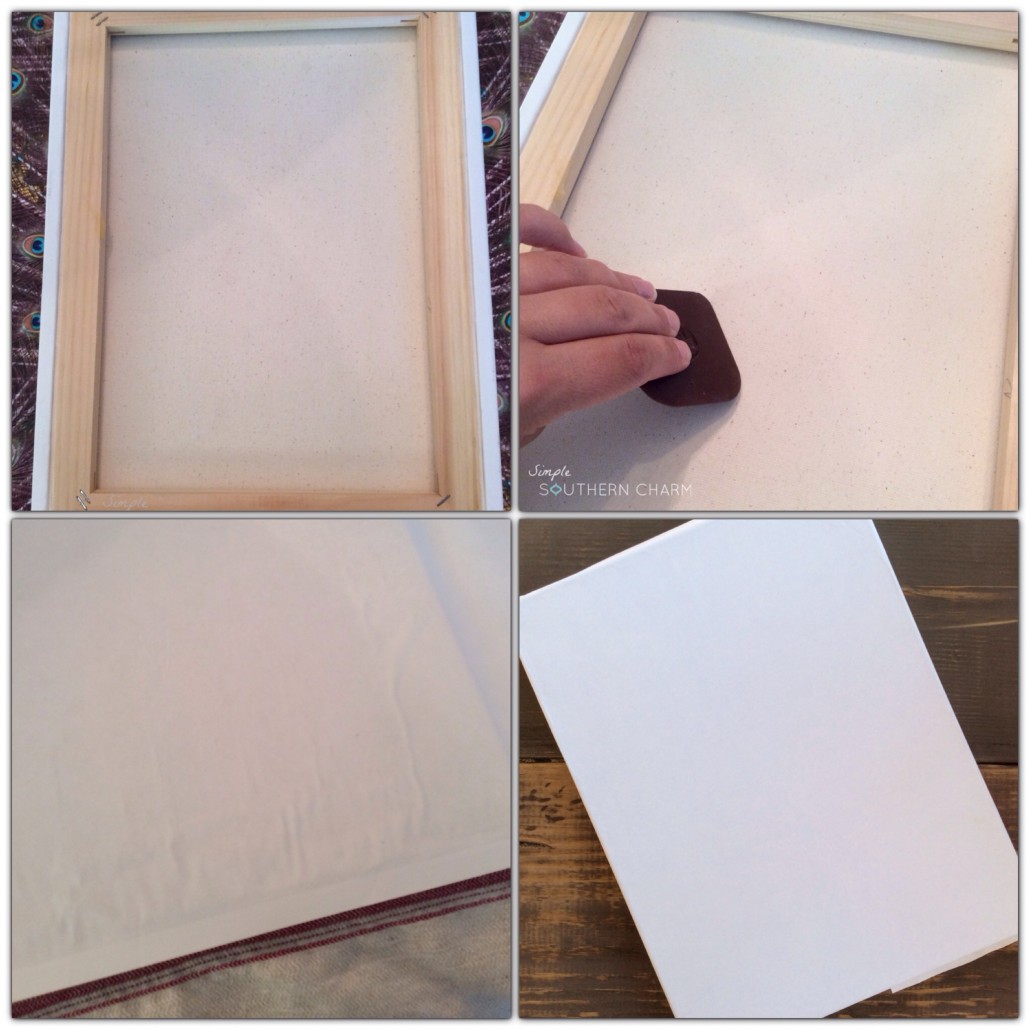
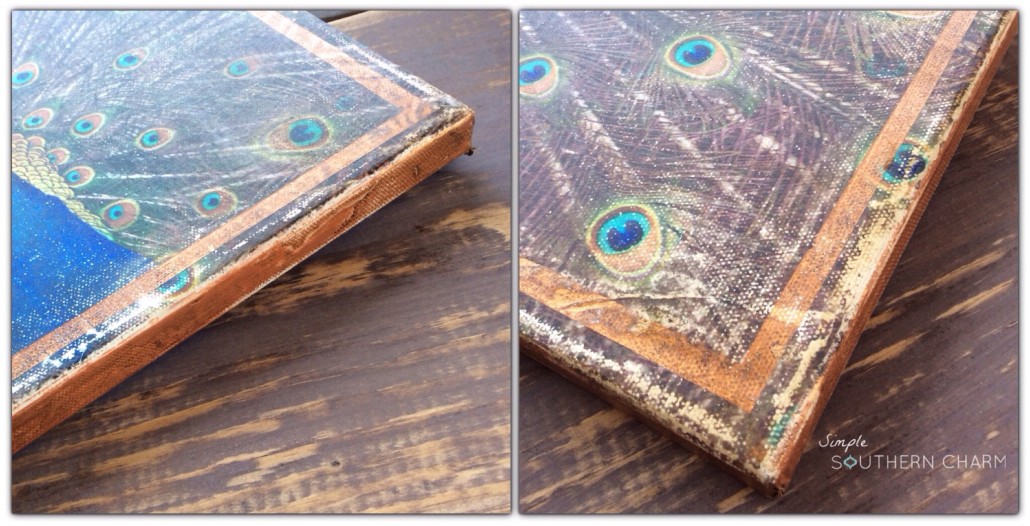
It’ll take about 10 hours for the medium to dry and for you to begin the next step. I was feeling a little impatient so I heat gunned the entire piece on and off for about 10 minutes. It worked! Image 4 is the dry, almost completely smooth canvas.
Step 2
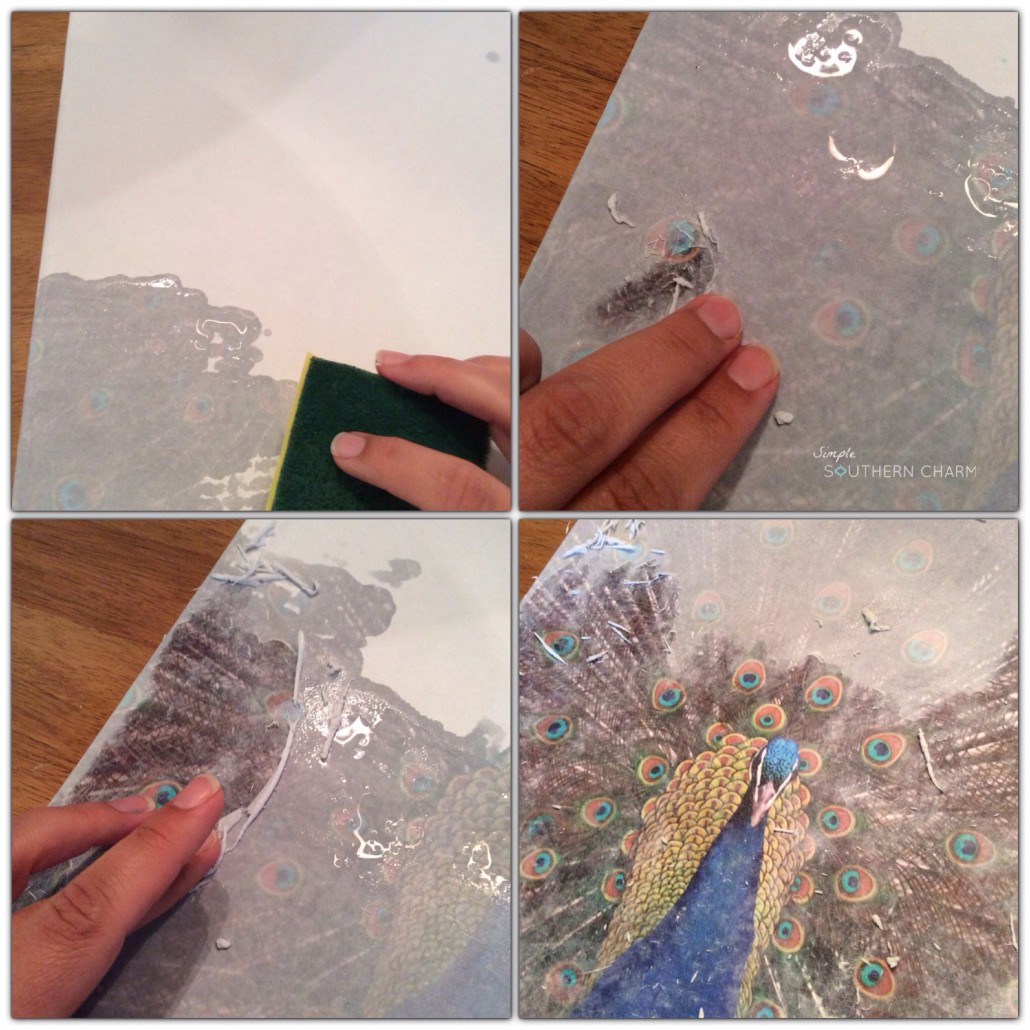
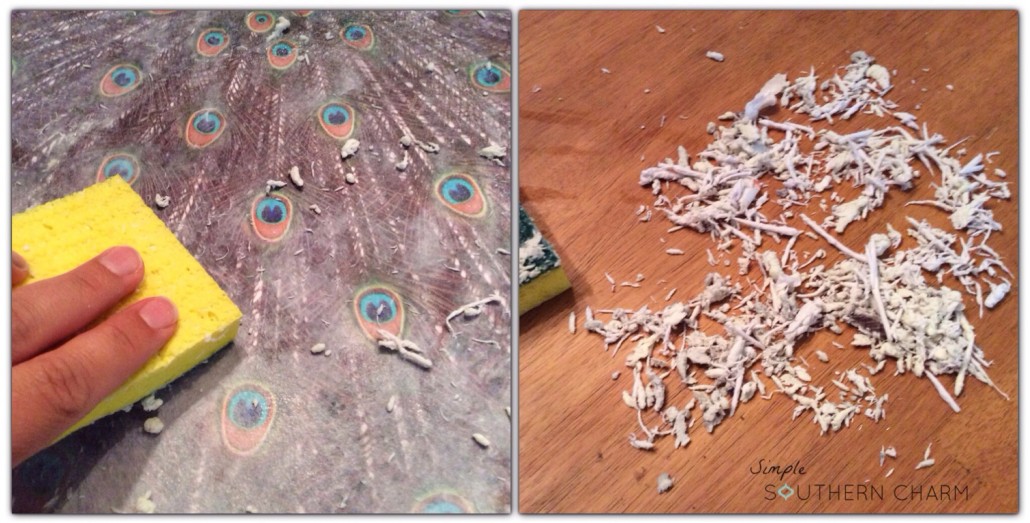
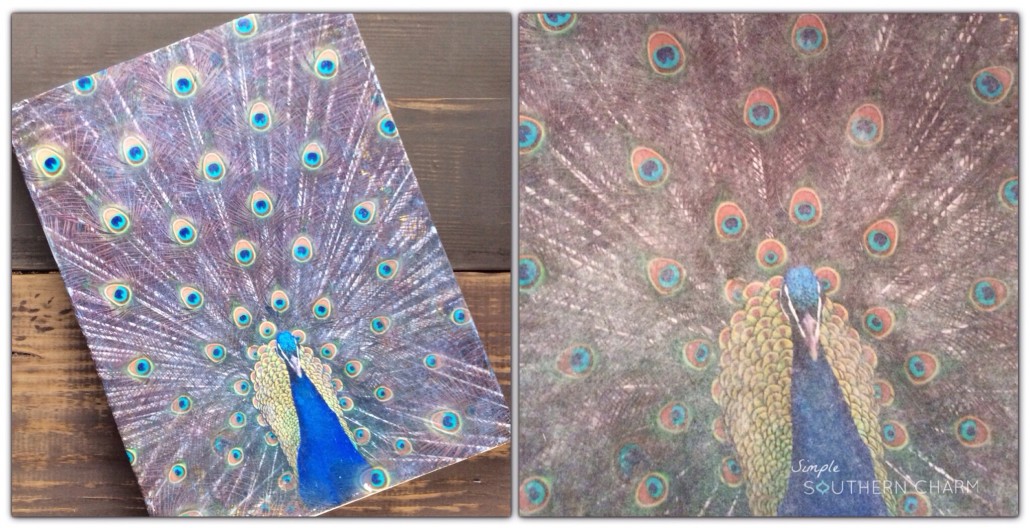
I completely saturated a kitchen sponge and began pressing the sponge down onto the paper. This causes the image to show through. Next, I gently started to rub and wet the paper section by section. I even used the scrubby side of the sponge to make things easier. Be gentle and watch the image to make sure it’s not coming up. You’re left with a little mess, but a beautiful transfer!I gave the canvas one last wipe and this is what it looked like. The second picture is what it looked like after drying for a few minutes.
Step 3
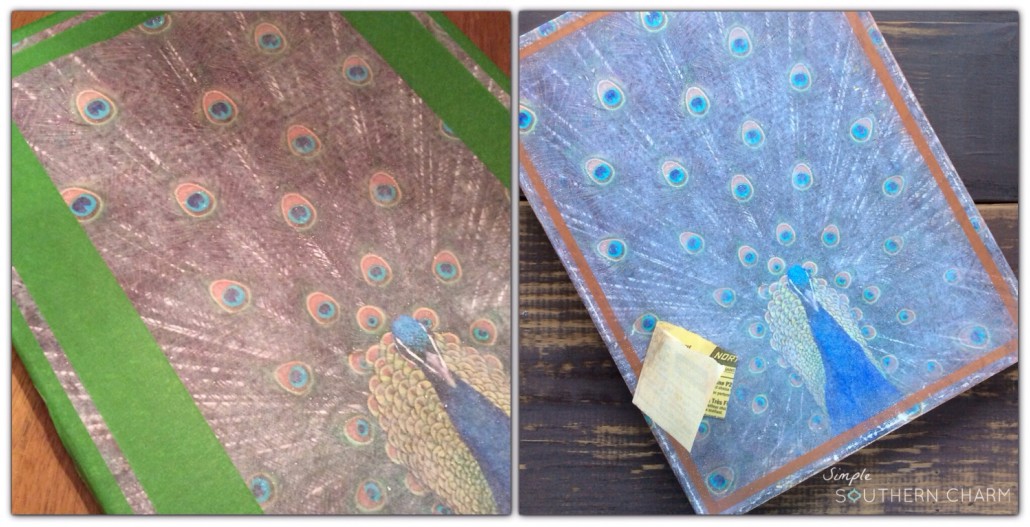
Next up, I taped a small border and used some of my Fusion tint in a Copper to highlight and personalize a bit. After an hour or so, I removed the tape and sanded the entire picture with a 220 grit sandpaper. This created an authentically aged look. I’d say mission accomplished!! I sealed it with Fusion™ Tough Coat™ and found a new home for my awesome new one of a kind artwork!! *A couple of FYI’S*
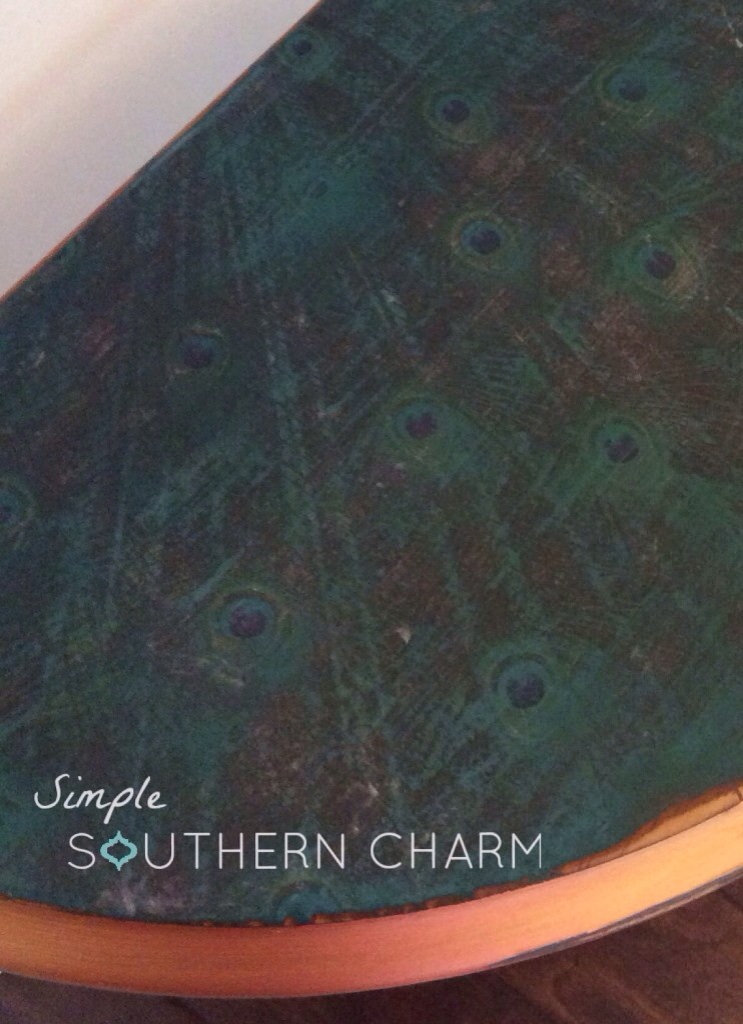
*If you plan to used transfer gel on a surface that is painted a colour other than white, the underlying colour will be visible. As shown in the photo below, this is the same paper used in the project above, with the only difference being that the base was painted in Fusion Refrew.*If you’re going to use Fusion Transfer Gel for signs or anything with verbiage, you must remember to reverse your image prior to printing. If you were to forget this step, your verbiage would wind up backwards and you wouldn’t want that!


