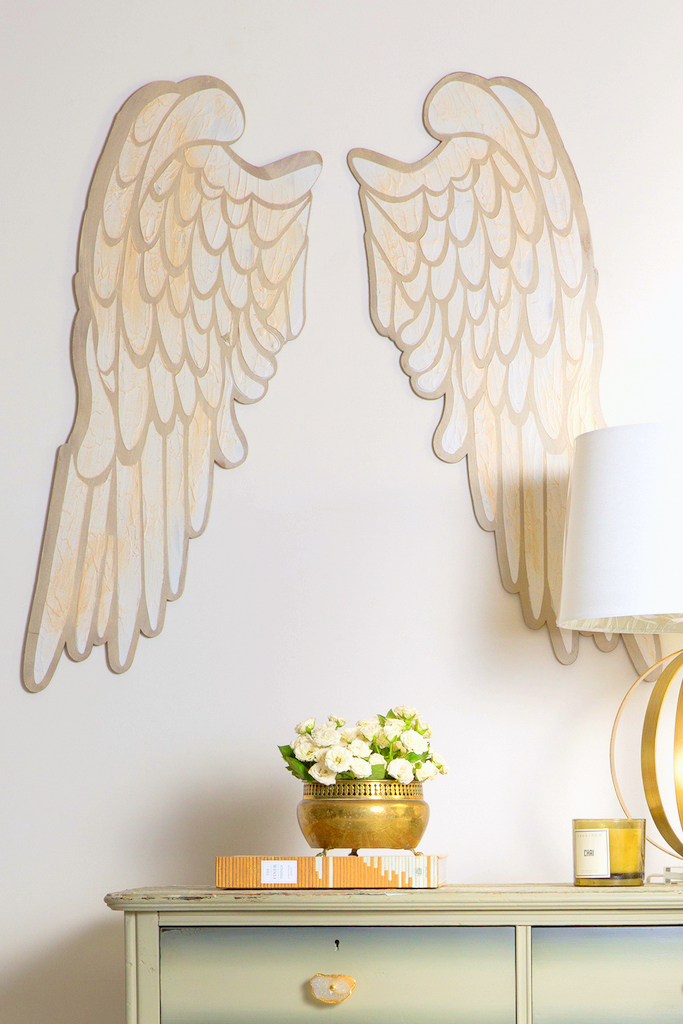
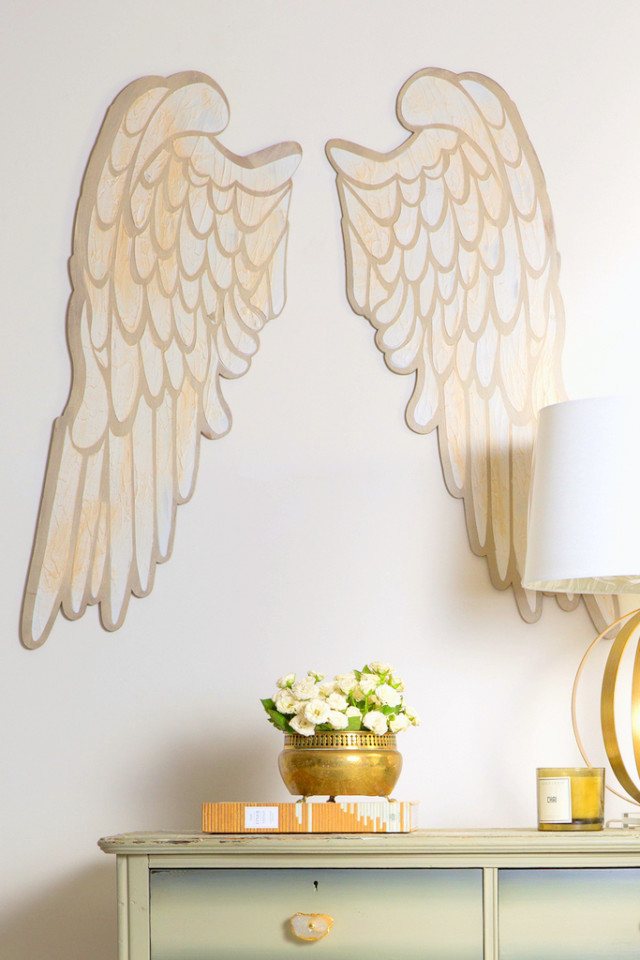
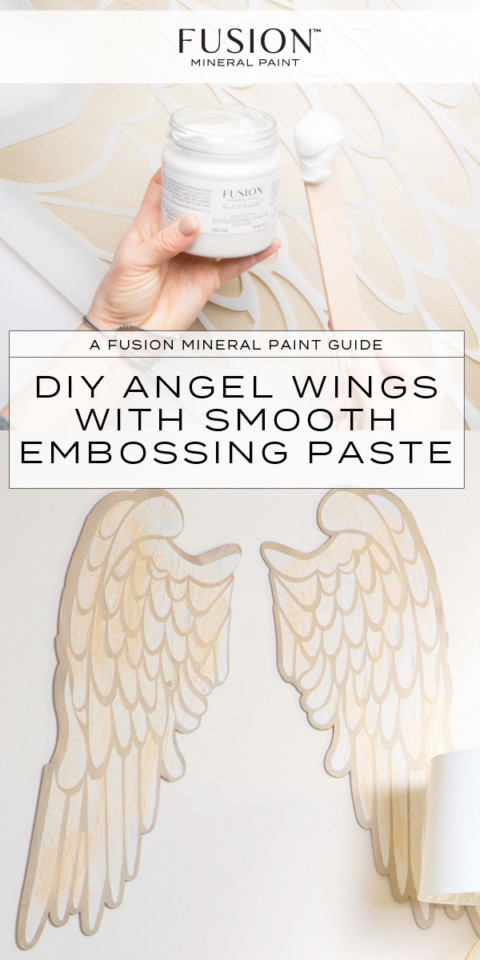
While Fusion fans primarily use Fusion to paint furniture and bigger projects, there are a lot of crafts and smaller home decor DIYs that can be made. In fact, when we started asking you to share your craft projects with us on Facebook, we were overwhelmed by the response (in the best way possible!) So we definitely want to start sharing some more home decor projects to inspire you, such as these DIY Angel Wings with Fusion Metallics, a perfect piece of wall decor! This makes a beautiful piece of artwork for just about any room and is super cute and fun.
Learn how to make embossed metallic angel wing wall decor!
What is Fusion Smooth Embossing Paste?
Fusion Smooth Embossing Paste can be used to create raised effects and texture to your projects. You can mix it with Fusion Mineral Paint or it can be the color on it’s own. The color we used is Pearl it has a hint of Metallic shimmer. It actually looks more white and opaque than pearl paint, adds texture to your piece and you can still paint over top of it. It is perfect to use with stencils!
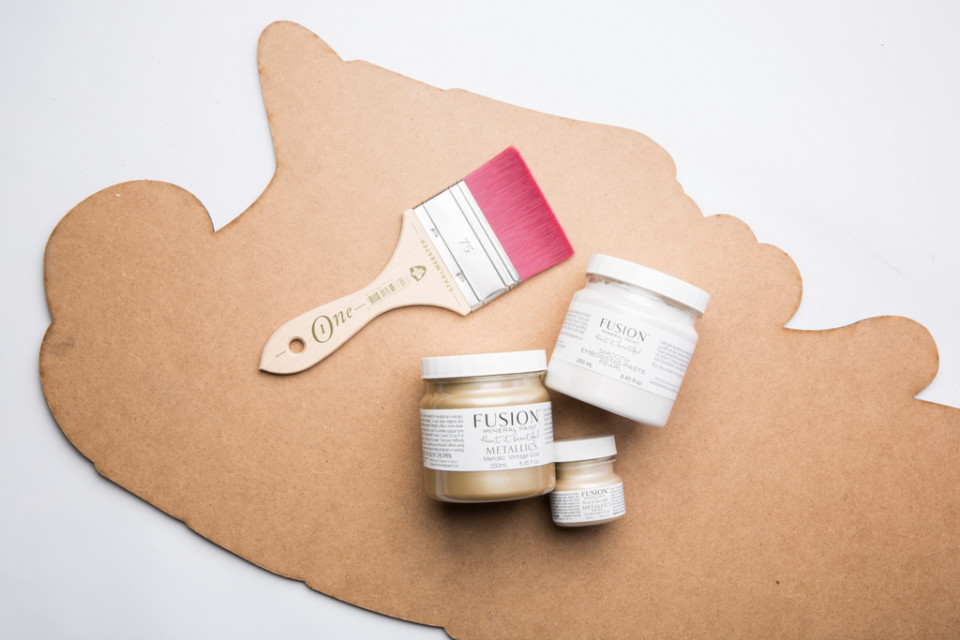
ITEMS NEEDED:
- Fusion Mineral Paint in Vintage Gold and Champagne Gold
- Fusion Smooth Embossing Paste
- MDF or other solid board. You could even use a canvas instead of wood. We got our MDF cut to fit an angel wing stencil with about a 1″ border. Because there are two wings, you need two of them.
- Angel Wing Stencil
- Tongue depressor, squeegee, paint stick or other long flat edged tool for smoothing
- Staalmeester Flat Ultimate ONE #10 brush
- Another brush for dry brushing (we used a 1″ brush)
- Paper towels
- Low tack painters tape for stencil (if you need it)
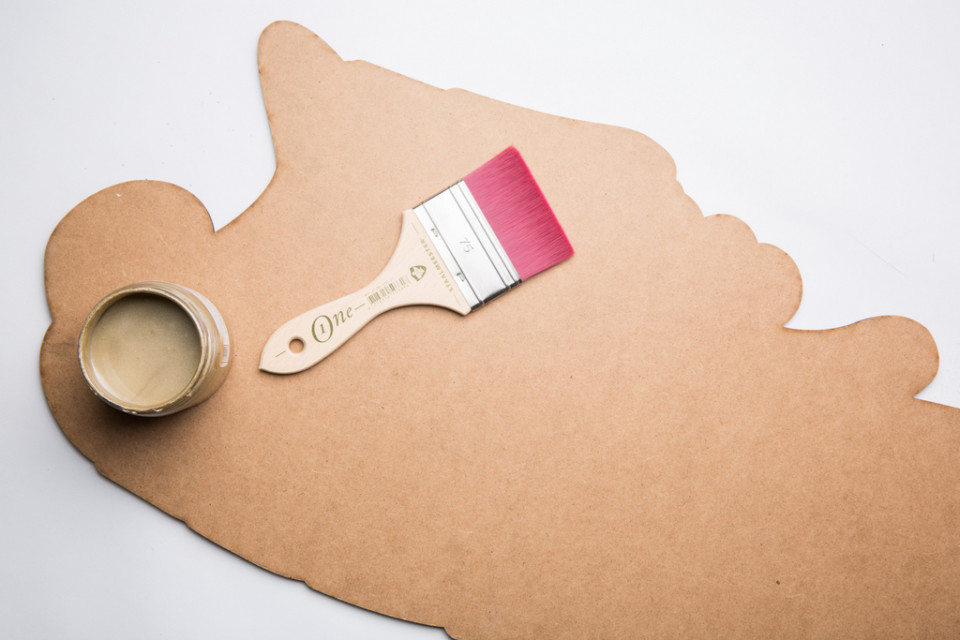
1. Paint the base
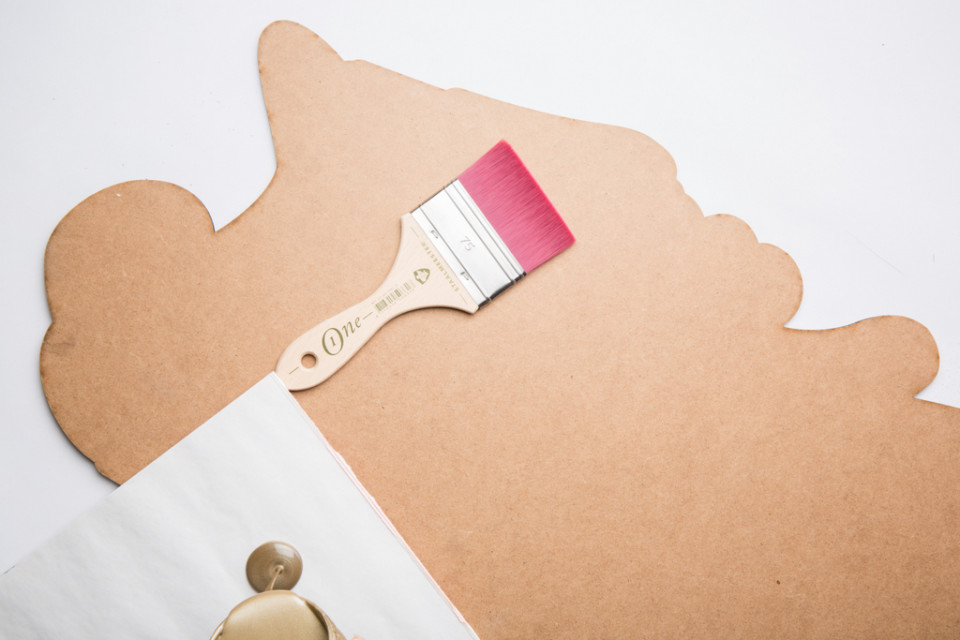
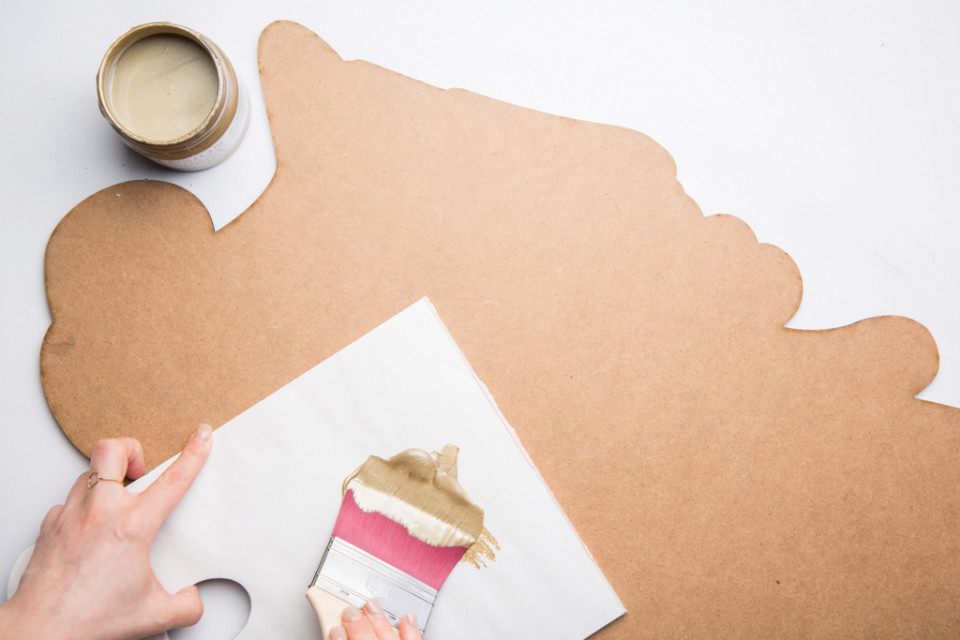
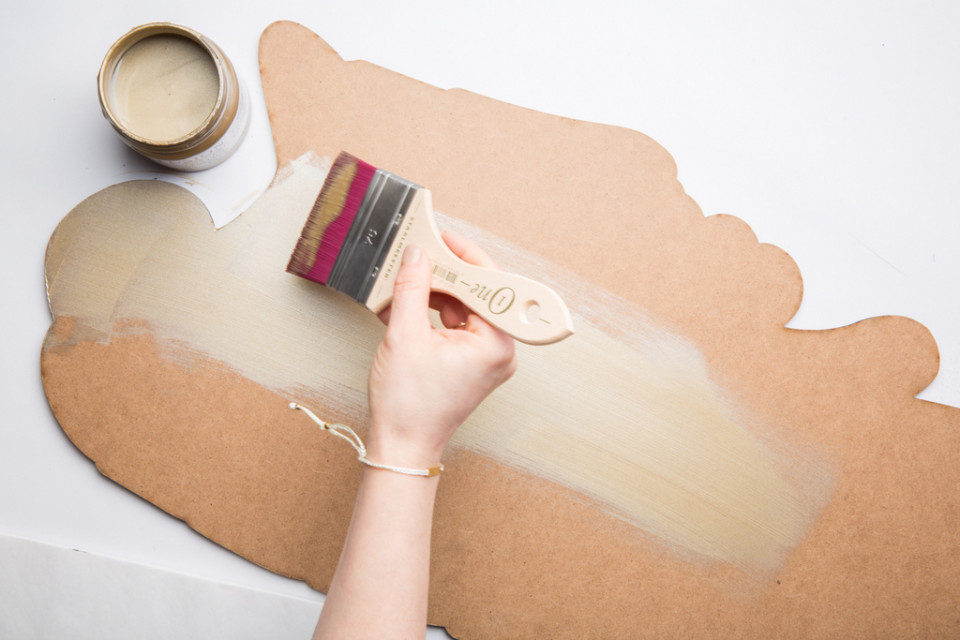
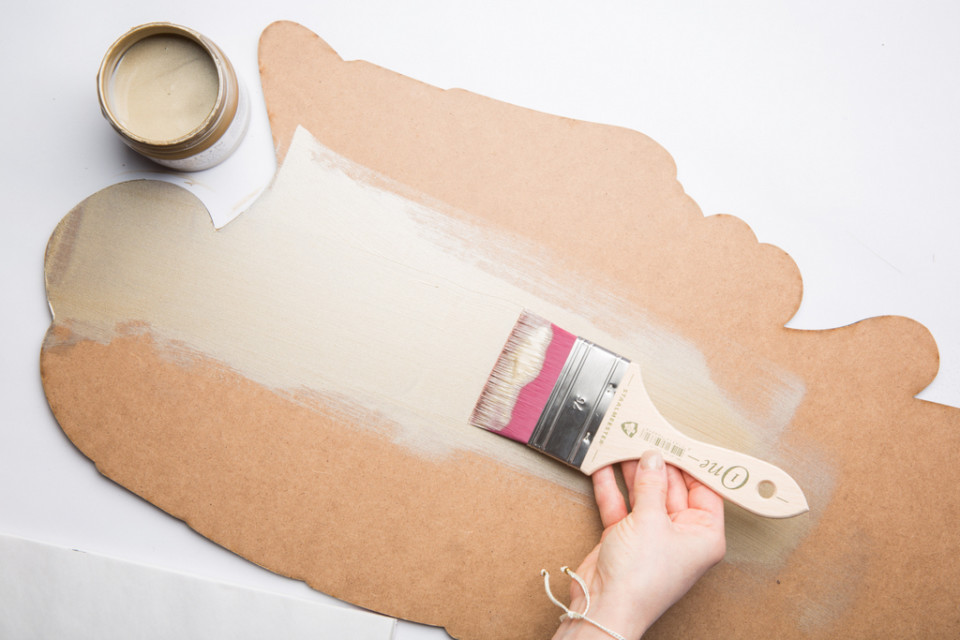
We painted the base of our wings using Fusion in Vintage Gold using the Staalmeester Flat Ultimate ONE #10 brush. We used this brush to keep our surface smooth for easier stenciling and the Staalmeester Synthetic ONE brushes give the absolutely smoothest, brush stroke free finish ever!
2. Position Stencil on your DIY Angel Wings
While it may seem silly to write a step about positioning a stencil, in this case, it’s important and deserves its own step because you want to do your very best to line up the stencil with the base (the angel wing shape) especially if it is custom cut so that you don’t make it crooked. You can tape it with low tack painter’s tape if it helps you keep the stencil still.
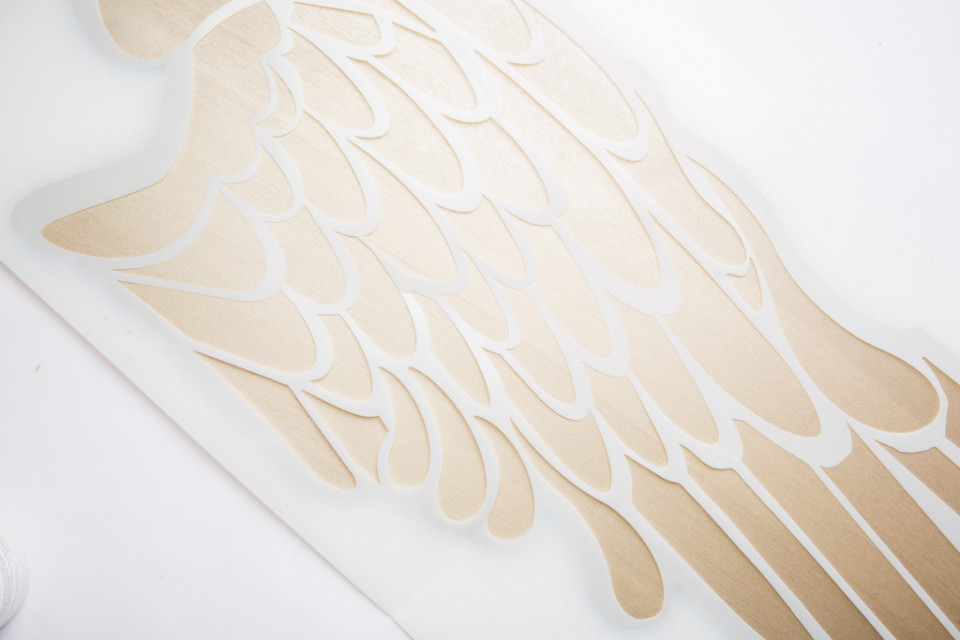
3. Apply Embossing Paste
Full disclosure – we used at least 1 entire jar of embossing paste for this project because we wanted a really thick and textured stencil pattern and we had a large surface to cover.
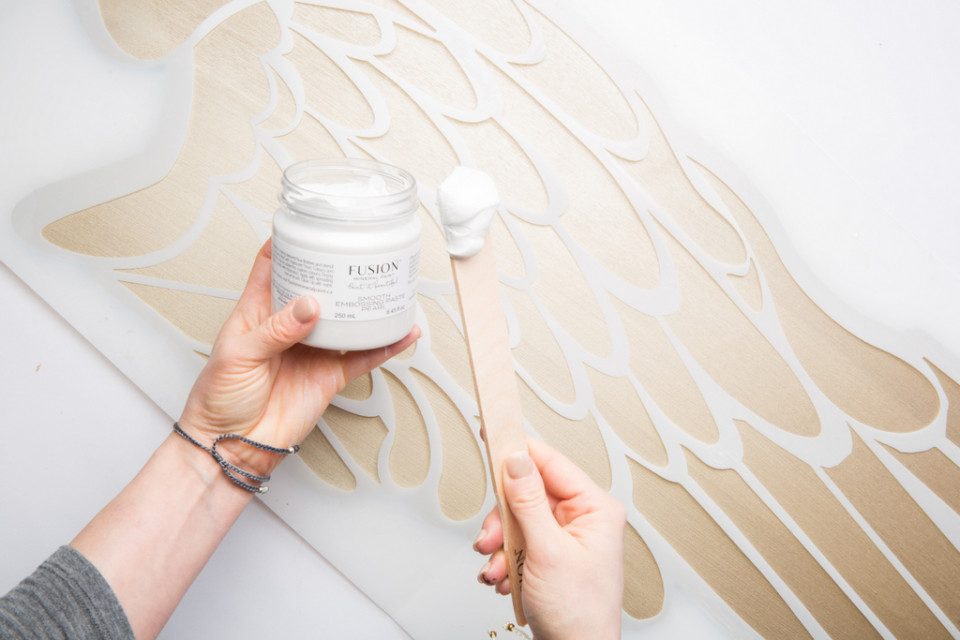
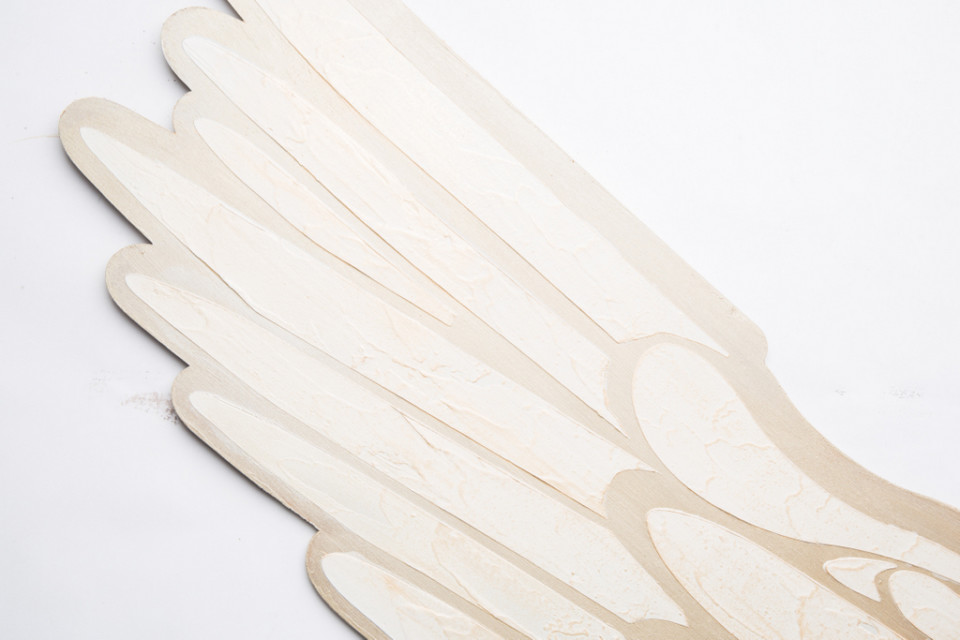
We covered the whole stencil with embossing paste a couple millimeters thick. We created more texture while applying it to look like feathers. It’s super easy to put on – we just scooped out a large portion from the jar and globbed it on over the stencil and then spread it out with a paint stick.
4. Texturize your DIY Angel Wings
Using the paint stick, start at the bottom of the stencil and lightly sweep the embossing paste to create texture. As you move up the stencil, you’ll see it kind of starting to look like feathers. If you don’t like the look, smooth it out and start again.
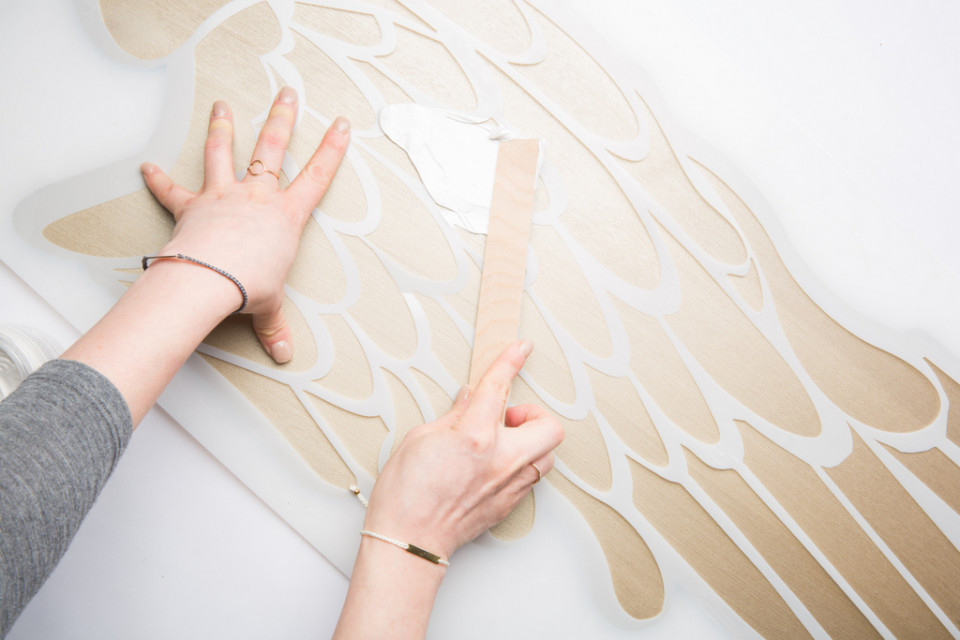
TIP: Embossing paste has a very long dry time so you can play around with it quite a bit. One trick is to lay the tool (your paint stick) flat then pick it straight up. This causes peaks in the embossing paste and then when you smooth those peaks out it isn’t a completely flat surface.
5. CAREFULLY Remove Stencil
You want to lift the angel wing stencil up as straight up as possible and go very slowly because if you move the stencil you could move the paste.
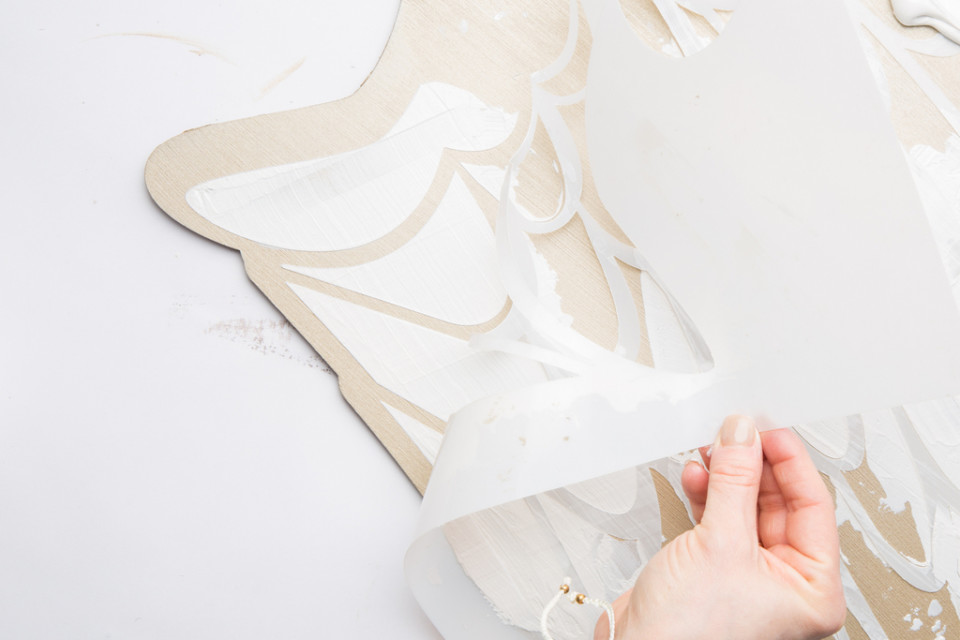
If you have bleeding (paste seeped under stencil) or other unsightly mistakes, you can use a cotton swab to fix them. We actually didn’t fix any errors we had because we wanted a bit of an imperfect finish.
TIP: Don’t let the stencil dry with the paste, either on the base/MDF wings or off of them. Wash your stencil as soon as you can. Plain hot water works really well.
6. Let it dry
Wait at least 12 hours (possibly longer depending on your environment). You can test by pressing on the embossing paste. If it squishes at all, it’s not dry yet. However, you can do the next step without it being fully dry as long as the top “crust” is dry.
7. Dry Brush
We used Fusion Metallics paint in Champagne Gold to highlight the texture of the embossing paste, which is actually also a metallic pearl itself, so it really glistens!
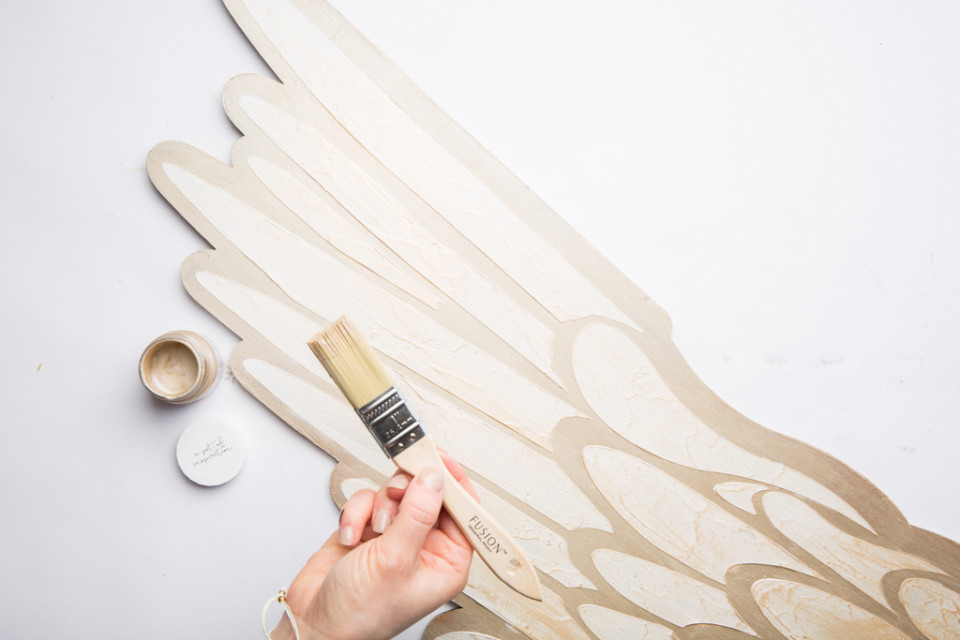
To dry brush, pour off a little paint onto a palette or paper plate, sometimes we even use the lid! Get your bristle tips wet with paint but not like you are going to paint a surface – just a little bit of paint on the ends of your brush. Then grab your paper towel and remove excess paint, just like you would with stencilling.
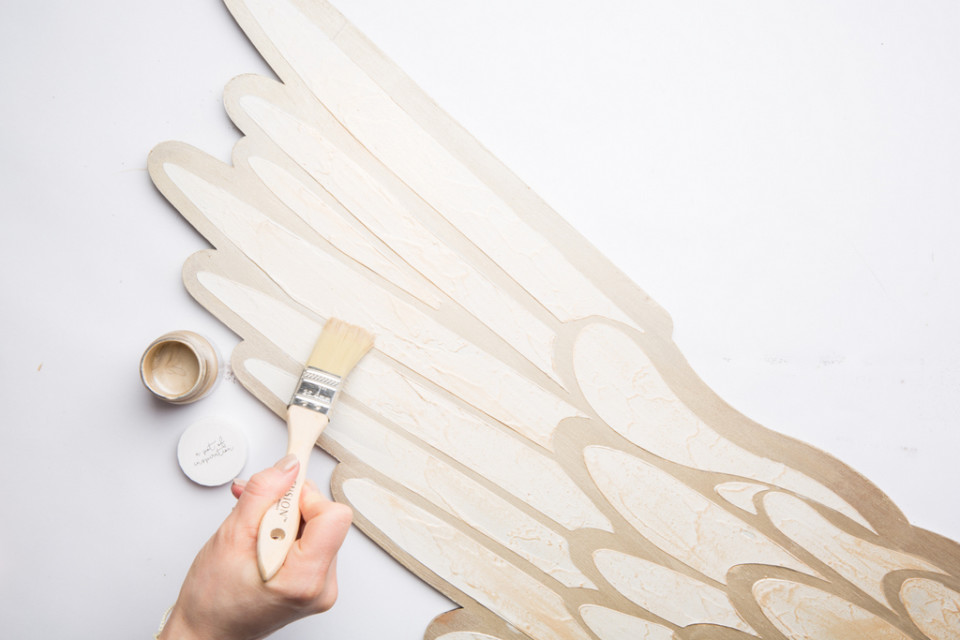
Afterwards lightly drag brush across the embossing surface of your angel wings. We went top to bottom to pick up the direction of our texture.
8. Hang your DIY angel wings art and enjoy!
We think this would make an amazing project for a nursery, a wedding sign or a seasonal party! You can customize the paint colors as well so if you prefer a Rose Gold metallic, you can use that as well.
PIN IT FOR LATER!
Have you ever done a project using our Smooth Embossing Paste? If so we would love to see it! Share it with us in Paint it Beautiful!


