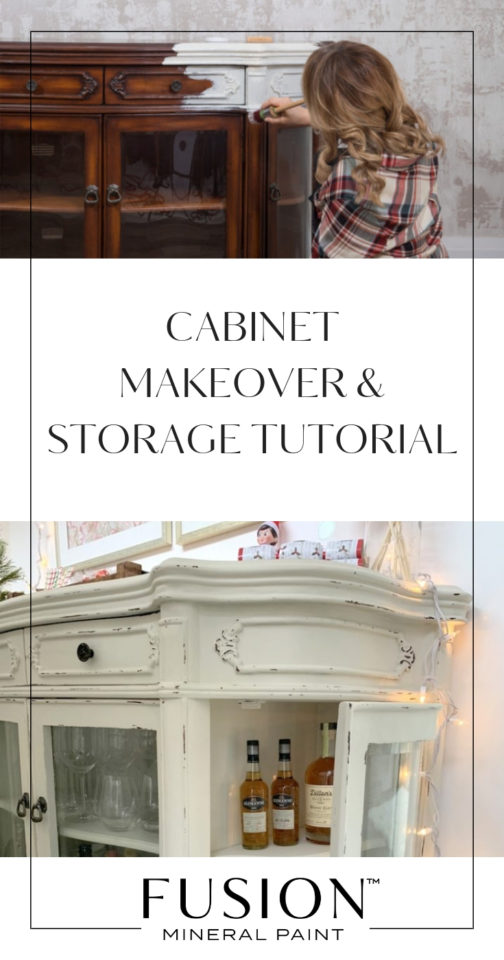
There’s something magical about the beginning of a New Year. It feels like not only like an obvious time for a fresh start but it’s easily one of the times where we start to de-clutter and re-organize our lives and our homes. So I wanted to share a project I worked on over the holidays while I had some extra time on my hands. I decided to start organizing and figuring out what to do with my paint storage area, because it was just not working for me. This tutorial is going to show you how to Update and Create Storage With A Cabinet like the one I found online on a buy and sell website we have called Kijiji.
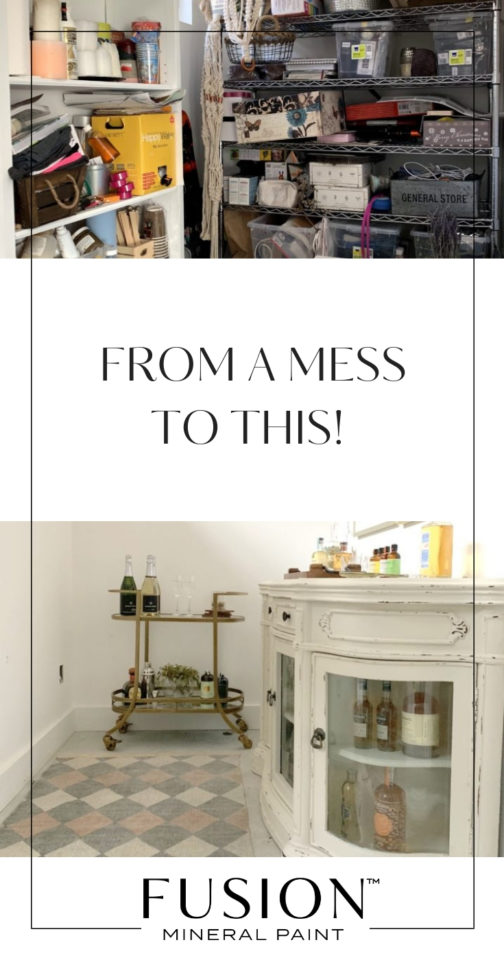
Let’s look at the before… Nothing to hide here! Can we say chaos?
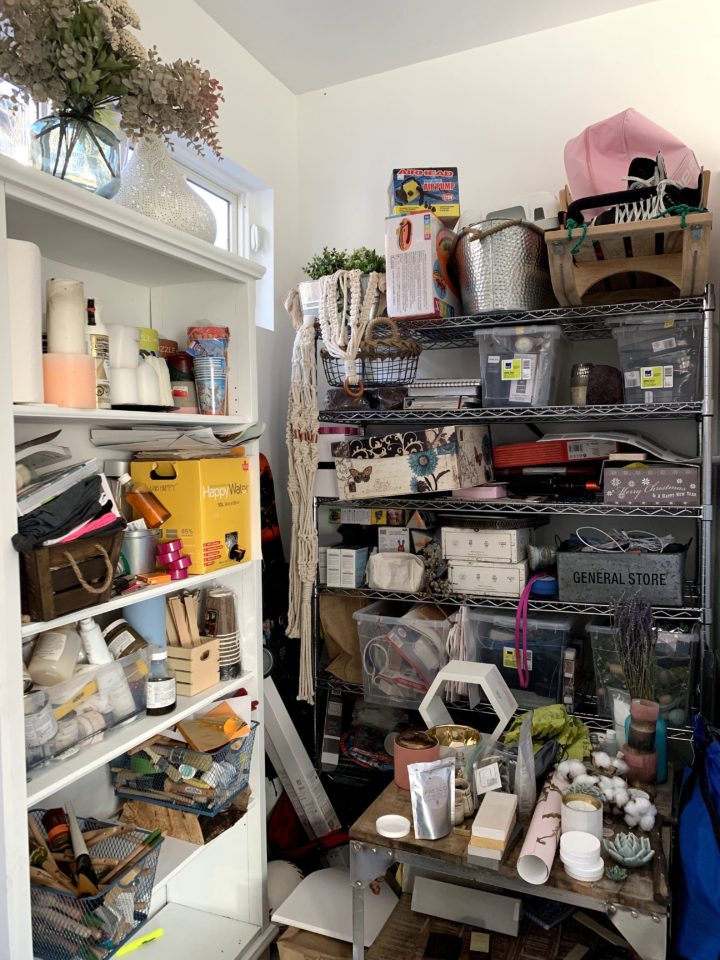
I tried to get bins but as many of us realize, we buy bins to keep stuff that we don’t even want to keep. So instead I purged what I didn’t use, donated what hadn’t been used in years as well as anything I didn’t have an immediate plan for using.
It felt so good! The frustration of the clutter was gone within an hour of going through everything.
After all that, I realized the space would probably be better suited to something else, other than a general storage closet. And as serendipitous timing would have it, I had come across this gorgeous outdated cabinet while perusing Kijiji and I instantly thought it would a perfect piece to use as a bar and storage cabinet!
So instead of a closet, I decided to turn that part of my studio space into an entertaining area, just in time for the holidays! Let’s get to the good stuff, how I organized my space AND transformed an outdated cabinet into a distressed beauty using of course, Fusion Mineral Paint.
How To Update and Create Storage With A Cabinet
THE BEFORE
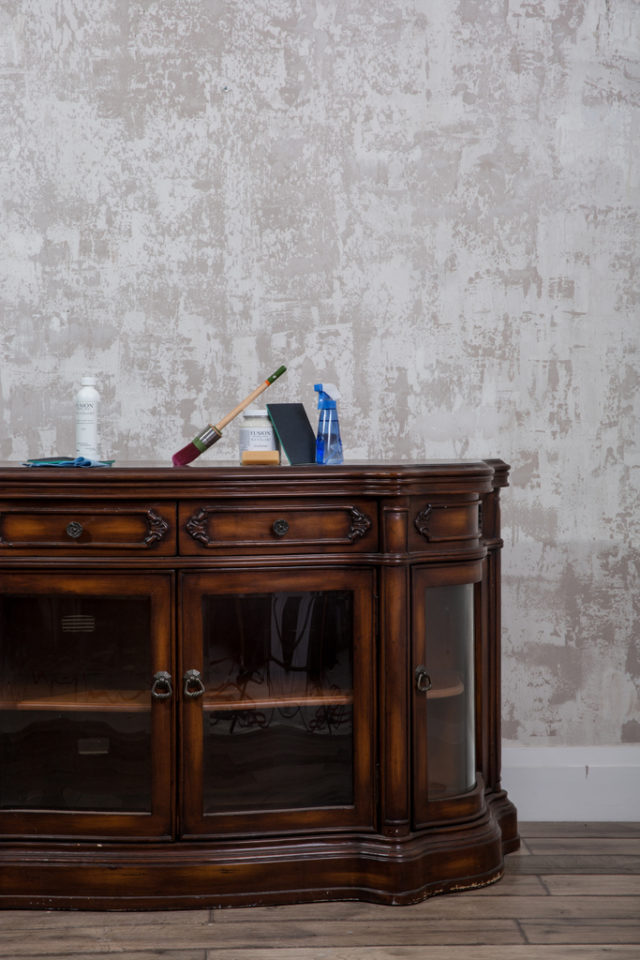
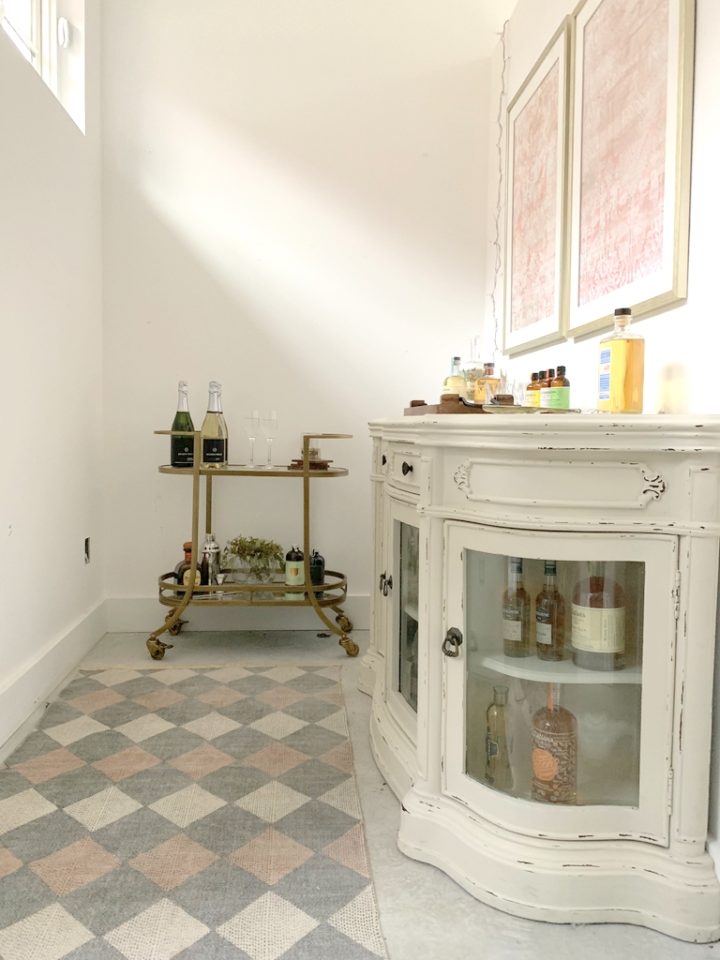
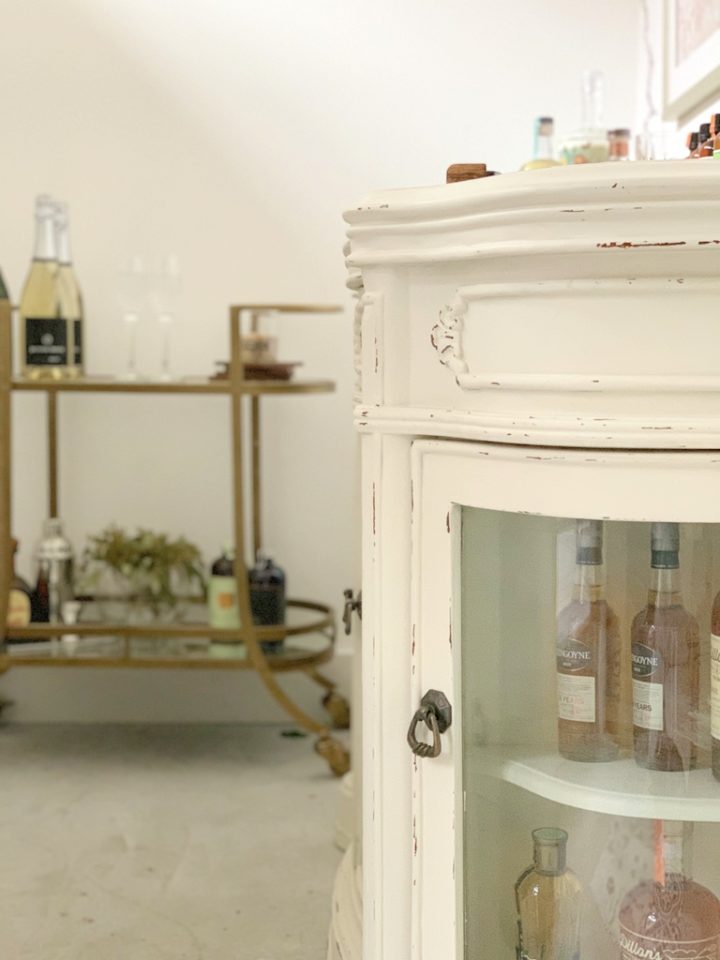
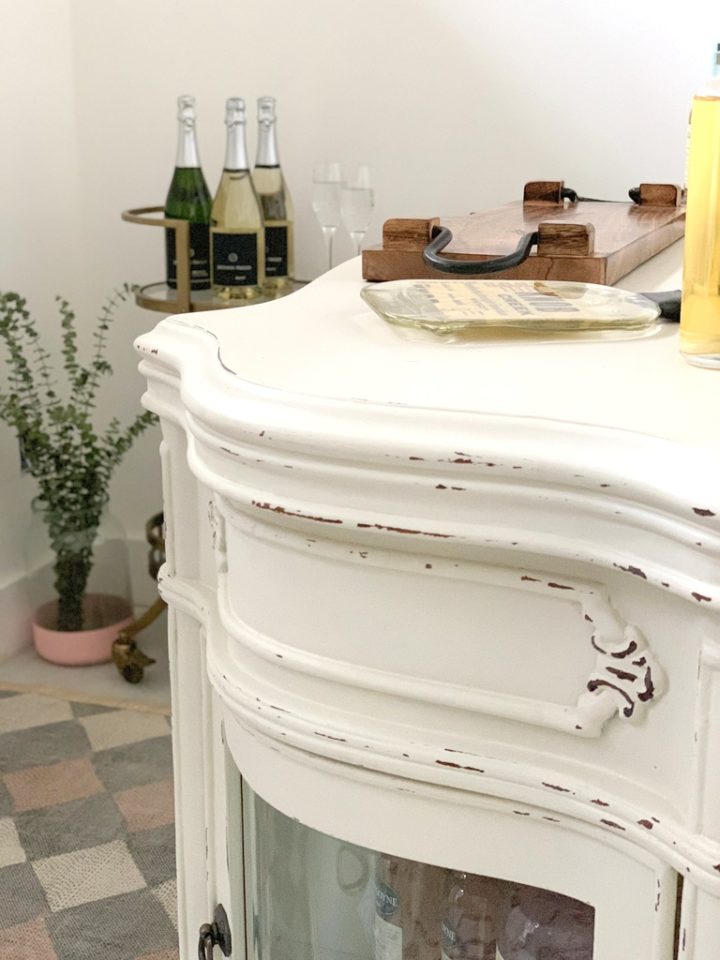
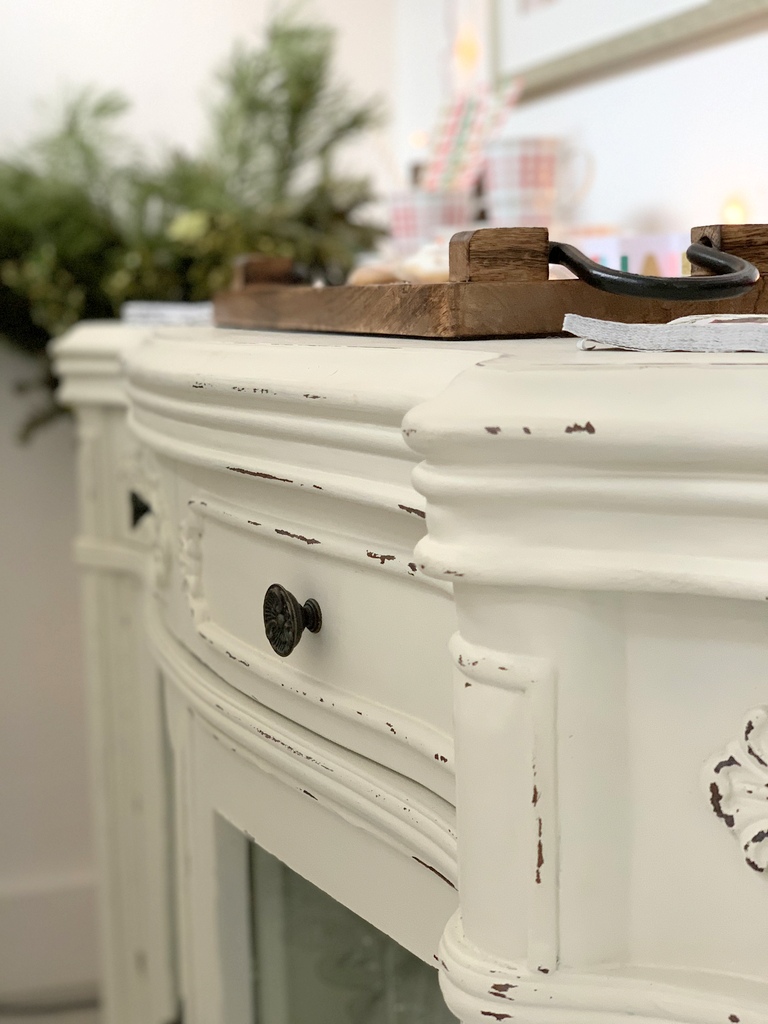
I first used our non toxic TSP to clean it to remove any residual grease, dirt and oil. With some of these old pieces, you just don’t know what’s on there. Best to be safe and clean it properly! Then I lightly sanded and scuffed it as the surface was a touch shiny and then wiped the excess dust off. I used 3 coats of Fusion Mineral Paint in Champlain to paint it and it covered perfectly.
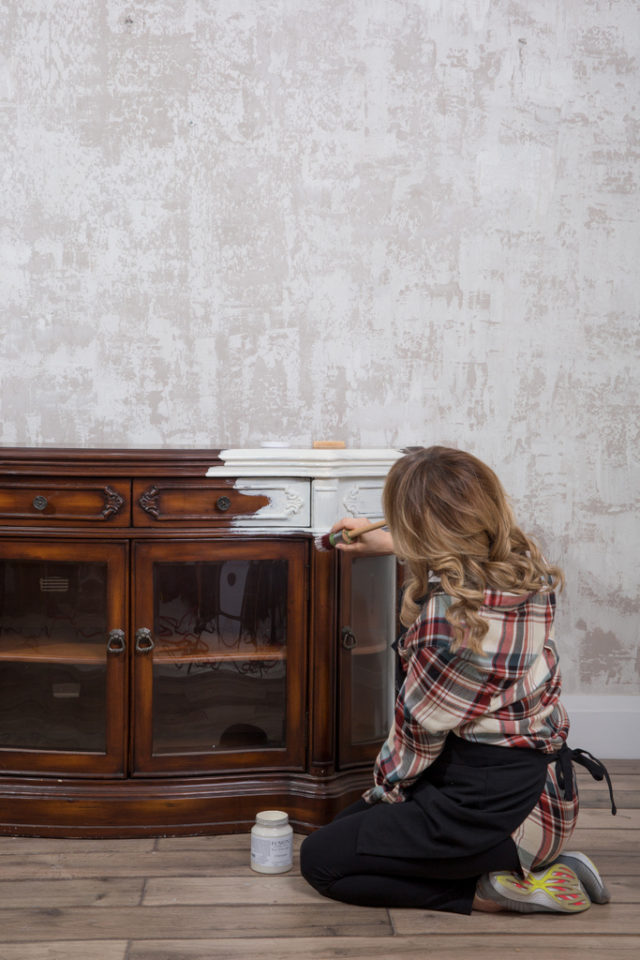
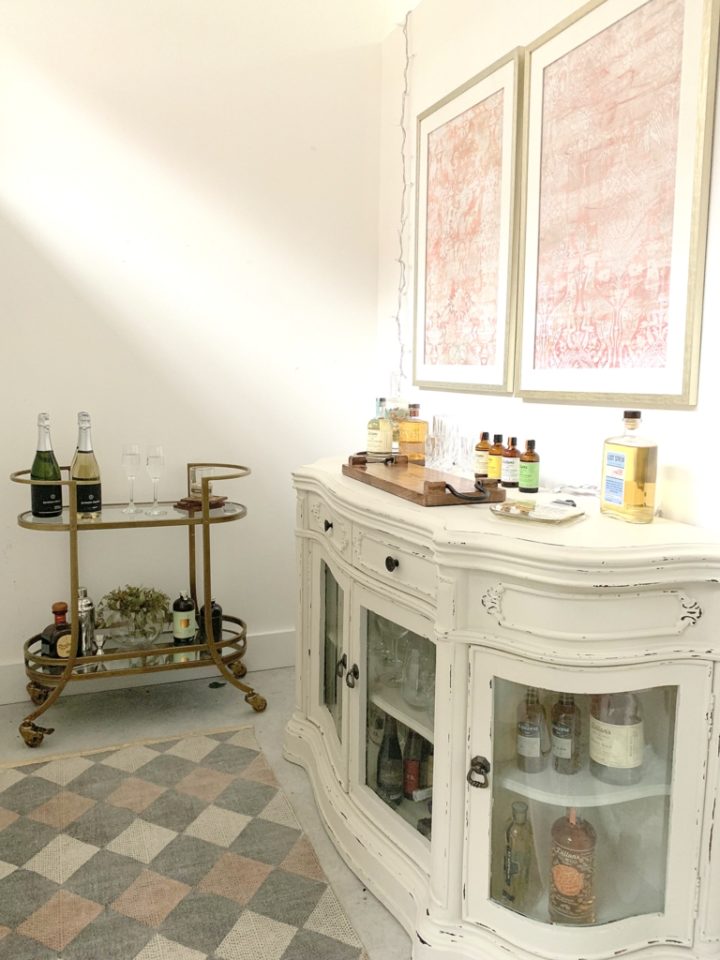
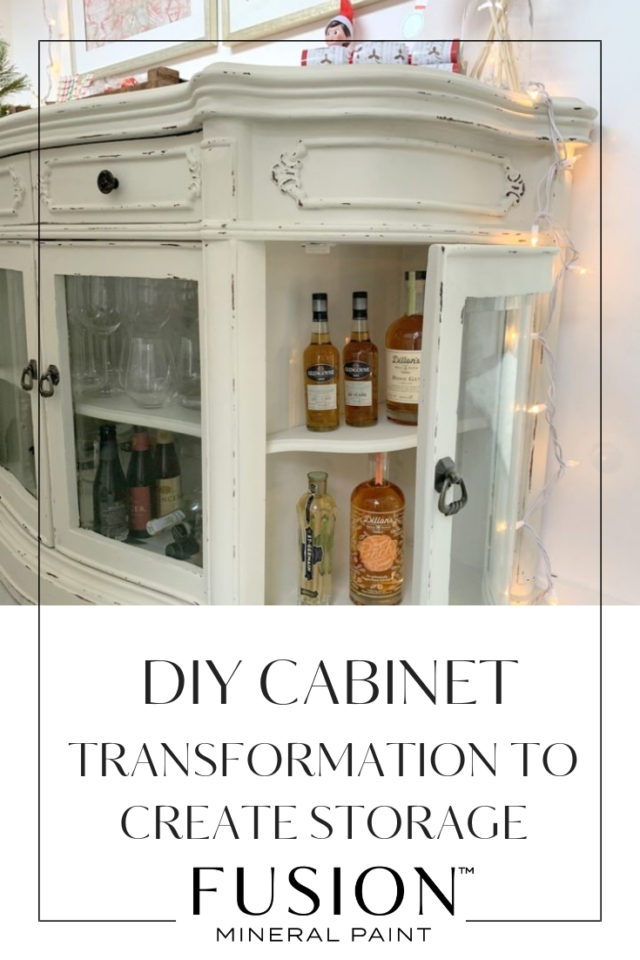
The beveled curved glass, the details in the wood and this piece is solid as can be! It was meant to be. I cannot believe how much three coats on paint has transformed this piece of furniture.

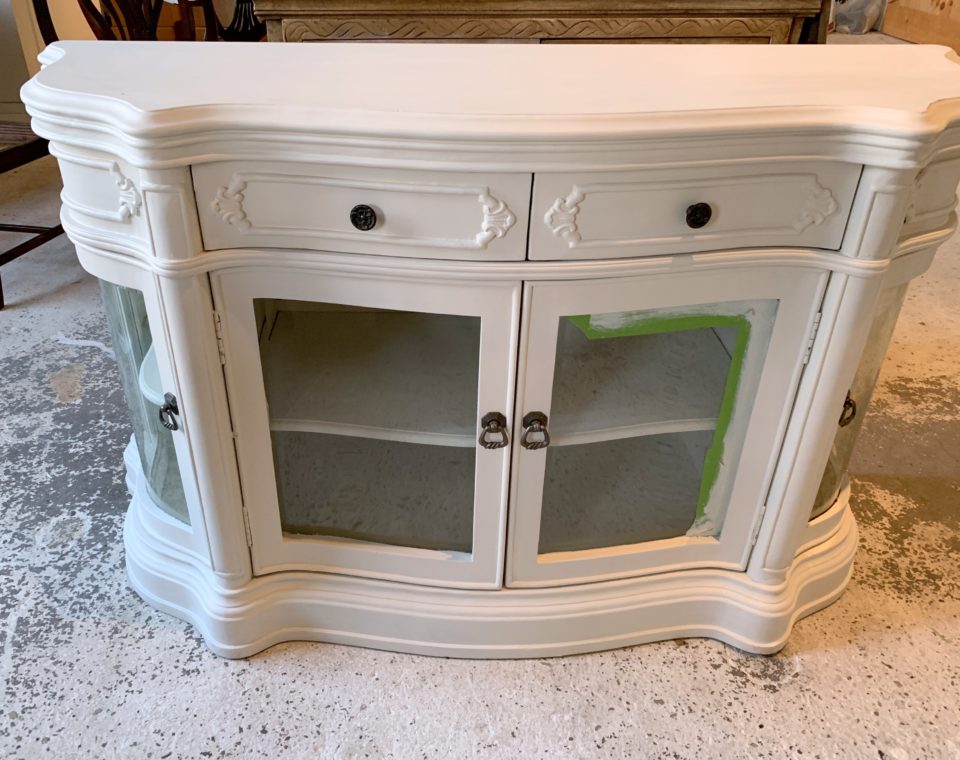
Update and Create Storage With A Cabinet
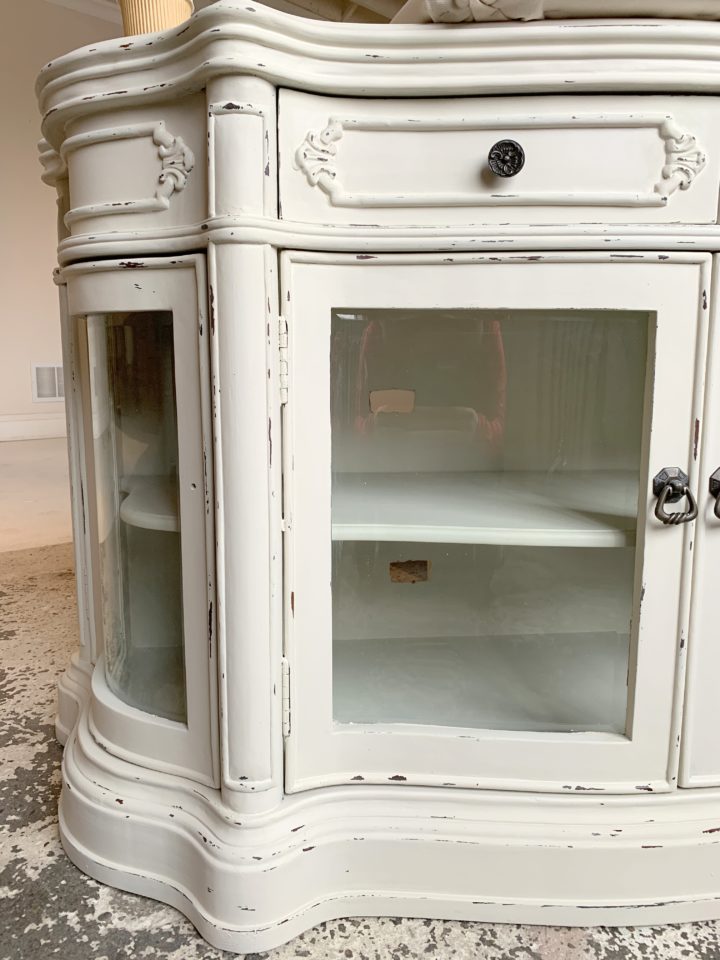
You ready for the after??
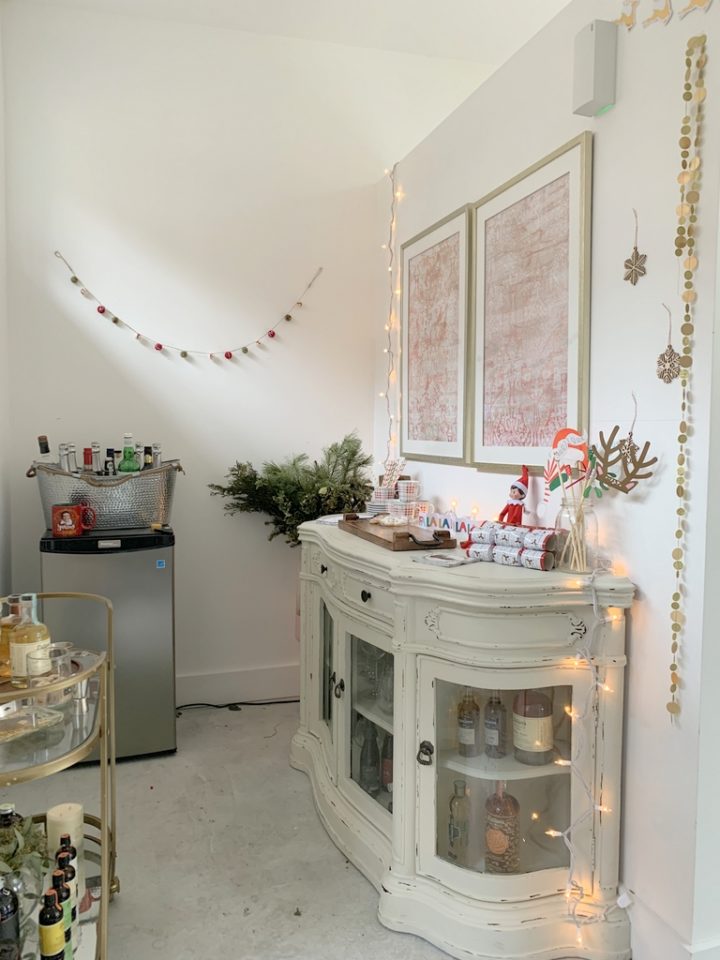
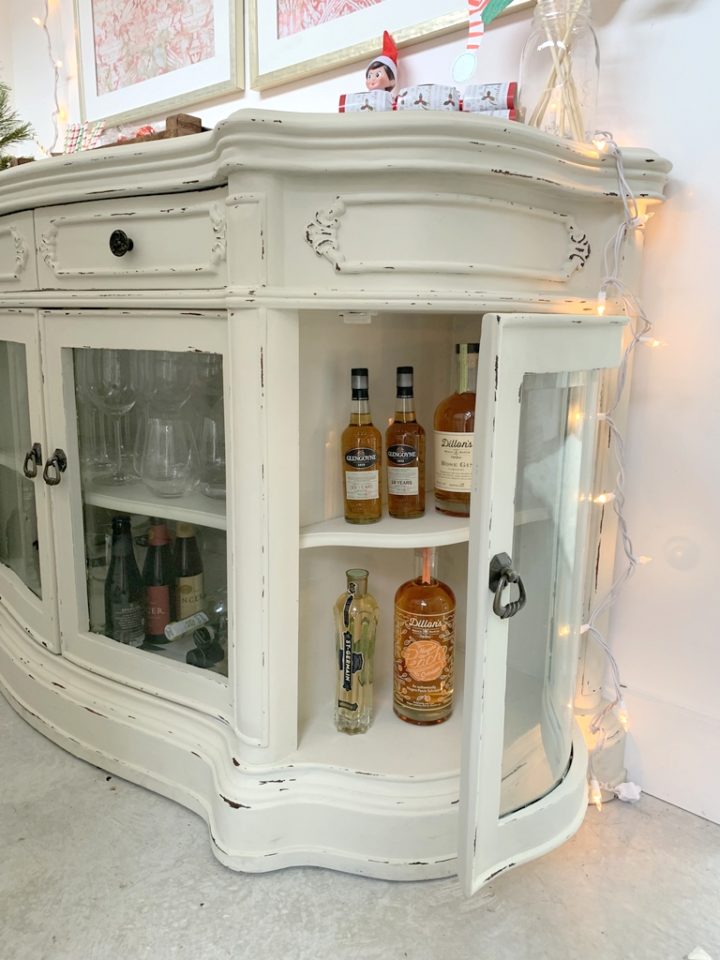
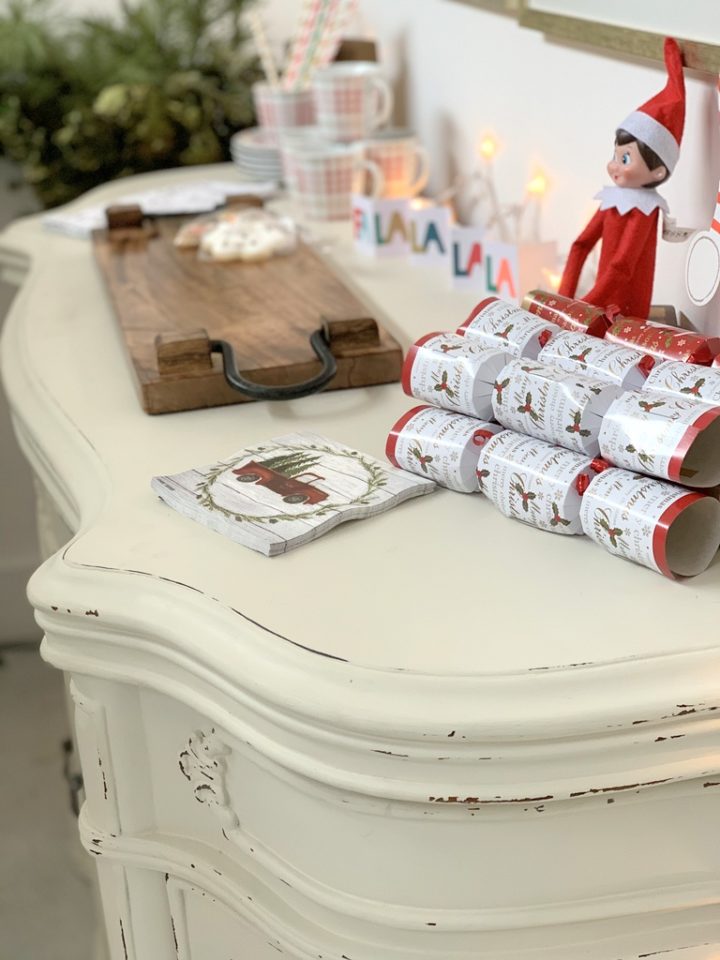
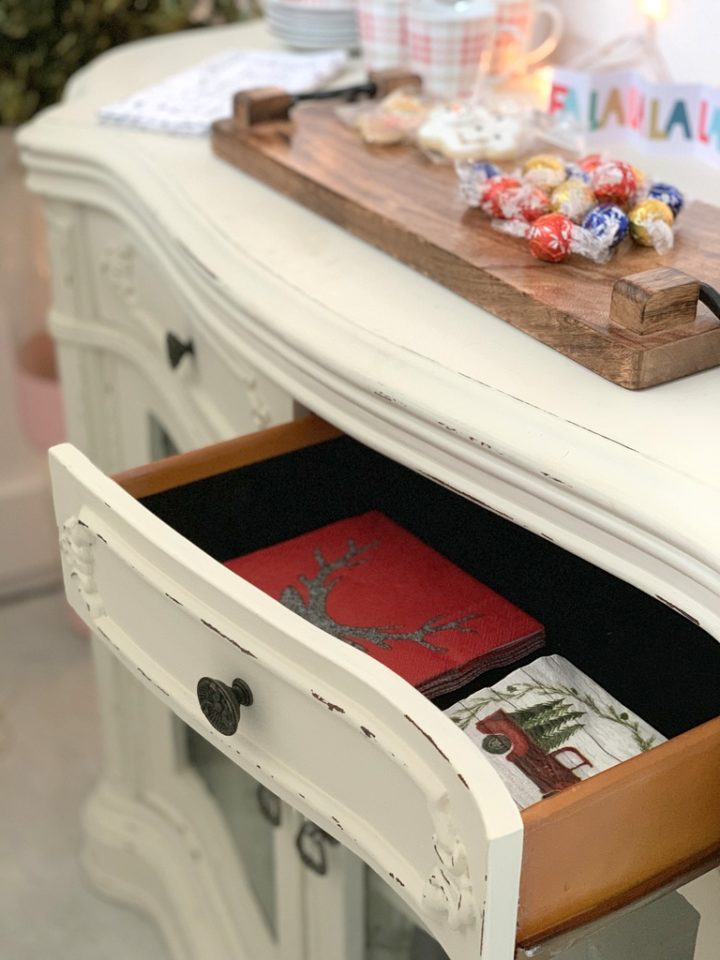

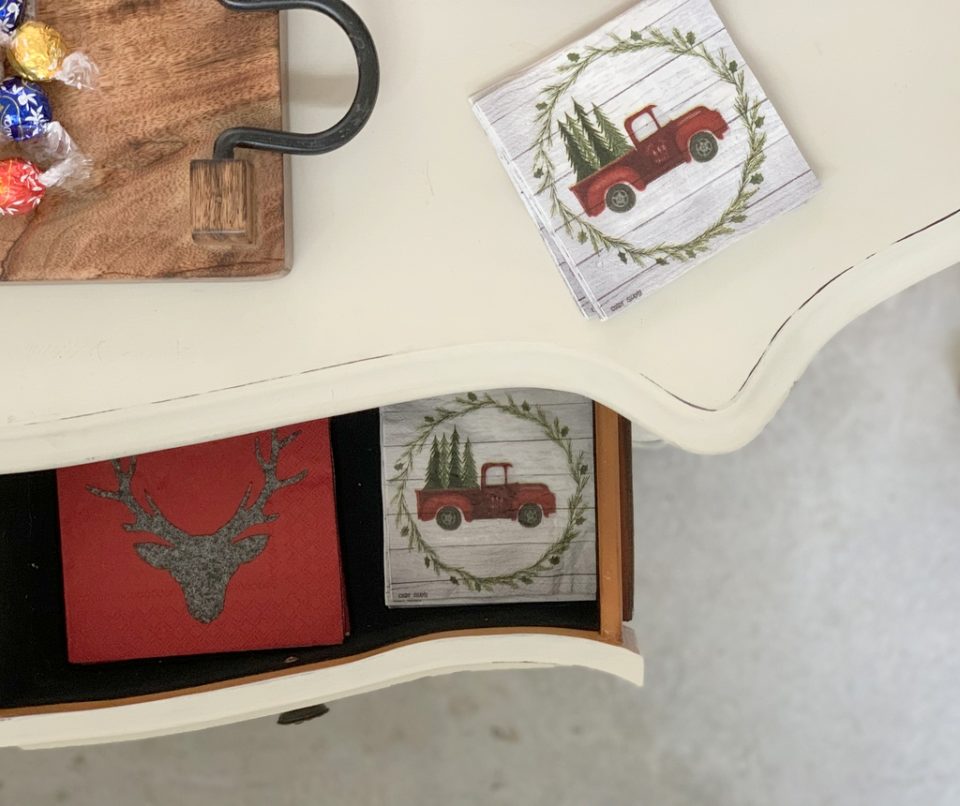
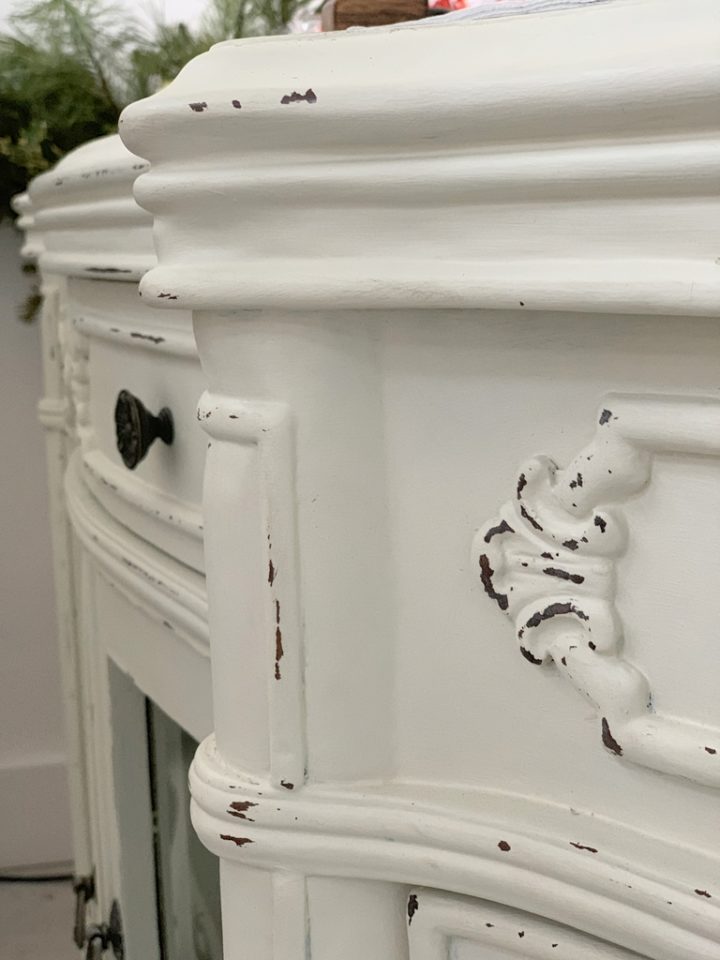
You can go from a casual daytime buffet to cocktails at night in a flash!
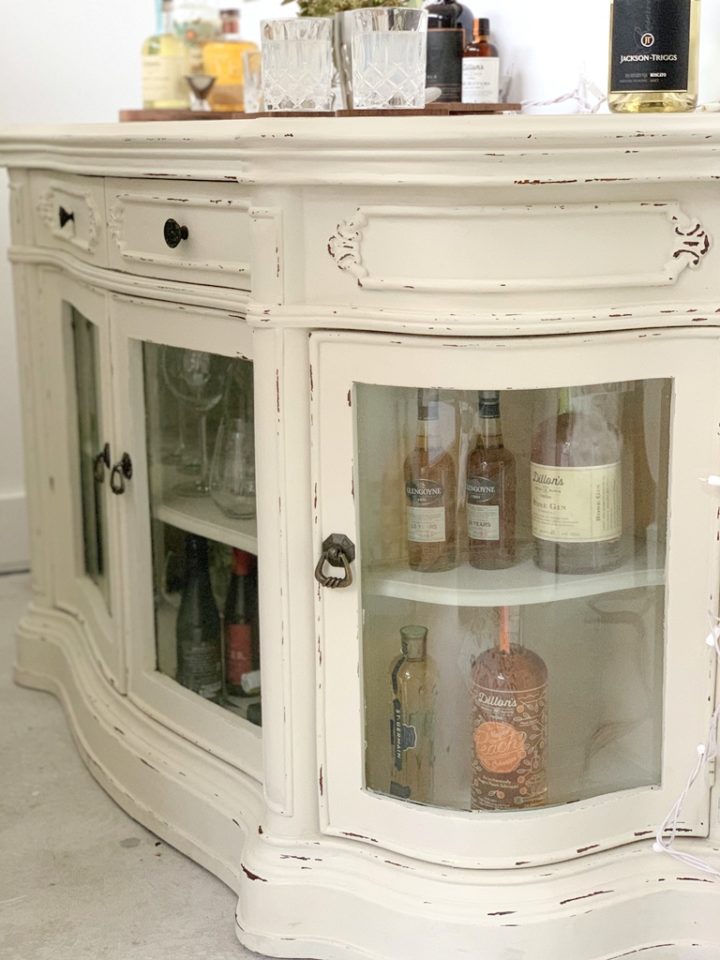
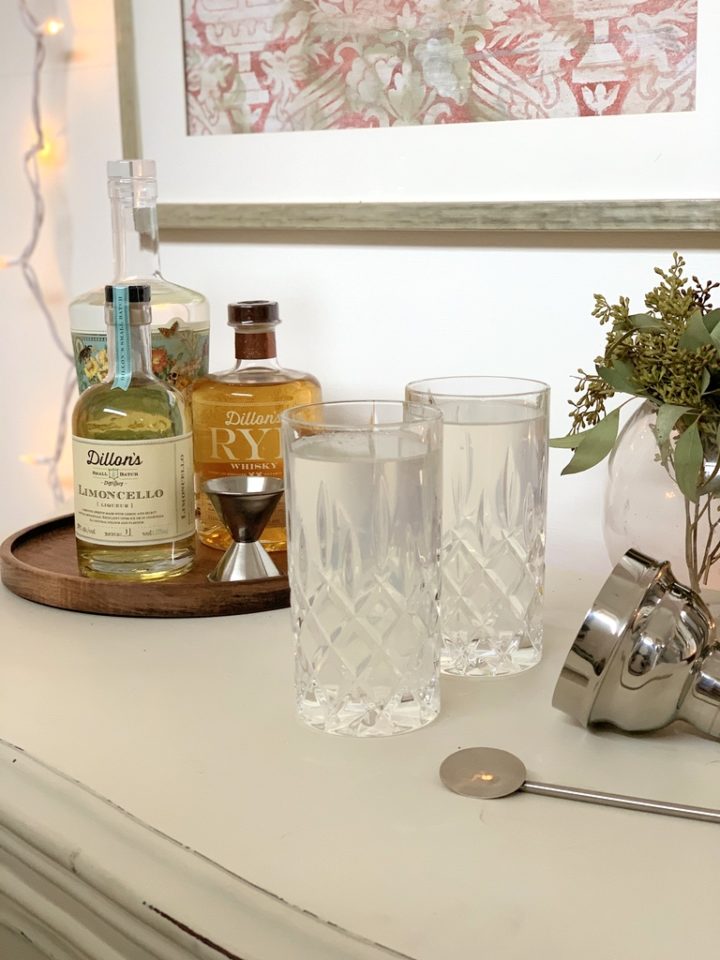
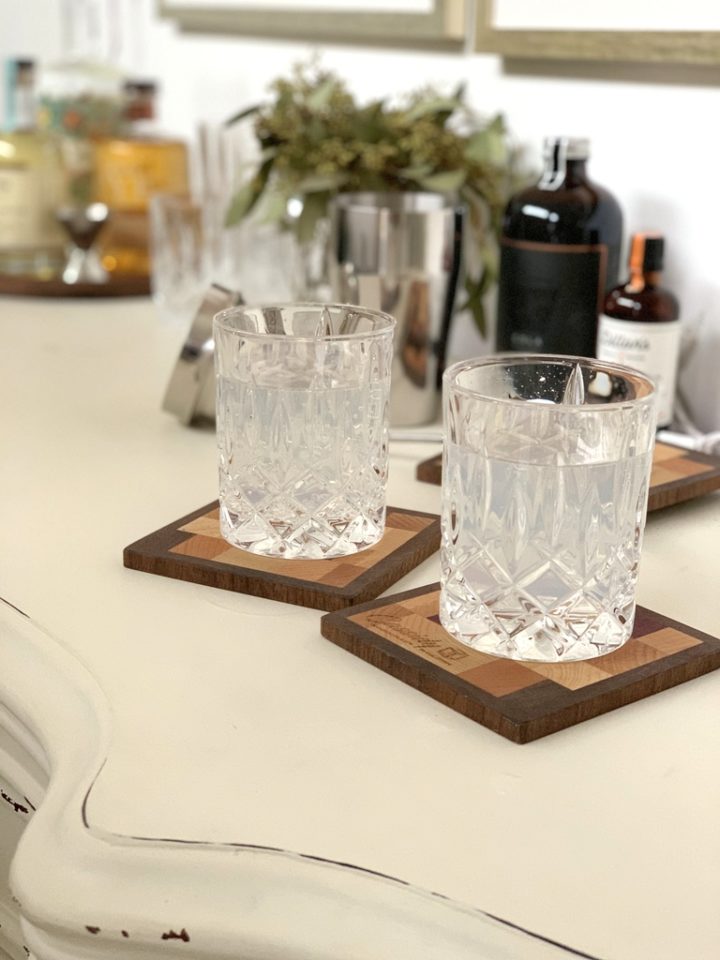
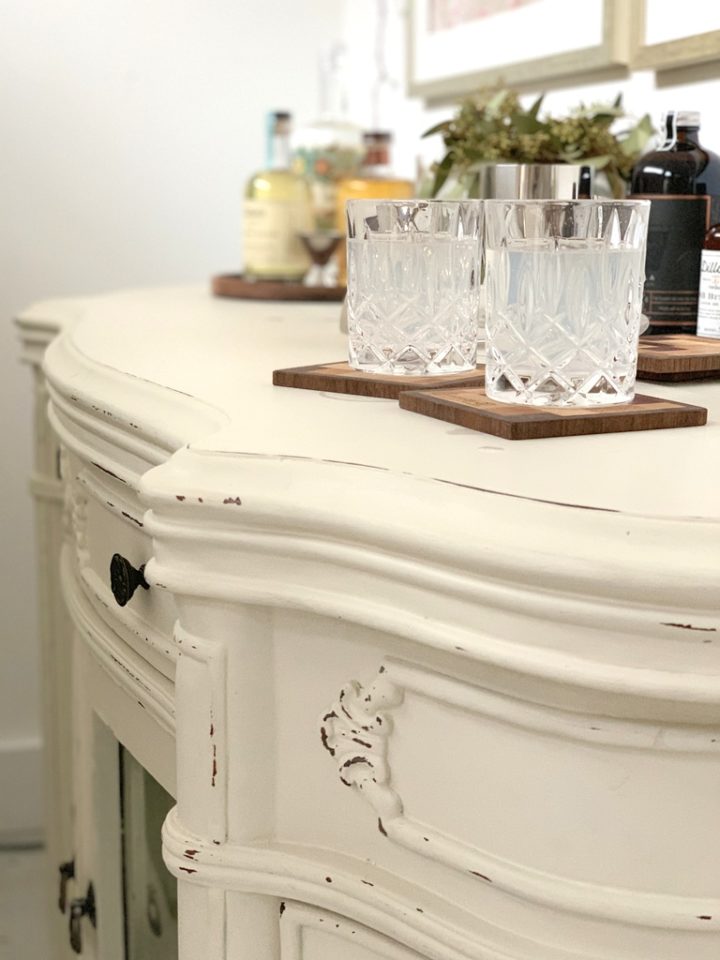
I am so happy with how it turned out! It’s definitely going to be a conversation piece for get together’s all year round.
If you are looking to fix up a space or clear clutter this month, here are some of my favorite organization tips for your home:
- Let go of what you don’t need and what doesn’t bring you joy. Marie Kondo was a huge inspiration to me – read more on her philosophies here to help you with cleansing your home and space. https://konmari.com/
- Organize your items by groupings, so different containers in different sizes. So all paint brushes, go with paint brushes. Waxes go with waxes and so on.
- Don’t over crowd – less is more. It’s easy to amass items over time so trying to cull everything monthly is a big help.
- If you choose to use boxes, label them. I prefer to use solid colored ones as I find clear ones add to the cluttered look. The exception to that rule is paint containers. Fusion’s are clear on purpose so you can see how much paint you have left in each container and know whether or not to reorder any. But sanding pads, cleaners and so forth? Boxes please!
- Donate instead of throwing out items. Just because you don’t think you’ll use an item, doesn’t mean it won’t be someone else treasure. So if it’s good shape, pay it forward and it’s also great for the environment.
Until next time, keep painting it beautiful and don’t forget to join us in our Paint it Beautiful Facebook group to share all YOUR amazing paint projects!


One Response