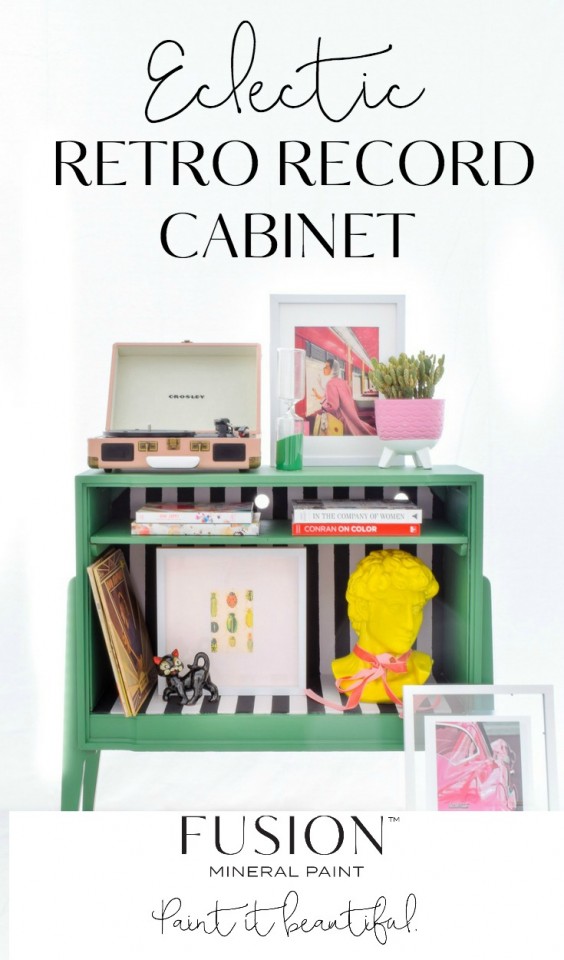
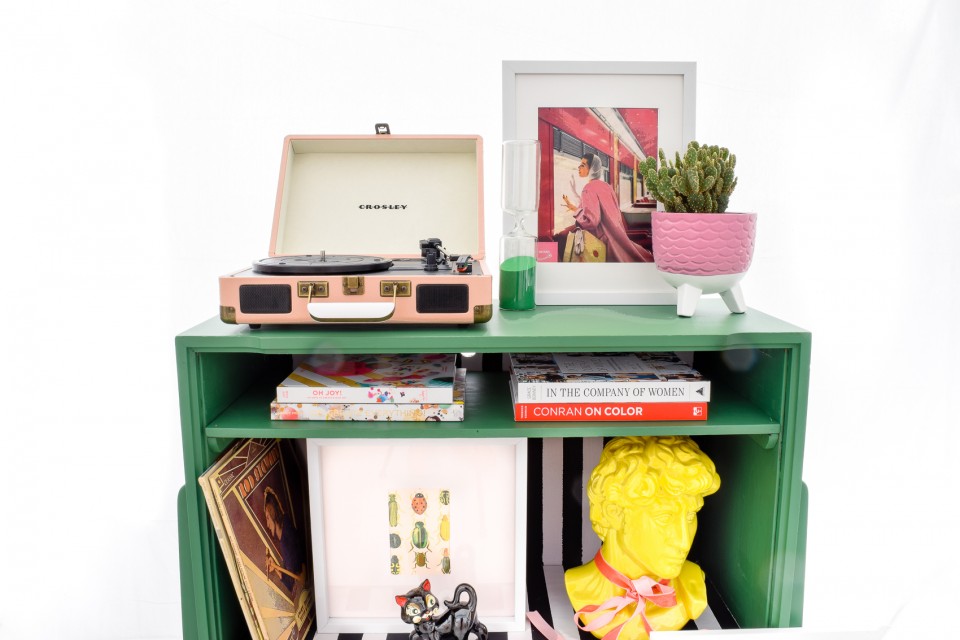
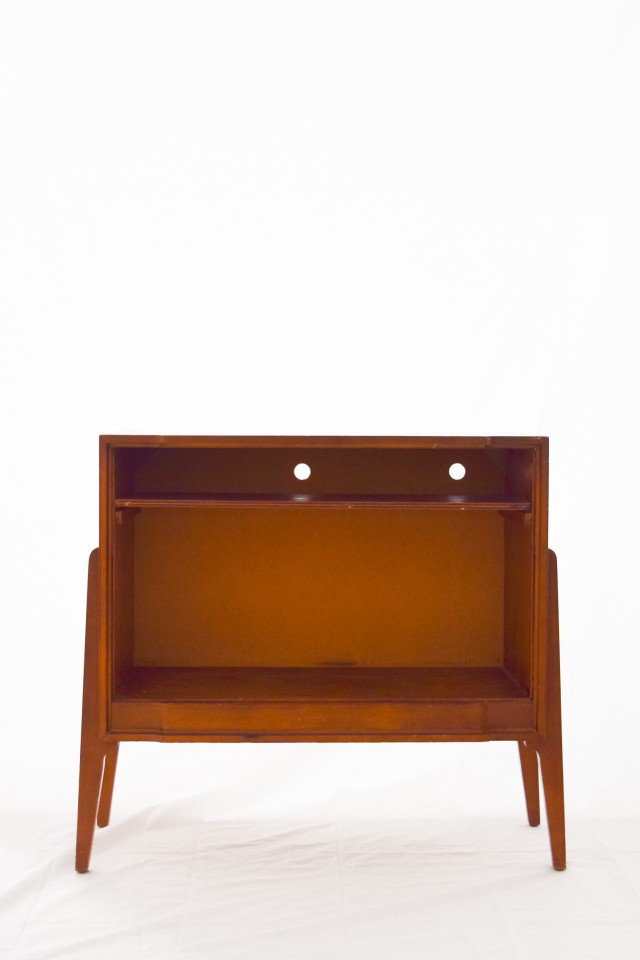
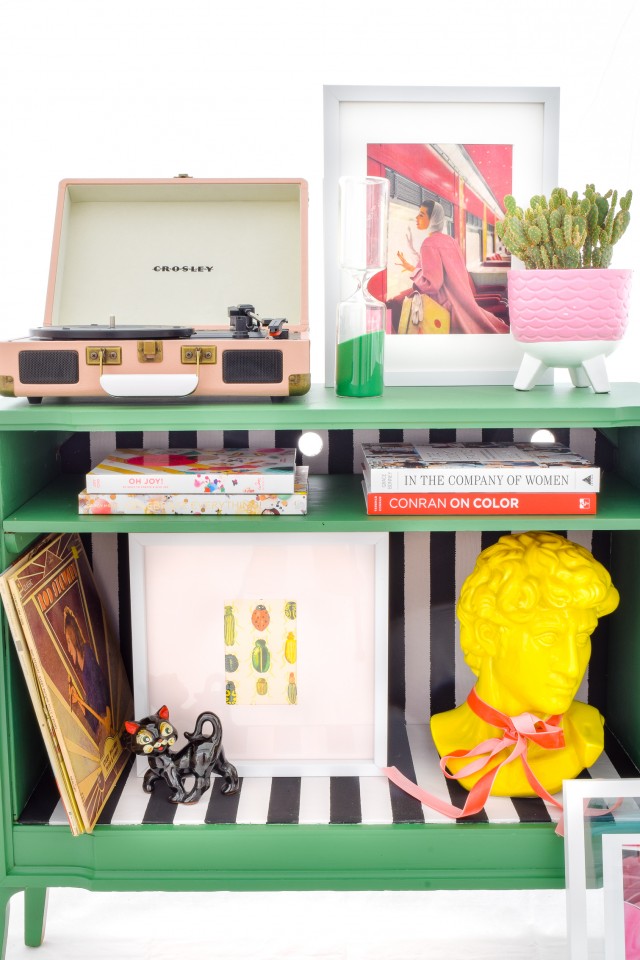
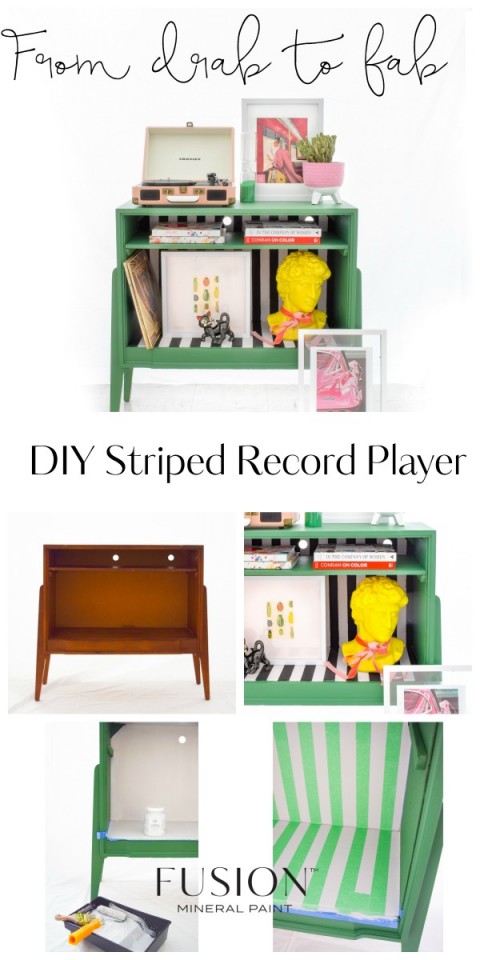
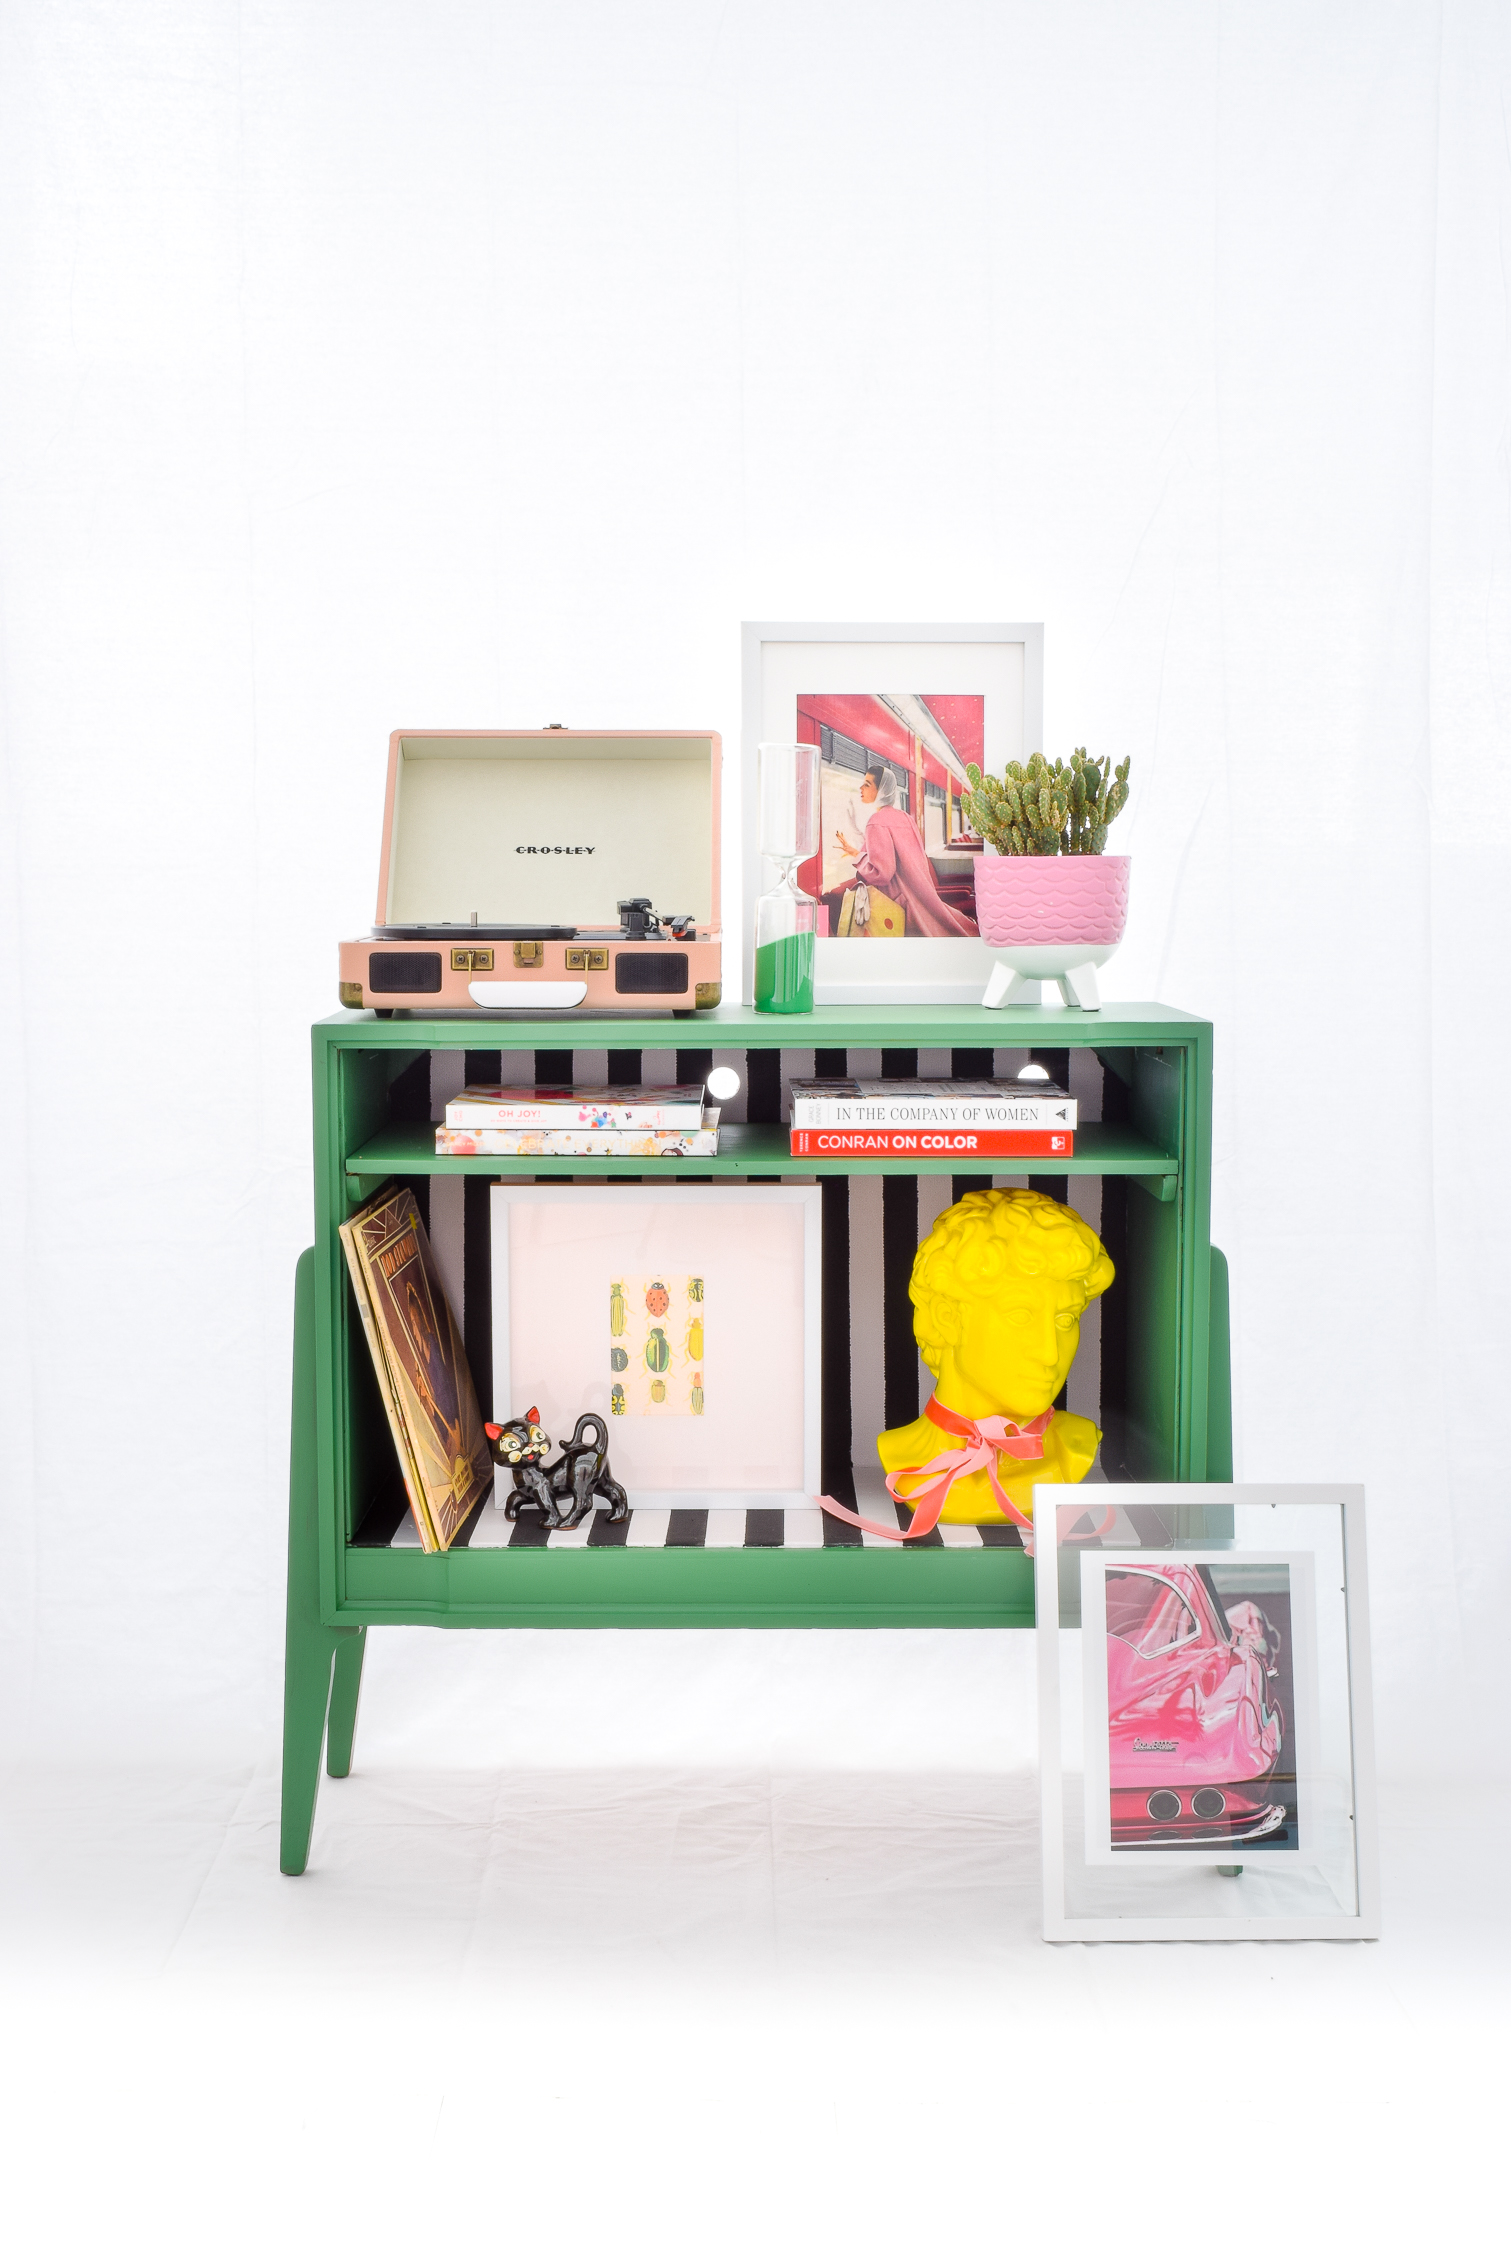
Thrift stores are full of vintage and used furniture that is just waiting for someone to give them a new lease on life. That’s where the magic of Fusion Mineral Paint comes into play. Sometimes you see a Before and After and think “That can’t be the same piece of furniture, can it?”. Here’s another great example of a complete transformation by Ariel at PMQ for Two, using Fusion Mineral Paint. Ariel completely freshened up and revived a retro record player that she found on Kijiji. From drab to fab, this retro record player received a facelift with Fusion Mineral Paint.
Supplies you’ll need:
- Retro record player from local online classifieds
- Fusion Mineral Paint in Park Bench, Little Stork (discontinued), and Coal Black.
- Painters tape
- Paint roller & tray
- Paintbrush
Step 1: Clean and wipe down your piece before beginning. If there is dirt or other gunk present from your vintage pieces’ previous life, the paint may not adhere as desired. You’re better off starting with a clean slate! PREP is the most important step in any painting project and we want to make sure that each painting project is a success.
Step 2: Using our microfiber roller, apply your first coat of paint. I used Fusion’s Park Bench for its lush and rich colour as the base.
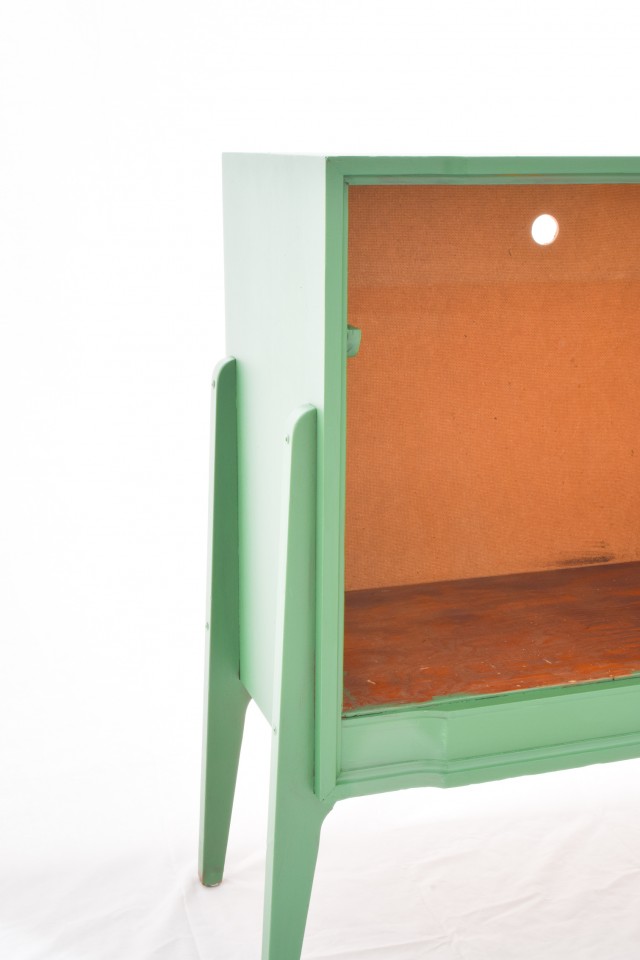
Step 3: Follow the instructions on the Fusion paint label and when in doubt, respect dry times. I was, however, able to safely apply a second coat after just an hour. Don’t forget that if you’re in a well-ventilated space, it will be easier for the paint to dry properly. If you want to learn more about paint drying versus paint curing times, please read this blog post.
Step 4: Once you’re happy with the external coverage, tape off the inside of the cabinet. I removed the shelf to paint green separately, so that meant that I could paint the entire inside with Little Stork (discontinued) from the Tones for Tots line. Repeat step 3 until you’re happy with the coverage. In my case, it took 2 coats since the wood was thirsty and soaked up a lot of the first coat!
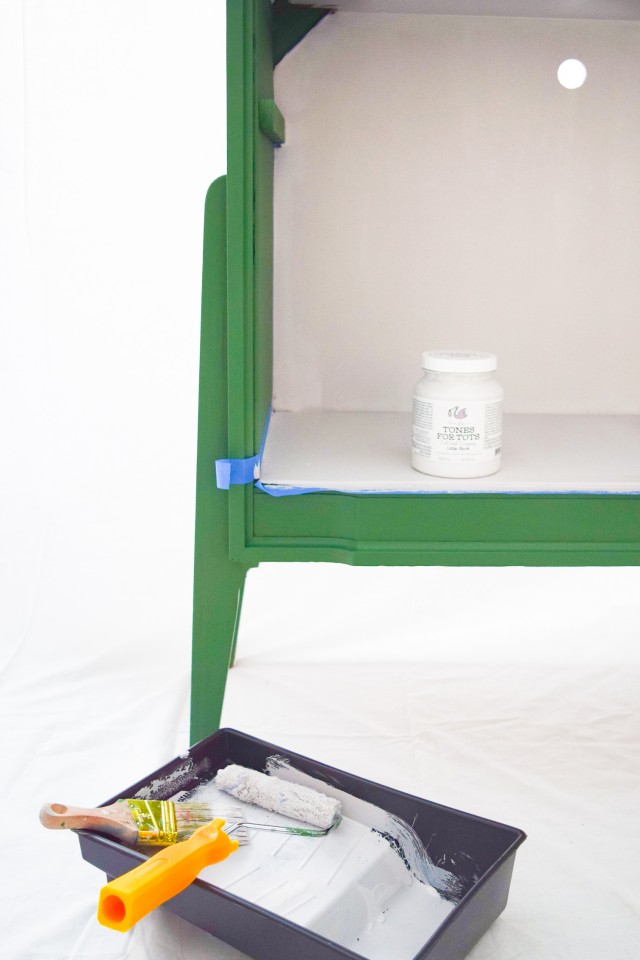
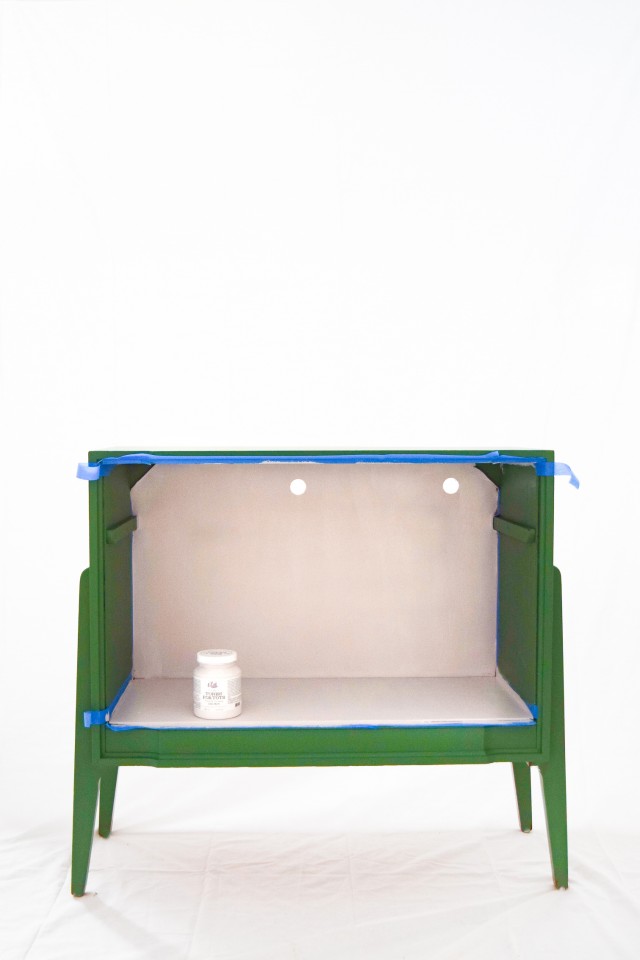
Step 5: Once your paint is completely dry, begin to tape off your project. Using your favourite painter’s tape, create vertical stripes along the surface you have painted with your contrast colour, in my case, Little Stork. Take great care to ensure even spacing. Here’s a great little tip: to ensure the spaces were even, I used a piece of tape between stripes to make sure the distance between them was accurate!
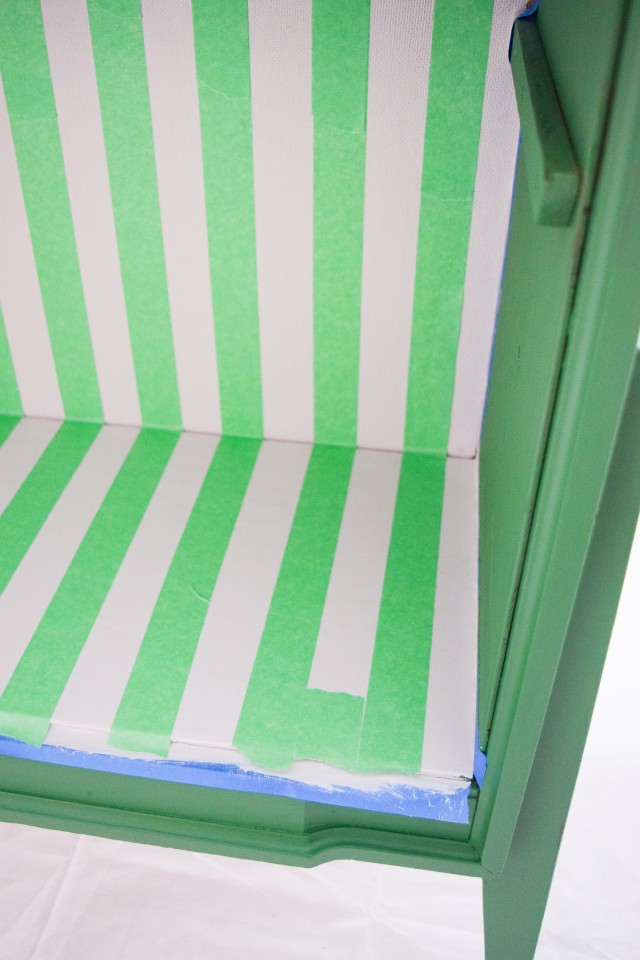
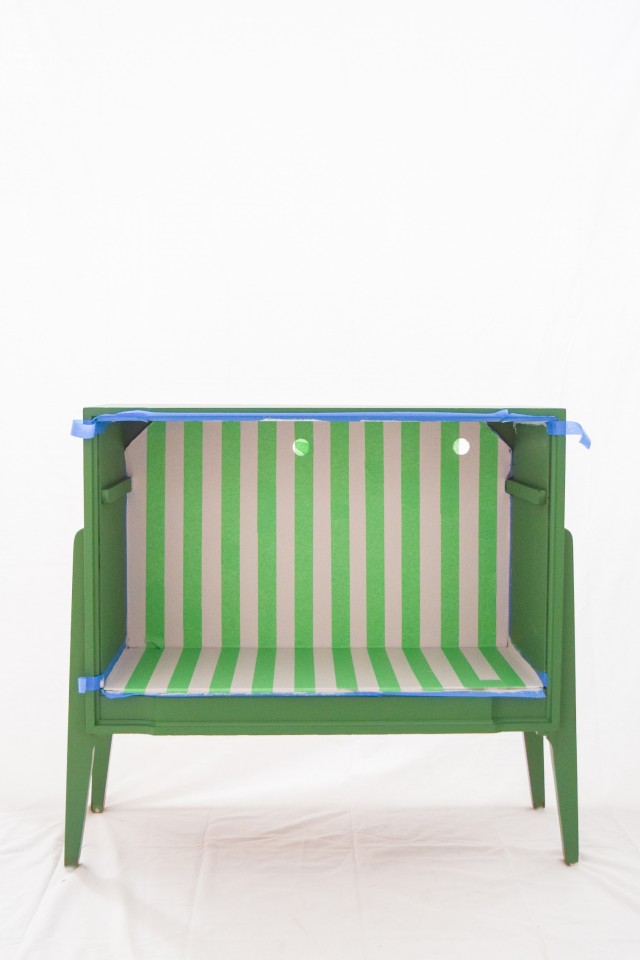
Step 6: Once your taping is complete, paint over the exposed areas in Coal Black. Depending on how good your tape is, you may be able to just use your roller over the entire area. Otherwise, just use a brush to get the areas that were left exposed. This allows you to be a little more precious in your paint distribution.
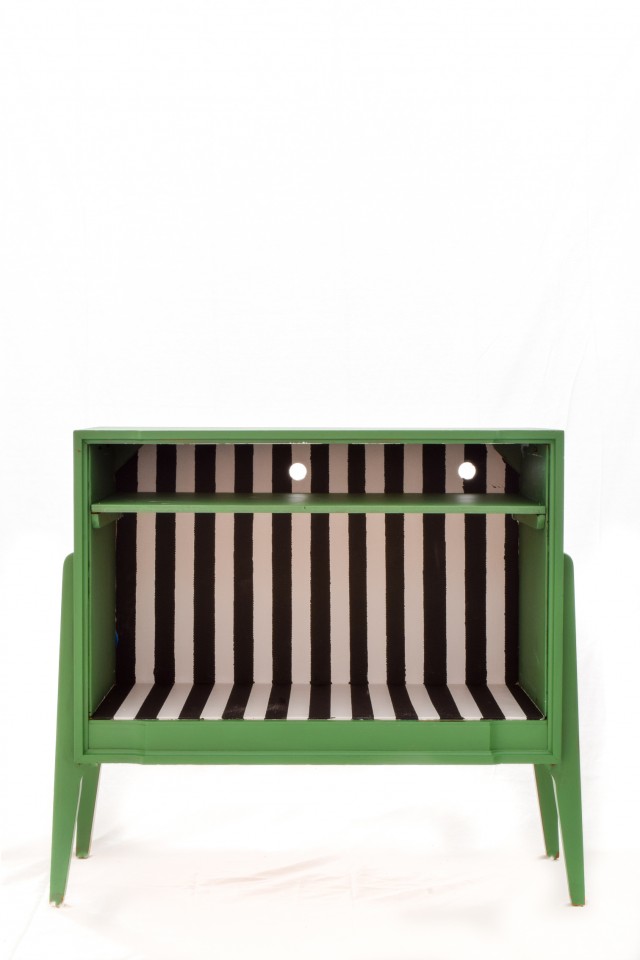
Step 7: Once you’ve applied a second coat or finished any touch-ups, let your vintage piece dry overnight.
Step 8: Once your paint has dried, slowly but surely remove the painter’s tape and do any corrections/touchups if necessary. Depending on the quality of the tape you’ve used, it may pull up some paint. So make sure to use a good quality painter’s tape.
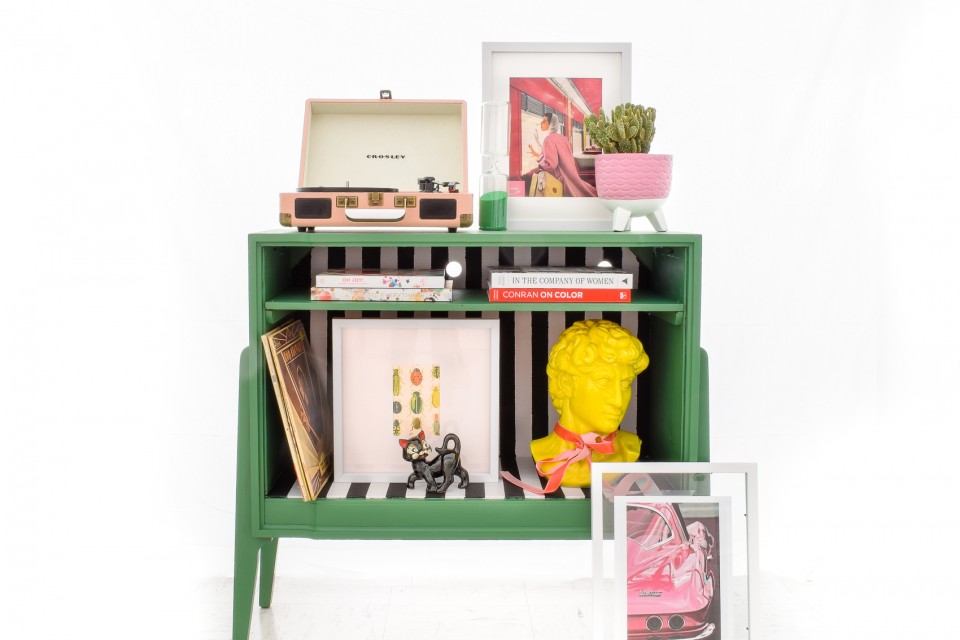
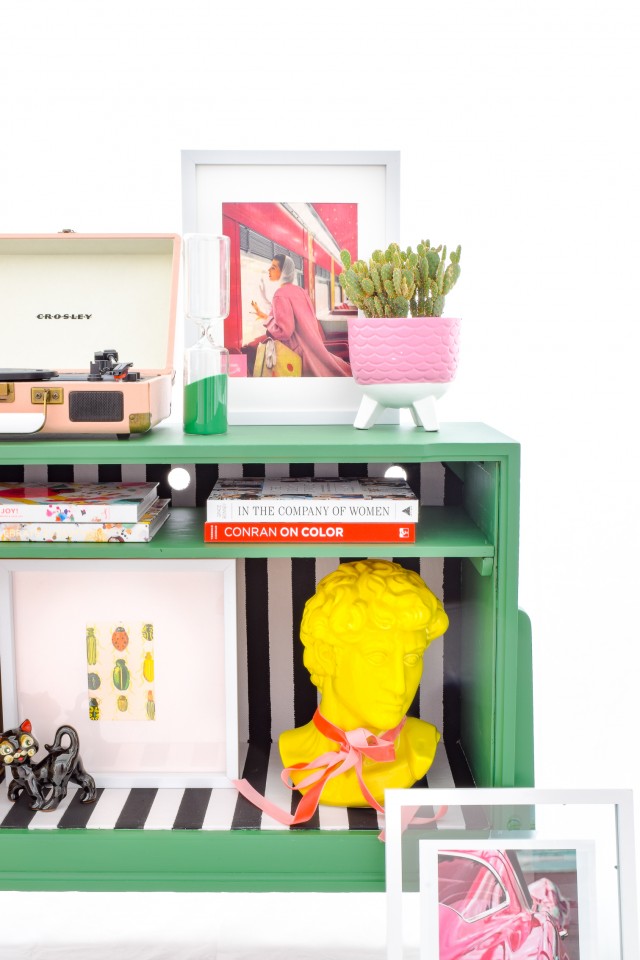
This is such a wonderful example of a piece that was sitting in someone’s basement gathering dust and with a little bit of paint, has been completely revived. We just love seeing the contrast between Park Bench and Little Stork on this retro record player.
If you want to go for a more modern look, you could use Coal Black, Casement and Little Whale or Ash (monotone looks are so popular right now!).
Step 9: You have the option of sealing the entire piece with Fusion Tough Coat, but that depends entirely on how you plan on using the piece. Fusion is formulated with a built-in top coat, the 100% acrylic resin. So you do not need to use a top coat for water permanency! If your vintage piece is going to be used in what we would use as a “high traffic” location (for example, a dining table), then Tough Coat is recommended.
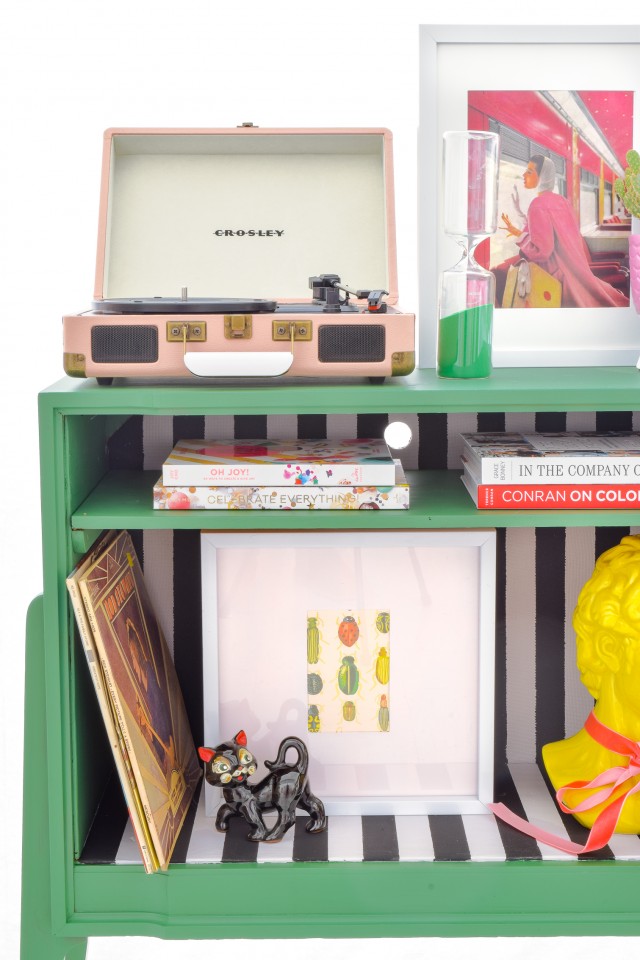
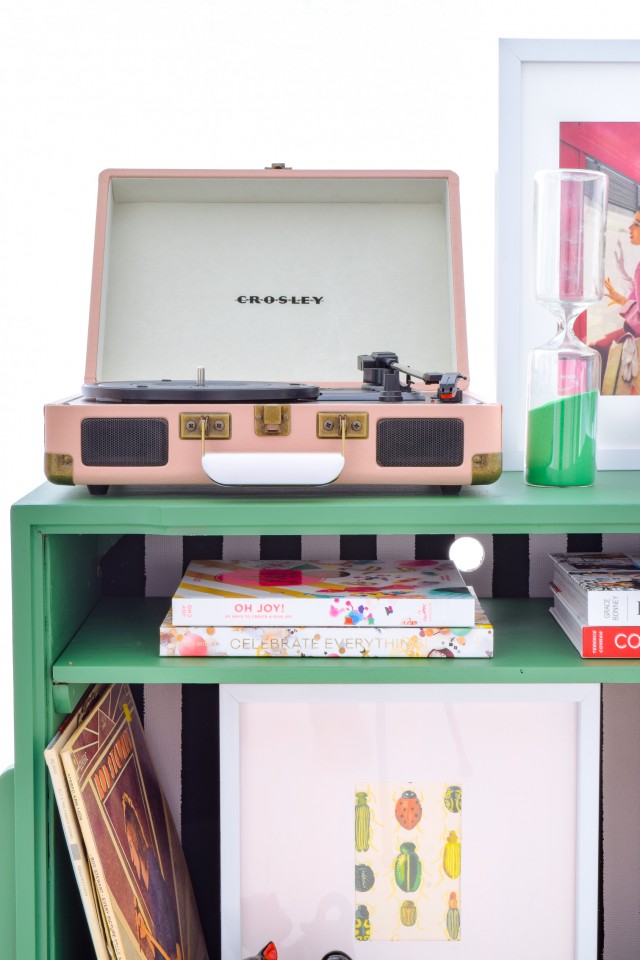
And you’re done! Stand back and admire your new (retro) record player! That’s the magic of Fusion Mineral Paint. As always, if you’ve done any projects using Fusion, share them with us in our Paint it Beautiful Facebook group.
Happy painting!
Project and photos styled courtesy of Ariel at PMQ for Two.
Pin for Later!


2 Responses