Have you considered moving over to the ‘Dark Side’? I mean it.
Are you considering adding age to your painted pieces using dark wax? It can be scary – particularly for anyone who has experience using a coloured or darker wax on chalk type paint. You know what I mean – when the dark wax stains your paint and that is the colour changed forever. You don’t have to worry about that with Fusion™ Mineral Paint and Wax as a combo – but you do get the same butter like finish.
Let me let you in on a little secret. Fusion™ Mineral Paint and dark waxes are a combination made in heaven!
Why? Well, because Fusion™ has a built in topcoat, you avoid the ‘muddy’ sunk in, its kind of dirty looking, finish that occurs with chalky paints. I should at this point state – with Fusion™ you do not NEED any topcoat – it is a choice for a ‘look’, not a requirement!
So how do you use Fusion™ Espresso Wax and Black Wax? The first step is choosing your colour! Take a look at the two side by side. Beautiful. In case you are wondering, in my opinion, they smell like chocolate! Yummy!
Can you see the difference in colour? (and branding – did you know we make Homestead House Milk Paint and Accessories?).
For an aged and gentle look, grab the Espresso Wax, (brown) and for a more dramatic finish, you will want the Black Wax.
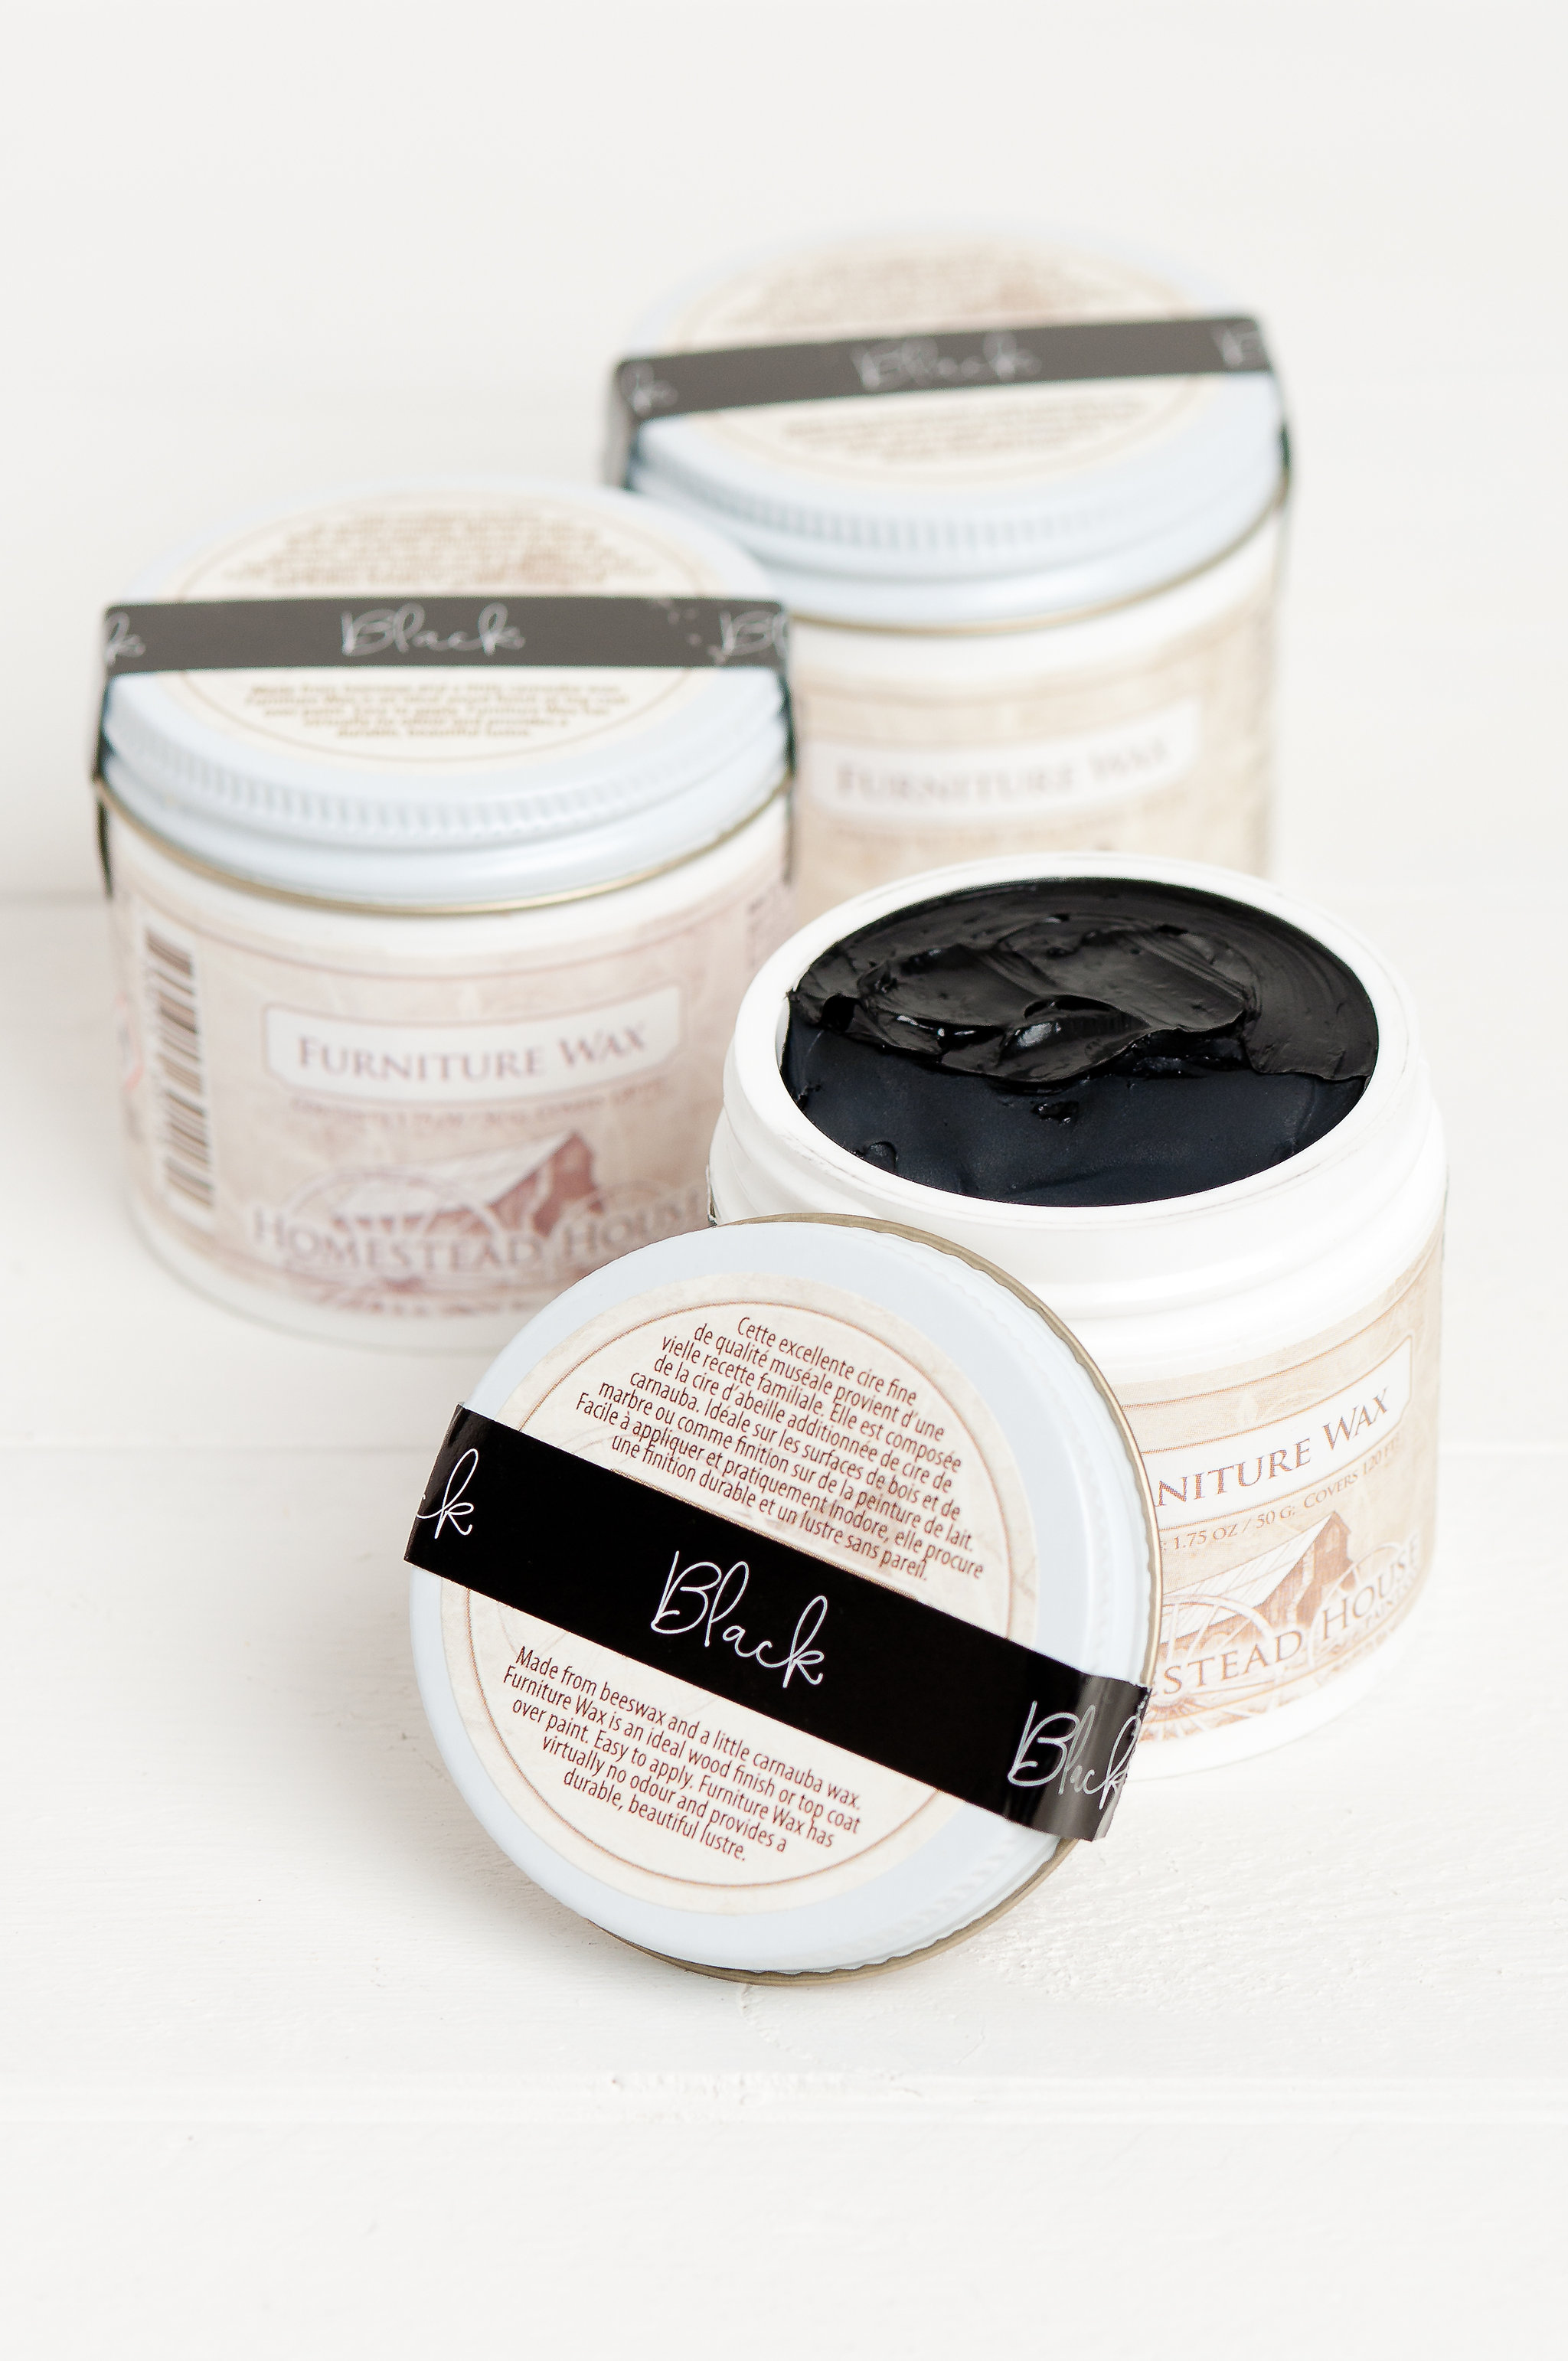
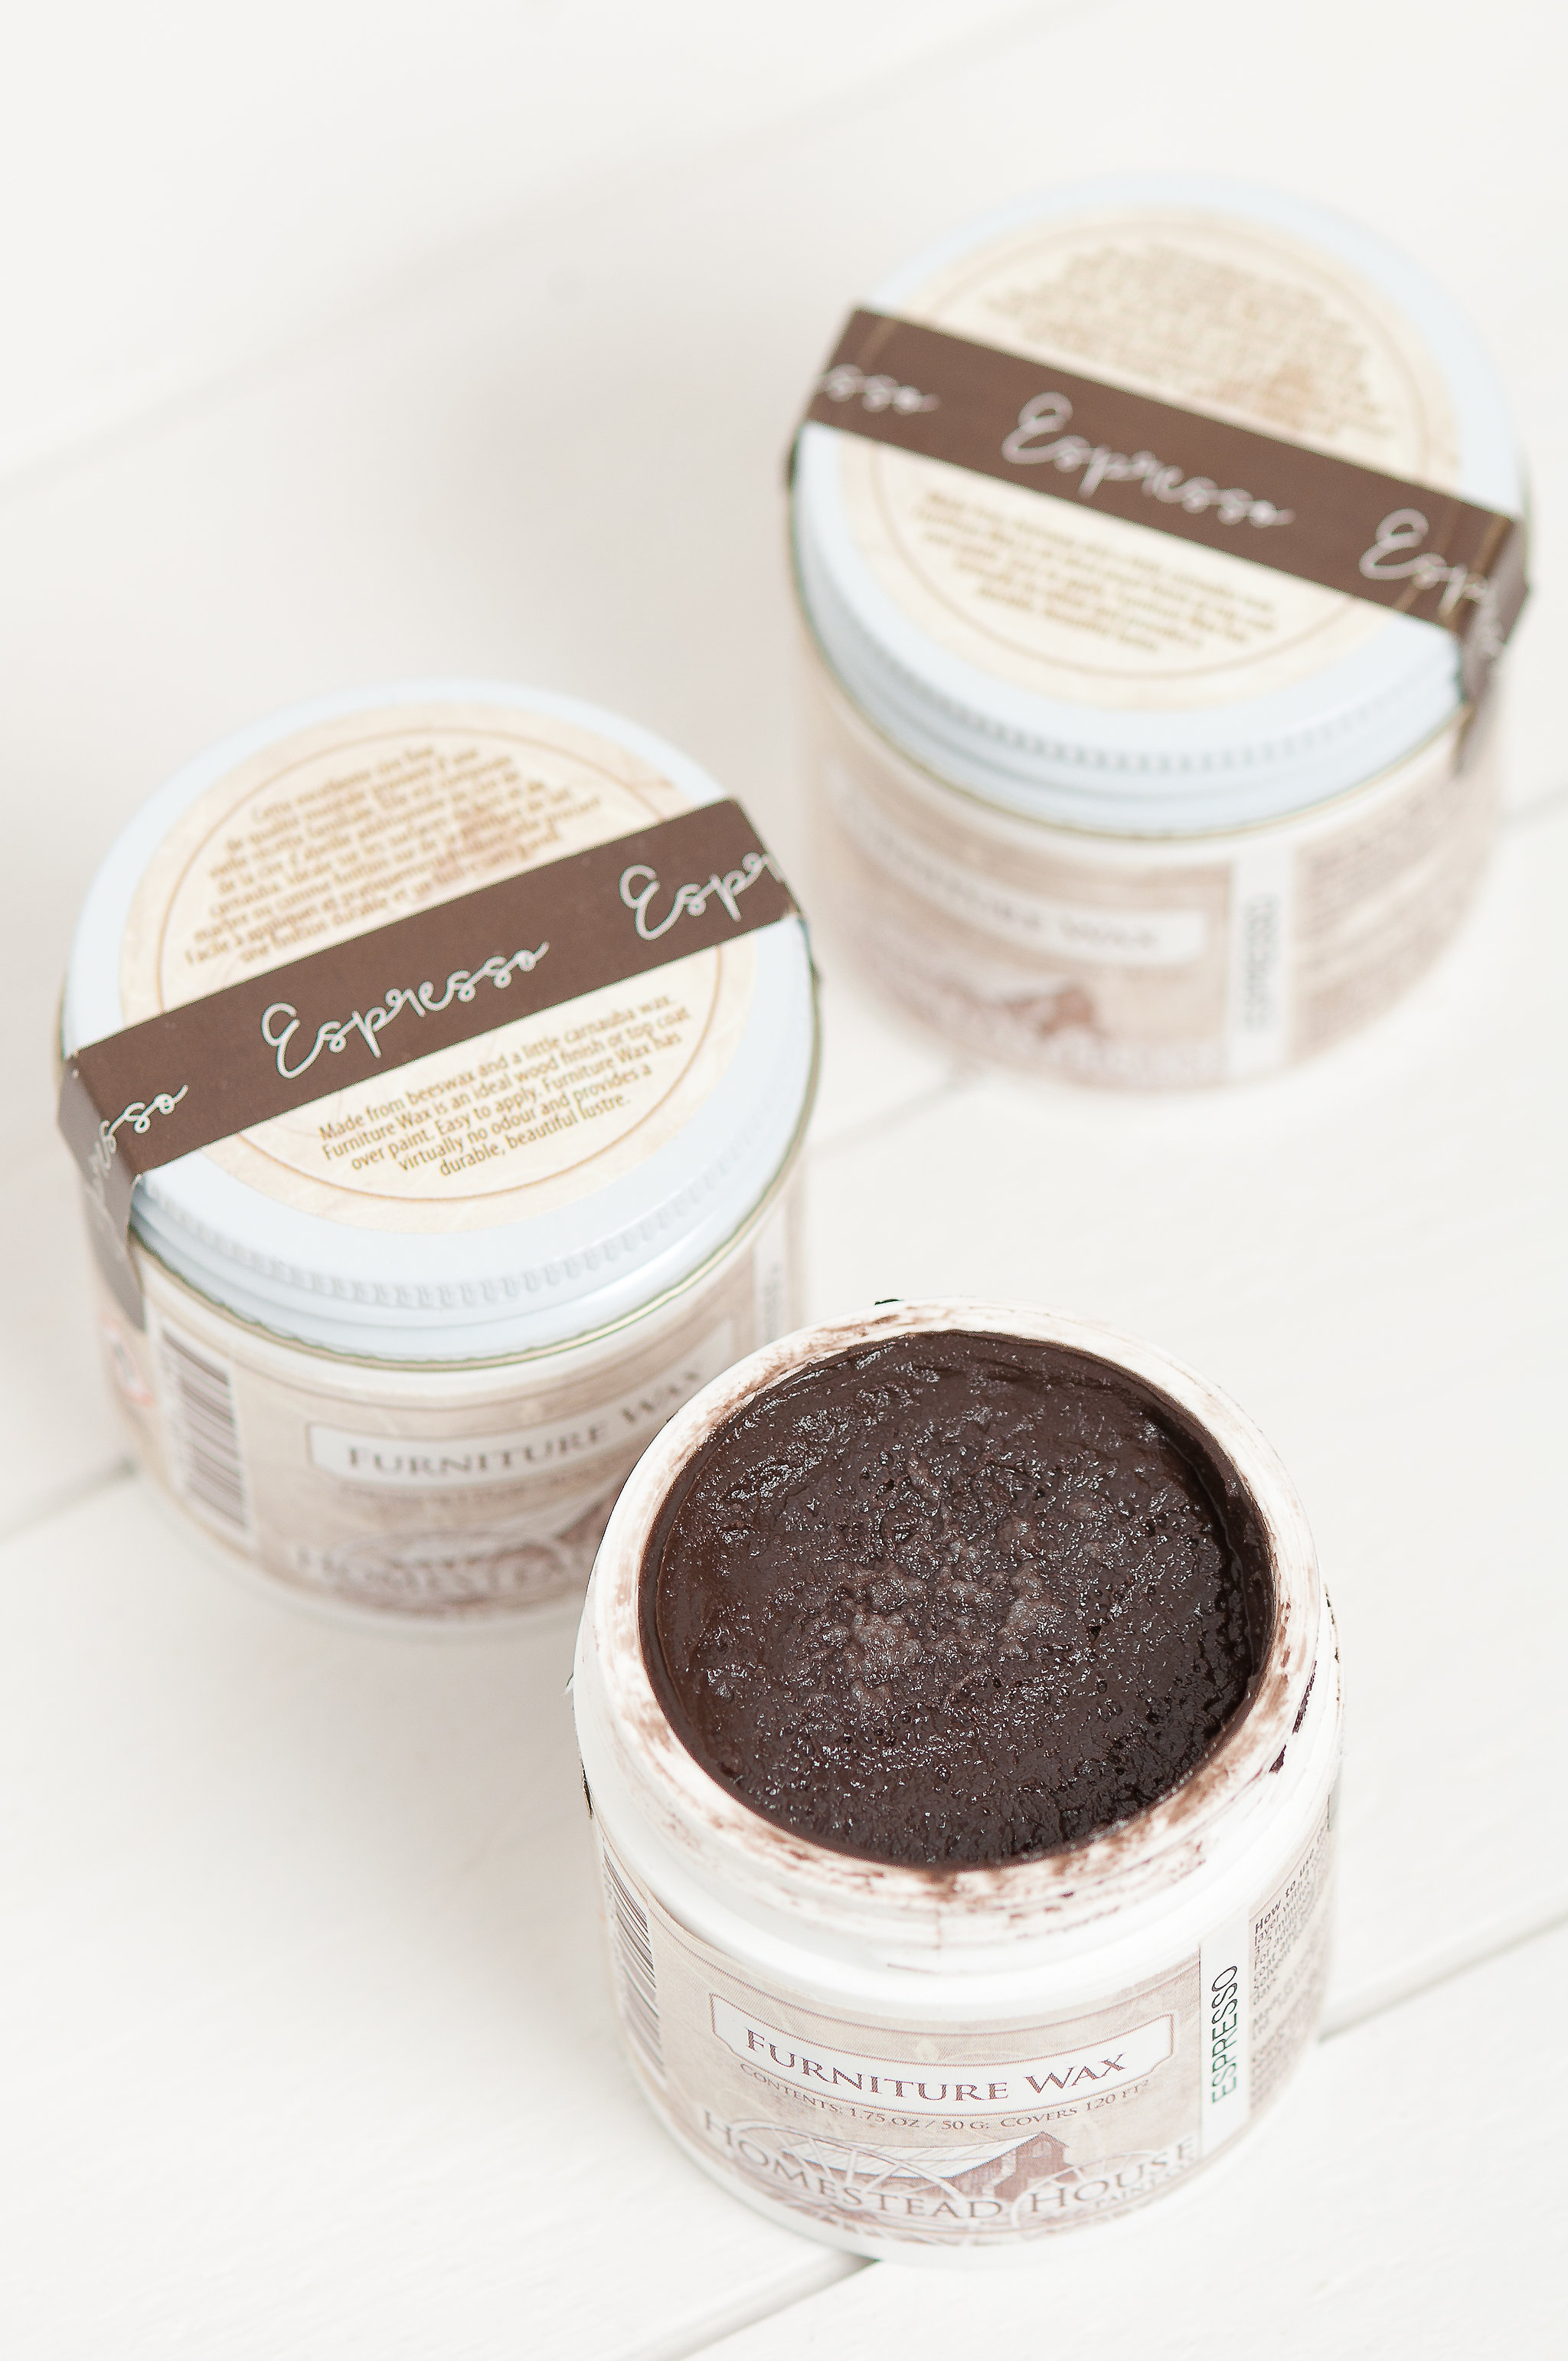

With Fusion™, you can, of course apply our clear wax first as a barrier layer – but you do not need to. Our clear wax is lovely – and a great item to have in your kit, plus it is the ‘secret’ weapon for controlling the application of your coloured wax.
We do have a lovely clear wax – we also have beautiful Beeswax Finish and pure Hemp Oil if you love the look of those. But that is a whole different blog post!
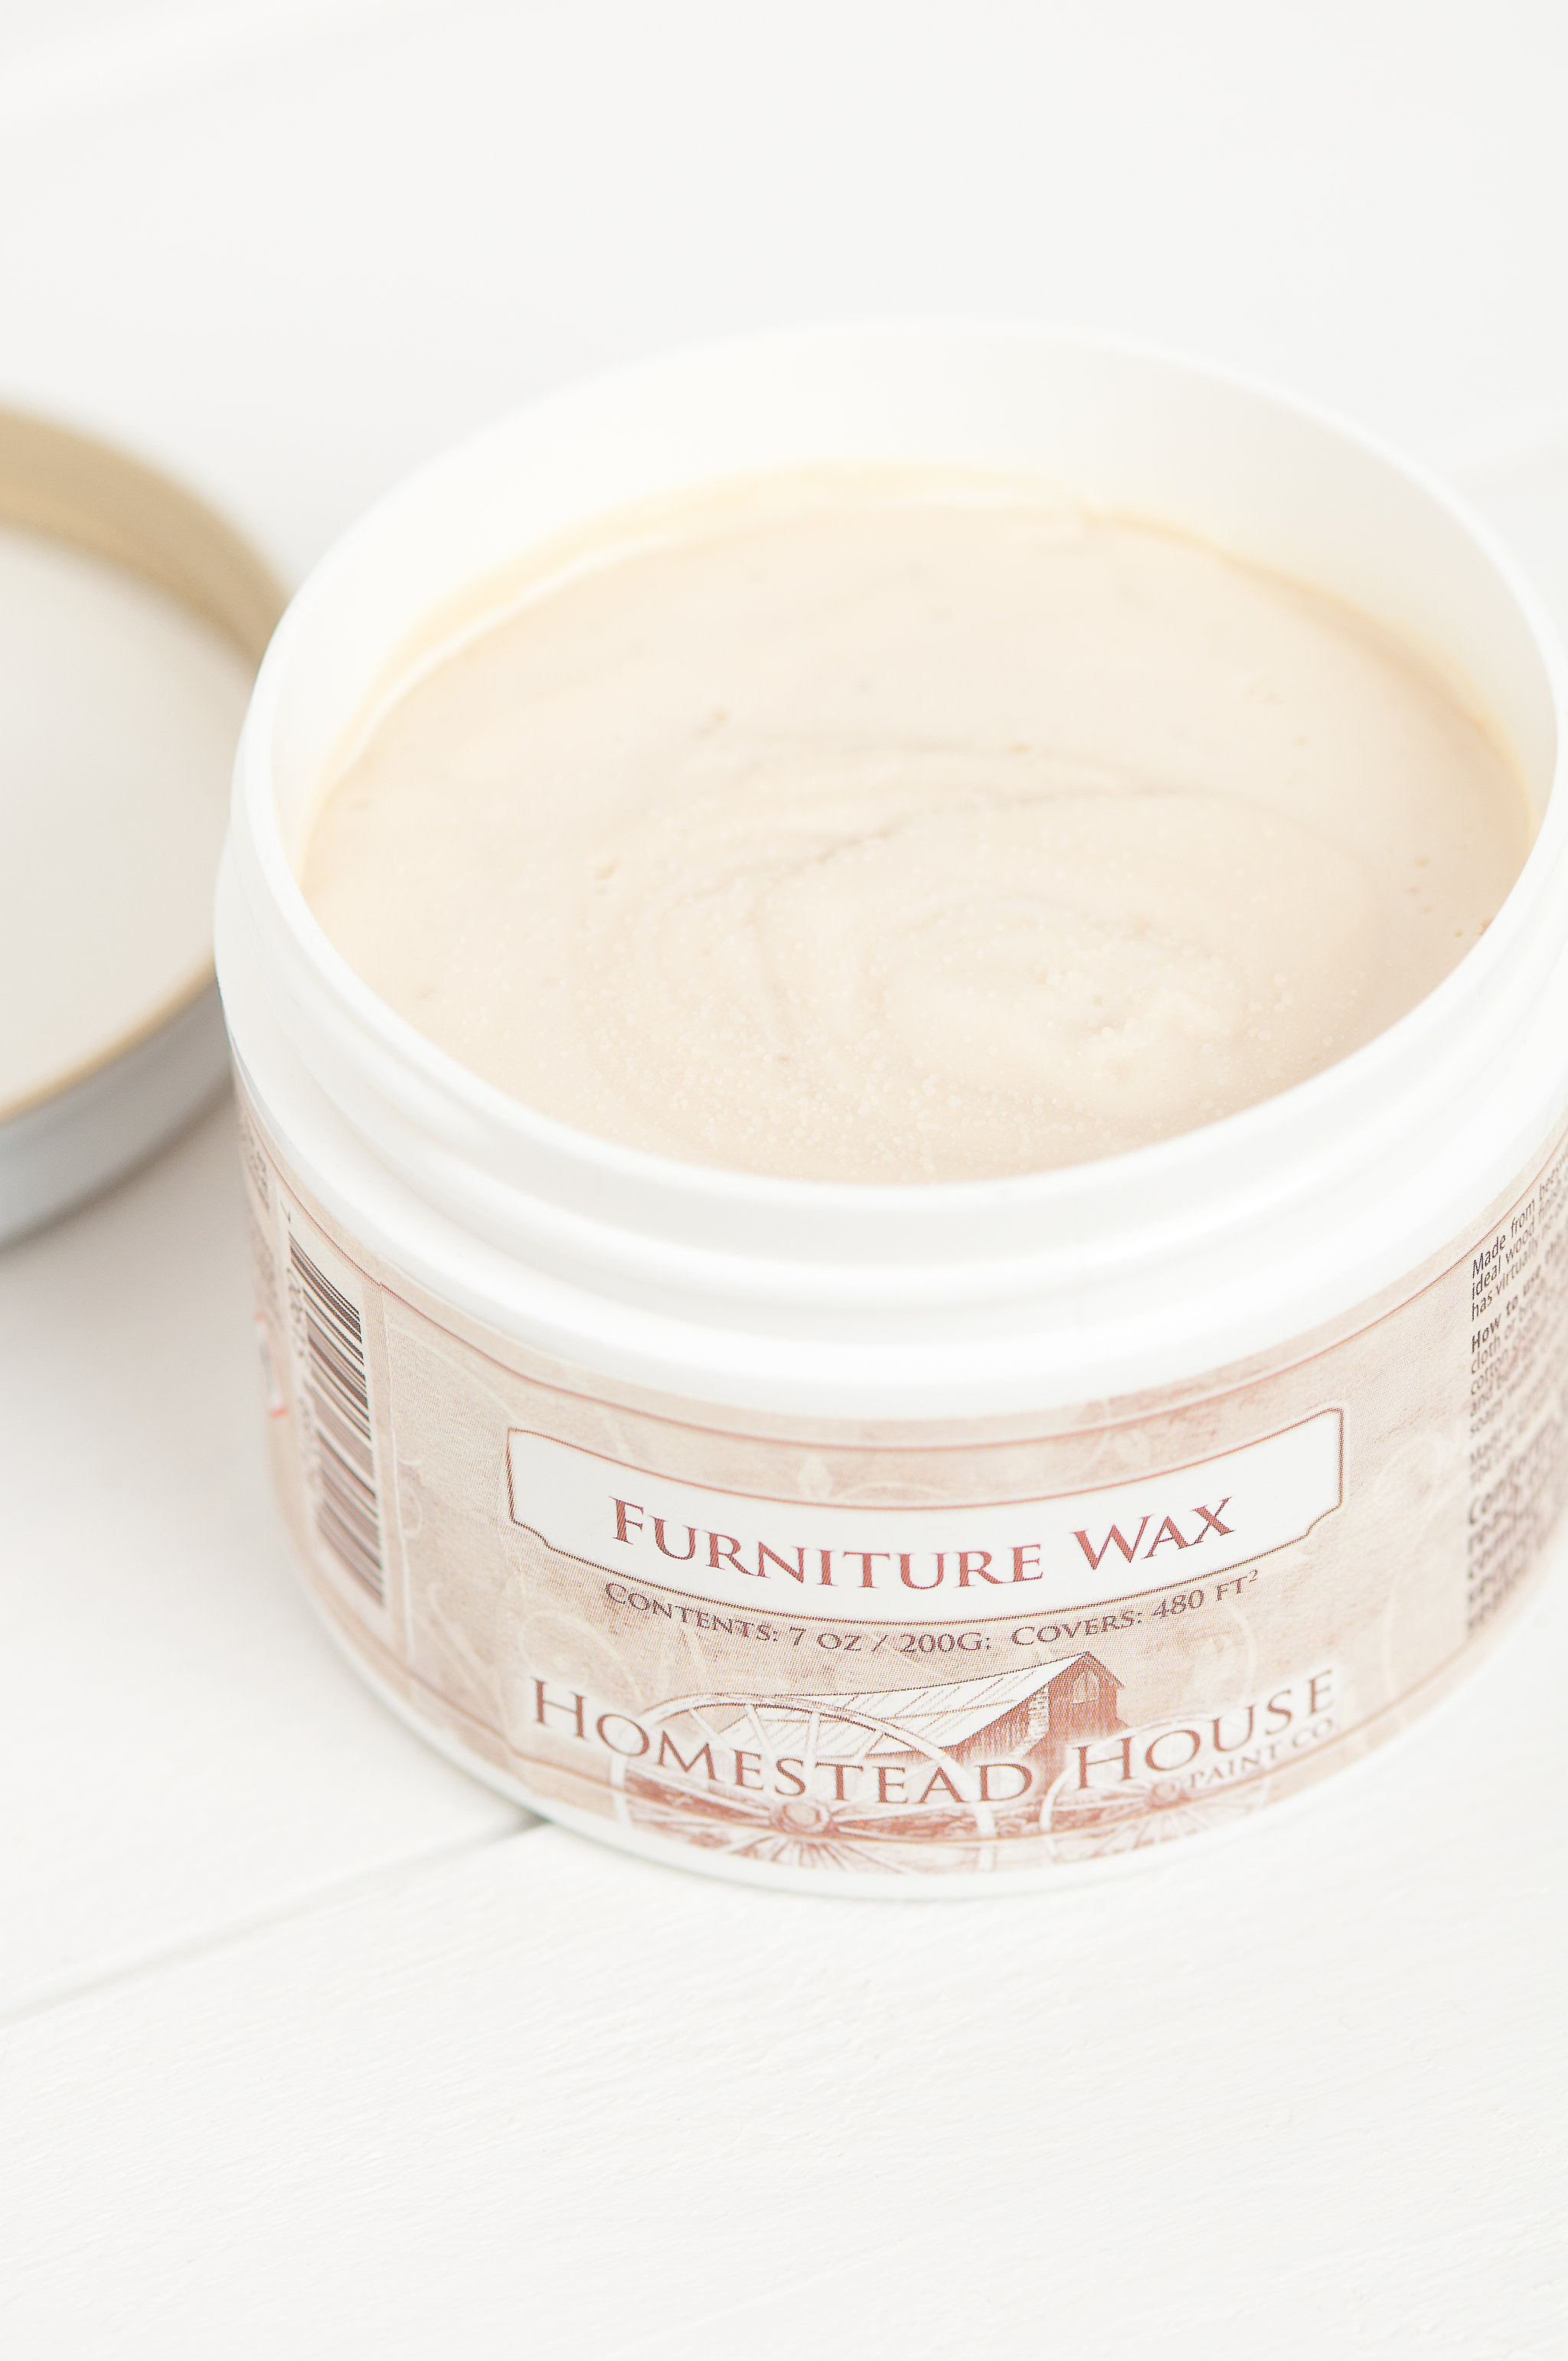

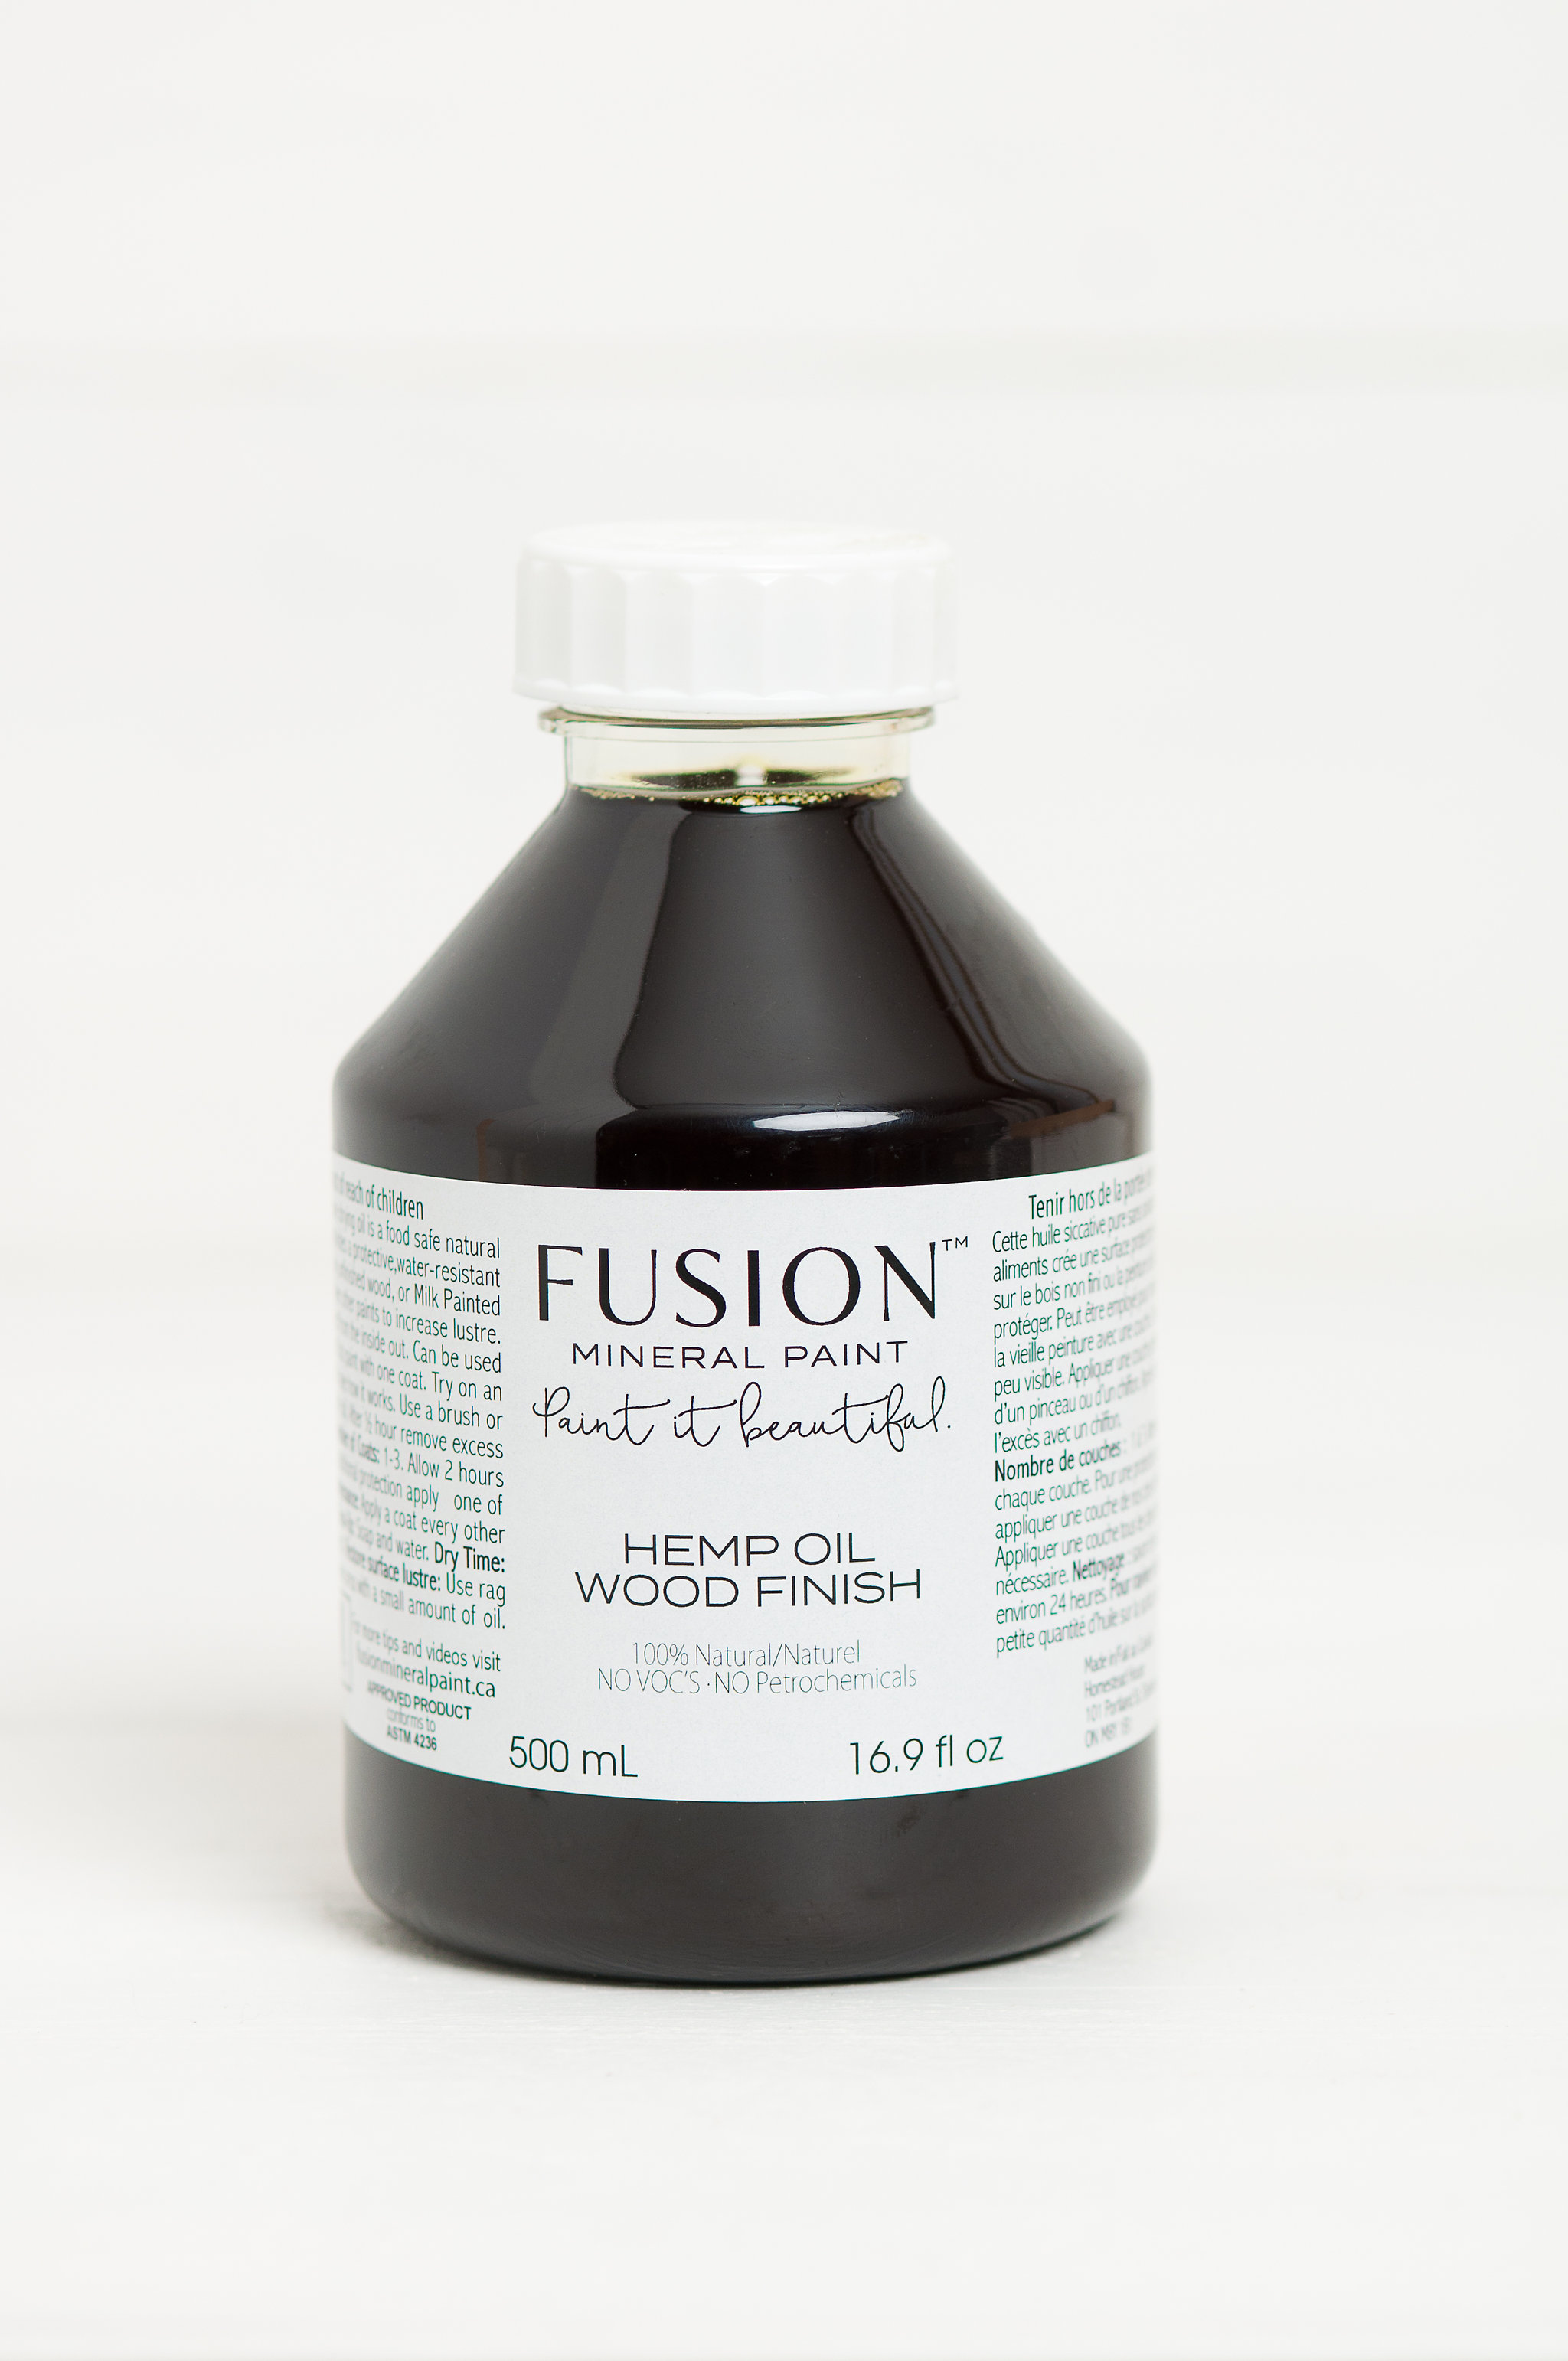

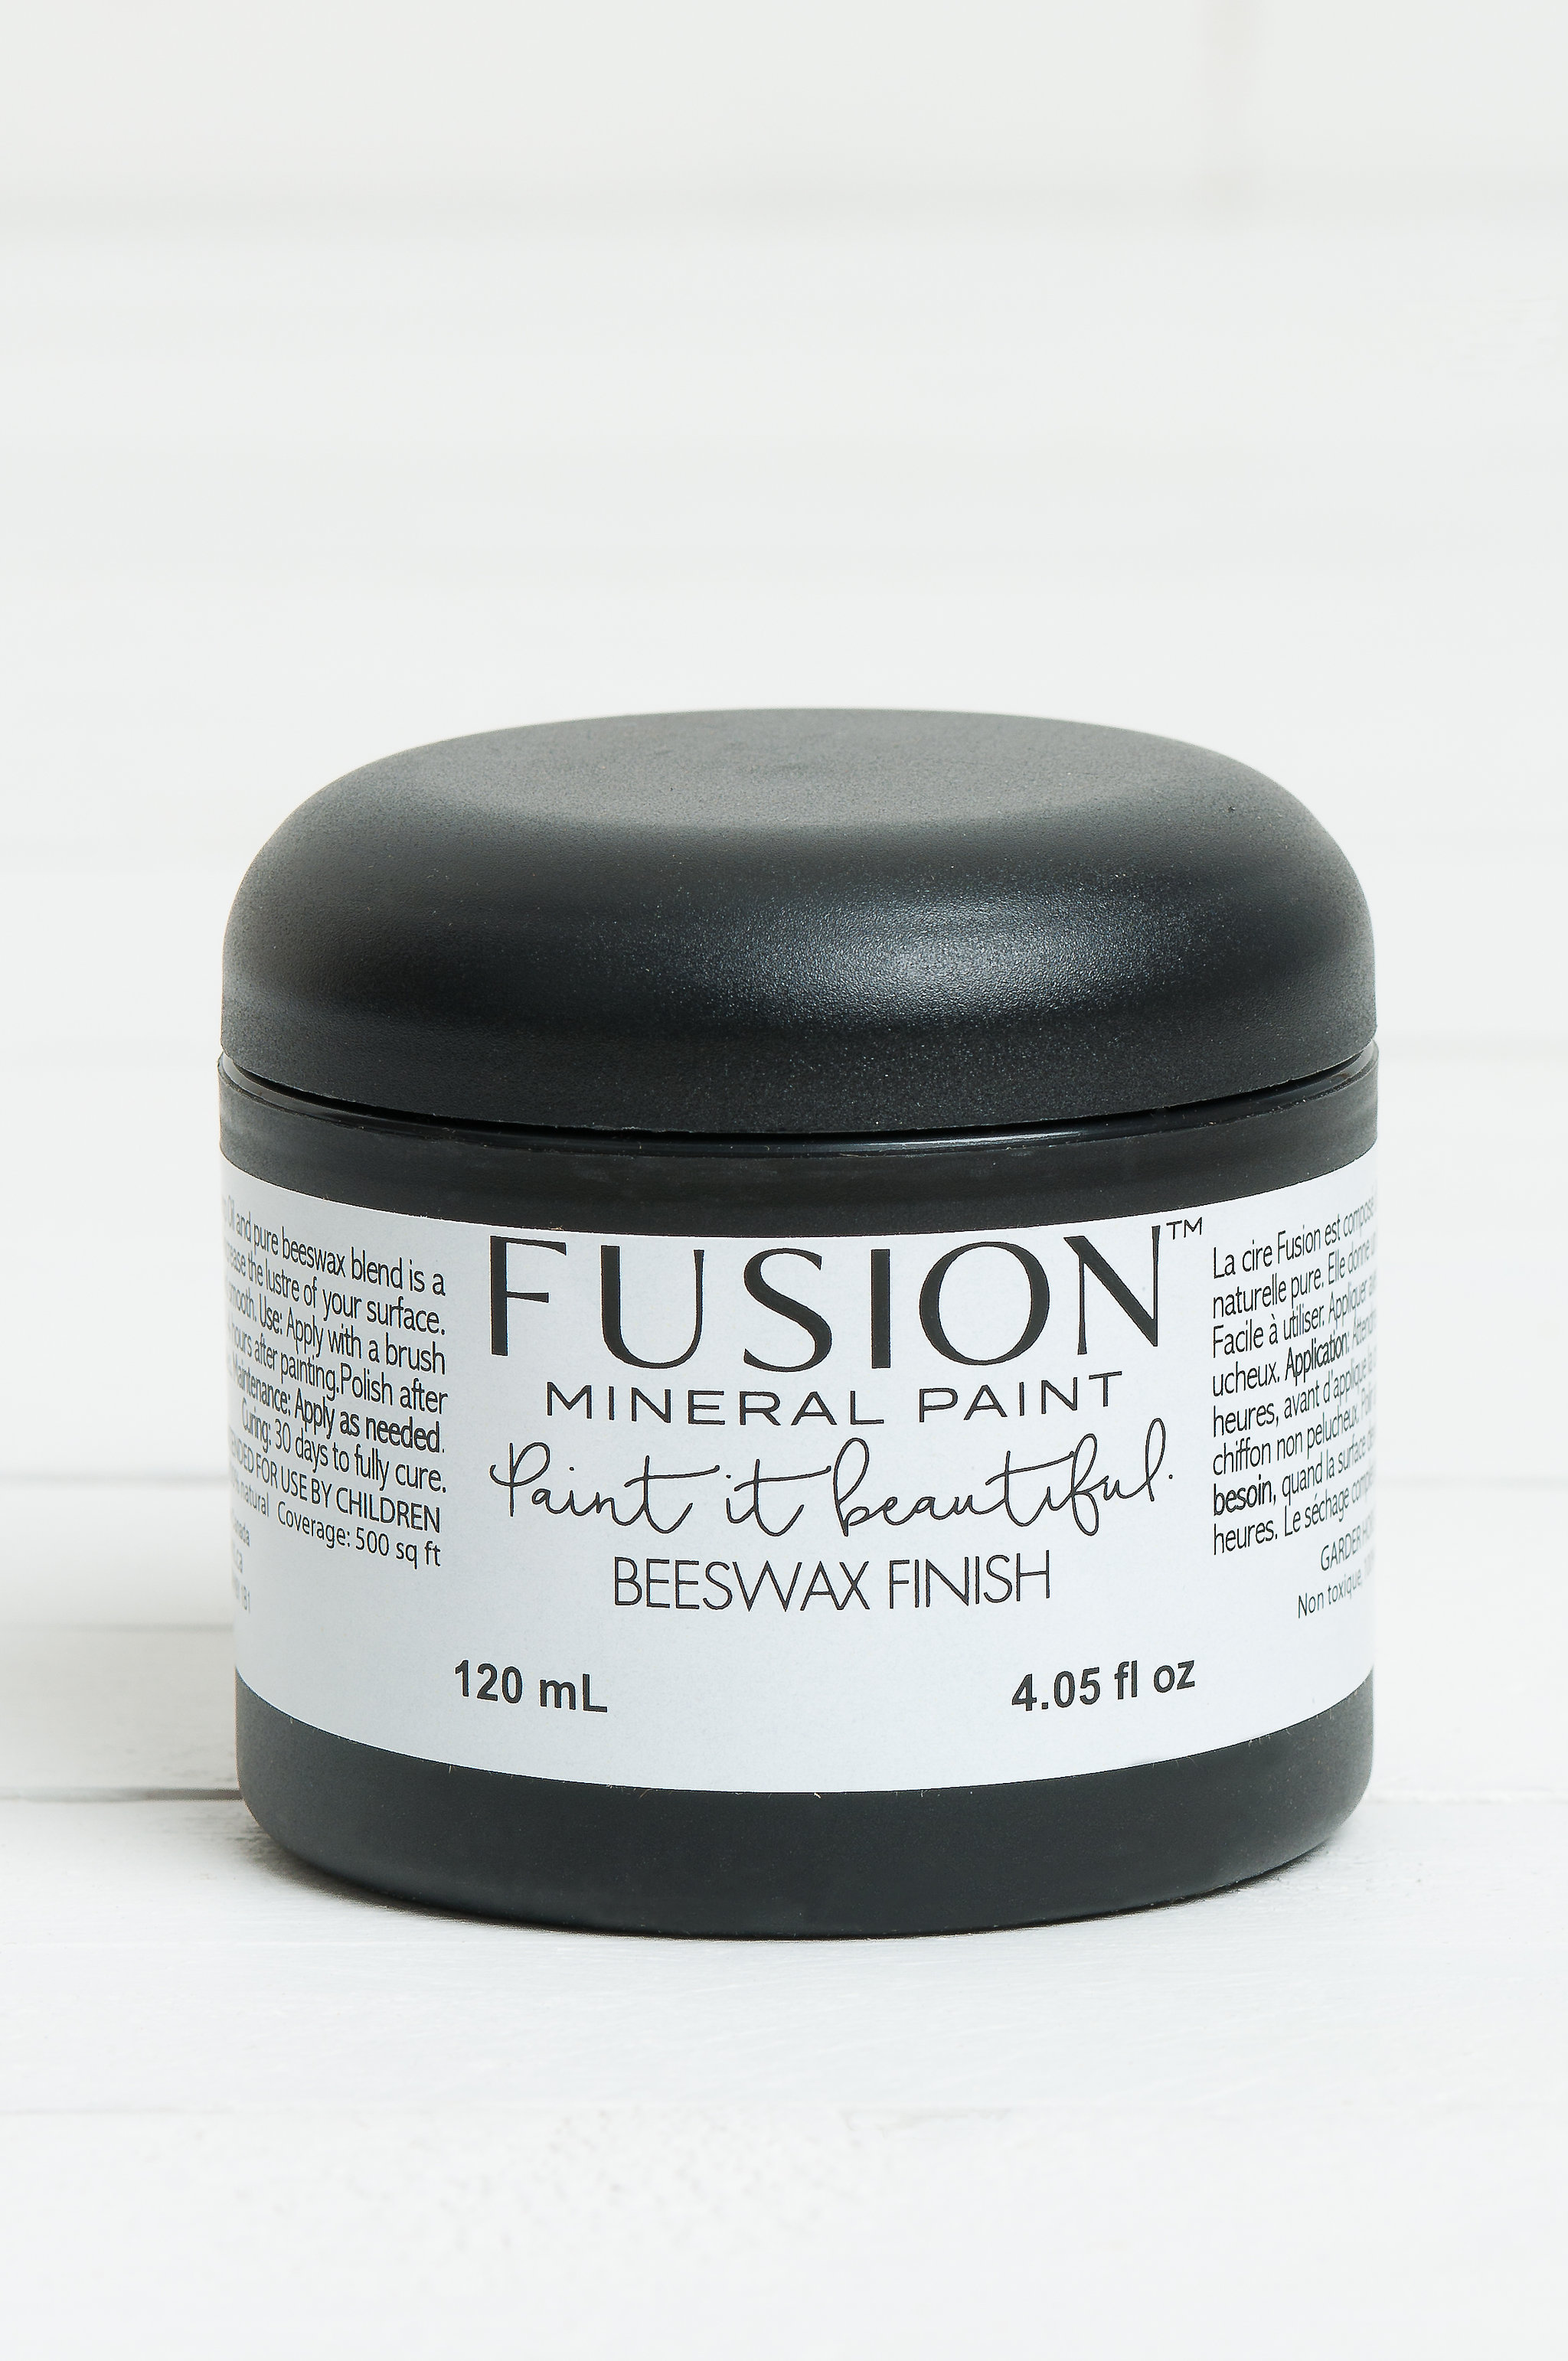

How to use our Wax, OR, Added Depth from The Dark Side!
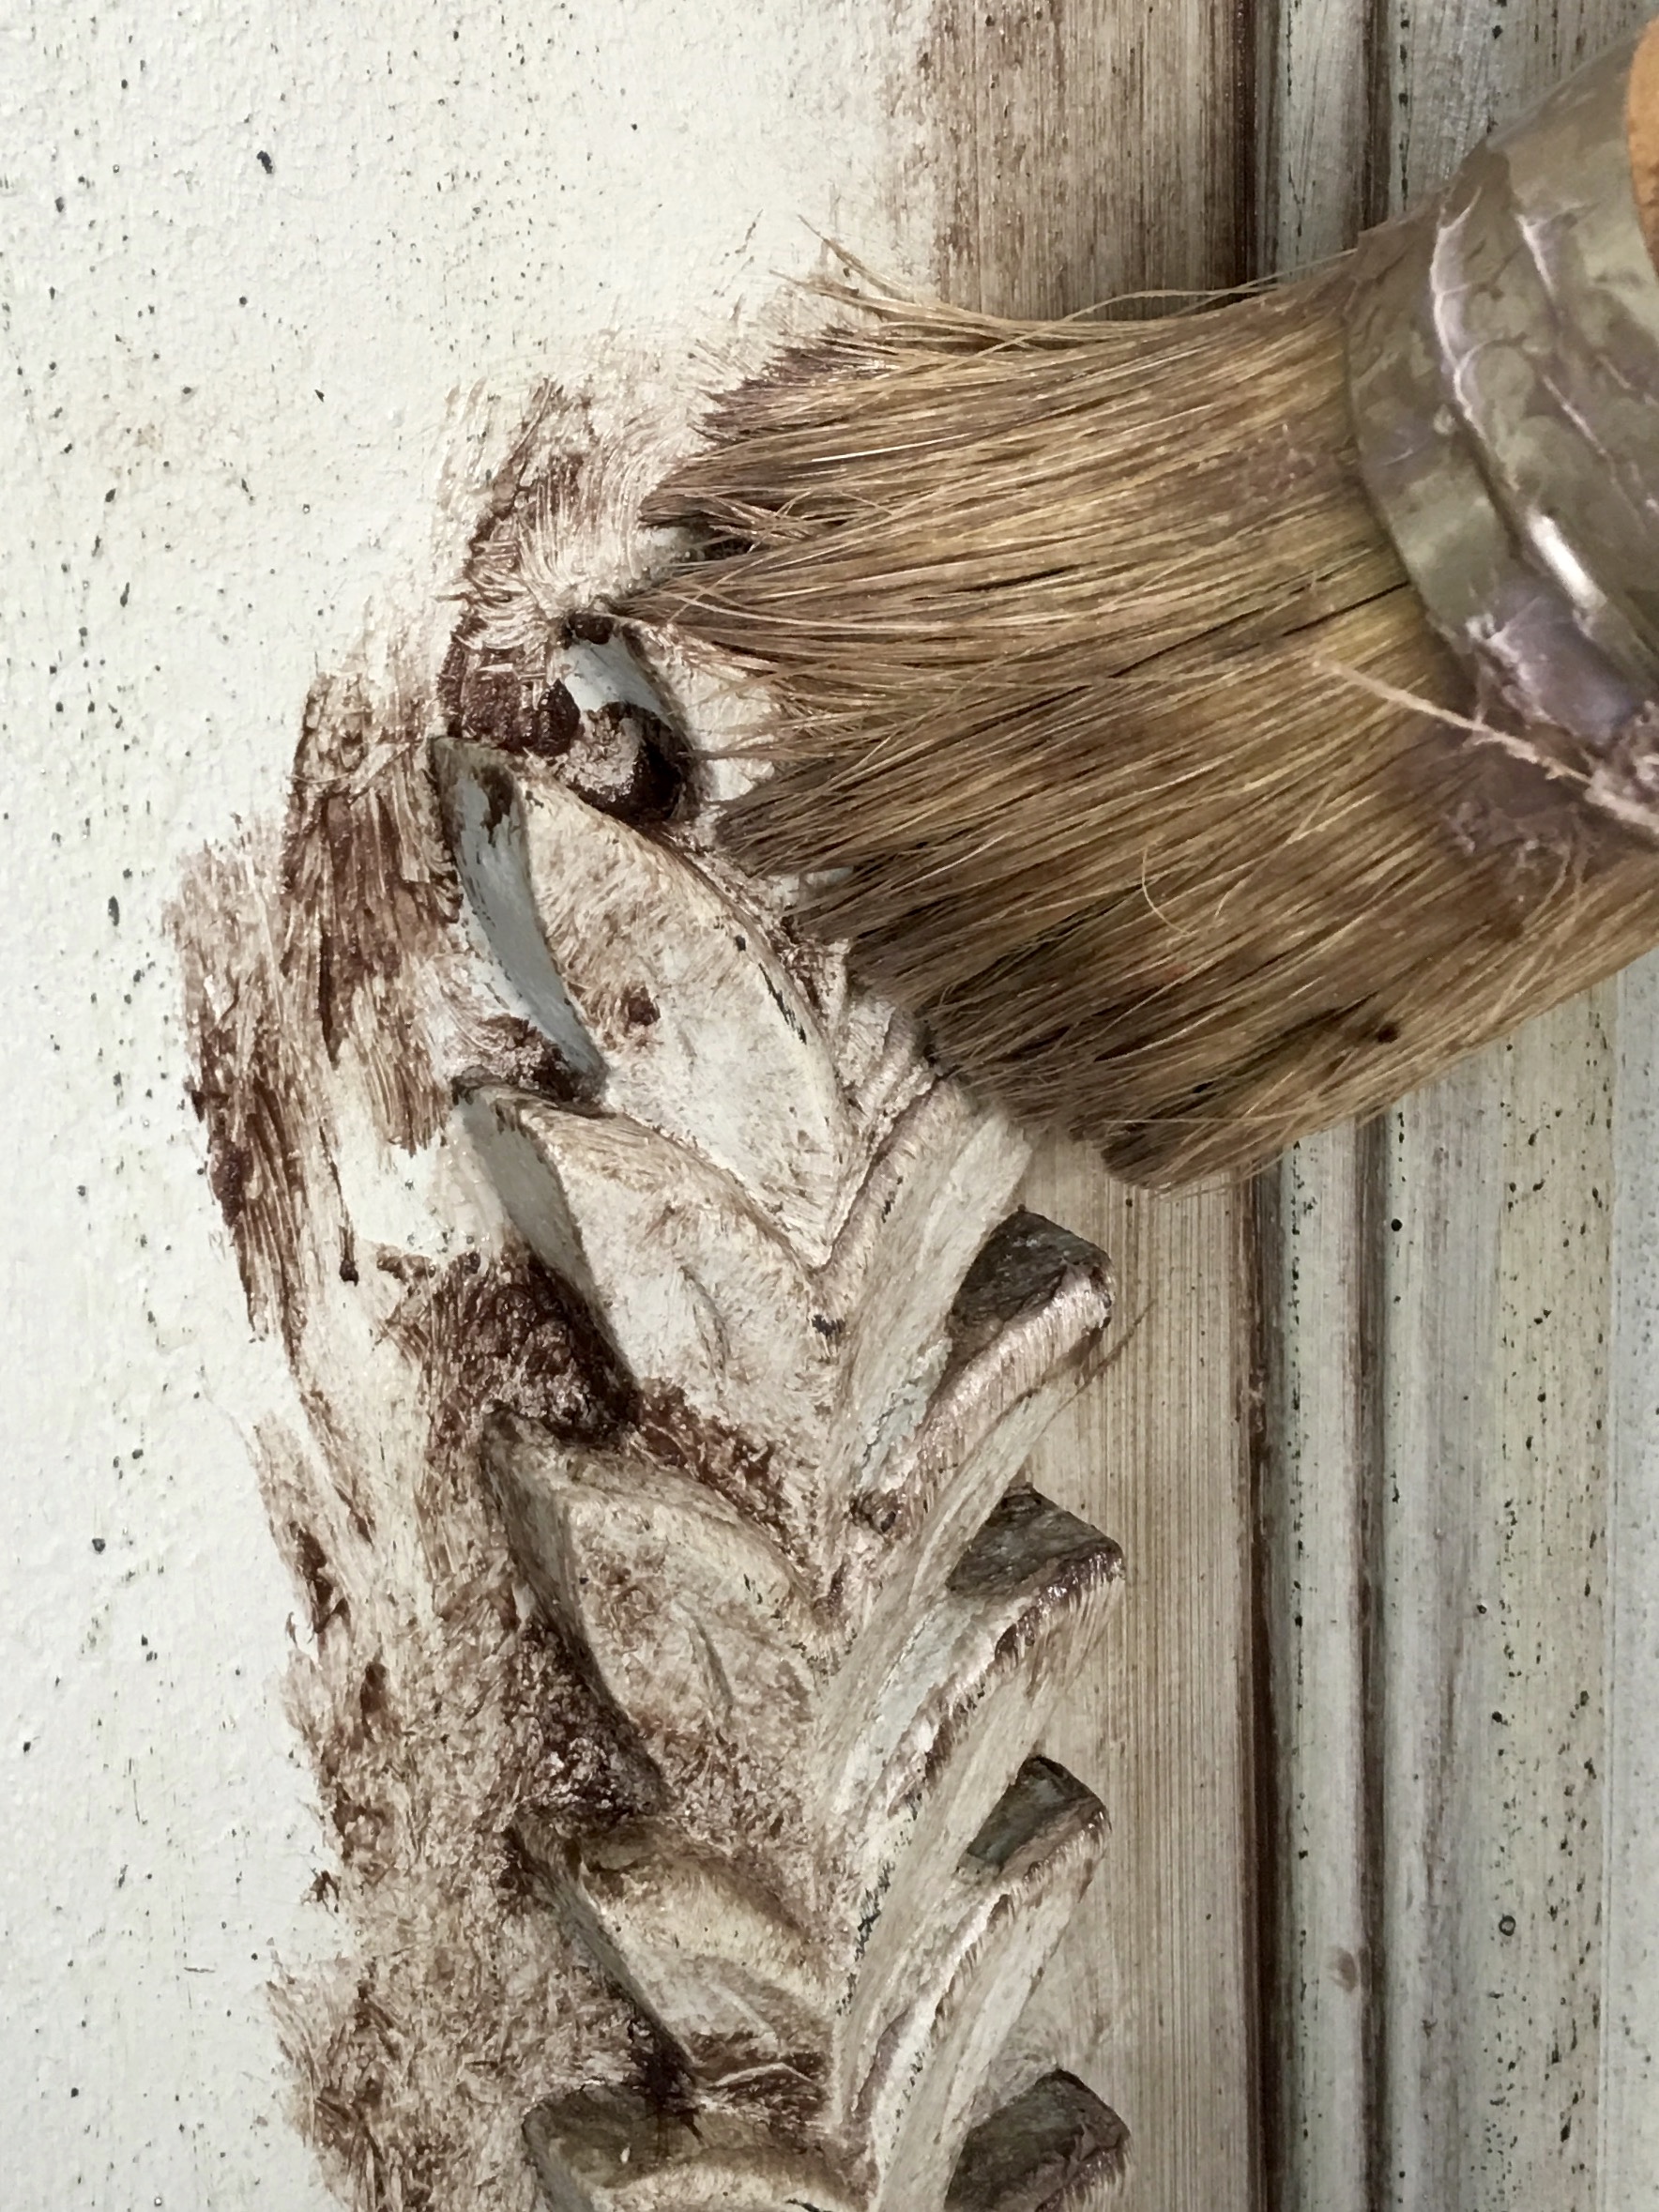
Once your paint is dry, and you are happy, you are ready for an application of wax, simply apply the wax with a lint-free cloth or brush. You can push it into crevices – it looks so great on textured items.
Now for the fun part, take a little clear wax and rub it over the areas you feel should be lighter. A little like using a magic eraser. You see, ‘Wax on. Wax off’. Remember to step away from your piece to get a better perspective! If you don’t like what you have done, simply add a little more coloured wax or remove it all using the clear wax. It’s kind of fun, I promise!
Take a look at this ‘before wax’ and ‘after wax’ from Sue at The Chelsea Project. See how the Espresso Wax has given the Fusion™ Bayberry Finish so much more depth?
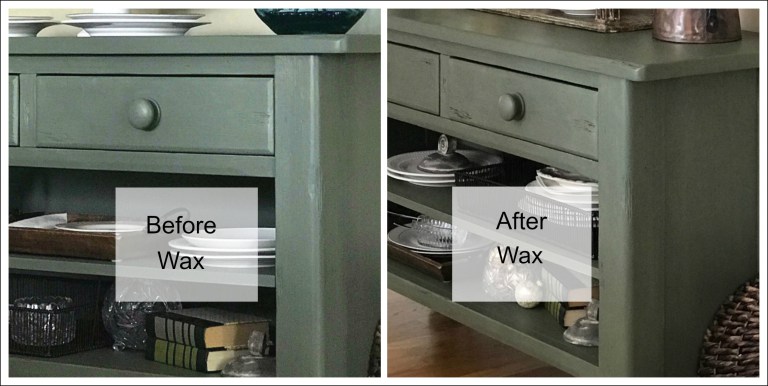

Play with wax…
Oh my. So many things to play with. Try using Black wax all over a piece painted in Coal Black. It gives it the most delightful sheen. Or how about lightening the whole thing up – you can mix the waxes together to lighten the Black, add some clear, or add black to espresso…so much fun!
Top Tip: Wax is ALWAYS the last step. You cannot paint over wax with Fusion™ – think oil and water, so if you want to remove an application of wax you will need to remove the wax using Mineral Spirits. You can also use mineral spirits to clean your brush!
Our waxes work wonderfully with straight Fusion™ Paint, but also with Fresco, Sand Stone Texture or on any textured surface. They also look beautiful when applied to raw wood!
Just look how stunning the Espresso is on this fresco Wardrobe.
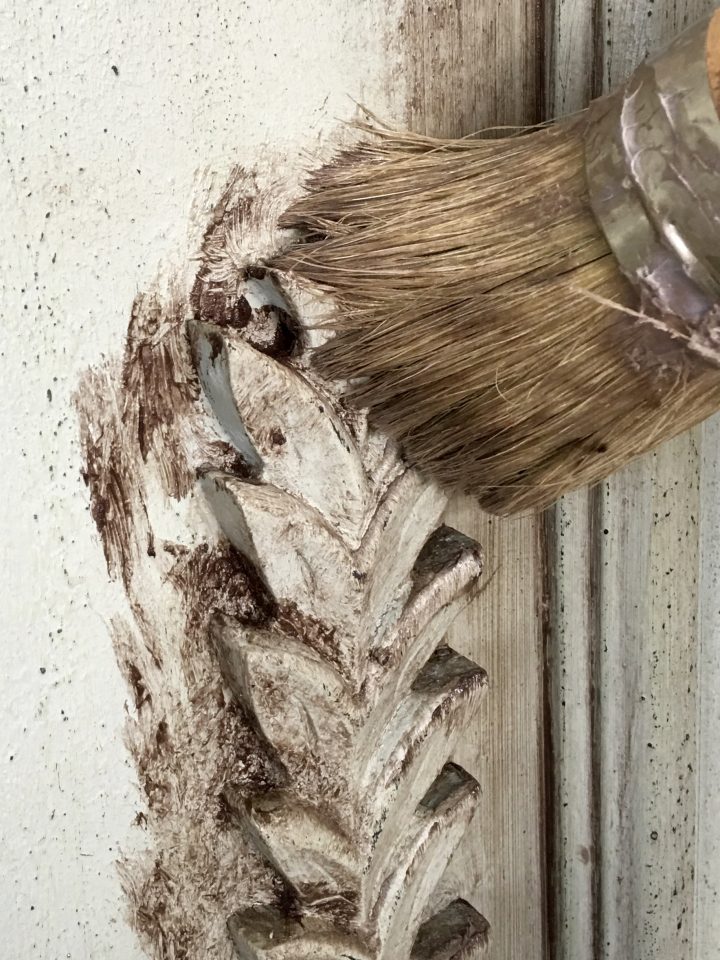

Adding Espresso Wax
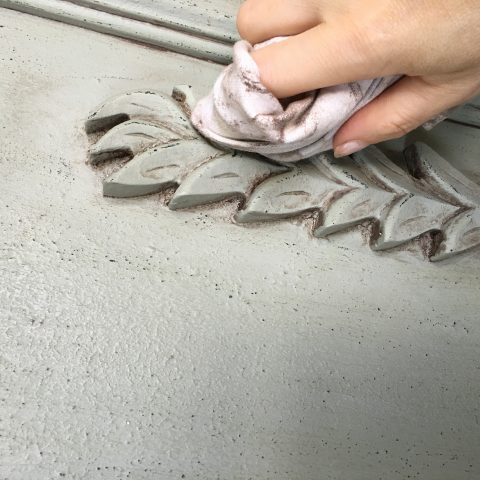

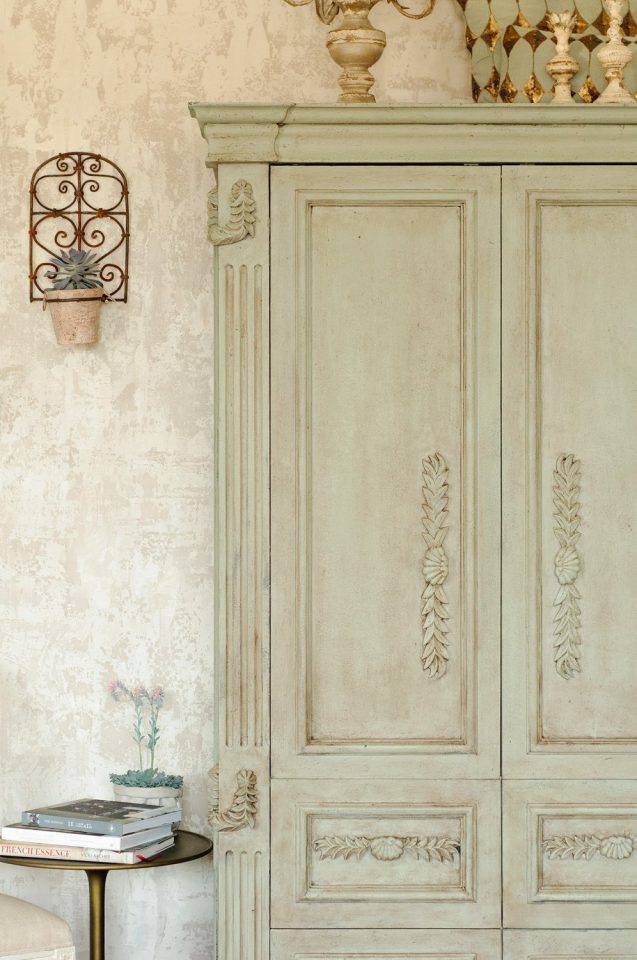

AFTER
So what’s stopping you? Because you can apply our wax to Fusion™ with no worries about it changing the actual colour of the paint, you can play with the finish to your hearts content!
Have fun!


11 Responses